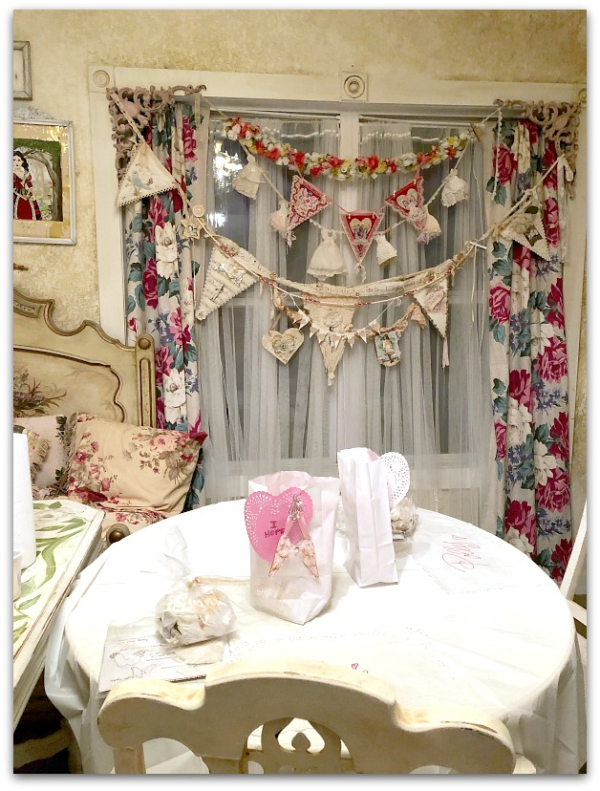
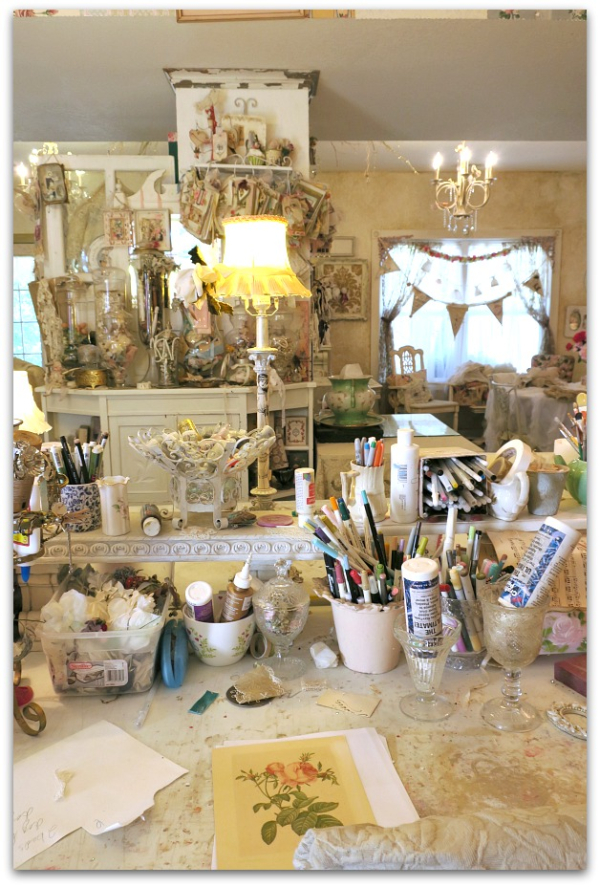
studio tour

My Studio Redo (part one- wallpaper heaven)

studio tour

IMG_5013

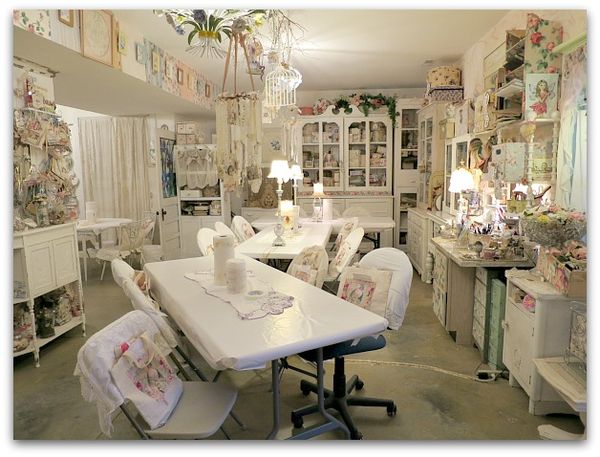
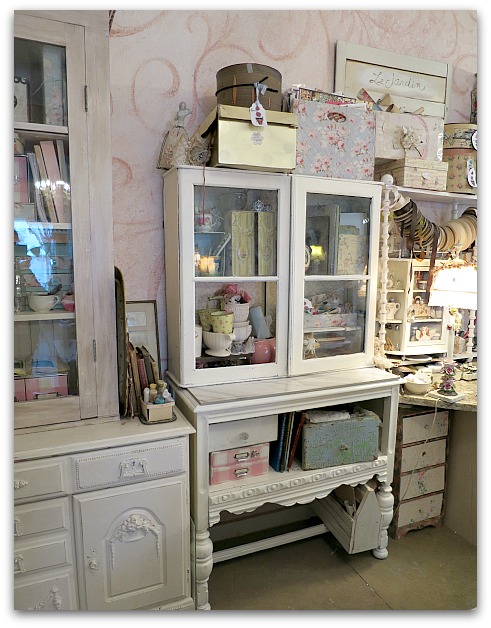
It is done! 

That was a big job.

IMG_4757

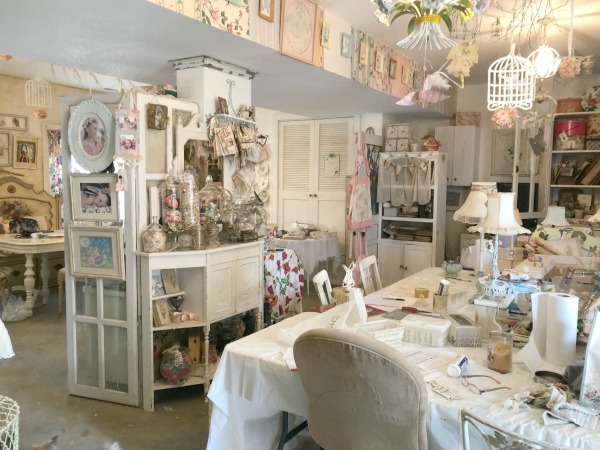
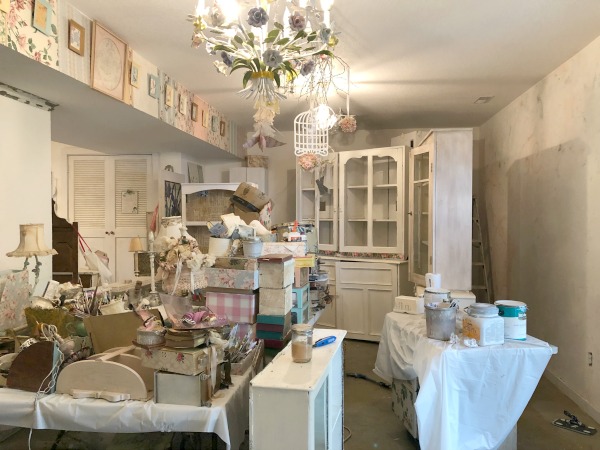
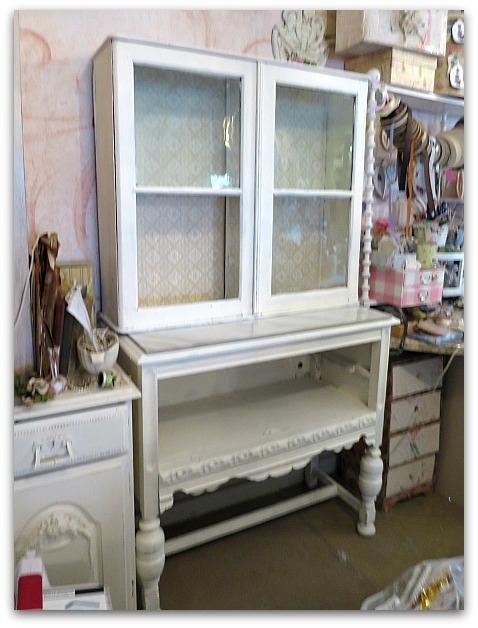
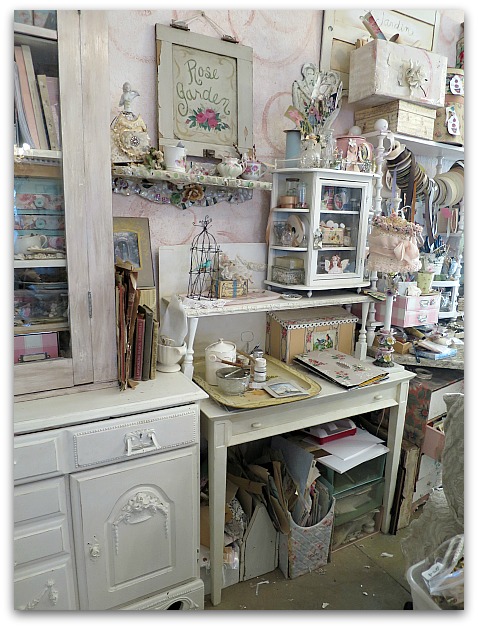
Here is a before picture.  I love my studio and am thrilled to have it. I really had no complaints beyond my own messiness.

IMG_4758

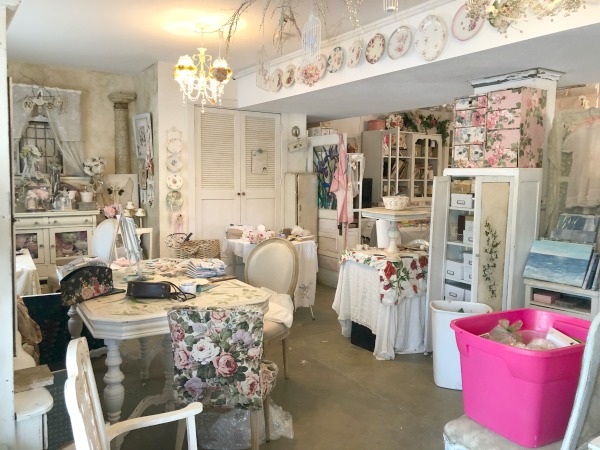
Here is another before.

Now, most of the messiness was every day work, that just happens.  But some of it was from years of accumulation, of piles forming in spots because that spot was empty. Of things hanging up because there was a nail in the wall, not because that was a beautiful place to put it. 

IMG_4792

And there were years of dust behind large pieces that hadn't been moved in a decade. 

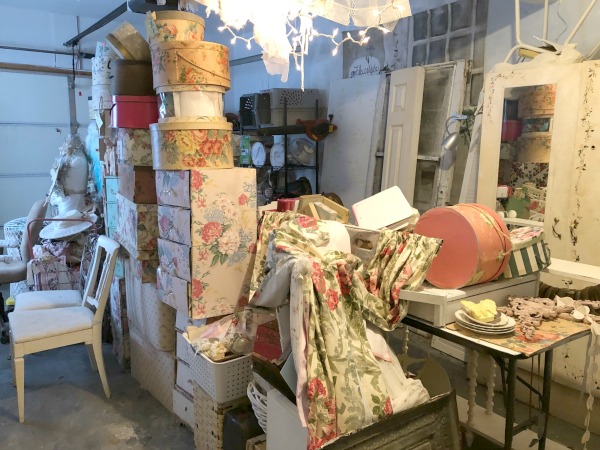
So, out it all went! I started at one side of the room and emptied all of the cabinets, piling the loot on tables in the garage.  

IMG_4793

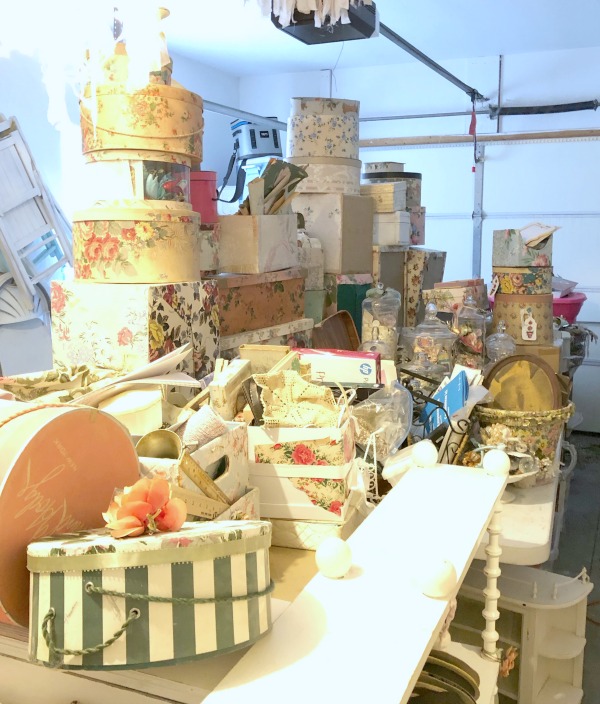
Then, I piled up some more.

IMG_4794

And some more.

I moved the large pieces away from walls, then rearranged them to a better location after painting, and moved on to the next section of the room.  To handle soooooo much stuff, I divided the space in thirds. It reminded me of doing one of those little slide puzzles, where you have to manipulate squares from one area to another to create the picture.

IMG_4814

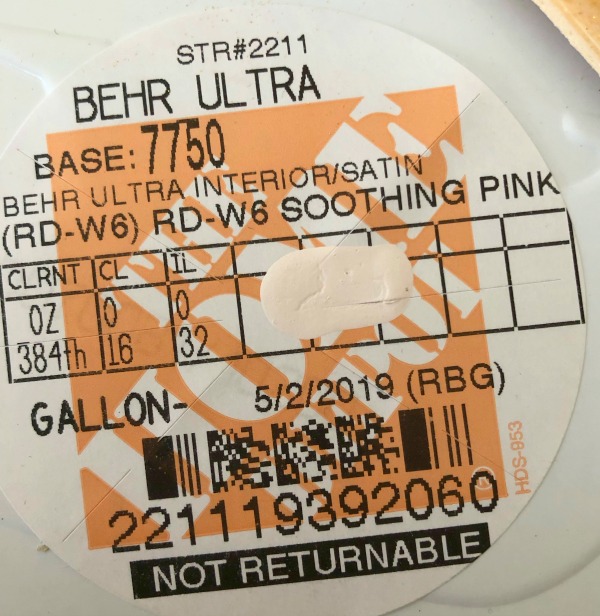
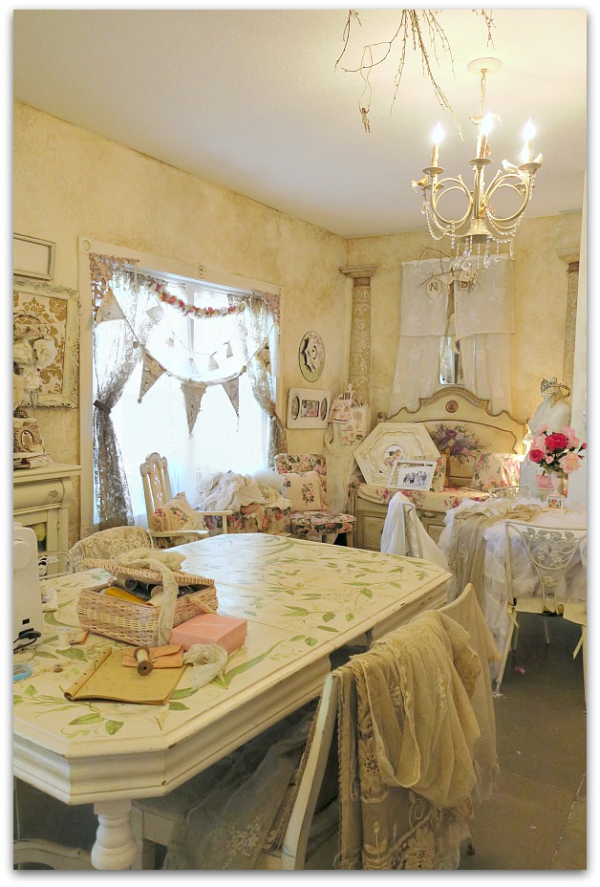
This is the color I chose, I wanted an almost white, barely there pink.  

Behr is such a good paint, that it covers in one coat with slight touch ups.  Even over the areas that were a darker color. (This room was many colors, and I wanted it more uniform, so it would feel bigger, and less broken up).

Menards sells a glitter additive for paint that shows up wonderfully and is a decent price.  You are supposed to add one bag per can, I added three. And the sparkle is spectacular! I wish it showed up in these pictures.

That was a splurge, but worth it.  I could have gotten cheaper paint, but would have needed more to do a second coat. I could have gone with less glitter, but the glimmers on the wall make me happy, and only cost an extra $28 for the extra smiles.

IMG_4945

While I was painting, I did a lot of cleaning too.  And even repainted the trim and baseboards a bright, glossy white.  

IMG_4977 2

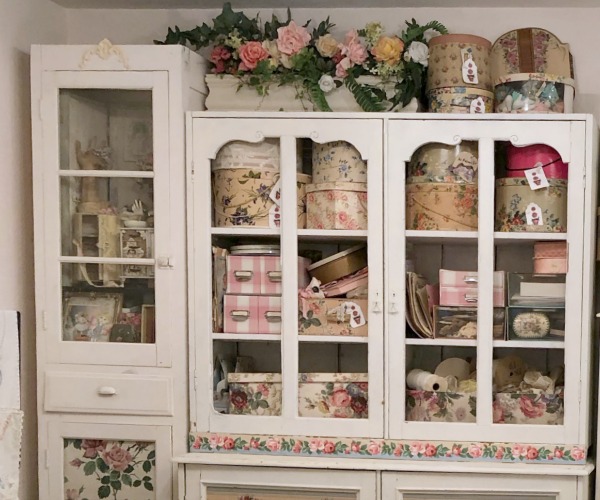
The interior of each cabinet got cleaned out too.  The hats in the buffet are all resorted and stacked now.

IMG_4906

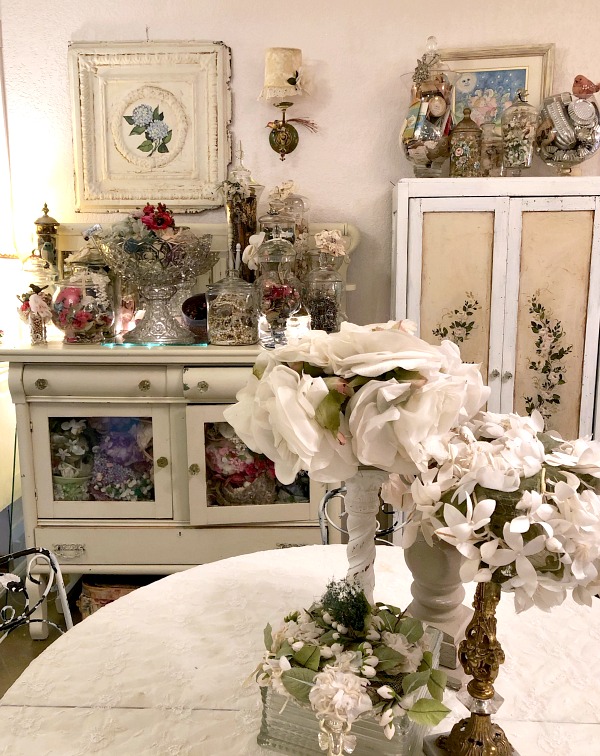
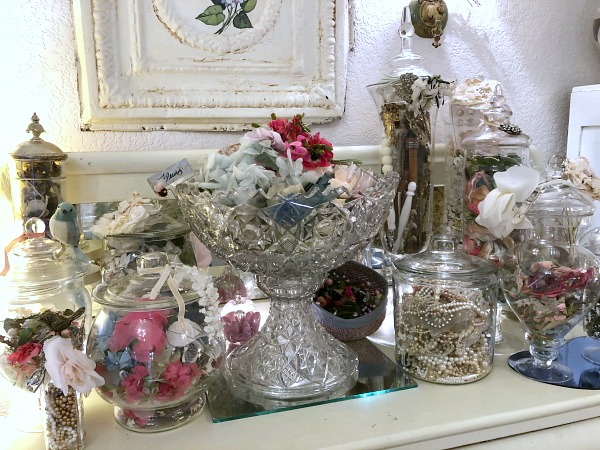
And these jars were emptied and washed before refilling.

IMG_4911

The glass jars hold a lot of things that are used on a regular basis, and while they are now on the other side of the room away from my desk, they are still easily accessible.

IMG_4912

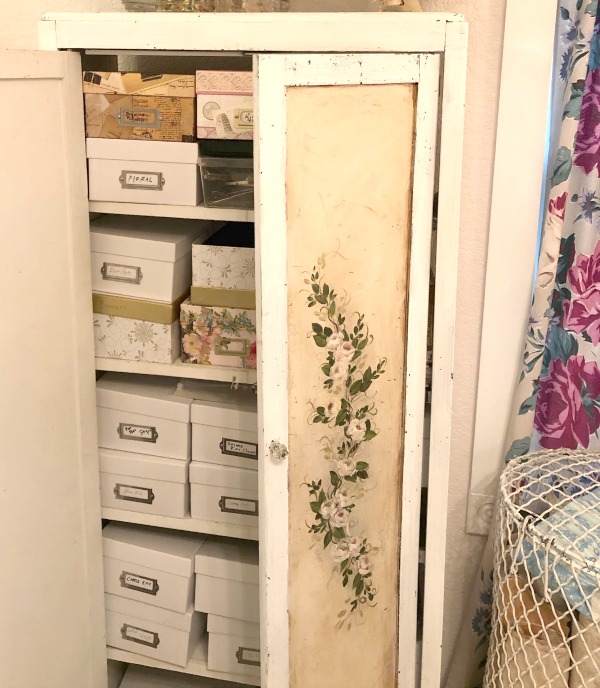
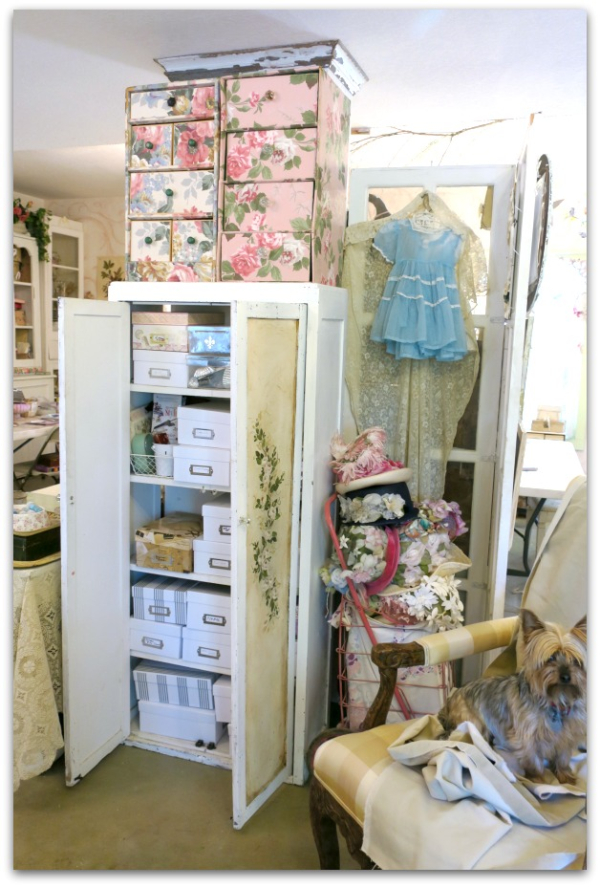
Boxes of things that aren't used as often are stacked inside this cabinet.

IMG_5012

But my favorite part?

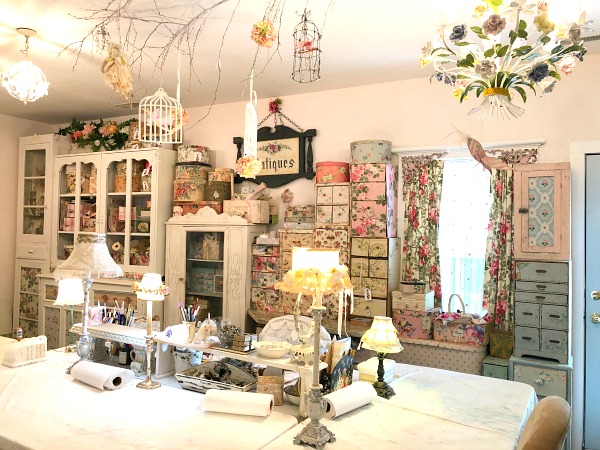
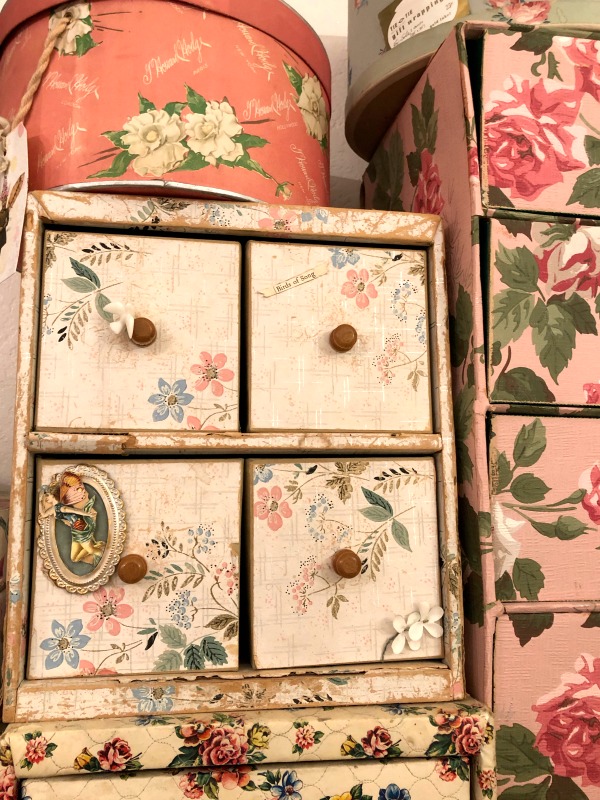
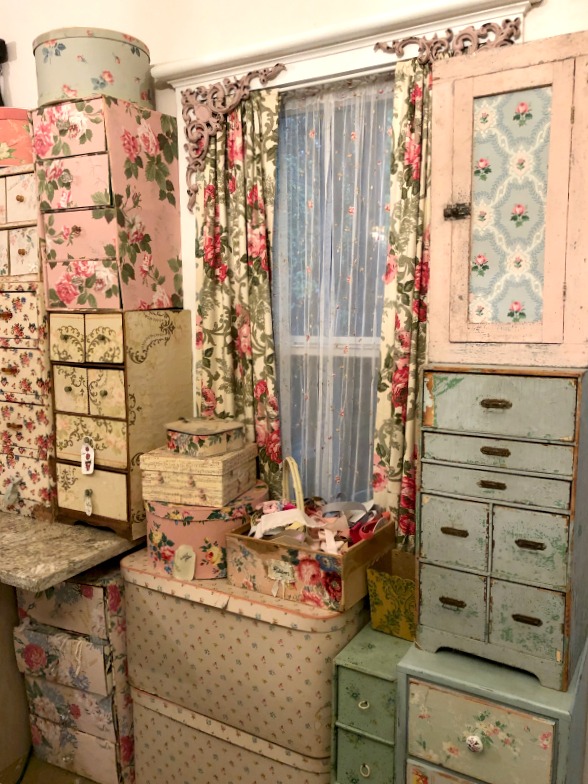
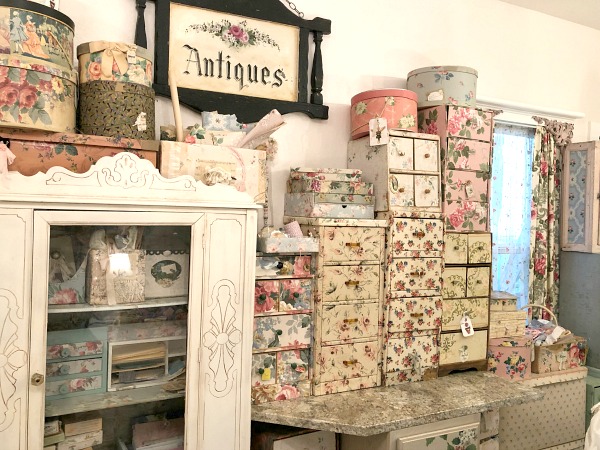
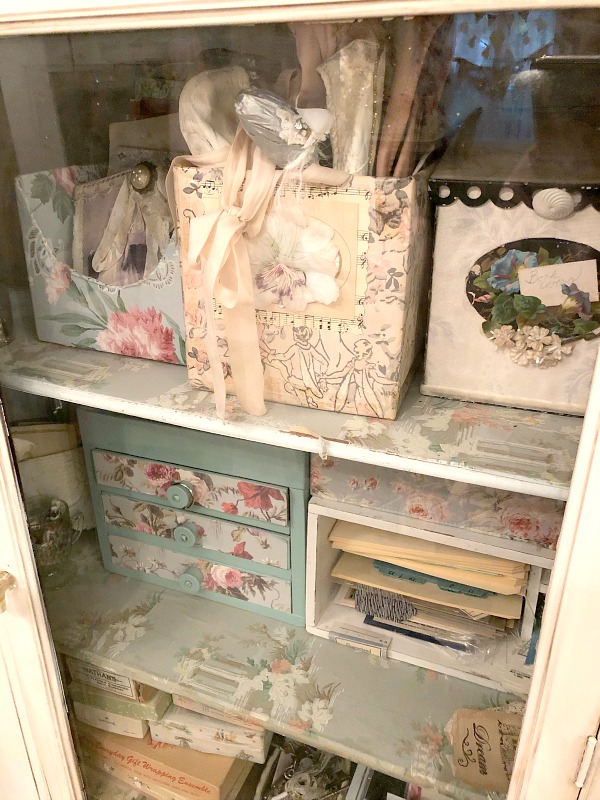
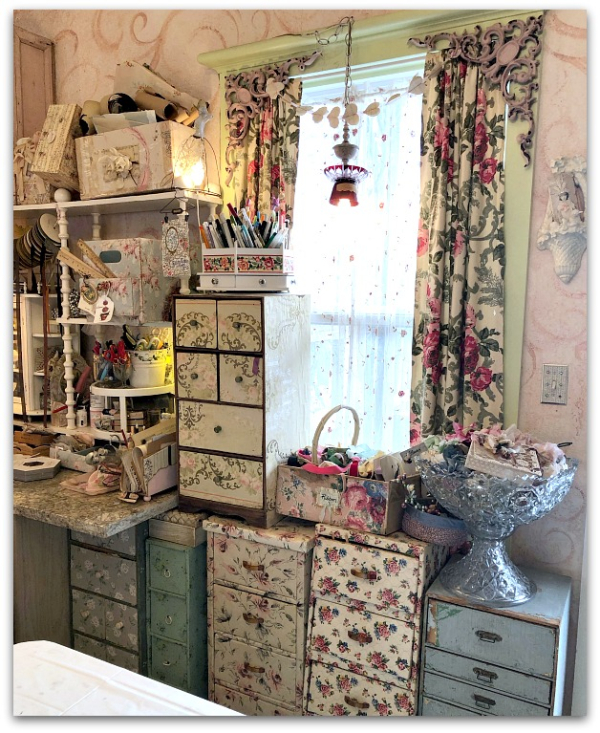
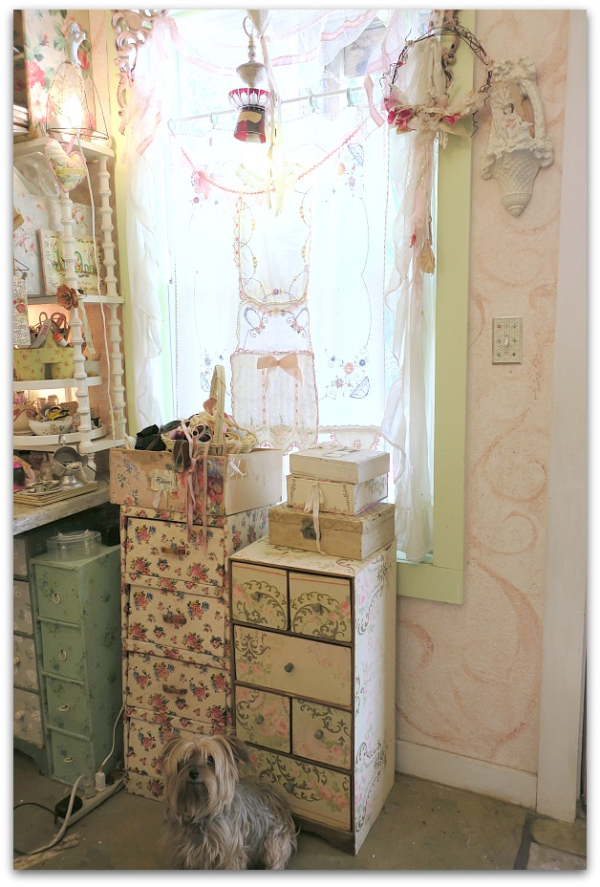
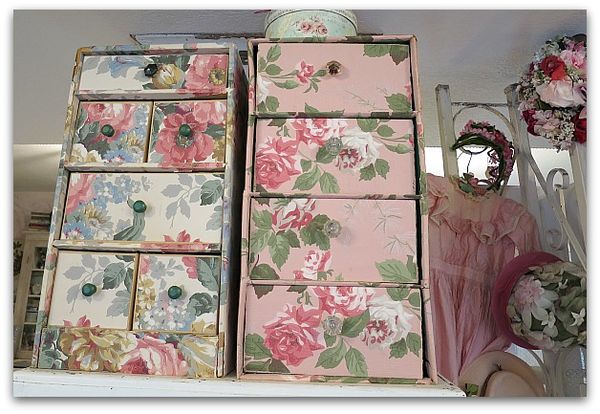
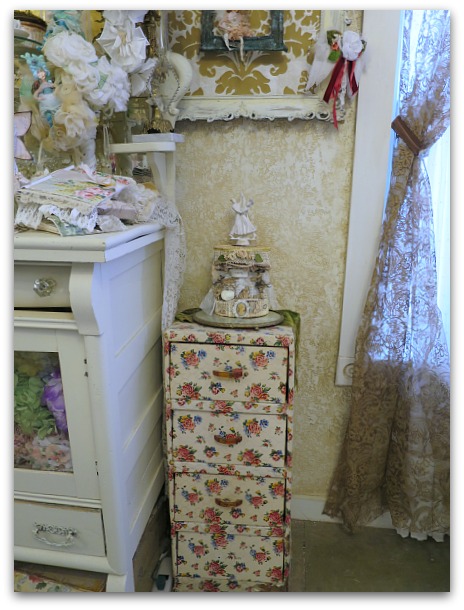
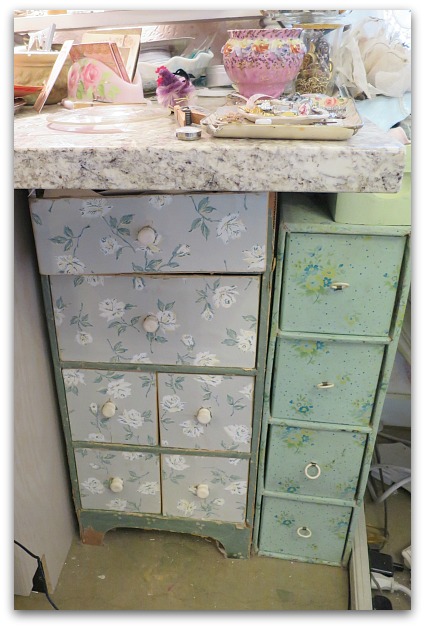
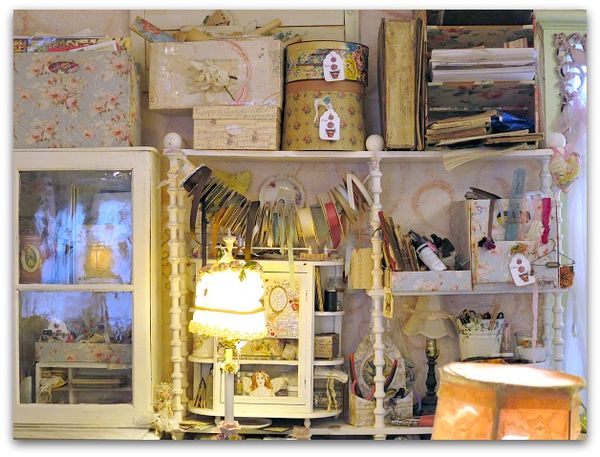
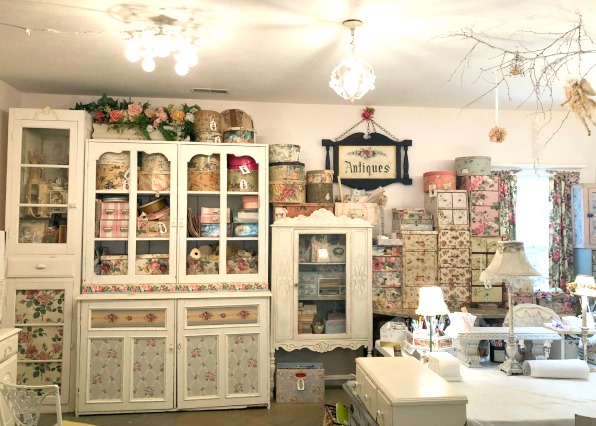
I gathered all of my collection of wallpaper cabinets, hat boxes, and storage pieces together in one area behind my desk.

These had been scattered around the room previously, and were nice, but I feel like they are more of a statement when pulled together.

IMG_4966

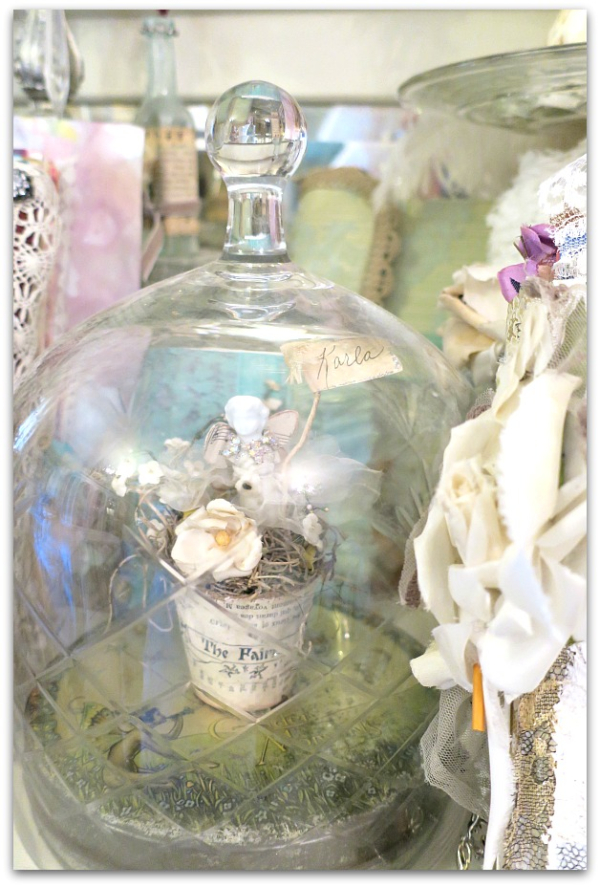
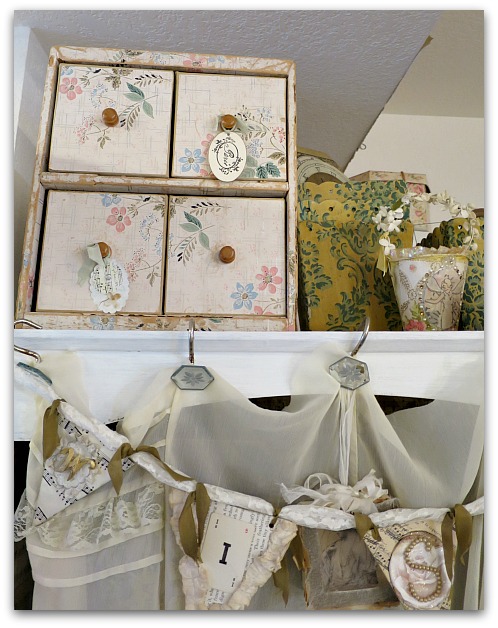
Plus, they are pretty functional.  I have them labelled, if needed.  Well, in my own way, there are labels. A fairy on one drawer means there are fairy related items, the flower means this is full of petals and leaves, and the top two are full of birds.

IMG_4948

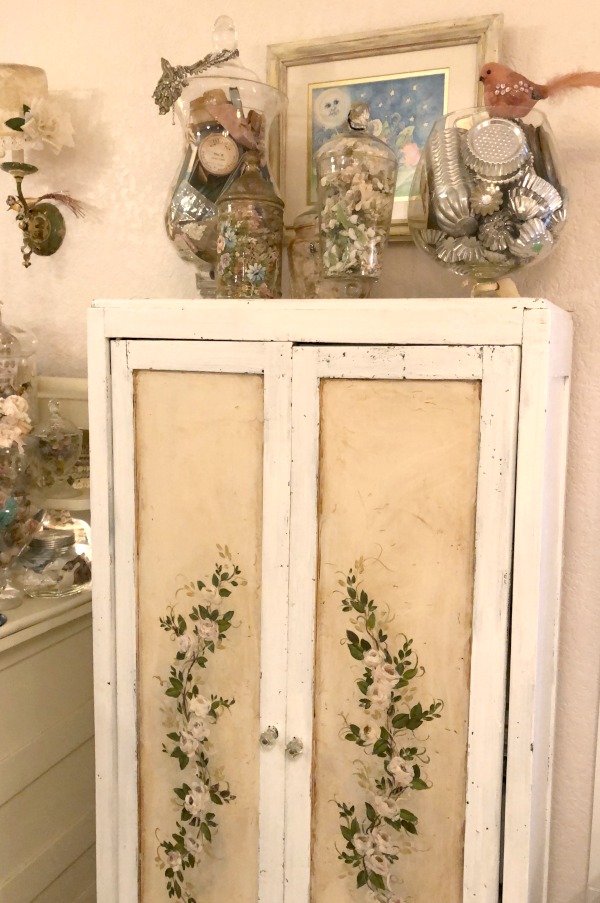
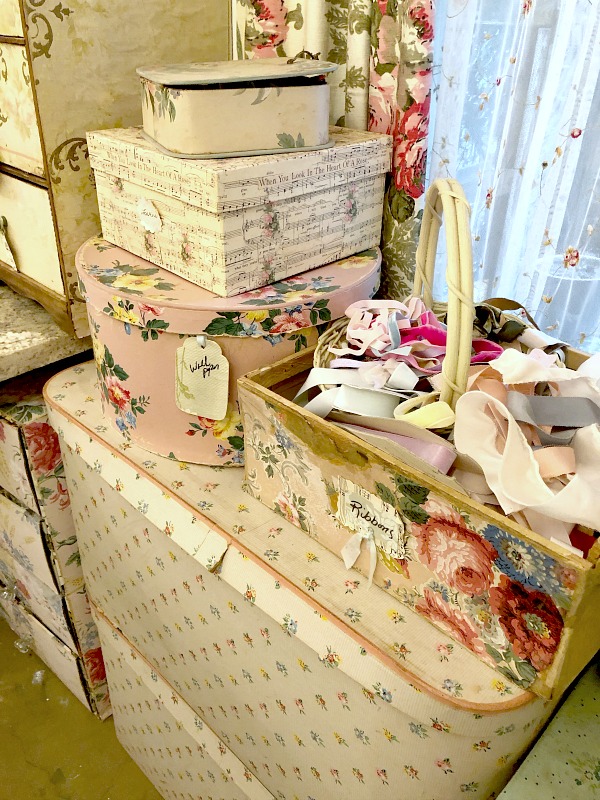
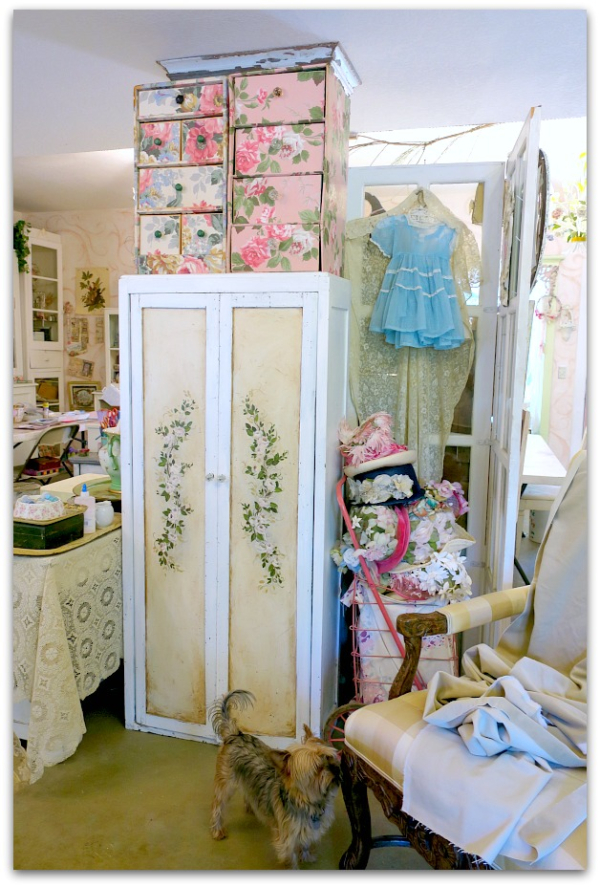
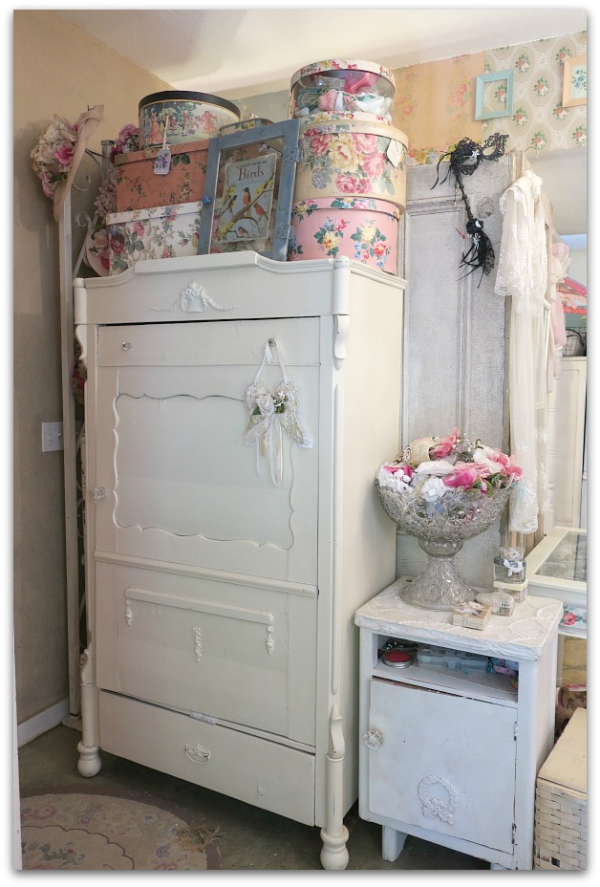
Each hat box has a tag on it and they are stacked up according to how often I have to get inside of them. Rarely used items are on top of the cabinet.

IMG_4957

When I moved these two pieces of furniture to the wall behind my workspace, I thought they looked too ordinary, so I covered the doors with more vintage wallpaper.  

IMG_4901

I did the same with the pink, wooden cabinet on the top of this stack on the far right.

Some drawers don't have labels, because they contain the same supplies that they had for years and I am used to them. Anything that was newly moved was labelled for sure, though. And so far, I have been able to find what I need.  By emptying the room, and putting things away carefully and thoughtfully, the places I put them made sense.  Before, there were supplies stashed wherever they fit, not in the 'best' place for them.  

IMG_4963

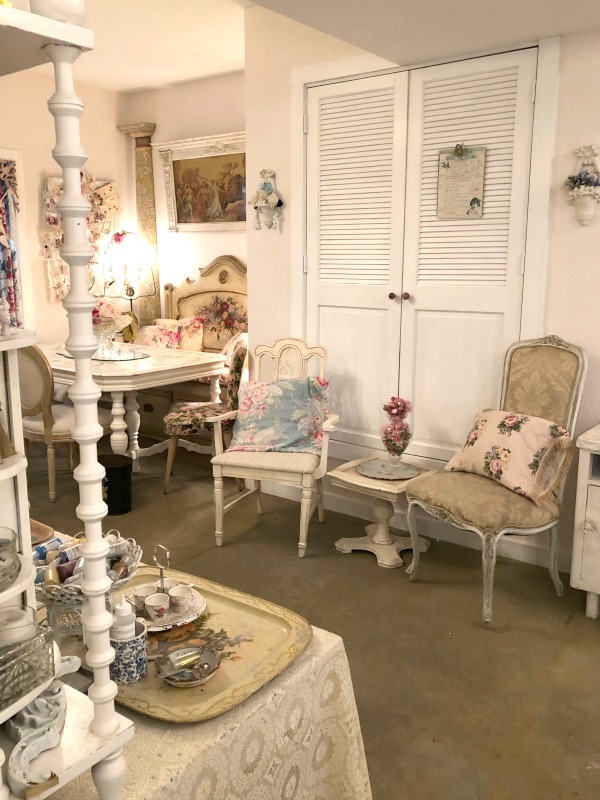
Surprisingly, I didn't have to get rid of any furniture to achieve my more spacious look! And the room really does feel bigger and lighter, even though it still contains the same stuff. I think that being more organized and putting the pieces in better spots where they fit together just right has helped. I had to use a tape measure to get the right configuration of this wall. And that is not like me, I am not quite precise in the things I do.  I don't use recipes when I cook, or sketch before painting a big mural.

But these lil cabinets had to fit with precision, and all were slightly different sizes. 

IMG_4967

Hopefully, I will be able to keep up my new rule of a place for everything and everything in its place.

IMG_4968

There are still some empty boxes and cabinet drawers, so as I collect, I can fill and label those too.

IMG_4969

As much as I love the new, calm vibe in this room, I have a feeling I won't backslide into heaps again.

I have a lot more pictures of the rest of the room, that I will post later.
 

Sprucing up in the Studio for my Galentines

bird song art event, cottage, holiday decor, housework, parties, studio tour, Valentine's Day

IMG_3479

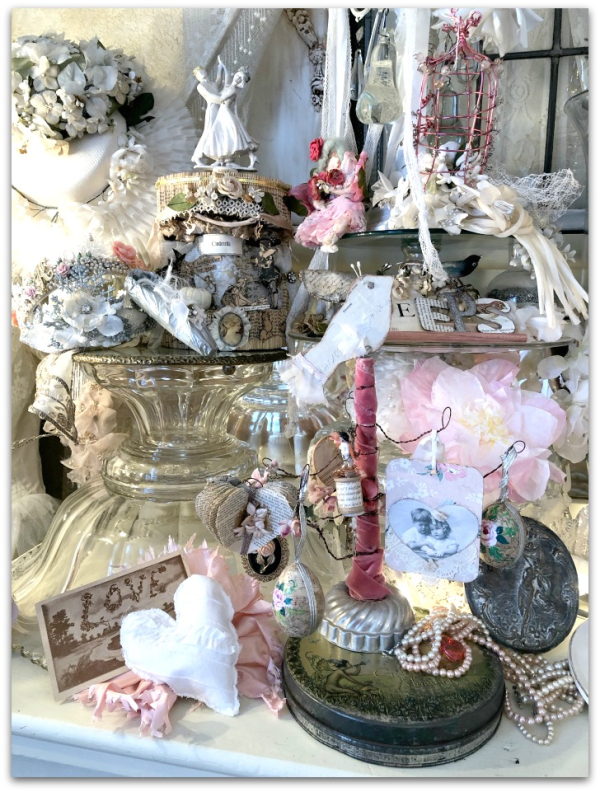
While getting ready for A Lovebird's Song, I did a full on, happy new year, delve into the corners, serious cleaning.

IMG_3477

I even washed and changed the curtains.

IMG_3476

And rearranged some of the storage cabinets.

IMG_3443

I went so far as to take everything off the tops of the furniture pieces, wipe it all down, and rearrange them too.

IMG_3445

Originally, I was going to box up things to get them out of the way, and just set out some Valentine decorations.

IMG_3444

But I got started on cleaning and just couldn't stop.  I didn't even fill a single box of stuff to get things out of the way, I took care of each item  by putting them away properly or getting rid of things I didn't want.

IMG_3455

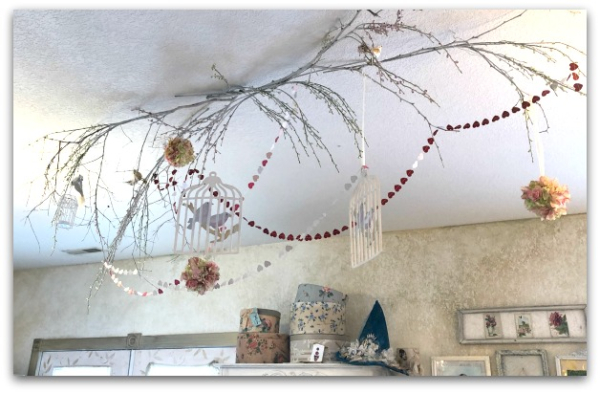
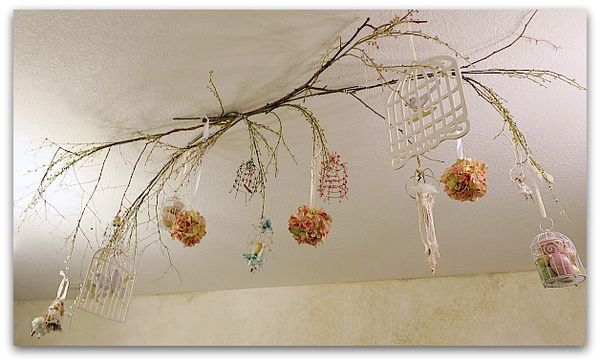
I even dusted branches on the ceiling.  That is a rare occurrence. 

(or should I say, a singular one?)

IMG_3453

Afterwards, it felt so fresh and bright, I was pretty happy with myself.

IMG_3449

The studio is basically just a workroom most of the year, and gets neglected when I am busy crafting.

IMG_3447

I should invite people over more often, maybe I'd keep it tidier.

IMG_3472

Because I sure am enjoying having it detailed!

IMG_3450

Although, I have to admit, I was beyond exhausted when the party ended.  I threw myself into prepping and cleaning for days ahead, then had an emergency with an icy driveway that had me spreading numerous, 40lb bags of salt on it, out there in the dark, cold, night before everyone arrived the next day. 

And of course, I didn't have my trusty sidekicks, Terry and Guncle Randy to ease the labor load while I was teaching the projects.  

And each year, I do get a teensy bit older…. That is a very hard one to admit.  But I was feeling it!

Still, I adore doing these classes, even if I am a worn out, old lady when they end.


Cleaning, and redoing

Books, studio tour

IMG_2068

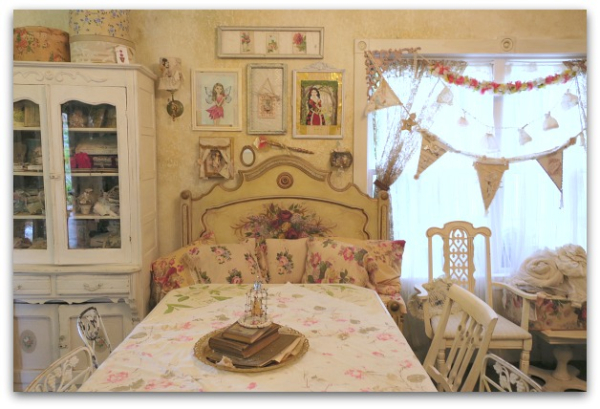
The studio had kinda gotten away from me.  It hadn't had a deep cleaning in a while.  And most of the furniture had been in the same spots for years.  Some of it needed a shuffling, because I was bringing the cabinet that used to be in my dining room out to the workshop after replacing it in the house with this one.

IMG_2090

I think I'll like that piece out here. It is now a home for all of my journals and albums, with space underneath for supplies to use in future books.

IMG_2070

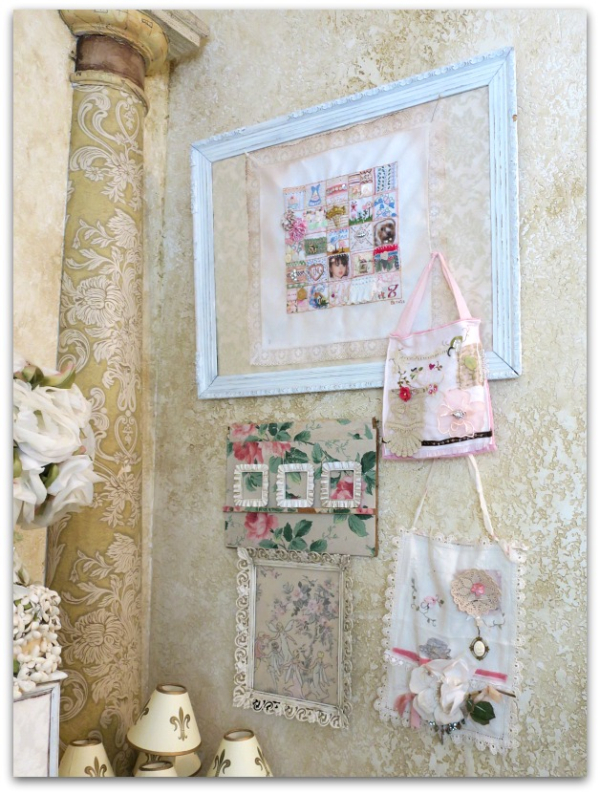
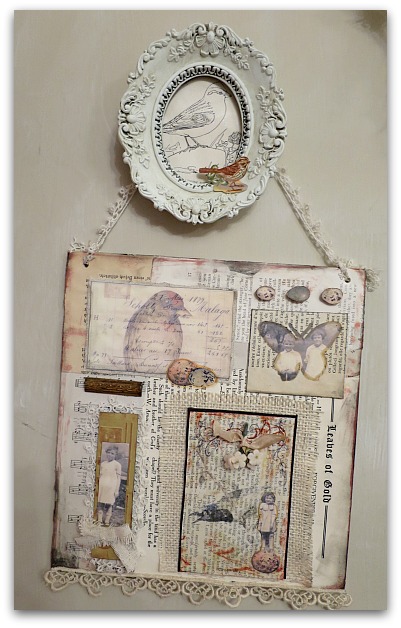
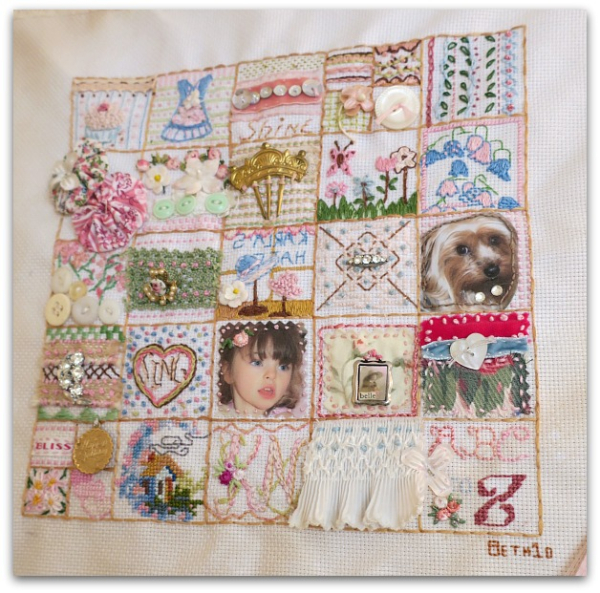
It is nice to have freshened displays on the wall too.This framed piece of flocked wallpaper now holds a treasured piece by my BFF.  And I've hung my own needlework attempts from it with stick pins.

IMG_2072

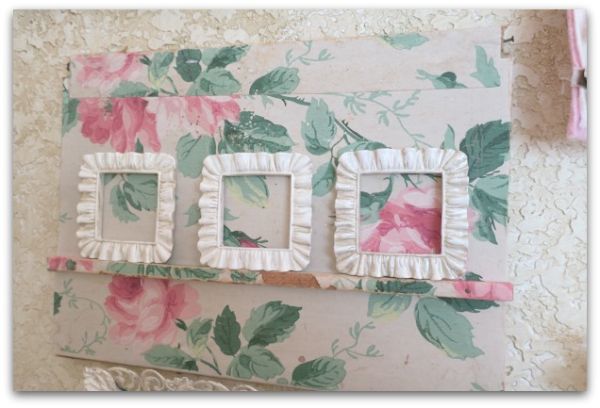
This is a bit from a broken cabinet, and was too pretty to toss. I used the runner for the drawers to hold three little frames (that still need photos in them)

IMG_2071

Here is a close up of the needlework from Beth.

IMG_2069

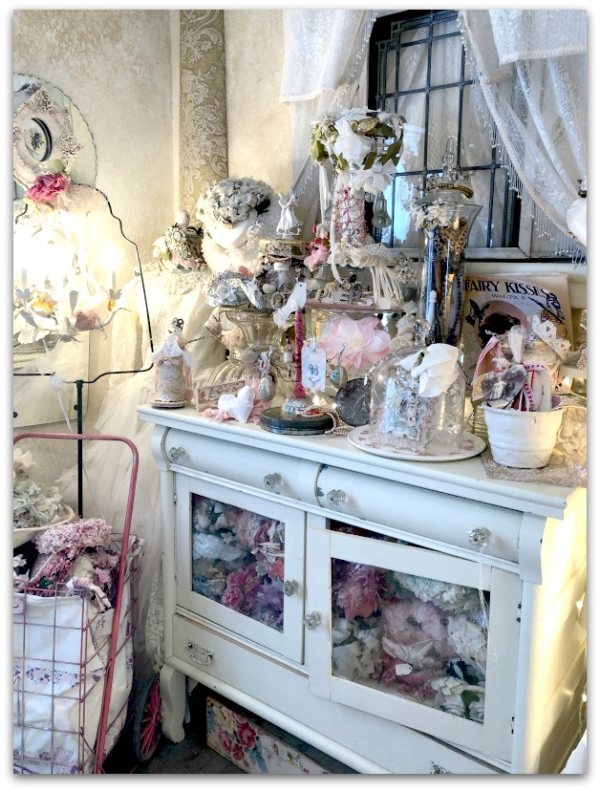
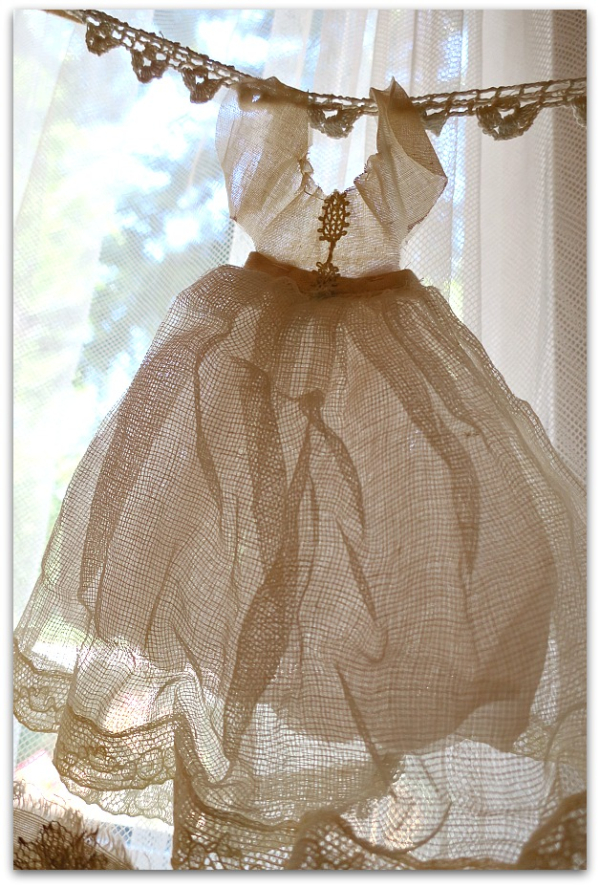
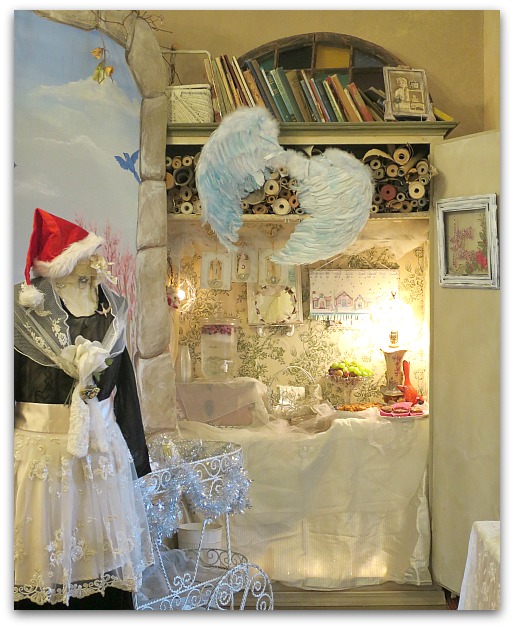
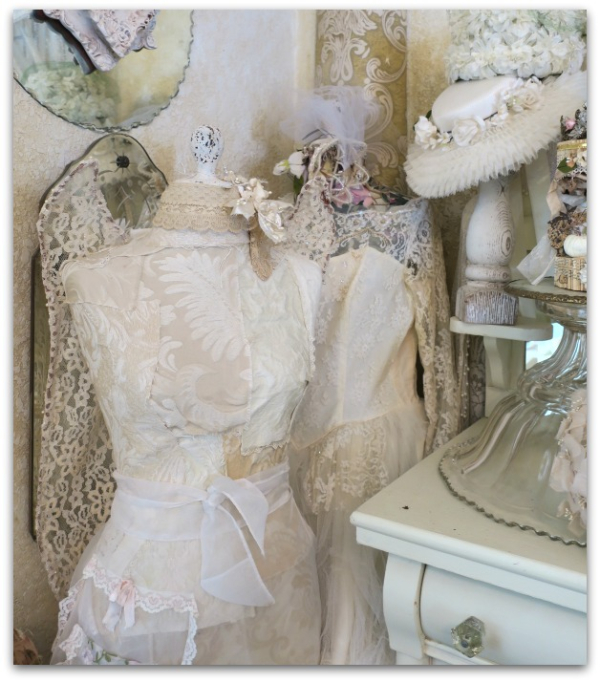
And one of the gals in the corner. One wears the angel wings I'd made to hang over the fireplace for Christmas.  The other has on a wedding dress that I snip lace off as needed for projects.

IMG_2083

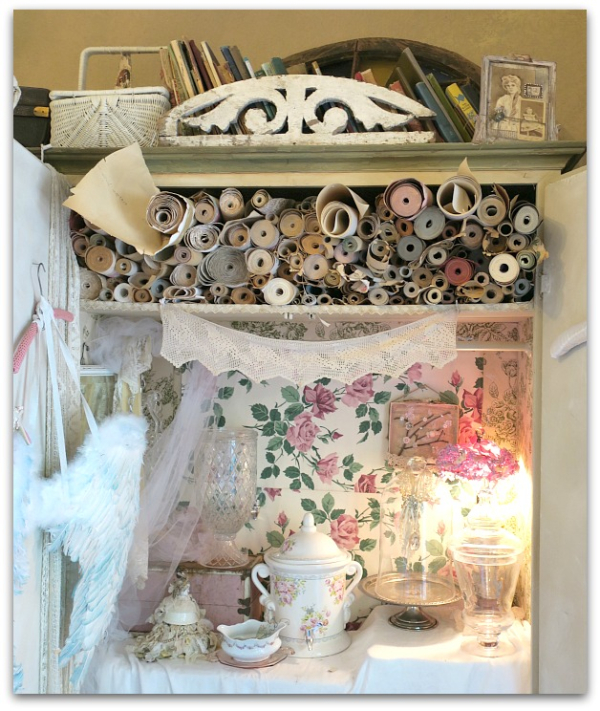
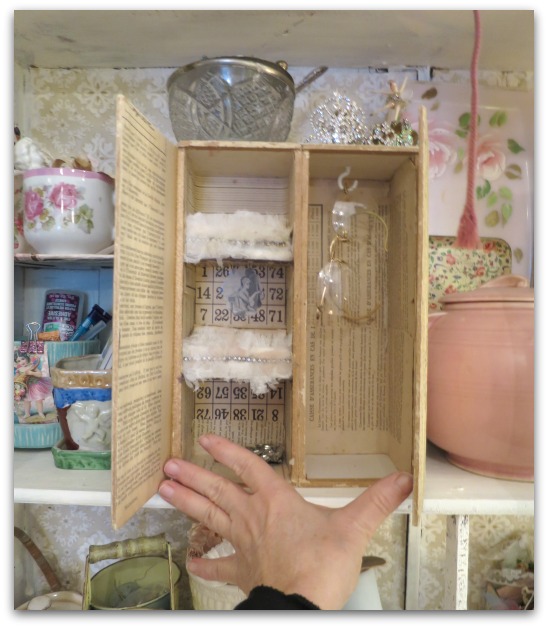
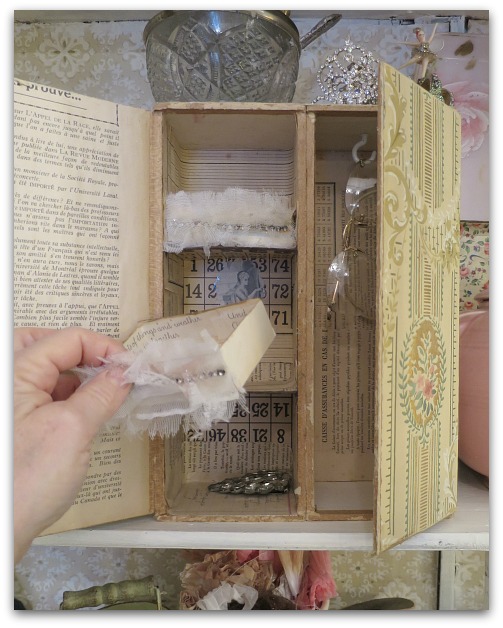
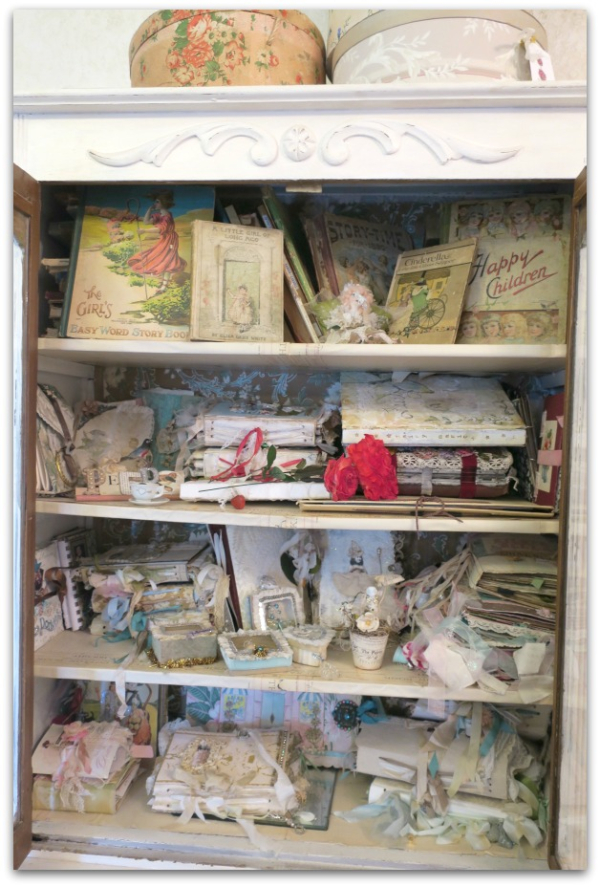
I'll leave you with pictures of the inside of the new (to this room) cabinet.

IMG_2084 IMG_2085 IMG_2087 IMG_2088

But what is the best part of my studio??

IMG_2201

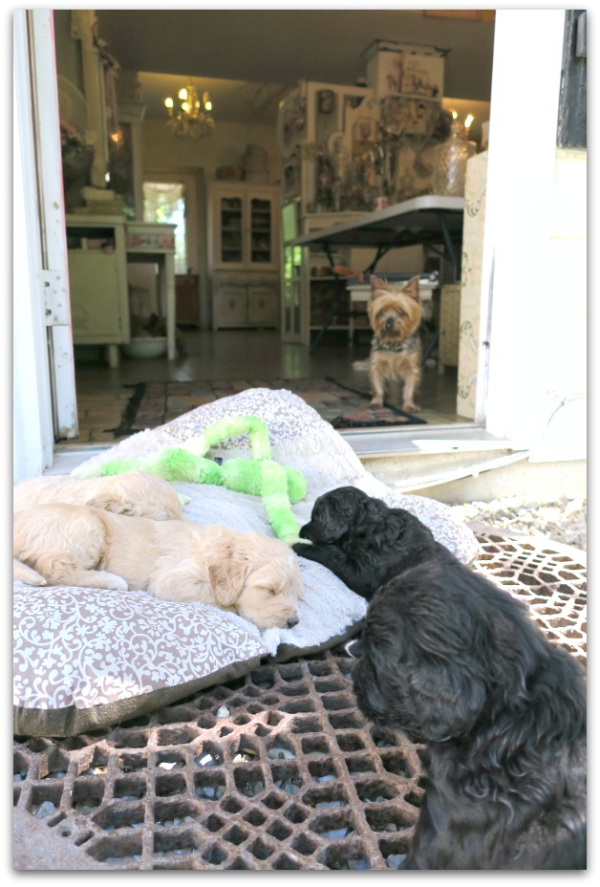
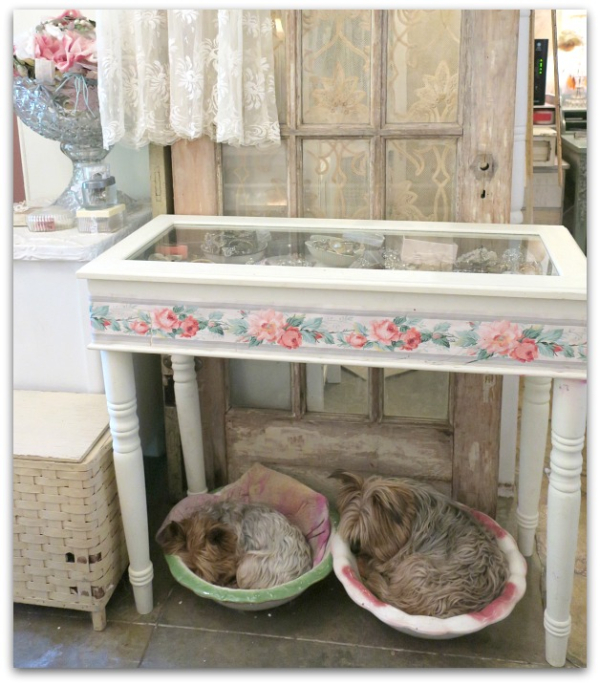
Leaving the door open on a beautiful day as I work and the pups play till they are too sleepy to move, then make a cuddle puddle on their fluffy pillow.


Another little wallpaper cabinet, I might be obsessed

cottage, Hand Painted Furniture, studio tour

IMG_2075

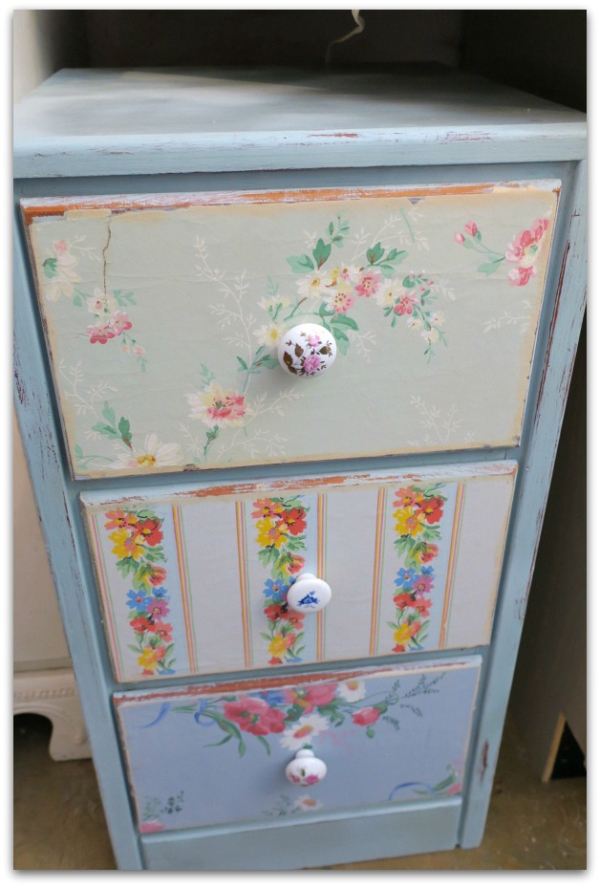
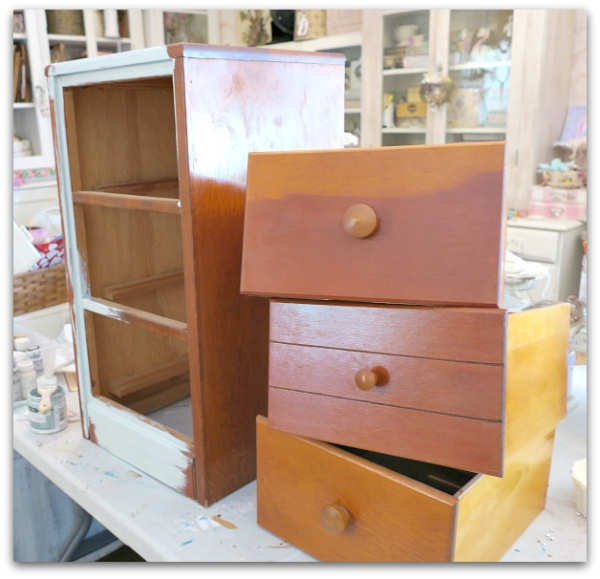
Can you have enough of these little storage chests? I sure don't think so, I'm more than slightly obsessed, they are all around my studio.  I have directions on how I recreate them here.  The ones covered in gorgeous, old cabbage roses can be pricey, but I've been quite lucky in finding a variety of little drawer chests, some in perfect condition, some that need work. Some that need a total redo like this one ($10 at an estate sale).

IMG_2074

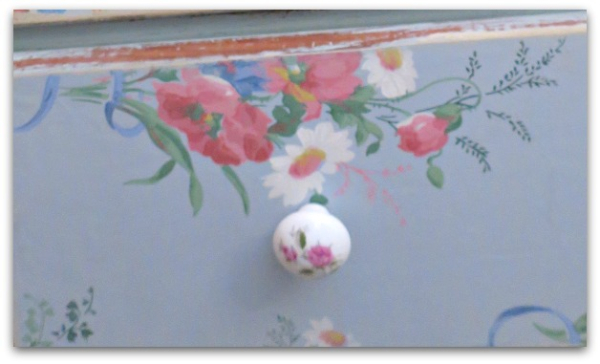
This might be one of the nicest I have. It is a sturdy, wooden one, not cardboard as many are.  (oopsy, almost forgot the before pic!)  Here is my latest one, in progress. I painted the base and edges of the drawers with blue chalk paint, removed knobs, glued paper to the drawer fronts, sanded and distressed it, then sprayed the base with a poly clear coat in satin.

IMG_2076

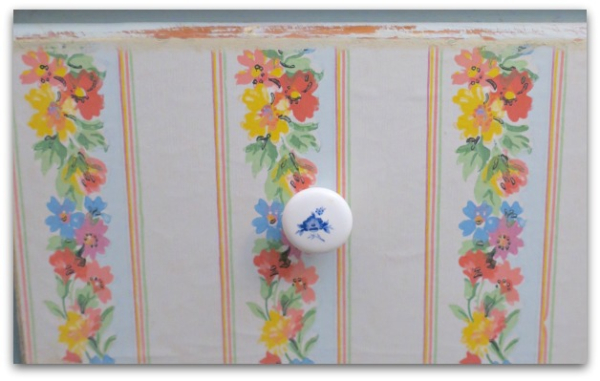
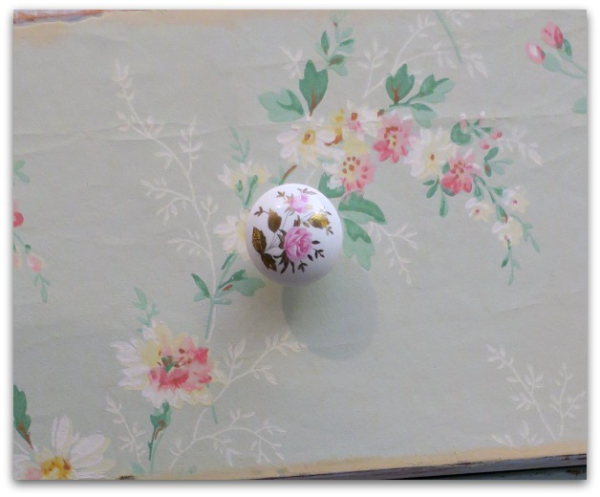
I happened to have a box full of porcelain knobs, that are older, but not vintage.

IMG_2076f

I did have three alike, but preferred this mismatched look to go along with the patchwork wallpaper patterns.

IMG_2076d

The chest is filled and by my desk, I've done a studio clean up, and it was perfect timing for me to have a new piece to add to the room.  

IMG_2066

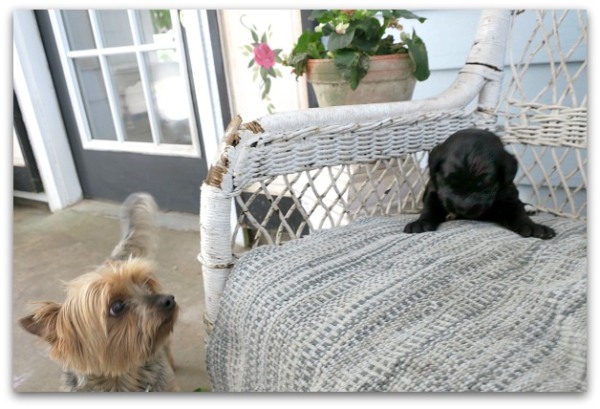
You didn't think I was going to leave you without a puppy picture, did you??

IMG_1224

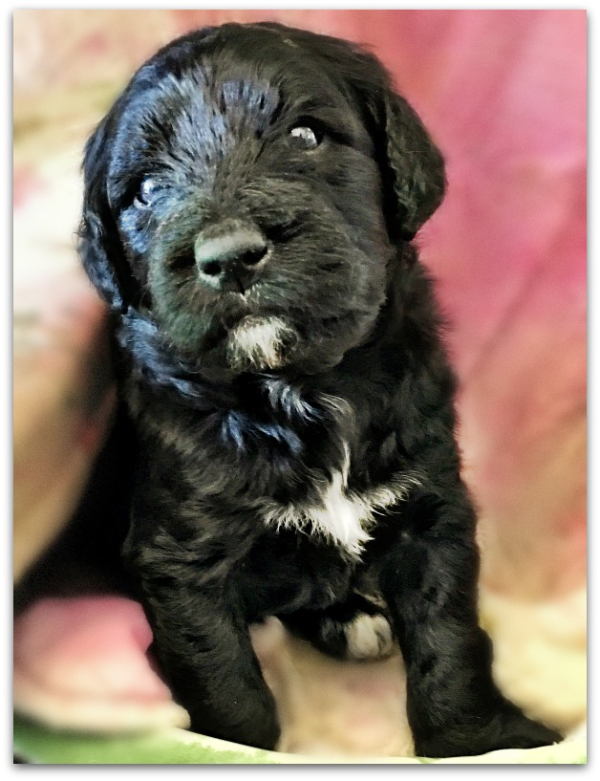
The two black puppies are still available, all others have sold.  Please contact me if you're interested in one of these sweeties.


Studio Tour 2016- Where Bloggers Create

cottage, studio tour

IMG_9175

Oops, we almost missed out on joining in on Karen Valentine's annual Studio Tour.

Ya know, you snooze, you lose, right?  But I checked her site and it looks like I can still add myself to the list.

IMG_9159

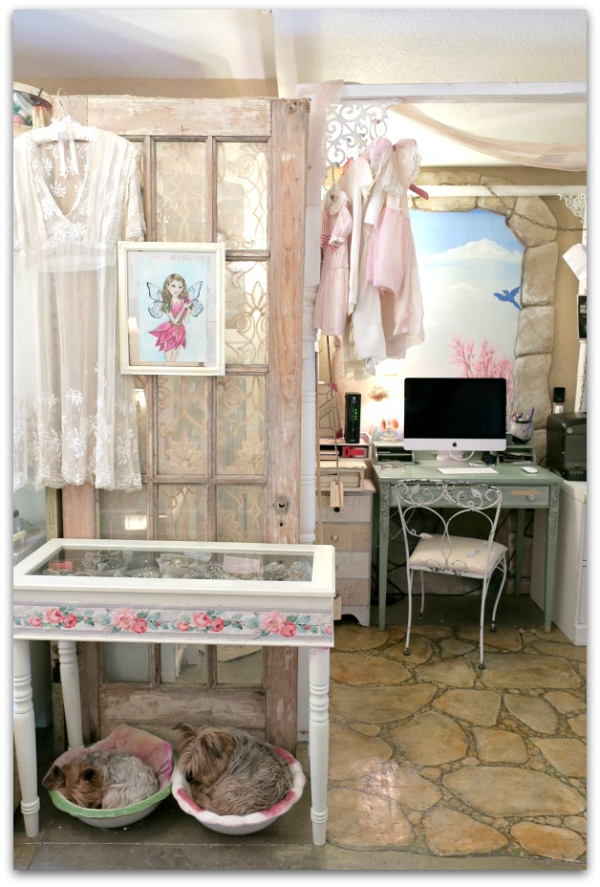
And I even have a few changes to show from past years. Not big ones, but some things did get shifted a smidgen.   Since, sadly, I didn't host Birdsong this year, I decided to enlarge my office space. The whole studio is one big room, just under 1,000 sq ft.  I divide into sections with hinged doors, and large pieces of furniture.  So, the room is rather fluid, and if I decide that I'd like to allot more space to one area instead of another, all I have to do is shift stuff around.

IMG_9176

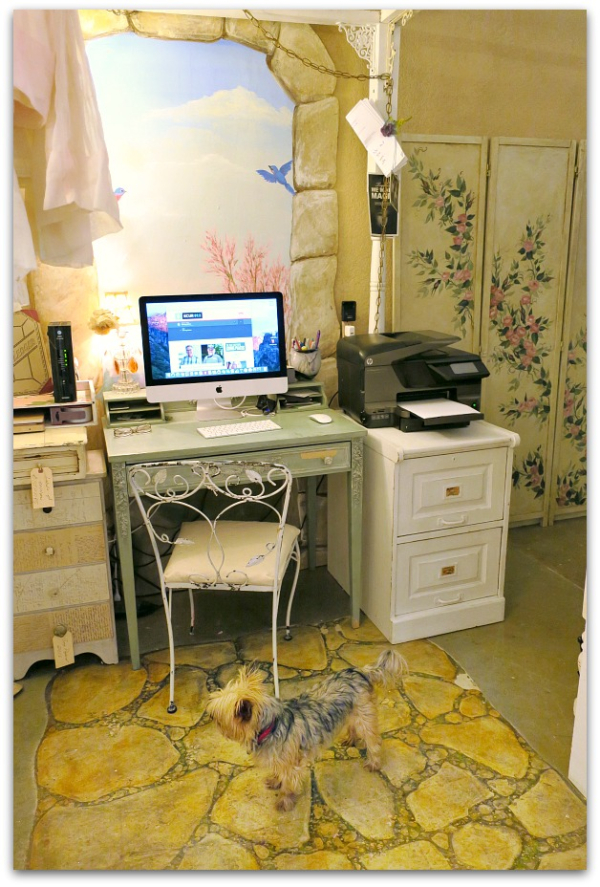
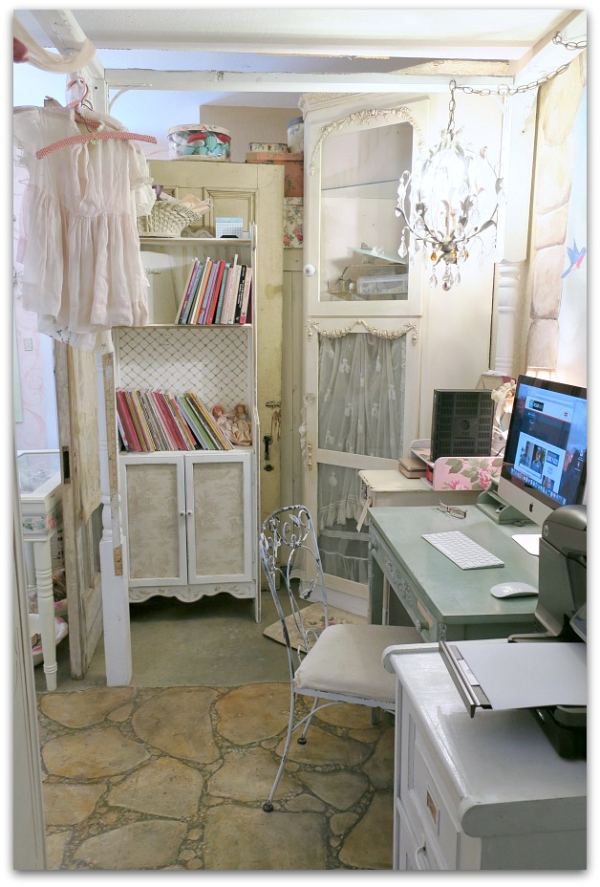
So, I gifted myself with about 8' of extra room in the office.  Normally, I'm stingy with the desk area, and save all the extra elbow room for seating in the main space.  Since there are no guests now, I thought the space would be nice to make use of in the desk area.

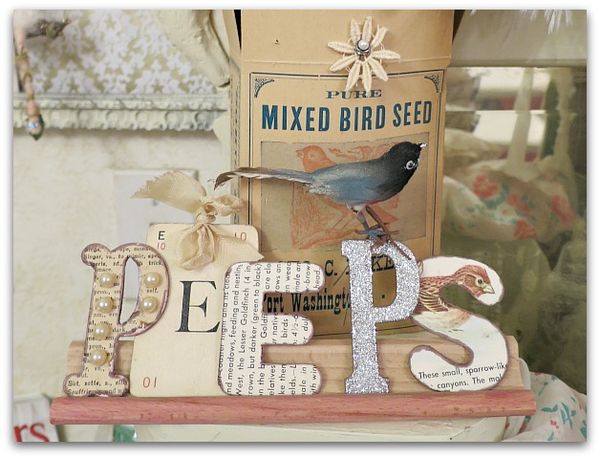
The bluebird backdrop is painted on plywood and usually, it sits by the treat cabinet and serves as decor for my Peeps at Birdsong.  Since (very, very sadly) there was not an art event here this spring, I thought I needed a bluebird view to cheer me up and moved it to sit behind my desk.

Very cheerful!

IMG_9185

And the poor treat cabinet is looking lonely, since I haven't had company to feed. It is being used for storage, not goodies right now.

IMG_9164

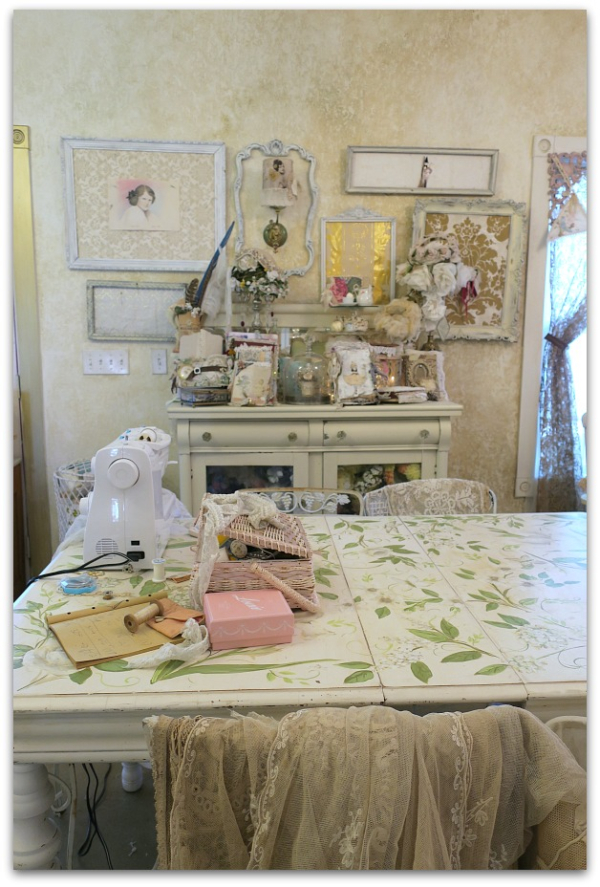
Well, this isn't typical, but for now, the studio is set up for sewing.

YUCK

I really do not like to sew. But…. sometimes it is the solution to a problem.  I'd bought a boxful of old lace curtains at an estate sale (for $6!) and wanted to make them fit the windows in the new room we are adding onto our cottage.  

IMG_9165

The sewing isn't going well, but I'll get there.  There have been a lot of breaks to save my sanity.  Too much sewing is rough on me. 

IMG_9167

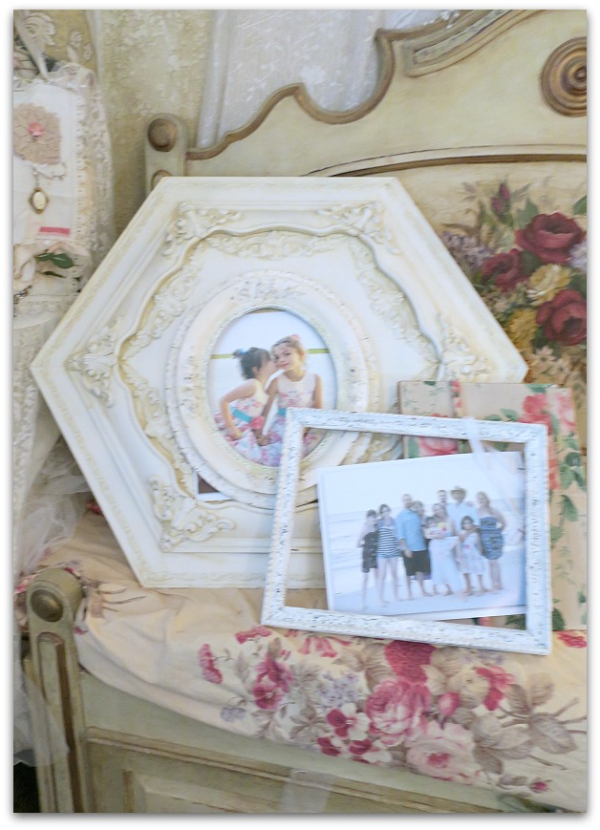
I've been painting frames and getting family photos into them to hang in the new room too.  We will have a fireplace and mantel!  That will be a great spot to display some special pictures.

IMG_9183

Another job that I need to tackle is recovering this ($30) chair from a garage sale. I'll be painting the wood too. Lately, I've been recovering some other seating, and have painted a couple of tables.  

Packing up the living room and kitchen had me in the swing of organizing and spent time going through each cabinet in the studio to straighten and edit the contents.  While at it, I boxed and labeled all of the supplies in this one!  Can you hear the sound of me slapping myself on the back? I'm pretty pleased with the outcome. And in the last couple of months, it has stayed nicely sorted.

IMG_9158

The corner cabinet was moved from the kitchen to the office, that is what started all of the shuffling out there.  My son built this cabinet for me, and while I loved using it as a china cabinet in the kitchen, I think I'll like it even more out here.

IMG_9180

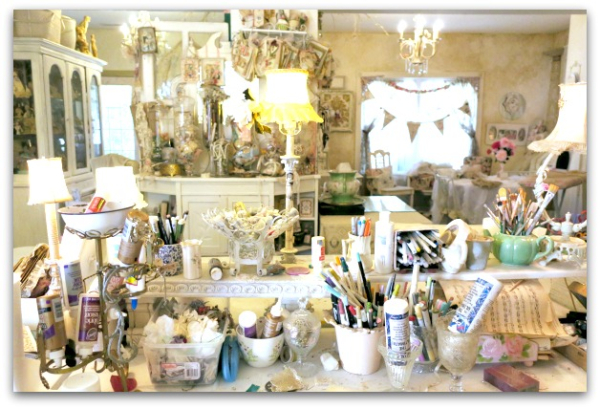
With all of the redos going on, I'm afraid that I've neglected my regular work. I look forward to getting some time at my craft desk soon. Here is a view from my workspace. I miss it!

IMG_9178

This is kinda new too.  The cabinet on the right was a wooden one in my office area, and I covered it in some of my very favorite and vintagey wallpaper, then moved it to my work zone to keep supplies in.

IMG_9172

As you might notice, I have a collection of these style cabinets. About half are original, the rest are newer ones that I've covered in old paper.

IMG_9162

Of course, in my opinion, any storage is better if covered in old wallpaper.

IMG_9163

Thank you for stopping to look. And have a good time on the rest of the tour, you can find the link on Karen's blog, here.  It is her 8th annual Where Bloggers Create Studio Tour. Thank you, Karen for hosting again.

IMG_9168

IMG_9169

IMG_9170 IMG_9171 IMG_9179 IMG_9187 IMG_9188


Birdsong FIVE- My Peeps

bird song art event, family, guncles, studio tour, We're having a party, Workshops

Birdsong5weekend 025

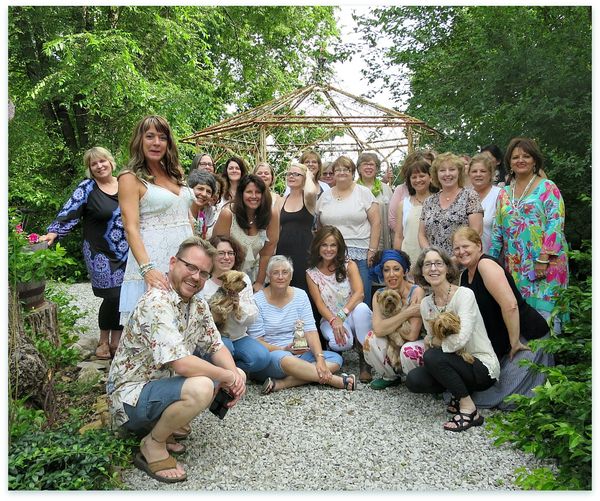
Do you know what I love best about Birdsong? My peeps, of course!

Birdsong5weekend 130

It's a special time with old friends and new, plus a few family members who come along to be a part of it, and to help out.

Birdsong5weekend 143

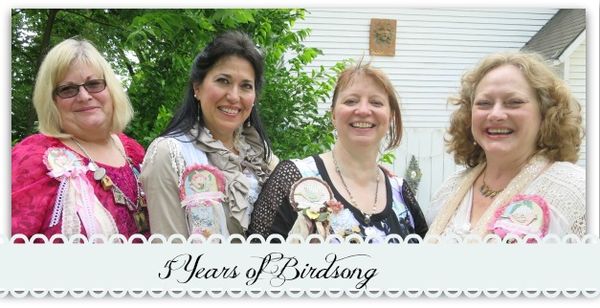
Gail, Nora, Beth, and Tami have been to every Birdsong (plus many of the smaller workshops we have throughout the year- and by the way, I've got a Halloween idea in the works…)

To commemorate their 5th year, I made up special ribbons for them to wear, and added little birdie pins to their name tags.

Birdsong5weekend 006

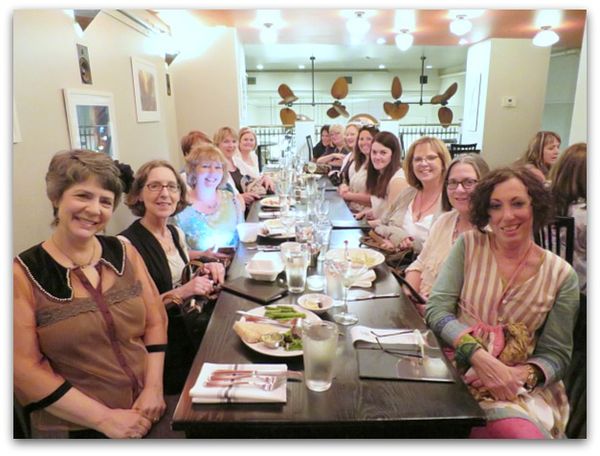
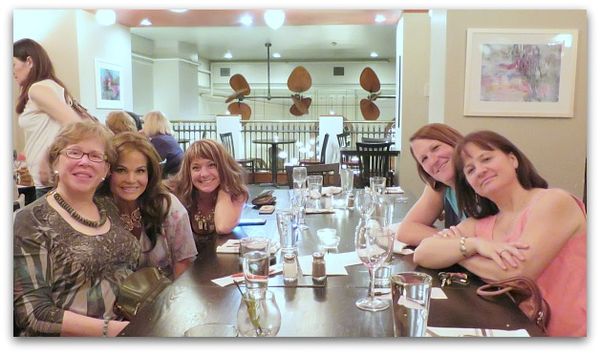
Most of us gathered for dinner the night before our party began. 

Birdsong5weekend 010

I'm so glad it worked out to meet for a Pre-Birdsong dinner, because by that time, I'm very impatient to get the party started.

Birdsong5weekend 091

And you know what else is special about Birdsong to me?  Family members who want to be a part of the gathering.  While this is my busiest time of the entire year, and I don't always have much extra time, I'm happy to have them nearby and share the experience with me.

Birdsong5weekend 057

There is a lot of fluttering and flitting from one thing to another, but we manage to squeeze in a few good conversations here and there. Especially while prepping in the kitchen.  But it does go by fast, and then all of a sudden, everyone is leaving and I'm wondering how days slipped by without getting around to topics I wanted to talk about.  When Terry and her husband pulled out of the driveway to head back to Utah, I found myself teary eyed to see them go, thinking that we barely scratched the surface of all we wanted to talk about, and knowing it would be months before I saw her again.  

Birdsong5weekend 138

That is how I feel about all of my Peeps, when the weekend starts, it seems like there is so much time to talk, play, and create, then all of a sudden, it is over.  And I miss them all.

Birdsong5weekend 072

This year, Sissy brought her daughter, Shelli.  It was a first time for her, and I hope she comes back for another one.

Birdsong5weekend 013

Especially when she looks so cute in her outfit that matches my fly strip…. Ha!! (I did take the strip down before guests arrived, even though it was a very stylish pattern)

Birdsong5weekend 059

This year, there were a lot of weddings, graduations, and family events that prevented some of our regulars from attending, so we got to add some new Peeps to the group.  (sign ups are offered first to previous attendees or sponsors)

Birdsong5weekend 065

Along with some favorite friends who come back every time.

Birdsong5weekend 073

Terry once again offered neck massages for hard working crafters.   I think some of my friends attend just for her magic touch!

Birdsong5weekend 058

And my baby bro, Guncle Randy, is our official parking guide. (Or as he calls himself, the "Parking B*#ch")

It is surprising how many cars we can fit into our driveway,when properly coordinated, and he has the pattern down pat after years of guiding the way.

Birdsong5weekend 129

Birdsong is a highlight of my year, and it means a lot to me that so many people join in and make it special for us all.

Birdsong5weekend 118

It's a lovely group, and I'm happy to call them friends.

 If you are interested, Birdsong kits are available here.

Birdsong5weekend 115

Birdsong5weekend 069

Birdsong5weekend 079 Birdsong5weekend 111

ps-If you are here for the studio tour, you can find it here.

A Studio Tour from Birdsong 5

bird song art event, studio tour

Birdsong5weekend 048

This photo is from the night before Birdsong 5 in June.  I'm just getting around to posting all the pictures of the event, and the timing is perfect to also be a part of Karen's Where Bloggers Create Tour.

I've participated in her studio tours every year and it is a treat to click through the links and visit the other spaces.  And I've also been featured in the actual, Where Women Create magazine from being chosen out of this annual event Karen hosts.  You can see some of the studio pics from the magazine here.  And here are some photos from the shoot for the story.

I always look forward to Karen's gathering of blog workspaces, it's fun to click through and see so  many great storage and desk ideas in one place. If you'd like to see how my studio has changed over the years, you can find past tours here.

Birdsong5weekend 049

Since I have shown pics of the studio every year for the blog tour, I figured I wouldn't have anything new to offer this year.  But the tour just happened to cross over with me finally getting around to posting the Birdsong set up in the studio, so I thought I'd link to the party after all.  These views are a little different than my usual arrangement of the space.  

Birdsong5weekend 021

And the room is spruced up for a party, anyway!

Birdsong5weekend 035

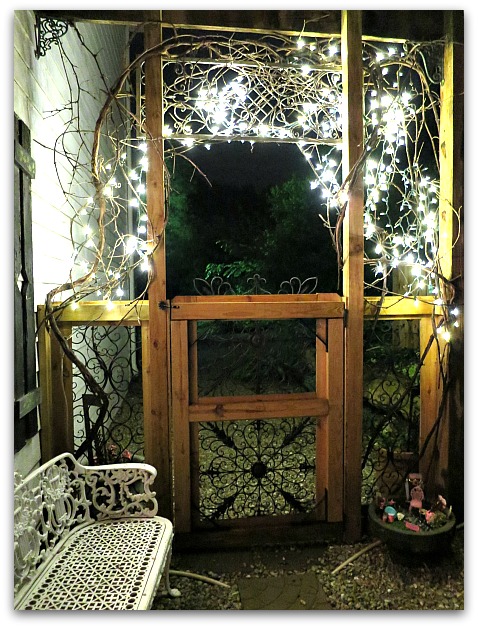
Most of these shots were taken at night, before all the guests arrive on Friday morning.  Here is the view out of the room's back door, with the LED lights glowing on the new fence that my son built last fall.  I keep the lights on a timer, from dusk to dawn, year round, even though I'd first put them up just for Christmas.  I like the twinkles and it makes me smile to see them from my bedroom window, or from the studio on nights I work late.

Birdsong5weekend 020

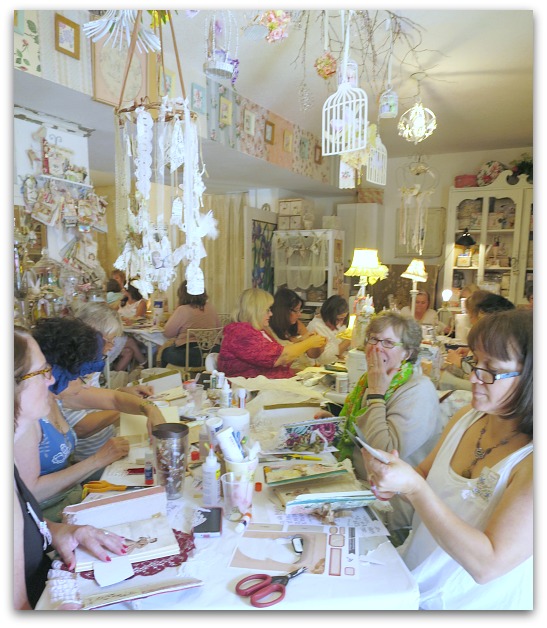
Normally, this is the spot where I have my own work area. For Birdsong, I pack up my personal supplies, shift tables around, set up more tables, and bring out the folding chairs (with their backs covered in cut down vintage pillow cases).  The room is right around 1,000 sq ft, and I am constantly trying to streamline the supply cabinets to make more space for people and parties. 

The room has changed a lot over the years, mostly in filling the space with better storage solutions and slight shifts that make it a little more functional each time.  Here is a link to a recent change in storage, and here is another one about trying to eek out a few more inches here and there.  The room is pretty big for just me to work in, but when you consider all the crap  lovingly collected supplies that I have, and the fact that sometimes I invite 30 plus friends over to play with me, an inch here or there is important.

Birdsong5weekend 052

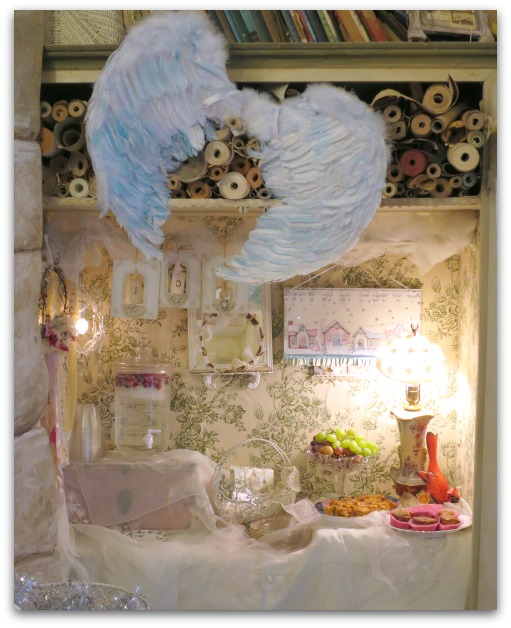
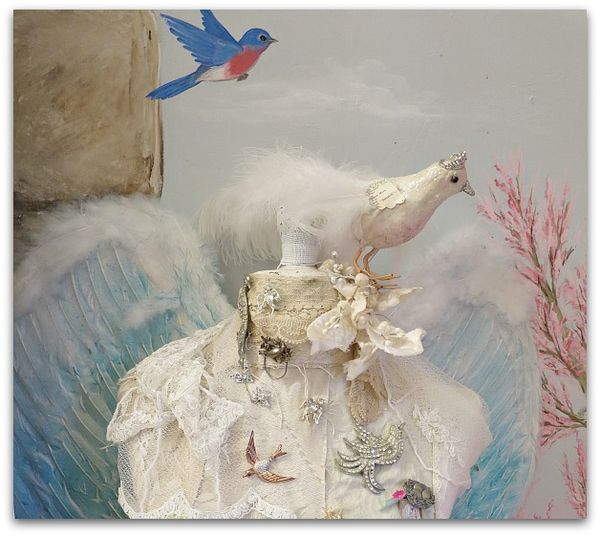
The theme for Birdsong is "nature inspired", which can mean a lot of things.  And of course, includes a lot of sweet, little birdies.  I don't go all out with decor, I just tweak (or tweet?) the existing set up and add some birds here and there.  Like these vintage bird brooches on my dress form.  I also spritzed her angel wings with Glimmer Mist to turn them into bluebird of happiness wings instead.

Birdsong5weekend 027

Previous years' projects, like this 'nest' banner above the bench, and the birdcage on the dress form add atmosphere.

Birdsong5weekend 050

The collage is from Beth's class a couple of years ago.

Birdsong5weekend 023

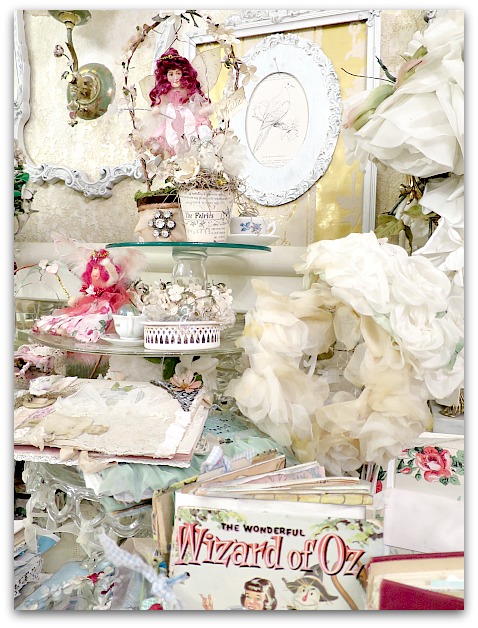
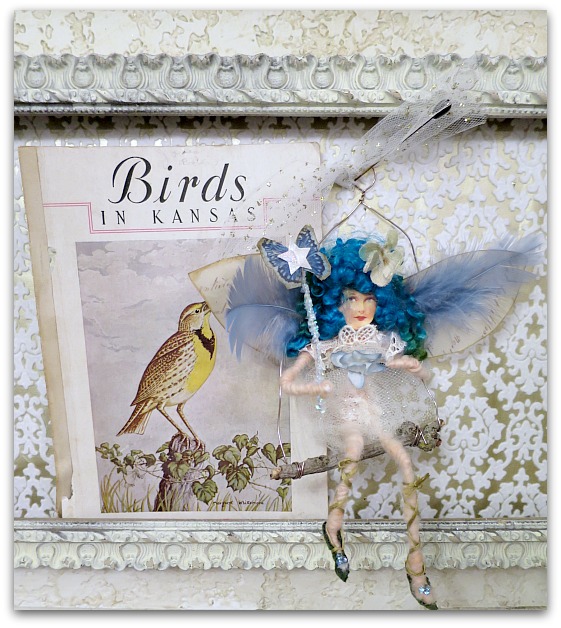
The fairies were one of last year's classes, and since we were working on art journals this year, I set many of mine out around the room for guests to flip through for ideas.

Birdsong5weekend 055

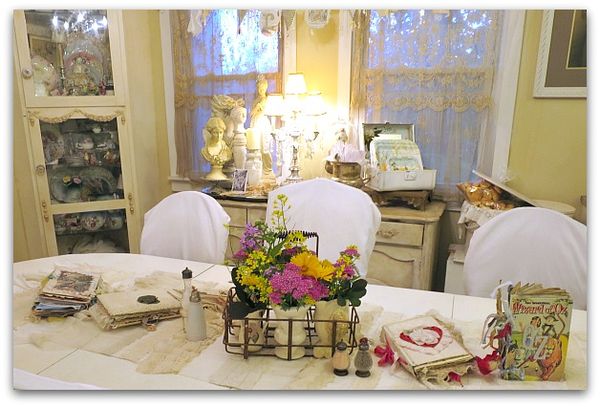
I did the same thing in the dining room of the house, I thought that as everyone sat down to eat, they might want to look at my journals before they started on their own books.

Birdsong5weekend 024

Oh- but back to the studio- 

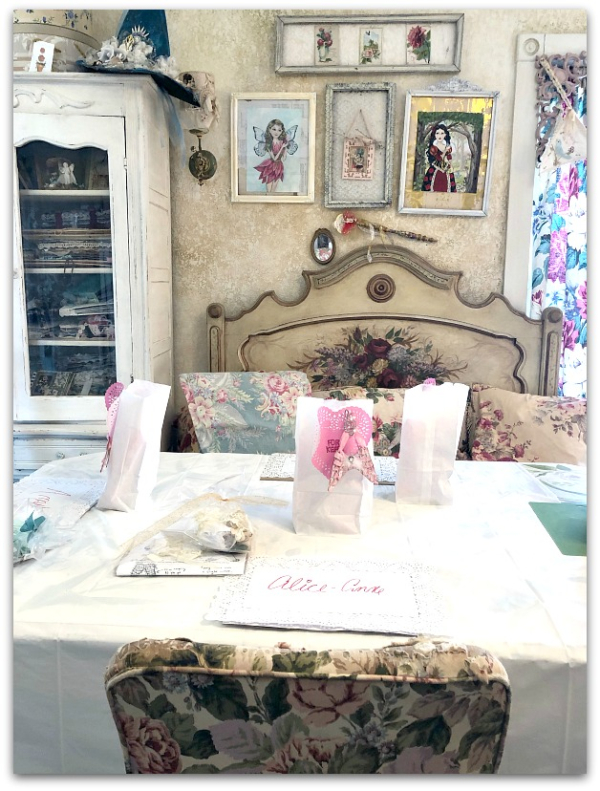
I have some favorite vintage wallpapers on the wall in old frames painted white.  I like to add some birds torn from aged books to the frames.  Usually, just stuck into the edges, sometimes anchored with stick pins.

Changing out the pictures is an easy way to update the room for different holidays or themes without going to any expense or much time at all.

Birdsong5weekend 026

The banners in the front window are from various classes or swaps, and I added "nest" from playing cards for the weekend.

Birdsong5weekend 031

And of course, having art work from the teachers on display is great too! This is what Lori Oles was teaching this June.

Birdsong5weekend 029

Over the years, I have gathered lots of birdsong type decorations, like this 'sing' banner from a swap our first year. And many of my guests gift little birdie tidbits to me, that I can set out in the spring before everyone arrives.  

As much as I enjoy all the feathered friends around the room, I try to keep all of the pieces special by tucking them away in the fall.  It's nice to have a change for seasons, and when spring comes around again, I love pulling out all of the treasures to sit out around the room.

Birdsong5weekend 016

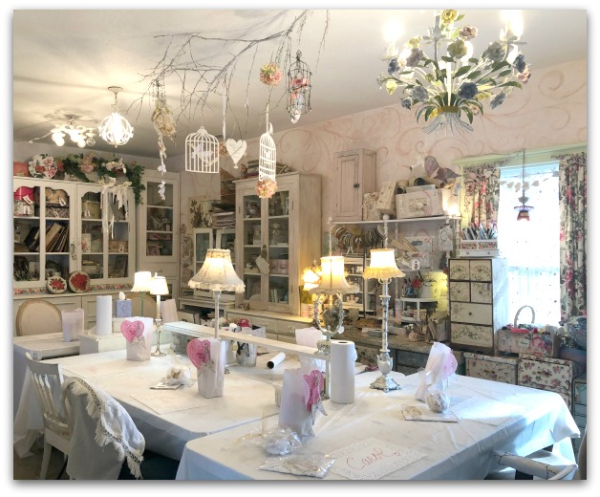
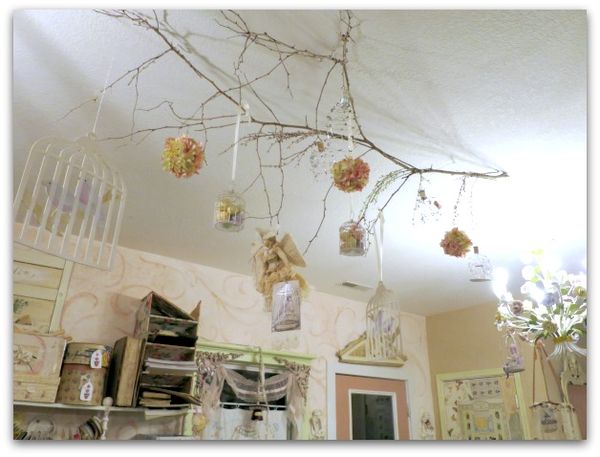
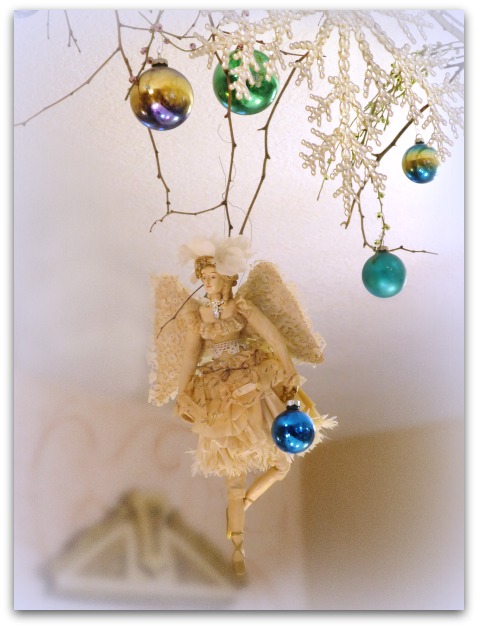
The tables get covered in white paper (I use gift wrap from Dollar Tree, it is very affordable compared to white craft paper), I toss a curtain over the TV, and hang some pretties from branches wired to the ceiling and from the chandeliers. The branches are permanent, the tied on danglies change a few times a year.  I hang shiny brites at Christmas, hearts at Valentines, and sometimes some ghosts at Halloween. I'm not always on top of the changes…. it isn't unheard of to have ghosts swaying above my head at Thanksgiving or hearts still there for Easter…

Birdsong5weekend 028

The birdcages are from a previous class too.  I like having the decor up above the work tables as opposed to on them.  Once the ladies start getting kits open, and setting out their supplies, helping themselves to a plate of cookies and a cup of coffee, anything else on the table is just a nuisance, no matter how pretty it is. I try to keep the table tops limited to paper towels, wash wipe packets, or lamps and stick to decorating above, not on, the tables.

Birdsong5weekend 034

It's always so festive to have the space set up for a party!  Planning an event is also a hefty reason to keep the room reasonably tidy. Working on big projects, shipping things from my Boutique, doing swaps, can all cause major trashing of the studio, but knowing that I have a group coming to visit in the not so far future keeps me inline and helps stop any hoarding tendencies from getting the best of me.  

Birdsong5weekend 074

When it is all over, I miss everyone, and the place seems very empty.

Birdsong5weekend 125

It's a very special feeling to have the room filled with creative souls.

Birdsong5weekend 068

And smiling faces!

Birdsong5weekend 033

If you are here from the studio tour, thanks for stopping by, and I hope you enjoy all the fascinating spaces offered on Karen's links.  And I hope to see you here again sometime.

If anyone has interest in Birdsong 6, or for the Romantic Gothic Ghost workshop this fall, please email mail me at: Karlanathan@sbcglobal.net  and I'll add you to the mailing list for info.

If you'd like extra project kits for Birdsong 5, you can find mine here.

Birdsong5weekend 047

How to redo a cardboard chest with vintage wallpaper

antiques/junking, how-to projects, studio tour, vintage paper/collage art

Wallpaperdrawers 014

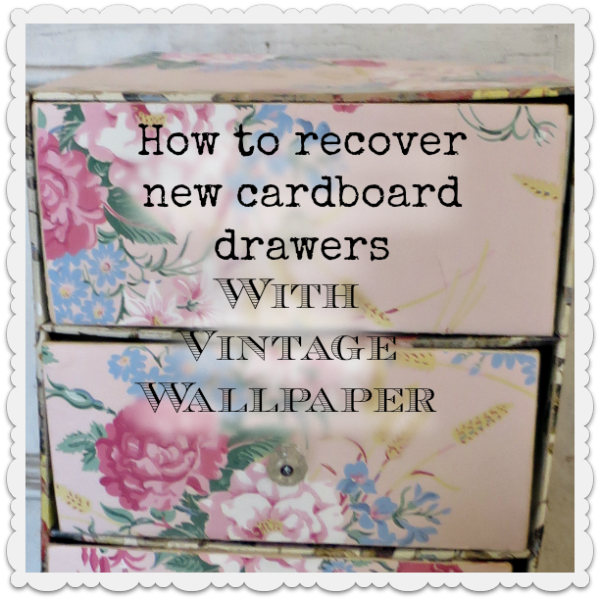
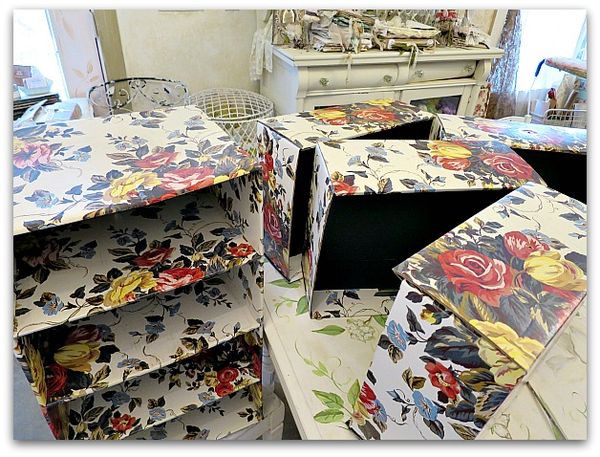
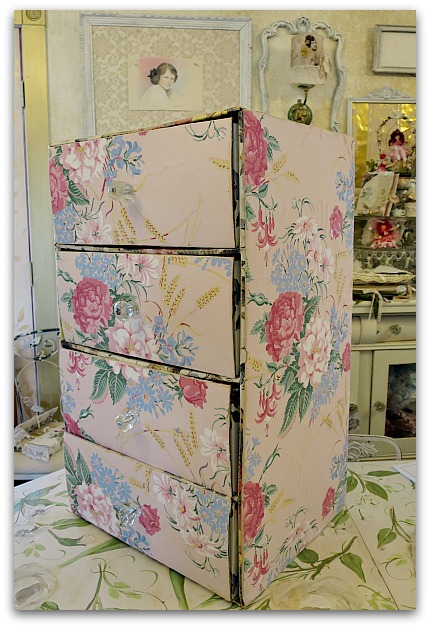
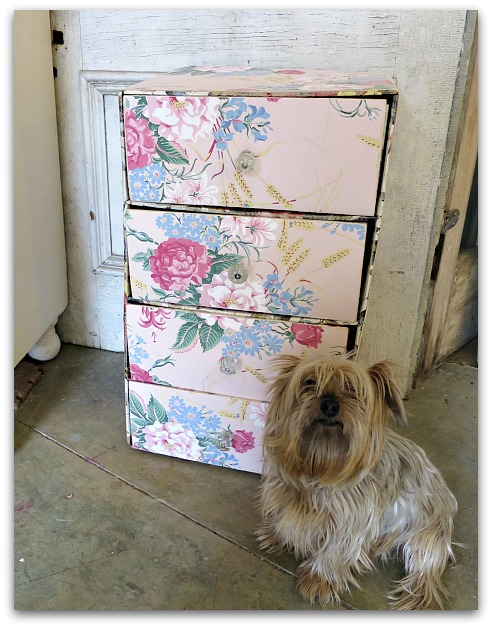
I've got a thing for old drawers covered in wallpaper and collect as many as I can for studio storage. But, they can be rare, or pricey.  So, when I find a newer set for cheap, I give it a makeover. Like the one on the right. The left one is an original, old chest of drawers, the pink one is a 50 cent piece I got at a garage sale and recovered myself.

Wallpaperdrawers 015

This one is old too, and it is covered in vinyl, not wallpaper like most are.

Wallpaperdrawers 017

And I like this mini one too.

Wallpaperdrawers 016

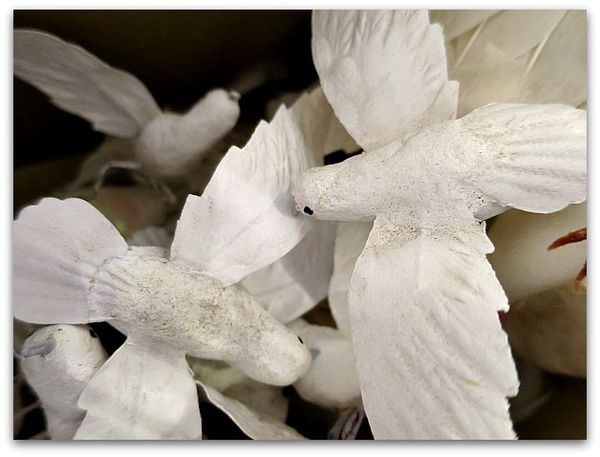
It is full of birds, eggs, and butterflies.  These whitewashed birdies were an estate sale find that Beth passed on to me.

Wallpaperdrawers 019

One thing I like about these, is that they can be tucked away into odd spots to create storage.  Or sat up on top of other pieces.  

Wallpaperdrawers 001

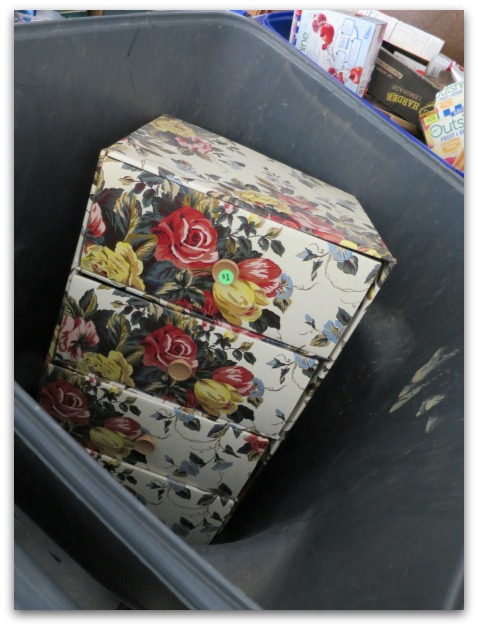
When I saw this tossed away in Beth's trash can, I had to rescue it. 

Drawer 002

Wallpaperdrawers 012

First step- remove the knobs. I had some glass ones to replace these plastic ones with. Which is what I also used on the previous set of drawers that I redid.  That is probably not an accurate thing to do, most of these little chests sport wooden knobs. 

But glass knobs are my fave and I stick them on anything I possibly can.  The ones I selected for this project are vintage, but I've seen some nice ones at Hobby Lobby that go on sale for 50% off an a regular basis.


Wallpaperdrawers 024

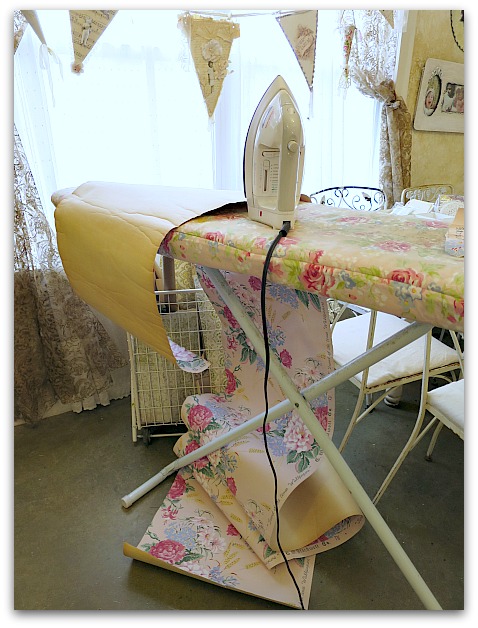
Second step- choose your paper. I have a few billion rolls of vintage wallpaper (a little addiction of mine), and knew this pink with roses would be ideal for these drawers.  But the roll was not only old, it was near its end, so tore very easily. A bit of ironing helped smooth it out so I could work with it.

Wallpaperdrawers 013

Too bad the existing pattern was sooooo 80s. And so shiny.  It is printed cardboard.

But that could be fixed.  I decided that since I was redoing this for myself, not to resale, that I would leave the interior as is.  If I was passing this along to a client, I'd have either painted or covered all of the shiny, printed cardboard design.

Wallpaperdrawers 020

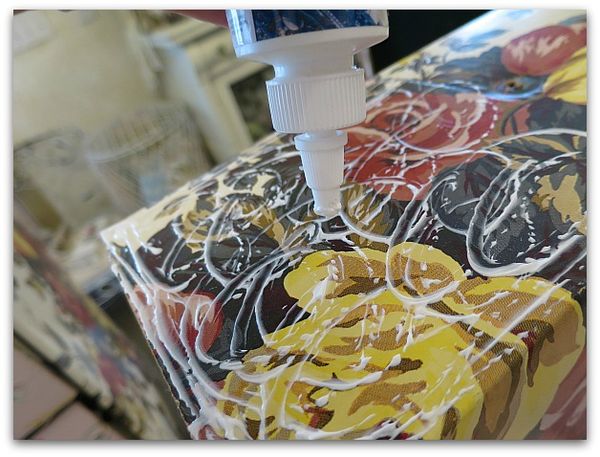
Using Crafter's Pick The Ultimate glue, I covered the front of a drawer, getting right up to the edges, then pressed the pink paper down into the glue.

Wallpaperdrawers 026

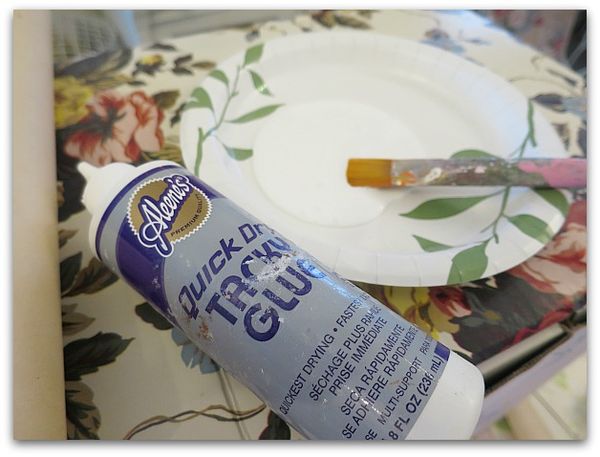
The sides were too big to try to do with a squeeze bottle, so I put a thinner glue on a plate and brushed it on.  I still used the Ultimate on the very edges, though.  They stick down better with a stronger glue. 


Wallpaperdrawers 021

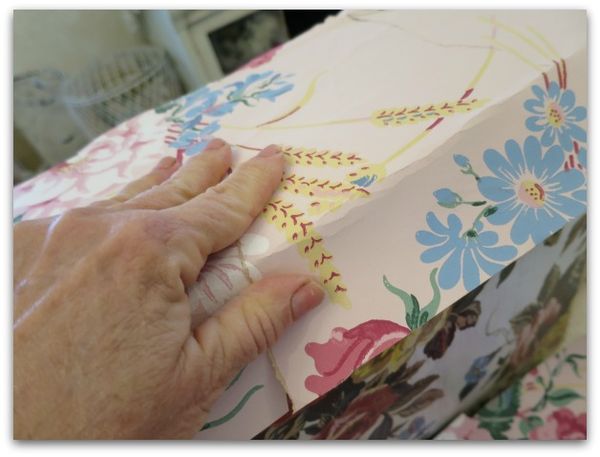
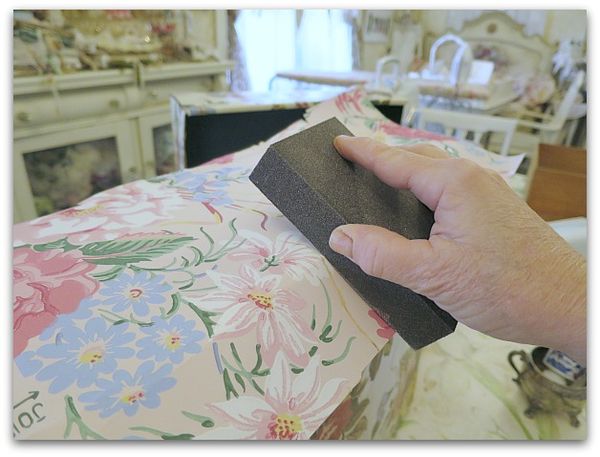
I don't precut or measure. I eyeball the paper to get a size that is close, glue it down, then I crease the excess paper and use a sanding block to "cut" the wallpaper to fit. No scissors.

Wallpaperdrawers 023

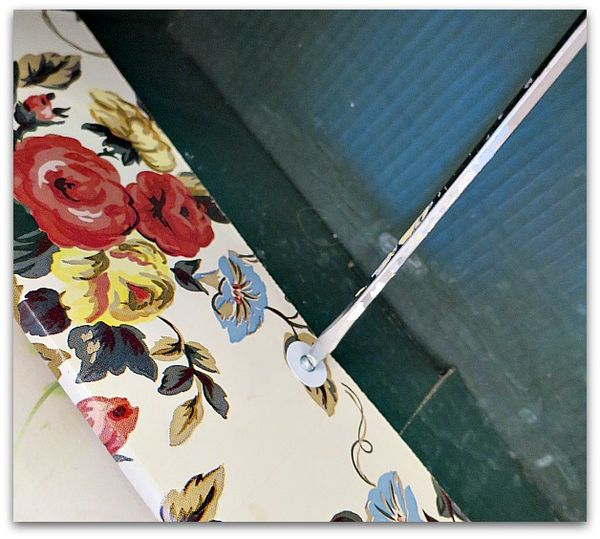
The sanding block should be used only in a downward motion away from the edge. It not only buffs and burnishes the paper's edge tightly to the surface, it cuts off the salvage.

Wallpaperdrawers 028

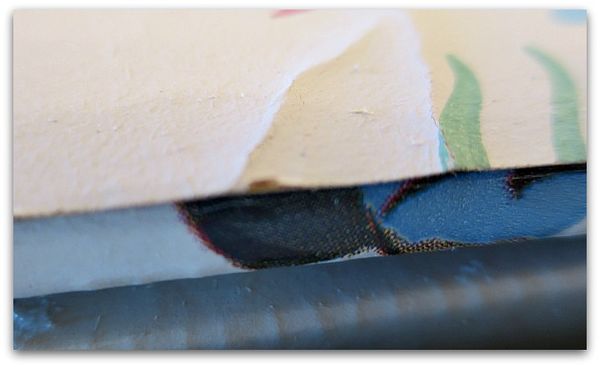
When possible, I lined up the side of the paper to the edge of the drawer.  Less waste of paper that way. But I still used the sanding block on it. The above photo shows why. The straight edge of the wallpaper is glued down, but doesn't look quite right.

Wallpaperdrawers 027

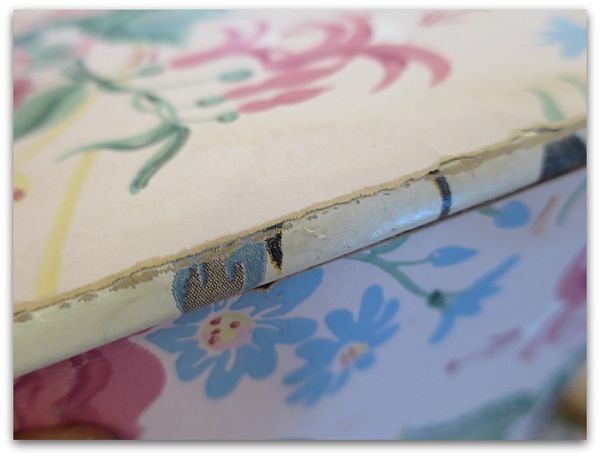
 A little buffing with the sanding block, and it looks much better.
I also discovered, that I could take the gloss off the printed cardboard on the bits like this between the drawers that didn't get covered in vintage paper.
Wallpaperdrawers 030

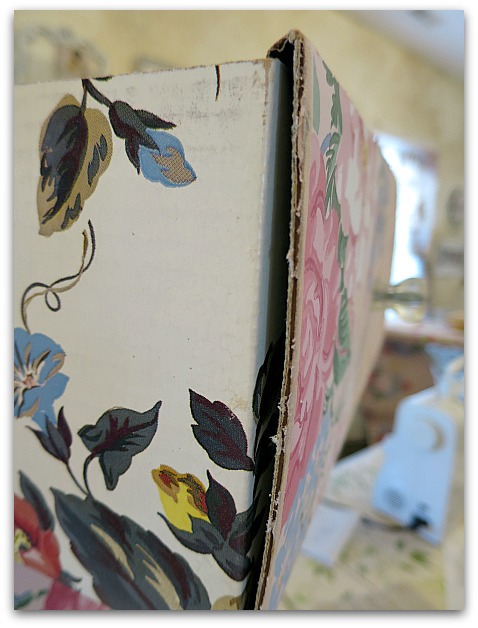
This is the side of a drawer, with the printed cardboard left as is and the vintage wallpaper adhered to the front. One tell tale sign that these cardboard sets are not vintage, is well, that they are cardboard and it shows. The really old ones are on wooden frames.  

Now, I could have wrapped my paper around the sides like I did on the one in the very first photo on this post.

But I didn't.

 Lazy?

Hmm, maybe.

I squirted a lot of Ultimate glue into the crevice and weighted it down to dry, that lessened the gap and helped hide the fact that this was made of cardboard.

Wallpaperdrawers 029

I'm afraid that this picture doesn't show that last step. This is the picture that made me want to do that last step, though. Those gaps bothered me.

At first it bothered me that this was a little wonky, then I looked at the old ones I was using around the room. Well, wonky seems to be the natural state of most of them. 

Drawer 003


Does the chain reaction redoing ever stop? A Studio Shuffling

cottage, Hand Painted Furniture, studio tour

Bedrdo 002

When we decided to rip out the carpet and redo the guest room floor, I also decided to get rid of most of the things in the room. It was a hodge podge of misfits, leftovers from an antique booth, stuff that never sold, things that I just shoved in there to fill the space.

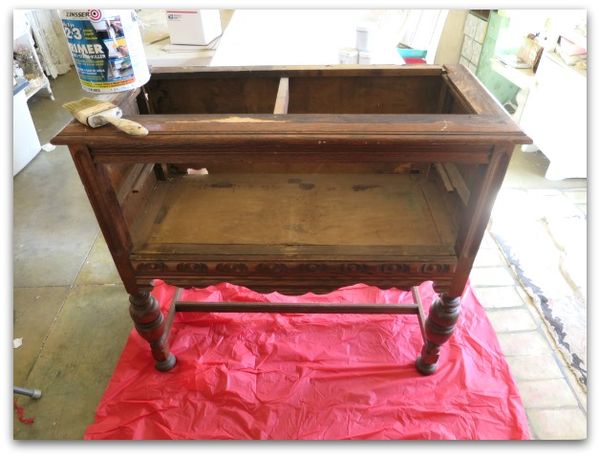
This piece is a good example of the decor.  It had a piece of wood on the top and a tablecloth over it and was filled with stored books.
I'd kept it for years because I felt like it had potential, but I'd never done anything about it.

Bedrdo 003

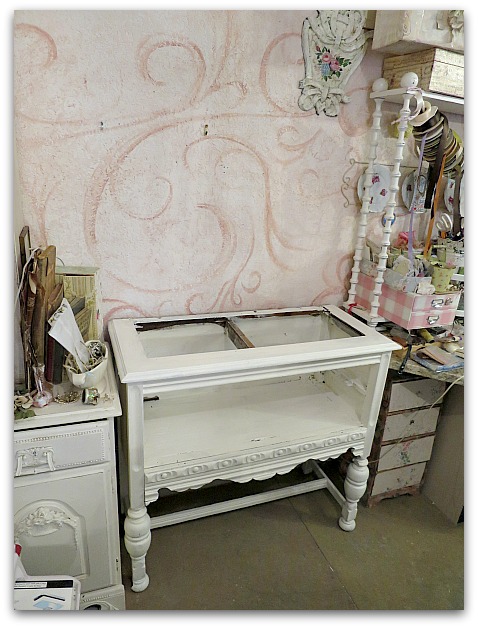
A coat of white paint was a big help. But it still had a huge, gaping hole on the top.

Bedrdo 004

But that was easy to fix with two 18 x 18" marble floor tiles from Home Depot. Then, I sat another book shelf on top of it after giving that a coat of the same paint.

Jan 061

Previously, I had this table in the space, it was okay, but not as efficient for storage.   And the mosaic shelf above it was useless. Purely decorative and a waste of precious storage space.

Even in a large studio, every bit of space counts!

(I might use this table in the freshly redone guest room, I don't think it counts as a leftover, or unwanted piece, I still like it)

Pinkbathroom 043

I'm still not done with my rearranging, but I'm liking the use of space so much more.  I've redone a lot of the shelves and have the things I use on a regular basis nearer to my desk chair than before.

Pinkbathroom 047

Hmmm, yes, I know this doesn't look very tidy, but for me, it is.   

Pinkbathroom 044

While moving things around, I found this mini cabinet I'd made from two old boxes glued together and covered in old paper. 
Pinkbathroom 045

It is going to be ideal to fill with little tidbits for crafting.

When my guest room gets all settled and finished, I'll be sure to show some pictures of that too.  


More pictures from Romantic Cottage Christmas

holiday decor, studio tour

Rcchristmas 028

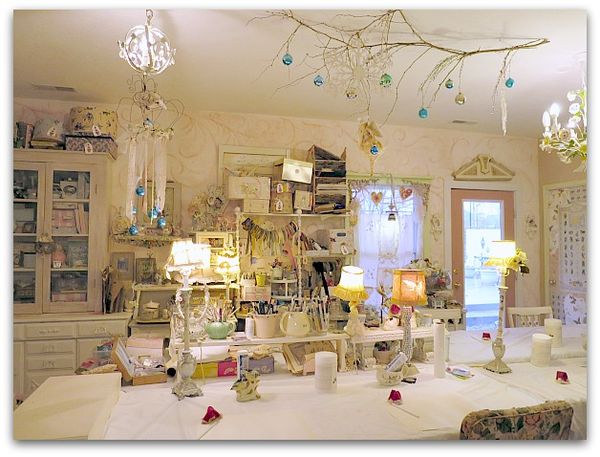
Its just too dang bad that my studio doesn't stay this cleaned up. I love having it this way. But in reality, it is a work space and while it lends itself to getting prettied up for a frothy afternoon of glittering guests, it is where all the hard work goes down. And 90% of the time, the room doesn't look so great.

 The space tends to pile up with shipping materials and crafting materials, not to mention the fiasco that appears under the grand fairies tables every time they come out to play.

Rcchristmas 046

So for now, before the room becomes total chaos again, I'm loving the holiday atmosphere and the cleared off table tops.

Rcchristmas 008

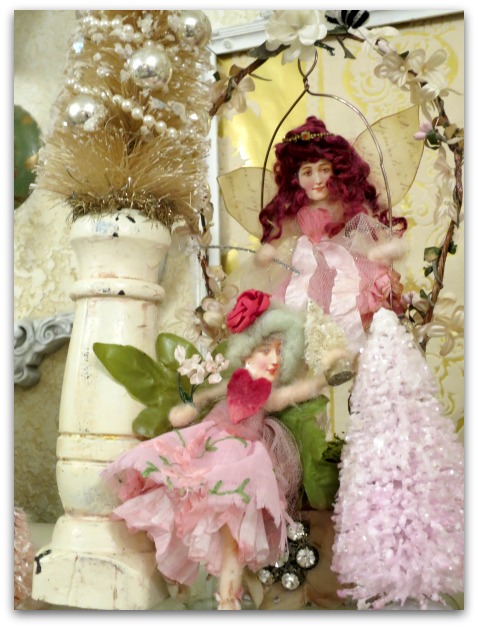
My Valentine fairies seem to be very happy living with pink flocked Christmas trees, too.

Rcchristmas 010

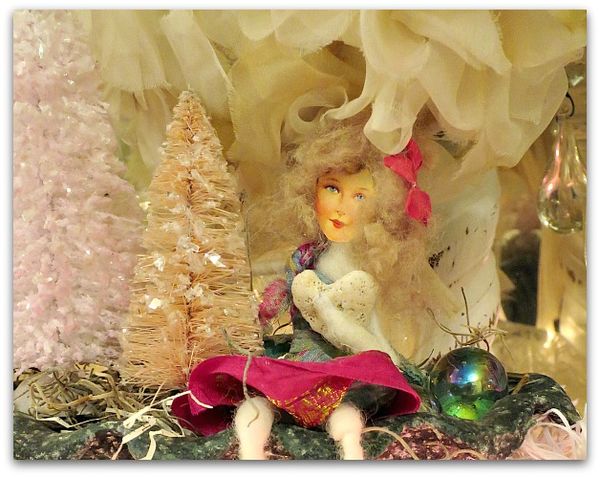
Even the fairy I made in Hawaii last year seems content in a snowy forest.

Rcchristmas 038

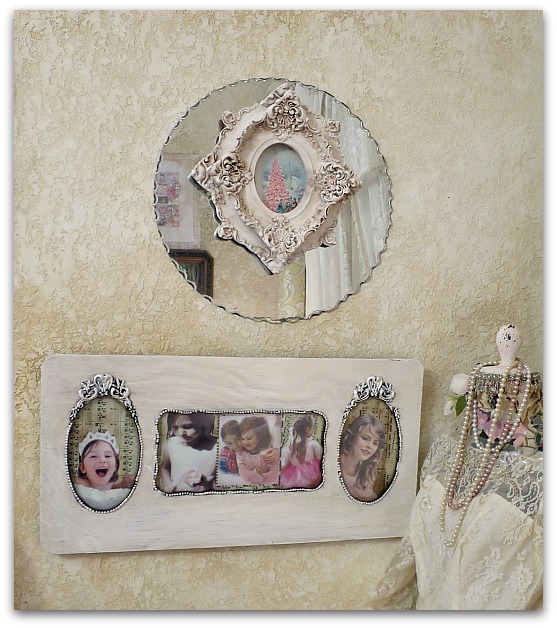
Sometimes, the decorations here in the studio are very subtle. Like adding a vintage Christmas card to an old frame.

Rcchristmas 042

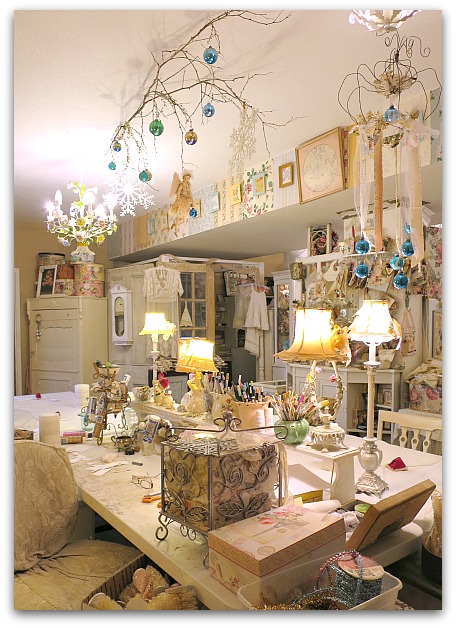
Or tying some blue Shiny Brites to the branches above the table.

Rcchristmas 029

The treat cabinet got a little foofing too.

Rcchristmas 030

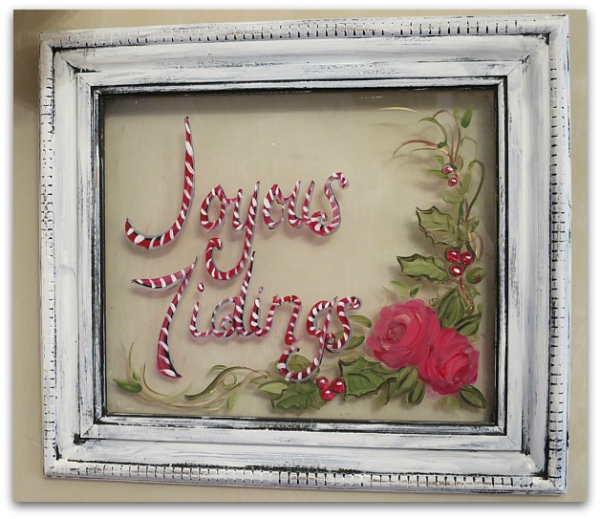
Here is a simple idea.  I painted on the glass of an old frame. If you aren't a painter, writing a holiday message with a marker suitable for glass is an easy way to make a cheerful decoration.  You can add pretty paper behind it, or leave the glass on its own like I did.

And of course, since you are writing on the clear glass directly, it would be very easy to trace something that you have printed, if you aren't into hand lettering either.
Rcchristmas 044

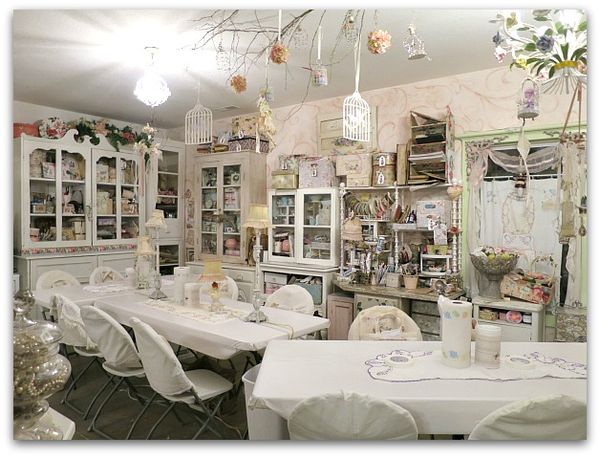
It is a joy to have my desk area kind of cleared off for now.  I find myself working in a 4" x 4" spot sometimes as bits and pieces accumulate as I make things.  Maybe I should do a resolution to have better workspace hygiene for 2015?
Hmm, it would be too bad to fail on a resolution before the first week of the year was even up, so maybe not…

 PS, there are a few class kits left here  and here.

Scroll to Top