Tutorials

More mushies

how to's, mushrooms, the Boutique at Karla's Cottage, Tutorials

03F2EDC7-1289-428A-9F00-0E75EAAED2BA
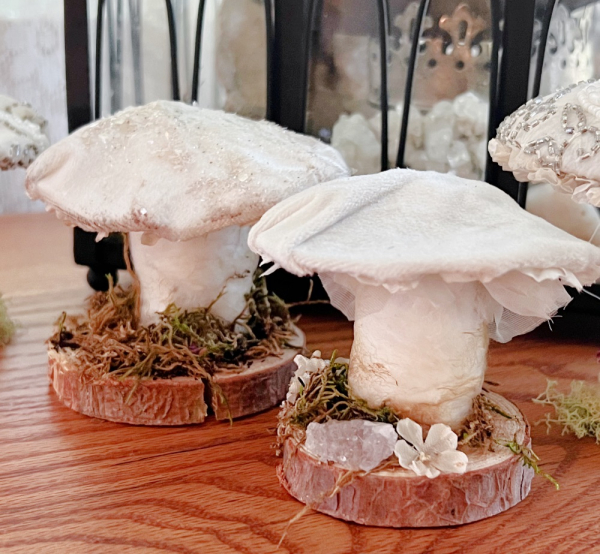
Well, as I mentioned with my last post, and as you might have noticed if you have ever read my blog over the last 16 years- I tend to get obsessions.

C5352FF3-3D3B-40E6-91FE-74E279C1A05D

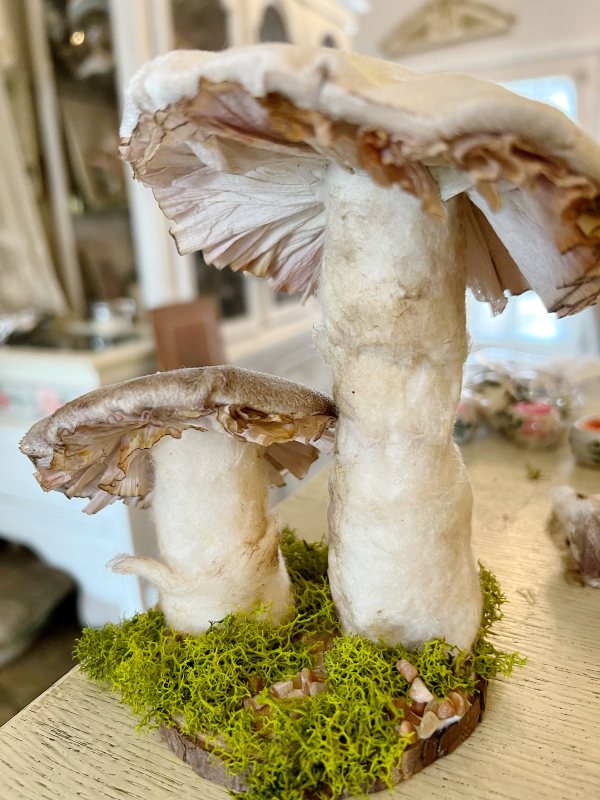
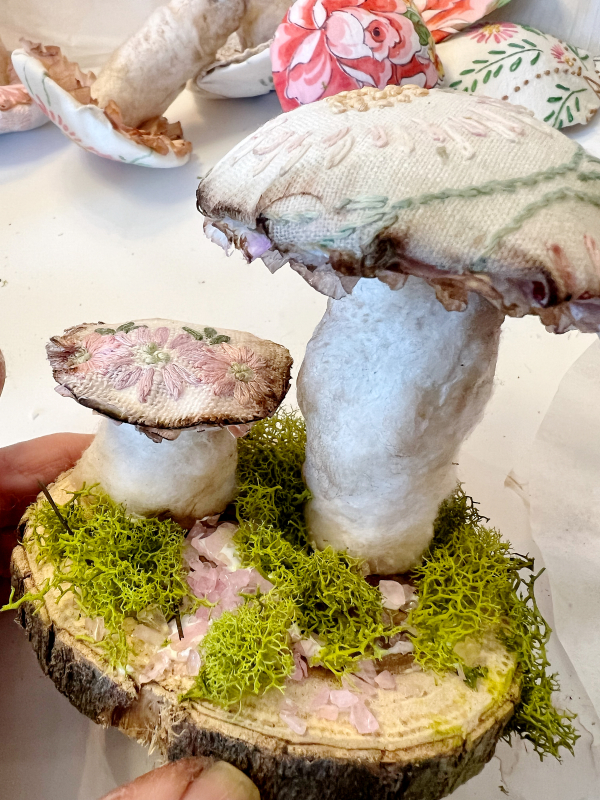
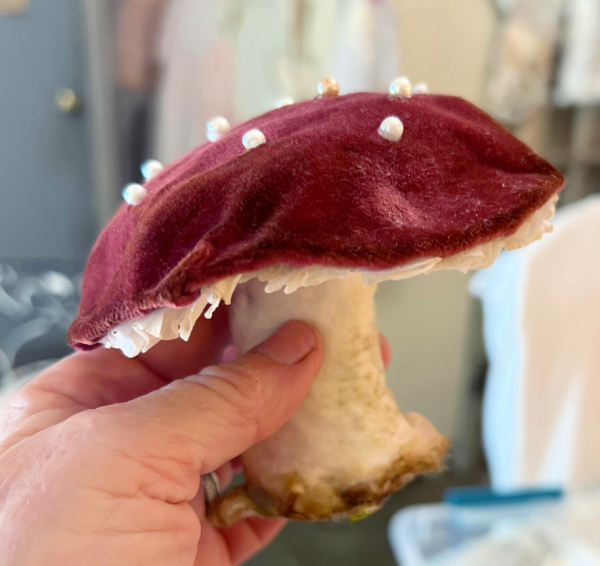
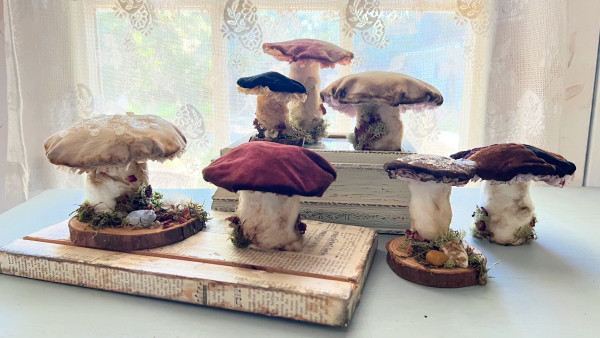
I have been making these fabric, no sew fungi since Guncle Randy and I came up with the simple design last summer.  
A1D6853D-7339-4C75-90A1-C698AF1A39C6
And I love making them so much, I just don’t burn out.

17E26100-9D6E-4105-BF5C-EDCB2A2CB421

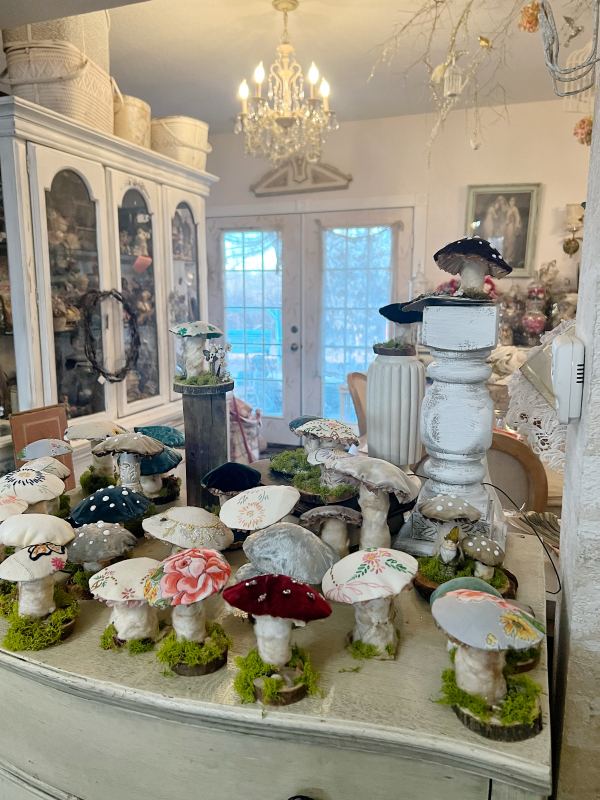
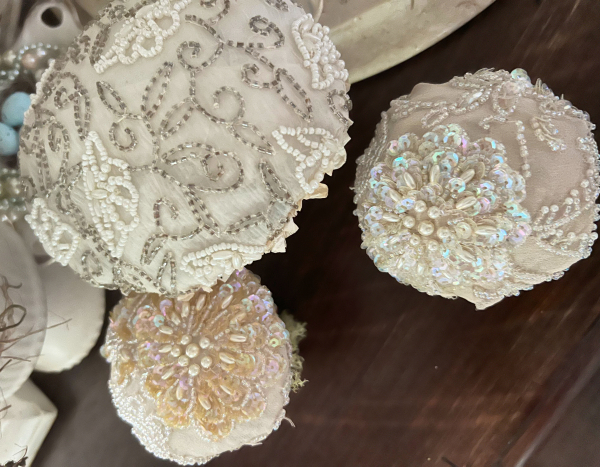
See what I mean?  I sat down and whipped up 75 in a couple days.  I just get too excited about trying different fabrics and want to keep making more!

0ABF625F-C9D8-421C-925A-9FDE61BC9879

If you’d like to go schroomie crazy too, the tutorial is only $9 and the materials are cheap to get.  You can find it here:

http://www.karlascottage.com/category_59/Online-Tutorials.htm

ps- new tips have been added to the instructions if you already purchased it, make sure you check back!


Tutorials in the Boutique

how to's, mushrooms, the Boutique at Karla's Cottage, Tutorials

EB943898-A44D-4E9F-94C0-5DFE411D7C95
It had been a while since I cleaned things up.  Both my Etsy shop and the Boutique were sadly neglected.  When I made my Velvet mushroom tutorial, I did a little rearranging.  I also marked some of my previous tutorials down. 

So if you’d like to learn how to assemble an art journal, craft a mini dress form, create a cuff bracelet (all no sew, by the way) plus a few more- all classes are available at their new, lower prices.  

And you can find them all here: http://www.karlascottage.com/category_15/All-items.htm

16303677-4BF2-4848-A7F4-359F454CDAF1

And thank you to those who have purchased my mushroom tutorial!  I love those little cuties and hope you do too.  


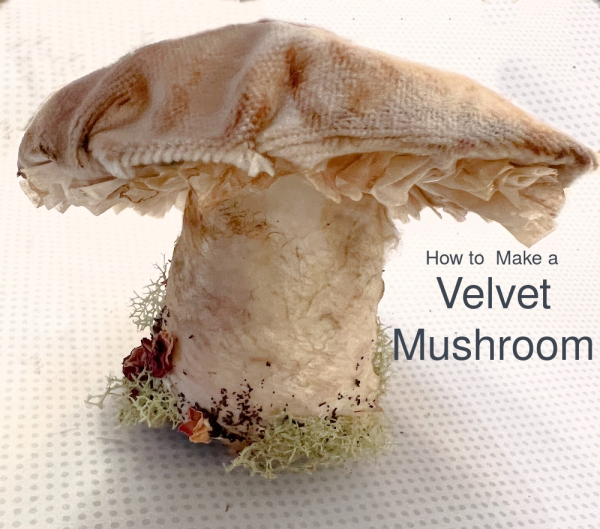
How to get the tutorial to make velvet mushrooms

mushrooms, Tutorials

1A17416C-C849-49BD-A122-DB5B8296DB3EIn the last month I have been swept away in a mushie love fest!

SavingPNG 4I sincerely ADORE making these!

D6258E05-2AF8-45A2-B1DD-6365429A3783

At last count, I'd assembled… well, let's not go there. I might have gotten a tad carried away.

CF410691-426E-4BA5-80ED-44A44DA25DBE

Luckily they were also popular at the last Good Juju sale, so I am not up to my neck in them like I could've been.

A5809222-427A-4342-BFA3-DBF93852EFC7

Maybe I am just to my waist now.

47639106-62D8-42E2-9363-4E0BC704FEE1

If you think you'd fall for crafting them as much as I did, I've whipped up a tutorial with directions.  It is available in my boutique, you can find it HERE.  

It is also on Etsy.

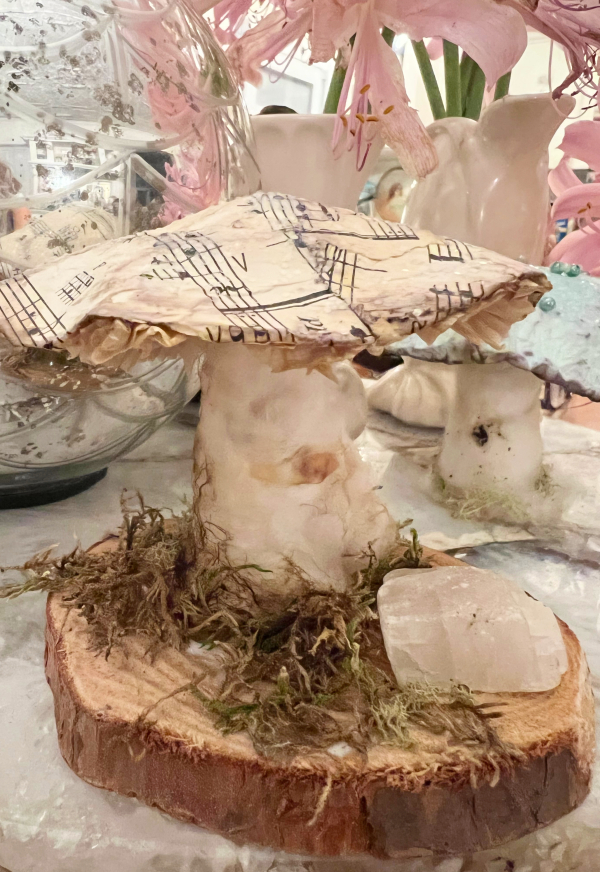
The class is in blog form, with written instructions that you could copy, print and keep on your desk plus the same instructions written out with step by step photos and tips.

SavingPNG 2

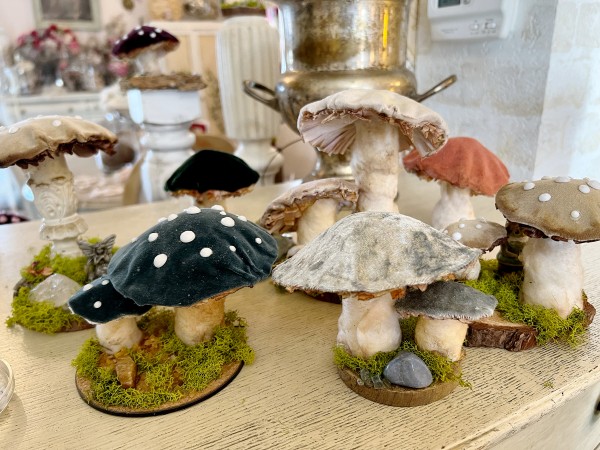
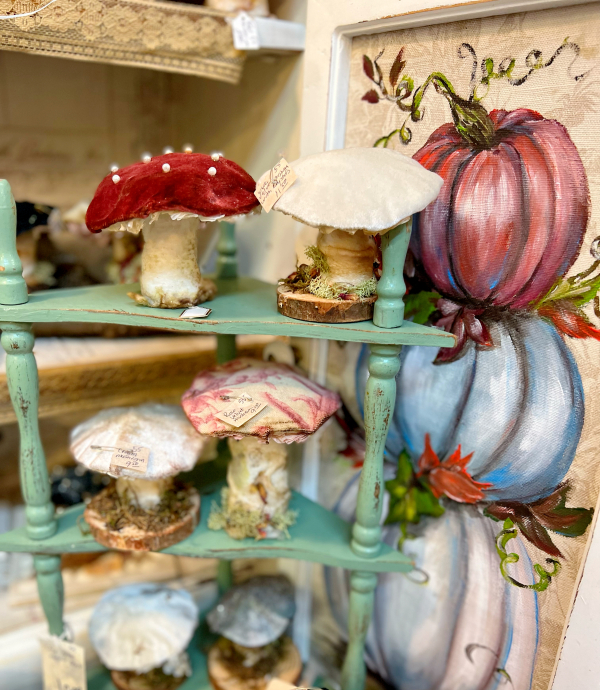
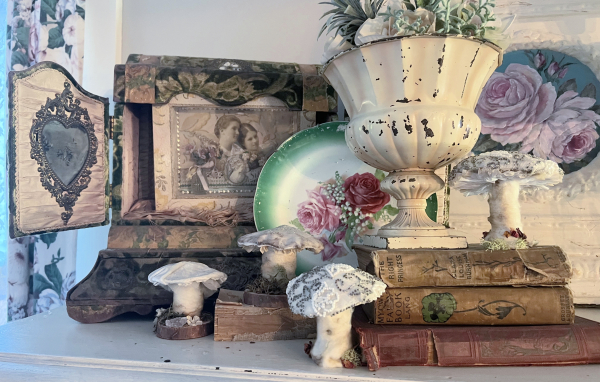
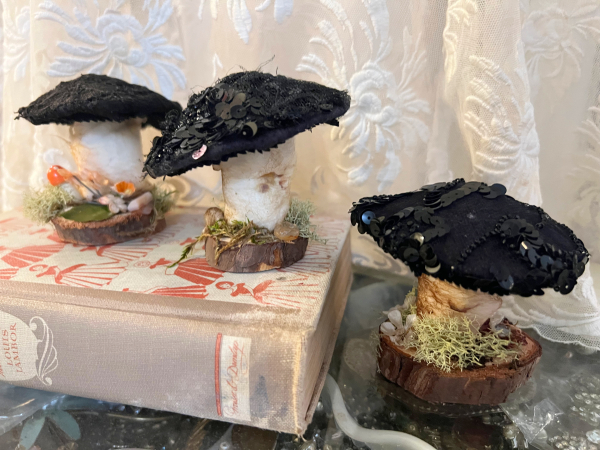
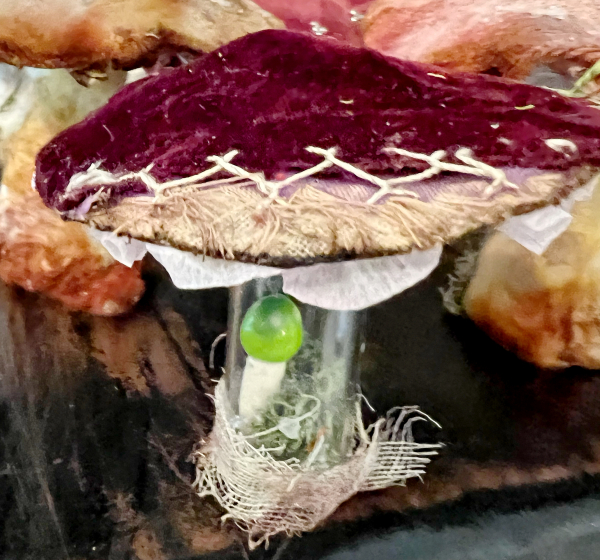
 I offer ideas on materials to experiment with as well as pictures on how different items look when transformed into a mushroom stem. The photo above show how I have used four different items to get a collection of schroomie styles.

0C75B276-3185-4C6A-A8CD-E5CB50D2898F

The tutorial is only $9 and will be available as long as I have a blog on this Typepad platform. I'm at 16 years or so at this point and don't see any reason to quit, so that tutorial will be around a while.  Please let me know if you have any questions.

C7BD2906-665F-43C1-8561-EDFCFD74B624
There are tips and tricks for experimenting with various supplies in the class too.

9F1E64F5-7FFA-4FCF-811D-0510C1C6709C
You know me, I like changing things up and having variety!

How to make a little fairy diorama

cottage, fairies, family, how-to projects, Tutorials

36389382-7DAC-4820-9789-44CCE0D5028A

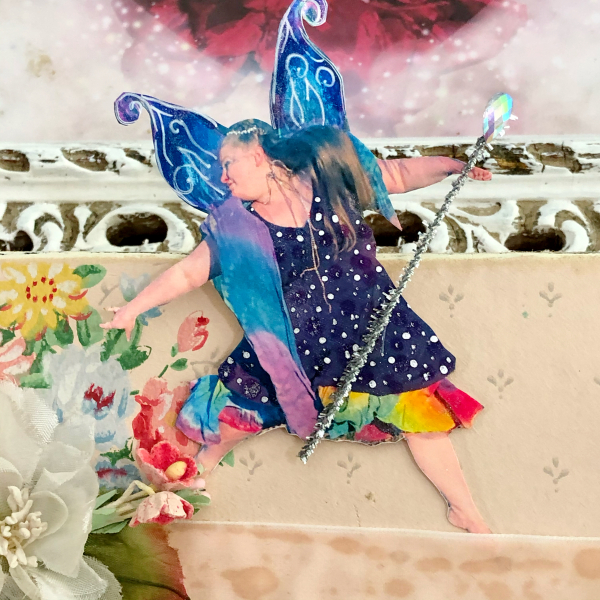
There were more fairy family photos to add to the mantel from our wing making event that Miss Tree gifted us with at Solstice.  

1AFD8D80-FEDB-4777-8F66-7E2757742EE6
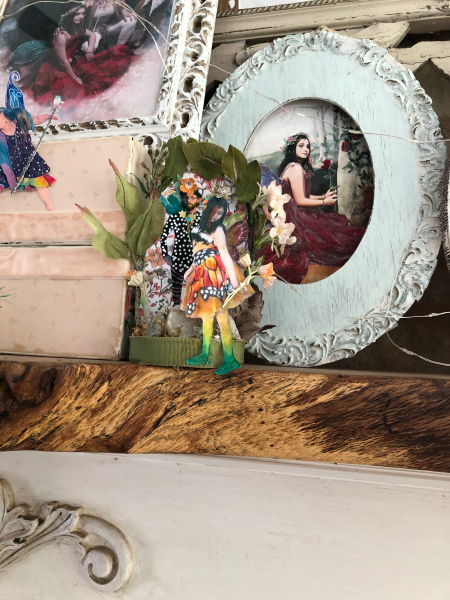
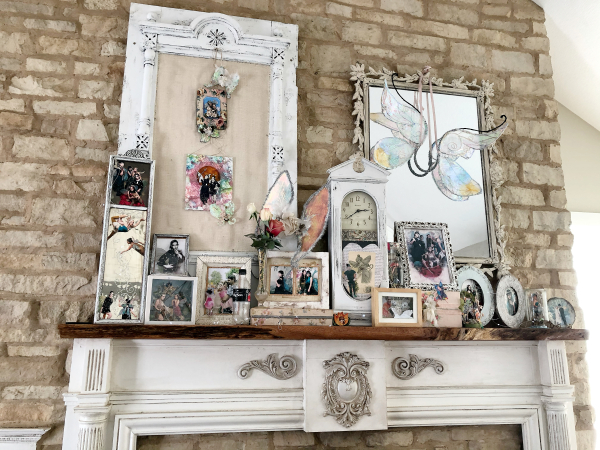
Now, I think I have us all represented over the fireplace.  I’ve used a variety of ways to display them from frames, shadow boxes, in bottles, hanging, and more.

I ran out of space for more frames, so thought I’d craft a mini diorama for my son and Dewdrop.

EDA0A133-159E-4E8D-9ABF-C704FB6E7EA7

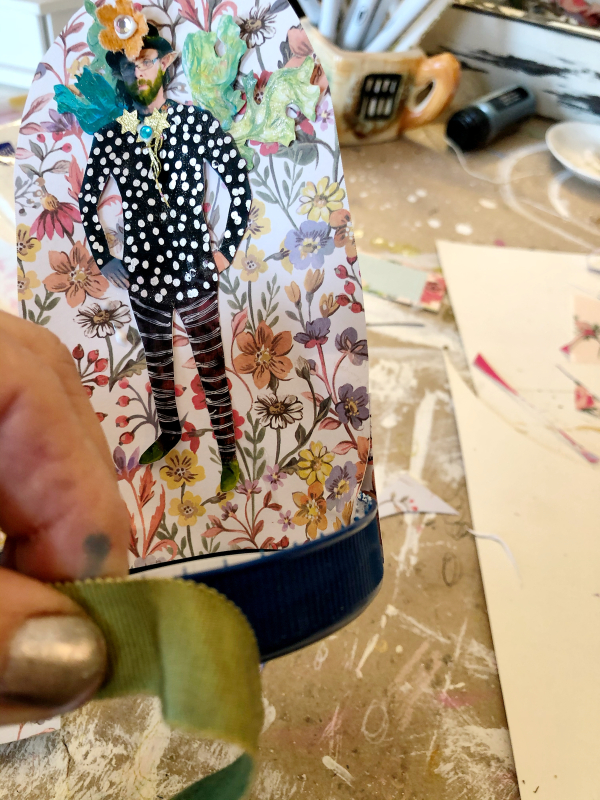
The first step was to cut out, glitter and decorate the people I wanted to use.

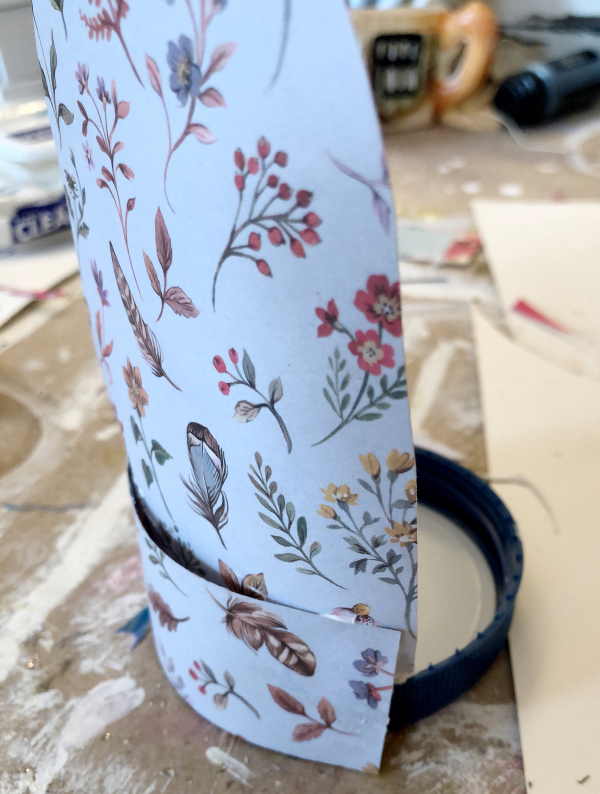
Next, I cut an arch shape from two sided cardstock. No pattern, just a roughly arch shaped piece because I knew it would be covered.

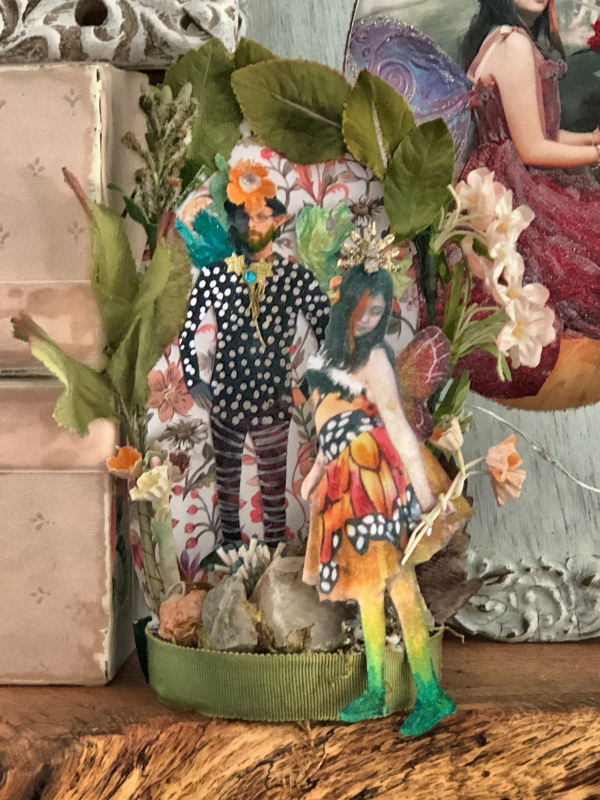
I glued Adam to the arch and then glued the arch to the inside of a mayo jar lid.

EA5DDC4B-59A9-42F5-AEDA-35C2F3CD23D0

To strengthen and support the arch, I added a strip of more cardstock to the back.

8831F8D2-89C8-47C8-B7E9-68B05A81FA9E

Some grosgrain ribbon covered the lid up.

F3531804-A876-47BE-8609-7283EB4364D4

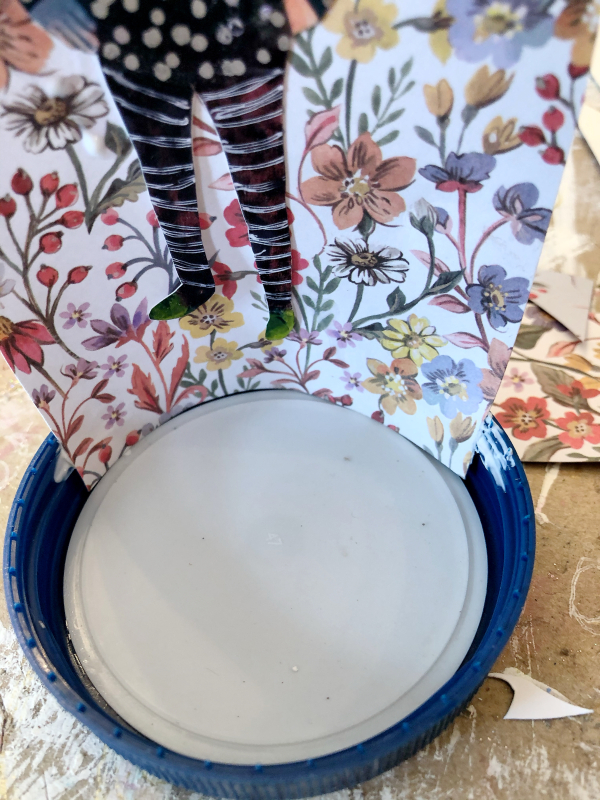
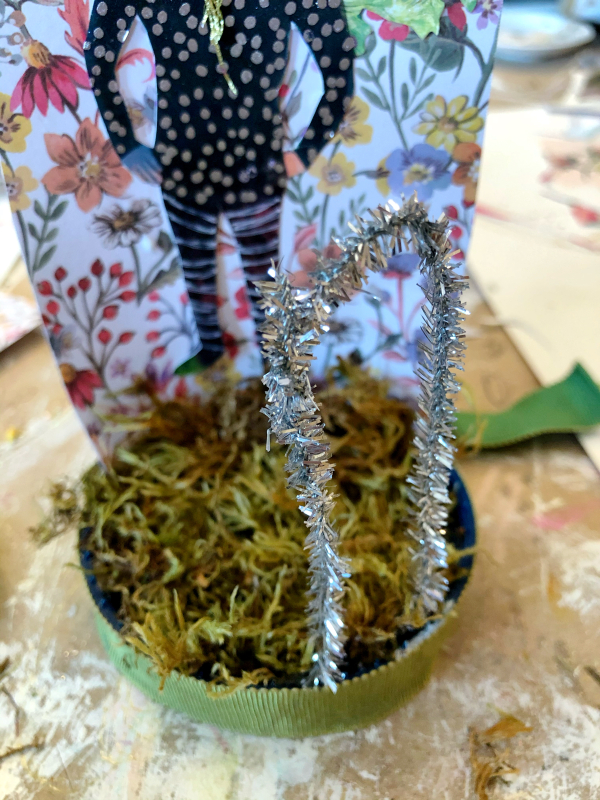
I filled the inside of the lid with blobs and globs of Ultimate glue, stuck a bent pie cleaner where I wanted Dewdrop to stand, then filled the lid with moss.

65523818-4D30-4099-A9CA-E4457A4D5465

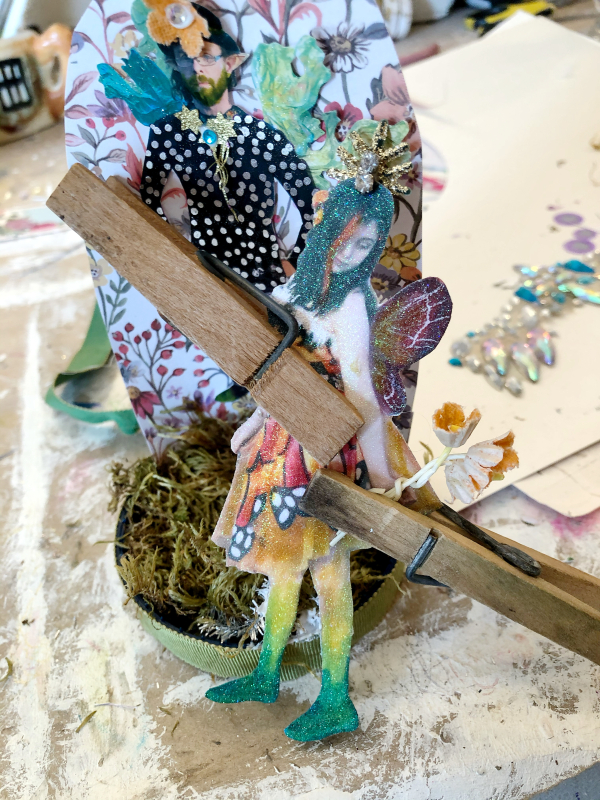
Dewdrop was then glued to the pipe cleaner and clamped til dry.

37189C6D-61A7-4277-BC9A-0D579728B7FF
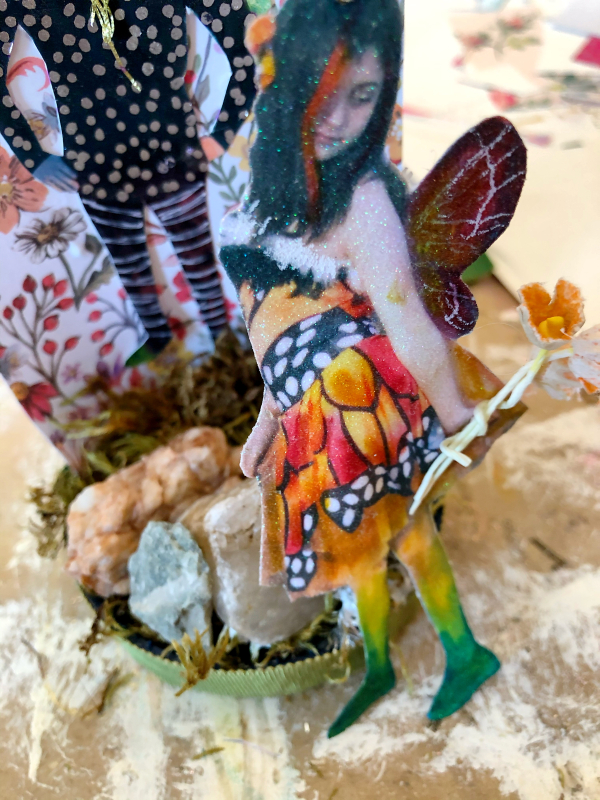
To stabilize the pipe cleaner, I glued pretty rocks onto the moss.  They also worked as weights to keep the piece upright.

AF6569D9-5EEF-470B-A14A-657E877E62EC

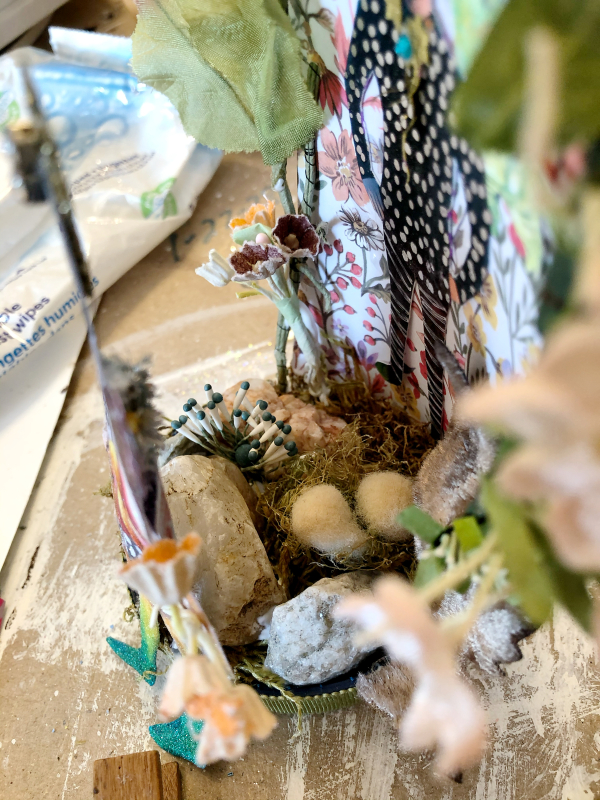
You can see behind Dewdrop into the lid in this picture.  I added flowers and leaves around the archway and a few flowers into the moss too.

D4DE9B6A-5A6B-46B7-A6E3-E55EB30BE3E6

Ta-dah!

This isn’t a very refined, or perfected project  just a quickie not meant to last a life time.  But it suited my purposes for a way to add more family fairies to my display.

21576CF7-68B6-4956-B69F-3780EB846CD5

This is my springtime mantel  and I like it so much, it might be up all summer.  I think I even see a few spots where I could squeeze in a few more sprites…


What have I been doing besides raising goldendoodles?

how-to projects, Tutorials

3DF2A187-9B66-4FF6-99EA-A9C4B7AF1CB2
About a year and a half ago, we bought a house and 13 acres for our son’s family. 

Sadly, their circumstances changed, they can’t keep it.  They all moved out and renters stayed a few months.  Between cool, hippy projects my son did, that aren’t mainstream enough for new buyers, other projects that he began but could not finish ( since he thought he had a life time, not a year to do them) and the neglect that comes from strangers using a home-it needed a LOT of work.

613E4FC5-C878-471F-BFA6-2D5363843A4F

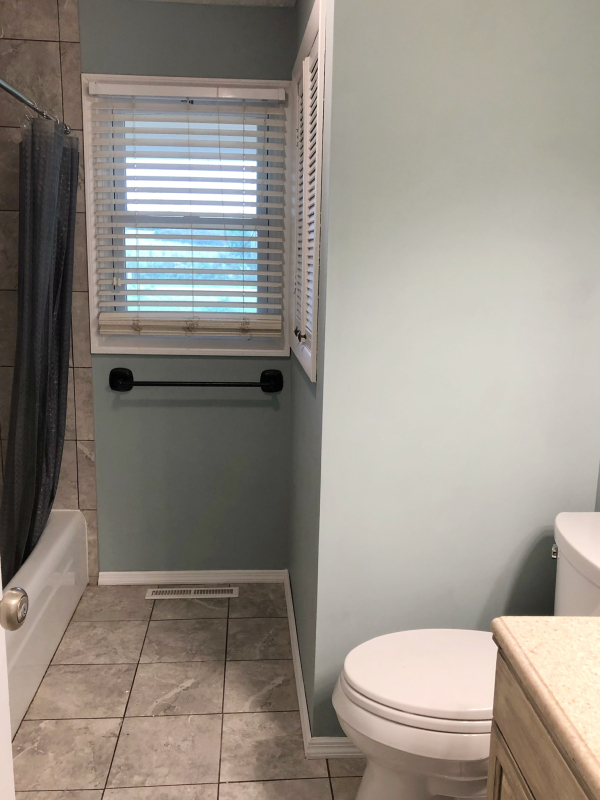
Also, the house was pretty dark from the original seller’s paint choices. I wanted to lighten and brighten, but not go so far as my own home, with its shabby chic, romantic style.  

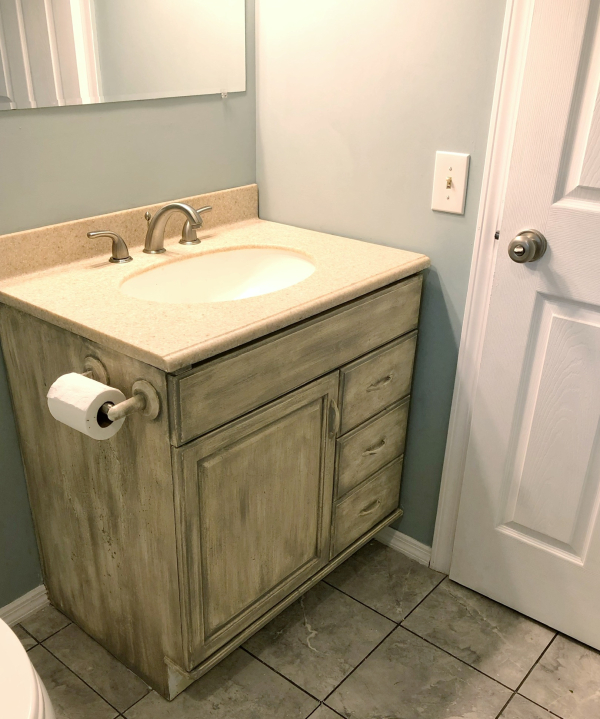
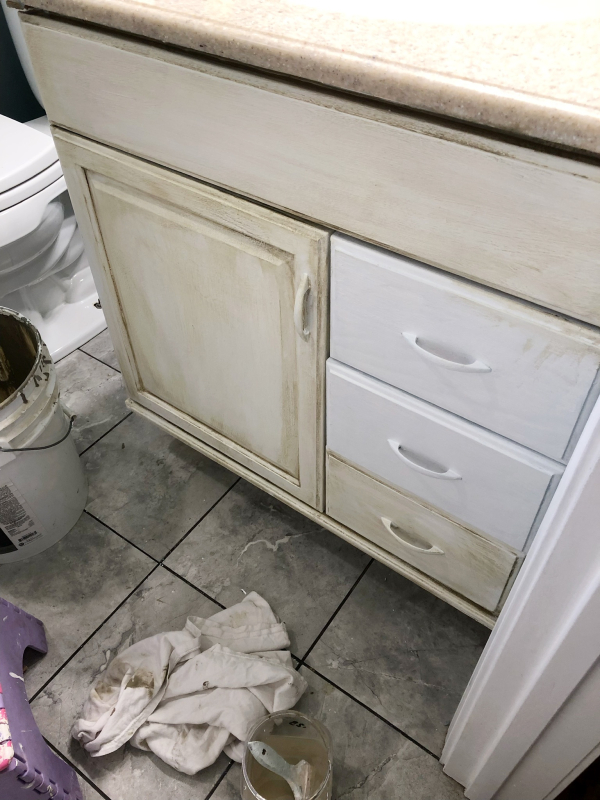
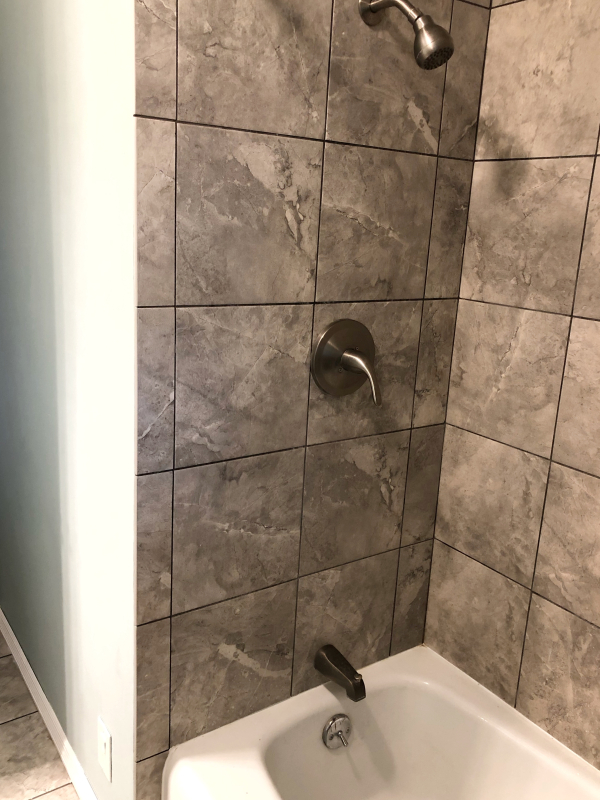
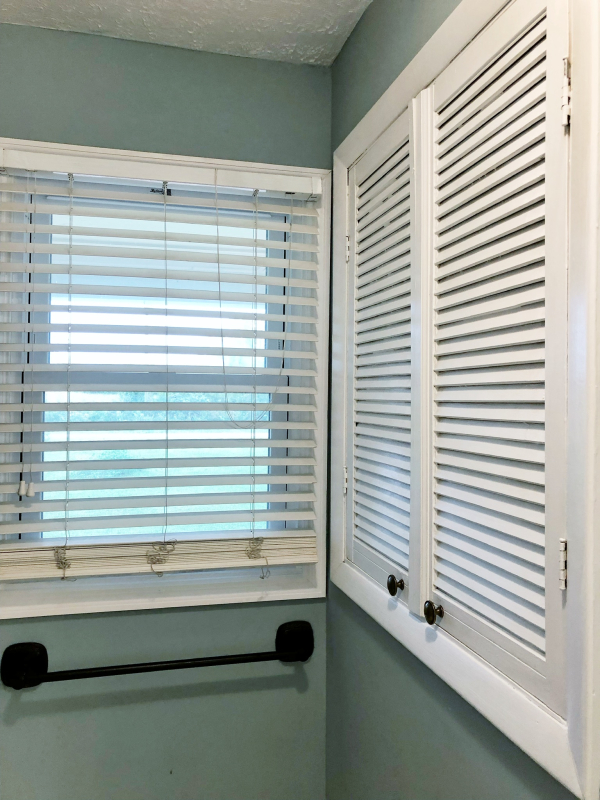
So I chose a warm blue for the bathroom, and repainted the mismatched Formica yellow cabinet.  The butter yellow did not match the tan counter tops or the gray floors.  So I tied those colors together with paint.

B0C2FF7D-A174-448C-9E27-261751FFAF86

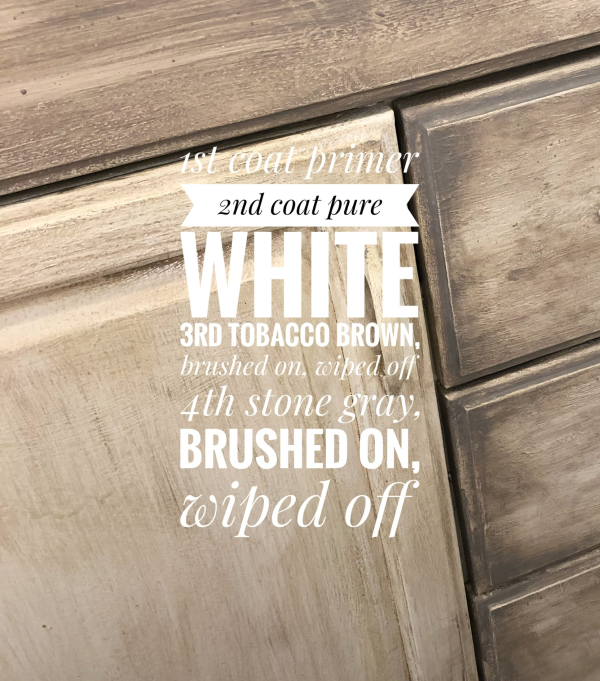
First, a bonding primer.

Next white.

Then I brushed on a color to match the counter top.

(See the paint in the bucket?  That is the original wall color, way too dark for this room)

941C1121-EB82-4CF8-AD4D-D5BDFB86DE70

Over all of that, a stone gray to match the floor.

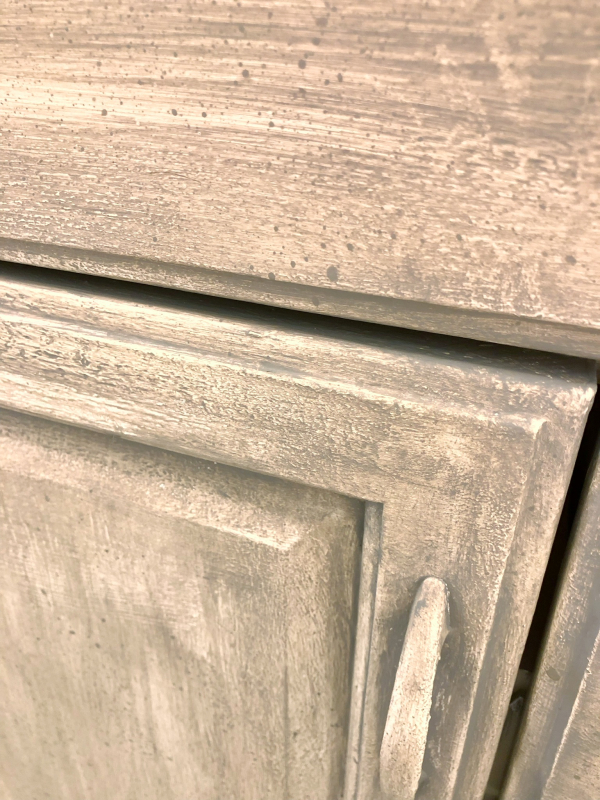
Then, flecks of grey splattered with a toothbrush.  The grey is a Behr exterior paint that I used on the barn, so is very durable and every bit as good as using a clear topcoat over the other layers.

8A5A36C2-976E-47AA-81DD-78C8EB72F857

I wanted a farm house look.  And I didn’t want to spend any more money, we are already spending thousands on the place.

So I used what I had on hand and made it work.  Now, I love paint treatments, so in my mind a custom painted vanity (that was in good shape and not very old) is better than replacing it with a brand new one.

I hope buyers agree.

F5B687CF-99ED-4BBF-80C4-7E4A877C667C

I really really really really hope that buyers agree!

The bathroom was newly renovated when we bought it, so had “good bones”. 

E76B6433-0237-4AC0-8A80-4DCF90271DCE

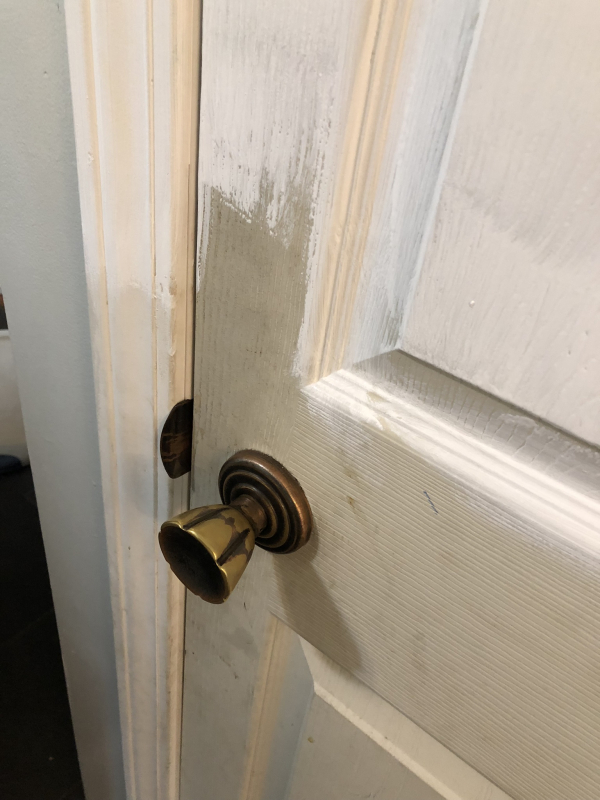
But the people who remodeled did not paint the doors and woodwork they installed and left it as is.  The primer that comes on white woodwork from the lumberyard is not a bright, clear white and it grabs dirt.  So I am repainting it all with fresh white in a satiny finish.

D07B9E12-7D7F-478C-ADF0-A6150F9E5505

Including the cabinet doors.  

BD35D053-4EE7-44B3-B69E-7BE7C6E879F2

All of the rooms are getting spiffed up, and this is the first one all done.  I am afraid that I don’t have before, except ones from Zillow.  As I redo and stage, I can show some of them

Please wish us luck, I am afraid that I will need it!


Hand painted book covers for the watercolor class

bird song art event, paintings, Tutorials, Workshops

C0527E32-0162-4515-AD54-A7984CB5754A

Between getting ready for Once Upon An Easter and prepping the kits to send to Georgia, I’ve taken some breaks to work on the watercolor journals for the class at the cottage on Saturday, April 20th

F0528AF1-EC15-4DDE-AFDC-E742D0EDFD8C

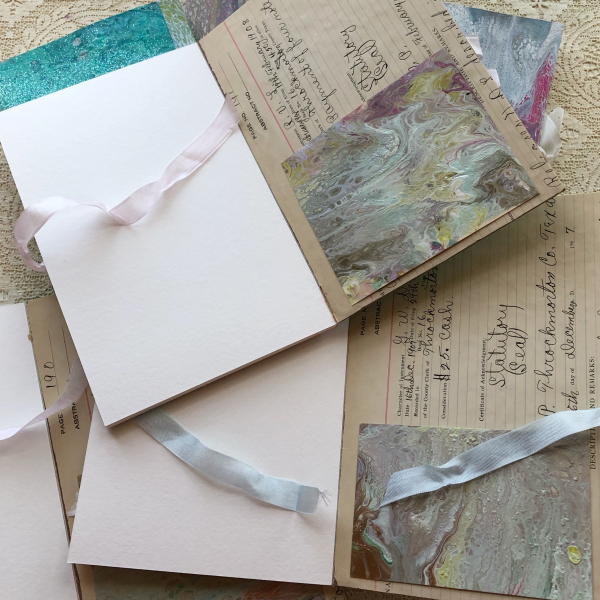
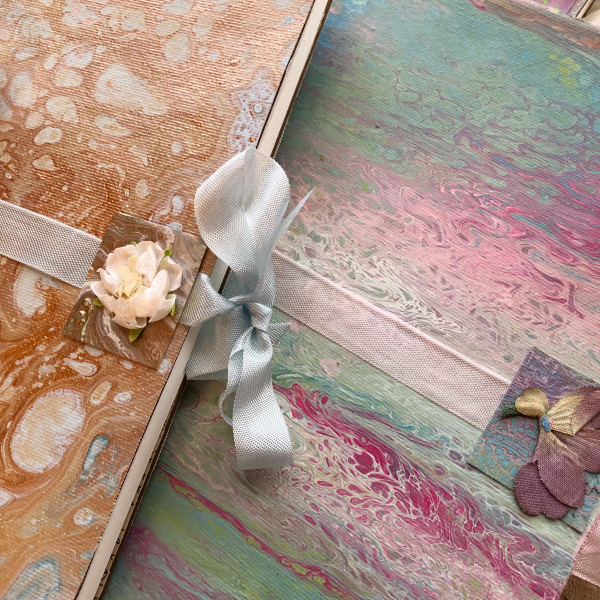
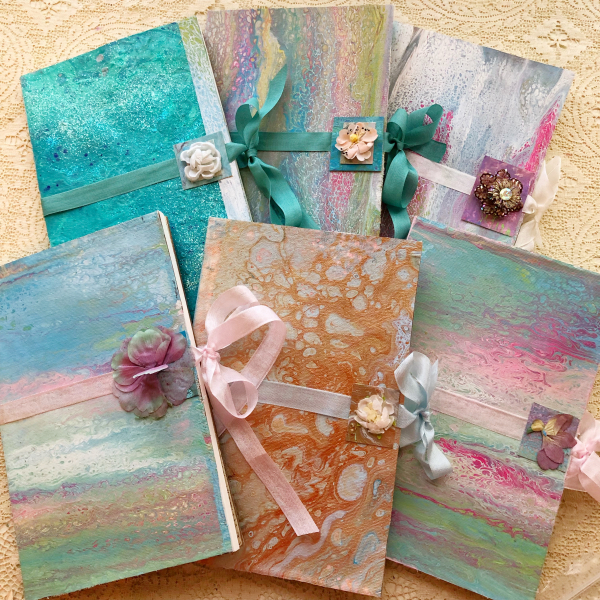
Each is a small, watercolor notebook with 140lb paper.  I have enveloped them in a deconstructed pour paint canvas, then embellished them and added a ribbon tie. 

0370B36D-CA09-4BED-B630-CC7367549DAB

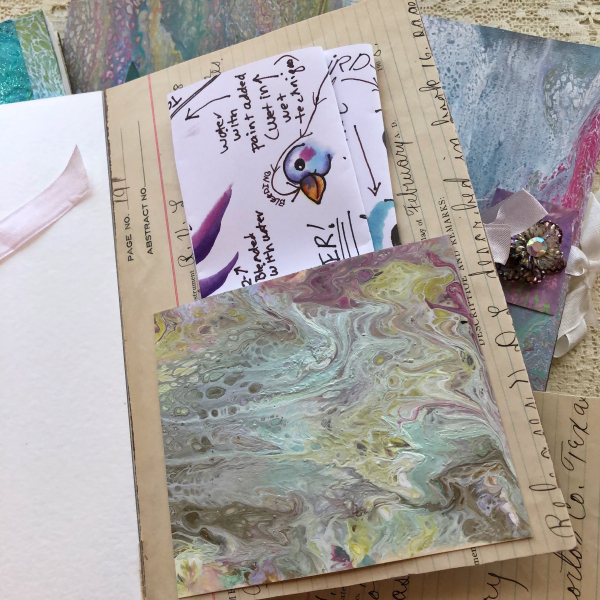
On the inside of the back cover, I’ve added a pocket.

313D4CFA-E317-4D7E-82B1-727D57064D29The pockets are designed to hold the watercolor tips and tricks page that I made.

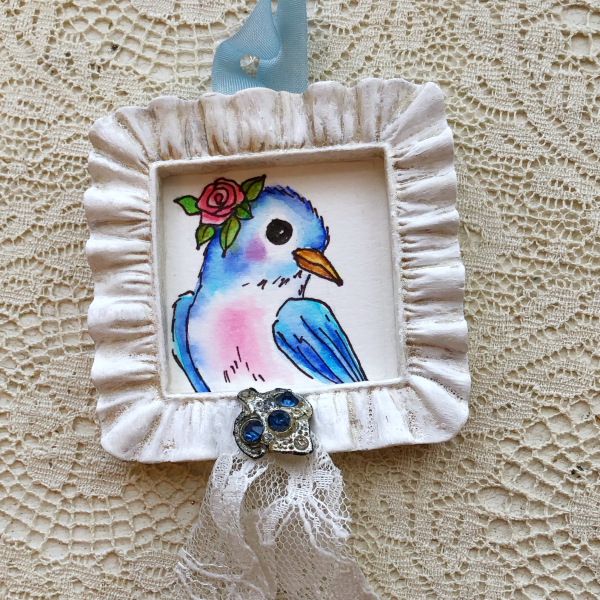
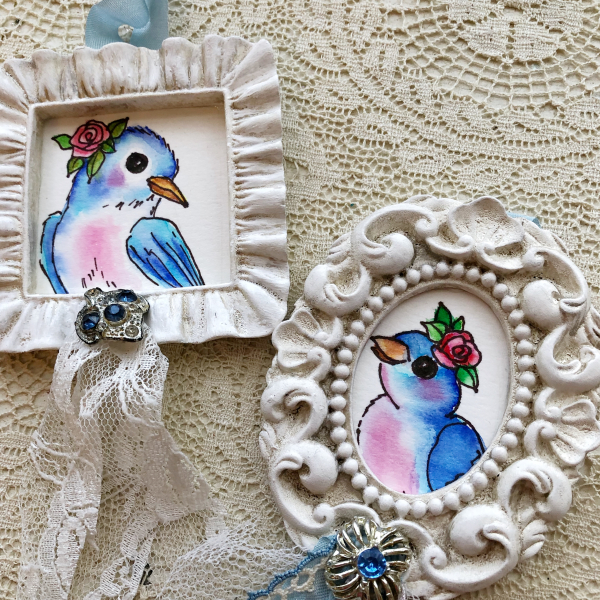
It gives steps on how to paint the little bluebird that I will hand draw on the front page of each notebook.

You also will receive a pack of watercolor pens to keep so you can practice in your new book.

D5A895AD-2528-4FDC-8C23-FEC93A945445

Once painted, the bird will be ready to pop into a little frame that can be foofed up with a selection of vintage jewels, ribbons, and lace.

1B09A991-F795-4572-ADAA-34EB75A81F8C

I have had a lot of interest in the classes (Karen Hillman will be doing two pretty lessons that day too). 

But- it is Easter weekend.  

Not the best date to plan an event, huh?  Well, my buddy happens to be visiting at that time and we are happy to have the day to play together, hoping a few people could join us. 


33989183-610E-4360-A8E6-0A92DF4D20E0

And luckily, a handful of Peeps are able to attend.  

But many have said it is an action packed family time or Easter dinner prep day. 

At first I was only offering the classes and luncheon as a package deal. But since people are so busy, I thought I’d modify that to say that if you would like to come in the morning and stay for lunch to do Karen’s two projects, or come for lunch and stay for my afternoon project that would be an option.  

You could play with pretties for just half a day, then still have time to get that cake baked and those eggs dyed.

If you are interested:

Morning session with lunch is $60

Afternoon session with lunch is $60

No time to relax over a meal?  A session alone is $50

 (But don’t think you will leave hungry, I’ll pack up some treats to go for you!)

Email me at:

Karlanathan@sbcglobal.net

How to Make a Holiday (or everyday) Felted Gnome

fairies, holiday decor, how-to projects, Tutorials

IMG_2968

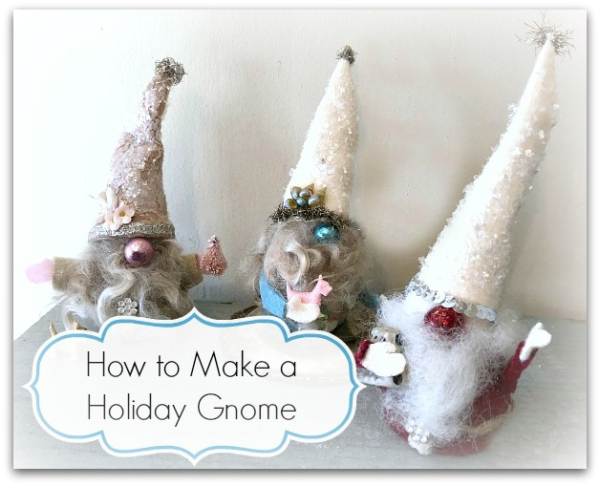
For quite a while, I've been wanting to make a furry, lil, gnome guy. Then, my Sissy sent me photos of some she collected for her holiday display and I was freshly motivated to make one for her as a gift (and a few more too)

I chose to give these a holiday theme, with the mica flaked caps, mercury ornament noses, and tinsel trim, but of course, gnomes aren't just made to hang out with Santa's elves, they can be enjoyed year round without the festive additions.  A nose can be a wooden ball, or a pom pom. You can leave the tinsel or glitter off.  (Oh, but why leave them un-glittered??? Glitter is a daily adornment around here, not just a holiday foof!)
IMG_2837

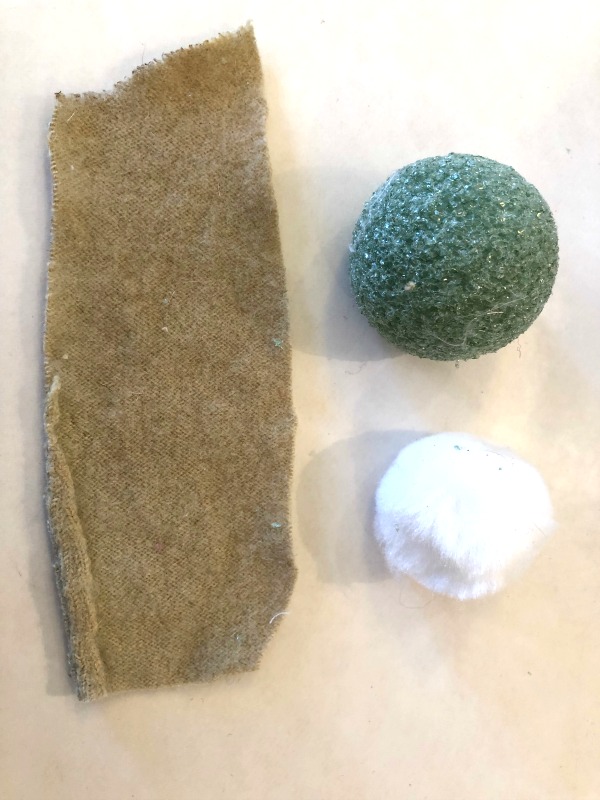
I started with a styrofoam ball, a rectangle of felted wool, and a pom pom.

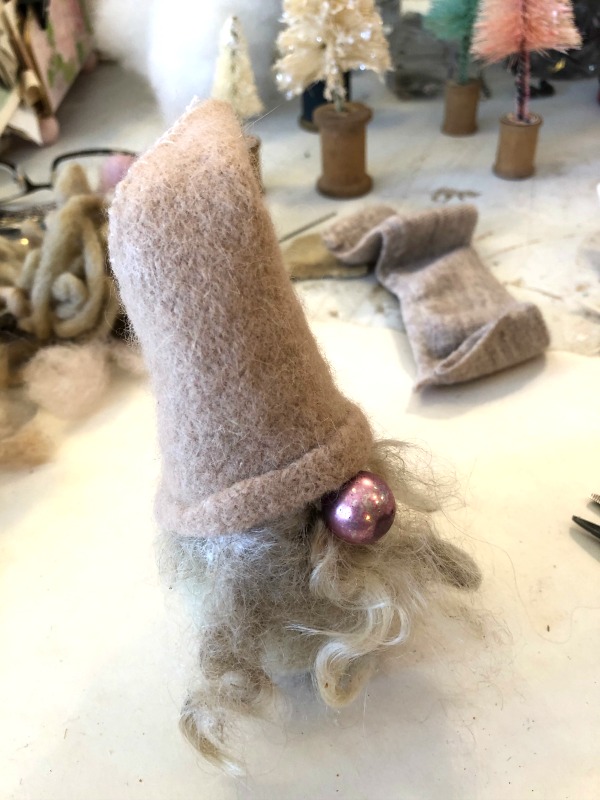
You could also use a wooden ball for the head, or a smaller styrofoam ball.  You can exchange the felted wool for regular felt or other fabric, too.  In the picture of the gnome trio, above, the red and blue are felt, the pink and tan is a wool sweater I got at Goodwill and felted. Either works.

Although, I noticed that my favorite glue in the world, The Ultimate, doesn't do as well on felt as it does on natural fabrics and I switched to FabricFusion instead.
IMG_2839

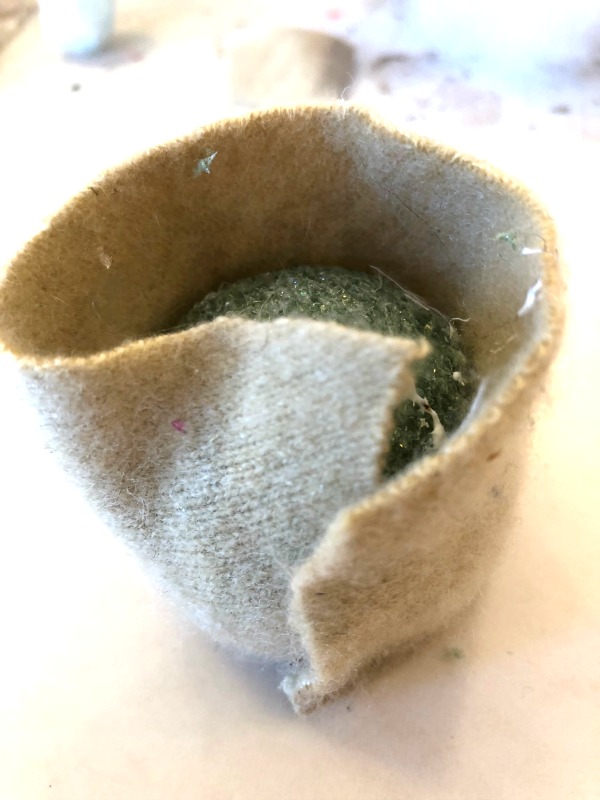
To begin, I sliced the bottom off of the large ball with a serrated knife, to make a flat surface that allowed the critter to stand up.

Then, I covered the ball with glue (NOT THE FLAT BOTTOM PART) and wrapped the fabric around it.

I pinch pleated and folded the top down, pressing it into the glue.

With scissors, I trimmed excess, top and bottom.

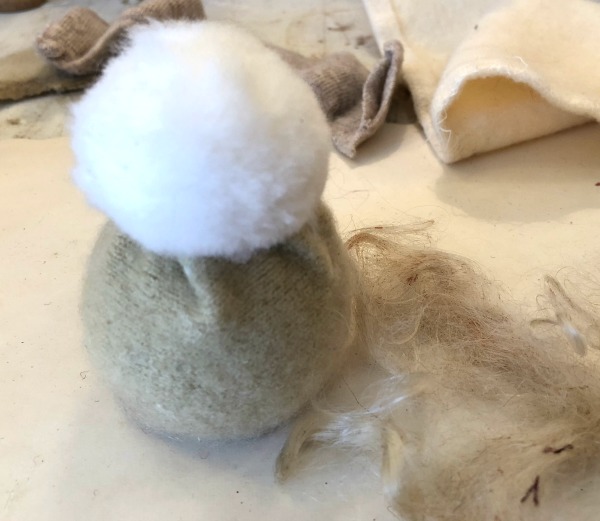
Next, I glued the smaller ball to the top as a head.
IMG_2841

On mine, I added the beard and hair (made of wool roving, found at Hobby Lobby or Walmart) at this point.  I discovered that it would be easier to decorate the torso before adding the beard, because I was holding the hair out of the way to attach buttons and a belt.

So, if you want the body decorated, do that first.  I'm afraid it doesn't really show much, if you have a glorious beard flowing down his belly, so the belt and buttons are sort of optional.

To add them, simply cut a string, ribbon, bit of twine, or whatever you'd like to use, to fit around his midsection. Glue in place, and top with something to emulate a belt buckle. I chose a small rhinestone cluster.  Then, add a row of buttons made from either actual buttons (the smaller the better) or beads, or crystals.  Do 3 dabs of glue down the center of his body, and place the baubles into the glue and you are done.

The beard is wool roving (or dacron if you'd rather) is pressed into glue on his face, and then arranged to look beard shaped.  Don't be stingy with it, these guys are just about lost in the hair.  Add some around the back of his head too, but not as much or as long as the beard on his face.
IMG_2842

I'm all about no-sew projects.  And no-measuring too. I found that the felted wool worked perfectly with gluing, but the regular felt did better with a bit of stitching.  It wasn't too much, so I struggled my way through it, thinking I was being really brave about facing my nemesis- the dreaded thread and needle- when my pal, Beth, took it away from me and quickly sewed it up.  I have a feeling that she really wanted to sew my mouth shut too, but settled for just fixing the hat for  me.

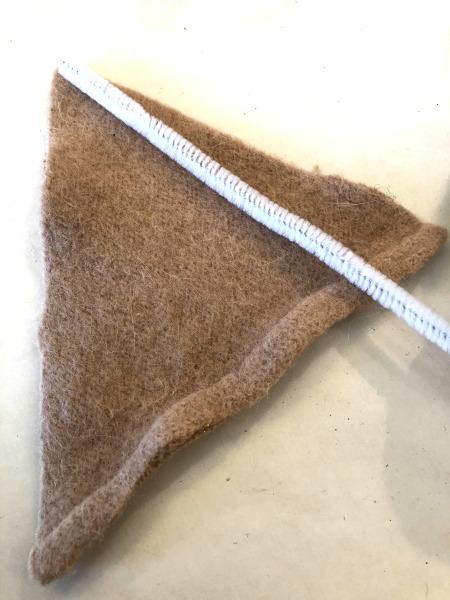
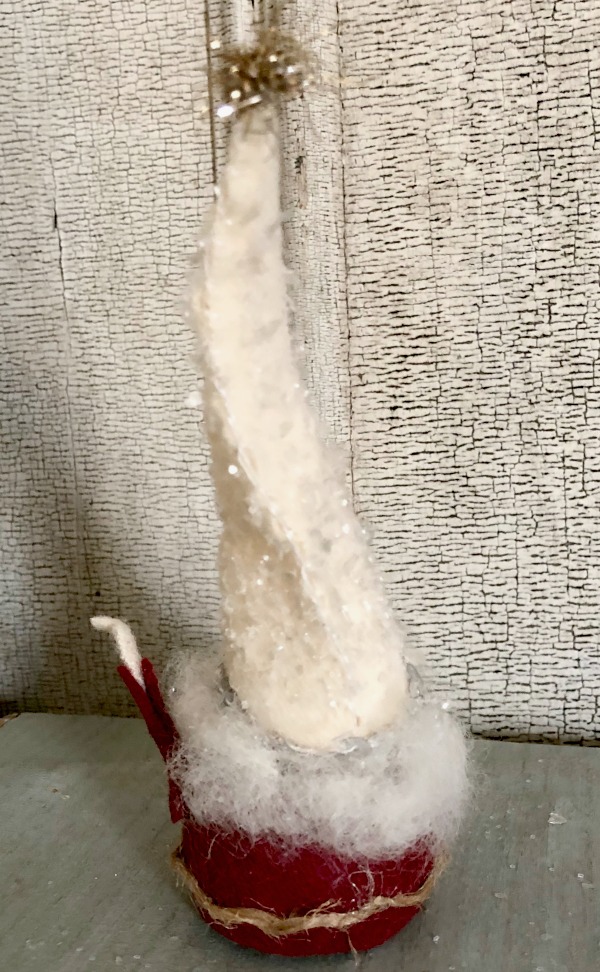
I like hats that are tall, and have a bend in them.  To get the bend, I glued a pipe cleaner inside the triangle I had cut to make the hat.  
IMG_2965

The triangle was cut extra big, and then held in place on his head to see about what size it should be, trimmed to fit and then put together (with glue or stitching).  After, I glued it to his head.  

Here is a back side of the red gnome to see how much hair I gave him.  
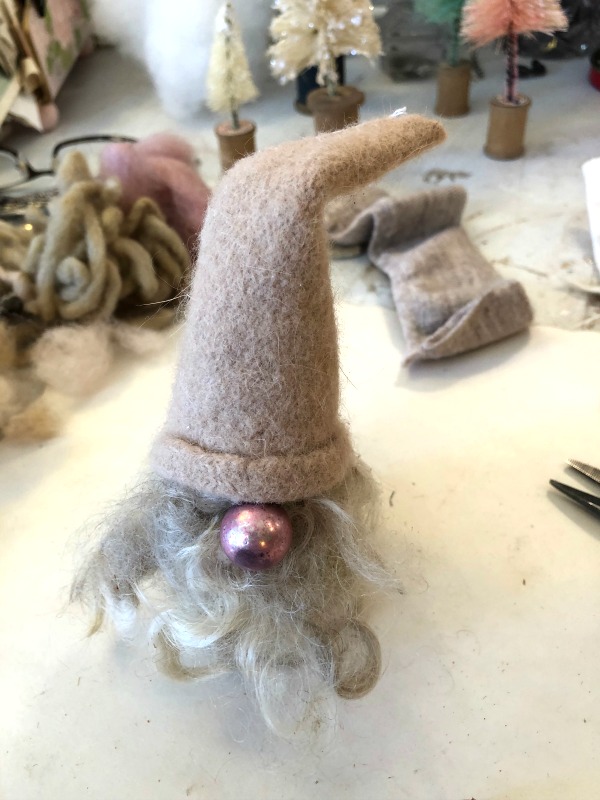
IMG_2843

As you can see, the face is mostly hat and hair.  

He has a small, vintage, shiny brite bead as his nose.

This hat has a rim that is actually the seam of the felted sweater, which was a serendipitous accident. I just happened to be using up little remnants of the material and this is what I had. 
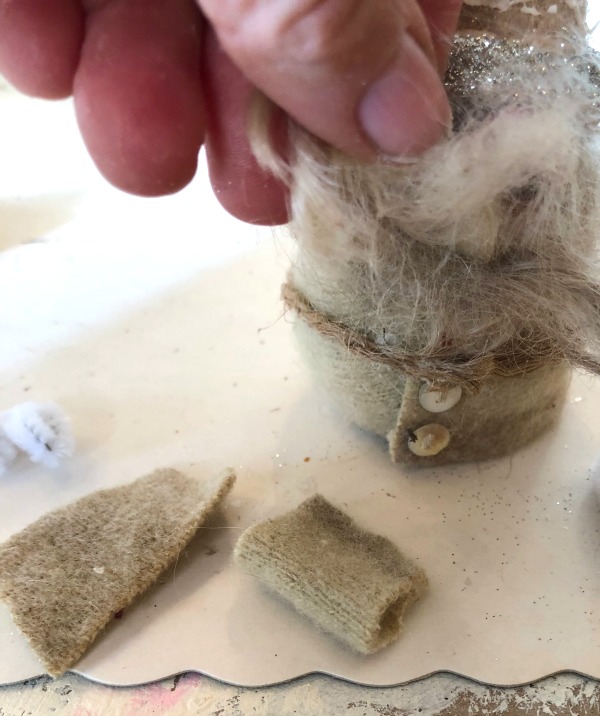
IMG_2875

The arms are little rectangles glued in half and added to the body.  I cut out mitten shapes and stuck them into the sleeve opening. Mittens are as simple as an oval with a thumb. If you aren't comfortable with that shape, a plain oval works too.
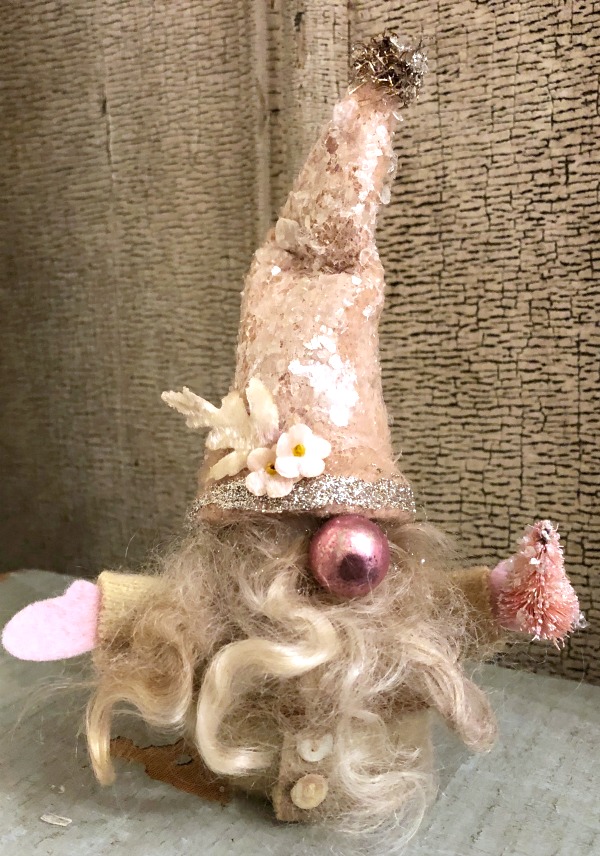
IMG_2880

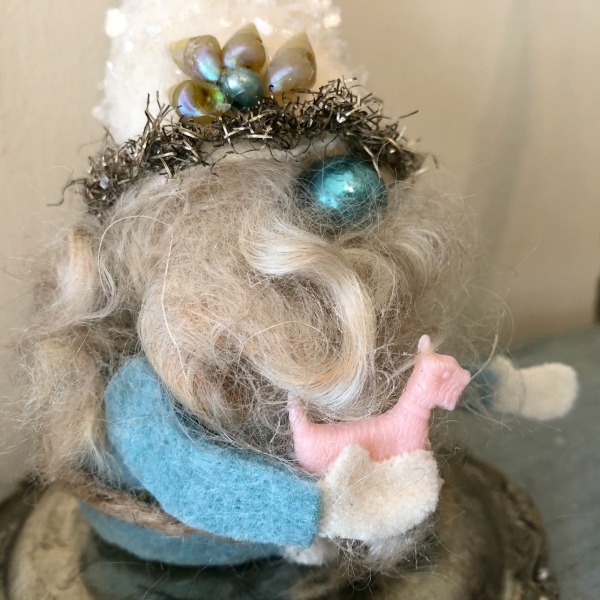
Left on their own, the arms will stand straight out.  You can glue something, like this mini tree to one.
IMG_2971

On this one, I glued a puppy charm onto his sleeve and glued it to his beard, so he looks like he is hugging his pet.

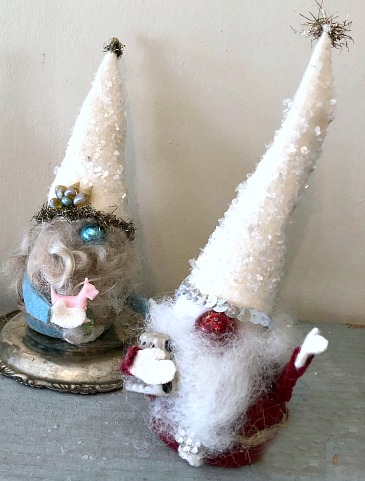
I've added mica flakes of glitter to their hats.  And trimmed some in tinsel, some in other glitter.  You can add a tiny jingle bell, or bead, or tinsel to the tip of the hat too.

(I gave the blue one some iridescent sea shells because he is a beach gnome for Sissy)
IMG_2968s

The red one for Guncle Randy, the Pet Butler, is also holding puppies and has a sequin trimmed hat.
IMG_2844

All of these gentlemen have a lot of personality and charm.  And are easy to personalize by your trimmings and color choices.  
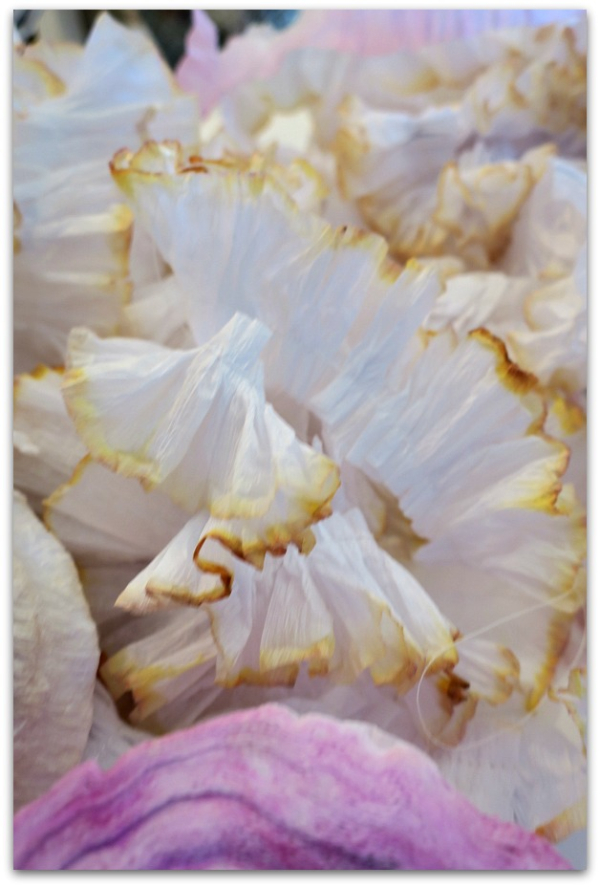
How to hand dye and ruffle crepe paper

Tutorials

IMG_3626

I have posted about how to do this a few years back, but figured it wouldn't hurt to write it up again, as I was in the process of making ruffles for my Valentine kits.

The color tipped ruffles are pretty any time of year, but seem extra fitting for holiday crafts.

IMG_3630

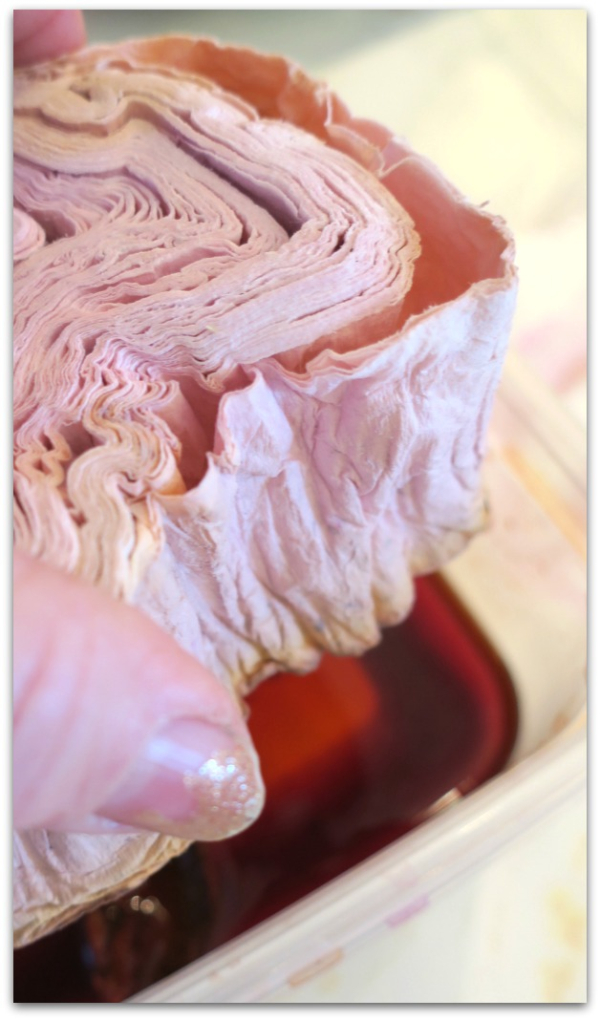
These rolls are from Walmart, about $1 each. I add some color to water (food coloring, teabags, dye, whatever you want to use), in  a  bowl just big enough for the roll to fit.  A few inches of water in a plastic tub that lunch meat comes in is great.  Or a cereal bowl.  Anything along those lines.  
Add more dye for deeper colors, a slight amount for softer tones.  You can add a little, check the color, then add more if needed.  It is best to start with a smidge of dye, and then pour more in if you'd like. If you get too much, you can always add water, but you might soon need to move to a bigger bowl  if you' ve added too  much color in the first place.
I like to dip a roll of crepe paper into clear water first, then the colored water. It will make for a softer tone.

You can also dip more than one color, or spritz the wet roll with Glimmer Mist for some sparkle.  

IMG_3631

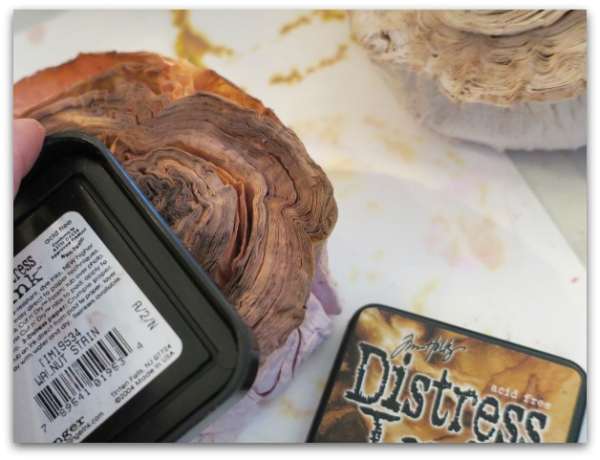
While the roll is wet, I rub an ink pad along the top ridges for more depth of color, and defined edges.
IMG_3628

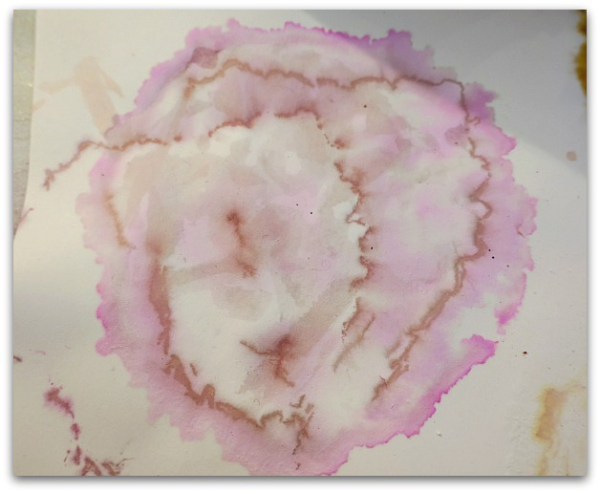
The rolls need to dry completely, and I give them at least 3-4 days.  And while dripping and drying, I set them, colored side down onto paper that I want to cut up and use in my art journals.  
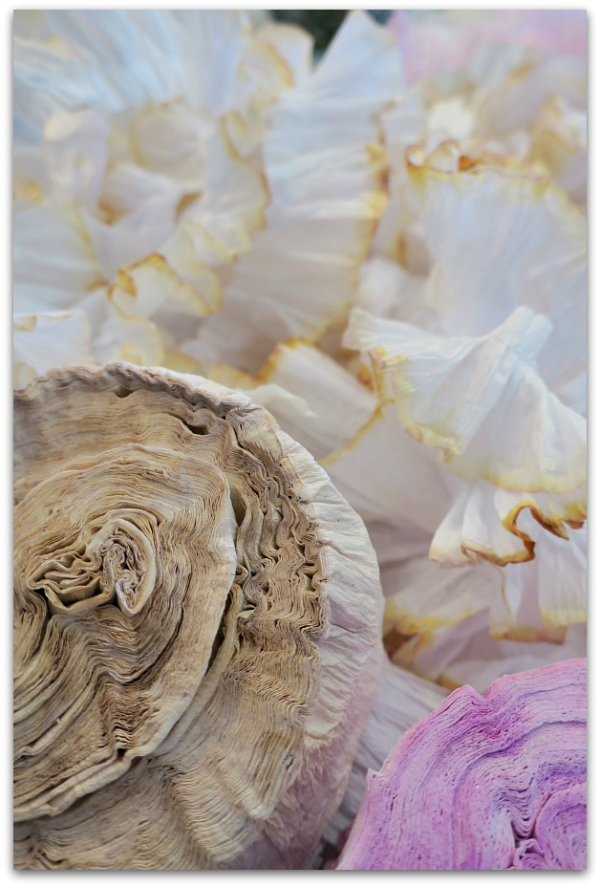
The imprint looks like a peony, doesn't it?

IMG_3624

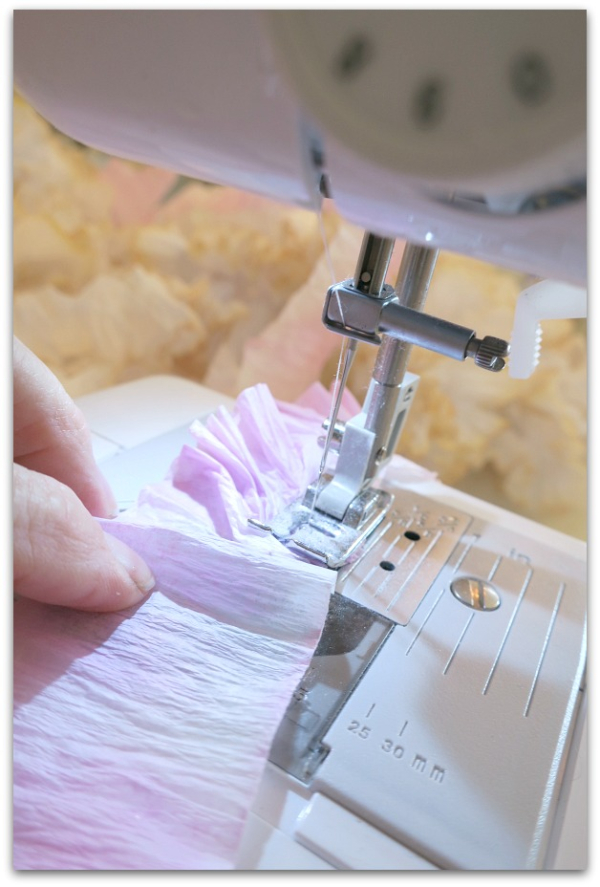
Once the paper is COMPLETELY  dry, I sometimes ruffle it by bunching it up as I sew along one side.

When you unroll the crepe, at first it will tear.  Try to smoosh the roll a bit to loosen it up, it dries a little crunchy and stuck together.  But once I squeeze it, and tear off a few outer wraps, it seems to always unroll just fine.

Often, I skip sewing and simply pinch and push the paper into a bead of glue on whatever project it is being used in. But for this batch, I took the time to sew the strips, so I could use the pretty ruffles in kits for the classes.

Either cut long lengths to sew, or unroll 5-6 feet at a a time while sewing. Try to keep it straight as you feed it into the machine.


IMG_3597

The cream ruffles I made today are for the back of the Love Bird tin.  But I like them all so much, I'm thinking about adding them to the kits for the candy boxes too. They'd make a pretty addition to the bottom of the heart shaped box, wouldn't they?

IMG_3625
 

Adult Coloring tips for the Downton Abbey art journal

drawing, how to's, swaps, Television, Tutorials

Coloring page downton sisters 040

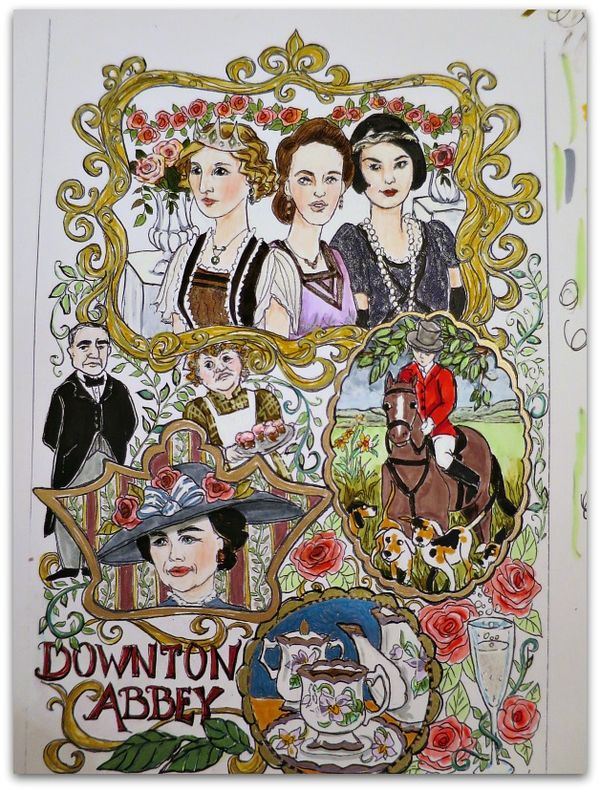
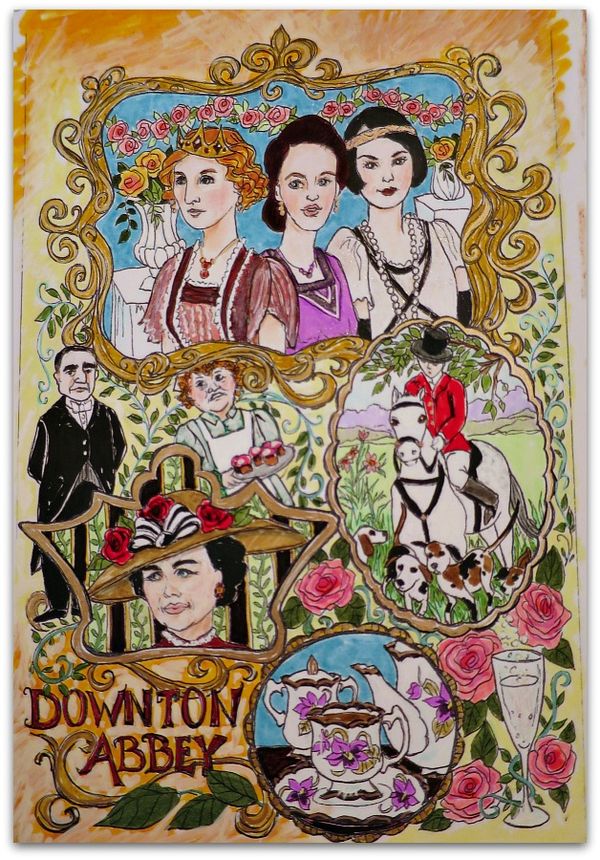
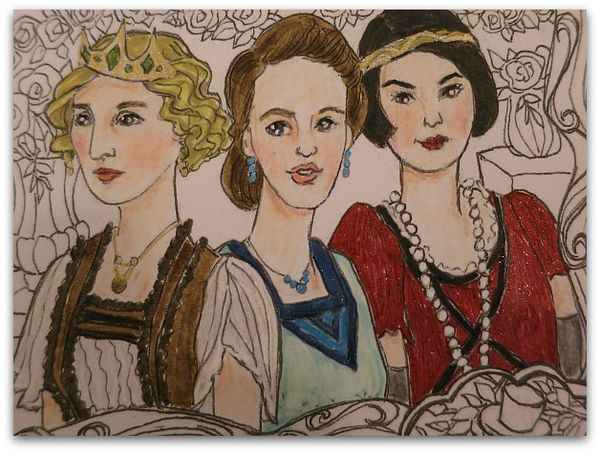
The second coloring page promised for the Farewell to Downton art journal swap is finally ready. It was something I thought I'd do on a couple of different trips, and I'd travelled with my drawing tools, but never opened them.  Once I got back to the comfort of my studio, I was able to make time to get some drawing done.

Here is one version of it colored in.

Coloring page downton sisters 041

And here is one more.  

There will be two different coloring pages included in the journal each participant will receive, and they will be loose pages. If you want to, feel free to scan them, make multiple copies and try different looks yourself.

Coloring page downton sisters 020

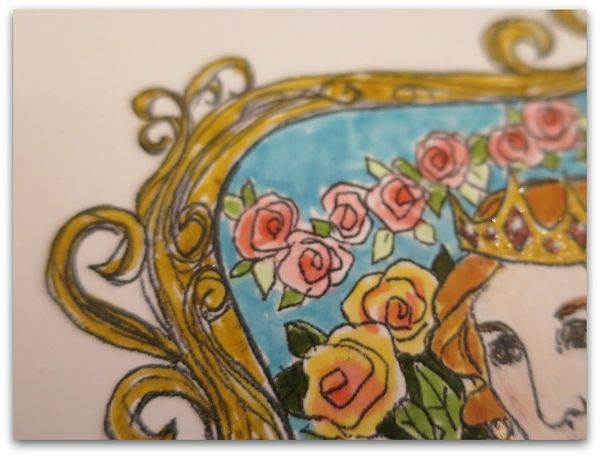
I thought I'd show a few in progress pictures of the pages I did.  For the frame at the top of the picture, I used a gold glitter as a base.

Over that, I highlighted with a gold metallic pen. (not shown in this photo)

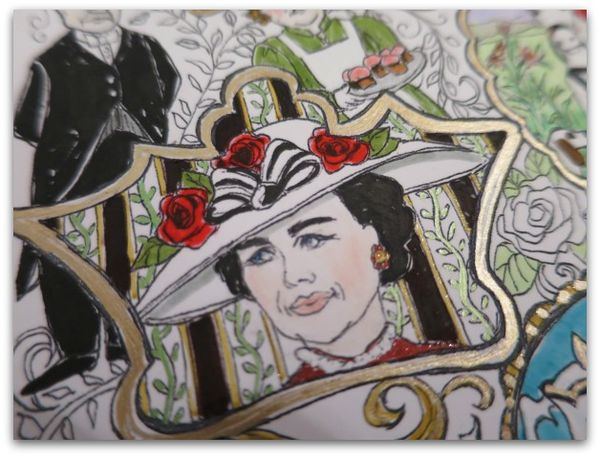
Coloring page downton sisters 022

 On this frame, I used the gold pen only.

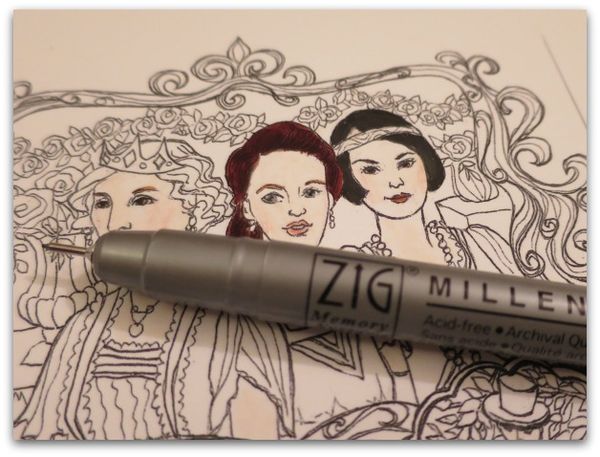
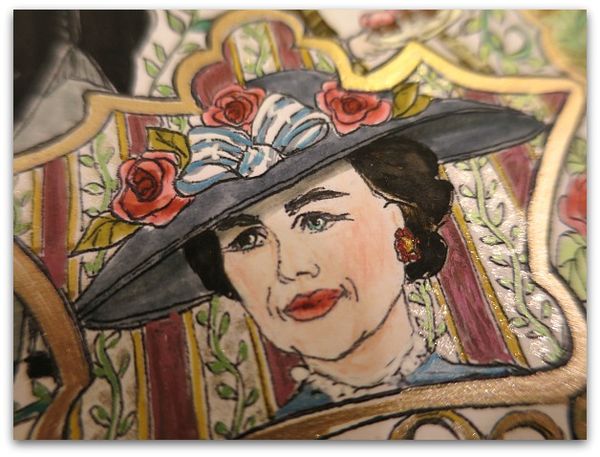
For me, a mix of metallic ink, glitter markers or ink, opaque white ink, markers, and a black liner pen to go over the drawing after it is colored all used together make the page more arty looking than just colored.  

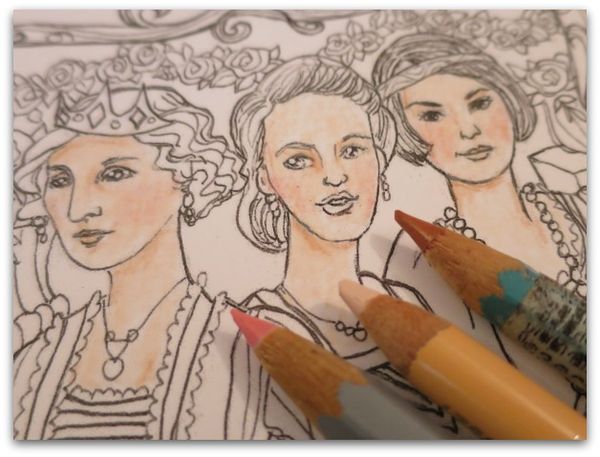
And I think that colored pencils make the faces much prettier than markers do.  It is a softer look for skin tones.

Coloring page downton sisters 027

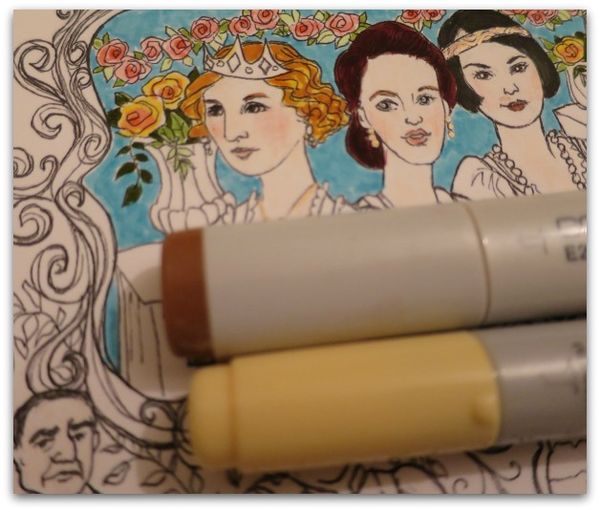
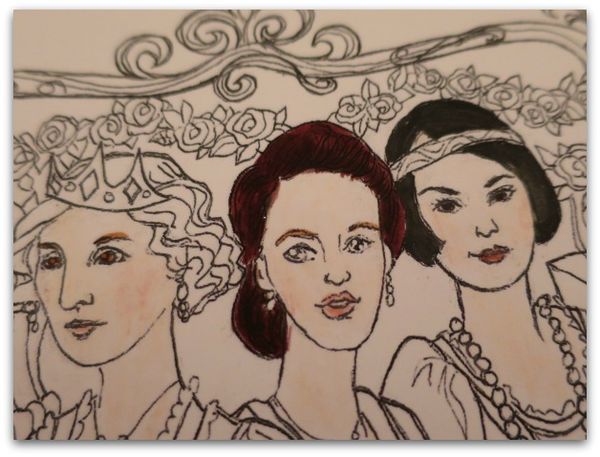
For these sisters, I used a tan/brownish, a peach and a pink.

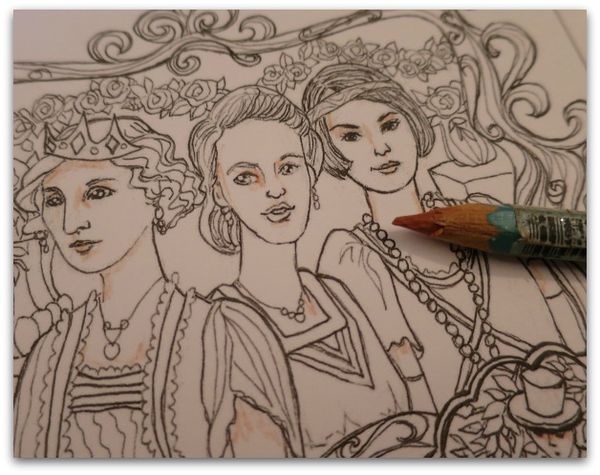
Coloring page downton sisters 026

The darkest color went where you'd see a shadow.

You can find more tips for faces here.

Coloring page downton sisters 018

For pretty hair, I like to use at least two colors.  The lighter the hair, the more important this is, like on Edith's head. But even Lady Mary got a dark brown with a black marker over it.

Coloring page downton sisters 015

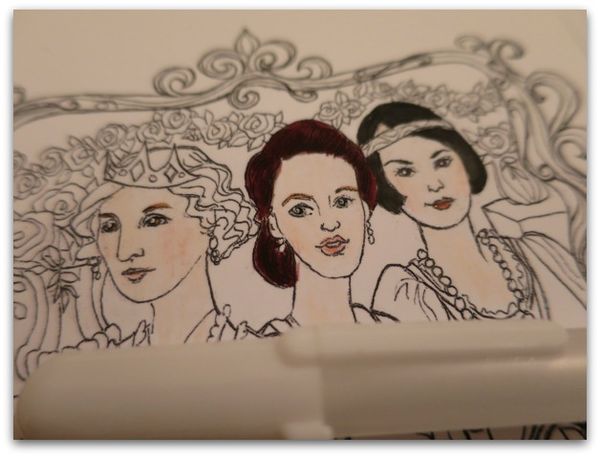
When I color in the eyes, I can lose some of the drawing, so it needs to be added back in.

Coloring page downton sisters 016 Coloring page downton sisters 017

First with a black detail pen to redo the pupils, then with a white opaque pen to add the highlights.

Coloring page downton sisters 029

Much better after those details are added to the eyes.

Coloring page downton sisters 037

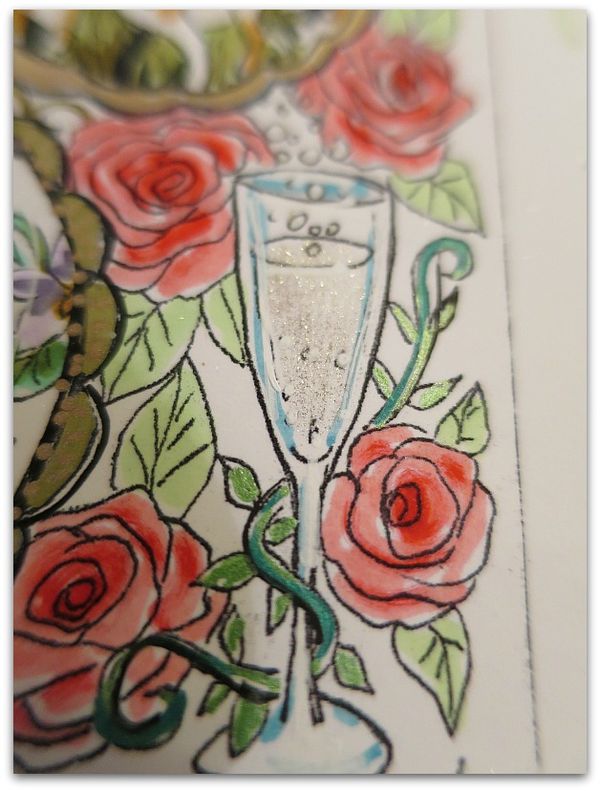
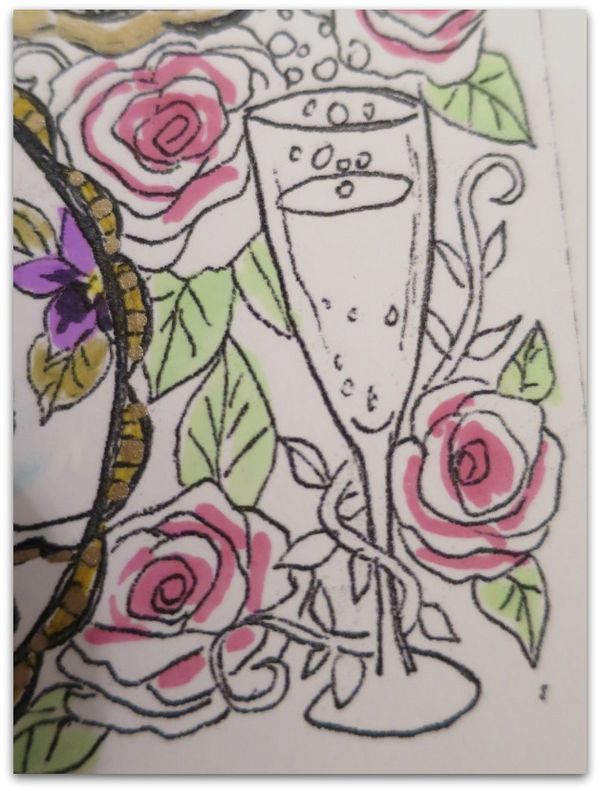
The champagne glass was done with the world's best pen, Gelly Roll Stardust Glitter, in clear. That was used on just the wine and the bubbles, then I shadowed the glass with light blue and highlighted it and the bubbles with opaque white.

Coloring page downton sisters 024

These larger roses got a teensy bit more detail than the roses at the top of the page. All were done as I described in this post, But for these, I was more careful with where the darker colors went.

 Instead of just blobbing the rose color onto the center of the flowers, I tried to find the shadows on the inside of the petals.  Still, it was a quick process, and not a lot of care went into it, blending over the dark color with a softer pink, then adding one more dark tone to the very center evens it out and makes it pretty, without trying to be too perfect.

Coloring page downton sisters 039

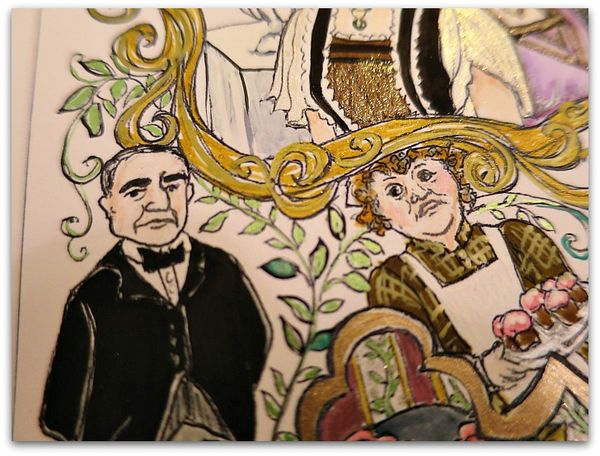
For myself, the most complicated part of this page was the black on black of Carson's uniform.  You could get around this by using gray if you'd rather. Black marker tends to cover up the entire suit and you end up with a big, black blob if you aren't careful. 

To avoid this, either use gray marker, or black pencils, or do as I did, and only draw with your black marker up to the very edge of the lines, leaving a margin of white.

Coloring page downton sisters 035

Leaving some white showing throughout the drawing is very important. If you saturate every tiny bit of the paper with color, it will look flat and dead. Going back and adding highlights with a white opaque pen is good to do, and sparkles of glitter help too. 

But, with this kind of coloring, leaving some white, really makes the page look better. You can be precise like I had to be with Carson's suit, or you can just have "skips" in your marker lines.  Or purposely leave areas the white of the paper as a color choice.

Coloring page downton sisters 030

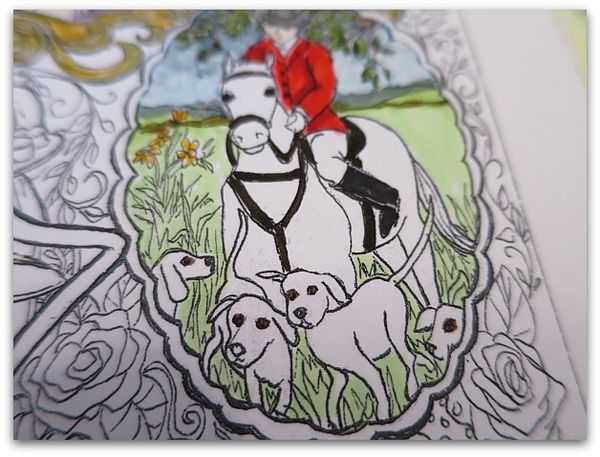
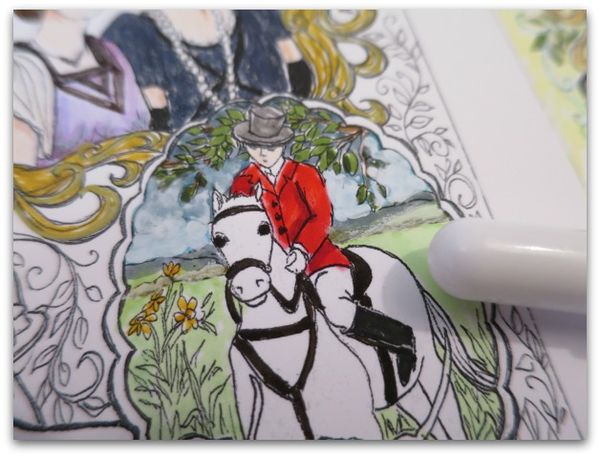
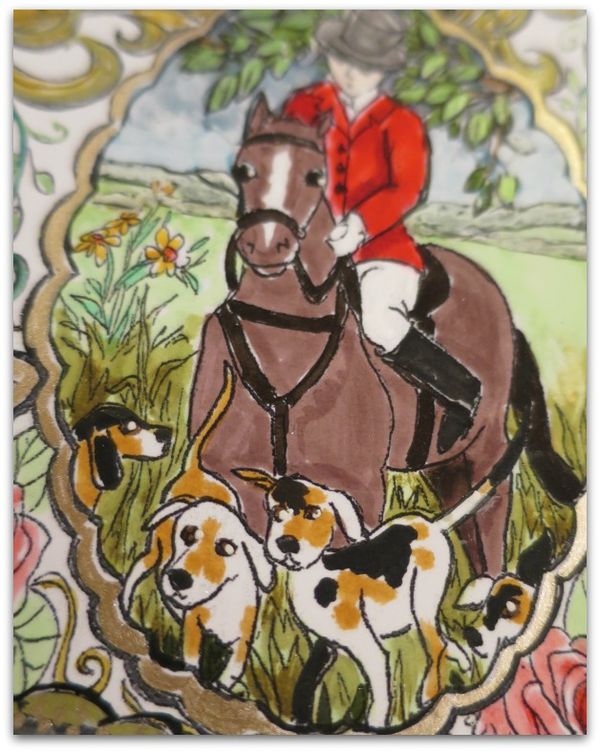
In the fox hunt scene, try to remember that colors in the distance fade and are softer than in the foreground. (at this point, the foreground is just background colors, I added deeper tones to the grass later on)

My distance colors were too dark, and tried to fix it with a white opaque marker.


Coloring page downton sisters 031

That helped a little.  But it would have looked better if I'd just remembered that hills and trees far away would be pastel colors.

Coloring page downton sisters 032

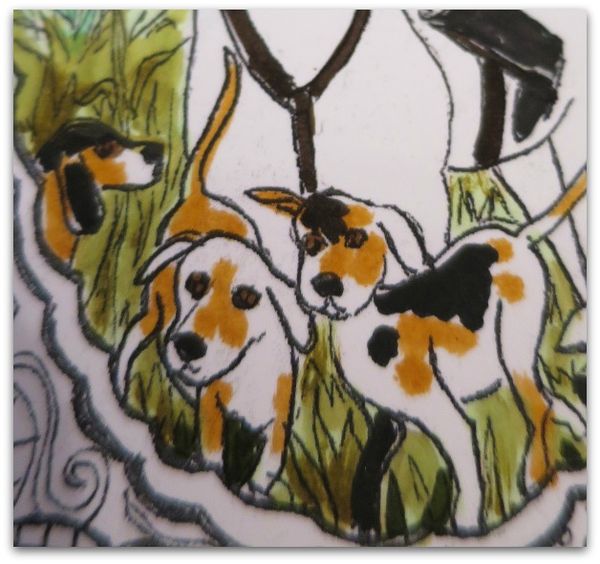
For the hunting dogs, I added random spots.

Coloring page downton sisters 036

Oh, and don't forget that the animals' eyes will need a white highlight after coloring them.  

Also, the horse can be a danger zone for becoming a big blob, like Carson's suit.  To avoid this, don't try to do a black horse unless you go with brown boots and tackle.  I kind of like the horse I left white the best.

Trying different looks was addicting, I've colored about four of these now.  If you are in the swap, I hope you will scan your black and white drawing before adding color, so you will be able to print more to color and play with.


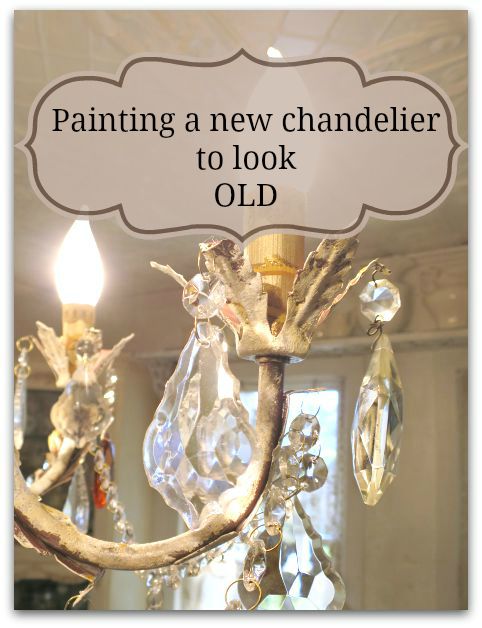
Painting a new chandelier to look old

how-to projects, Kitchen remodel, paintings, Tutorials

Fall decor 011

In the past, I've shared how to paint a vintage, brass chandelier.  It was the one I had hanging in my kitchen before this one. And I still use that technique when I want a full coverage for whatever I am painting.

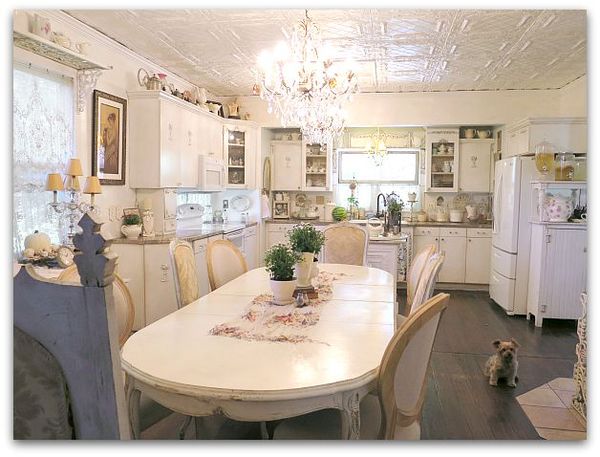
But for this project, I wanted a different look.  I was replacing two chandies in the kitchen with twin, new, dark copper colored fixtures from Home Depot.

Fall decor 068

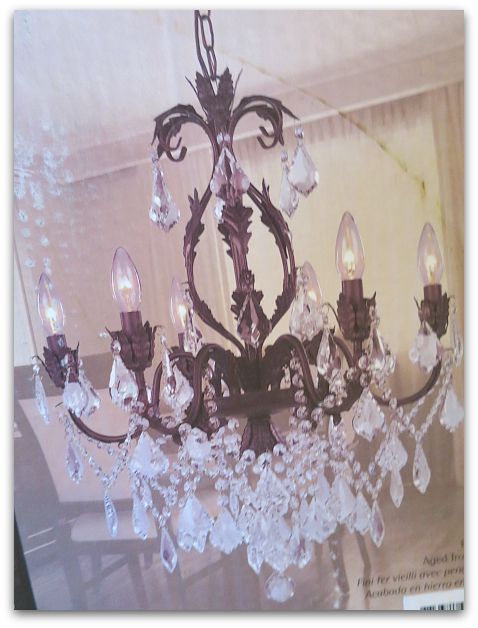
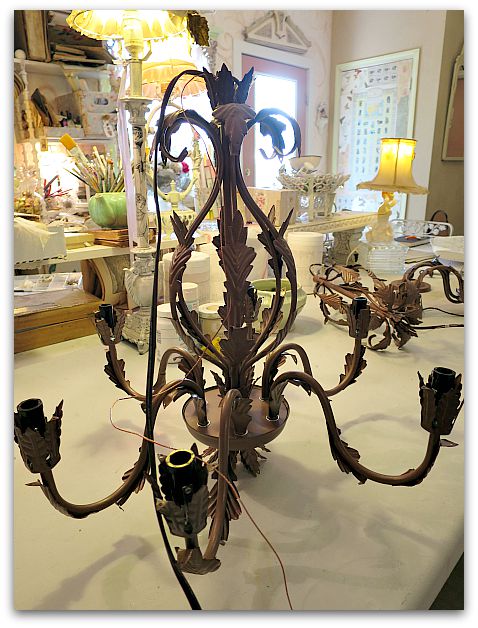
Here is the picture from the box. When I ordered them, I thought I'd like to have the dark bronzey, coppery color as a contrast to my all white kitchen.

But not only did I decide that they were a little too dark, I thought they looked a little… cheap.  After owning a heavy, old, solid brass chandelier, this paper thin metal one was a bit of a come down.  I hoped layers of paint would give it some depth plus keep the contrast I wanted for the room.

Fall decor 057

I'd called the electrician to schedule getting the two lights hung up, just to find out that he had a cancellation that day and could be out that afternoon. 

Ooops.  Too soon! They weren't painted yet. I didn't want to miss the chance to get them up right away, so I looked around to see what I had to work with.

Now, you might remember that I have complained about Chalk Paint. Actually saying that I would never use it again.

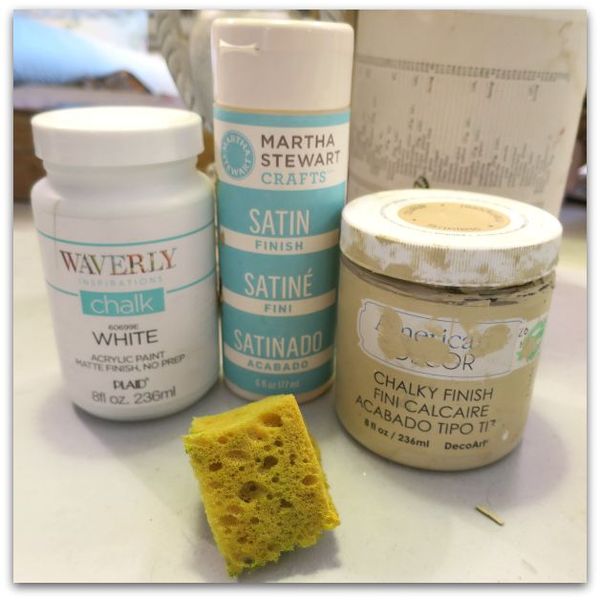
Well, I've discovered that it has its uses here and there. I won't use it for large pieces of furniture due to expense, but I have learned that if you buy the small bottles at Michaels or Hobby Lobby with the 40% coupon, it is affordable for small projects.

It always needs sealed with wax or clear coat. I still dislike wax, but am happy with the results of adding a clear coat.

Fall decor 059

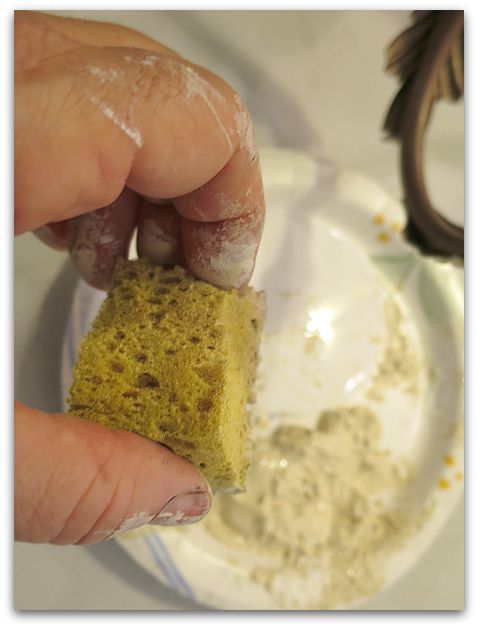
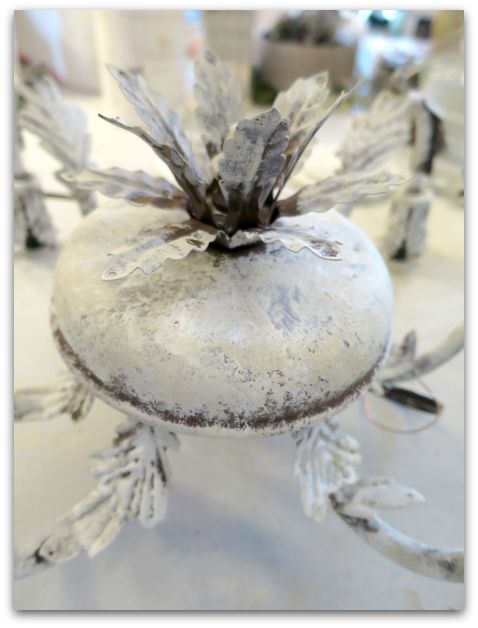
And for this project, I didn't have time to prime. So, I sponged on cream and white chalk paint.

Fall decor 065

While sponging the two colors together, I was careful to dab a small amount at a time so that the two colors didn't blend completely as I worked.  

I left the crevices dark, not smooshing my sponge down into those areas.  Chalk paint is a good choice for a project like this, since you don't need to prime first. If I'd had to prime, it would've been hard to leave the original color peeping through.

TIP- Being a perfectionist isn't helpful, being a messy painter and a bit slap happy with the paint is a plus on a project like this!

Fall decor 066

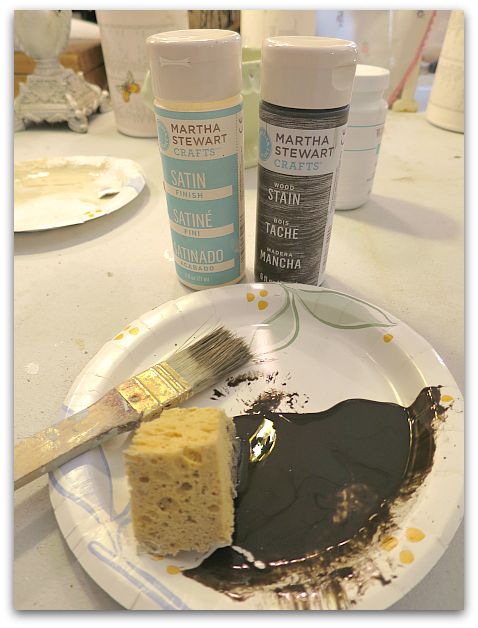
After that, I brushed on this water based wood stain that I had left over from painting my cabinets.

Fall decor 067

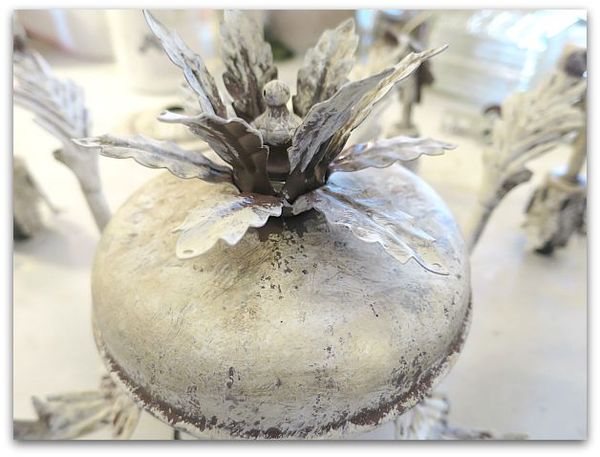
The stain is brushed on haphazardly into the dark areas and here and there on the sponged areas, and wiped off.  

Then it was covered with a clear, water based. top coat.

By starting at the top of one, working my way through it, turning it as I painted to get every angle, then doing the same with the second one- the first was dry enough to glaze as I finished the second. Same thing with the top coat, the first was ready to seal by the time I finished glazing the second. I was able to get both sponge painted, glazed, and top coated, then set out in the sun to dry in under 2 hours.  

And both were ready for the electrician when he arrived.

Fall decor 010

Don't forget to sponge paint the chain too!  I'm considering whether or not to add some paint to the cord… It doesn't bother me that much like this. But I'm still thinking about it.

Fall decor 009

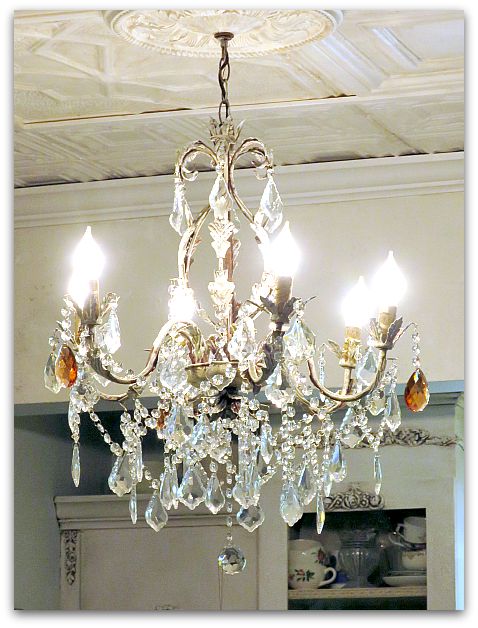
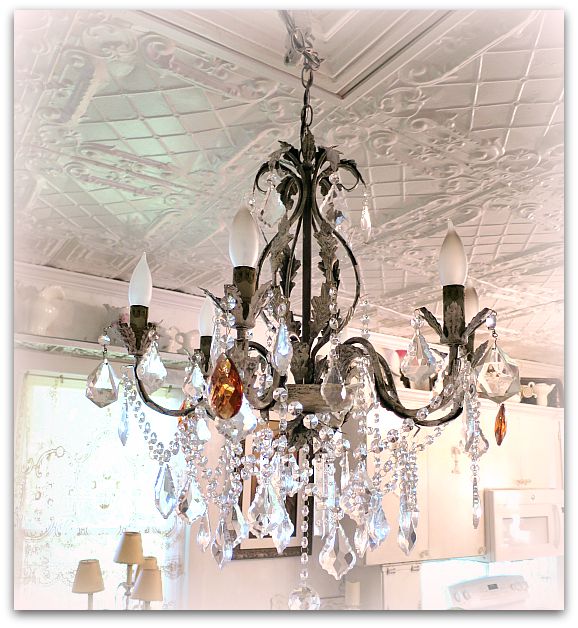
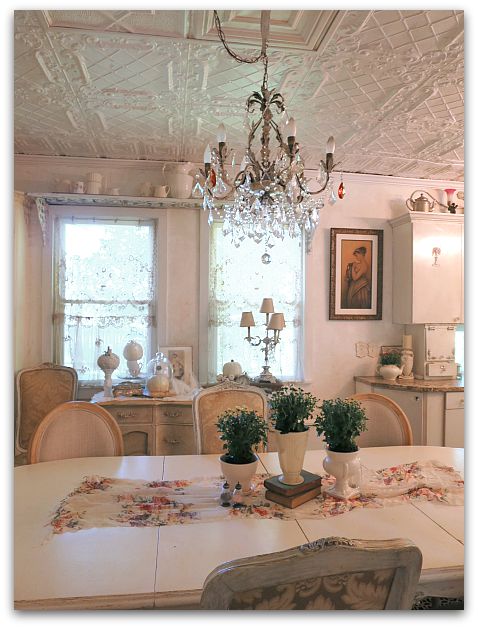
The results were just what I wanted, not as white as my old fixture, and with a hint of the copper showing under my muted white and cream. It is darker, but not starkly so.

The paint makes the light look more substantial and certainly not like it was just shipped from the factory.

Fall decor 058

Here is another before picture.

Fall decor 075

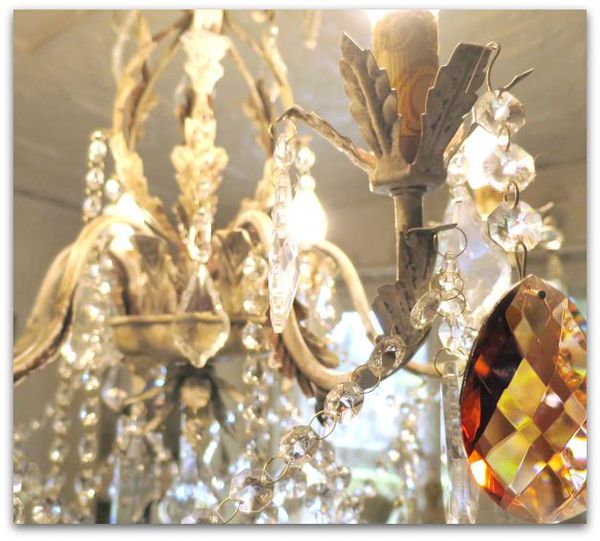
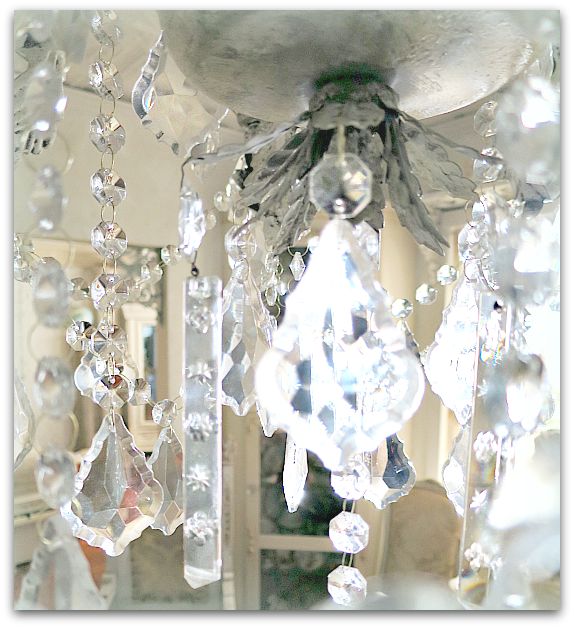
The light came with a lot of glass drops. Not crystals, I could tell the quality wasn't quite as high as the ones I'd had before.

Fall decor 074

So, I added a mix of the older ones in with the new ones.   Including 3 deep colored, large ones.

Fall decor 084

Ahhhh, that's better!

Fall decor 076

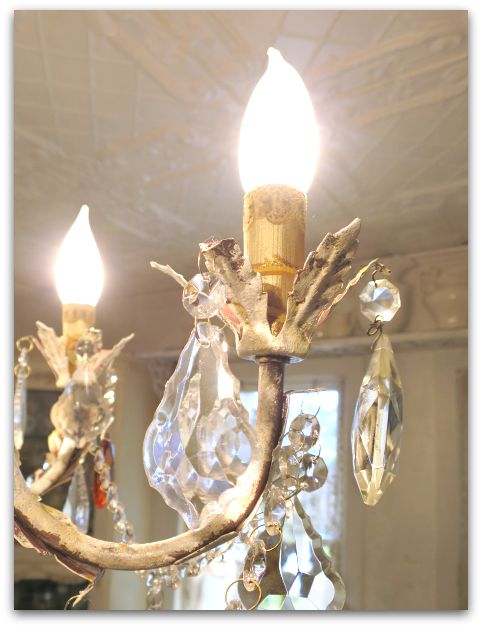
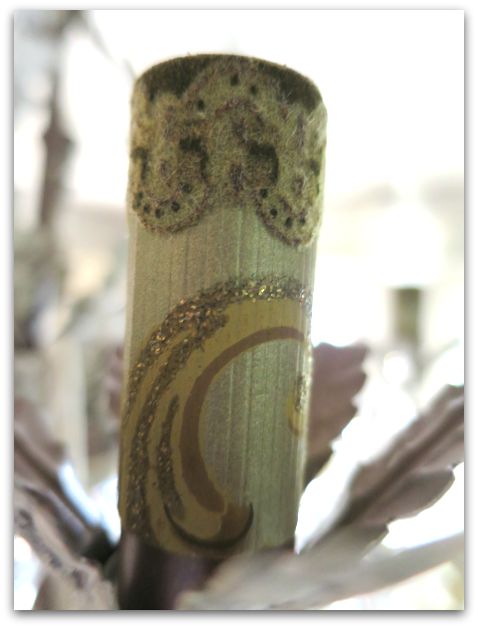
The tubes that slide over the sockets were glaringly blah after redoing the rest of the piece, so I glued vintage wallpaper to them. I thought about sheet music, and might try that another time.  It is simple to slide these off, peel off the paper and glue another type onto them instead.

Fall decor 028

It is honestly a relief to have brand new fixtures with no wiring worries up in the room. The older chandeliers had arms that no longer lit up, and didn't hold as many bulbs. So, when not all of them worked, the room wasn't very bright.

Each of these lamps holds 6 working bulbs.  Very nice!  And I can now re-wire the vintage fixtures for use elsewhere if I decide to.  In the mean time, this was a quick, easy, and pretty affordable redo that still looks nice in my vintagey cottage.

Fall decor 075s

Scroll to Top