Tutorials

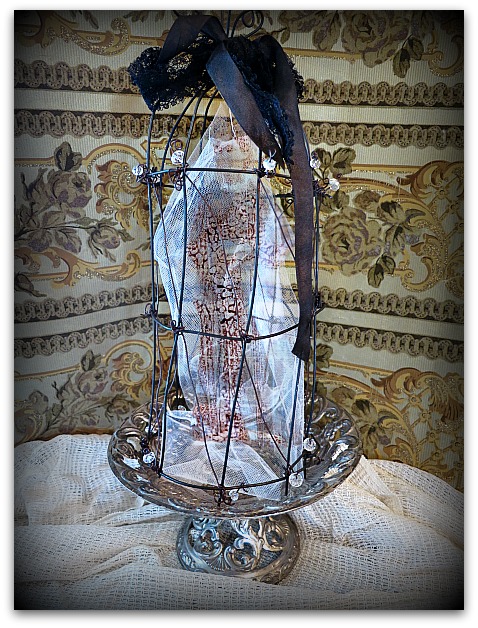
Halloween birdcages

flowers, holiday decor, Tutorials

Wreath halloween 037
As a thanks to all of you who have purchased my online tutorials, I've added a few more ideas to the classes, all in a Halloween theme.


Wreath halloween 033

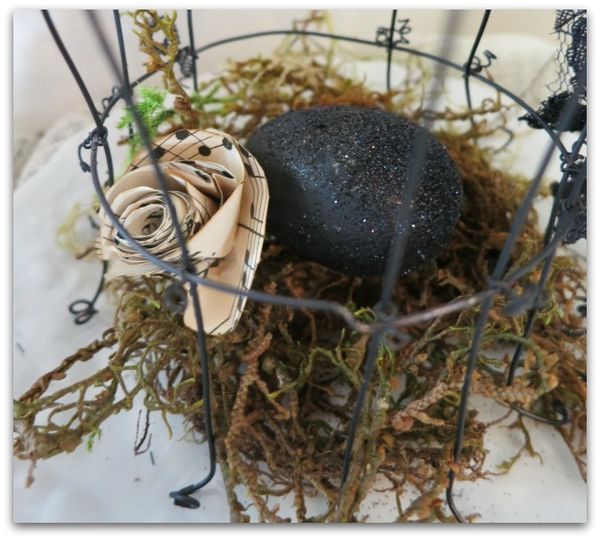
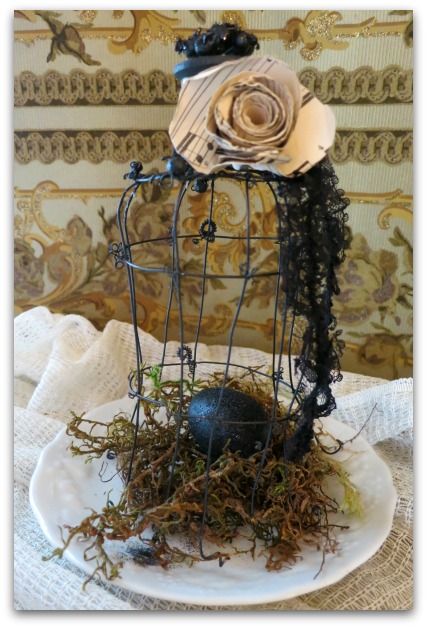
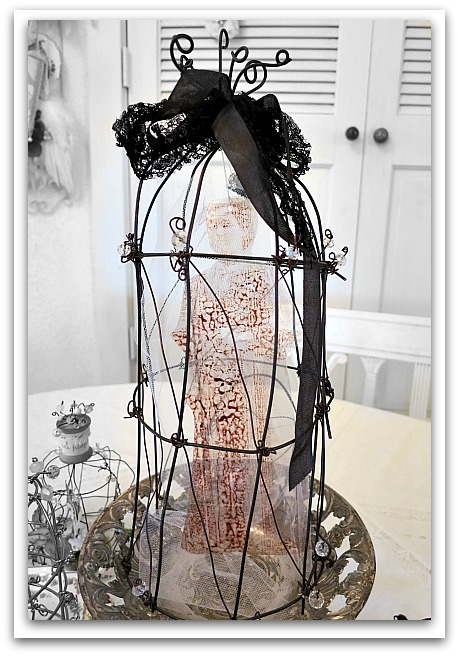
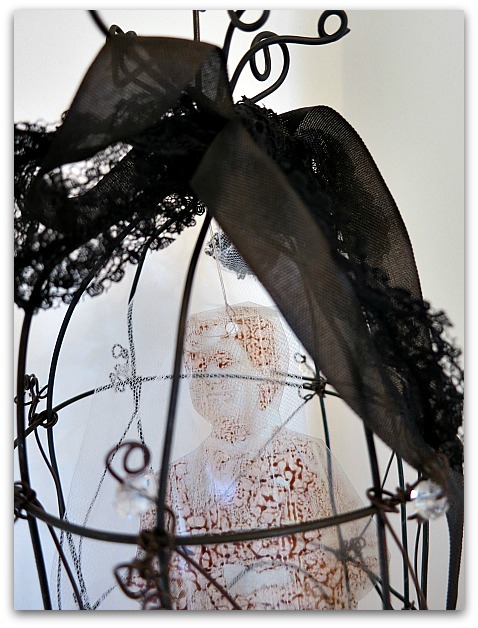
Including instructions on how to make captured ghosts to fill the wire birdcages from this class.


Wreath halloween 048

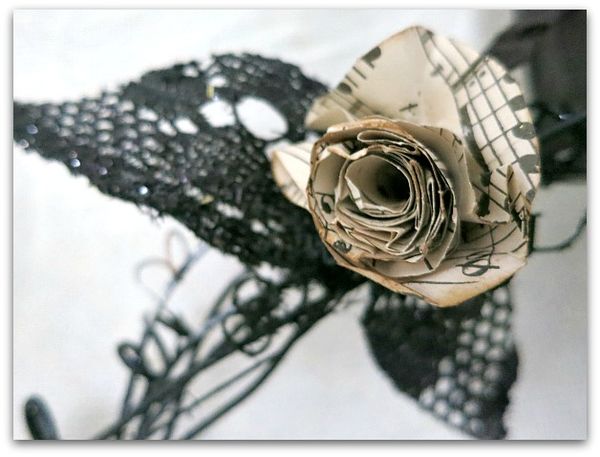
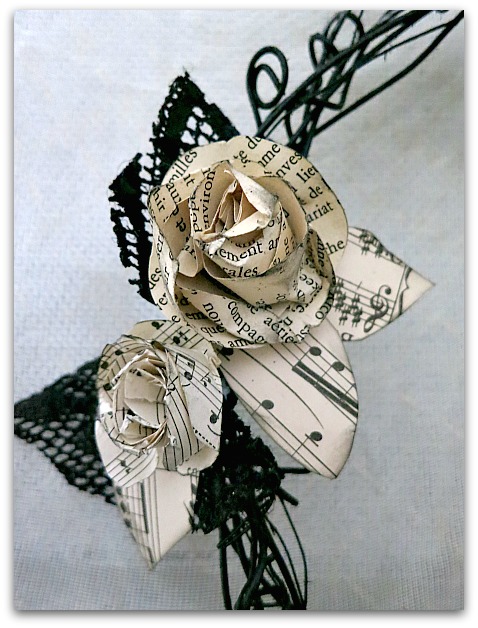
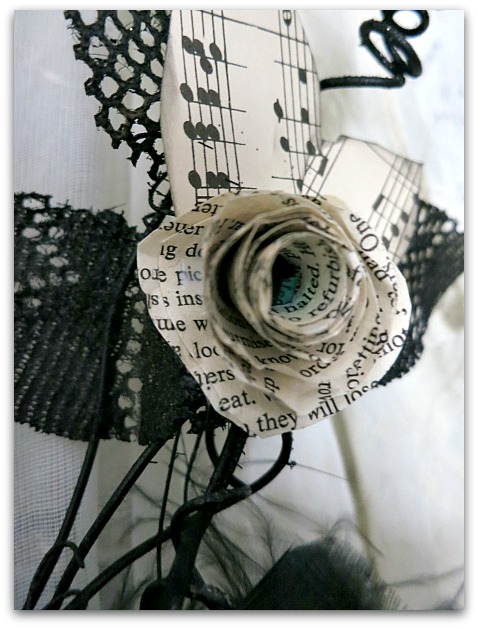
And paper roses that are pretty on all the wire projects.


Wreath halloween 046

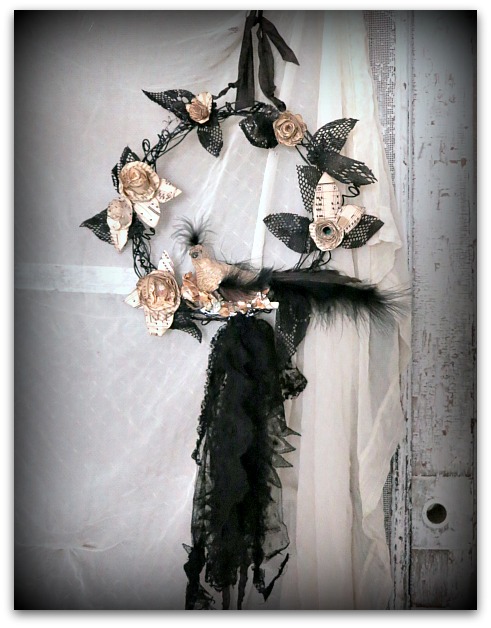
I've also redone one of the wire wrapped wreaths in black and white.


Wreath halloween 031

It's not too early to be ghoul crafting and getting ready for the upcoming spooky season..  But there is no reason to be all orangey about doing it.  I like holiday decorations that will fit into any color scheme of a home. Like Beth and I created for our Romantic Gothic Ghosts class.

I've got a slew of tutes, most are listed here. Some free, some for sale.  I am adding a fairy and an angel dress form to this class too.   When I come up with a new idea for an existing class, I enjoy slipping it into the workshop for you. If you can't remember the passwords, feel free to contact me. People do it all the time.  These classes are going to be up and available as long as I have a Typepad blog, and you can pick and chose projects from them at your leisure, no hurrying to keep up or waiting for the next instructions.

Wreath halloween 042
Wreath halloween 052
Wreath halloween 050
Wreath halloween 036
Fairiesand stuff 030
PS-Leave a comment on this post, if you would like to enter my two giveaways.  I'm away at the moment, but will draw names after Labor Day weekend

Sparkles is purdy

celebrations, holiday decor, Tutorials, Workshops

Lunch with carol 006

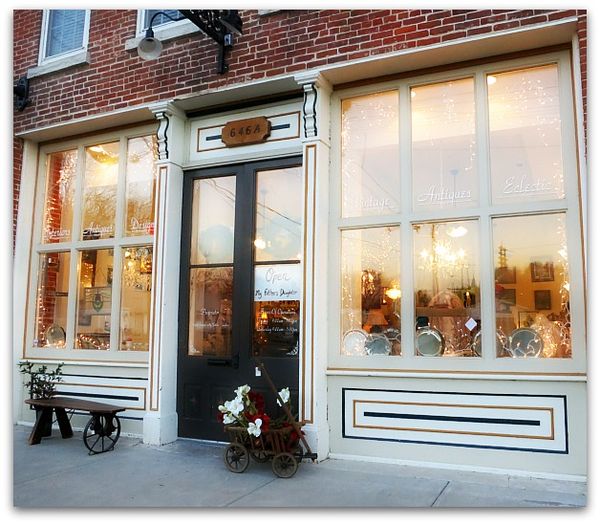
When I did a little make and take of Christmas stars at my friend, Angie's, store, I had a lovely evening.  Her place was so festive and pretty for the upcoming holidays. I got there just as the sun was deciding to set and there was a soft glow of lights coming from the shop windows. Yep, just lovely.

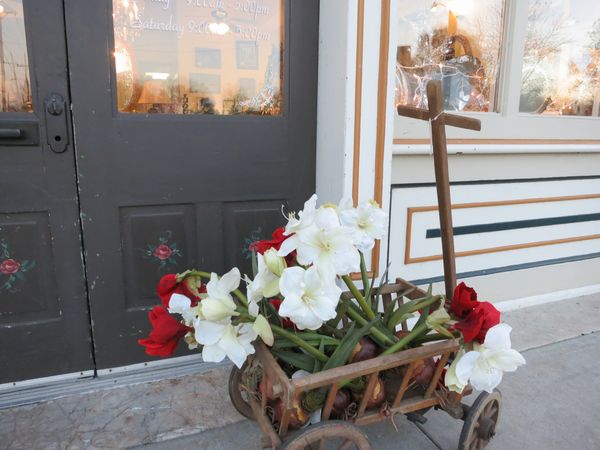
See the flowers on her doors?  Years ago, when she first rented the place, I surprised her with  little rosebuds on the door panels.  I came by when the place was closed and whipped out a few roses as a welcome to the new place.  There aren't many people you could do that for, just randomly show up unannounced and start painting on their building, but I knew her well enough to know she would like it.


Lunch with carol 004

We used to work together on projects in the past, she'd hire me to paint for her, and I'd invite her to be a  part of the antique shows I used to have at my house.   It had been a while since we'd done a project together, so I was really looking forward to being at her open house.

There wasn't much traffic at all for my little make and take, but I still had a great evening.  Its nice just to have a reason to hang out with good friends and pretend that its "work" so that you have to be there.  And she is a nice person to hang out with.


Lunch with carol 001

The same day, I meet up with some other friends that a good to spend time with, Debbie, Carol, and Amy.  We are all going to speak at Carol's workshop for creative businesses.

They are some seriously fun and friendly people, who are also very successful in what they do.  I was a bit overwhelmed after our discussion about what we were going to say during our talks.  Amy has written many books, owns a couple of businesses, Debbie is a nationally known stylist among other things, and Carol's store and photography business are gorgeously done. All are quite knowledgeable.

There was lots of talk of business practices, employees, and other professionally sounding things  like power point and publishers and such.

What was my contribution?  It kind of sounded like this:

"Me like purdy stuff"


Wreaths 004

Yep, a bit out of my league with these ladies.

The talk is sold out, and Carol has a long waiting list of people who want to come. I certainly don't want to disappoint anyone. I'm better at making things than talking about my so called business. 

So, what do you think? If you were attending, what would you like to hear?

Carol is letting me do a small craft along project, that will later be used as props for her photography styling talk.  I'll be happy to have that to do, but I'm also talking about blogging and tutorials as we work on our sparkly make and take doodad.

If you were coming, what would you like to hear about blogging or business from me?

Besides, "Me like sparkles. Them is purdy"

Just another reason why its a good idea to purchase someone’s tutorial

holiday decor, the Boutique at Karla's Cottage, Tutorials, Workshops

Wheelbarrowbaby 025
Don't you just love tutorials to stimulate your creativity?

My pal, Dawn, has a good one going right now.  But I have a confession to make.


Wheelbarrowbaby 026

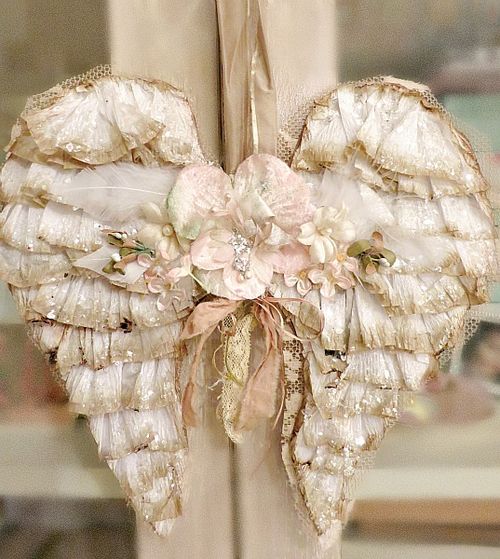
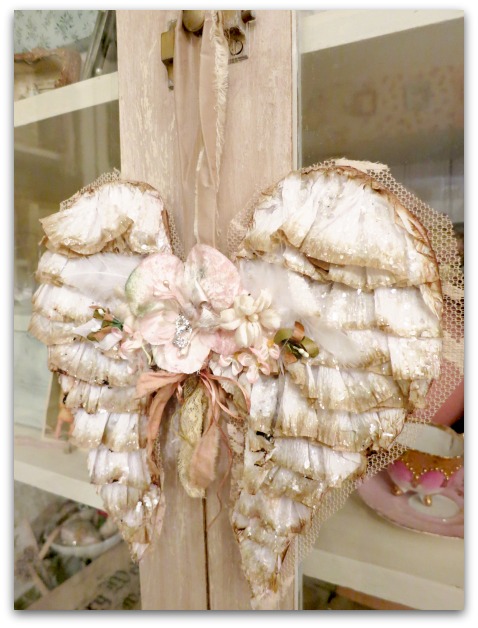
My BFF, Beth, came over for craft day after purchasing Dawn's tutorial and was making wings while I worked on other things.   I kept watching her and was intrigued.  I thought I'd whip up a pair myself.

No, I didn't purchase the tutorial.

I kind of glanced at what Beth was doing and "winged" it myself. 

Well, I learned a lesson. The reason you PAY for a tutorial is because the person who wrote it, already worked out all of the kinks and came up with the best way to make the project. She includes tips and tricks that she has learned along the way.

Mine were a mess.  I didn't follow the steps and when I got them put together, they were a floppy, sad, droopy pile of wrongness.


Wheelbarrowbaby 027

I ended up having to redo them and go through a lot more steps (in the wrong order) to figure out how to fix them so that they didn't look like they were made of wilted lettuce.

My plan was to do something inspired by Dawn, but not by copying her.  I used different materials and my own patterns.  And I wasn't even thinking that it might not be the polite thing to do.

If I was smart, I'd have paid the $5 and did it correctly the first time. 

Not only did I make them wrong, I started to feel bad, like I had been stealing from a freind.  She did all the work to create the art, and the instructions.   I sell tutorials myself, so I would be sad if I saw a friend's blog filled with projects she had taken from my offerings.

I didn't mean to be dishonest, I was  just tempted by how pretty Beth's turned out and started to make some myself.  But, its a tough art world out there and we should support each other, not take advantage.


Wheelbarrowbaby 028

So, I've paid for the class now and feel much better. $5 isn't much to spend to ease my conscience and do right by a friend.

That said, I want to say that if you purchase one of my online classes, I don't mind if you make projects with a friend. I would hope that you wouldn't pass the codes on to others, I do want to sell the tutorials.  But it is reasonable to expect that you might share with your pal if you guys are working together. I wouldn't be upset. 

Still, I felt like I owed Dawn the five bucks and I was happy to send it to her.  I'll be making more of these pretty sets of wings, but I'll be doing the framework HER way, to save some time in making them sturdy!  I can still add my own flair and design style to her pattern. That is the fun part of having a set of instructions to use as guidelines.

This set of angel wings is going to Kim's as a door prize for her Winter Wonderland workshop.


Wheelbarrowbaby 024

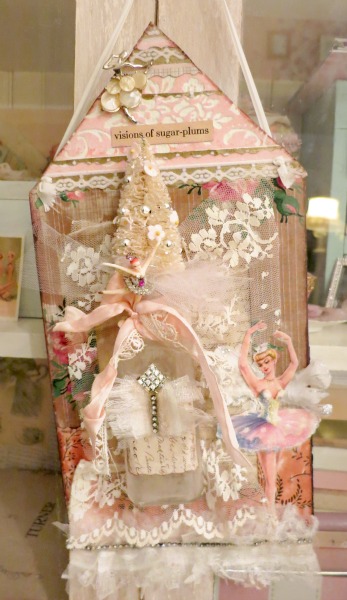
This piece, "Visions of Sugar Plums", is on its way to another friend, Karen, who is hosting a holiday workshop too.  I've also included a few packs of old millinery for her to raffle off.


Forsale nove3 004

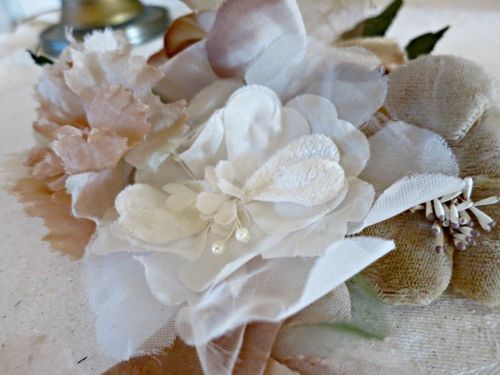
I've got a few packs of flowers added to my Boutique now, these are Nice November Neutrals.  But I think they'd be pretty year round, don't you?


Forsale nove3 013

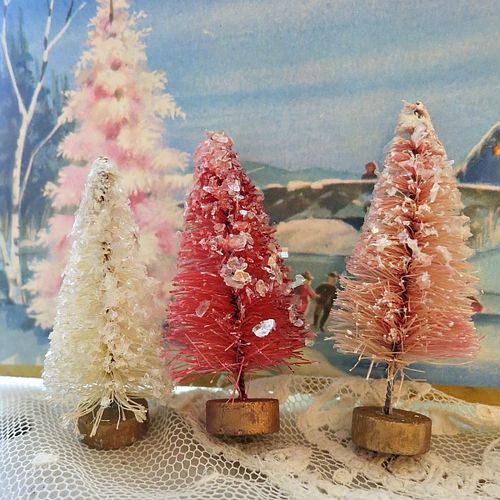
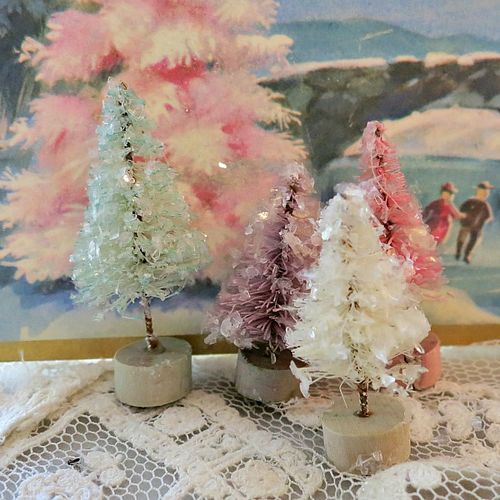
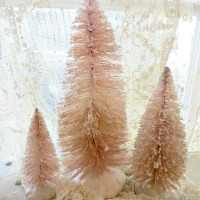
And I've been busy adding mini, dyed and glittered trees to my Etsy shop.


Forsale nove3 024

This year, I've got some new colors, the previous one is a Peppermint Trio, and this one is Gumdrop.


Forsale nove3 023

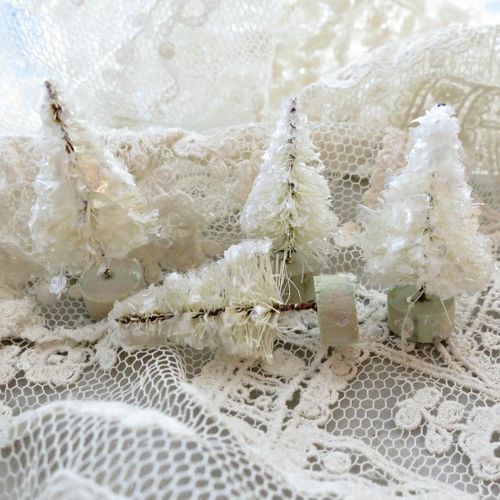
Of course, I'll always have white!


Forsale nove3 028

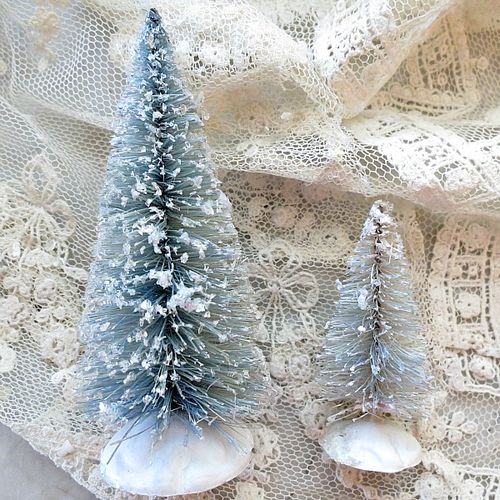
Here is another new one, Winter Sky Blue.


Pinktres
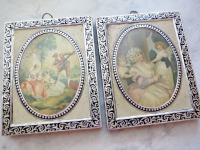
Pair framedprints
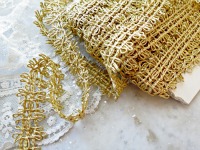
Goldgimp

I've been in front of the computer listing away. Thank you to all who came by and shopped with me! I am going to make more trees, there are still some in the shop, but there will be more coming.  Contact me if you have a custom color in mind.


Wheelbarrowbaby 036

Ps- I will be at my friend, Angie's, open house at her shop, My Father's Daughter- 646 Locust Street  Lawrence, KS 66044

I'll be doing a make and take using one of my own tutorials. Its a holiday star, and I will provide all materials if you want to make a glittery ornament and do some shopping.

Wheelbarrowbaby 037


Wheelbarrowbaby 042


Wheelbarrowbaby 067


Wheelbarrowbaby 072


Forsale nove3 007


Forsale nove3 034

Bye Bye Fairies, Hello Ghosts!

dogs, Dorkies (Yorkshire Terrriers), fairies, family, free images, holiday decor, Romantic Gothic Ghosts, swaps, Tutorials, vintage paper/collage art, Workshops, yorkies

Gghost studio clean up 023
Isn't this fairy from Linda sweet as can be?

Ghost decor 009
 It's sad that the Faery Book Swap is over! I made a couple more pages, as thank yous to some sweet people.  And I have extra covers that I hope to list on Etsy or in the Boutique. If I ever get a spare minute to do it!

In the fairy frenzy, I'd made up about 16 pages for the swap, and didn't need them all of course, so I'll have a few of those to list too.  But I didn't want to use any of those as thank yous. I thought "thanks" deserved something made special just for it.


Ghost decor 010

  I still have my family's books, they weren't mailed because we are going to open them all together when everyone gets here to visit for Romantic Gothic Ghosts.

I'm so glad that Guncle Randy, Sissy, Bobbie Sue and Terry can come out to play with us for the classes! We hope to go to see the annual Lawrence Zombie walk if everyone arrives in time, it will be on Thurs. the 4th and family is flying/driving in from Utah, Florida and Indiana.

Then, Friday is shopping at the West Bottoms district, with all the once a month junk and antique stores, as well as Bottoms Up.

Saturday the 6th will be our ghost filled craft day, with Gypsy spells and ravens. Sunday we plan on hitting the Renfest, all decked out in our fairy attire.  A perfect little reunion!!  Plus I get to have my blog friends meet my family, that will be nice.  I'm glad that we are having a workshop while the relatives are in town.


Ghost decor 011

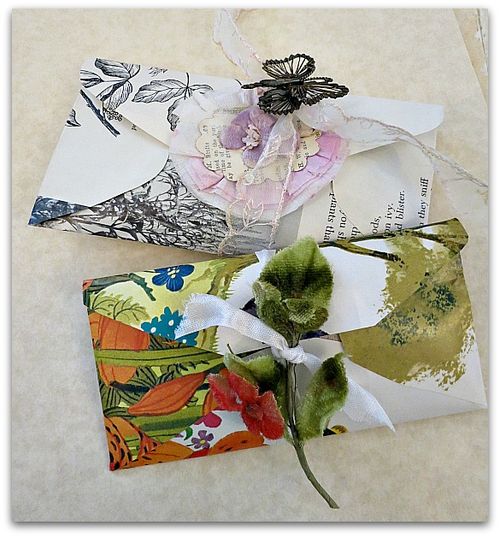
Along with the thank you pages, I mailed out hand made envelopes stuffed with tidbits.  To make these, I looked at a regular envelope to get an idea for the pattern, cut it out from an old book page, folded it up and glued the edges.  Simple, and kinda cute.  I might need to do more of these!


Ghost decor 003

I've gone straight from sweet fairies to gothic ghosts.

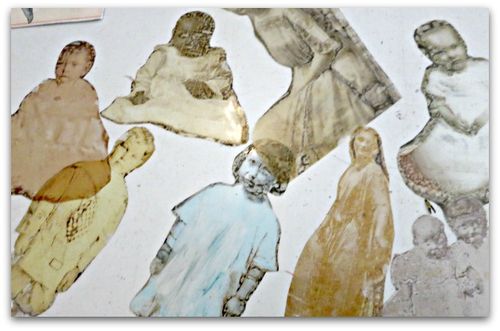
These images (provided in the online Romantic Gothic Ghost class) are printed on transparencies and hung around the room.


Ghost decor 048

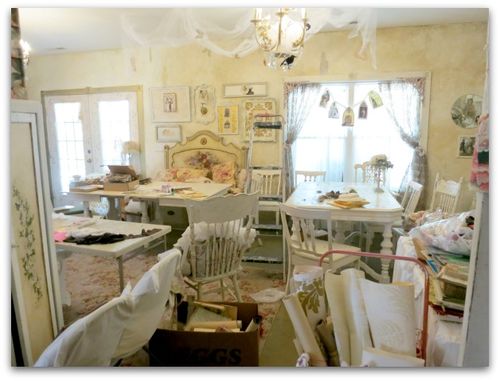
And the room is a WRECK!  I've started cleaning and decorating, but need to get all the chaos and clutter out too. 

I started decorating at the ceiling first, then the cabinet tops around the room.  I'm sure most people would have cleaned the whole room, put away the mess and then started fixing up.  But I got too excited about making the ghosts and had to do the fun parts first!

See how they are hung from tattered tulle on the ceiling?  (I'll have more photos later)

**********

Speaking of photos, I've noticed that no matter how good my camera is, and how well I edit pictures, they NEVER look as good on my blog as they do on my computer files. 

I wish I could fix this…. I also noticed that if you click on one to open it in a bigger window, its sharper.

**************

Ghost decor 034

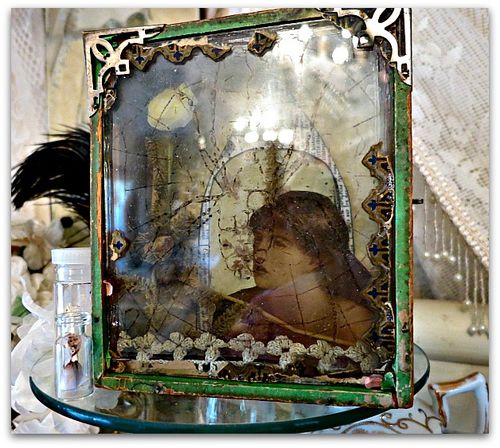
Another instance of backward preparedness- instead of cleaning and making kits, I wanted to make some ghostly images to set around the room. This collage is an old trinket box with a glass lid that Beth gave me. I took out the image that came it in, turned it on its side and made it a shadow box.

A transparency spider image is across the glass, and a ghostly girl is layered over a gothic arch  (from the albums full of pictures and images and backgrounds and patterns that were scanned and added to the online class) and glued to the back of the box. I then added some tatted trim and some very old, beat up flowers.

Its very small, and I seriously doubt that it adds a lot to the over all decor of the room. But it was something I really wanted to do.


Ghost decor 027

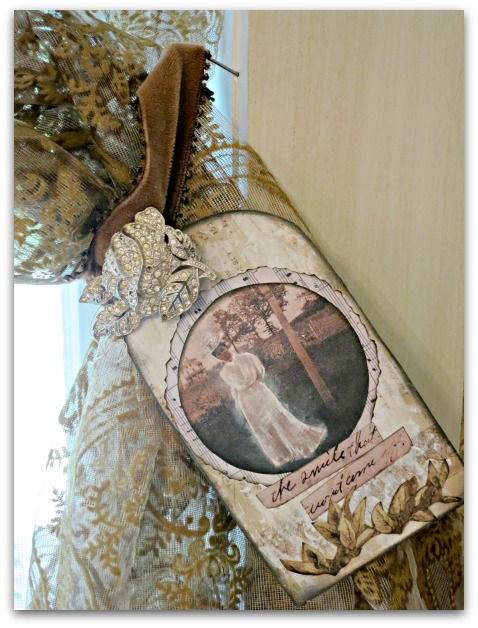
We had lots of projects made up for the online class that I pulled out to use around the room too.  This tag is pinned to my new curtains, hung just for the occasion. The tag is one of the "ready to go" bonus images from the class. All you do is print it and cut it out.

The curtains are from the Sparks Flea, and were $1.  When I bought them, they were a hideous, fleshy peach. But I liked the over all pattern and the flocking was cool, so I gambled that dollar and bought them any way, hoping a bowl of dye would take.

It did and now I just love them.!  Thing is, though, I bought them thinking I'd cut them apart to use in projects, and to test the dye, I cut a hunk off the bottom of one to dip.  I loved it so much, that I dyed the rest of the panels and hung them up, even with a hunk missing at the bottom of one.  


Ghost decor 026

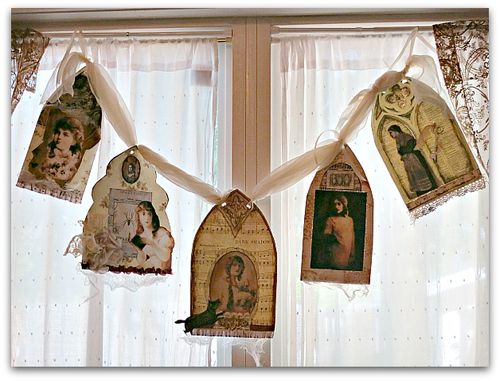
In the window, is a banner also made from the Romantic Gothic Ghost online classes.  There are tons of projects, decorating ideas, and printable images in the class. I'd forgotten how much there was in it, and had a lot of fun looking through it with fresh eyes.

Everyone coming to the class at the studio gets the online class free too. We still have a couple spots open for our one day party in the studio if you'd like to join us.


Ghost decor 054

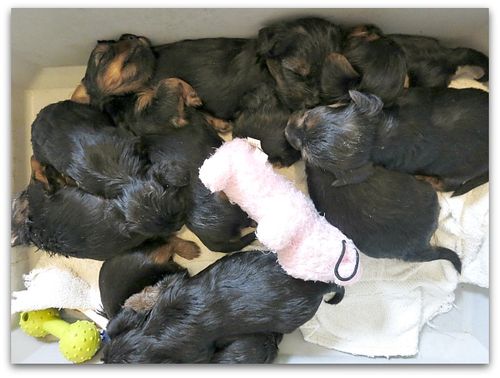
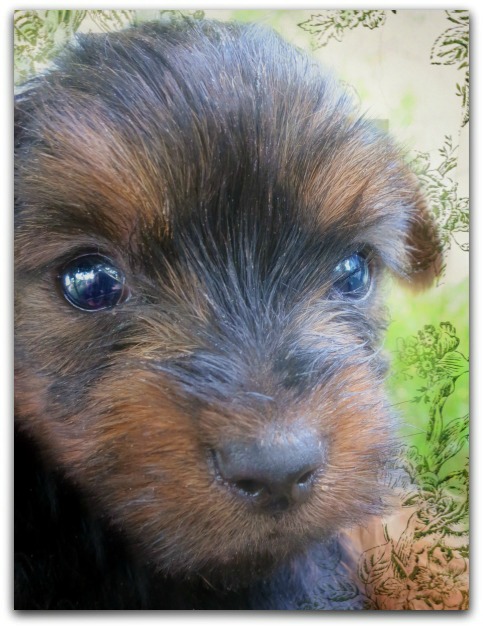
You could hold a puppy on your lap while you work…..

Ghost decor 075

A nice memory recreated and a giveaway

flowers, Tutorials

89 048
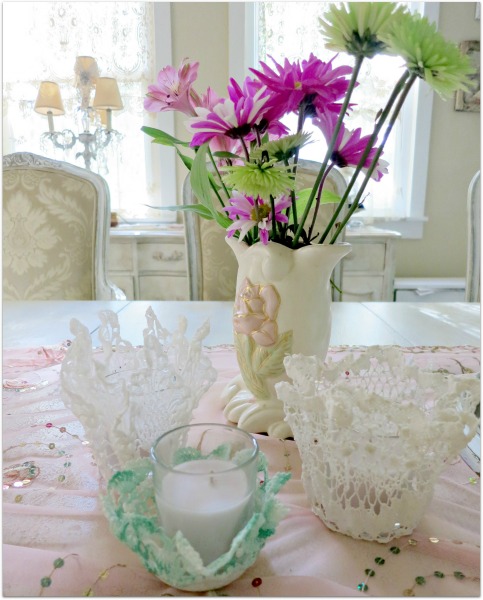
A while back, I saw some doily bowls on Becky's blog.  They reminded me of the baskets my sissy used to make 30 plus years ago, she hand crocheted them, then stiffened the fabric. I'd had a pile of doilies set aside, thinking I'd do this last Easter and never did it.  I thought they'd be pretty spritzed with pastel Glimmer Mist and filled with a pretty egg.

New stuff 021

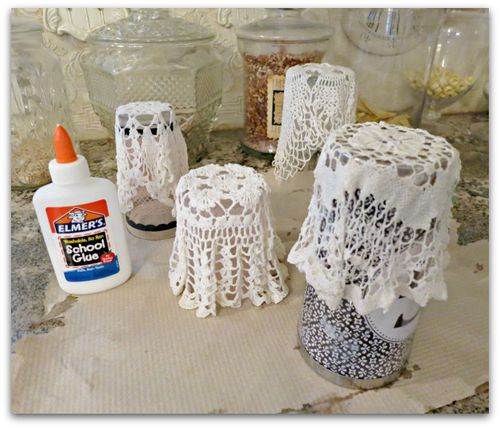
  Becky used starch to stiffen hers, I can't remember what Sis used. I chose to use school glue.

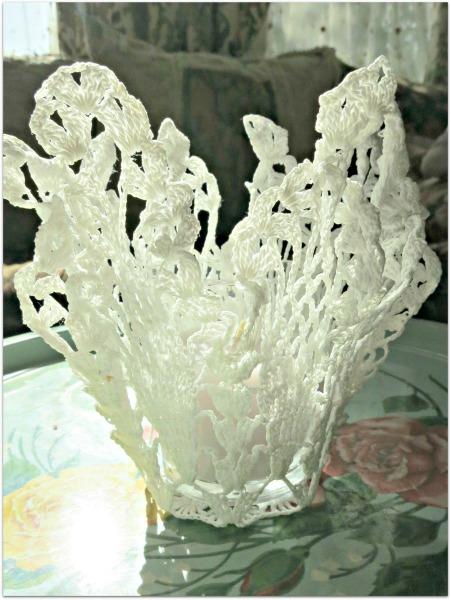
Since I wanted a narrow, basket shape, I used glasses to drape my doilies over. First, I got them good and wet, then wrung them out.  Next, I squished and squeezed them in some Elmer's and simply plopped them over the glasses.

I put down a paper towel, then realized it was silly. The dripping glue might stick to a paper towel, but it wouldn't adhere to the counter top.

New stuff 022

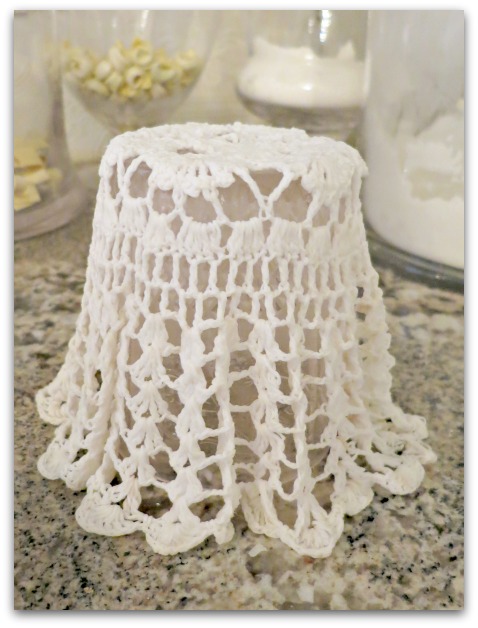
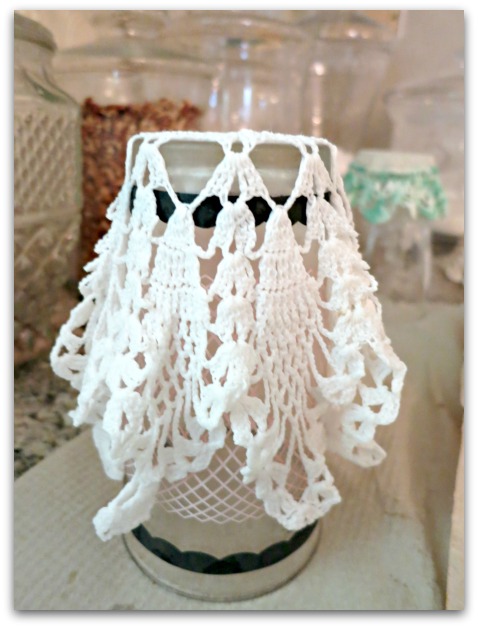
After letting them get partially dry, for an hour or so, I fiddled with the folds and gave the bottom (actually the top when it's done and flipped over) a nice ruffle effect.

New stuff 027
See, how I kind of pulled out on the lace to give it some shape?  When they were wet and drippy, they wouldn't hold this ruffle, but when partially dry, they were easy to manipulate.

89 001
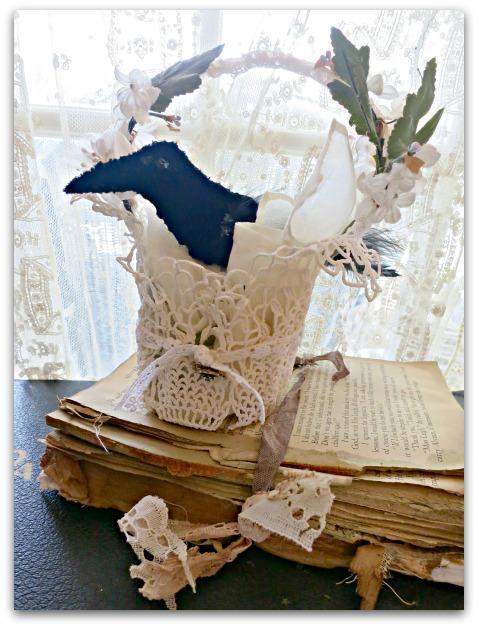
To turn it into a basket, I added a pipe cleaner wrapped in lace and twisted it on.  Of course, I had to glue on some millinery blooms too!

Around the "waist" of the piece, I wove a narrow piece of lace in and out, then tied it in front and added a bit of sparkle. I'm afraid its pointing down in the photo, it needs a tweak.

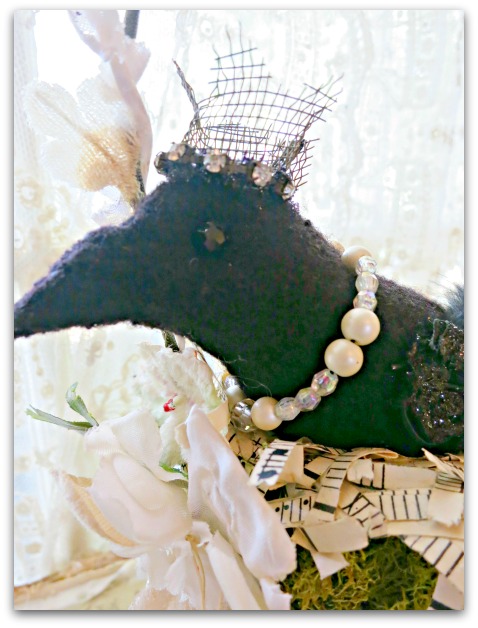
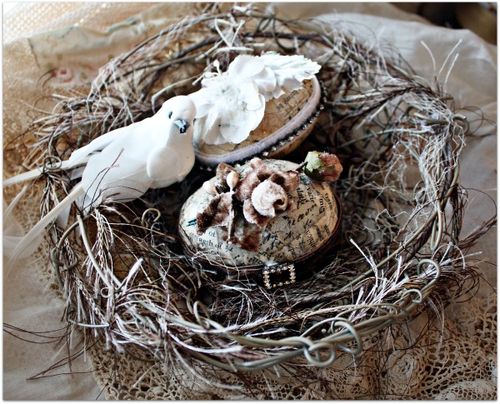
Next, I lined it with an old silk hanky, and a piece of oasis foam, and turned it into a nest for one of my ravens for the upcoming Romantic Gothic Ghost class at my studio.

I was experimenting with the pattern and made a velvet raven, but I think I prefer the felted wool ones.

89 005
This is a felted one. It just seems more substantial. Plus a LOT easier to sew. I'm not much of a sewer. I can't believe I am even doing  a class that involves needle and thread. But it really is quick and easy to stitch up, or I wouldn't even consider it. The velvet on the other hand, was trickier to do. I'll have some available if students prefer the elegance of a velvet raven. Anyone is probably a better sewer than I am, so it might go better for them.

89 030
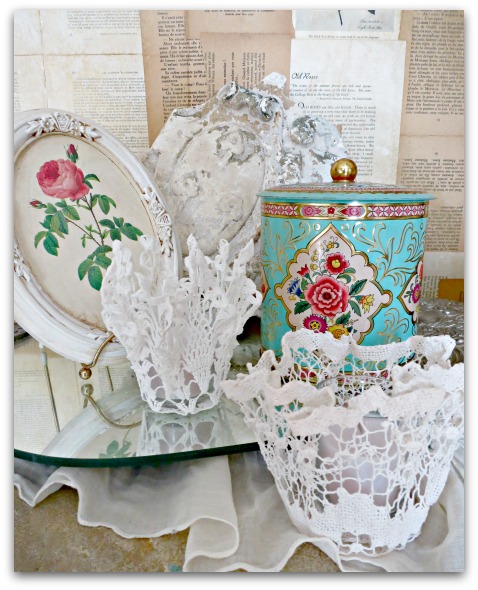
But back to the doilies.  Sissy had crocheted handles on hers, and used them as Easter baskets.  Becky's tutorial shows hers as bowls with candles.  I thought I'd try one as is, fresh from the cup I dried it on, no embellishments and they are pretty as is with candles.

89 033
Especially in groupings.

Its been a long time since I had a giveaway. If you want one, leave a comment, and I'll draw a name when I get back from Indiana and my family reunion.

89 034
Or on the dining table. 

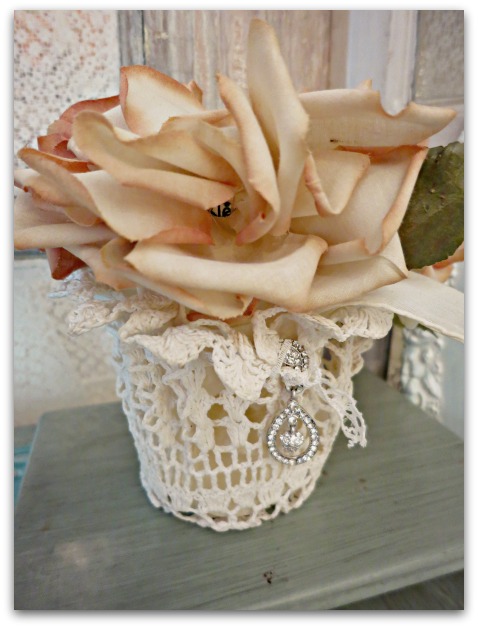
The one in the very first photo has a lace ribbon woven through it and a rhinestone earring added to the lace.  I also lined it with a  hanky, then stuck three big, millinery roses inside.  I have more of the roses in packs added to the Boutique too, if you need some.

Here is a bit of what else is new in the Boutique.

Rich 005

Halwyel Hallwfeather Halwvelvet

89 057

89 061

Faded Pisrpig Pastelsheer

89 053
89 064
89 065
89 075
89 077

How to make a hand painted banner on canvas and tips on painting a rose topiary

flowers, hand painted signs, how to's, how-to projects, paintings, Travel, Tutorials

Banner 001

Here is a little break from Birdsong talk!

I've spent a lot of years painting murals, I travelled around the country and painted quite a few hotels, day care centers, and even a casino, as well as people's homes.    But the scaffolding and ladders really got to me, so I moved on to other things. 

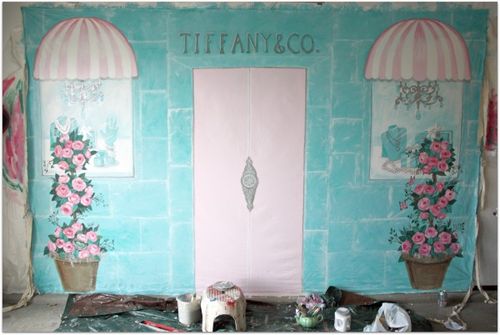
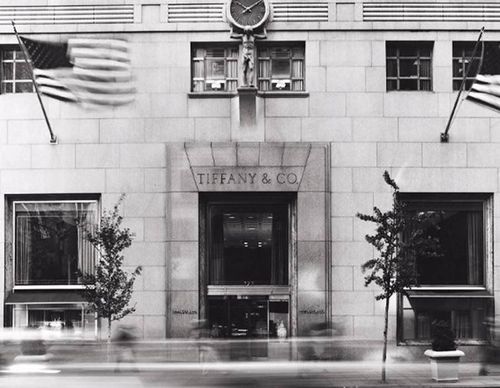
Every once in a while I'll get to do one again and always enjoy the opportunity. Especially a canvas one that I can work on in my own space and take my time on.  This one was sent to my pal, Kim, for her Tiffany's event, where I am at right now.  (I've pre-posted this)

While this isn't exactly what the front of a real Tiffany's shop looks like, it is just right for the ladies attending Kim's party! Whimsical, fun, and pretty.
!cid_tie_8CEB029EE824472_6AC_D916

Kim wanted something more light hearted than the cold stone of the original building in NY. 
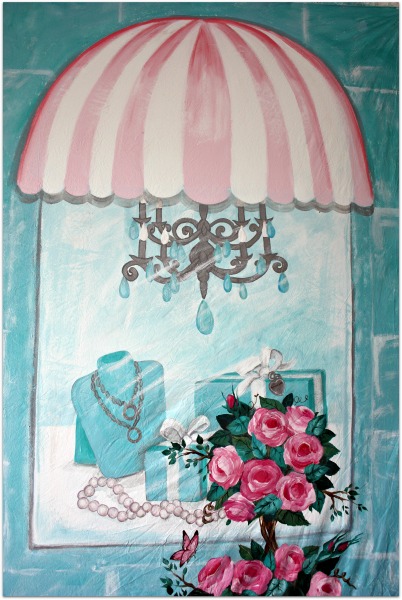
Finished banner 013

So, we took a few liberties with our design. 

My painting is all free hand..  I just paint as I go.  My lines aren't perfectly straight, but I think that adds to the whimsy and suits my style.

Plus, I know that I could NEVER do straight lines, so I don't even try! But since this was so architectural, I used a level to help out with the door and window shapes.

!cid_tie_8CEB185855D263D_9D4_24421
Here is the inspiration that Kim sent to me.  I used the fanciful nature of this with the stone front of the real building, along with the colors she asked for to come up with the banner design.
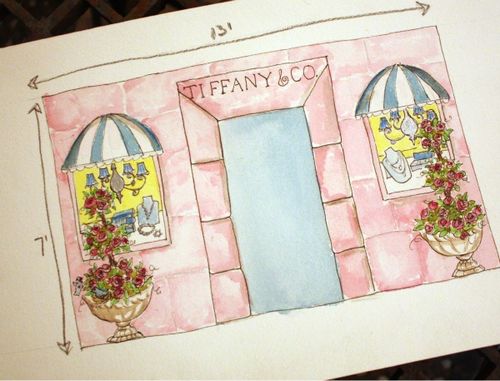
Banner 009
Here is my basic sketch for the idea.  We decided to flip the color scheme, so more of the Tiffany Blue would show. The canvas is being used as a backdrop for a photo booth, and with people standing in the middle, not much of the door itself would show.
Chicken coop building 063

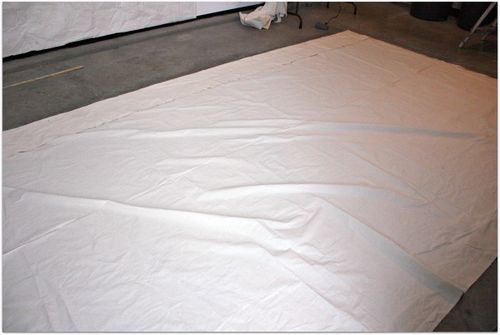
My first step was getting the canvas ready. I like to paint on drop cloths, but this picture was larger than most seamless dropcloths are.  I found fabric big enough to avoid seams at Darhma Trading Co.

I washed and dried mine hoping to remove the fold marks that way. MAN, WAS THAT A MISTAKE!  It came out of the dryer looking like a wadded up piece of paper.  I had to IRON the whole thing, and 13 x 8' is a lot to man handle over an ironing board.

  I'd say, iron the folds only, don't do it the way I did! 

After struggling with the ironing board till I was  steaming myself,  I laid it out on the floor to cut and pin.  After carefully measuring and cutting, I hemmed the two sides on my sewing machine, and then laid it back out on the floor to pin the rod pocket at the top. I measured and cut it in a way that let me keep the hemline at the bottom as is, no sewing.

By the way, it helps to have a second set of hands to wrangle the fabric and help feed it into the sewing machine, this was a big job and even this lightweight canvas feels weighty when you are trying to sew it due to its size.

Another tip I have is to use duct tape to hold the hem in place along with the pins.  It helped me.

If you are going to hang it with grommets, add these later. We didn't want the ropes to stand out much, so didn't want to use grommets this time.  I cut up strips of the fabric I had trimmed off, and sewed them in half for added strength.  Then zig zagged them to the back of the cloth at regular intervals.

While this will hang from a pole in the rod pocket, I was worried that it would blow or sway in the breeze, so the straps of fabric sewns the the painting's sides can be tied to the structure, and will help secure it and keep it in place.
Chicken coop building 064
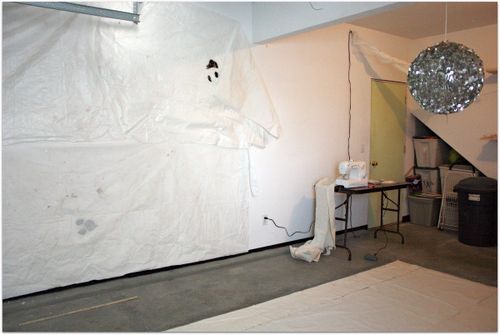
To do the artwork, I needed a large wall space, so I cleaned out my garage and covered one wall with drop cloths. Then, nailed the canvas up over it. (my drop cloths have also been used previously to make Halloween party ghosts, see the faces on them?)

(yes, I have a giant, sequinned disco ball hanging in my garage, it tells me where to stop my car when I pull in. I've seen people use tennis balls in the same manner but that doesn't seem to be as much fun)
Banner and baskets 018
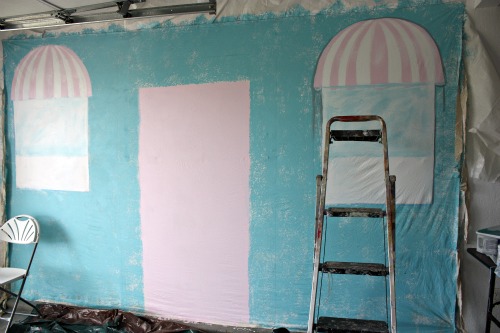
First step was to prime. 

I'm picky about primers, and know its important to use the right one for the job. In this case, a cheap, dry wall primer was fine. And I was glad I used it, because the fabric was thirsty and soaked it right up.

After it was primed and dry, I drew the door, and window with chalk and blocked in the colors.

For a large painting like this, quarts of latex wall paint in flat or eggshell works best for back grounds.

I used a sponge roller brush for the "stone"

To create the awnings, I marked the center of the top of each window, then tied a ribbon to a pencil.  The ribbon was cut to the length from the center of the window to the edge of it.  I held the ribbon at the mid spot, put the pencil on the corner of the window, and while holding the ribbon in place, drew the arc to the other corner.
Banner progress 001
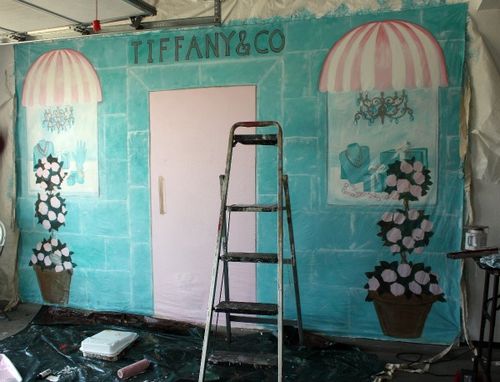
For depth, I dry brushed a darker aqua over the sponge rolled base color, then did the same, lightly with white. I used white to create the mortar lines too.  The mortar lines are drawn on with a sponge dipped in the white paint.  I didn't want a sharp line that I might have got from a brush.

Next, I finished the window paintings and awnings.  Always work from the background out.  Nearer things are last to paint.

The two topiaries are my foreground, so I blocked those colors in after the windows were done.

Notice the Tiffanys sign? I stupidly painted it too high, over the rod pocket, so painted over it to redo.  Which really isn't a big deal. Its only paint. It can be changed till you get it right.  You might notice my doorknob is different in this picture than in the finished one too.  After I roughed this in, I didn't like  it, and a swath of pink paint over it erased the plain door knob quickly.
Fairy designers 035

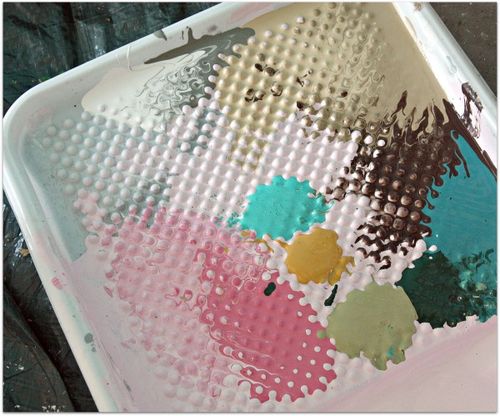
For the detail work, I used 2oz bottles of acrylic craft paint.
Finished banner 005
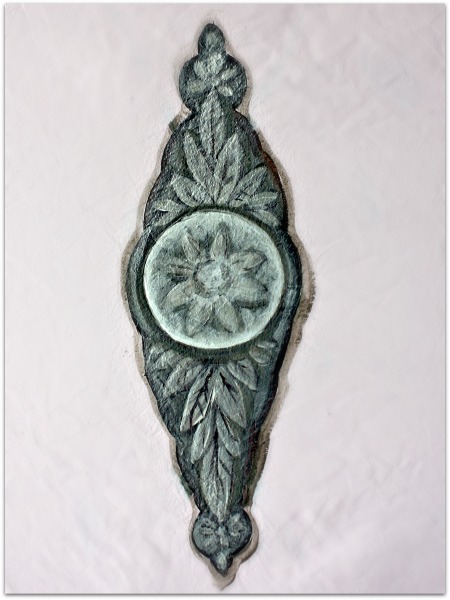
To get the metallic look that I have on the door knob, jewelry, and chandeliers, I painted them all in regular acrylic paint first to get the shadows, highlights, and shapes. Then, I covered that in  metallic paint.

I used the same 2oz craft bottles.  The silver and white metallic paints are very sheer and take a lot of coats to really cover, but that is what I like about them. I can do just one or two coats over my painting and get the metallic shine, but not cover up the details. But because they are sheer, its hard to build up color.  That is why I do the basic shape in opaque paint first.
Fairy designers 032
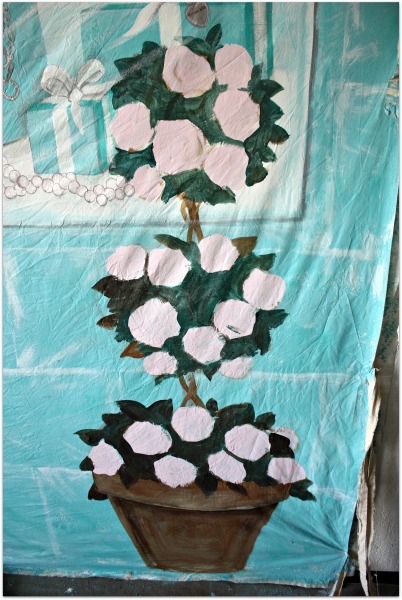
When creating a topiary, I always draw the pot with brown paint first, then sketch three circles, connected by twisted stems.  After that, I block in the basic rose shapes, and color the entire background of the balls dark green mixed with a dark brown.
Fairy designers 033
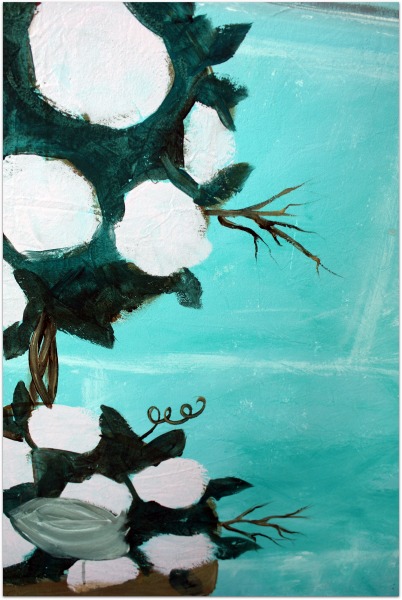
The same principal applies for the foreground as it did for the background. Paint the furthest things first.  I do the sticks and leaves in dark colors, then highlights over that. 
Fairy designers 036
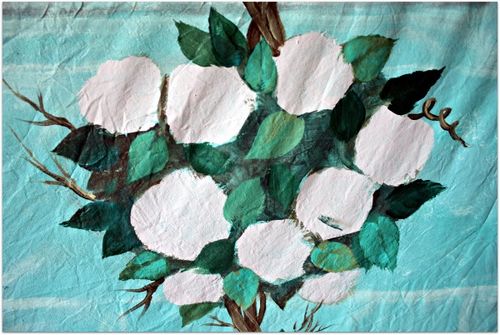
Next comes the leaves from dark to light, adding detail as I go.
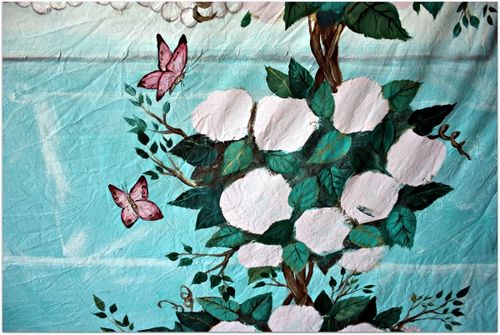
Fairy designers 037
I got side tracked and added a few butterflies!

After painting the pot/sticks/leaves/ then roses, I went back and touched up some of the leaves so that they were covering the roses a little bit here and there.
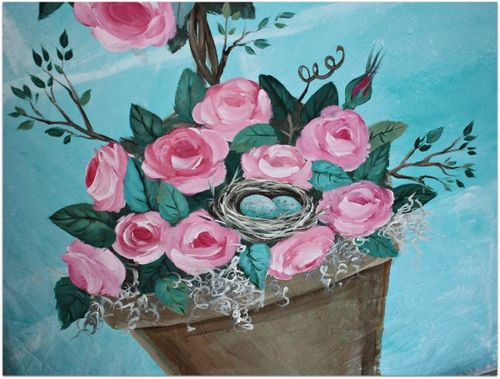
Finished banner 007

The moss is really easy, just scribbles and swirls with white and gray on a liner brush.  I paint the roses with a 2" flat brush, and the leaves with slightly smaller flat brush, adding veins with a liner brush.

Darker leaves toward the back, lighter in front, gives the illusion of roundness. The roses should face different directions, not all the same.

There is a tutorial on my sidebar with tips on doing a nest.
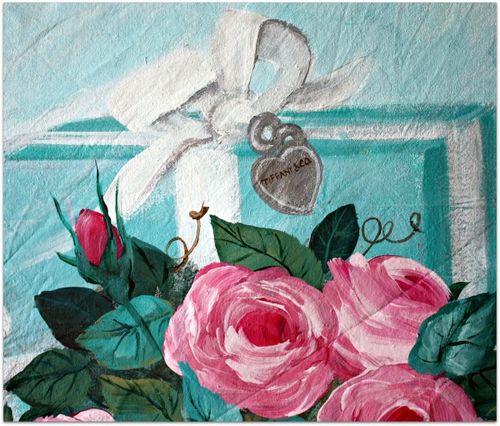
Finished banner 011
Layering is important. Make sure it looks like there are items in front of each other.

A few twirling tendrils out the side of the topiary soften the painting.
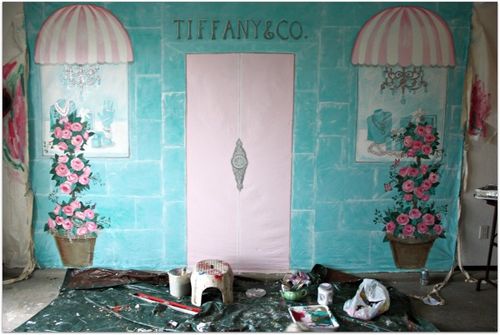
Banner 007

For the lettering, I used pale grey, outlined with dark brown. On the highlight side, I added a line of watered down white, on the shadowed side, a line of aqua a shade darker than the stones.

Next step, I let the paint cure a few days. Yes, it was dry to the touch, water based paints dry fast. But- I wasn't taking any chances of it sticking together when I rolled it up, so I gave it some time.

To mail it without fold marks, I bought cardboard tube mailers. They weren't big enough to put the 8' high mural inside of, or long enough either, so I duct taped 8 foot's worth of them together, and tightly rolled the canvas around it, then took the roll to the UPS store where they have boxes of all sizes and shapes.
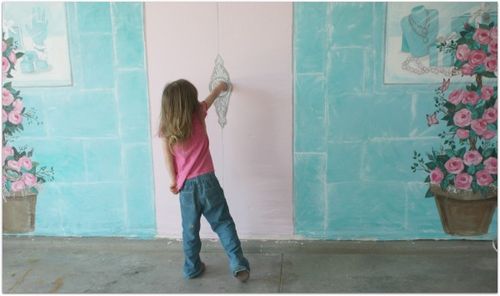
April 030

Well, hopefully, when I return from California, I'll have some pictures of my friends and I in front of this storefront! 

For now, I have pics of my own little model whose imagination turned a painting on the wall into a private play house.  Here she is opening the door.
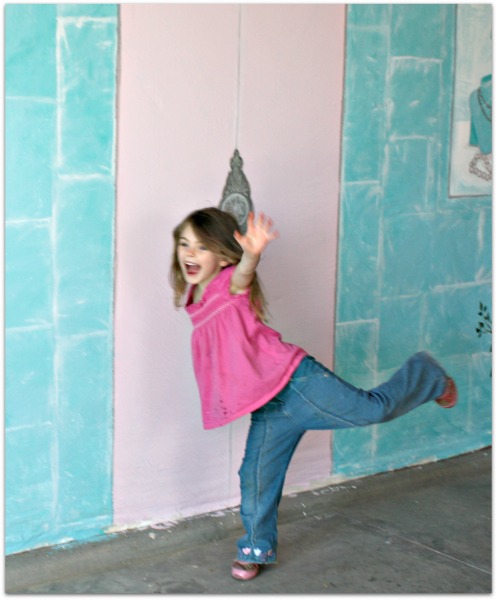
April 020
And jumping out of the door to yell surprise.
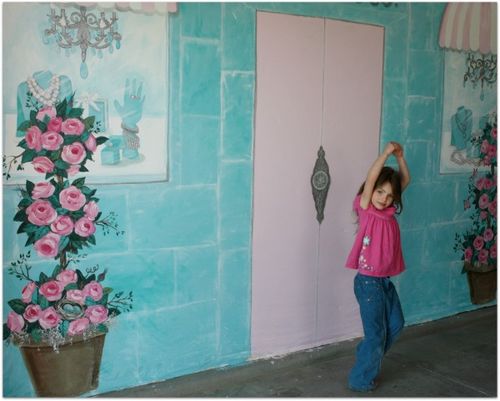
April 024
And dancing through the door.

The pictures I don't have are of her drawing on the door.  Yep, she had some fun with chalk making a picture just like Grammie did. Oh well, it was only chalk and wiped right off, coulda been worse…
A nice nest full of fairies and a nasty nest full of squirrels

Dew Drop, fairies, family, Sugarwings, Tutorials

Kidnest
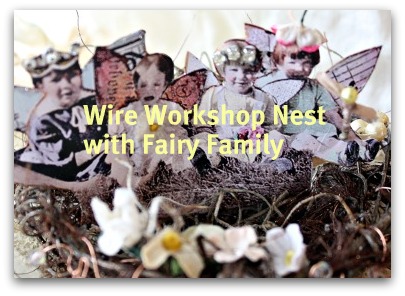
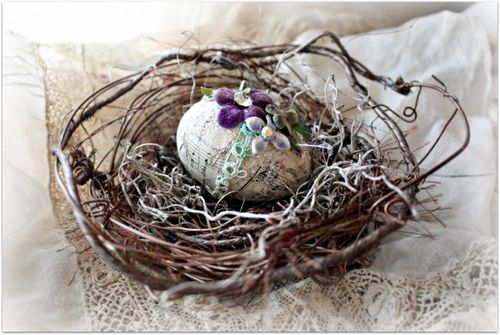
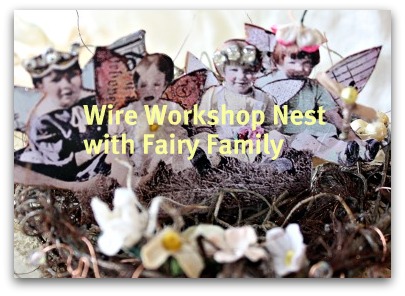
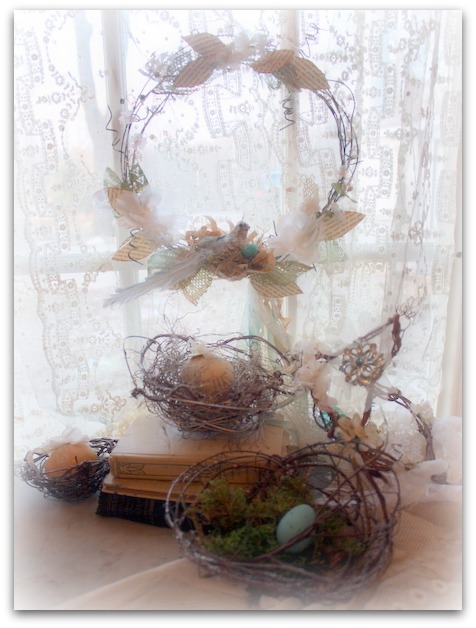
As promised, I added directions and pictures to download to create this fairy nest to my 3 Wire Workshop tutorial.

If you've already bought the tutorial, just scroll down and you'll find these directions added to the end of the nest and egg how to's. No additional charges, its a bonus!  Included is a sepia photo of this family and a hand tinted one with my wings attached.  Plus a couple more vintage pictures you could use in the nest instead if you'd rather.

I hope to add some holiday decor ideas and more wreaths in the fall too. 

Eggs and nests 022

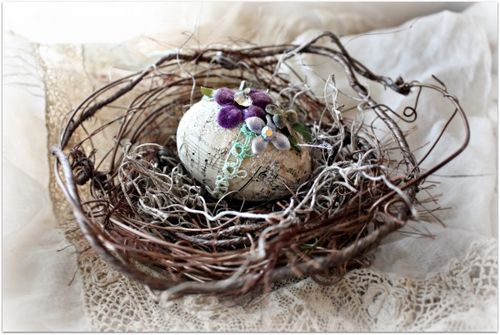
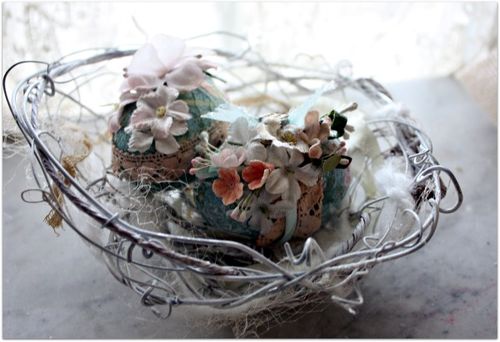
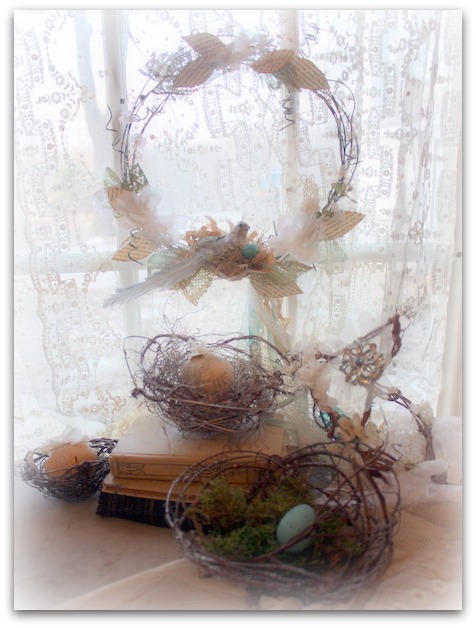
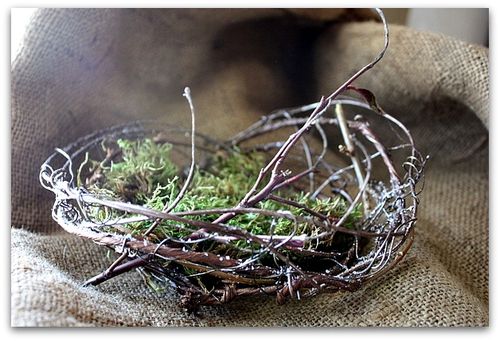
This workshop comes with directions for a wreath, nests, and crowns, all made from wire, with ideas for embellishments. I've added some instructions for decorated eggs too.

  Fingerpainting 007

 Speaking of nests, we had some uninvited guests build a nest in our dryer vent!   I heard scampering in my laundry room every morning this week, and it took me a while to figure it out. Squirrels had gotten into the vent pipe from the outside and made themselves at home!

We had to take the cover off, reach in and pull out the nesting materials and replace the cover with one that has a cage over it. They had done a bit of damage, so I'm glad I had a sweet, grown up son around to take care of it for me and get the varmits out of there. 

Fingerpainting 013
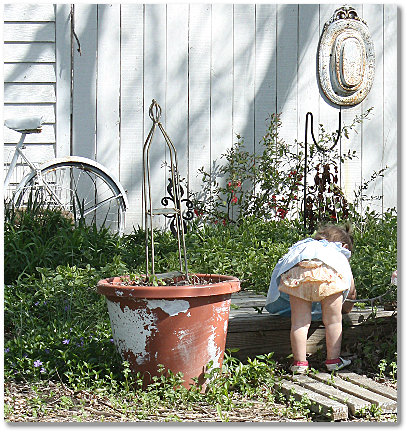
It was a nice day to be out in the yard, and Little Dewdrop kept us company.

Fingerpainting 005
Who would have thought that we'd be outside splashing and playing in the water in March? What beautiful weather!

Fingerpainting 033
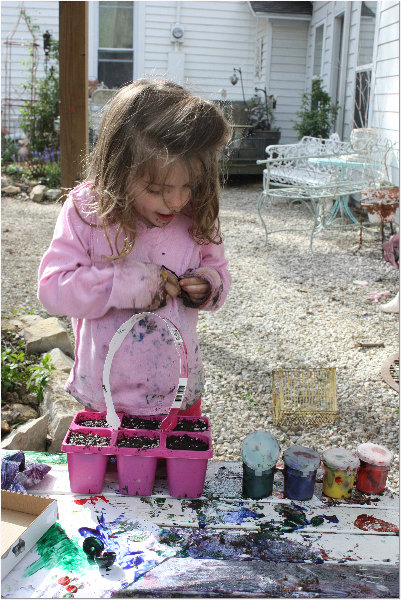
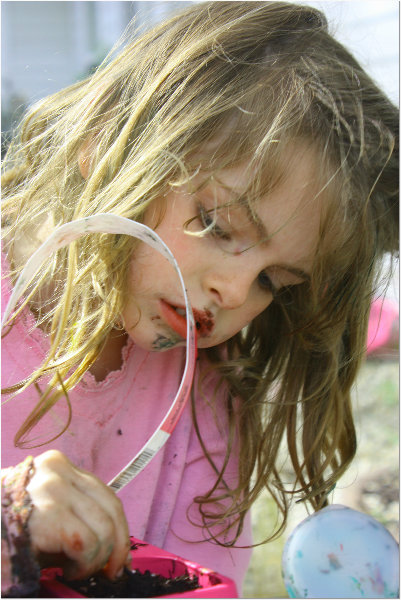
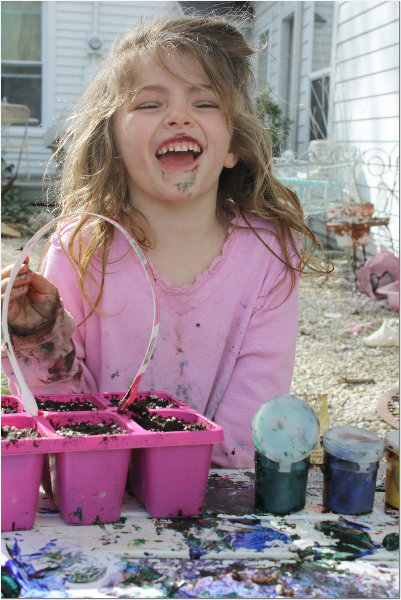
Sugarwings took advantage of the 80 degree day to do some planting and finger painting. 

Fingerpainting 034
I think she painted the dirt and herself more than her paper.

Fingerpainting 037
And these pictures were taken before she even got very messy. (and no, the paint did NOT come out of her pink clothes, no matter how much I soaked and sprayed it.)

Yep, a perfect day to be outside, we turned on the garden hose and let her play in that afterwards- yay, Spring!!

Hatching some ideas

Tutorials, vintage paper/collage art

Eggs and nests 022

As I promised when I put the Twining andTwirling Wire Workshop up for sale, I've added a bit more to it for Easter.

Eggs and nests 020

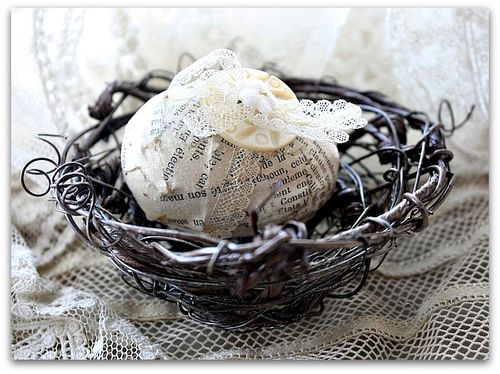
What's new is a how to on covering and decorating these eggs.

Eggs and nests 026
And some simple painting tips for some other ones.

Eggs and nests 025
Right now, I'm kind of stuck on the nests, they are so much fun to make!  But I whipped up a dozen eggs or so too. 

Kidnest
While playing with nest ideas, I made up a flock of fairies too, and will add directions and downloadable pictures to use to the site later on, after Paper Cowgirl.  All included in the $20 price for the entire class along with the wire wreath class I am teaching in Texas this week, and the fairy crowns too.

Wire Wreath Kits

paper cowgirl, Tutorials, vintage paper/collage art

IMG_7415
All of my kits are done and packed up, ready to hit the road next week and take them to Paper Cowgirls.

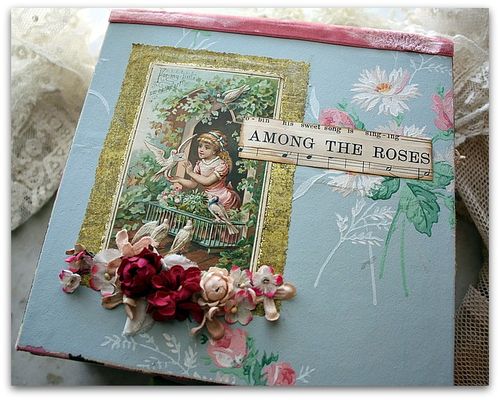
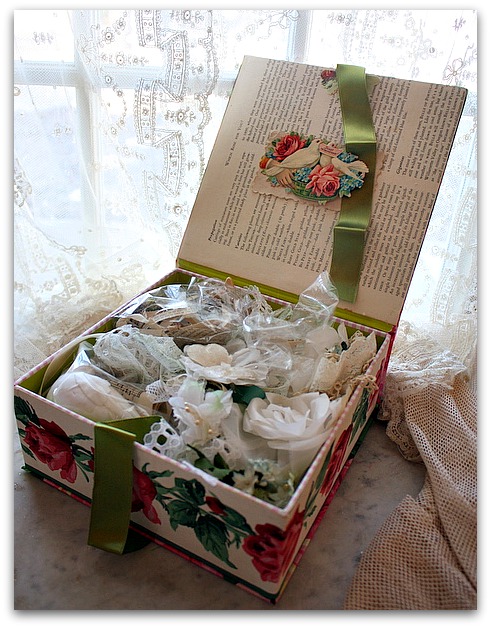
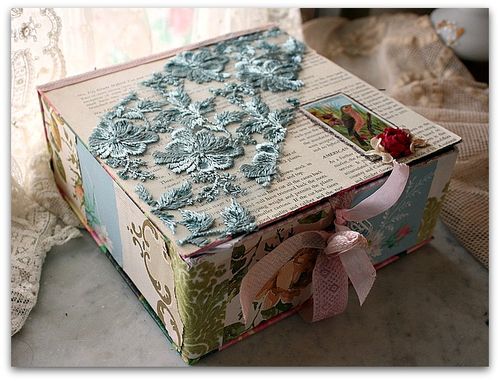
Before I put all of the supplies away, I made up a couple custom kits, this one is for  my Sissy.  I used the very old, pure silk, French ribbon that Carol Spinski gave to me.

IMG_7416
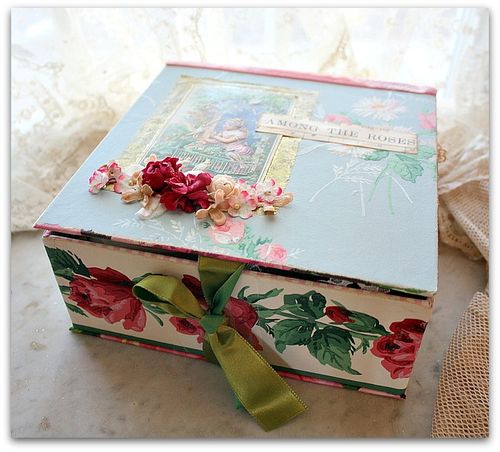
And topped some of my favorite wallpapers with an old advertising card and lots of millinery.

IMG_7413
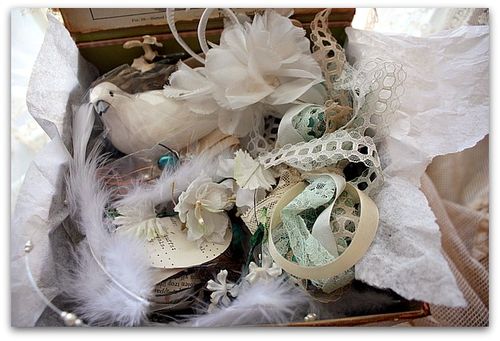
The inside lid is covered with text from a 1940s  book about roses and a Victorian calling card.  Then, the box is filled with all the pretties she needs to make a wreath.

IMG_7301

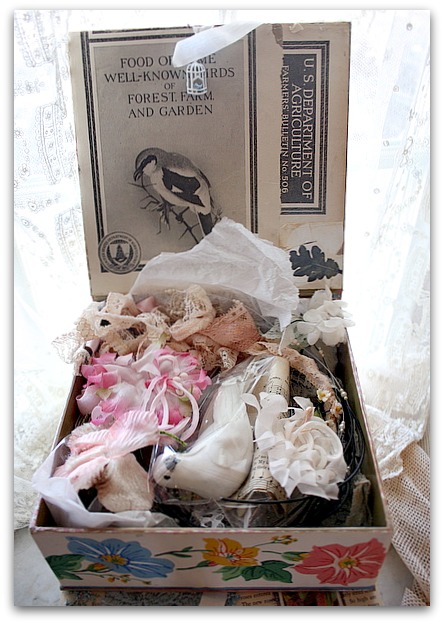
While Sissy's kit is special, I think all of the other kits are too, and I hope the students enjoy them.  Each includes:

  • written directions plus an online how to, that includes this wreath as well as a fairy crown, and bird nests, also made of wire
  • patterns
  • millinery flowers
  • 3 gauges of wire
  • vintage beads and crystals
  • feathers
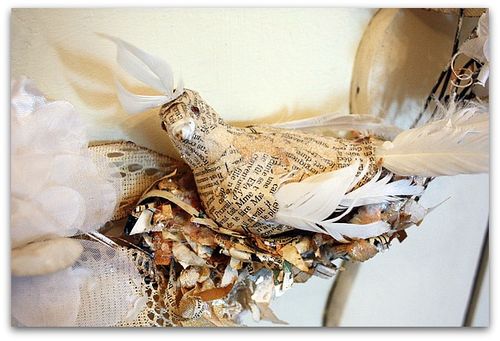
  • bird
  • ephemera to cover the bird and make the leaves
  • lace for leaves
  • ribbons and vintage lace
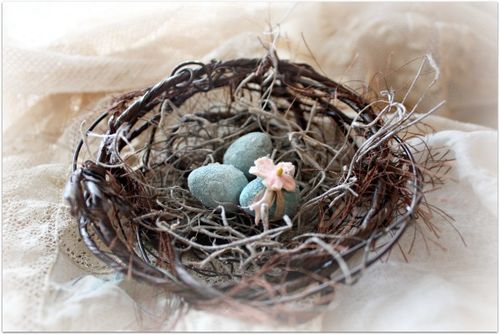
  • shredded paper, moss, and a turquoise egg to make the nest

IMG_7420
The wreath in the class I'm teaching is in aqua tones, but I made up some pink kits too, just because I love pink.

IMG_7419
No two are just alike, if they had to be, I'd never have made soooo many of them, I get bored.  So, I had  some fun with the decor.  When I get to my (small) class, there will be plenty for the students to chose from.

I have a couple listed in the Boutique right now. Please email me if you would rather have pink, instead of the aqua kit, when you order.

Edit- well, those 5 went fast!  If I have any more left after Paper Cowgirls, I'll let you know.  Please email me if you are interested

IMG_7421
Next, it will be time to work on the kits for Birdsong.  I hope to get them done WAY ahead of time. Trouble is, I am still waiting for some elements I ordered for the necklace we'll be doing!  I hate to make up the example necklace till I have all the materials in front of me. Don't you hate taking a class and finding out that the best items in the project have been subsituted for something different?

The event is fast approaching, and if my order doesn't come in, I'll have to try elsewhere for the pieces.  But I do promise to come up with something pretty!

There are a couple of openings left, if you would like to come.

And I promise, there really are FOUR classes, my necklace will be done and ready by the time all of my peeps arrive!

Some twists on a new tutorial

bird song art event, Tutorials

IMG_7301
My quest to make nests has turned into something much bigger.  At first when I started working on making 20 plus nests for Birdsong, each took me over an hour to figure out.  As I moved on and figured out a few things they went faster and got cuter and cuter.

IMG_7246

So, while I was at it, I decided to take some pictures as I worked and do a tutorial.

And since I'd gotten so many inquiries about the wreath class I am doing, I decided to add that too.  And one of the things people ask me about most is the fairy crowns that I do. Since all 3 of these are done with the same basic ideas, I decided to lump them all into one Wire Workshop that I am calling, "Twining and Twirling".

IMG_7241
In these, you get all my tips and tricks, hints and how tos.  As well as patterns for the leaves on the wreath and down loadable French text to print and use to cut the leaves out of. Also to decoupage the bird in the wreath, or eggs in the nest with too.

There are lots of pictures, and instructions, examples, and ideas. And I'll probably be adding more to it as time goes by. If you are one of the hundreds of people (thank you, thank you, thanks so much!!!) who bought my dress form tutorial, you already know that as holidays came along, I did extras for the occasion and added them to the existing tutorial for no charge.  I already have some ideas for Easter that I want to play with and will tell you about on the tutorial.

Snow cat

You can click on the button to check out the sign up page.  The cost is $20 for all three workshops. They will be set in blog form, and are up indefinitely.  As long as I have a TypePad blog, and I don't think I'm going anywhere anytime soon.

IMG_3409

By the way, everyone who is attending Birdsong Two, has already got a free entry to the workshop to try it out.  There are three spots left for our party at the cottage in April, if you are thinking about coming, this online workshop is a little bonus you'll get for signing up!

Because I like to spoil my "peeps".


Scroll to Top