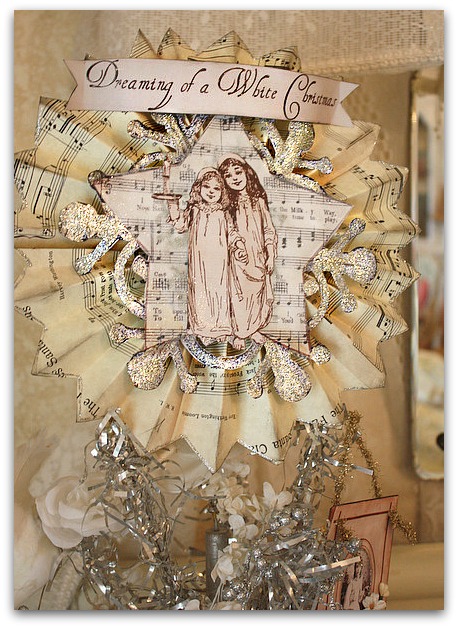
Tutorials

A few roses for you

flowers, free images, Tutorials, Workshops

IMG_1081

Lately, I've not taken advantage of the great garage sales in the area. But last week I hit one that seem to suck at first, but then I delved into the jewelry pile and found this Victorian gold ring with a date of 1892 inside for just a couple dollars!  Kind of whets my whistle and makes me want to get out and treasure hunt some more.But there aren't many sales during a holiday weekend. 

Button sweetness

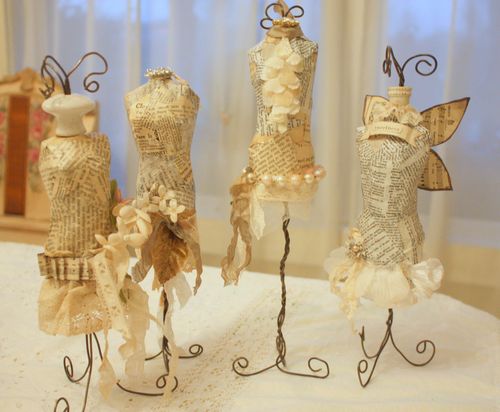
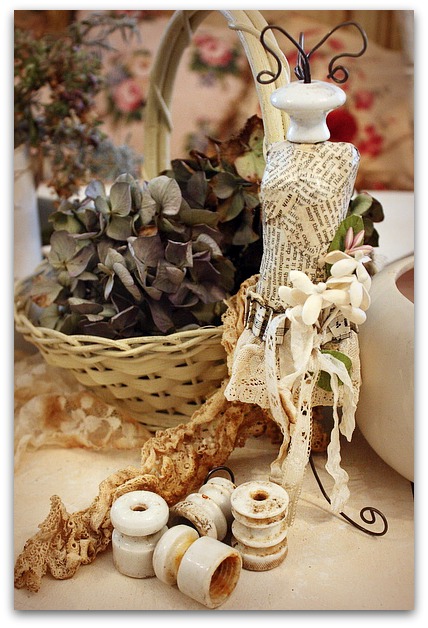
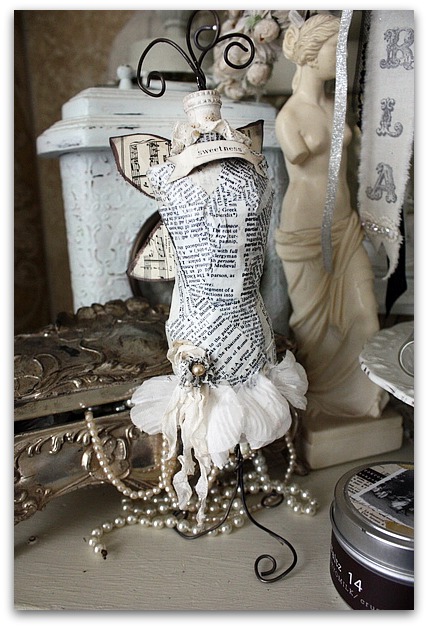
If you don't have any plans for the 3 day weekend, maybe you'd enjoy making some dress forms?  My tutorial is up and ready for purchase at $15.  Soon, I'll have kits for sale for $40 and those will come with a free link to the online tutorial.  

IMG_1097

If you buy the tutorial now and want a kit (filled with vintage goodies!)  later on when they are available, I'll refund your $15 after your purchase of the kit.

IMG_1114
The class includes all the directions, with photos and videos, plus papers to download and print and lots of ideas.  Please click on the button on my side bar for more information.

Image

I'll leave you with a couple of images to print.  Just click on them to enlarge, save to your computer and print from that.

Hope you have a lovely holiday!

  Copy of img336

Img337

How To Alter a Book Cover with vintage pretties

flowers, how to's, Tutorials, vintage paper/collage art

IMG_0915
Here is an altered book I made this week.  I thought I'd do a simple, quickie tutorial about the cover.

  • The wallpaper covered cardstock is attached by gluing ribbon to the edge of the front cover and to the back also.  Leave the center of the ribbon alone, not glued to anything, that leaves space for the cover  to open and close.
  • The pages can be stitched together and sewn to the center of the binding ribbon.  Use a heavy duty ribbon, like the velvet one I chose.
  • I cut girl from a hand tinted, old photo, and added it slightly off  center to a medallion cut from wallpaper.  At the bottom of the medallion, I used my Exacto blade to cut a slit to slide the photo under, so she looks like she is framed in the oval.
  • I glued down the oval/medallion, and the photo of the girl.
  • With a dark marker, I outlined the girl, and also the OUTSIDE rim of the oval, for shadows and depth.
  • Leaving the outside ring of the oval "frame" alone, I spread crackle glaze (from Tim Holtz) over the entire center of the medallion and over the girl too.
  • After drying, I topped it off with a bouquet of flowers and ribbons at the bottom and lined smaller flowers along the top of the frame.

Packing it up

flowers, Tutorials, vintage paper/collage art, Workshops

IMG_0884
The April Showers bring May Flowers sale is still going on in the Boutique and Etsy. I've added a few more packs of millinery flowers, and you'll get free shipping for the month of May for all flowers (USA only, sorry)

For the boutique, pay as usual, and I'll send a refund. For Etsy shipping is already marked free.

IMG_0921
I've also been busy packing some up to sell at Paper Cowgirls next month.   Lisa and I are sharing one table, so I'm trying to be smart about my space and what I'm packing to take along. Beth is good at figuring what items pack the most punch for the space they take up and I'm listening to her advice.

I tend to think that I can just take it all, and that isn't so smart. So this trip, I am trying to FOCUS on a few items that look well together, pack easily, and are affordable, but still worth my time to take.

This is my first Paper Cowgirls event, but Lisa has given me some tips on what the shoppers might like on vendor night too.

IMG_0923 Here's what I have so far, some little Charlotte dolls (I have a few hundred more ordered, I hope I get them in time.  If not, it will be a small basketful tagging along on this trip)

IMG_0926
Lately I've been experimenting with paper clay fairies too, so I might bring those. On the other hand, they might be too hard to pack, since they are fragile… I'll only have one tub to fill, Beth and I are driving and neither of us have a big car.  I have all the kits for my class that I need to take too. Beth is vending and will have a full table to fill, so space is limited.

IMG_0914
And I think that some of my class kits for making dress forms is a good idea. 

(by the way, I am making up extras to sell in the Boutique too. Along with an online tutorial.) I'll let you know when I have them ready to go.

IMG_0918 Yesterday I made up some foofed journals to take along to sell. This one is an old diary, with a locking clasp.

IMG_0916
These two are tiny little bank books I've given make overs to.

I'll probably have room for a few more little books.  I wonder if that is a good idea? Any of it is a gamble, you just never know any time you plan to sell things.

But I'm going for the pure joy of being there, I've heard such wonderful things about Paper Cowgirls.  Anything I sell is just icing on the cake!

Birdsong tagbook

We are over 80 participants in the Birdsong tag book swap, but I've got room for more.  If you want to join us, details are in my blog post about it. You can get there by clicking on the button on my sidebar.

Hope to hear from you!


How to paint furniture with no sanding and lots of personality

Hand Painted Furniture, how to's, how-to projects, Tutorials

IMG_9938
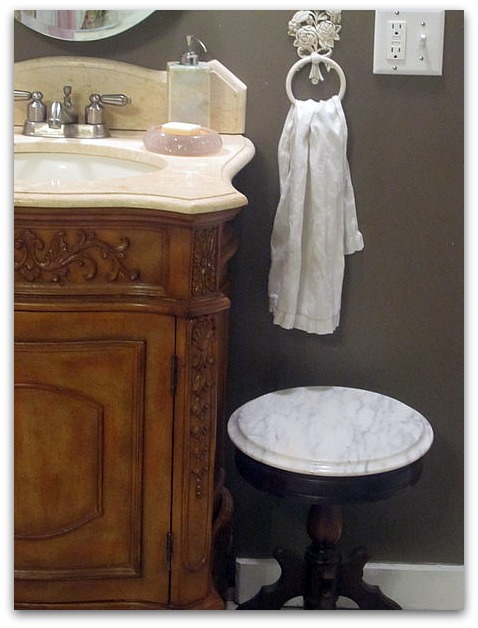
This vanity started out dark, and is a new piece from Lowes. I bought it about 6 years ago for only $368 and it came with the marble top, sink, and the faucet already installed.

IMG_1901
This is how it began.   But the time came to lighten up, and this is how I did it:

IMG_9913
The first step was to prime.

I DO NOT SAND.   I never do, and I've painted my little heart out for years.

The key is the primer.  The label of the can must say "BONDING" or "WILL ADHERE TO GLOSSY SURFACES" Never, ever use dry wall primer. Its not the same thing at all, and your paint will just scratch off.

 The last few years, I've been very happy with Glidden's Gripper.  In this case, I bought the gray tinted Gripper primer.

You can see, I don't put it on perfectly.  Notice the little skips here and there in the gray where the dark wood peeks out?  Not big ones, just little misses.

The key to being a good faux finisher is to be a bad painter. Yep, you gotta be a little messy and non-perfectionistic.

IMG_9919
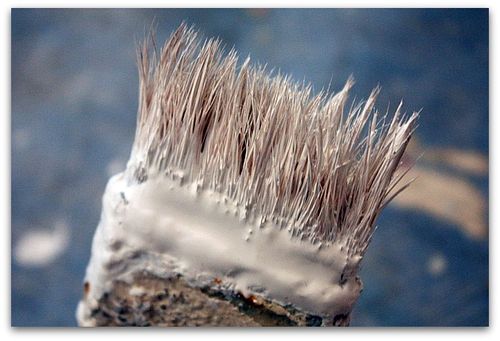
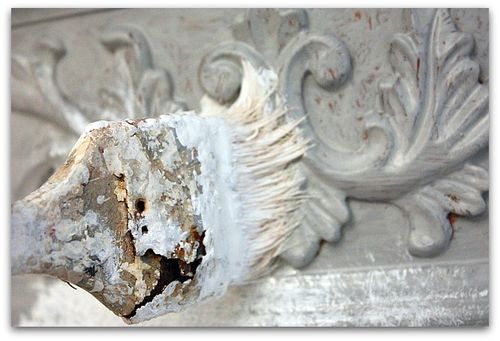
And to use a crappy brush.  You can't get much worse than this.  I love these little cheapo, 99 cent brushes from Walmart. They give the paint job character with their uneven bristles.

IMG_9915
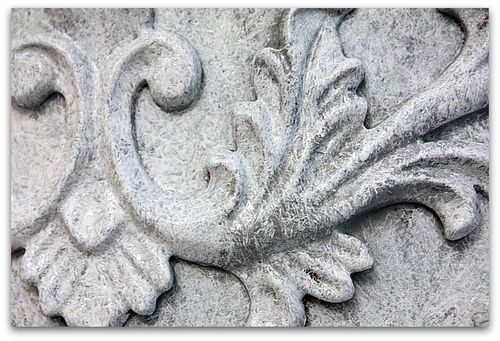
After the primer dries, I pounce the paint (I used Behr glossy white) on with the old brush. 

Its a constant dab, dab, dabbing with the brush.  First you dip the brush in paint, then dab it off onto a rag, then pounce it onto the piece, over and over and over.

I tell ya, its a lot easier to do a small piece of furniture or a lamp this way than to do a whole wall. If you are doing something big, try a larger brush and take some advil.

IMG_9917
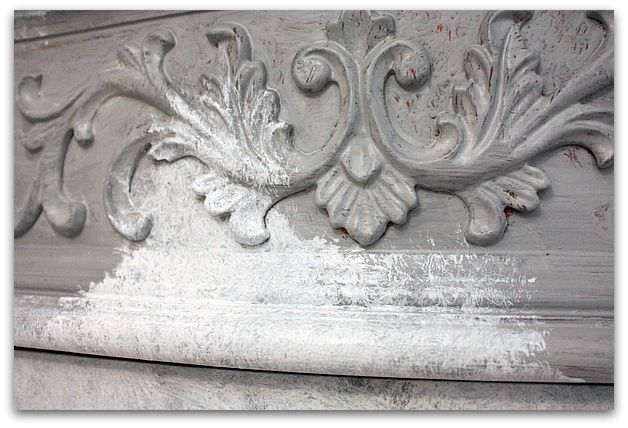
This is the look you want.  With some of the gray primer peeking through, as well as a bit of the underlying wood.

The paint goes on heavier in some spots than others, but please make sure you don't have blobs and repetitive patterns of brush marks.

To avoid that, turn your brush as you pounce.  And go over the same areas more than once to blend as you dab.

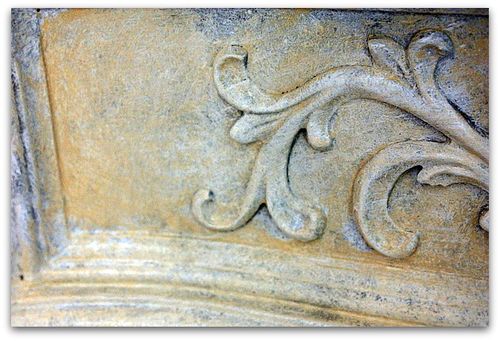
IMG_9920 After the white dried, I did the same thing, with the same brush, using a coffee with heavy cream colored paint, mixed half and half with glaze to thin it down and make it more translucent as it dries.

With this step, I pounced the creamy color over the white, layering it heavier in corners, and slightly wiping it off on the high points of the embellishments and trim.

IMG_9926
If needed, you can add a bit more of the white over the cream to soften it. 

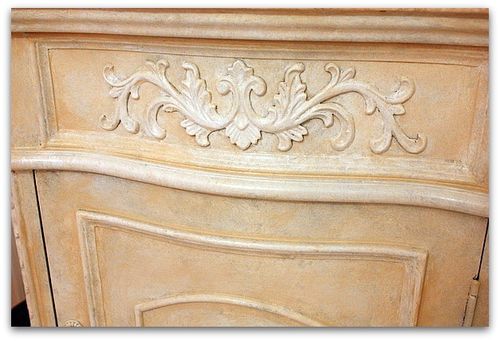
IMG_9927 Since I used a good primer, and a high gloss paint, the finish is really durable and doesn't need a top coat.

Email me if you have any questions. I'm happy to help.

Lace, starch, giggles, and snorts

redos, Tutorials

IMG_1764

What gorgeous weather we are having! I took advantage of the sunshine to get outside and do some yard clean up.  Last fall, I kind of slacked on the leaf clean up and realized what a big mistake that was this spring.  Leaves left over the winter get soggy, heavy, half decomposed, and best of all, used as a cat litter box.

So, the leaf blower wouldn't do the trick, it took rakes and snow shovels to clean up what I could have just blown away into the woods if I'd done it last fall.

But, its done now and while the yard still has its grey winter gloom look, it isn't buried in leaves.  Everything looks much tidier.  I picked up sticks and branches, and raked over mole mounds to flatten them out.

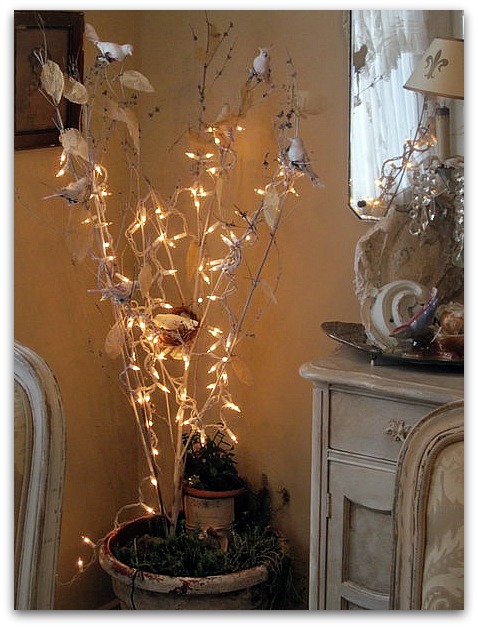
Gee, that's interesting, huh? Well to get to the point of the story, I found a branch on the ground that I thought was a pretty shape, and I spray painted it white to bring into the house.

IMG_1767
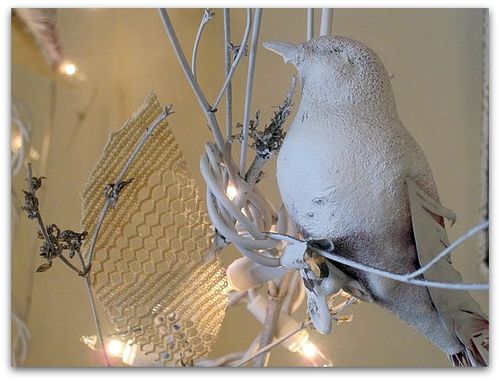
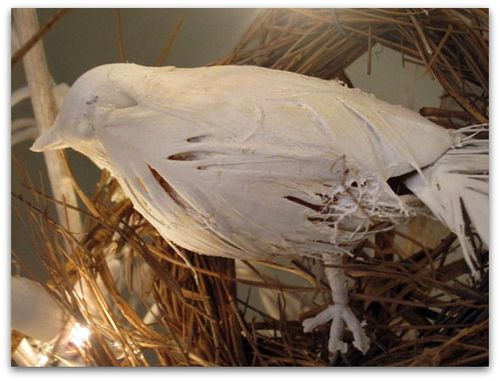
It was a good day to be outside spray painting, so I grabbed a few vintage cardinals and white washed them too.   I thought maybe I'd foof them up and add crystal eyes, millinery flowers, and other pretties, but decided that I liked them just as they were, simple and white.

IMG_1771
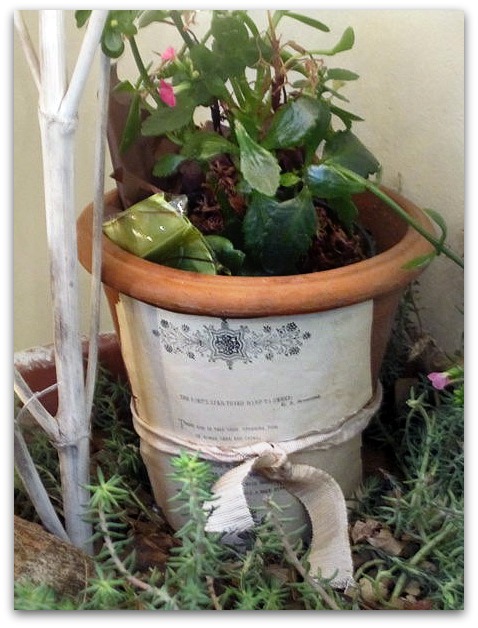
I brought in a peeling paint flower pot full of sedum and stuck the branch down into the dirt.  The sedum was nice, but I wanted a bit more at the base, so I sat a house plant into a terra cotta pot, tied a pretty page from an old book to it, and added that next to my tree.

To make sure the tree stayed upright, its stuck in the dirt nice and solid, and I braced one side with a rock and the other with the pot of flowers.

IMG_1749
The fun part was making leaves for my tree.  I'd seen some similar ones at Anthropologie last year and wanted to try making some myself.  I don't know how they did theirs but this worked for me.

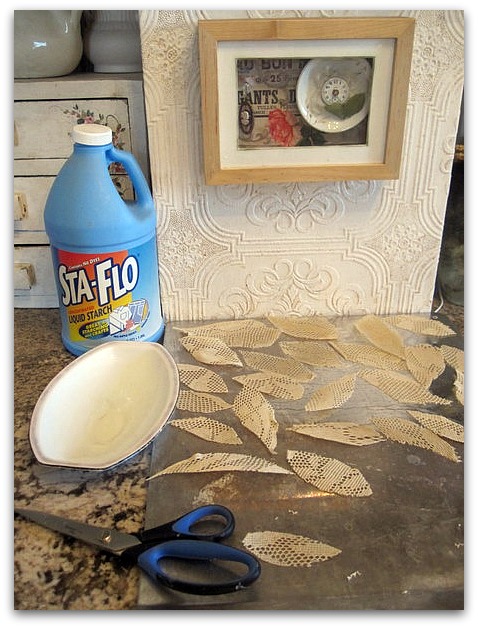
I cut some random leaf shapes from lace and soaked them in full strength starch, then left them on a cookie sheet to dry over night. 

When they dried, I wired them onto the branches.

I'd also wrapped Xmas lights around the tree, and did a slightly crappy job of it, they are just loosely draped. It would have looked better if I'd spent more time on it, and attached them more attractively.  But the branches are pretty fragile and I didn't want to snap them all off by messing around with them too much.

IMG_1765 
One bird sits in a little nest that I found in my stash, the rest of the birds just clipped on.

Besides waiting for the leaves to dry over night, it was a very quick project. And easy to do.  I didn't use a pattern for the leaves, and they are different sizes, just like a leaf would naturally be.  I discovered that it was easier to trim them up into a better leaf shape after the starch had dried, than before I dipped them and the lace was floppy and wrinkled.

If you want to try this, it's probably a better idea to starch the lace, let it dry, then cut the leaves out. 

You could also purchase white birds at a craft store if you don't have any old ones to paint. 

Another variation you could do, is to just put branches into a large vase or urn, not a flower pot full of dirt.

IMG_1760 My weekend wasn't all yard work and spray paint.  The newest Fairy Grand Baby came by to visit for a while and we got in some good giggle time. That baby has the cutest belly laugh/snort thing that she does.

Registration is open for Paper Cowgirls!

antiques/junking, bird song art event, how-to projects, magazine pictures or articles, Tutorials, vintage paper/collage art, Workshops

IMG_9156
Paper Cowgirls is open for registration!

I've already signed up to take a couple classes and am really looking forward to the event. Over the last couple years, I have heard so many good things about it and have wanted to get down to Texas to give it a try. 

And I am thrilled to be one of the teachers this year. Well, that is IF ten people sign up for my class…. If ten don't sign up, it gets cancelled.

Please keep your fingers crossed for me!

IMG_6722
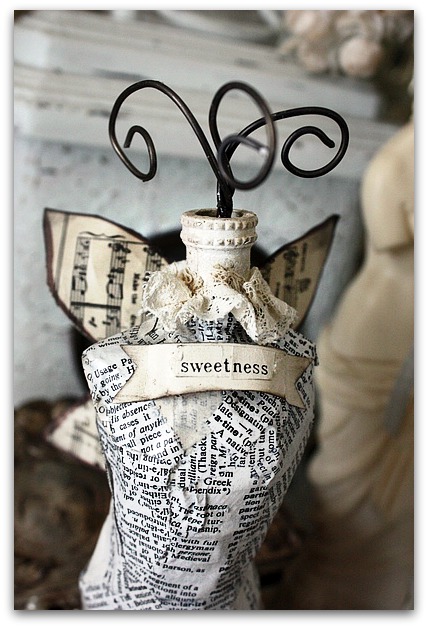
Personally, its a class that I would sign up for, if it wasn't my class, I mean. I really like the piece we'll be creating. I spend lots of time working on the prototypes and figuring out the steps on how to make these mini dress forms.   

An idea can be the easy part. Making it work isn't always as easy!  It took me a while to fine tune the process and get it down good enough to show others how to do it.  I had a practice class with some friends before I submitted the project to Paper Cowgirls. And I'll do a couple more practice classes with two other groups of friends before I head to Texas to actually get paid for showing people how to make them.

IMG_9056
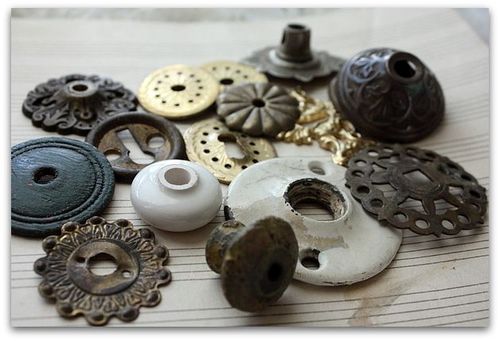
As I've visited my favorite antique stores, I've been keeping my eye out for great pieces to add to my kits. Last week, I came across a few bags full of these insulators. Won't they make cool toppers for these dress forms?

IMG_9153
Here's another pile of toppers I've assembled.  My plan is to have a wide variety for the students to chose from, so that all the end products are unique. 

When I go to a class, I always take my extras.  And usually from the Bestie pile I've been talking about lately. Because I like my own piece of art to look like MY OWN piece of art, not just like the teacher's. 

Oh, I get a lot from the classes and enjoy and use the kits.  And I seem to learn a lot from everyone sitting at the table with me.  But- I do like my creation to look like I was the one creating it, so I bring supplemental goodies to add to the kit the teacher provided.

IMG_9154
So, for Paper Cowgirls, just like I am with Bird Song, I am giving the students the opportunity to make their own choices.  There will be kits of course, and they will be filled with lots of vintagey goodness. And since most of the stuff is vintage, not all will be just the same in each kit. 

For some of the supplies, I want to have piles on the tables for everyone to pick through. 

I'd rather they didn't have to bring their own unique things unless they really want to. I'd like to provide enough to make sure that while we all follow the same steps and instructions, everyone has the chance to veer off the beaten path a bit and art the piece up in the way that calls out to them.

IMG_9164
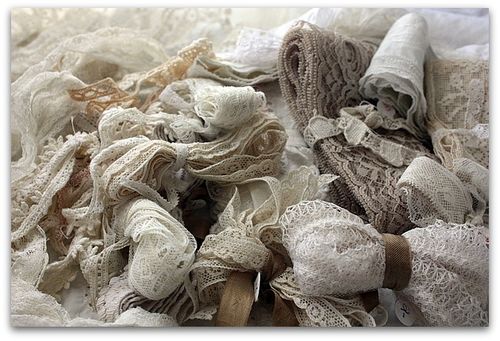
And with all  my classes, the students will be Using the Good Stuff!  Look at these great laces I bought yesterday from Beth.  She gave me a deal so wonderful that I can afford to treat all the students to nice, old lace.

We spent the day together, she let me help her redo her antique mall booth, and I'll have some photos of that for the next post.  And she bought me lunch, then hauled me to Costco so I could mooch off of her membership and buy plates/cups/etc for Bird Song and for another gathering I have coming up.

IMG_9103
Over all, this has been a great week. Well besides the awful cold that settled into a sinus infection. But now, I have myself heavily medicated for that and the pounding in my sinuses is just about gone.  I had Sugarwings a few nights, which makes any week wonderful. Even though, at my age with a sinus infection, chasing a 4 year old and getting up with her in the middle of the night isn't as easy to do as it used to be. Its worth it.

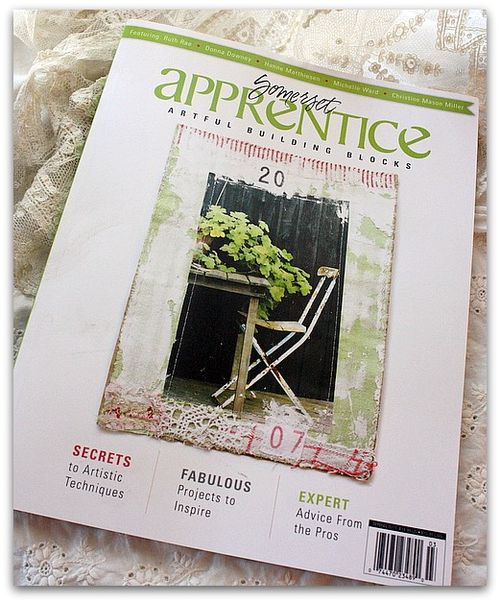
Besides lots of Fairy Grand Baby time, and getting to spend a day with Beth to play decorator in her booth, and signing up for classes at Paper Cowgirls, I also got this copy of Somerset Apprentice in the mail.

  IMG_9104

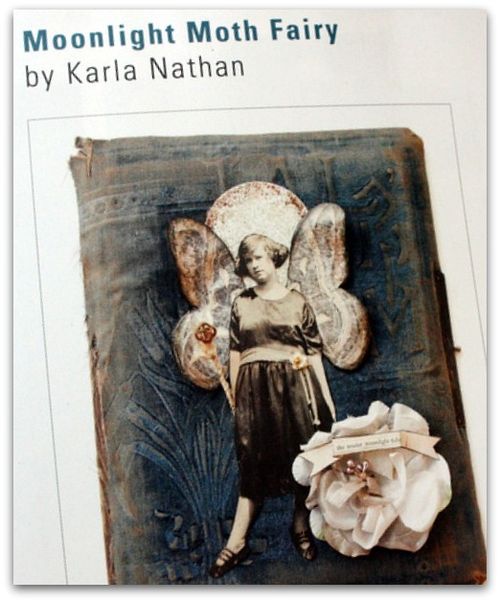
I've never been in it before, and honestly had never seen it, I wonder if it is new? But it is GOOD.  I read the whole thing cover to cover while I was in the Dr.'s office waiting room and was impressed with the photos and the layout, not to mention the directions.

The whole magazine is step-by-step directions from many artists.  It was well done, easy to read and follow.  I got some good tips from it!  And it made an unpleasant visit to the Dr. go much better.

Good Stuff button

Hey, thanks for all the comments and emails about Using the Good Stuff. I think the subject was close to the hoader's heart in all of us!

Accomplishments

paintings, Tutorials, vintage paper/collage art

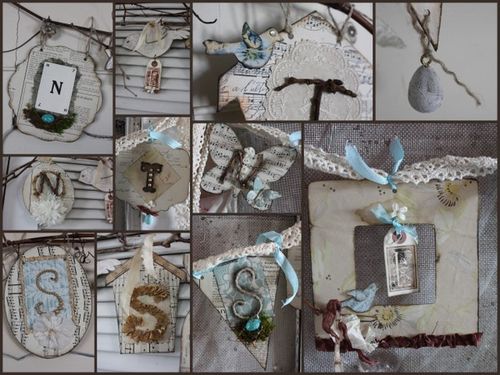
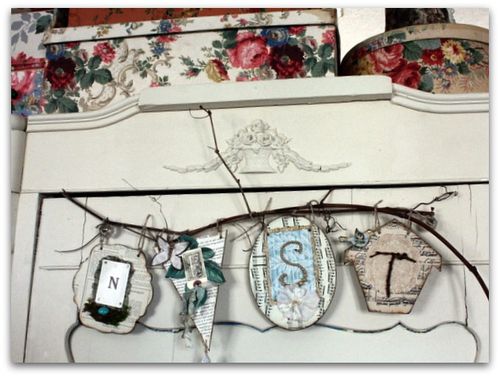
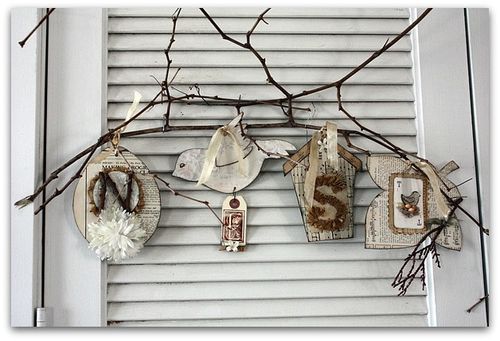
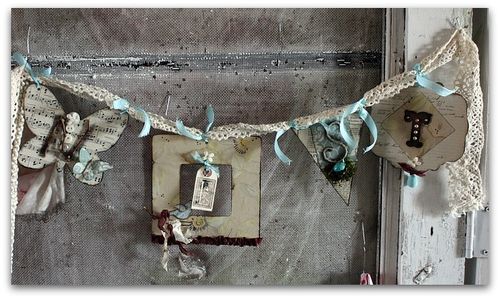
Nest banners

This was a nesting weekend for me. My husband is out of town, Sugarwings is with parents, nothing was on TV that I wanted to see, and I had nothing but studio time! (but I have to confess I couldn't go the whole weekend without snuggles, I had to sneek over to my son's house to hold the baby Sis-star for a while)

So, I made up two more banners for my Bird Song event this spring.

IMG_8880
My plan for the class is to provide a packet of supplies, and patterns and ideas.  Plus instructions for the different ideas, of course.

I want everyone to have choices for their project.  I'll have lots of examples made up and plenty of pretty papers to work with.

IMG_8873 It will be such fun to see what everyone comes up with. One of my favorite things to do when I attend a class is to walk around the room and see all the ways one single project can turn out.

With this one, the variations will be countless!  I can't wait to see what our 20 students make.

Thanks for your patience in waiting for me to get the ball rolling on this class.  Sign ups are SOON.

Thanks also for your kind words about my worries for Sugarwings. I appreciate all the private emails and messages about your own kids.  We always hurt more for our little ones than for ourselves, don't we?

IMG_8881 After making up all the banner bits, I got busy typing up instructions and drawing the patterns.  I hope I don't get a stiff neck from patting myself on the back too much, but I just have to brag about how early I am getting this done.

I've got all the stacks of vintage paper, wallpaper, tags, chip board, millinery flowers, turquoise bird egg beads, moss, and tons of other goodies laid out on my table ready to make up the kits. 

MONTHS ahead of time!!!!!!!!!!!  Yep, there is lots of back patting going on around here.

IMG_8858

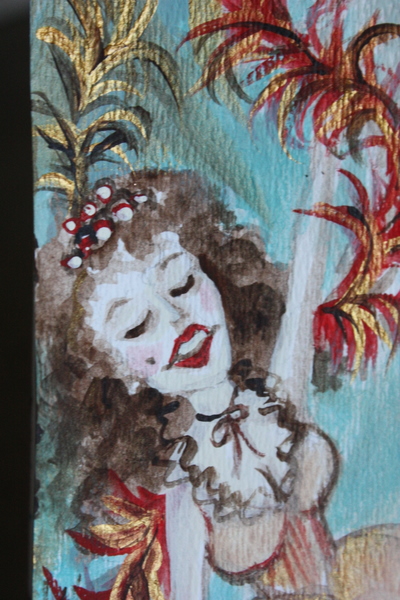
Not only that, but I did a quickie, little painting for the Moulin Rouge event I am attending in March too. Here is a corner of it.

I'm so proud of myself that I am taking the night off now, to go sit in front of the TV with a good movie and a plate of rotisserie chicken from the grocery store.  There is nothing like vegging out in front of the TV with food I didn't have to cook, after a couple of days of hard work. 

New Year’s Eve Tiara Tutorial

Tutorials

IMG_8150

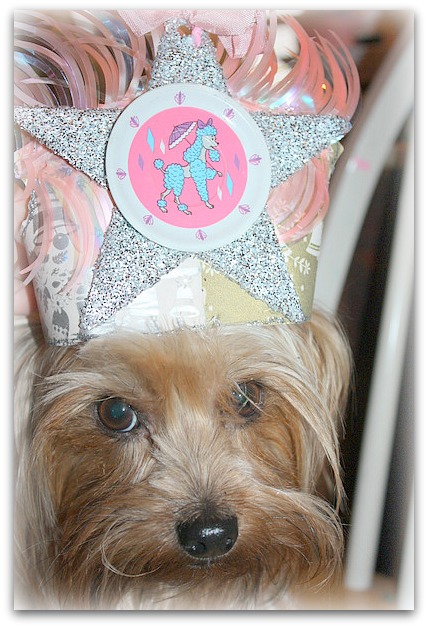
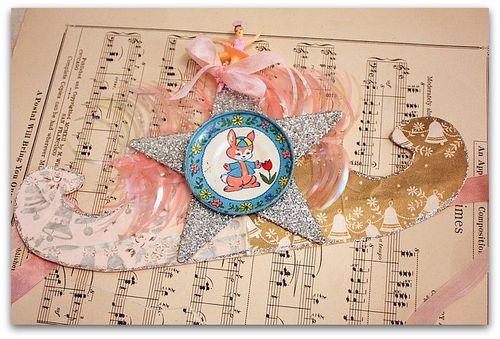
Are you ready for New Year's Eve?  Here is a quickie tutorial for a simple crown if you need party favors for guests and don't want to spend much time or money on the project.

But, I have to warn you, they fit people better than dogs….

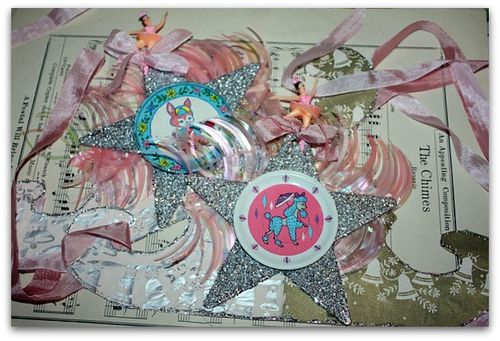
IMG_8149 The ones I made are for kiddos, so I've used a little, vintage tea party plate as the centerpiece of each, but you could embellish your own in what ever you have handy. 

IMG_8143
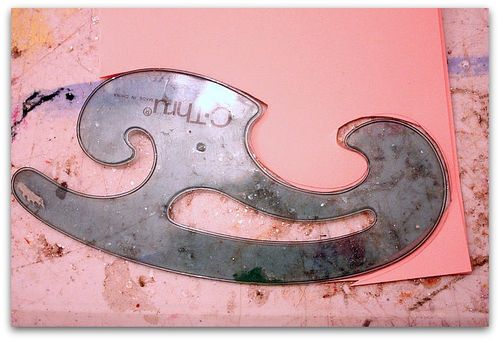
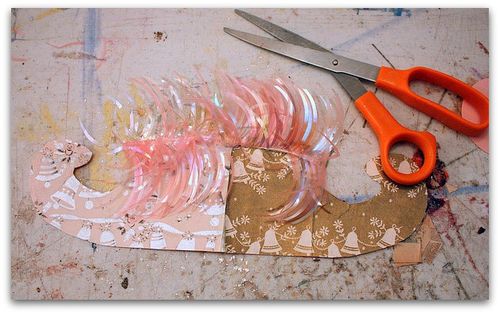
To start, I folded a piece of pink card stock in half and laid a "French curve" over it to trace a pattern.

IMG_8144 I cut it out, opened it up, and covered it in gold and silver wrapping paper. Then topped it in festive fringe.

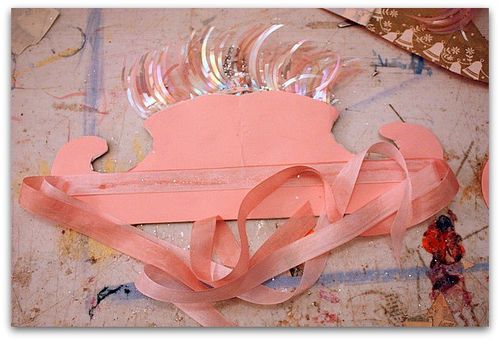
IMG_8145
It got flipped over, and a couple of ribbons were glued across the back. Make sure you cut them to a length that is good for tying around the head of the person to wear the crown.  I left plenty to dangle down too.

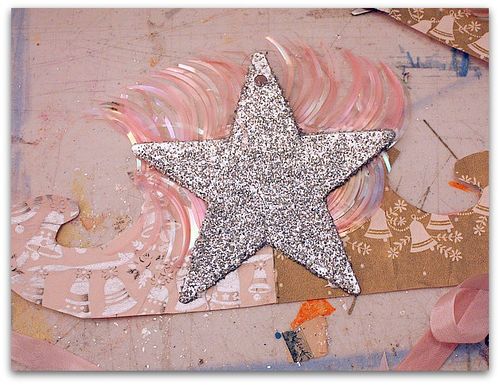
IMG_8146
To the front of mine, I added a glittery star from the Christmas tree.  Since there was a hole meant to hang it from, I slipped a ribbon through that hole, and tied a cake topper ballerina to the star, securing it with glue.

(I use Ultimate)

IMG_8154 Of course, you can decorate yours any way you want.  Feathers, foof, spangles, sparkles, anything goes for New Year's Eve! I edged mine in silver Stickles glitter to top it off.

While I am away with Sugarwings on our grand adventure, I won't be able to keep up with emails and comments. But I will enjoy reading them…. thanks for visiting! 

 PS- to shop at 40% off in my Boutique, you need to use this link:

http://www.karlascottage.com?code=happynewyear

A foray into film

Dorkies (Yorkshire Terrriers), holiday decor, Tutorials, videos, vintage paper/collage art, yorkies

IMG_6440
Yesterday, Beth came over for a puppy play date. Well, actually, we were working on Romantic White Christmas, but the dogs thought it was all about them.

IMG_6439
We rearranged the furniture in my bedroom to make use of the mantel that I have as a headboard. The pups curled up on my bed and kept an eye on what we were doing as we foofed and decked the halls.

IMG_6380

All of the projects we had made for the classes were brought out and displayed, then photographed for a talk on the basics of holiday display. (tomorrow's post on the Ezine

We've tried to make sure that there is a new post everyday on that blog, and that we give lots more than just the projects listed.  There are lots of extras, downloads, freebies, and ideas.

If you are in the class and would like to show what you've made, I've set up a Flickr page for us.

Also, if you have posted a creation from the Ezine on your blog, please let me know and I'll set up a link page to it.


 While it was all set up on my mantel, we made a video of the projects.  Using the Flipcamera editing software was a bit of a learning curve for both of us, but once we got going, it was much more simple than we thought. 

I'm looking forward to doing some baby videos now!

IMG_6356 You might have noticed that I still haven't shown Silver Bella pictures??  I'm still not unpacked yet!

IMG_6359
Except for a couple of little things.  I did unpack this lovely old print for my dining room. Its from our shopping excursion to St Joe on the way to Omaha.

IMG_6365

And this purchase was from Sunday at Brass Armadillo with some Bellas. 

They could almost be the same lady in the print, huh?


I am linking with:

Tinsel and Company

and

Common Ground


Romantic White Christmas is ready to go!

fairies, holiday decor, how to's, how-to projects, Tutorials, vintage paper/collage art, Workshops

 
  IMG_5843

Beth and I worked on photographing our projects for the Romantic White Christmas class yesterday, and I was able to get the site up and running.  I was being very flustered and scattered and was feeling the pressure of getting it all pulled together in time, plus getting ready for Silver Bella and a couple of dinner parties. Beth asked if I was OK, and told me that it wasn't like me to be frantic about getting things done. I usually take it all in stride.

Romantic white xmas 2

But then, she asked me how the baby was doing and I realized I was totally blocking all my grand baby worries and focusing them on the other things.  I'm not frantic about projects and parties! I'm really wrecked worrying about the new baby. 

Sometimes it takes a good friend to calm you down and help you face your fears.

So far all is well with the baby, the due date is nearing and the new momma is holding up.  The closer the date gets, the more relieved I should be, since the little one gets stronger and stronger as she grows.  But 6 weeks of labor stopping and starting has left me frazzled. And no pre-natal care terrifies me.

But the momma is calm and cool and I need to follow her lead.  Beth reminded me that they are following their beliefs and they are not stupid, if a serious problem comes up, they will go to the hospital. 

So, I'm focusing on the good news, and looking forward to the parties and projects, and a new cuddle bundle coming soon. Staying positive can't hurt. Turning into a frazzled wreck will only make it worse.
IMG_5799

Sorry, sometimes I use this blog as a daily diary to help me deal with things. Other times, its a kind ear to tell my problems too. But I'm sure you all would rather I just kept it a happy place to share pretty stuff!

So, on with the pretties!

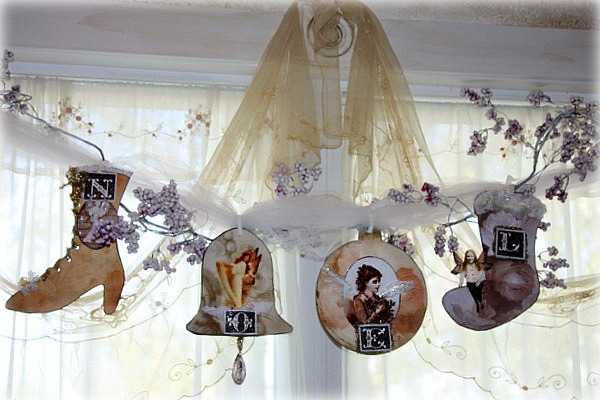
The NOEL Banner is mine, and the patterns are hand drawn.  I've also included an ornament and star pattern to use too. Plus, I have edited and sized the patterns to be printed 8 x 10" like the banner, or 4 x 6" to be used as ornaments.
IMG_5815

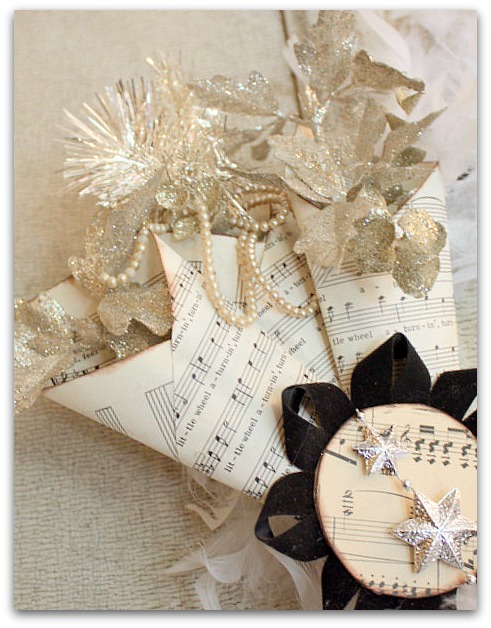
Beth sure made some nice stuff for her side of the classes. This is a details of a  white feather wreath she created and embellished.
IMG_5775

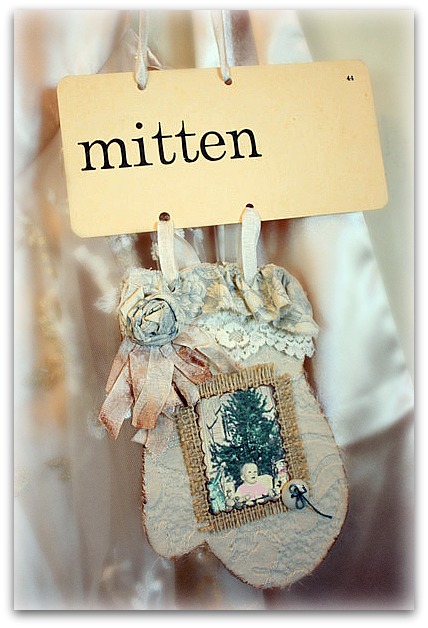
And how sweet is this?

IMG_5826

This one is from me, and I hope everyone likes it, they are a bit different…. but I had fun with them.  Can't you picture this on a table top filled with mini silver ornaments and moss?

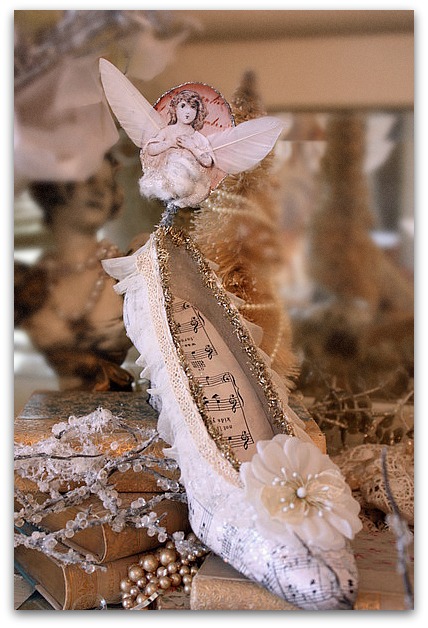
I have this shoe 2 ways, one has a bit more color to it.  We've based the projects on White Christmas of course, but if it was all completely white, the papers would all be blank.  We use a lot a of neutrals and a hint of soft colors. 
IMG_5754

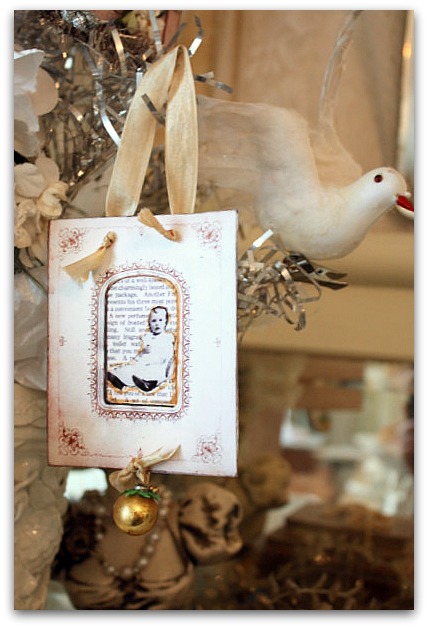
I spent two weeks going through my ephemera stashes and scanned all my favorites, then edited them to sepia or black and white, and some with barely there colors.  Then, I included some of the original colored  papers in the catalog for you too, so you'd have choices.  There are lots of papers and images to chose from, much more than what you will need just for these projects.

These photo album mats are a good example of images that you'll find in the catalogs that will be useful year round, not just for holiday crafts.
IMG_5803

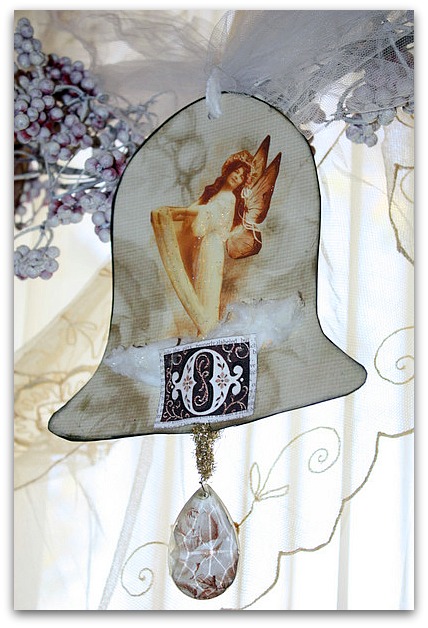
The image used on the bell is taken from an old postcard. I have hand painted wings onto her, then scanned and edited the picture to sepia. I wanted to add some touches that were one of a kind and you couldn't find anywhere else.
IMG_5802
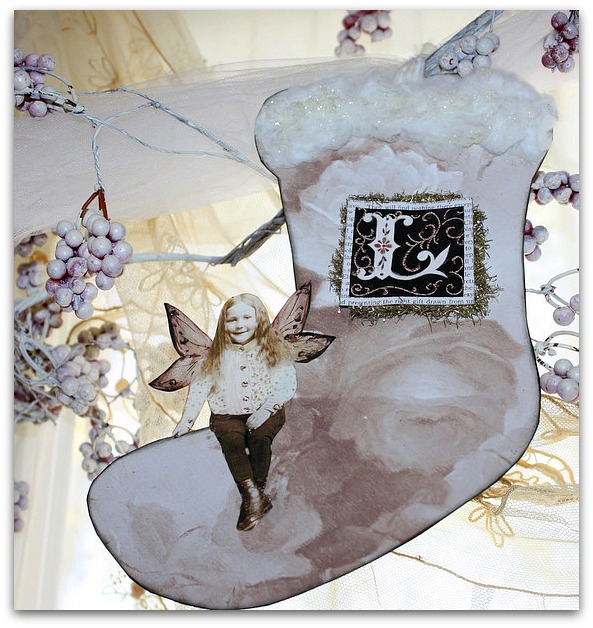
This little angel is from an old photo that I painted wings for too.  She has a hint of some of those barely there colors in the wings and in the patterns I painted on her shirt, but over all, this stocking has a "white" feeling.
IMG_5769

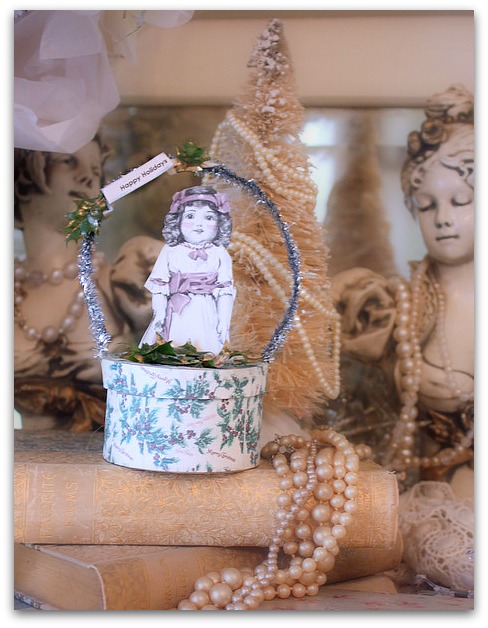
And I can't wait to make this little Pretty Pixie box from Beth!  Mine might get wings….
 

IMG_5787

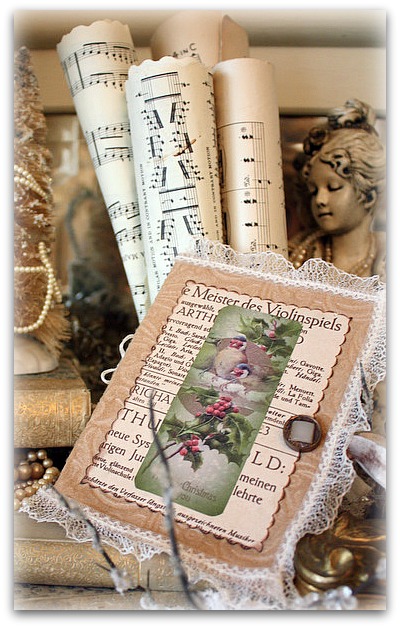
And Beth had this idea for a song book. Its filled with all your favorite holiday tunes and simple enough to make that you'll want one for every family member to carry as you go carolling!

Plus, you know, we'll have more.  I tend to go on and on and am unstopable. I think its a good thing for me to do two blogs instead of just one, because I do have a habit of saying wayyyyy too much. With two blogs, my blathering will be split in half.  Oops, that really isn't a good selling point, is it?

What I meant, is that you should expect lots of extras on the Romantic White Christmas site, beyond just the projects listed. We'll have some projects that you just print and embellish, gift wrap and decorating ideas for Christmas, videos,  plus a few presents here and there. 

I hope you'll join us!

Easter angels

Today, I'm linking with White Wednesdays over at Faded Charm.  I always enjoy her white party, but rarely have a white theme on Wednesday to fit.
Scroll to Top