vintage paper/collage art

A little cottage creation

bird song art event, cottage, vintage paper/collage art
 Arabellacinderelladay 132

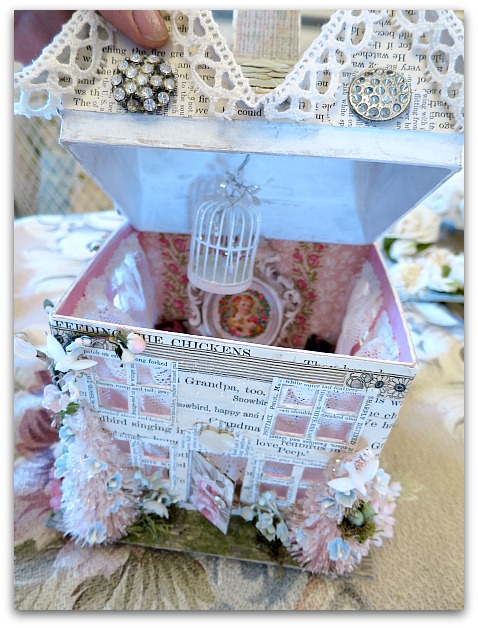
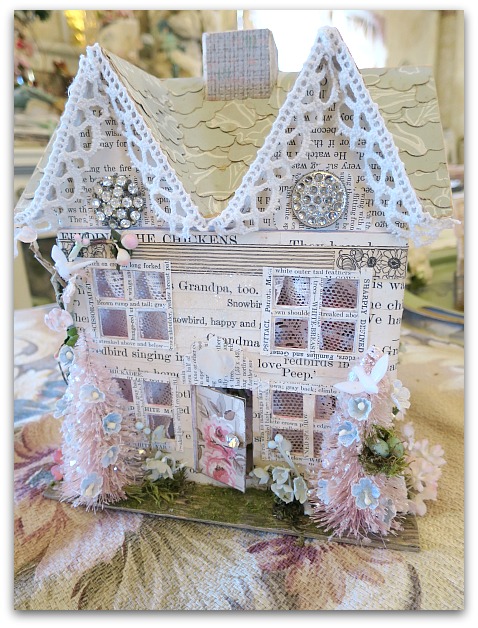
My long time friend, Gail, hosted a swap for Birdsong.  It involved those paper mache cottages you find at hobby stores. The minute she announced it, I HAD to make one!
Fairytale village 071

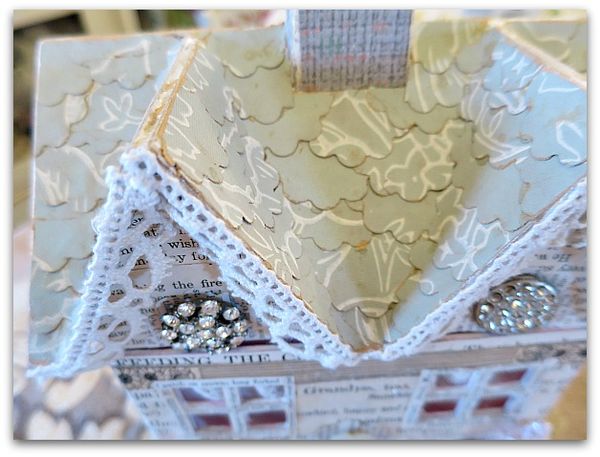
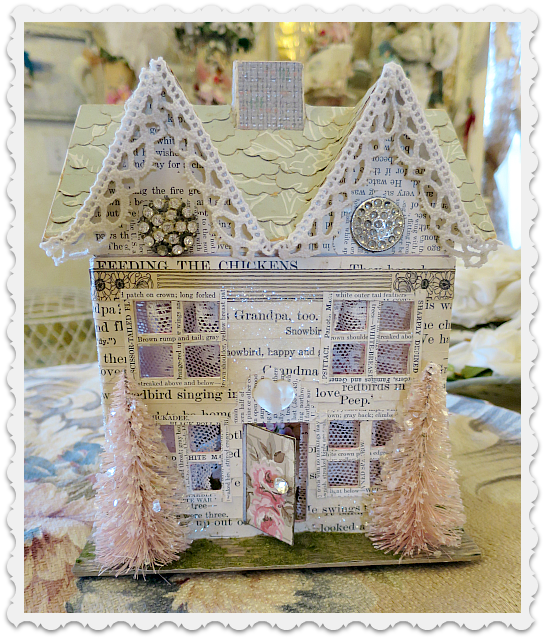
My first step was to paint all of the edges and corners that might show.  Then I covered the roof in vintage wallpaper, cut into scallop shapes to make shingles.
Fairytale village 069

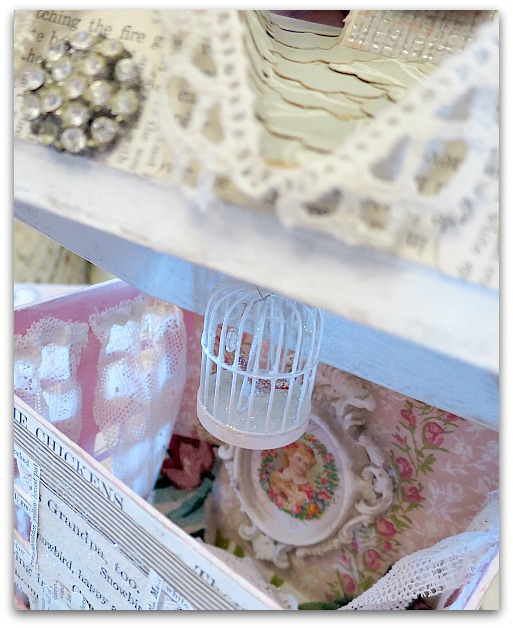
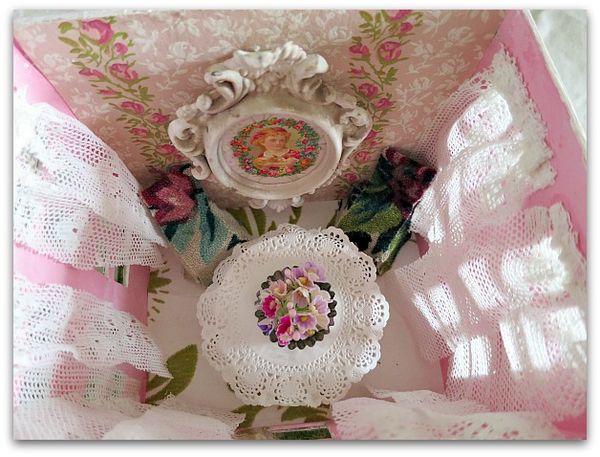
The rims that fit the lid to the base of the box were also painted white, because if you cover that with paper, the box lid sticks and never quite fits right.  I also painted the inside and front walls pink, and wallpapered the back inside wall.   I thought it would be much too complicated to try to paper the walls of windows, too many tiny holes to sand around!

The bottom, or floor, is covered in a large patterned, flocked wallpaper.
Fairytale village 001

Next, I covered the chimney with another wallpaper, and poked two holes in the top of it to thread wire through and attach a bird cage from.  The little glittered cage now dangles over a table made of an empty spool of ribbon covered in a paper doily.

I lazily cut out strips of lace to cover the upper and lower windows instead of making separate curtains for each.  They are gathered up and squished into a bead of glue to hang.

The chairs are made of chip board and are covered in scraps of vintage fabric we are using for my journal class.  And the portrait on the wall is a small frame that I painted and added a post card picture to. It is a little over sized for the room, but I prefer to think of it as dramatic.
Fairytale village 003

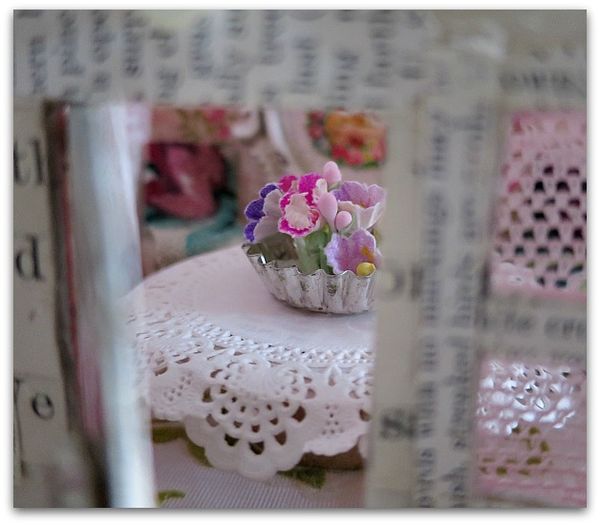
The final interior touch was a bowl of posies.  They are millinery blooms in a mini tart tin.
Fairytale village 065

The exterior was covered in strips of text from a 1930s Kansas Primer.  Well, I'd hoped it would look like siding, but it really doesn't.  The window and door trim is strips cut from an old book about birds.

I glittered the "siding", added moss on the "ground" and two small pink trees. Then, I thought it looked way, way too Christmassy.
  Arabellacinderelladay 136
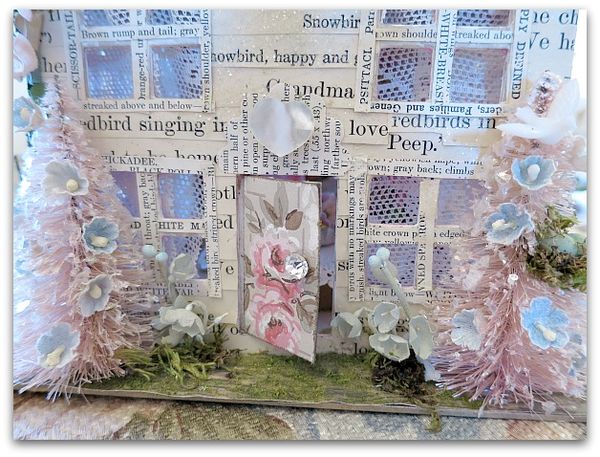
Adding some blooms to the trees and some flower beds around the foundation helped.
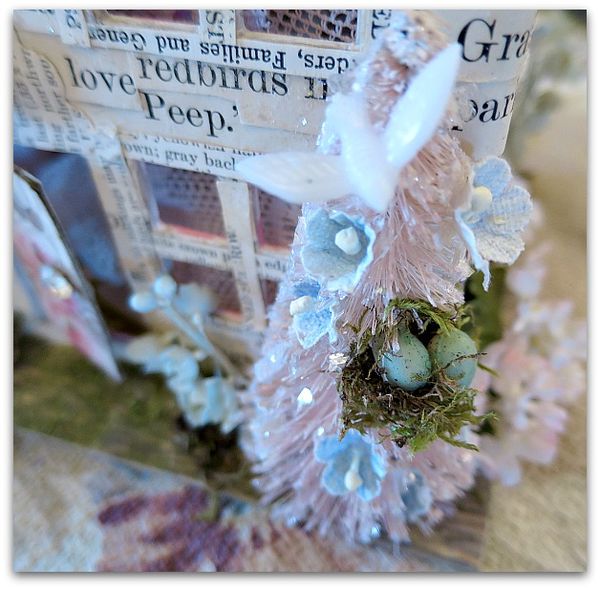
Arabellacinderelladay 133

I thought a bird's nest made it more springlike.
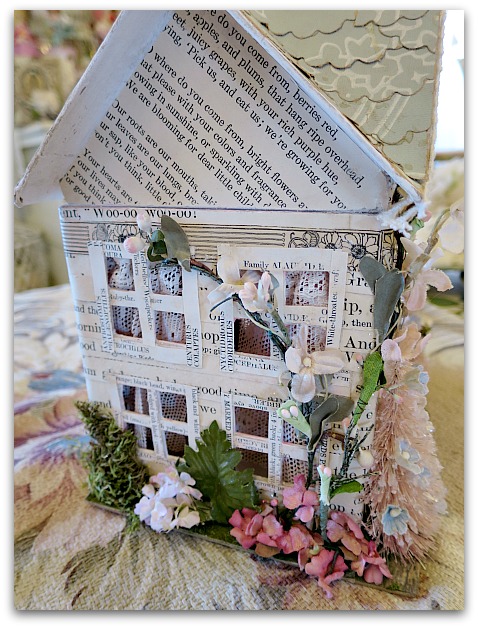
Arabellacinderelladay 135

As did some climbing vines.

Arabellacinderelladay 137

But my favorite part? The anticipation of the excitement of swap night at Birdsong!  Swaps are such a generous sharing of talent. I am always touched by the thoughtfulness.
Serendipi-TEA at The Whitmore Ranch Retreat classes

jewelry, sewing?, vintage paper/collage art, We're having a party

Whitworthranch 139

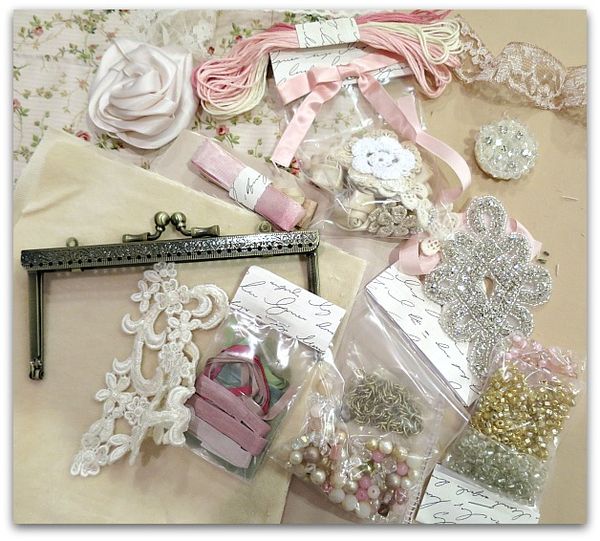
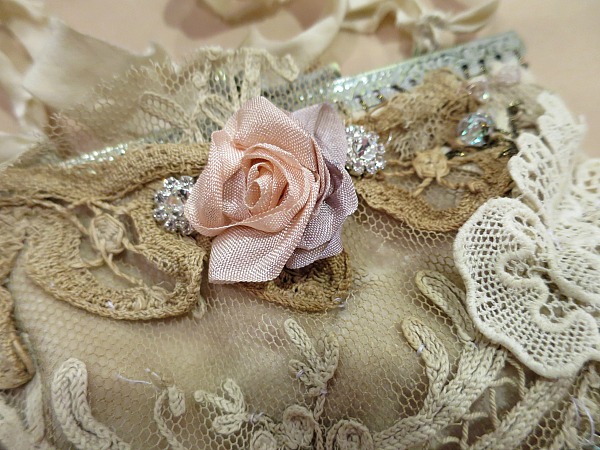
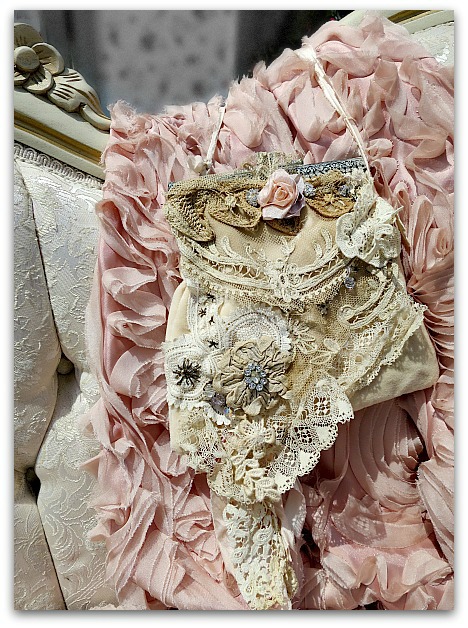
Classes at our Downton retreat in TX were just as fun as the rest of the weekend. Cassandra offered a velvet purse kit in pink or tan, I chose tan, and packed a lot of old lace to add to my creation.  (including the salvage I'd trimmed off my kitchen curtains when they got torn while blowing around on a very windy day)

I was slightly dreading the production, because of- ick!- sewing- but once I got going, it wasn't as hard as I thought  it would be.  Cassandra had the bag and liner pre-stitched, we embellished the bag, put them together, sewed on the clasp.  It was sewing optional in a lot of areas, we could use glue on some parts. But, I dove in with needle and thread, and conquered my fears. 

My skill level is not high, and I didn't change that.  But, when I dropped a camera and phone into the finished bag, they didn't fall through, so I guess I did okay.

Whitworthranch 040

She had great supplies for us to use, but I had an idea about how I wanted it to look.  

Whitworthranch 041

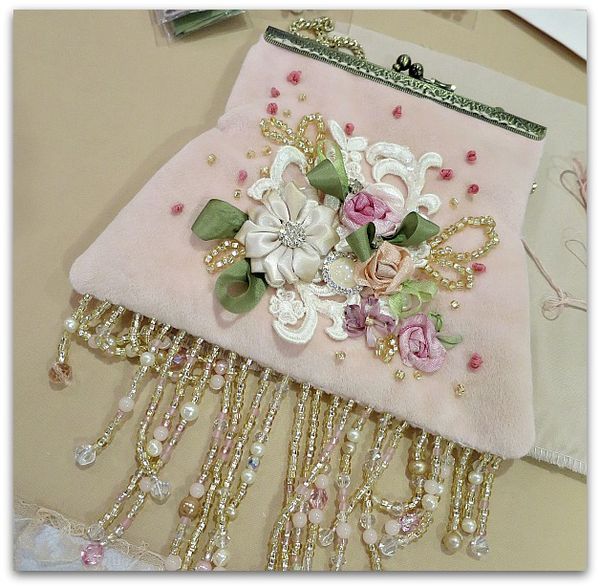
This is her example. Lovely as can be, isn't it?

And while I tried the embroidery and beading, I knew I'd never master it that fast, so I stuck with what I knew.

Whitworthranch 042

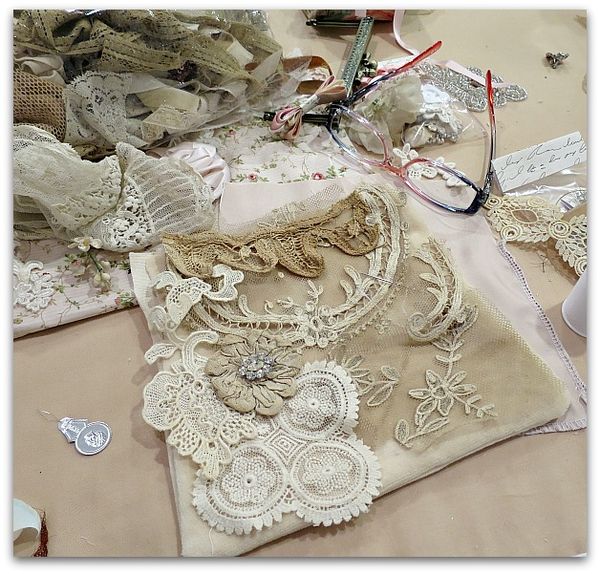
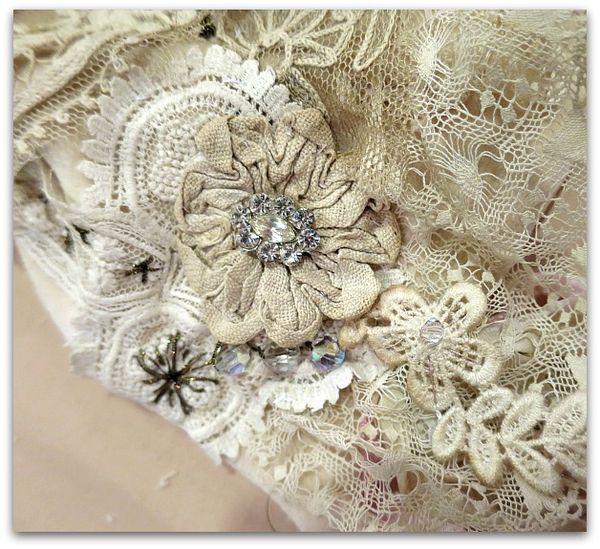
My first step was placing different lacy bits on the bag to see what I liked, and then it grew from there.

Whitworthranch 085

One trick I did pick up was making a ribbon rose.  I want to make more of these!

Whitworthranch 086

And I did just a little bit of embroidery, using some vintage metallic thread, and I added a few crystal beads from a necklace I'd bought at Canton Flea Market.

You can see I didn't do much of that.  I discovered that embroidery is hard enough, but throwing in old, metallic thread, was crazy. It kinks, twists, and it was trouble.  Still, I was pretty dang proud that I actually stitched something.  

Whitworthranch 037


We had 24 hour access to the craft room, so Guncle Randy and I took advantage of that. We hung out til late every night.  I made not only Cassandra's bag and our other pretty project from Molly, but TWO snippet rolls and a little make and take from Waxahachie.

Whitworthranch 154

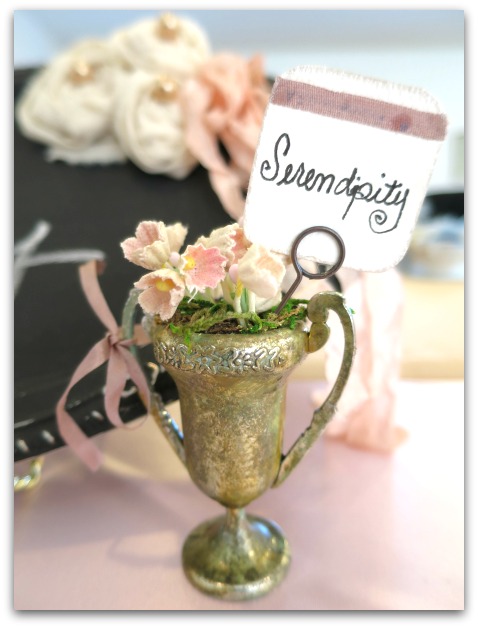
This is a teensy, plastic trophy, and we were given paints to tarnish it up.

Whitworthranch 089

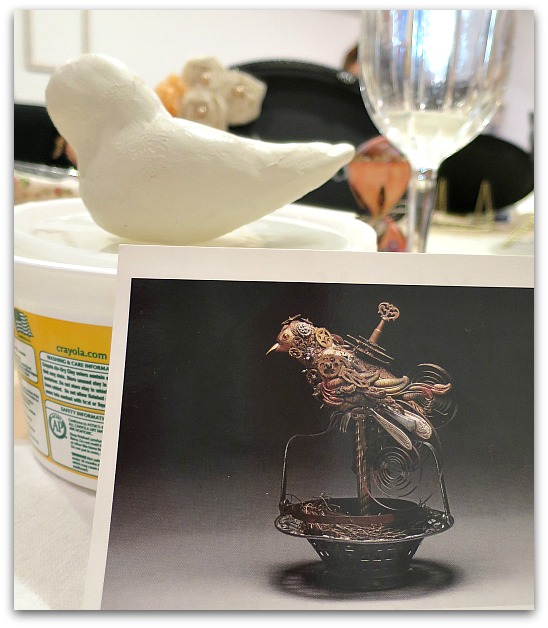
Guncle Randy had been wanting to make a steam punk bird like the one in this picture, for quite a while. I made the base of it for him one night after I finished my purse, and he found a cool, old bit of some sort of twisty metal to turn into a base next time we are together. 

11102717_10205825402101630_5326688575186577974_n

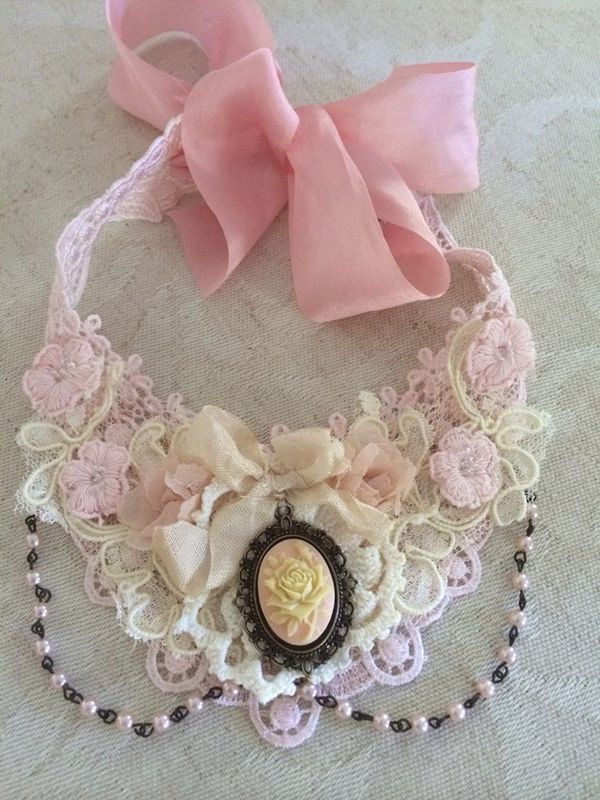
And that isn't all I got done!  We had a second project for the Downton theme. Molly's necklace is a lace collar.  Here is her example. Lovely, huh?  It was also a glue/stitching optional project.

I chose glue.  

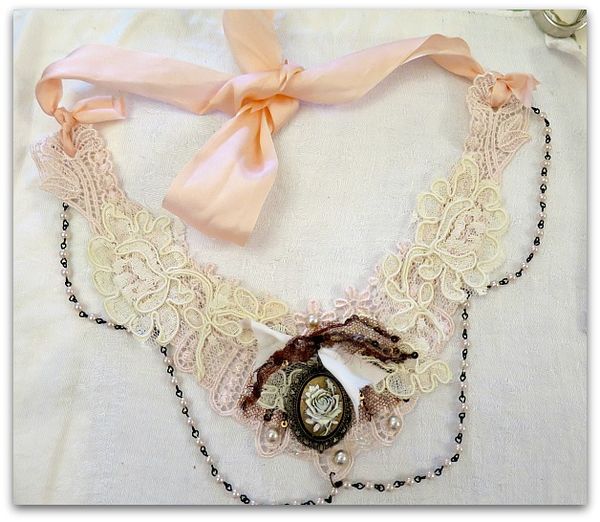
Both pieces were a nice challenge, not my typical style. I wanted to be able to make them look like I made them, but still be true to the theme, since the projects were so pretty and well thought out. 

P 041

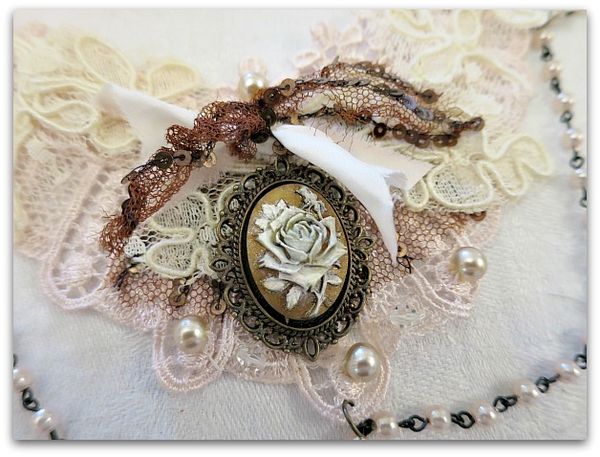
For this one, I darkened the cameo with markers and paint to age it a bit.  And added some sequin trim from a shredding flapper dress, that Sissy shared with me.

P 040

Basically, the rest of the layout was the same as Molly's.  She had hand dyed the lace for us, and it is the prettiest pink.  I might foof mine up a bit more, like hers is, I liked the pink fluffy flowers she had added.

P 035

Here is a little bit of one of the snippet rolls I made. I'll have more pictures of it after our swap in June at Birdsong 5.  The rest of it is a surprise for its intended owner.


May Day Blessings to you

vintage paper/collage art, We're having a party

Earthday 004

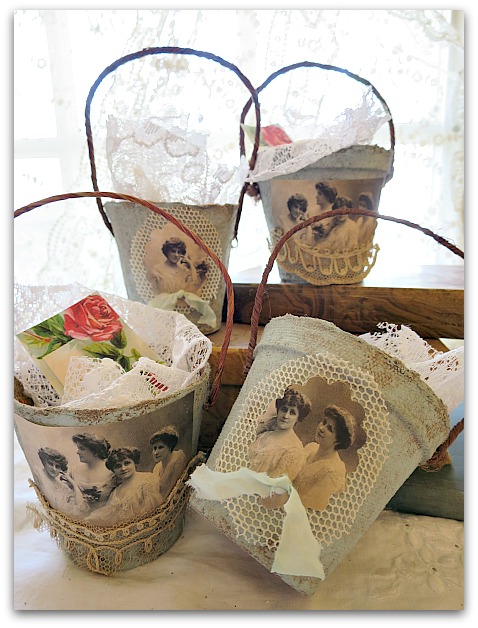
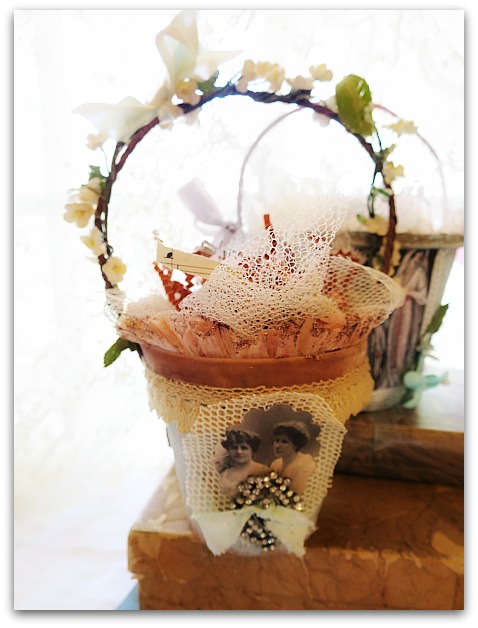
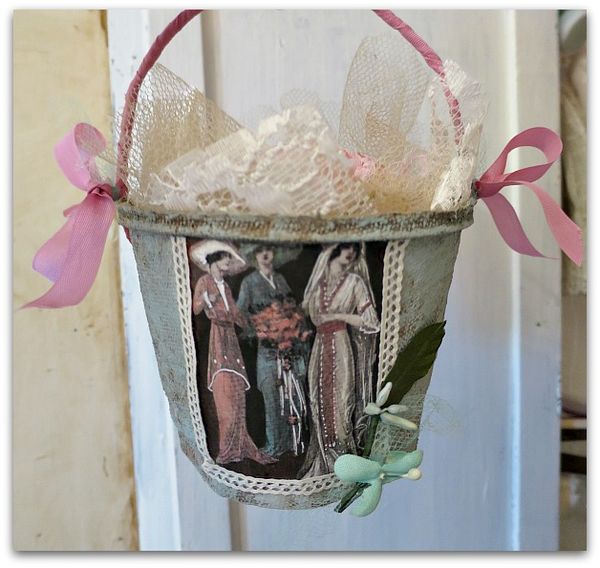
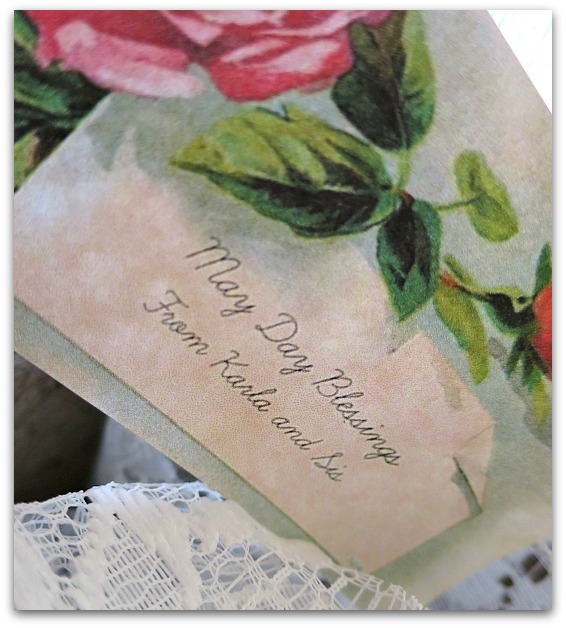
When I realized I'd be in Texas on May Day, I knew I had to make up some baskets for all of the guests at the Whitworth Ranch Retreat.  Dewdrop and I had just been discussing May baskets and I was very happy to have a reason to whip some up.

These are all made from painted peat pots, (I can't get enough peat pot crafting) with a wire handle, and some old lace with a Downton-esque picture. (Our party at the B&B has a Downton theme.)

I lined them with lace cut from an old curtain, and Sissy is going to fill them up with goodies before we pass them out to our friends.

Earthday 007

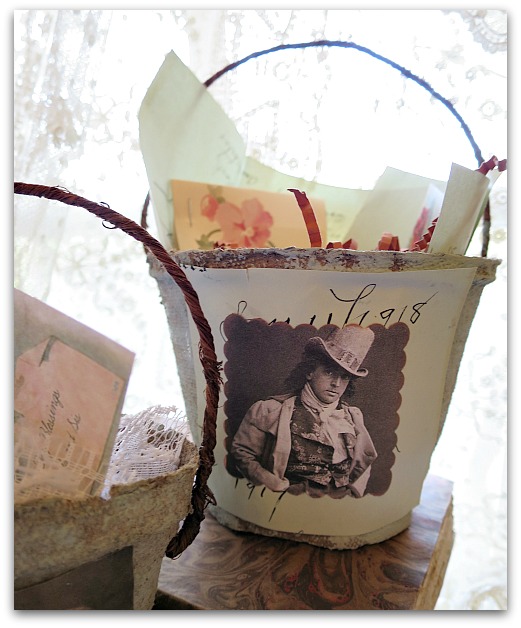
Top Hat Mercantile posted this photo and I knew it would be perfect for Guncle Randy's May basket.  I layered the picture over a legal document from 1917 that was the perfect shade of blue.  

The scraps from that document were used to line the pot in place of the lace I used for the girly baskets for the others.

Earthday 024

Sissy and I are co-gifters of the baskets, but I had to make a special one just for her.

Daphne 024

 It means a lot to me that I get to spend this weekend with my sis and with friends, old and new. Many of our Birdsong Peeps will be at the art retreat, I'm so looking forward to seeing them all. I'm pretty busy at Birdsong, zipping around doing 30 things at once, so I'm happy to have an arty weekend with friends and family where I can relax and enjoy hanging out.

Earthday 006

Thank you, Karen and Stacy for the invitation to this event! 

Daphne 027

And happy May Day to you all.


How to redo a cardboard chest with vintage wallpaper

antiques/junking, how-to projects, studio tour, vintage paper/collage art

Wallpaperdrawers 014

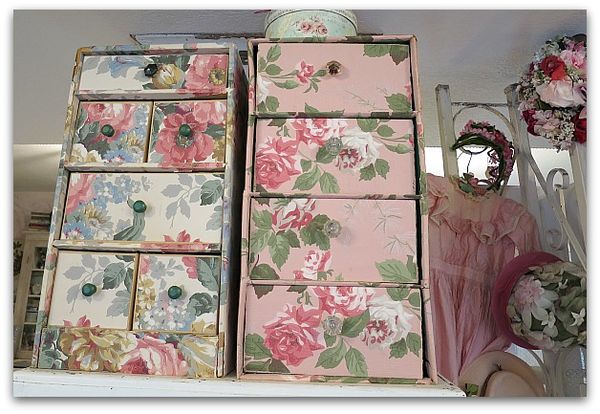
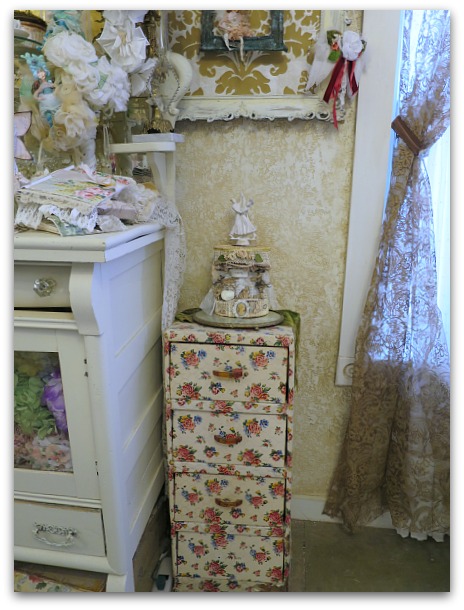
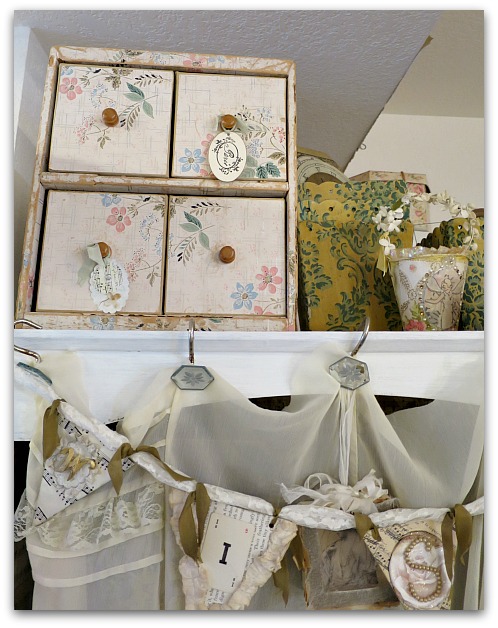
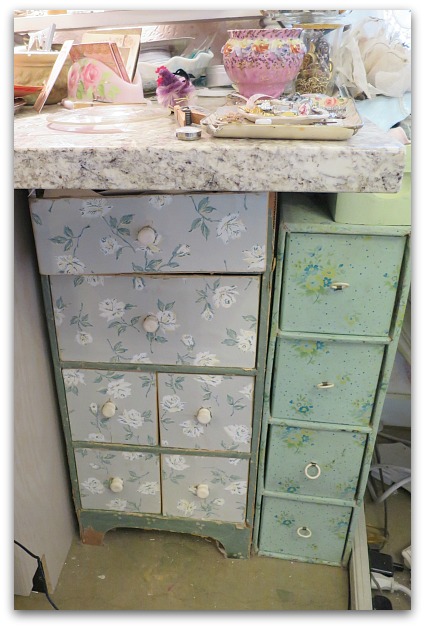
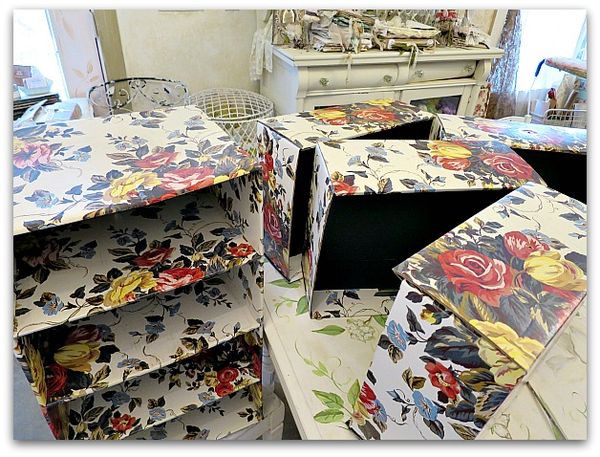
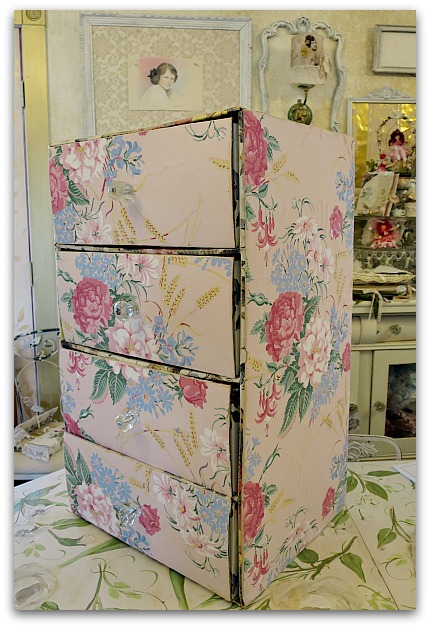
I've got a thing for old drawers covered in wallpaper and collect as many as I can for studio storage. But, they can be rare, or pricey.  So, when I find a newer set for cheap, I give it a makeover. Like the one on the right. The left one is an original, old chest of drawers, the pink one is a 50 cent piece I got at a garage sale and recovered myself.

Wallpaperdrawers 015

This one is old too, and it is covered in vinyl, not wallpaper like most are.

Wallpaperdrawers 017

And I like this mini one too.

Wallpaperdrawers 016

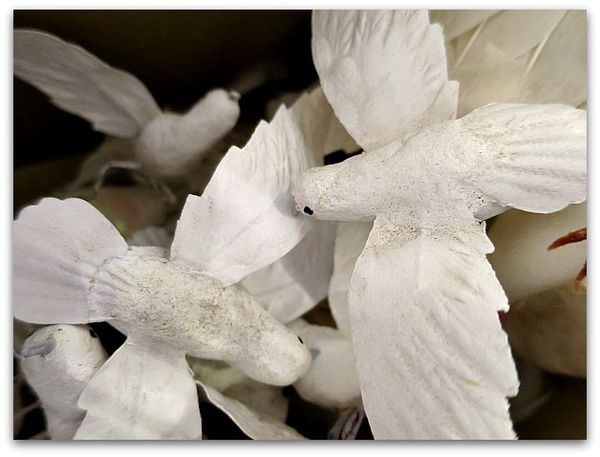
It is full of birds, eggs, and butterflies.  These whitewashed birdies were an estate sale find that Beth passed on to me.

Wallpaperdrawers 019

One thing I like about these, is that they can be tucked away into odd spots to create storage.  Or sat up on top of other pieces.  

Wallpaperdrawers 001

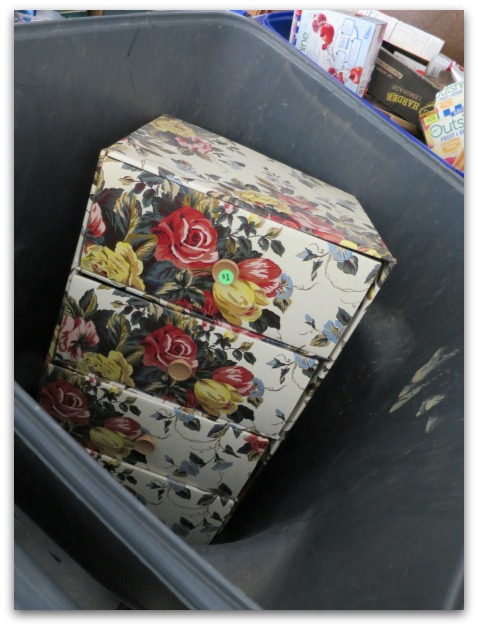
When I saw this tossed away in Beth's trash can, I had to rescue it. 

Drawer 002

Wallpaperdrawers 012

First step- remove the knobs. I had some glass ones to replace these plastic ones with. Which is what I also used on the previous set of drawers that I redid.  That is probably not an accurate thing to do, most of these little chests sport wooden knobs. 

But glass knobs are my fave and I stick them on anything I possibly can.  The ones I selected for this project are vintage, but I've seen some nice ones at Hobby Lobby that go on sale for 50% off an a regular basis.


Wallpaperdrawers 024

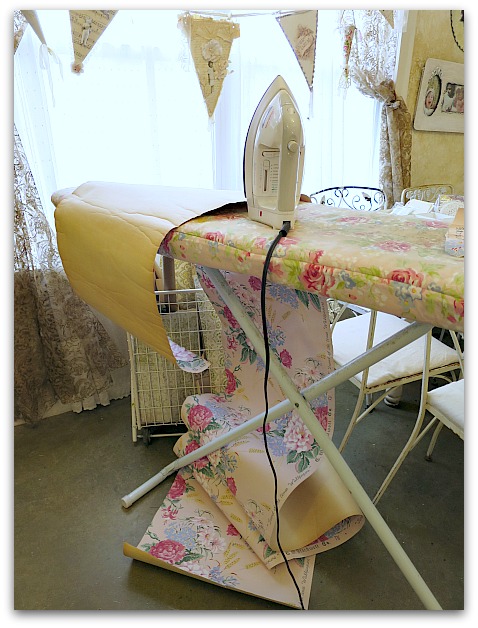
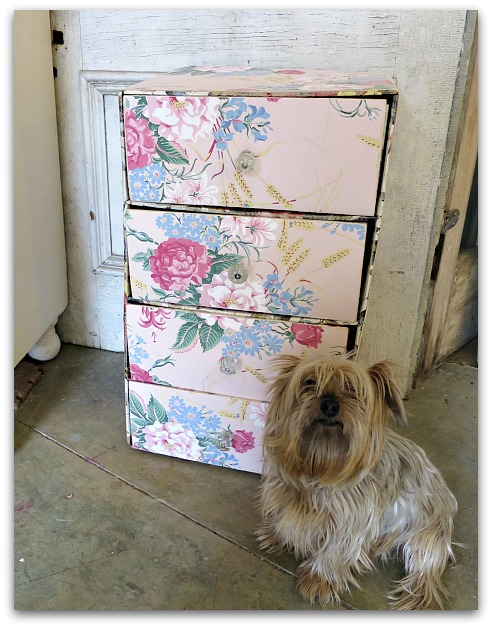
Second step- choose your paper. I have a few billion rolls of vintage wallpaper (a little addiction of mine), and knew this pink with roses would be ideal for these drawers.  But the roll was not only old, it was near its end, so tore very easily. A bit of ironing helped smooth it out so I could work with it.

Wallpaperdrawers 013

Too bad the existing pattern was sooooo 80s. And so shiny.  It is printed cardboard.

But that could be fixed.  I decided that since I was redoing this for myself, not to resale, that I would leave the interior as is.  If I was passing this along to a client, I'd have either painted or covered all of the shiny, printed cardboard design.

Wallpaperdrawers 020

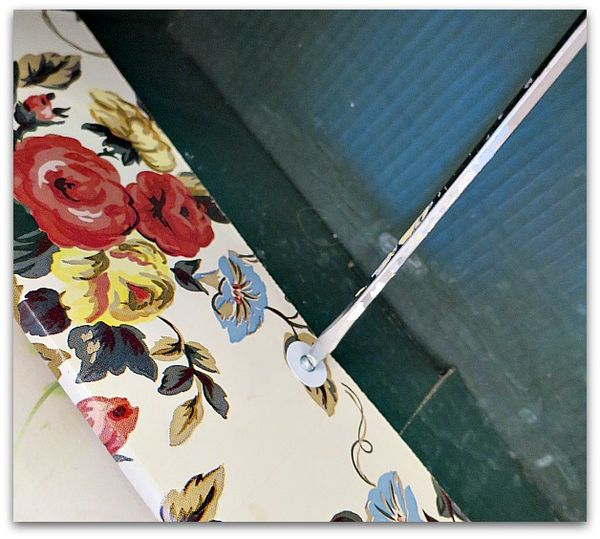
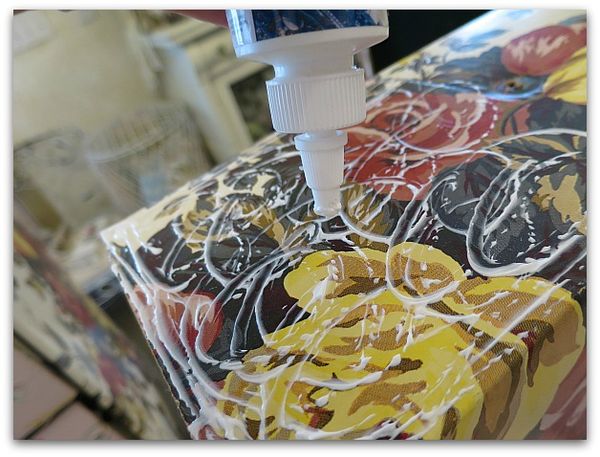
Using Crafter's Pick The Ultimate glue, I covered the front of a drawer, getting right up to the edges, then pressed the pink paper down into the glue.

Wallpaperdrawers 026

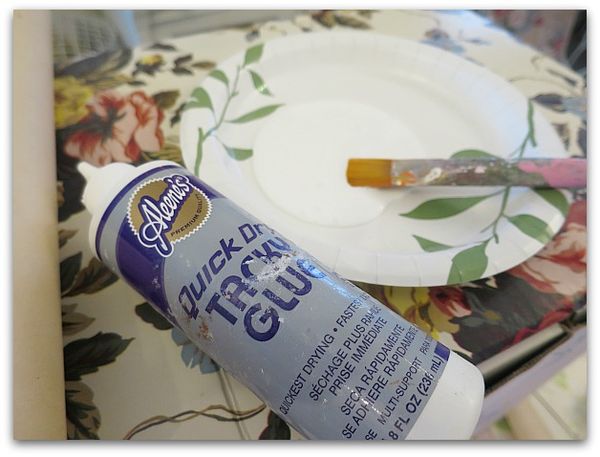
The sides were too big to try to do with a squeeze bottle, so I put a thinner glue on a plate and brushed it on.  I still used the Ultimate on the very edges, though.  They stick down better with a stronger glue. 


Wallpaperdrawers 021

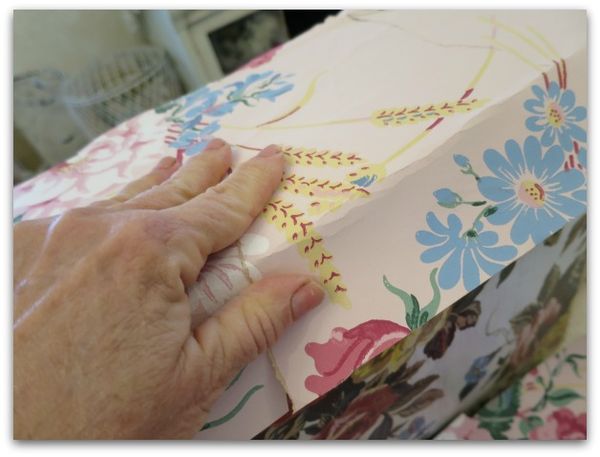
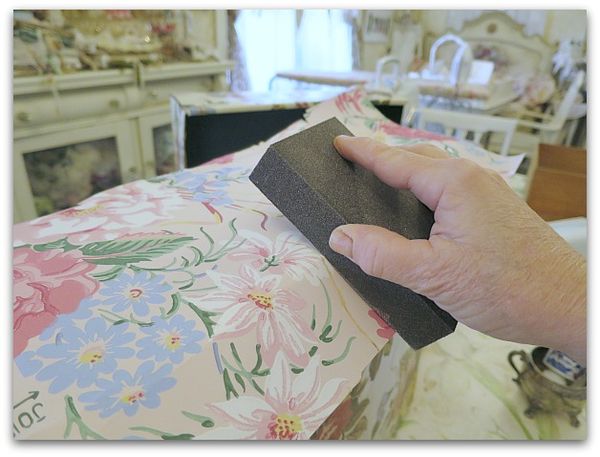
I don't precut or measure. I eyeball the paper to get a size that is close, glue it down, then I crease the excess paper and use a sanding block to "cut" the wallpaper to fit. No scissors.

Wallpaperdrawers 023

The sanding block should be used only in a downward motion away from the edge. It not only buffs and burnishes the paper's edge tightly to the surface, it cuts off the salvage.

Wallpaperdrawers 028

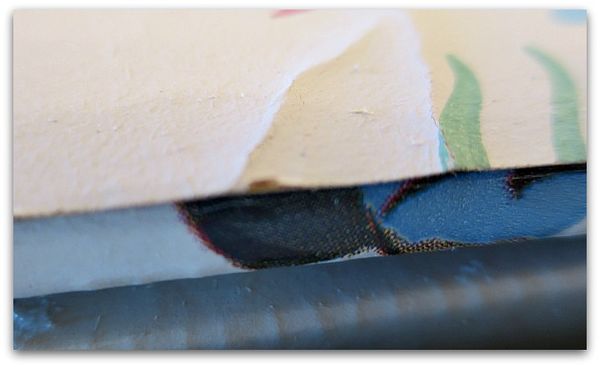
When possible, I lined up the side of the paper to the edge of the drawer.  Less waste of paper that way. But I still used the sanding block on it. The above photo shows why. The straight edge of the wallpaper is glued down, but doesn't look quite right.

Wallpaperdrawers 027

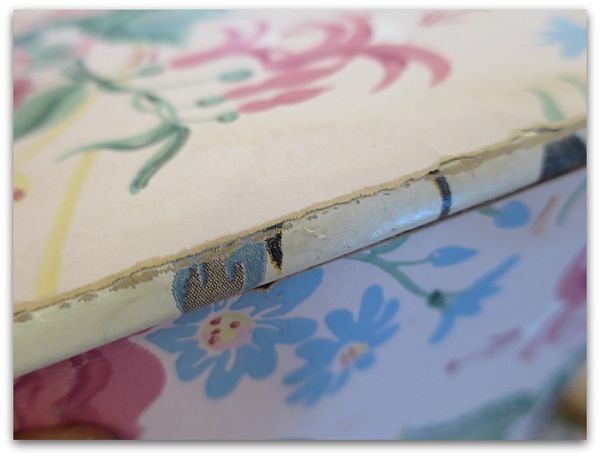
 A little buffing with the sanding block, and it looks much better.

I also discovered, that I could take the gloss off the printed cardboard on the bits like this between the drawers that didn't get covered in vintage paper.

Wallpaperdrawers 030

This is the side of a drawer, with the printed cardboard left as is and the vintage wallpaper adhered to the front. One tell tale sign that these cardboard sets are not vintage, is well, that they are cardboard and it shows. The really old ones are on wooden frames.  

Now, I could have wrapped my paper around the sides like I did on the one in the very first photo on this post.

But I didn't.

 Lazy?

Hmm, maybe.

I squirted a lot of Ultimate glue into the crevice and weighted it down to dry, that lessened the gap and helped hide the fact that this was made of cardboard.

Wallpaperdrawers 029

I'm afraid that this picture doesn't show that last step. This is the picture that made me want to do that last step, though. Those gaps bothered me.

At first it bothered me that this was a little wonky, then I looked at the old ones I was using around the room. Well, wonky seems to be the natural state of most of them. 

Drawer 003


My classes for Birdsong 5

bird song art event, Books, vintage paper/collage art

Journalsbs5 042

For quite a while, I've known what my 2 Birdsong classes will be, but I have had to wait till I pulled together all my materials before I could finish the examples for the class.

When I take a class, I like to see a full photo of what I'll be doing, not just a snippet of a corner.  It's good to plan for variations and extras that I'll want to pack to personalize the project.

And when I teach a class, I have to know that the examples are accurate. That I'll be able to find enough of each item needed to make sure every kit is equal and of the same quality as every other kit.

Journalsbs5 040

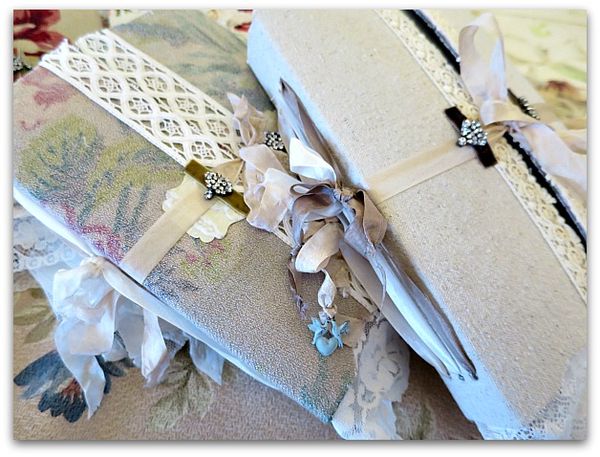
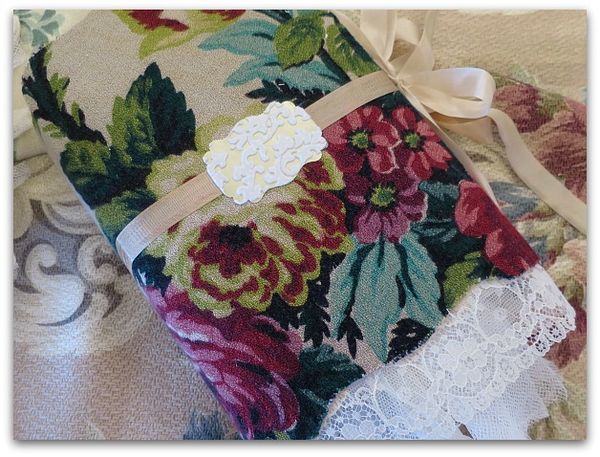
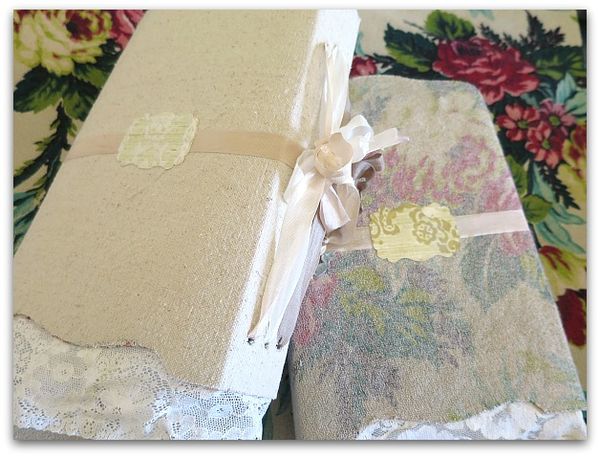
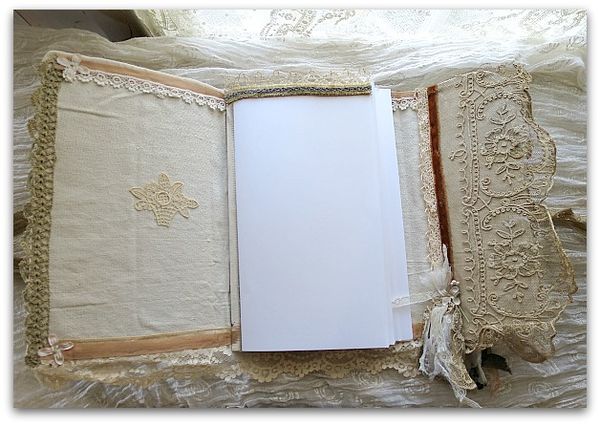
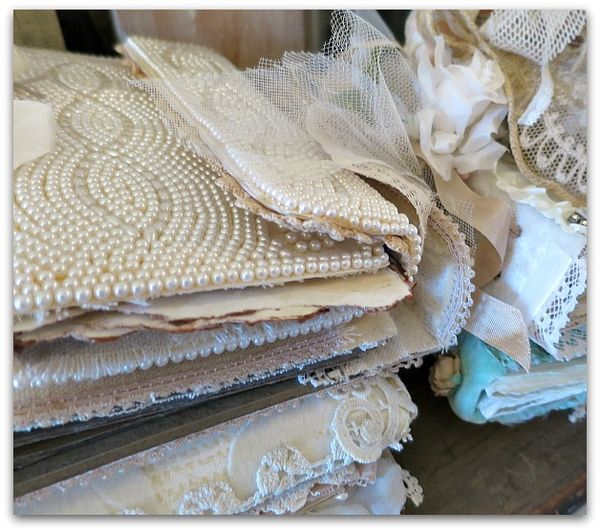
But while I do want the kits equal, I do like them to have some flexibility and choice. So, I've got options for the students.  These books can be made with the canvas as the outside cover, or as the lining.  I've got a few selections of vintage fabric to use along with the canvas.

Journalsbs5 038

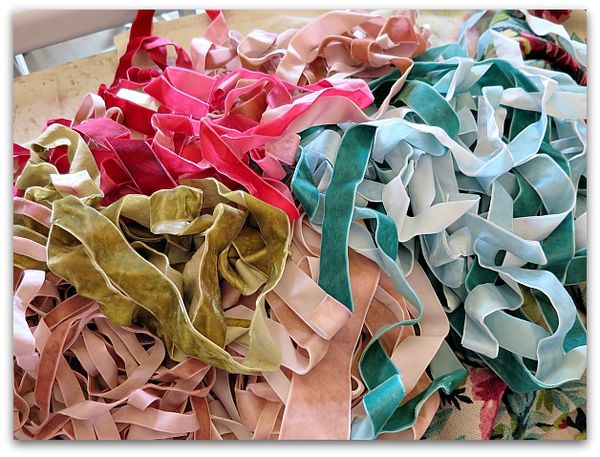
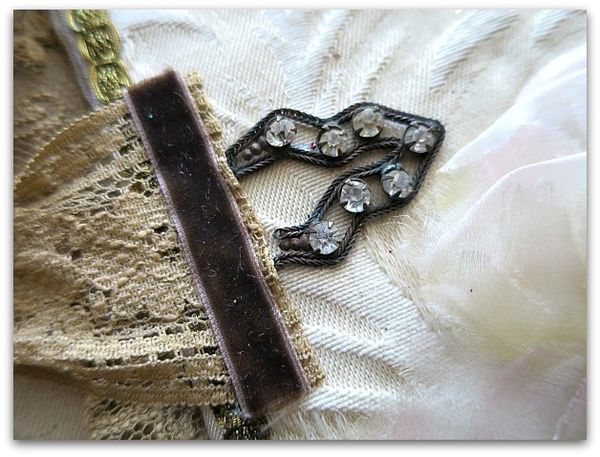
And I have been hand dying velvet ribbons to coordinate with the vintage curtain fabric and barkcloth that I've purchased to create the covers.

Journalsbs5 040charm

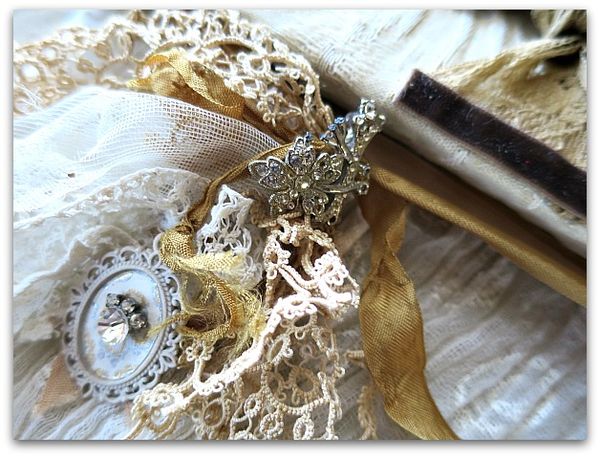
As well as hand painting little charms to dangle from the ribbons of each book.

Journalsbs5 046


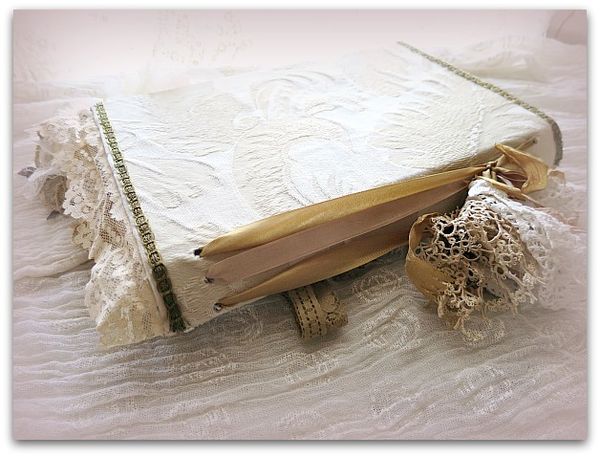
(back of the book)

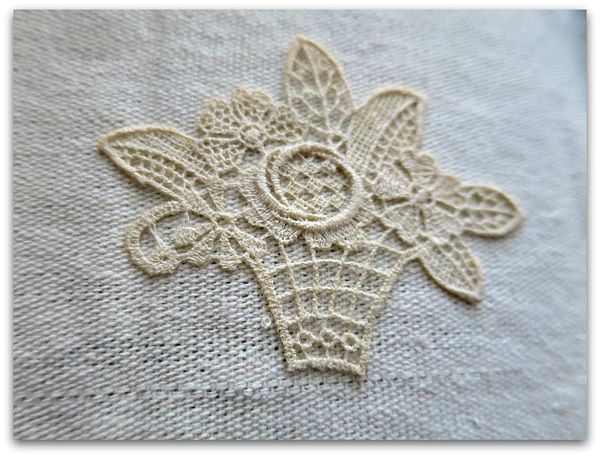
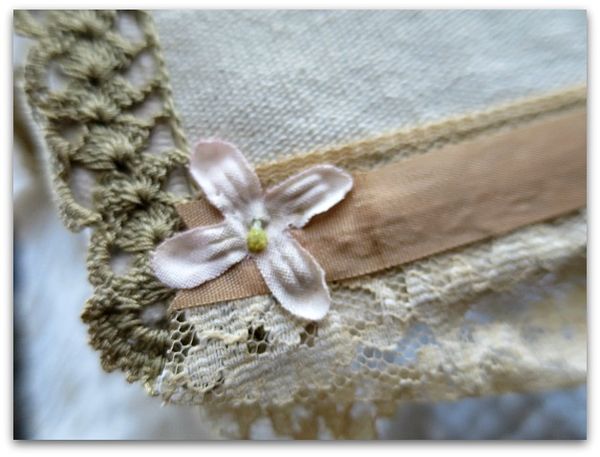
There was no problem with finding plenty of old lace, I have it by the bucket load out in the studio. I'll be measuring and cutting it to stuff the kits with, and since it is vintage and the velvet is hand dyed, no two books will turn out exactly the same.

That is my favorite part of a class! I adore looking around the room and seeing all the individual takes on the project.

Journalsbs5 014

(backs again)

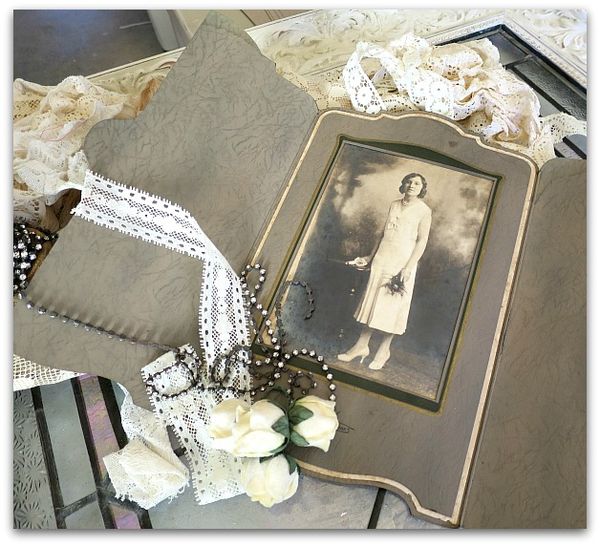
This class will show step by step how to create a journal from a provided pattern based on an old cabinet card photo folder.

Journalsbs5 043

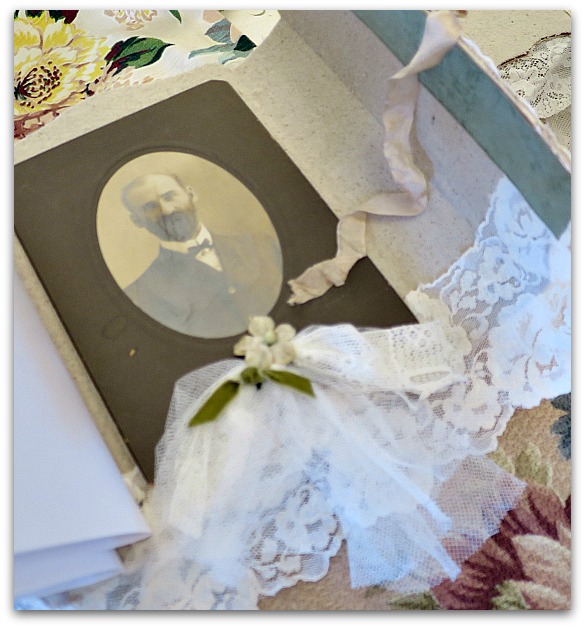
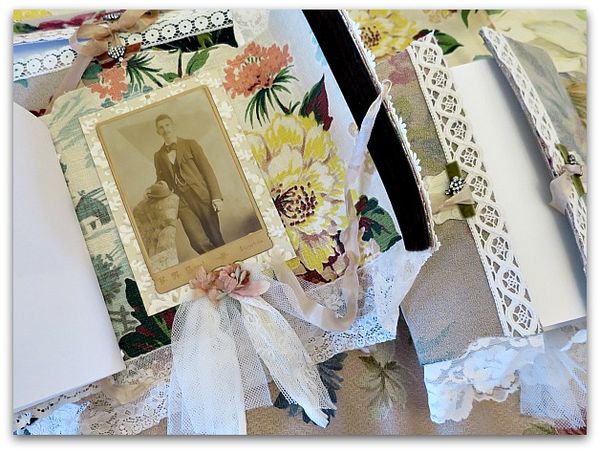
And will include some old photos to add to the books.

Journalsbs5 041

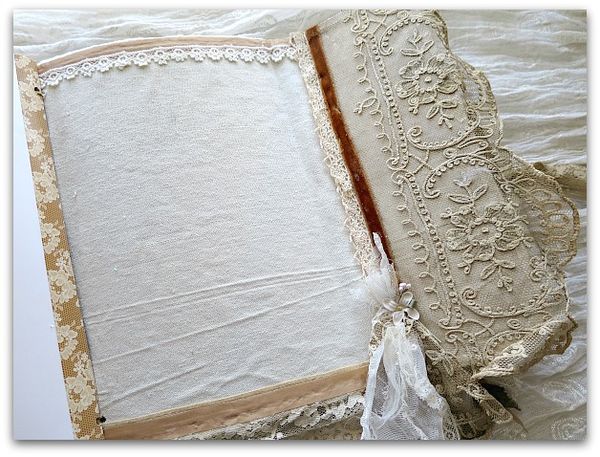
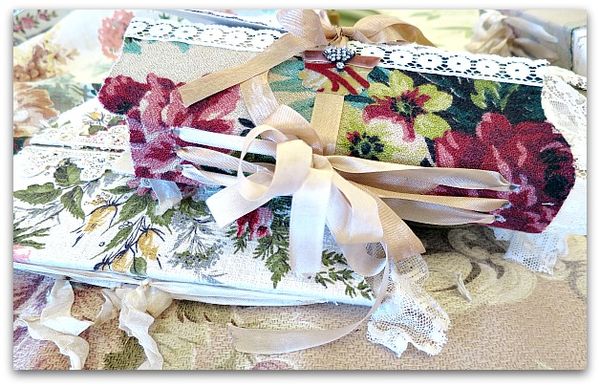
After we have assembled the books made of old, floral fabrics and canvas (no sew), the foofing will begin, with lace, velvet, millinery, ribbons, charms, and a vintage picture.

Journalsbs5 044

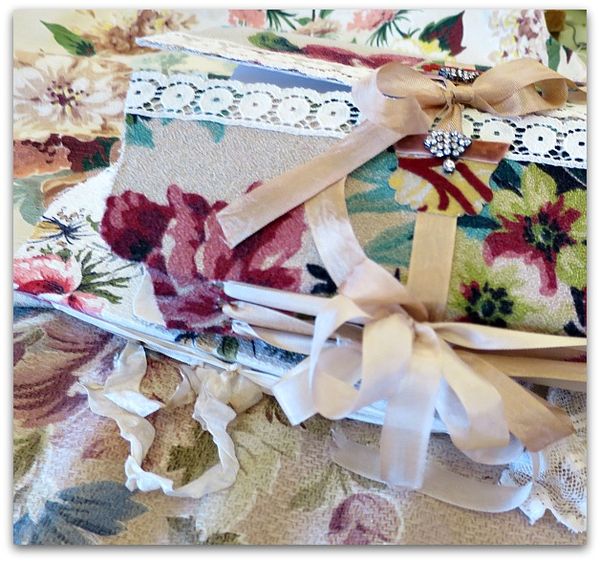
This book has the floral fabric used on the inside cover, instead of on the exterior of the book.  All the books will tie shut with soft ribbons topped with sparkly bits of rhinestones.

Journalsbs5 045

On day two, for my second class, we will fill the pages up.  I have pages of tips on doodles, lots of vintagey goods, and plenty of images and wallpaper to provide to make each book a work of art.  

Journalsbs5 010beth Image1

But that isn't all! Beth and Hope will each pitch in for part of the class with their favorite tips on art journalling.  It's a three for one class!

Cottageguestroom 069

Each student should be able to leave the weekend classes with a completed book, some finished pages, and lots of ideas on how to complete the journal at home, as well as a fun bag of supplies to work on the rest of the pages with.

Classes are at my Lawrence, KS studio, here at my cottage on Friday, June 5 and Saturday, June 6.  More about the event can be found here and here.

California may 14 030Cottageguestroom 062

The other two classes will be taught by Lori Oles and Lesa Dailey.  How lucky am I to snag this magnitude of talent to come to teach here???


Craft day doodles with Beth and another Birdsong teacher announcement!

bird song art event, Books, vintage paper/collage art

Jan 016

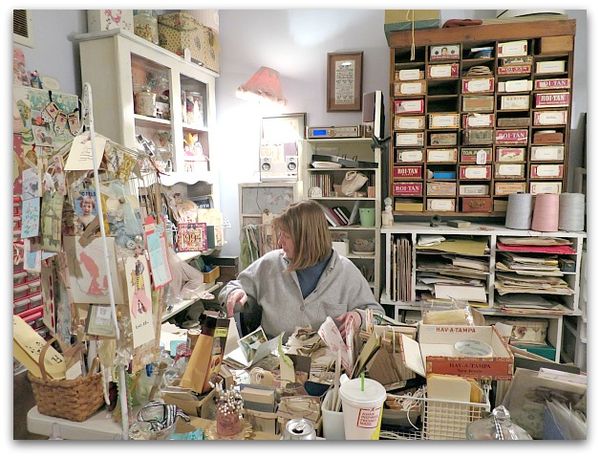
Last week, I grabbed my journal along with a handful of pens and markers and headed to Beth's house for craft day.

Jan 024

Her space is jammed beyond imagining with the BEST stuff. Oh my goodness, I love peeking in the cabinets there.

 I knew I didn't have to bring much with me, she has anything I'd need. ( I always check out the trash can too. Including when she comes to craft day at my house. The stuff she tosses can be really nice)

Jan 015

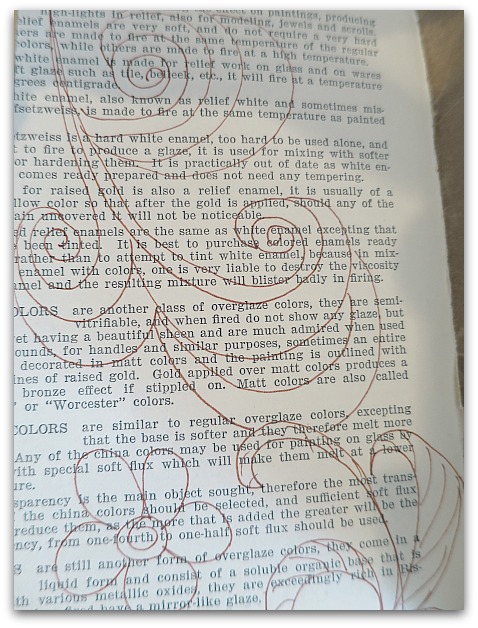
And I scored in the trash can.  She'd thrown away a very nice, old book.  I tore a page out of it to glue into my journal, and started doodling on it.

Jan 018

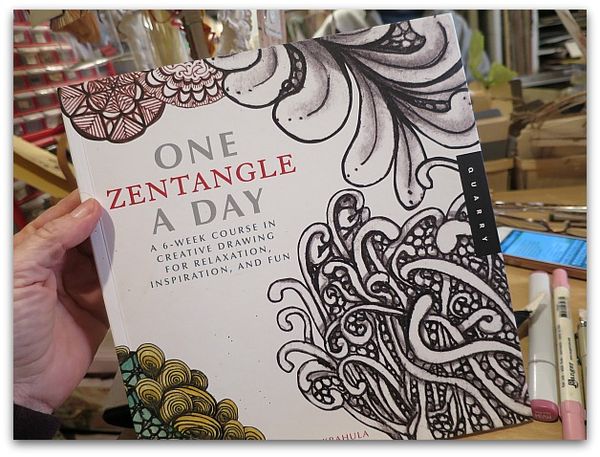
She also had been telling me about this book that she'd received for Christmas, and after hearing her talk about it and then seeing my friend, Laurie mention it on her blog, I was intrigued.

Jan 019

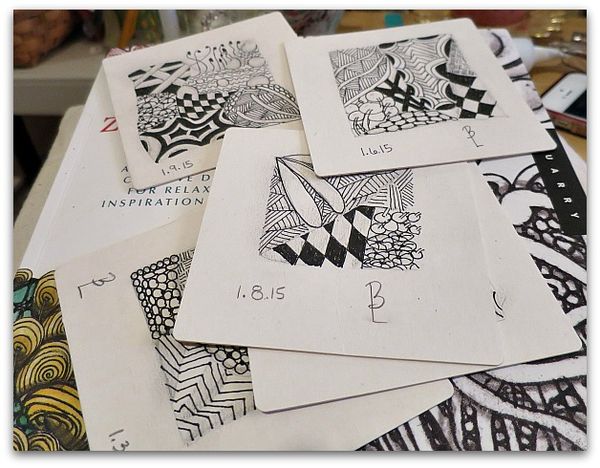
Here is what Beth had been working on from the book.

Jan 017

Well, I'm all about doodles and could use a dab of Zen in my life so I started drawing.  I think we were laughing and having too much fun for me to reach a Zen state, and I didn't exactly pay mich attention to the book, but it was a nice little push for me to create a page.  

Jan 023

It was a little different than what I usually do, I normally doodle around words.  But with words or without, you can't go wrong with an afternoon of drawing when you are visiting with a friend.  

Create

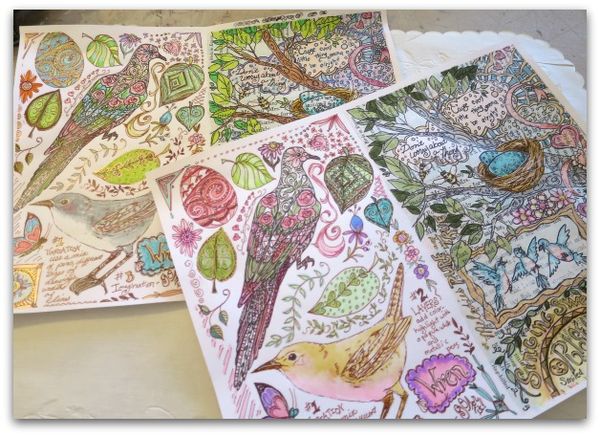
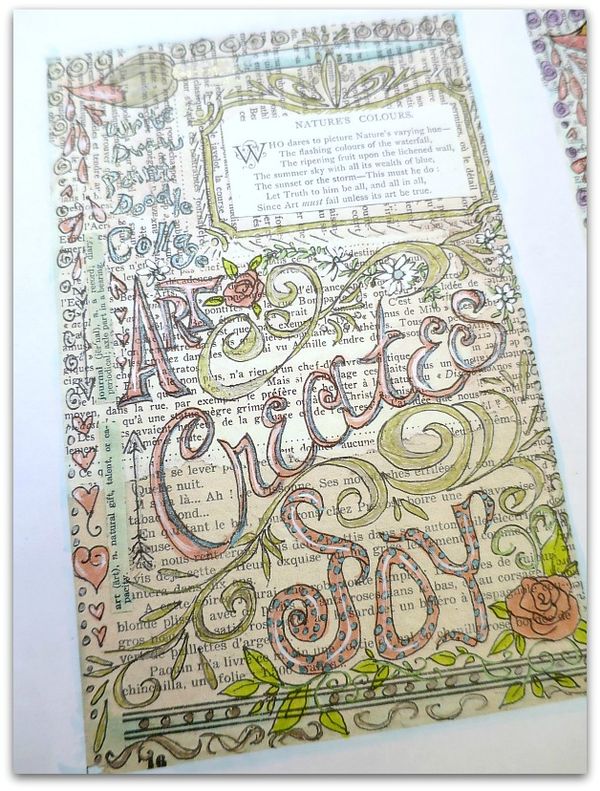
Here is one I did previously, with words.  It was a coloring sheet for the Nature's Blessing Journal swap.  You can see the style isn't much different than my zentangle attempt.  I like to get inspiration from the lessons of others, but still make a project my own. And when I teach a class, I always hope the students will do the same, so I provide options for them to try.  This page was copied before I added the color and included in every book, so that the artists could each color their own page however they liked.  

Securedownload

Hmmm, I think I'll make a page for the journal I'm teaching at Birdsong….

I love an excuse to do more doodling!


And guess what???? I already told you that my BFF Beth is going to be a co-teacher for my journaling class at Birdsong 5, right? Now, I've got more news.

Hope is going to co-teach too!

Yep, I've got art journaling royalty coming to show us some tricks. And boy, is she tricky. That girl has some smooth moves. I can't wait to see what both of them have to offer. 

Yippee! I'm beyond thrilled with the line up of talented friends coming to share their knoweledge at Birdsong.

Using the GOOD STUFF to make an Art Journal, and my Birdsong project

antiques/junking, bird song art event, Books, vintage paper/collage art

Jan 013

Beth and I finally had a chance last week to have a play date and exchange Christmas gifts.  Here is what I made for her.   

Jan 001

She is as much of a journal junkie as I am, so I figured I could indulge my own love of making books by creating this one for her.

Jan 002

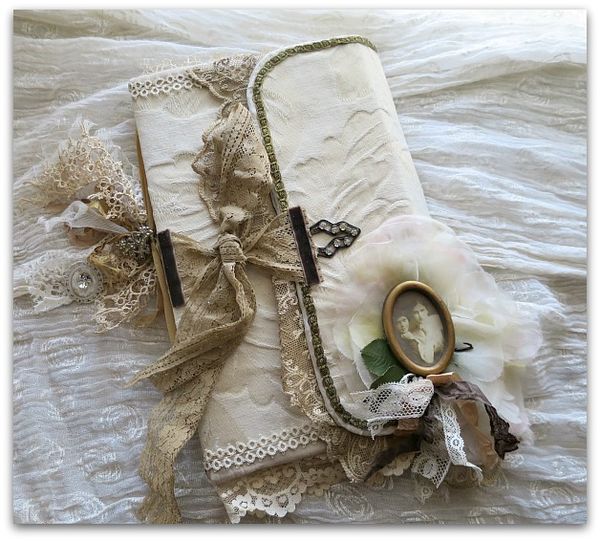
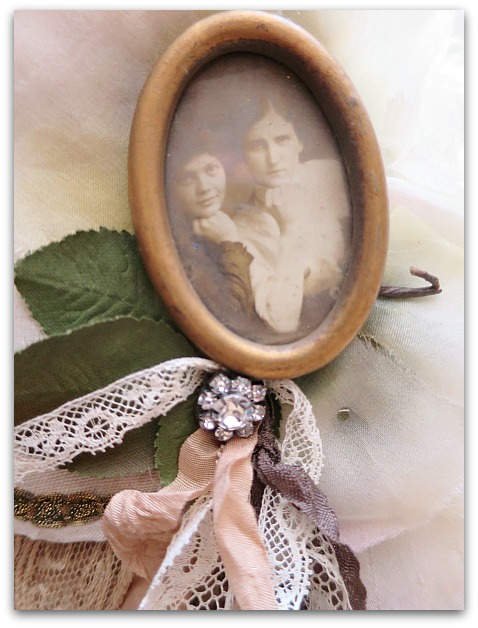
I bought this little framed photo of best friends when I was at a flea market with Beth, so I thought it was fitting to add to the cover.

Jan 006

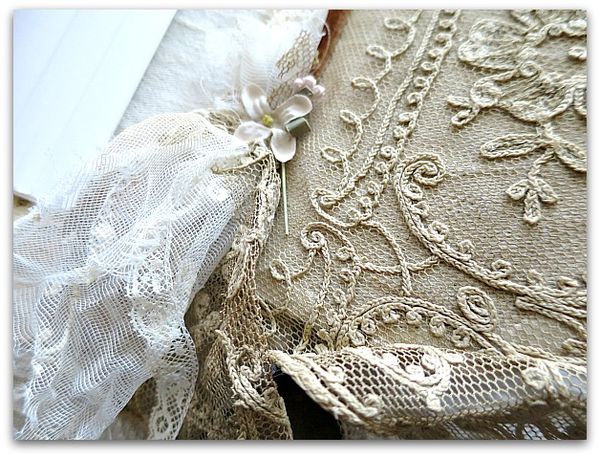
These laces are both cut from the curtains in my house.  I have very old lace curtains at the window and they got a bit shredded on the ends from blowing around when the window was open, so I had to chop them a little shorter.

Jan 005

The interior of the  book is lined with canvas drop cloth, and the pages are card stock. 

Jan 003

The "latch" is cut from an old necklace.  

Jan 012

The exterior is remnants from the slip cover I made for my couch.

This is my idea of "Using the Good Stuff".  Although, to some people, the ingredients might sound like trash.  Trimmed pieces of torn curtains? A broken necklace? Scraps from a slipcover?

Jan 004

What makes supplies "GOOD STUFF" isn't what you pay for them.  It's an item with a lush feel, something special, or sentimental.  Maybe something old that you found at a flea market.  They can be one of a kind, or just your very favorite  kind of thing.

Jan 008

Now, some GOOD STUFF, can certainly be brand new and from a hobby store, of course.  It can be any supply that you just plain old adore.

 My idea of using the GOOD STUFF, is delving into supplies that I really love and feel like they need a special project for.

Jan 007

And then NOT saving them for something special. Anything you use them on becomes special by using the best supplies. I feel like any project worth my time is worth my best goodies.  

Jan 010

But when I am making something for someone extra special, I'll use a double dose of goodies for her. This book is loaded, layered, and piled up with pretties.  I hope she enjoys using it, half as much as I enjoyed making it.   

Jan 057

I have not yet got my prototype put together for Birdsong.  But I do know what I am making.  And I promise, the kit will be over flowing with GOOD STUFF!

Last year, I couldn't stop making books. And I am still loving the process and making more and more.  So, I simply have to do a book for Birdsong 5.  How could I not? I'm more than a little bit obsessed with art journals lately. 

So, my 1st class will be creating a journal, and embellishing it with lace, rhinestones, and millinery flowers. We will make it from the ground up, step by step.  

Jan 055

My 2nd class will be about filling the book up.  I'll provide a big, ole, scrap pack of fun and inspiration,, along with guidance from myself, and tips from Beth about designing pages.  You'll get two for one teachers for the second day, Beth and I will teach together!

It's wonderful to have such talented friends.  Class project pictures from Lori and Andrea will be coming soon.  I can't wait to see what they have designed for us to do. 

If you'd like to come to our classes, we'd love to see you here.  And I know that you will just love these talented friends of mine, too!!

How to make miniature book Christmas ornaments

holiday decor, how to's, how-to projects, vintage paper/collage art, We're having a party

Bookclub 054

As promised, here is the mini lesson on making mini book ornies.

Bookclub 027

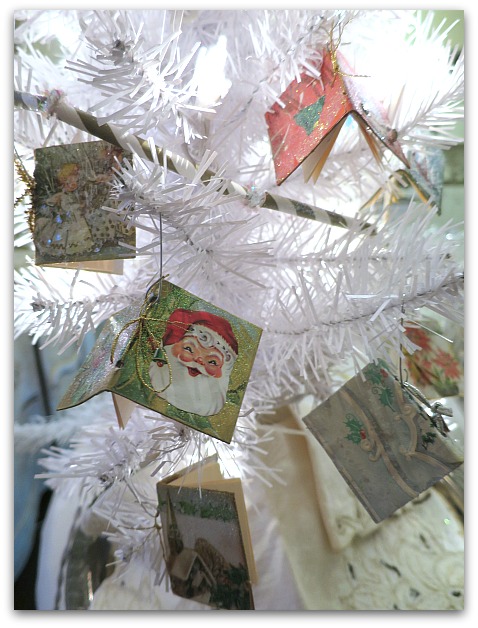
I used paper cut from vintage Christmas cards glued over chipboard for my covers, and card stock for the pages.  If your old holiday cards are sturdy enough, you could probably cut the covers directly from them and skip the whole gluing process.
Bookclub 032

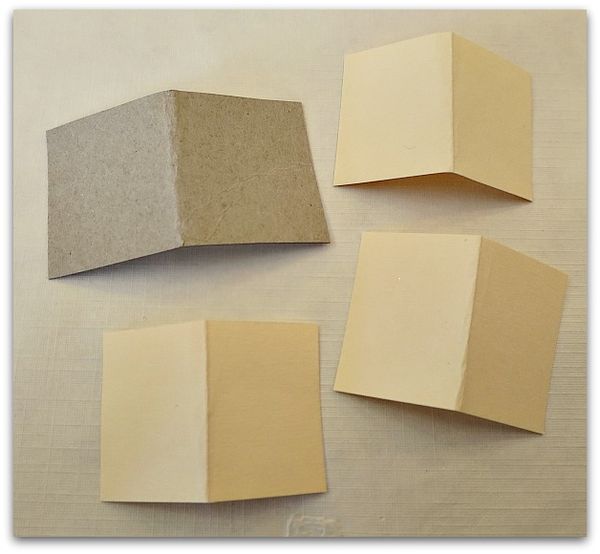
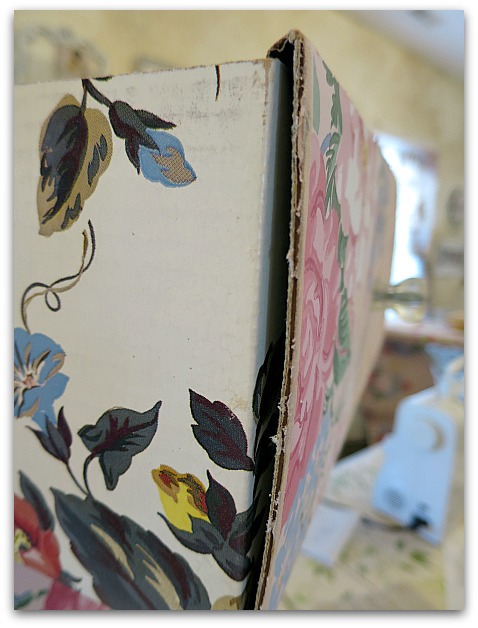
First step- cut out the cover material, fold in half.  Cut out three pieces of card stock slightly smaller than the cover, fold in half. (Any size you want to use works fine, most of mine are under 2", this one made from a card is larger)  

Glue decorative paper to the cover. The backside of mine was white, but if yours isn't, cover both sides.  This is a good time of year to save up chipboard,some pieces that I used were folded up inside a new shirt.  Stores often use it chipboard to hold the shape of folded garments. So, as you are opening gifts, don't forget to salvage the packaging materials!  (you could also cut up  a cereal box)
Add glitter, ink, etc, to your taste.  Don't add any 3D elements yet, though, embellish to your heart's content after the book is assembled.
Bookclub 031

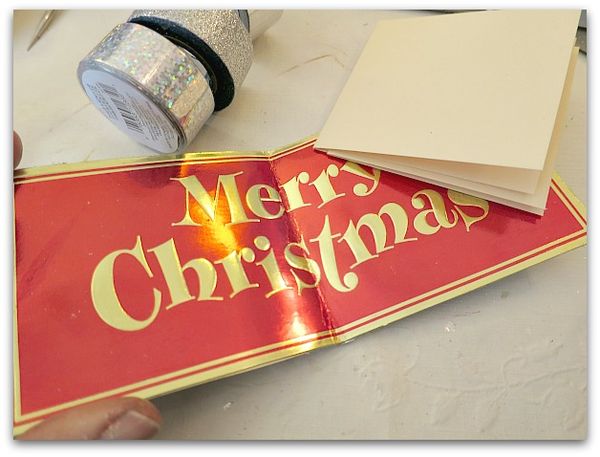
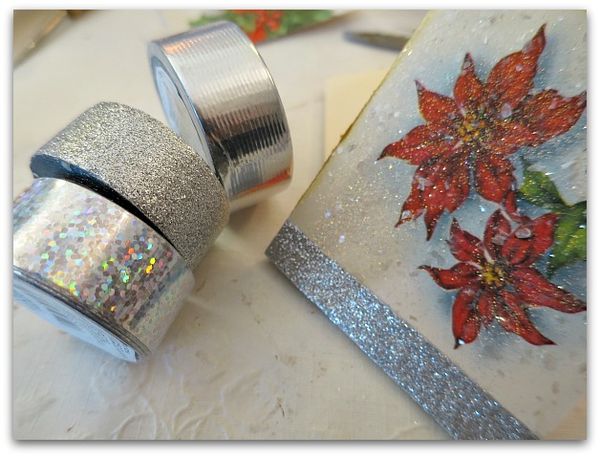
To make the folded and decorated chipboard look like a real book, a piece of decorative tape, as faux binding can be pretty.

Bookclub 028

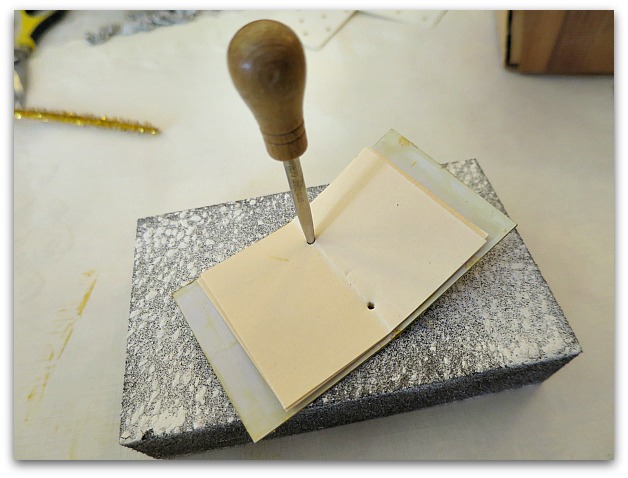
Put your three card stock pieces inside your cover, line them up, and punch two holes along the fold.

Bookclub 033

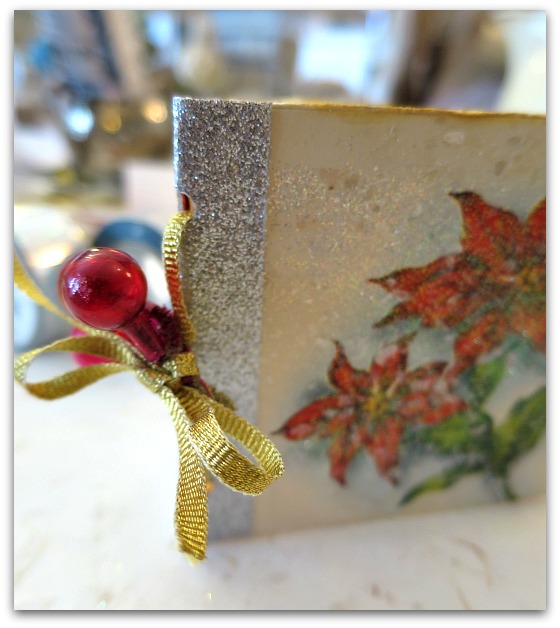
Tie the pages into the cover with whatever you think looks nice.  Here, I've used vintage ribbon.

Bookclub 030

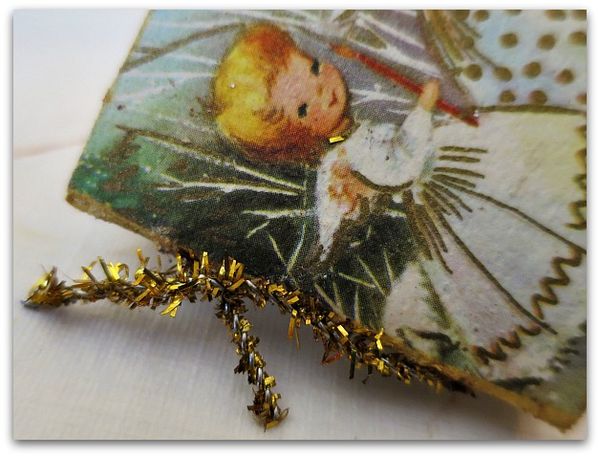
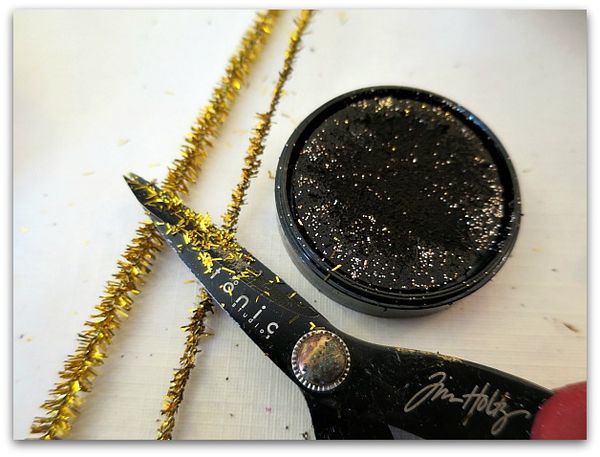
For a festive look, I like to use metallic pipe cleaners too.  But first, I vintage them up a bit.

Bookclub 029

Give them a haircut and rub the newly styled piece onto a brown ink pad for a tarnished finish.

Bookclub 078

Next, add a hook (to whatever you tied the book together with) and hang it up.

I used these as favors and to decorate with for my book club holiday party.  I think it would be fun to start a tradition of passing around a tiny book at Christmas dinner to have each person write a small message, or just sign their names.  Date it, and hang it on the tree each year.

If you'd like to make some bigger books in different styles, I have a tutorial available here.

Ornieparty 032

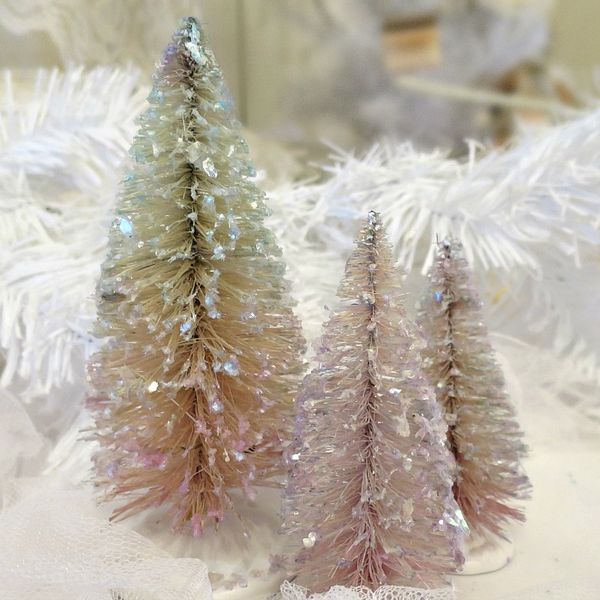
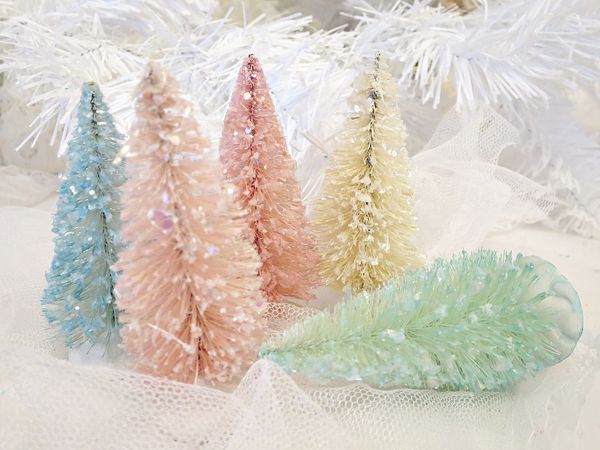
I'll leave you with some photos of what is new in the Etsy shop, it has been a busy Christmas tree season for me.  I just now got around to adding some decorated ones.

Ornieparty 039

Normally, I do get them out earlier…. But it has been quite a holiday season for me. Very fun, very busy!

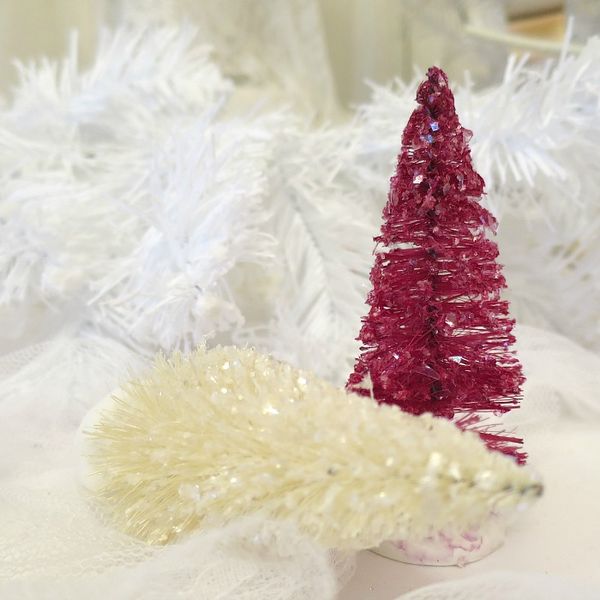
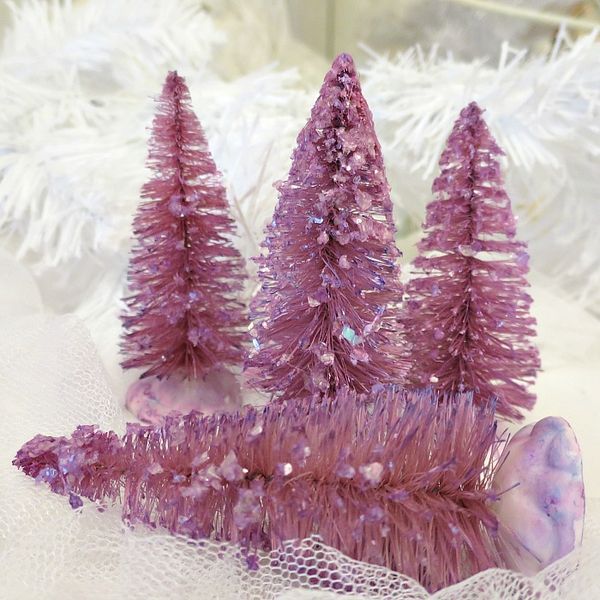
Bfast santa 045

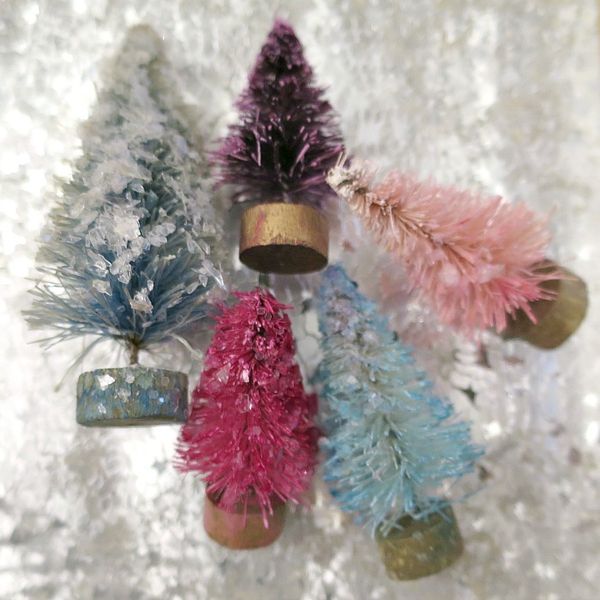
I have some extra bright trees this year, thanks to Sugarwings. She and I had a dying party the other day.  

Bfast santa 048

And we got creative with our colors.

Bfast santa 050

Bfast santa 052

Bfast santa 054


Romantic Cottage Christmas,extra Kits, and Using the Good Stuff!

cottage, fairies, holiday decor, vintage paper/collage art, We're having a party, Workshops

Rcchristmas 007

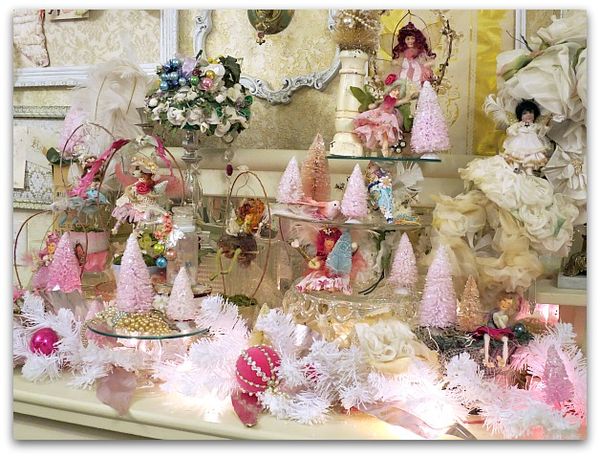
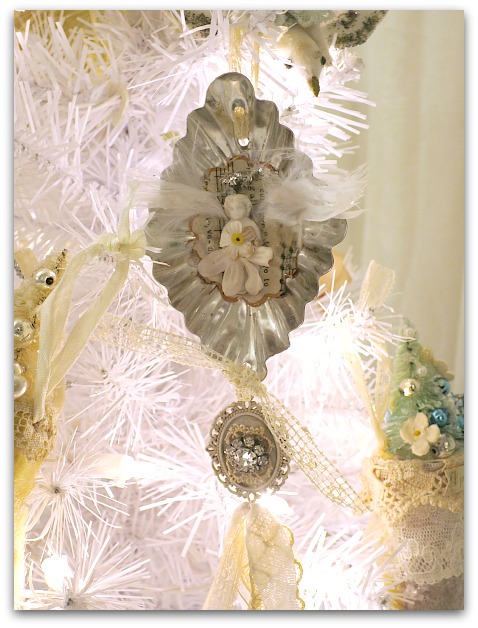
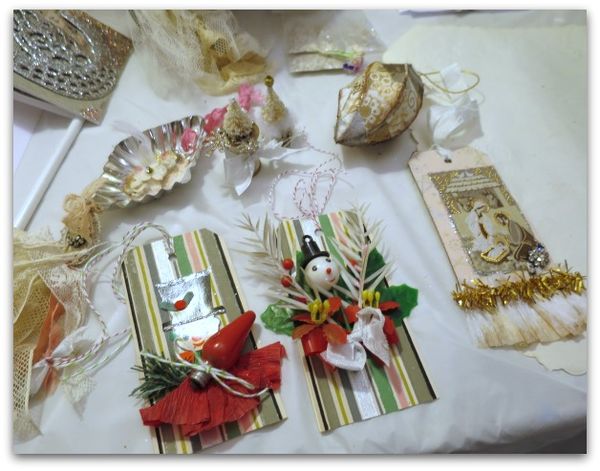
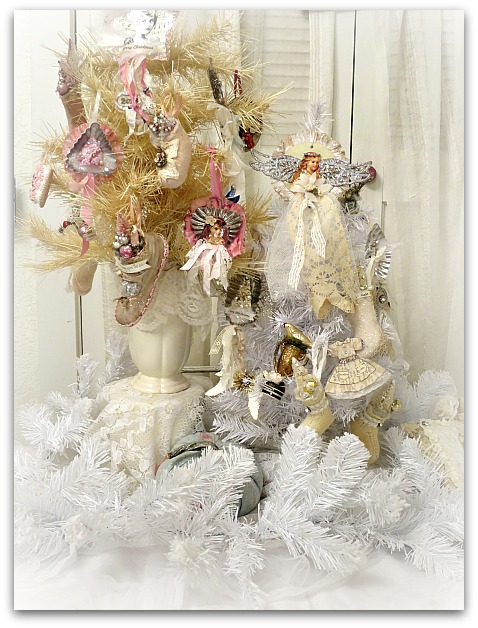
As you can see from this winter wonderland of fairies, when I plan a class, I make a TON of the pieces before I teach them. These fairies are from Birdsong 4.  And not only was I trying to work out the kinks in the project before sharing the steps, I got hooked. I loved making them.

Rcchristmas 053

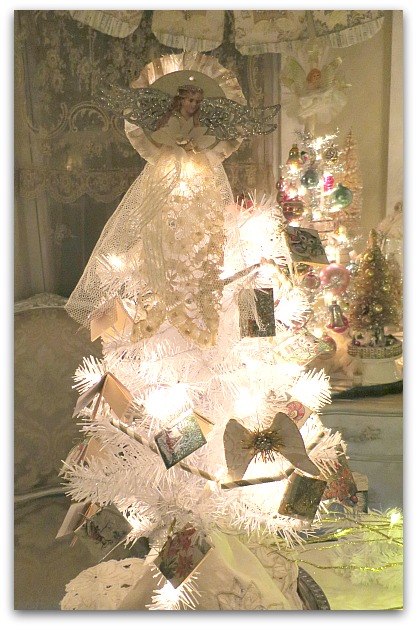
There were also plenty of sprites to add to the silver tree on the kitchen buffet. (on the right)

Rcchristmas 017

I tend to go over board with kit making too.

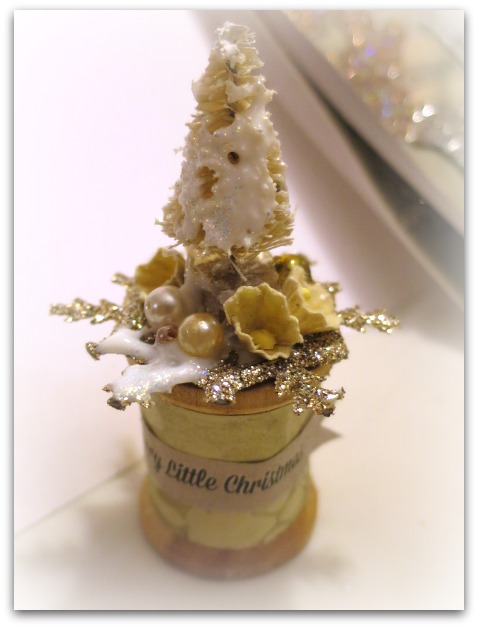
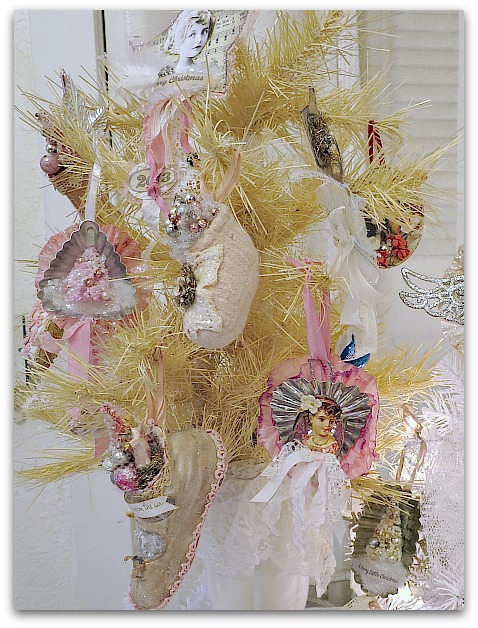
 I whipped up dozens of holiday ornament kits for our small gathering, knowing that they would be great for gift giving and for adding to my online shops.

Rcchristmas 026


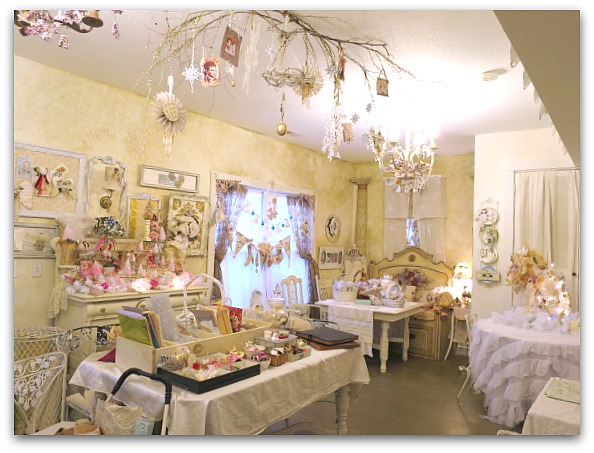
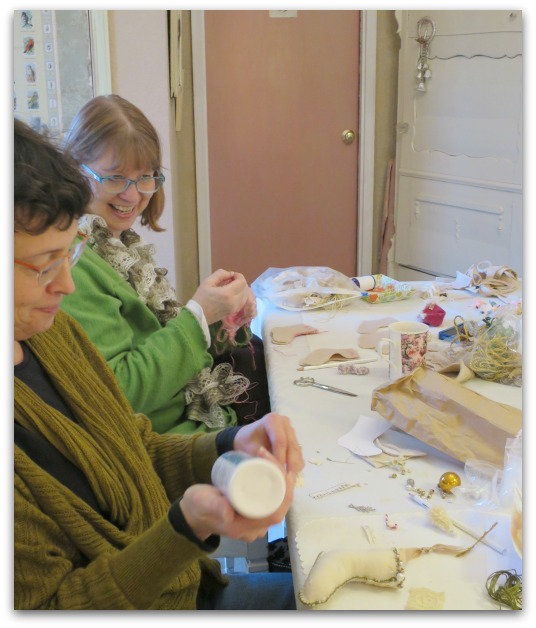
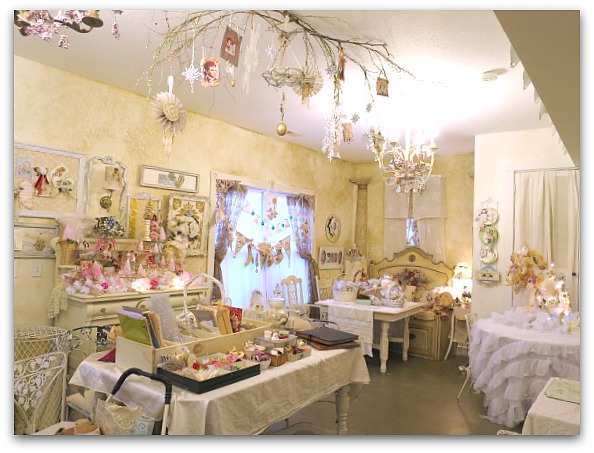
Our day in the studio was so much fun! I enjoyed having a reason to get the room into its full on holiday glory and then to spend time out there with nice people, listening to Christmas music, and making sparkly creations for our trees.

Rcchristmas 015

Here is one of the projects we made that day. If you'd like to make any of these ornies or fairies, the kits are available here and here.

Rcchristmas 016

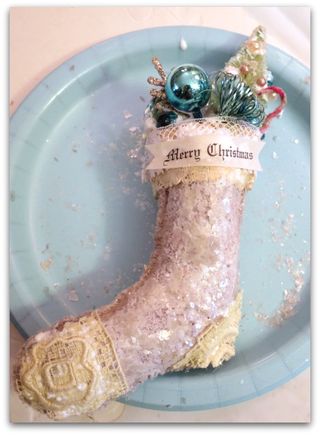
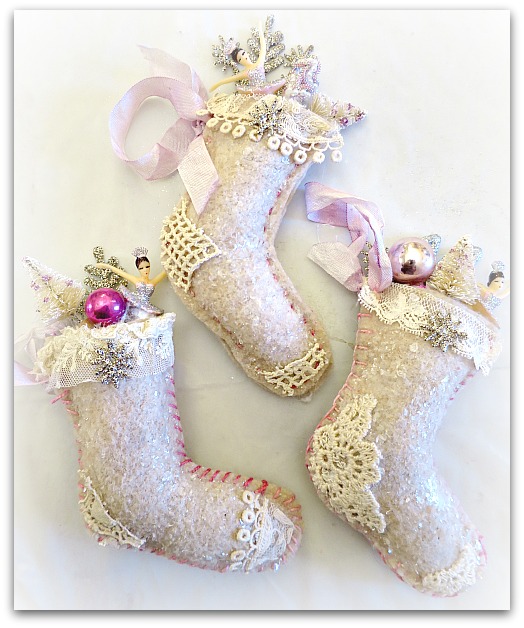
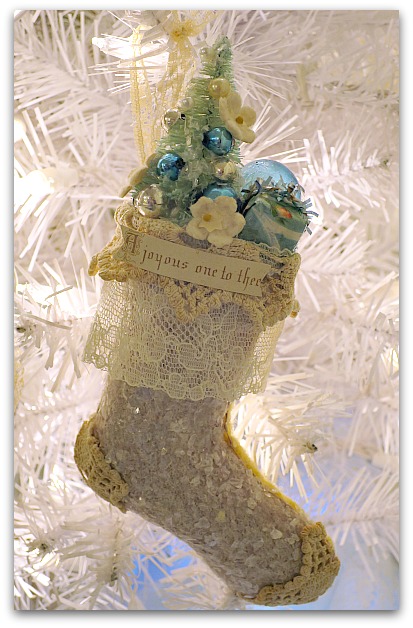
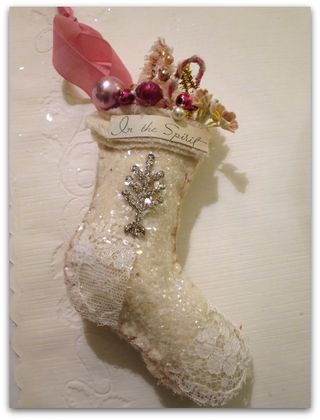
We also made these stuffed, felted stocking with vintage lace.

Rcchristmas 068 Rcchristmas 069

These are from Shan and Rebecca.

Rcchristmas 065

Laurie's was Tiffany Blue.  She was my inspiration for making up kits in that color too.  (I also had red, white, and pink)

Rcchristmas 076

Beth added glittered ballerinas to hers and made one for each of her little nieces.

Rcchristmas 066

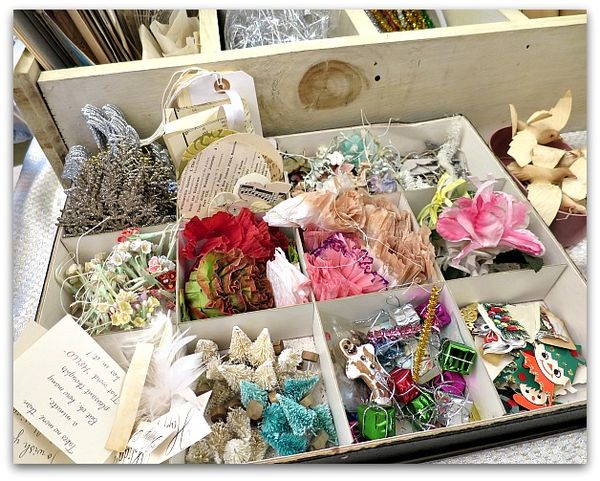
The kits contain everything you need to make the pretties, but I also had a big table full of extras.

Rcchristmas 026


With lots of little embellishments, wallpaper, ribbons, and lace.


Rcchristmas 034

Once we had finished the three kits, and had some lunch, we spent the afternoon "freestylin"

Rcchristmas 079

Everyone had plenty of supplies and inspiratins to make all sorts of pieces.

Rcchristmas 082

From tags, to garlands, to embellished little trees.

(once the glue dries on this one, it will be a glittery masterpiece)

Rcchristmas 081

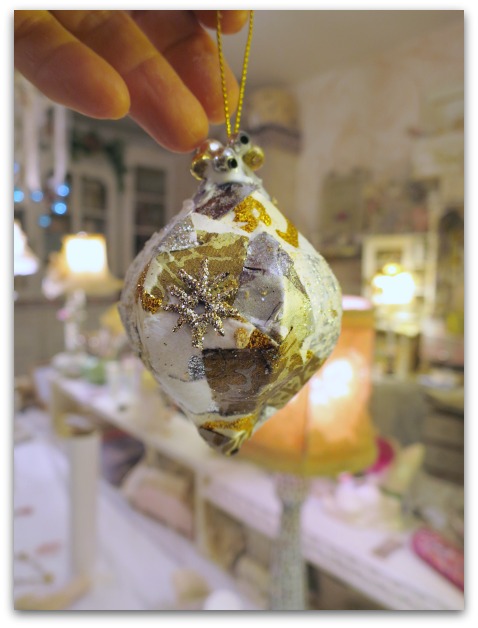
I like the way Rebecca made this paper mache ornie into a mosaic of sparkling papers.

Rcchristmas 073

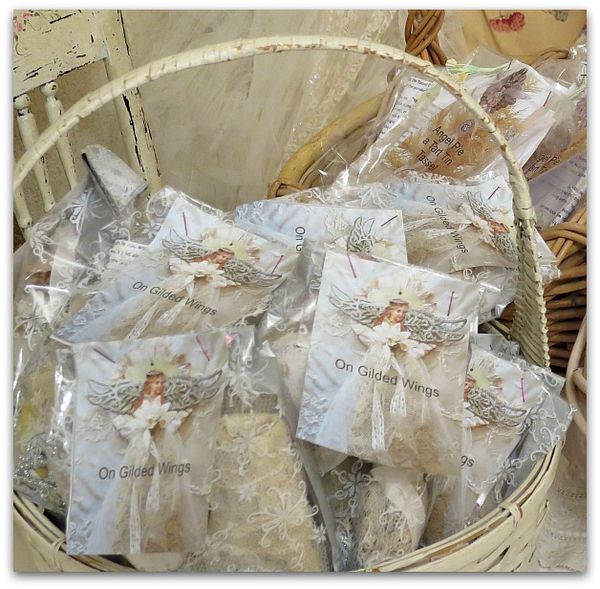
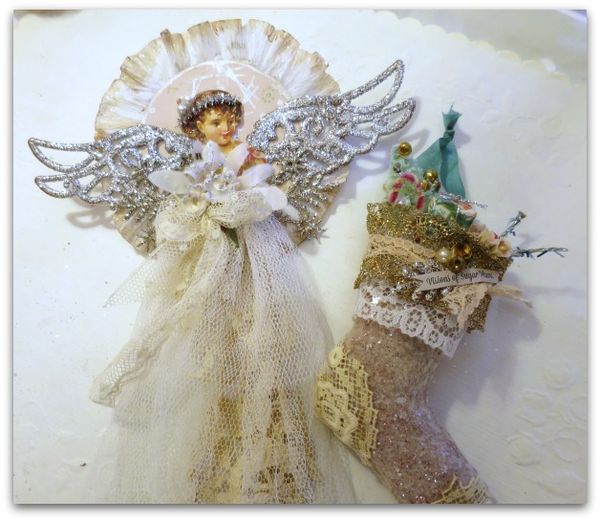
The third project for the day was, "On Gilded Wings" this angel on the left. ( Her skirt is netting I tore from a 1940s bride gown, included in all of the kits.)

Rcchristmas 012


One thing we talked about while we glued and glittered, was one of my favorite topics. No, not the grand fairies, although I probably blathered on too much about them, too. 

No, we talked about Using the Good Stuff.  

I can't emphathize enough, that a project worth your time is worth your best materials. Why save them for something better?  Just by using the vintage bridal gown lace, or the soft, old flowers, you have made THIS project better.

Rcchristmas 071

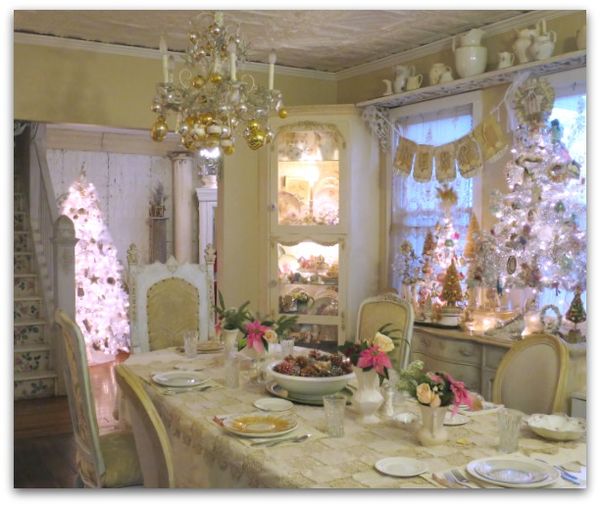
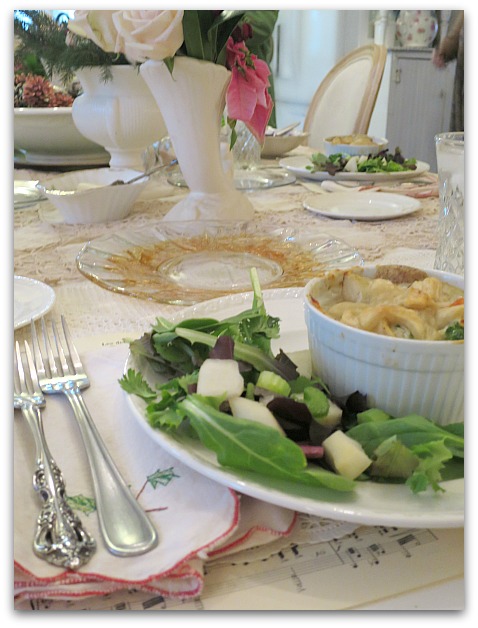
I am a big believer in using the good stuff in every day life too.  And that doesn't mean it is top of the line expensive stuff either.  My china is from an auction for $10.  My vintage napkins are from a toss away bag of stuff Beth didn't want. The vases are from garage sales.  

And the layered tablecloths (which don't really show here) were hand made by my Great Aunt Caroline and my Great Grandma Nellie. Why keep those things in a drawer, never to be seen?  I like to get them out and use them. I added sheet music and a vintage, new stock doily under each plate to protect the cloths, but I figured if they get spilled on, I can always soak out a stain. Or set a vase over the spot next time if  can't get the spot out.  

But stuck away in a drawer, never being enjoyed and used? That would be too sad.  

Rcchristmas 040

I feel the same way about my stash of vintage supplies.  Why would I buy them to use as supplies if I just decide to hoard them away and not enjoy them???  

Rcchristmas 024

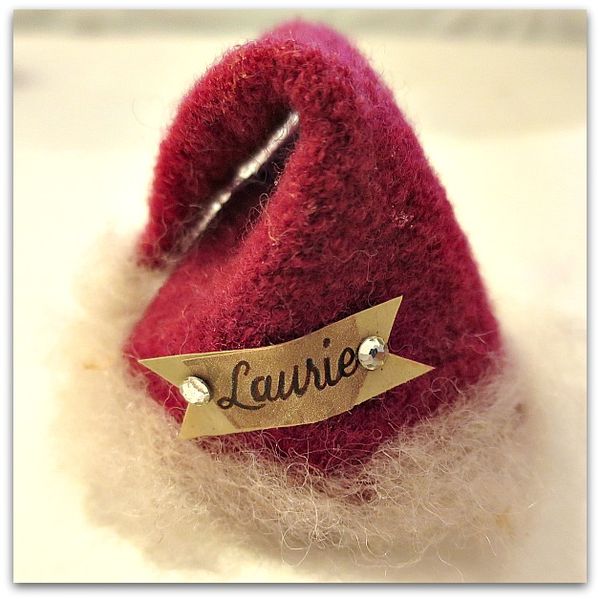
That is why the tiny crystals on the Santa hats I made for my guests are vintage old stock from the 30s.  And the felted wool is hand dyed.  The trim is wool roving, not just dacron, and all of those ingredients make the piece just a little more special, even though it is a simple little, silly thing. 

Rcchristmas 018

Another way to look at it, is that Using the Good Stuff is a gift to ourselves.  Women tend to think of everyone else during the holidays. Maybe you need to stop and think of yourself, take the time to open your stash of special items, and make something wonderful for yourself or as a gift.  The act of just using the Good Stuff is such a happy feeling, and making presents with your beloved goodies is even better.

This is the season to thing about sharing the bounty.

Don't be a Scrooge, hoarding it all away! Take that special button out of the glass jar, or cut away a hunk from the back of an old gown, or slice into that butter soft velvet and USE IT!


Making a package as special as the gift inside

holiday decor, how-to projects, vintage paper/collage art

Books 004

It's that time of year, when gifting is on our minds. Sometimes, the wrapping just about does me in.  One year, I did the smartest thing, I used ONE GIFT BAG for the whole family!! 

It really was a lifesaver that hectic year.  I made a pile of pressies for each person, in the room right next to the tree. Then, I took a large gift bag back there, put one present in it, and brought it out to be opened. Then I went back and refilled it, with something for the next person. It was funny, and we had a great time, with me playing Santa one bag at a time.

But if you are not rushed, and would like some special presentations, here is an idea.

Books 001

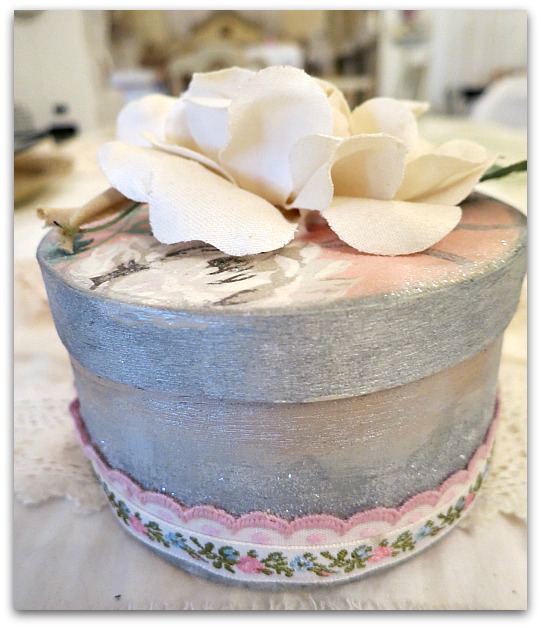
 I love these plain, wooden or paper mache boxes from Michael's and Hobby Lobby.  They are great to decorate and fill.  

One issue I have with them, though, is if you try to decoupage them, the lids don't always fit right.  I've learned that it best to paint the area under where the lip of the lid will fit on.   You can goober up the sides as much as you want, but stop your ornamentation right up to where the edge of the lid will be.

Books 002

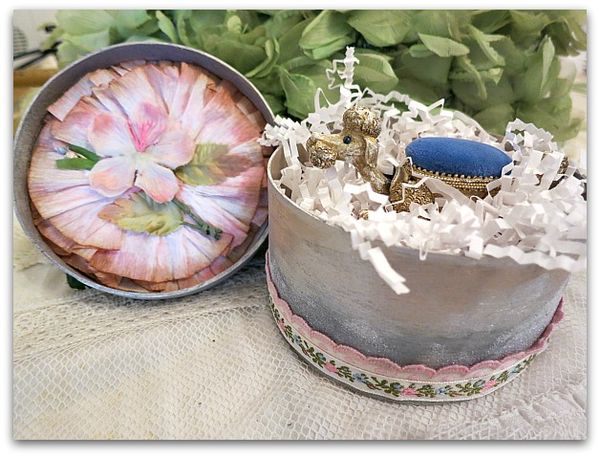
And don't forget to decorate the interior too. I usually paint the inside of the bottom part, and then do something unexpected inside the lid. (Do be careful not to have your embellishments get in the way of the lid closing, though)

Books 003

This whole thing was pretty quick and simple.  And nice to take the time on for wrapping notable gifts.  The majority of my giving will be done in paper bags, but I do like to whip up a few extra nice packages here and there.  The small boxes are only about a dollar each, and the decorations can be done with scraps, a little bit of paint, and glitter, plus an embellishment or two.    

Here are the steps I followed:

  1. Paint the inside, and outside of the box metallic silver.  
  2. Paint the outside rim of the lid also.  And the bottom of the box.
  3. Brush glue onto the top of the lid, adhere and burnish decorative paper (I used vintage wallpaper)
  4. Buff the edges of the paper with a sanding block to make it smooth. I then ran a metallic silver ink pad along the edge.
  5. Brush Elmer's glue along the bottom of the box, about half way up, and over the entire top of the lid, then sprinkle with crystal clear, fine glitter. I like Martha Stewart's glitter for this, it is very sheer.
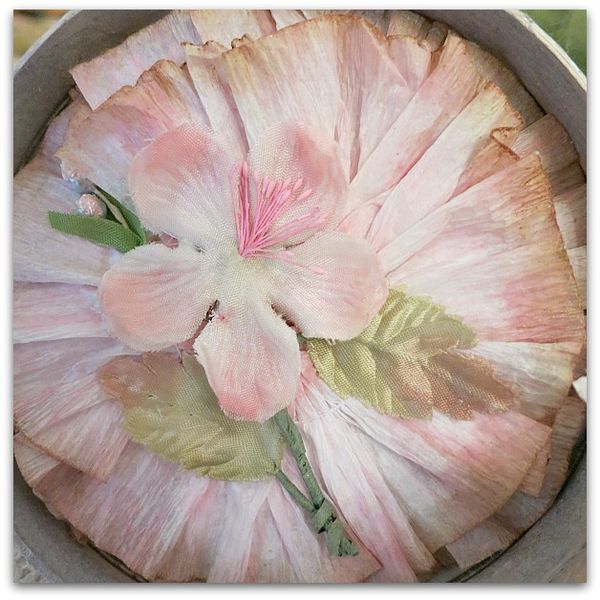
  6. When the lid dried, I drizzled glue on the inside of it, and laid two layers of ruffled wallpaper into the glue and added a flat millinery bloom to the center.   (You could use lace, or other ruffles, and a sparkling, old gem for the same effect)
  7. For the top of the lid, I simply added a millinery bloom from my garden of floral hats.  You can decorate the top as ornate or simple as you like.
  8. Run a bead of glue around the bottom of the box and press a ribbon or trim into it, cut to fit.  I added a second layer too.
Scroll to Top