vintage paper/collage art

Romantic Cottage Christmas projects

holiday decor, vintage paper/collage art, Workshops

Rcxmas 002
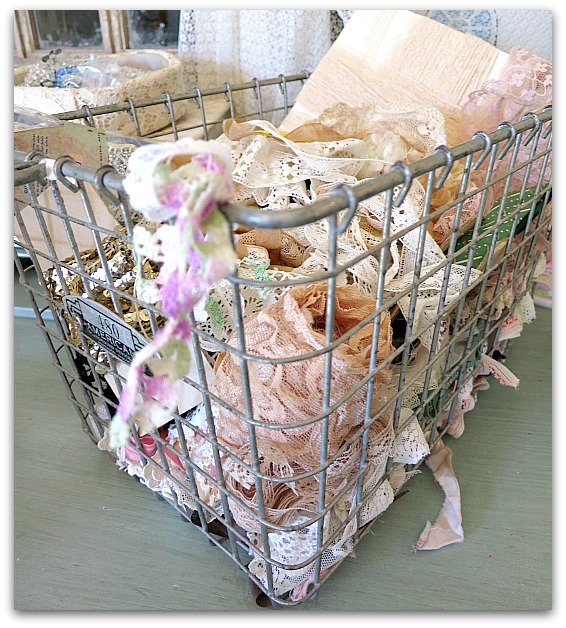
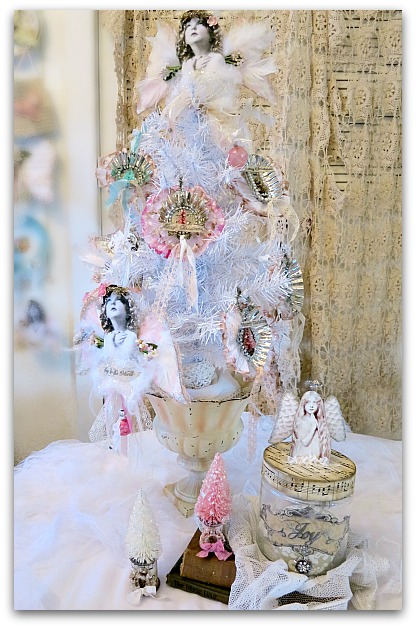
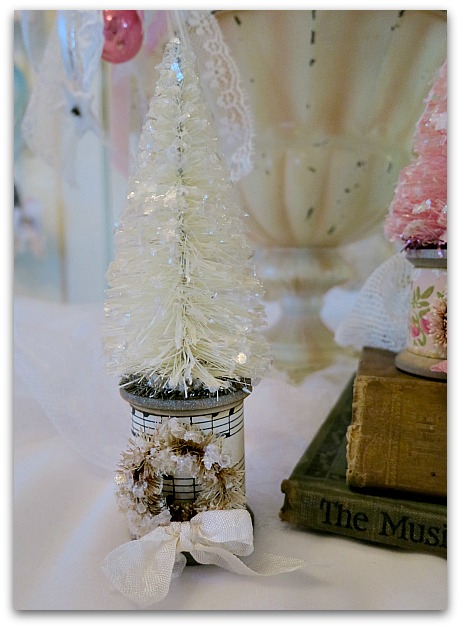
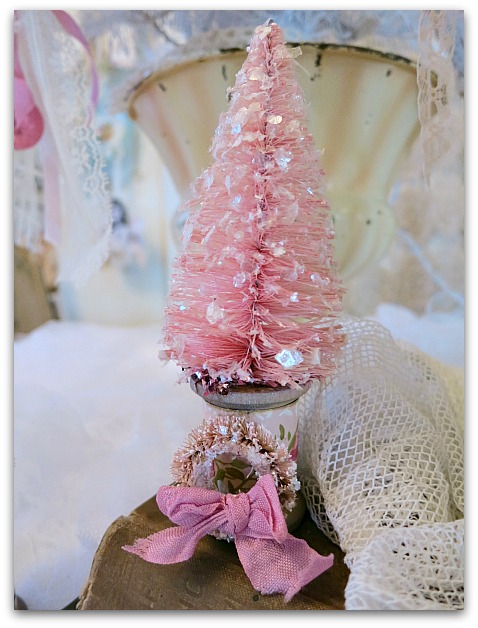
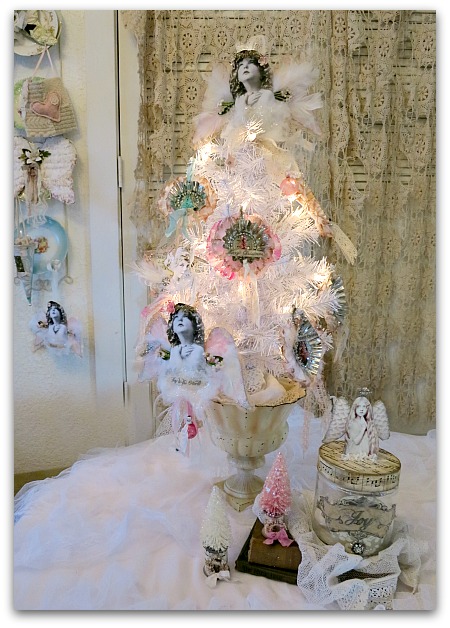
This week, I've been getting all my projects completed and gathering up supplies for Romantic Cottage Christmas.

The palette is silver, gold, and white with an option for pink if preferred.


Rcxmas 018

I've got some tiny trees in aqua too, so I guess that is also a choice.


Rcxmas 005

And I drew up some collage sheets with holiday graphics to use.


Rcxmas 003

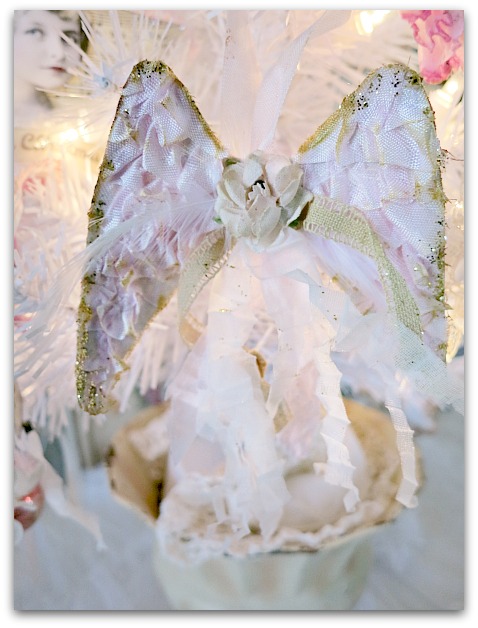
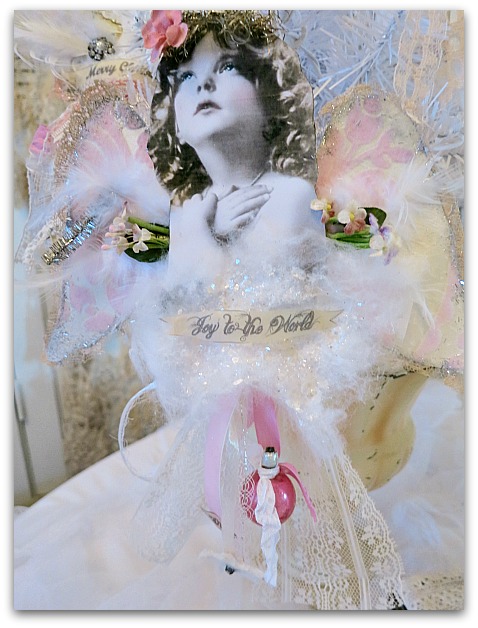
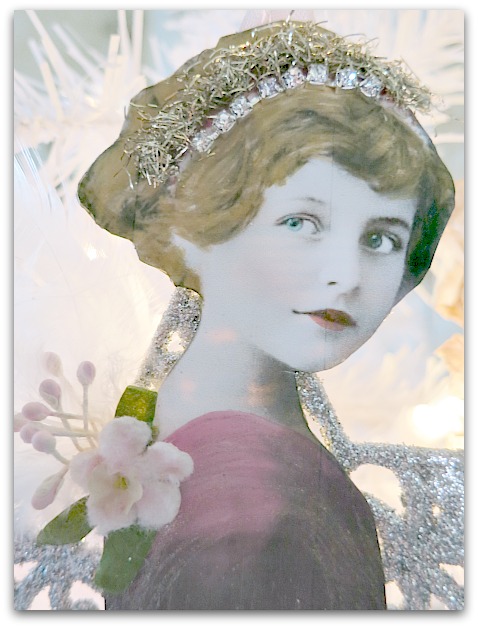
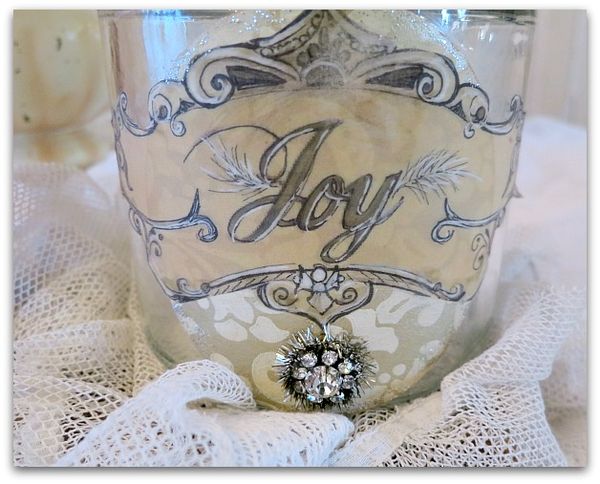
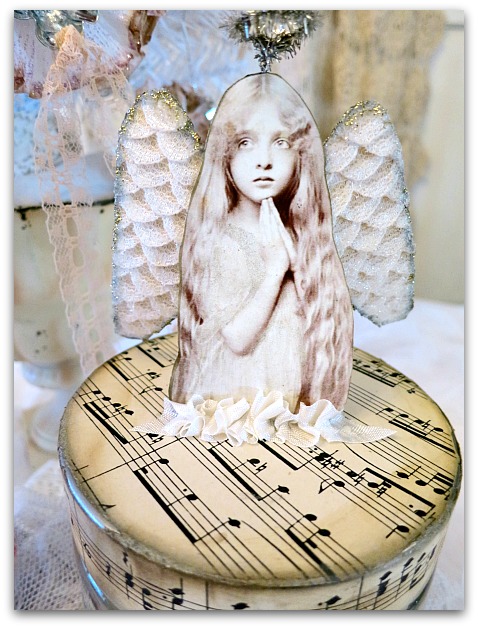
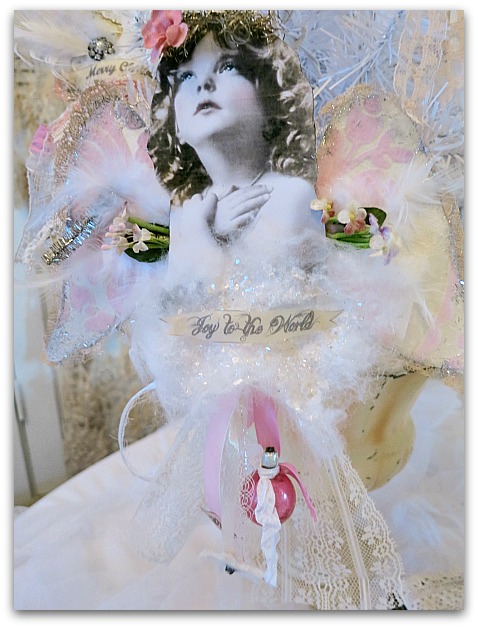
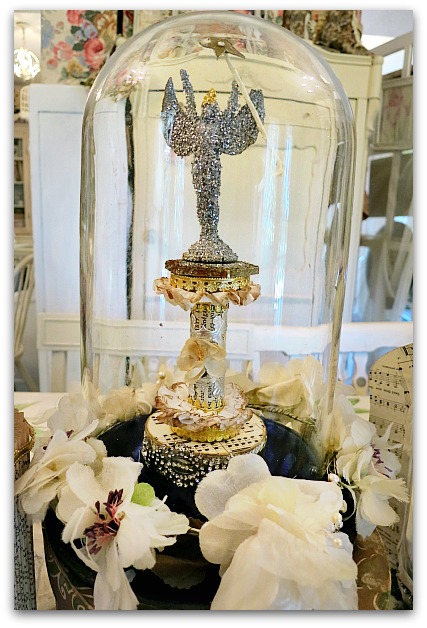
One of my favorites, is this Holiday Treat Jar, topped with a praying angel.  Her wings are flocked wallpaper on one side and layers of ruffled lace on the other. 


Rcxmas 016

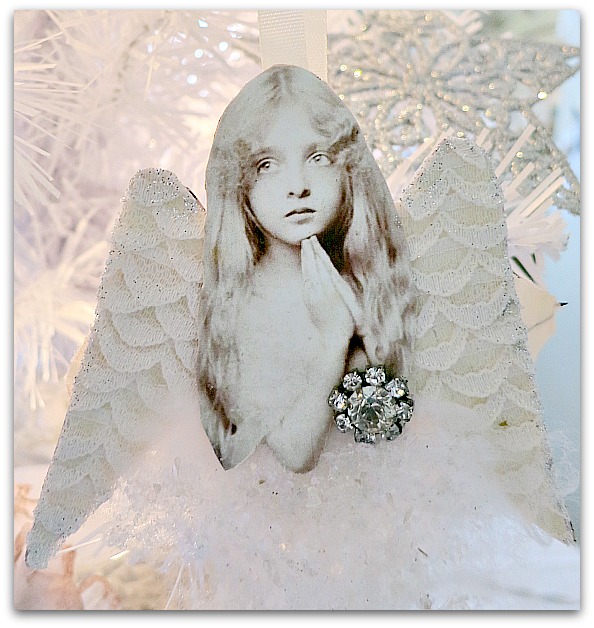
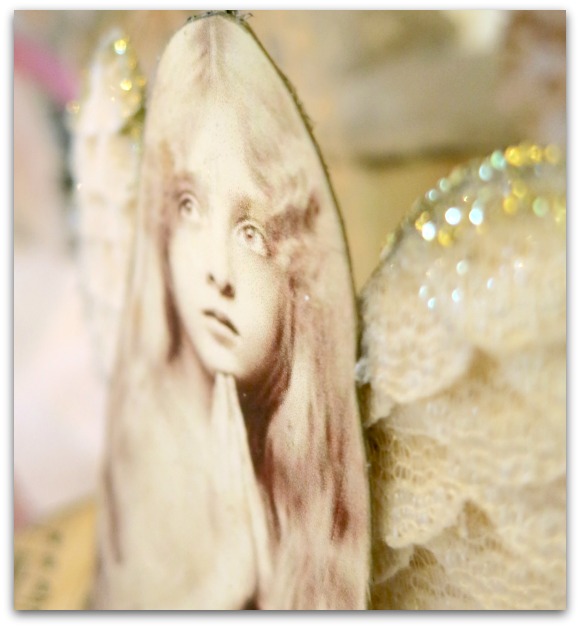
She has such a sweet face, I fell in love with this old photo at a glance.


Rcxmas 008

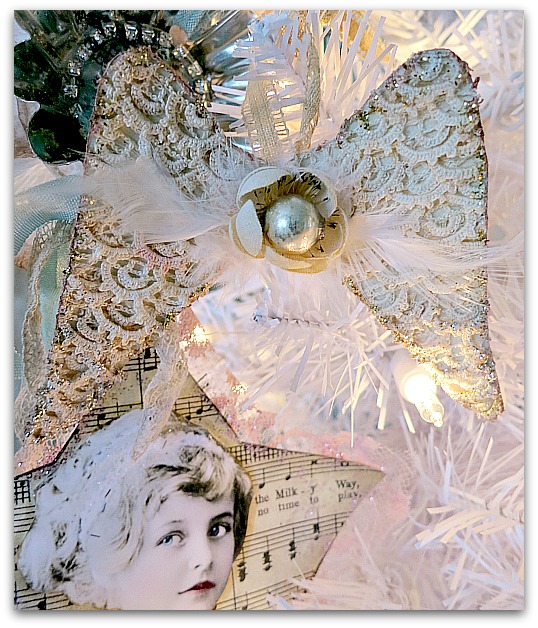
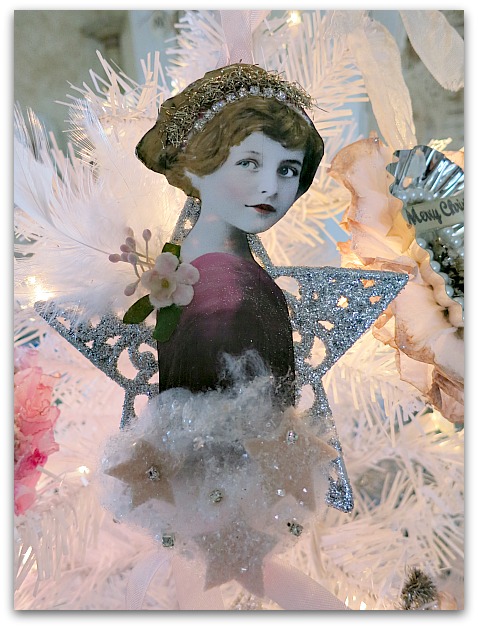
This angel doesn't have any problems in the sweet department herself.  What a darling!  Lots of flocked paper and lace for her too.


Rcxmas 019

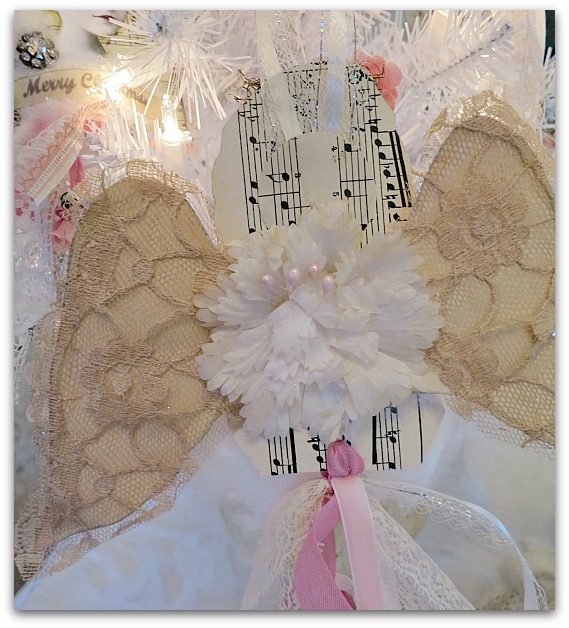
And of course, as The Cherub sways on the tree, her backside will show, that has to be prettied up too.


Rcxmas 014

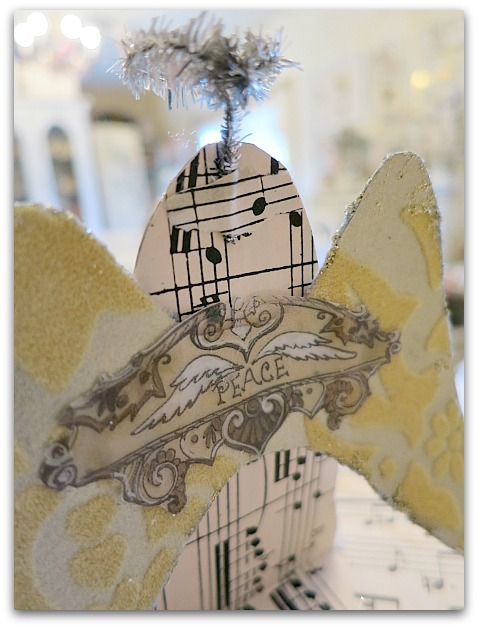
The kneeling angel also will have a nicely finished back view.


Rcxmas 007

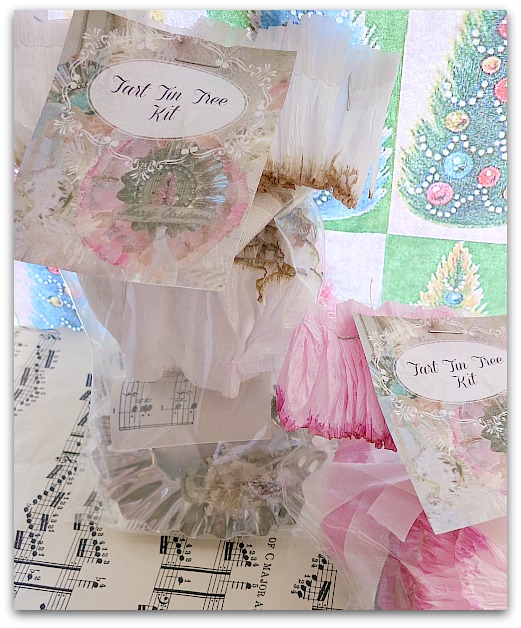
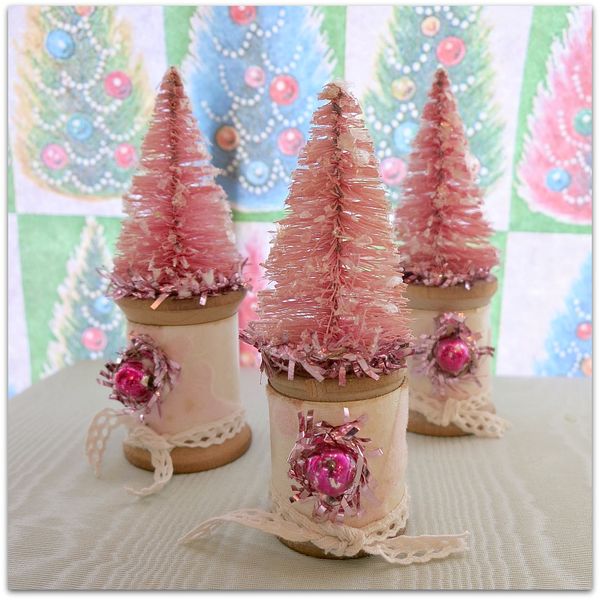
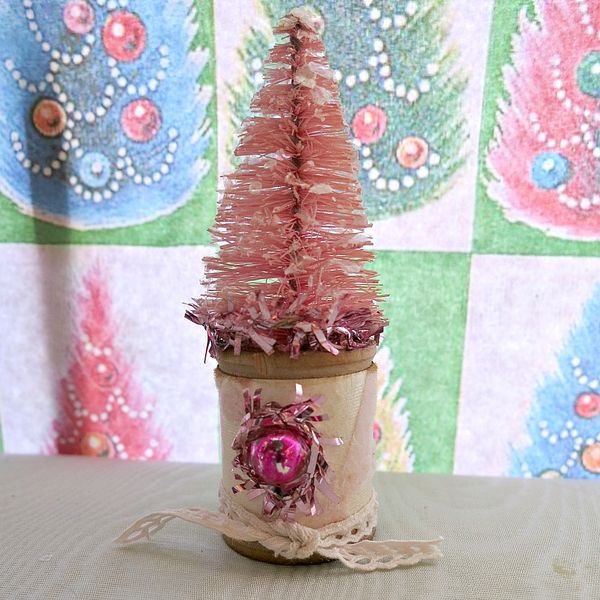
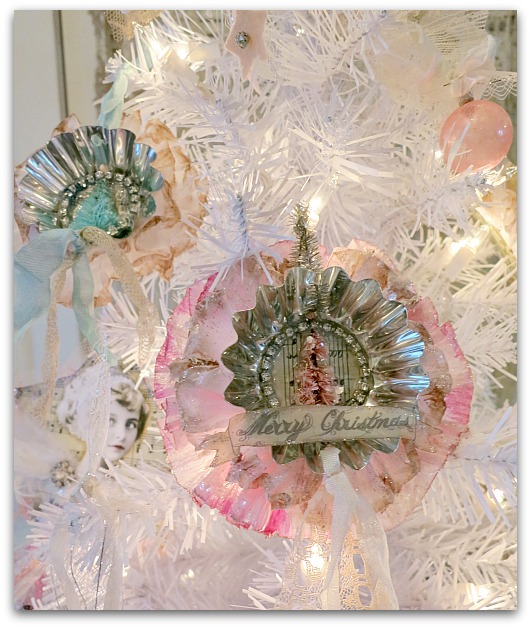
I figure that the Mini Tart Tin Trees and the Bottle Brush Spools will each be shorter classes, probably less than an hour. So, we will have time to personalize and embellish both angel projects.


Rcxmas 006

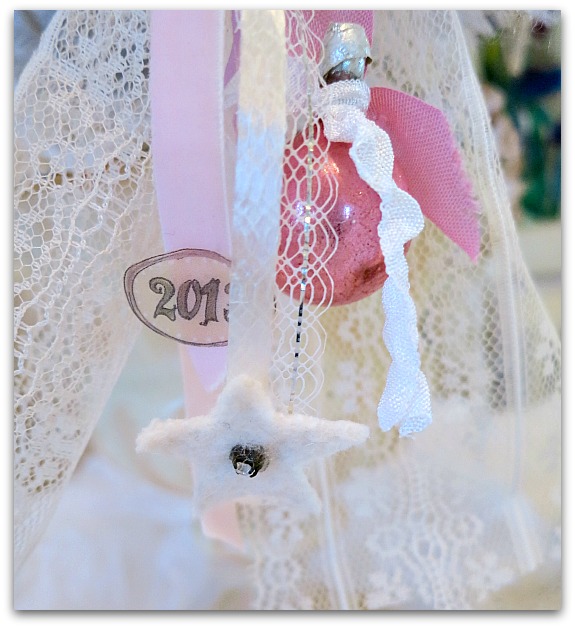
There will also be beads and crystals to add to the little trees. I do like to see the finished products show the creator's own personality, so I like to have lots of extras out for everyone to play with.

The Good Stuff, of course!


Rcxmas 009

I will be making up plenty of kits.  They will be for sale after the class on 11/23. Or if you'd rather come and visit here in the studio, I still have room for a few more guests.


Rcxmas 017

We would love to have you join us!

All supplies for 4 projects are included,  along with lunch, goodies, and beverages for $100 per person.


Rcc

Please email me if you'd like to attend.

True Eye Candy

dogs, parties, Travel, vintage paper/collage art, We're having a party, yorkies

Macon 099
Yep, believe it or not, this is REAL. A real life home, filled with kids, dogs, and love.  As well as some of the prettiest collections you'll ever find.


Macon 037

Jenn's house is pretty as pretty can be.


Macon 101

A sweet confection of frothiness and pastel beauties.


Macon 089

With a fair share of whimsy too.


Macon 102

And attention to detail throughout.


Macon 095

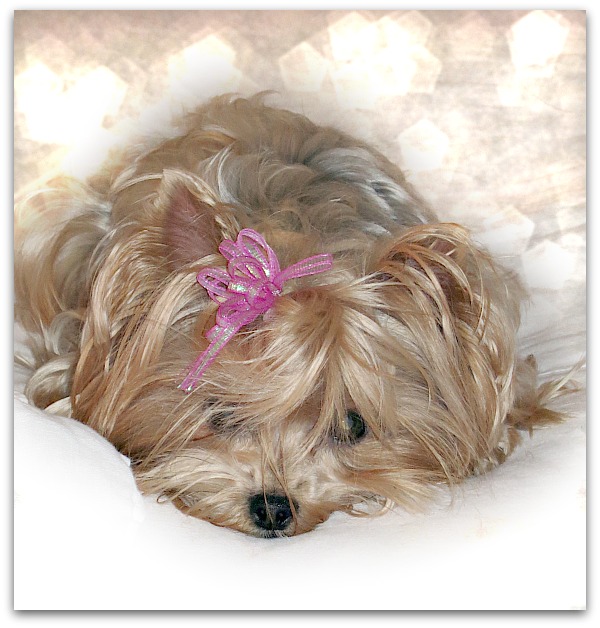
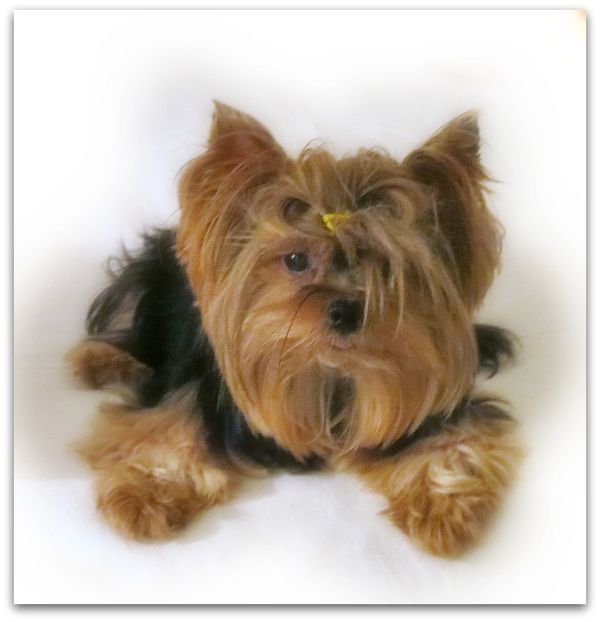
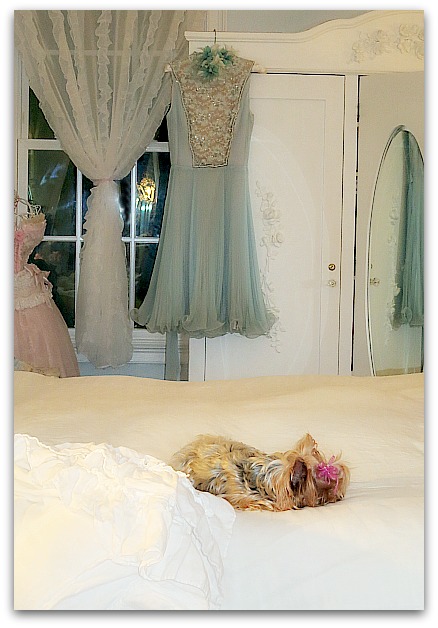
And a home with a Yorkshire Terrier in it, is a very special home to me.


Macon 094

Throw in a second one and I'm a happy house guest.


Macon 096

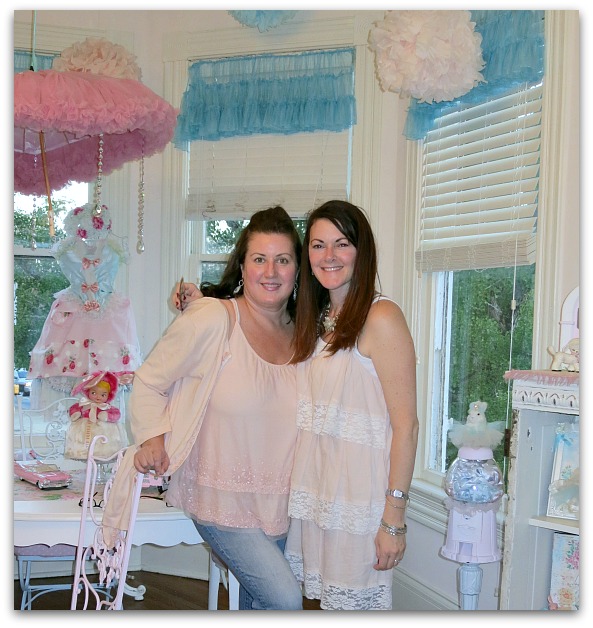
Jenn graciously invited us to stay with her in her Georgia mansion and it was our home base for a couple of nights on our trip.


Macon 098

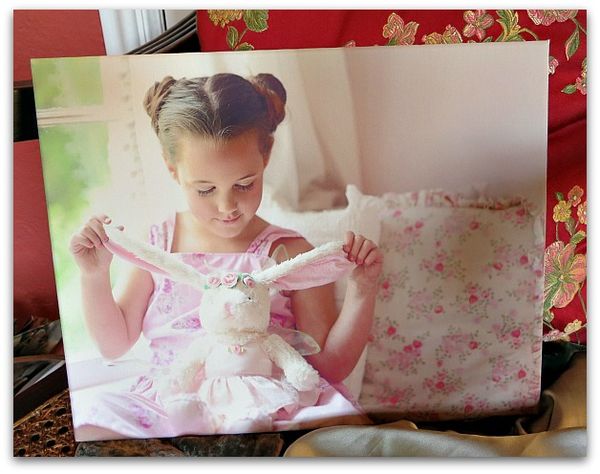
There was something breathtaking to see, everywhere I looked.  But the loveliest item off all, was this photo that Jenn took of her daughter, Vivian.

She is beginning a new photography business called Pink Ellie

From the examples she has posted, I can see that she will do well.  Oh my! She has captured some beautiful moments.


Macon 110

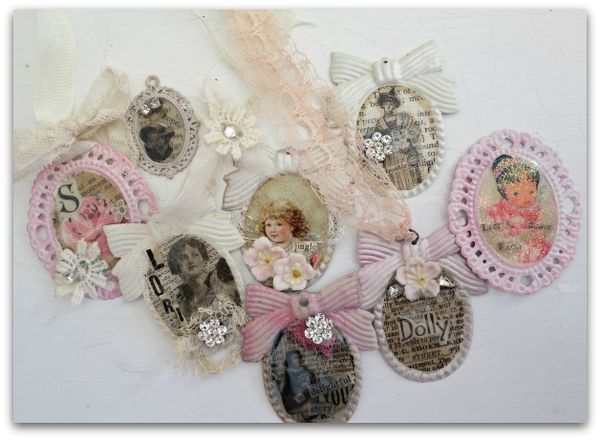
Jenn opened up her equally frothilly sweet studio to us too. I brought charms and glaze, Lori and Hope provided old papers, so we could all have some creating time.


Macon 032

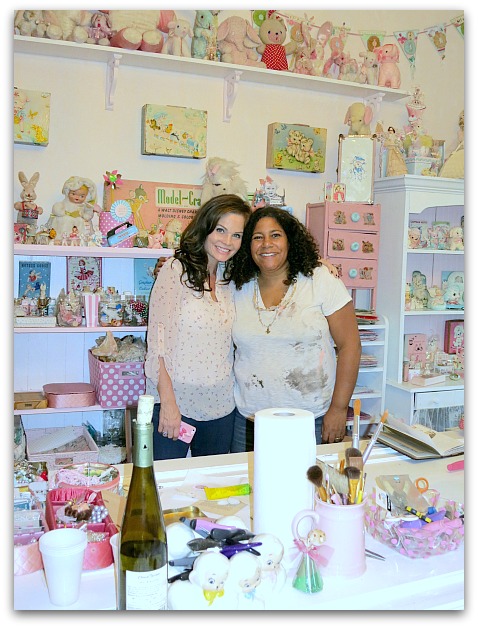
The room is Jenn from floor to ceiling.

Pictured:  Jennifer Hayslip

Hope Wallace Kearny


Macon 030

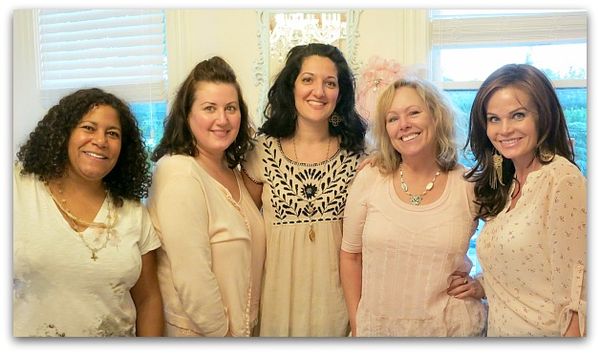
We had decided not to do a whole craft day, or any big projects. This little one was just right, to satisfy the creative urge but still leave plenty of time for just relaxing.

Pictured:

Suzanne Duda  and Lori Oles


Macon 035

And of course, was a great excuse to soak up Jenn's stellar studio. And pose. We did a lot of posing. 

Lad And smiling.  Tons of smiling.

Macon 003


An altered book, Fairy Tale style, or Fun with Trophies

Books, vintage paper/collage art

Bronze pumpkin 021
This year, I've made a lot of class kits that needed book covers. Therefore, I had a LOT of naked books. Most of them, I recycled, but a few I saved to play with. 

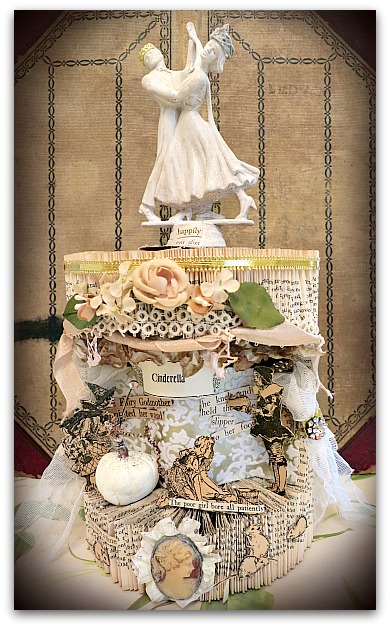
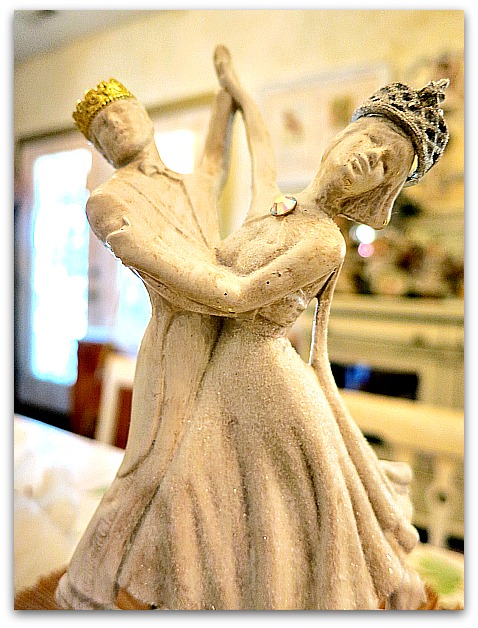
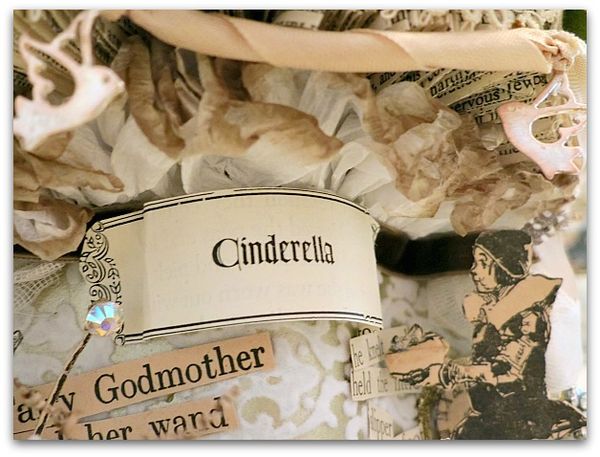
I'd always wanted to try making one of these folded page thingies with a story book theme. For this one, I chose Cinderella because Beth gave me a ballroom dancing trophy that reminded me of a prince charming and his true love.


Wallpaper cabinet redo 016

I primed and painted the trophy, then took it apart, it was easier to paint the topper while it was attached.  Her dress got a sugary coat of glitter, I added some crowns, and set it aside.


Wallpaper cabinet redo 011

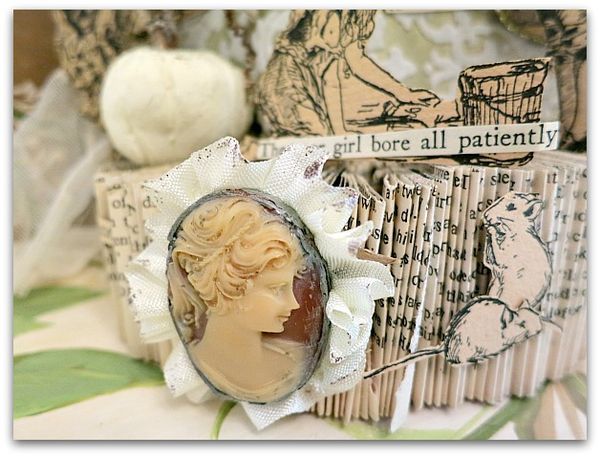
The fun part was adding the storybook elements.  This broken, old cameo looked like Cinderella to me, so was perfect for the front of the piece.


Wallpaper cabinet redo 013

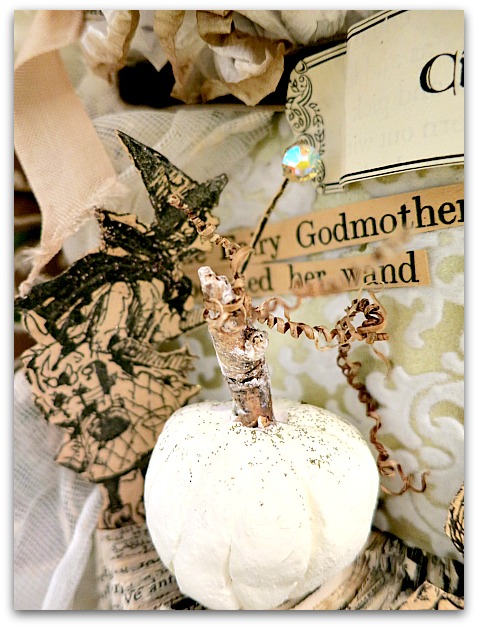
In my kitchen, I had a pile of white, paper clay, pumpkins in a dish to set out for fall decorating, and stole one of those to use as a pre-carriage.


Wallpaper cabinet redo 012

There was a big pile of old, old, Cinderella books all piled up on my booksheft to sift through for ideas. But I decided to keep this diorama cohesive by using illustrations from the same book.  This one was published in the 1800s.

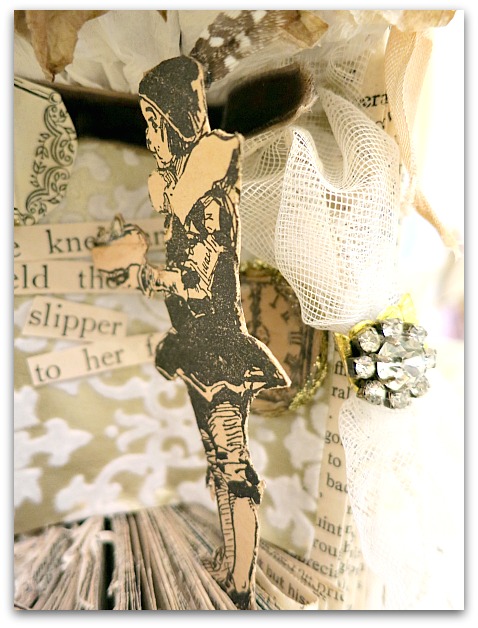
All the figures that I cut out, got backed with cardstock from Bingo cards. Tabs were made on the feet so I'd have something to glob glue on and slide between the pages to make the people stand up.


Wallpaper cabinet redo 017

When I cut out pages to make the opening for the scene, I didn't do a very good job, it was pretty uneven and ragged. I'd say a dremel tool would be the way to go.  To cover up my choppy mess, I covered it in flocked wallpaper, which I thought looked appropriately royal.

At the top of the cut out opening, I covered up the badly cut pages with a ruffle of crepe paper. I'm all about making it work, somehow or another.  After all that work of ripping that dang book apart, I wasn't going to dump it because I'd done it so poorly. I just hid the mistakes behind layers.


Wallpaper cabinet redo 014

I would do dozens and dozens of these if there wasn't that pesky part about folding the hundreds of pages and cutting out the opening.

Tedious times ten. 

But worth it.  Maybe I'll fold pages some evening in front of the TV. I really did enjoy the creative part of the project.


Wallpaper cabinet redo 020
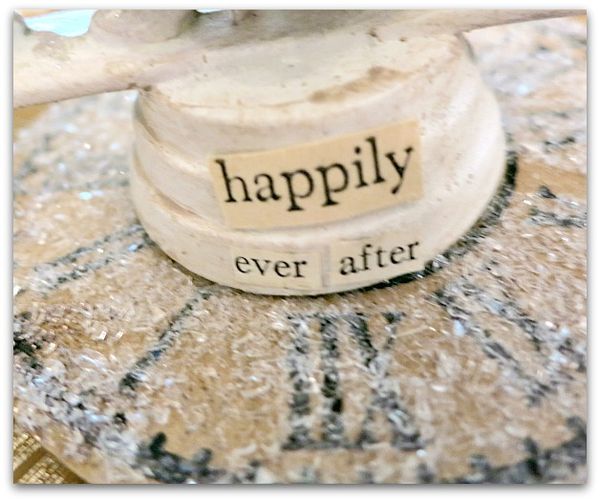
This trophy got a more simple makeover.  The topper was glittered, added to a big spool, then sat on a box lid covered in sheet music.

Layers of crepe paper, and some German foil, a magic wand, a couple bits-o-bling, and ta dah.

And doesn't everything look better under glass?


A steampunk punkin and more from the patch

holiday decor, vintage paper/collage art

Flower teapot 006
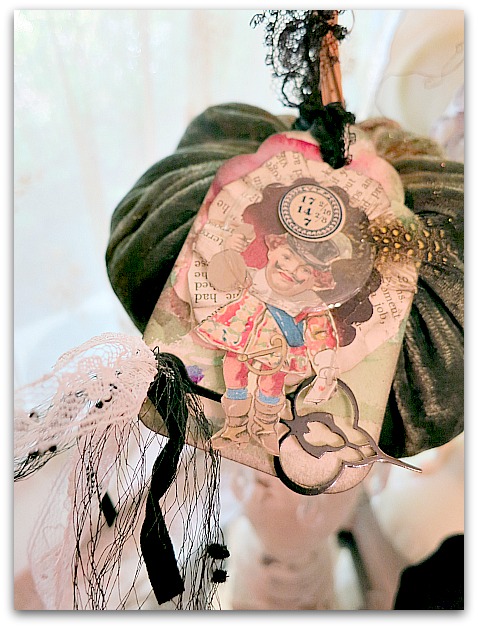
Well, I guess the pumpkin itself is not steam punk, but the tag tied to it is.


Flower teapot 008

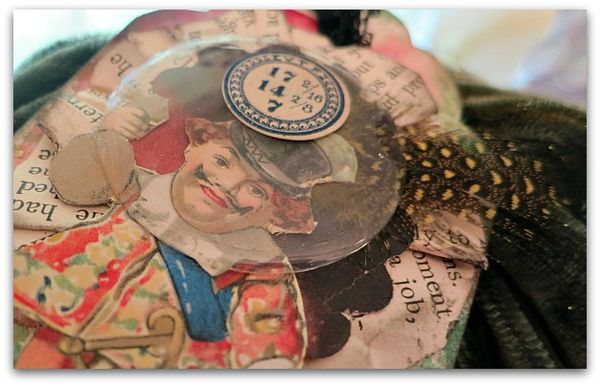
It is made from a watercolor paper that I washed with paint, and I added an image cut from an old deck of cards (he is a cool Joker, isn't he?). He's got a feather glued to his hat and is topped with a salesman sample, old watch crystal.

A clock hand and some lace was added to the bottom of the tag  and there is a ruffle of text under him.

I'm not exactly sure what makes something steampunk or not, but everyonce in a while I make my attempt at it for someone who is into the style. I always think the style looks cool when I see it elsewhere, but I'm not sure if I've grasped the concept for making it myself.

Here is what I found on Wikipedia says, hmmm:

Steampunk design emphasizes a balance between the form and function.[44] Like the Arts and Crafts Movement,
this blurs the line between tool and decoration. Various modern
utilitarian objects have been modified by enthusiasts into a
pseudo-Victorian mechanical "steampunk" style.[9][45] Example objects include computer keyboards and electric guitars.[46]
The goal of such redesigns is to employ appropriate materials (such as
polished brass, iron, wood, and leather) with design elements and
craftsmanship consistent with the Victorian era,[13][47] rejecting the aesthetic of industrial design.[44]


Flower teapot 003

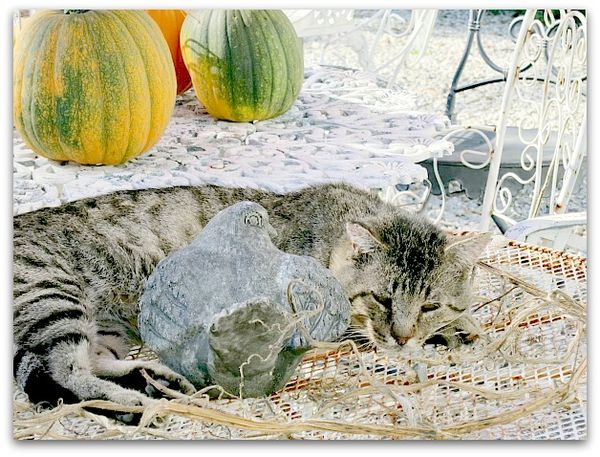
My pumpkin adventures have been going on much longer than I ever would have guessed. Those little guys are addictive.  I harvested some vines from the garden and left them in the sun to dry. Kitty Boy seems to think they make a nice bed on this table top.


Bronze pumpkin 002

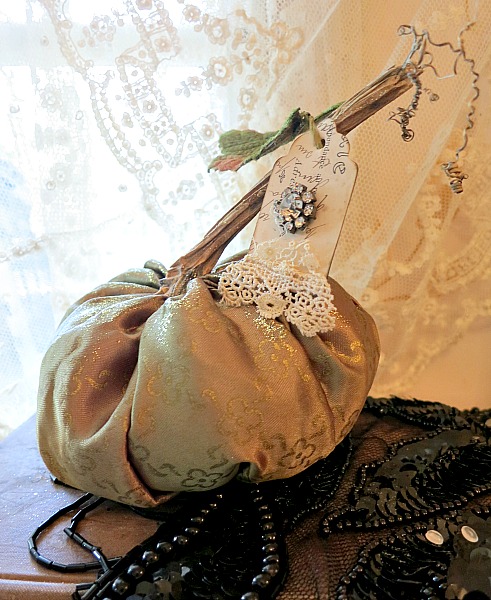
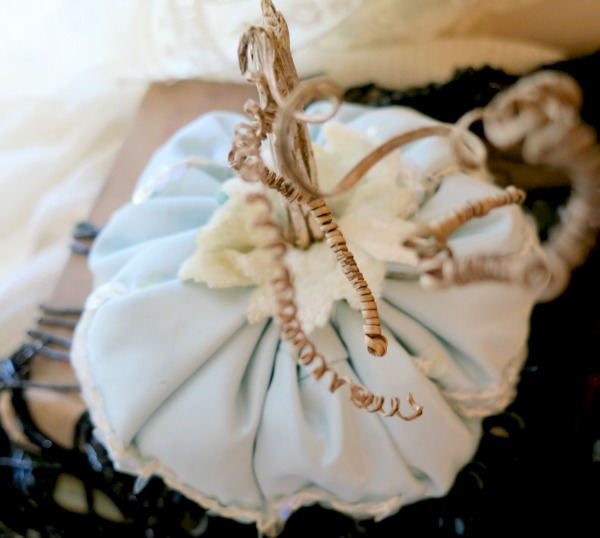
This might be my new fave. It's made from a doll dress.


Wallpaper cabinet redo 064

Like this one was. 

The blue one is in the Boutique, but the bronze satin one is planned as a gift.


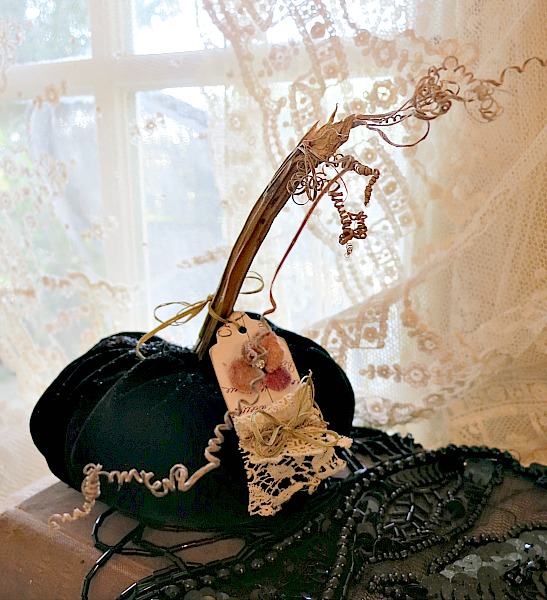
Bronze pumpkin 005

This one is a gift too.


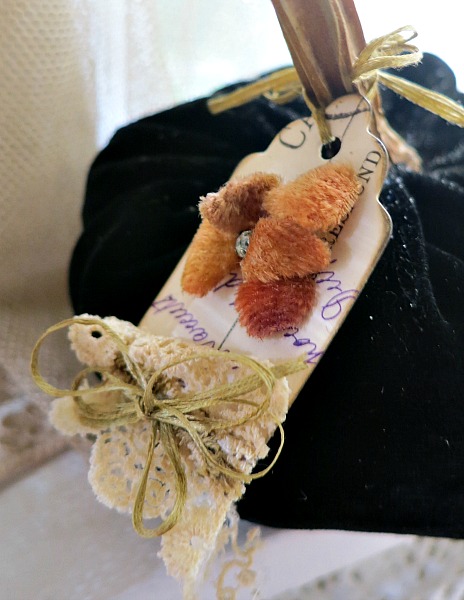
Bronze pumpkin 014

It's tag is from a French postcard with purple writing. I've added an orangish velvet bloom for some traditional autumn colors that still fall into shades that I like to work with.


Bronze pumpkin 006

This one is just itty bitty, and you can find it in the shop.


Journalling

Books, vintage paper/collage art

Charms 019
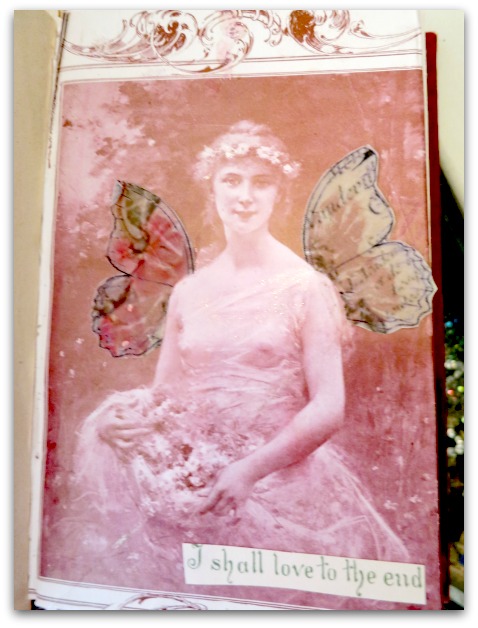
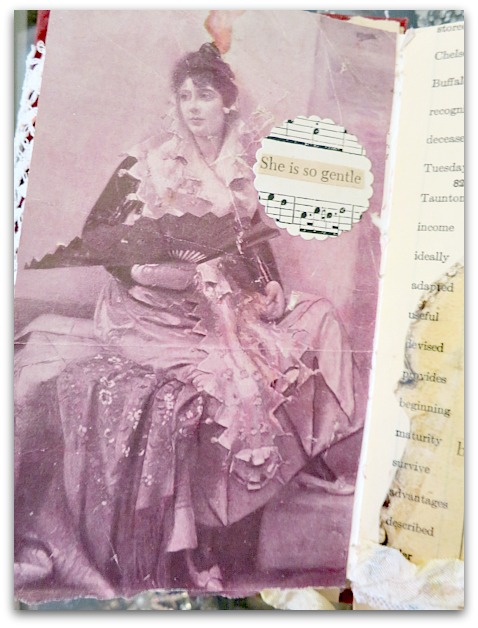
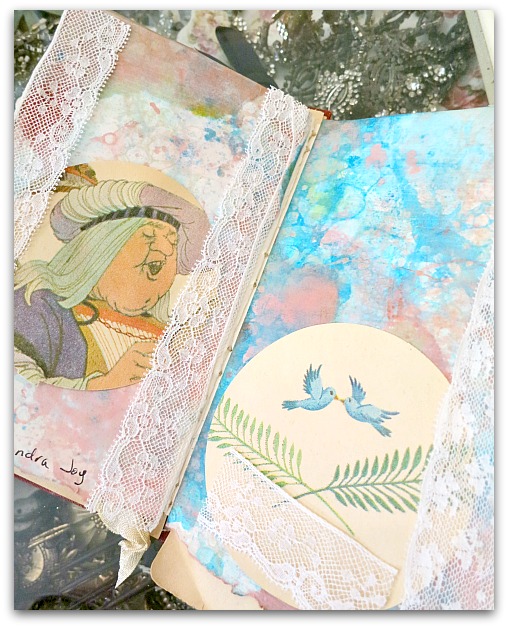
Beth gave me a hand made journal to doodle or glue in and I've enjoyed playing with it. I've glued in pictures like this that I really liked and wanted to save, as well as just messed around with layering stuff simply for the sheer joy of doing it.


Charms 021

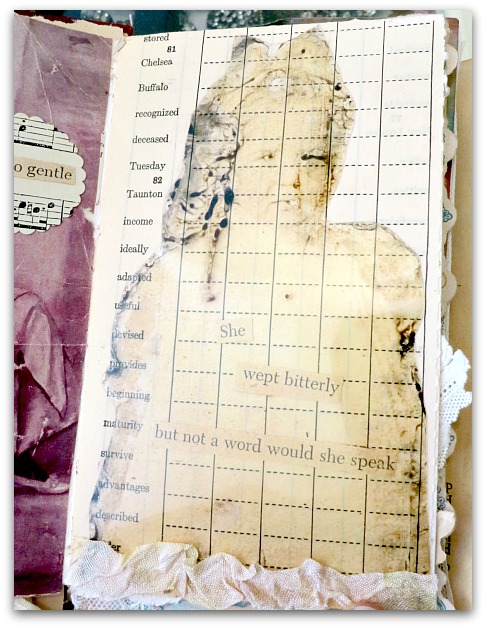
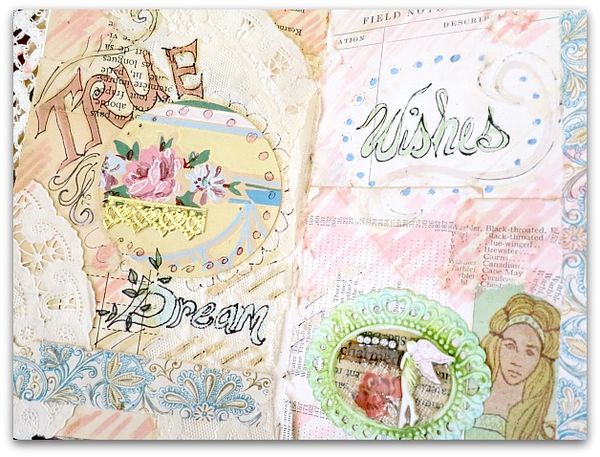
This page is a vintage photo printed on a transparency, over old paper, with a phrase tucked underneath.


Charms 022

Not having a goal or deadline or even a reason to work in the book, besides just wanting to, has been good for me.  It's been a long, odd, summer for me, without a lot of creating.  I've tended the fairy grands, and did some long needed chores and fix ups around the house.  I've had trips, a fried computer, broken appliances, illnesses, family issues, and done a LOT of weed pulling and gardening.  I've been a chaufer, and a cook, and a babysitter, but not much of an artist. 

A few little things got made here and there, but not my typical, nonstop creating.  There have  been long stretches of days when I don't go to the studio at all.


Charms 020

And when I did, I had the little ones with me. Sugarwings made this page in my journal.  We used the bubble paper that we made with food coloring, here.

Piddling around with theses pages and making some charms has been good for me.  Hopefully, I'll get back into gear soon.  At least it's a start. I need to re-find myself as an artist. Taking a summer off to help with the girls was something I'll cherish, and I know how lucky I was to be able to do it, but by not spending much time in my studio, I've gotten away from some very important parts of myself.  

Or I could just be depressed because of all the strife we have faced the last few months.


Charms 016

I think I'll go make another page now, that would be good for me.


How to make a 3-D collaged charm

fairies, how to's, how-to projects, jewelry, the Boutique at Karla's Cottage, Tutorials, vintage paper/collage art

Traycharms 037
After Birdsong, I had a few of the pendant charms left and had a good time playing with them. So much so, that I bought a few more.

Charms 001

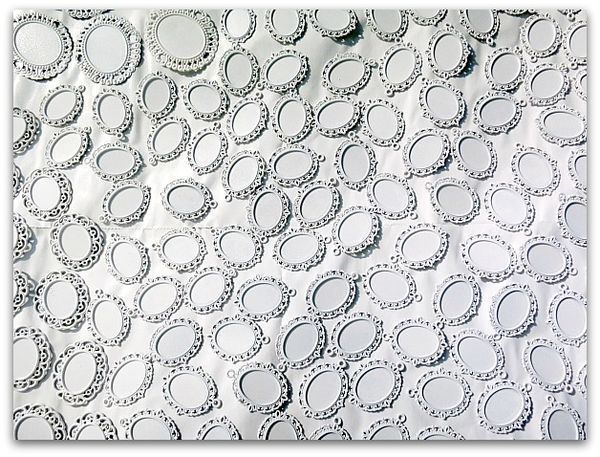
Quite a few more!  Actually, a couple hundred… I tend to over do when I get interested in something.  But, I figure that if I find it so much fun, then others might too. So, I get plenty to stock my Boutique with.

Yep, I did it! I added some stuff to my shop. Finally.  Did you even remember I had one? Except for my whining here and there about ignoring it, you probably forgot it even exists.

Charms 035

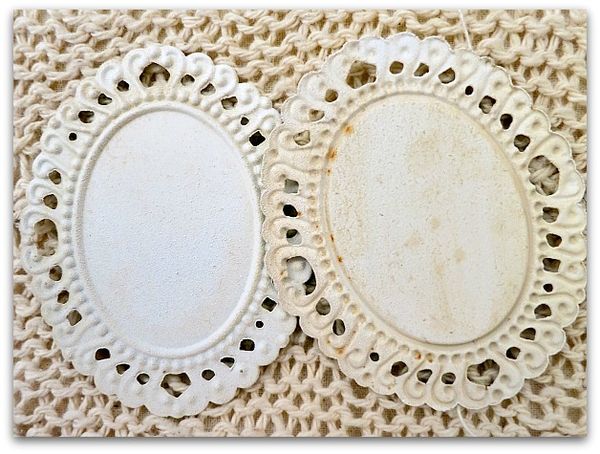
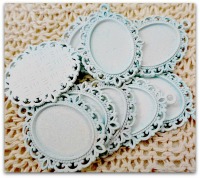
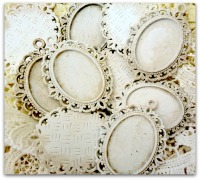
But now, it is filled up with plenty of primed and antiqued tray pendants in a couple sizes and in multiple colors.
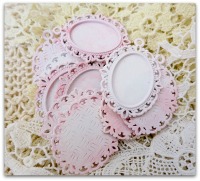
Pink charms
Blue charms
White charms

I have a few more to put in there too.

Charms 029

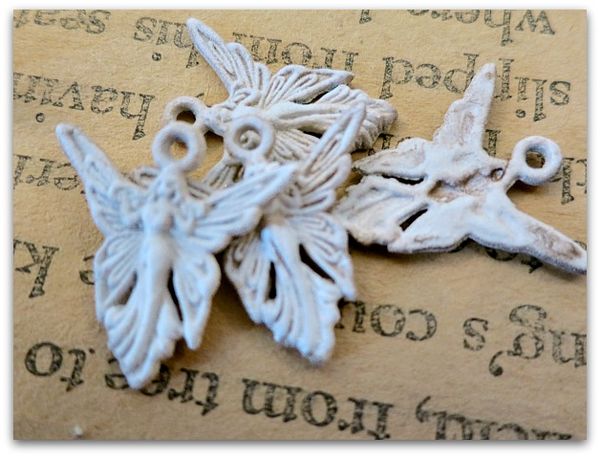
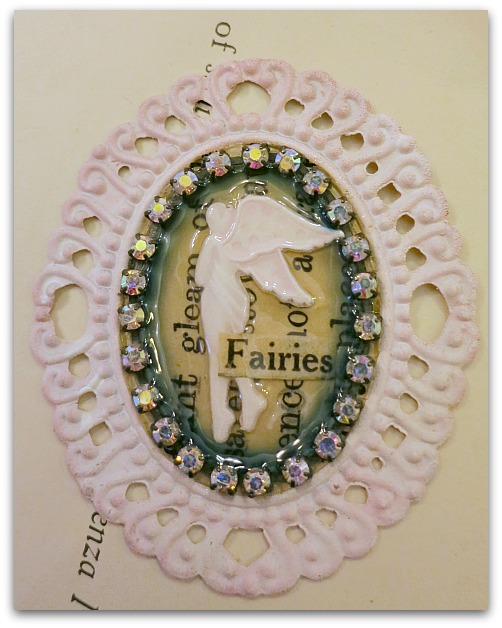
While I was at it, I primed, painted and glazed some fairy charms too to put in the shop.

Traycharms 001

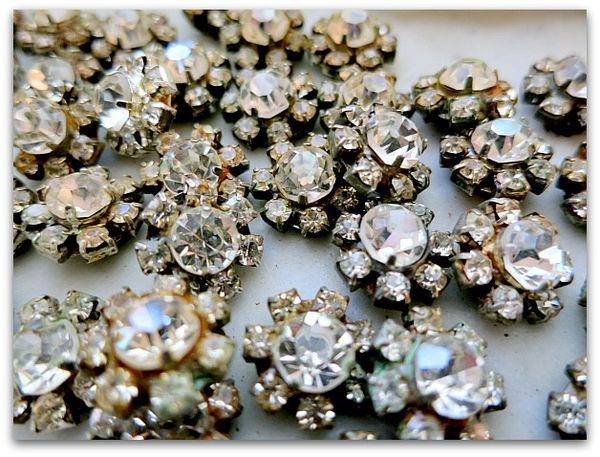
And added lengths of rhinestone chain in lots of colors.
 
Rhinestons 006

And lots of rhinestone clusters. 


Traycharms 018

And in case you were wondering how to use all these components, I thought I'd do a little tutorial with some ideas. 

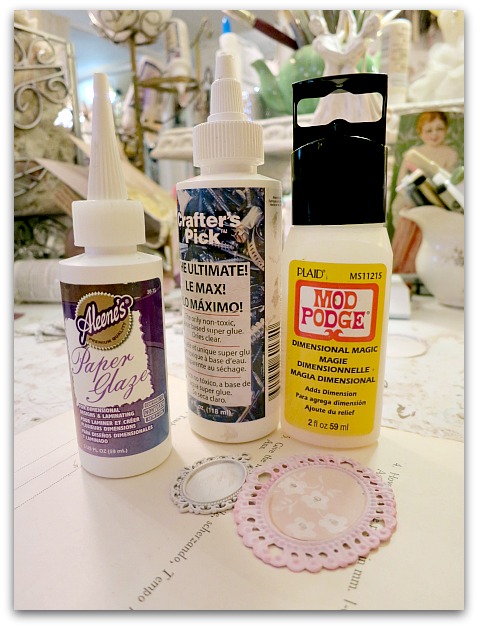
I've used the Mod Podge glaze on all of mine, though in the past have liked the Paper Glaze too. It tends to dry slower and can be milky if you use it too thickly.  Mod Podge is shiny and clear, and dries fast.

Traycharms 012

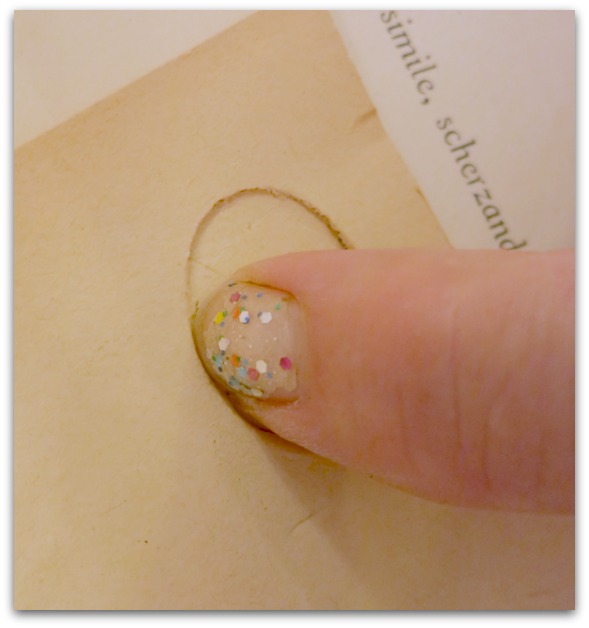
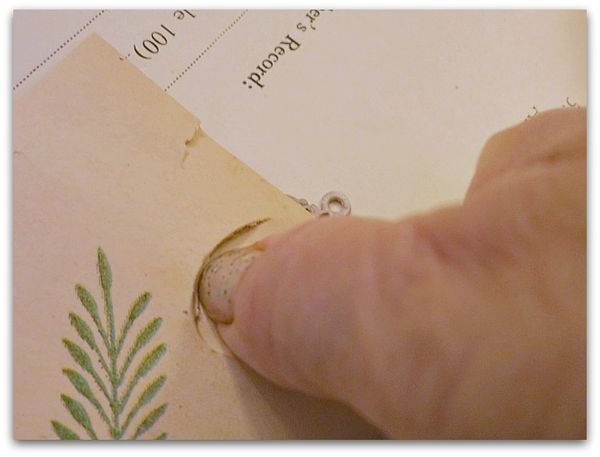
To create a pattern to fit the interior oval of the pendants, I simply place a thin piece of paper over it, and trace with my fingernail.

Traycharms 010

For me, this is better than the charm coming with a pattern. Because you can create your own pattern for any size charm quickly and easily if you learn this trick.

Traycharms 014

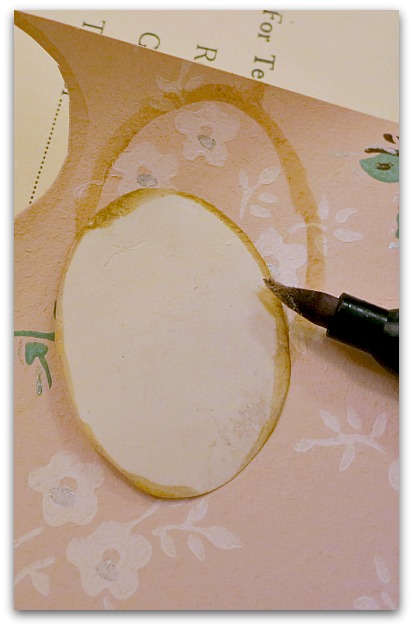
I cut out the pattern and use it to trace onto my pretty paper, and then cut out that.  For mine, I prefer using a tan marker, because it makes the edges look aged.
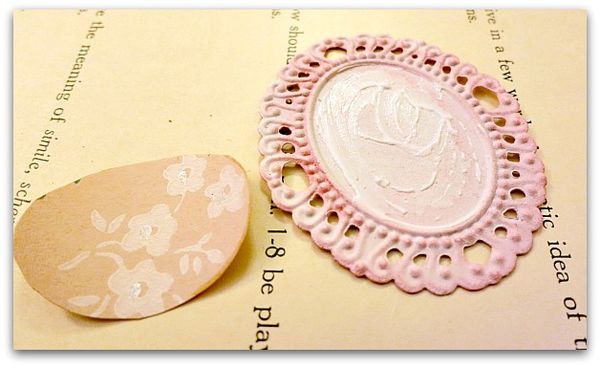

Traycharms 016

Next, glue it into the pendant.


Traycharms 002

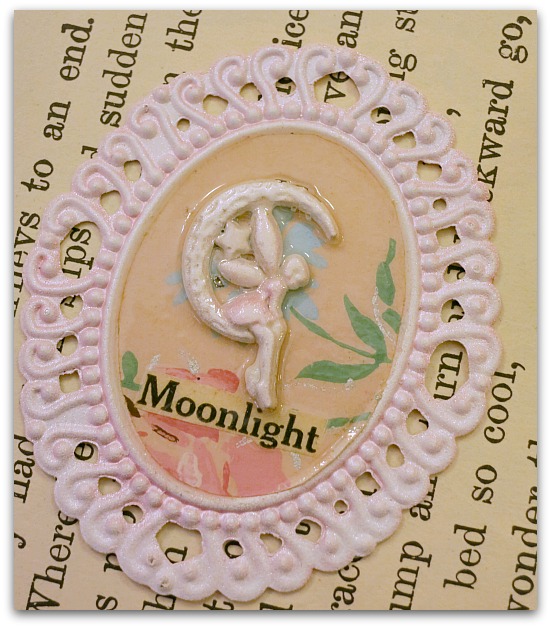
Over this, you can create your collage, anyway you'd like.  If you are going to add a 3D piece, use a drop of Ultimate Glue under it. 

Traycharms 008

Rhinestones, charms, many things make a pretty addition over your paper collage.

Traycharms 019

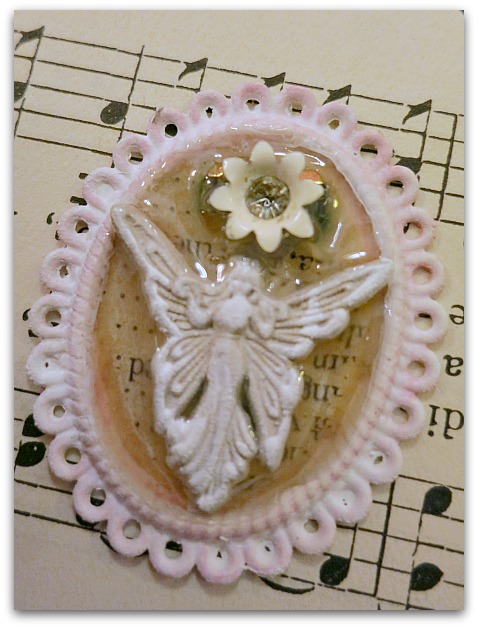
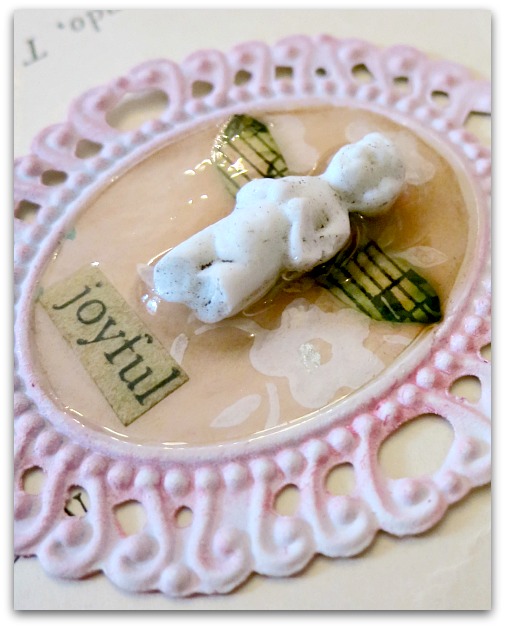
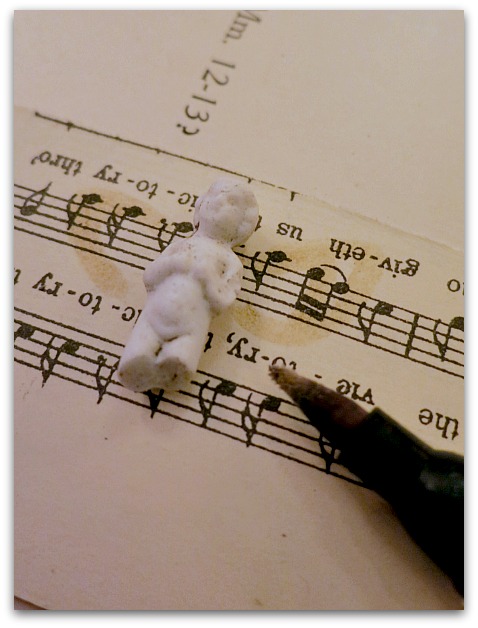
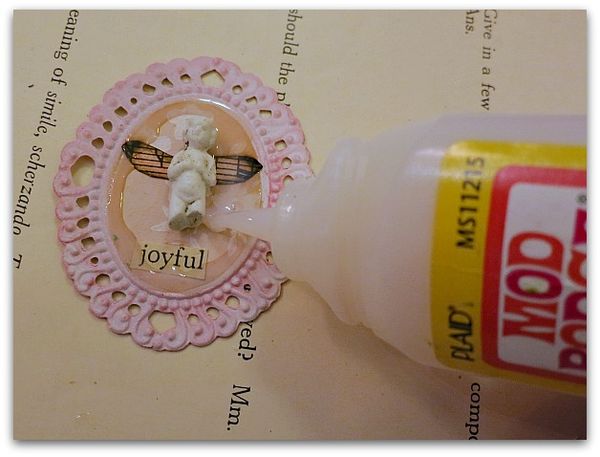
To transform this teensy, weensy Charlotte doll into a fairy, I laid her onto sheet music, drew wings to cut out and color with markers. 

Then, glued down the wings to the pretty paper in the pendant, and glued the doll onto them.

Traycharms 021

I found a word I liked, Joyful, and slipped it underneath. 

Have you ever watched Martha Stewart ice cookies?  You do the glaze the same way she does her icing. You outline the area (make a "dam"), and "flood" the interior after. (The rim of the oval tray holds the flow of glaze in place.  The Mod Podge brand is pretty fluid and almost requires a contained area, but the Paper Glaze is thicker and can be used on a flat surface with no rim)

Traycharms 023

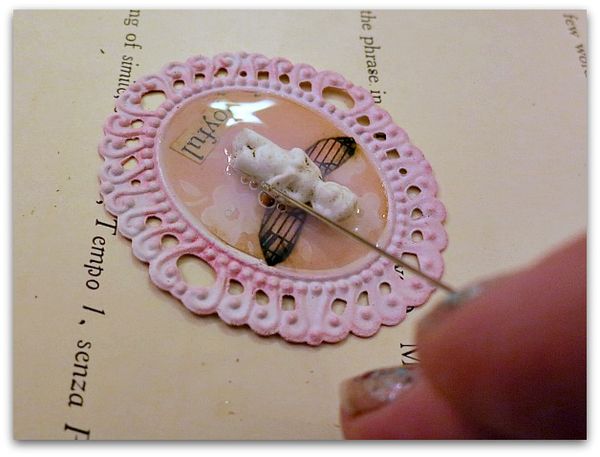
If you end up with bubbles, pop them with a pin.  If those bubbles roll away and won't pop, your pin isn't sharp enough. I like those tiny, thin, quilter's pins if I have trouble with a regular one. And wipe off the tip every single time. The glaze builds up on the end of the pin and it won't penetrate the bubble.

Traycharms 036

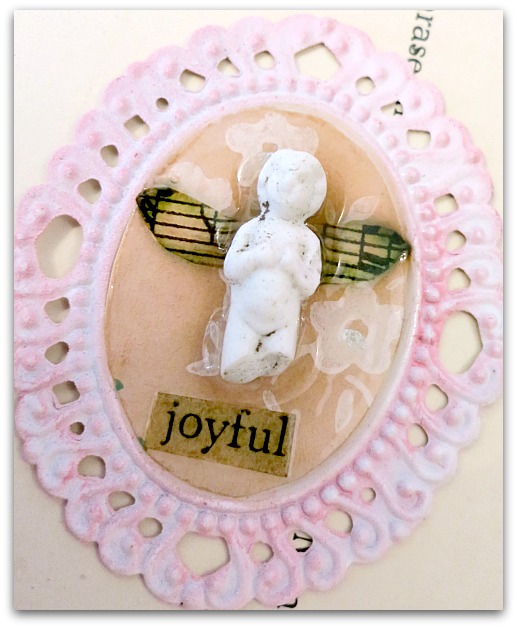
Then, set it aside to dry.  Between the glue under your chosen 3D element and the hardened glaze around it, the piece is secure. 

Traycharms 034

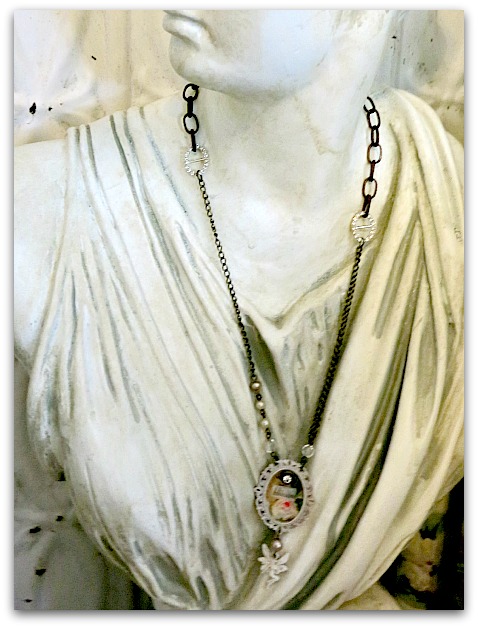
I've worn many necklaces with rhinestones, charms, etc. added to a pendant this way and all have held up well.
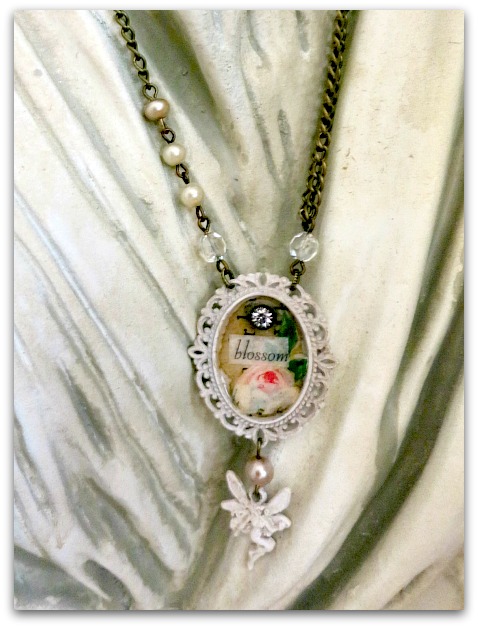

Traycharms 035

These fairies come with a ring at the top to hang them, and look nice this way too. If you decide to use them in a pendant instead of hanging off of one, you should snip that ring off. I use the Tim Holtz red handled magic scissors that cut through anything, but you could also use wire cutters.
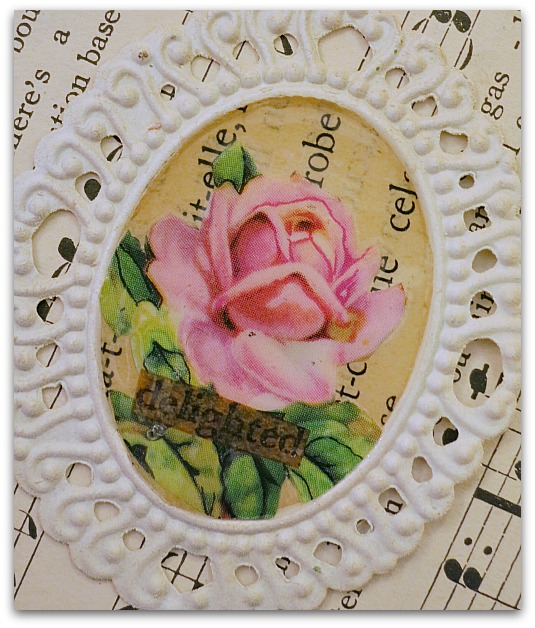

Traycharms 004

Of course, the pendants look cute with simple paper collages in them also. (oops, missed some bubbles under the word there)
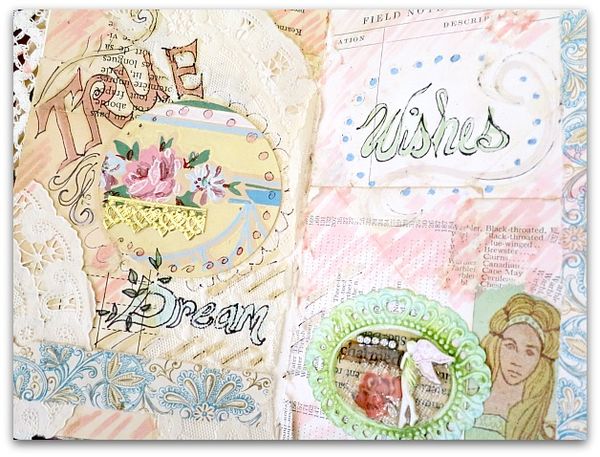

Charms 016

And they don't have to be used as jewelry. I glued one into my journal too.  I'm picturing some Christmas tree ornies too.  Hung from ribbons?  Maybe with dangly crystals?
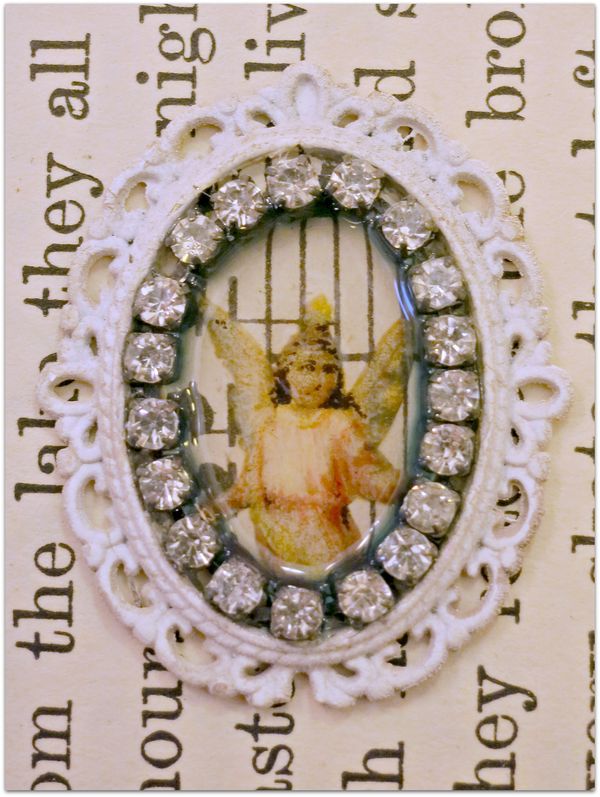

Traycharms 006

Please note that when adding metal pieces, like the rhinestones, a patina forms from the chemical reaction between the glaze and the metal. I like it it, myself.


Traycharms 039

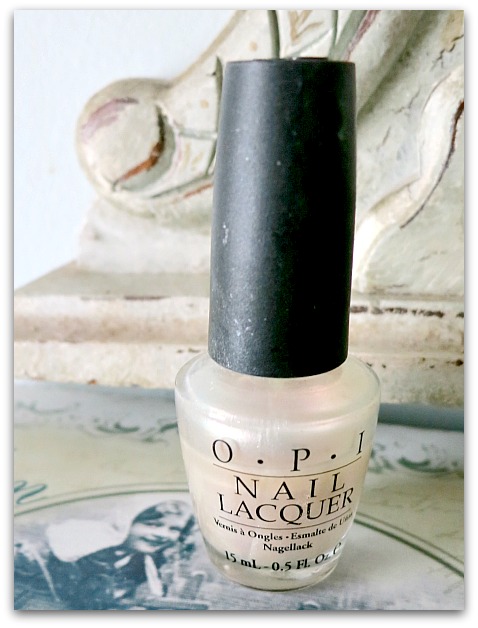
ps- After looking at my photos and seeing how messy my nails look, I think my next project will probably involve this.
Fairies and friends will always cheer you up

Books, fairies, Tutorials, vintage paper/collage art, Workshops

Fairiesand stuff 023
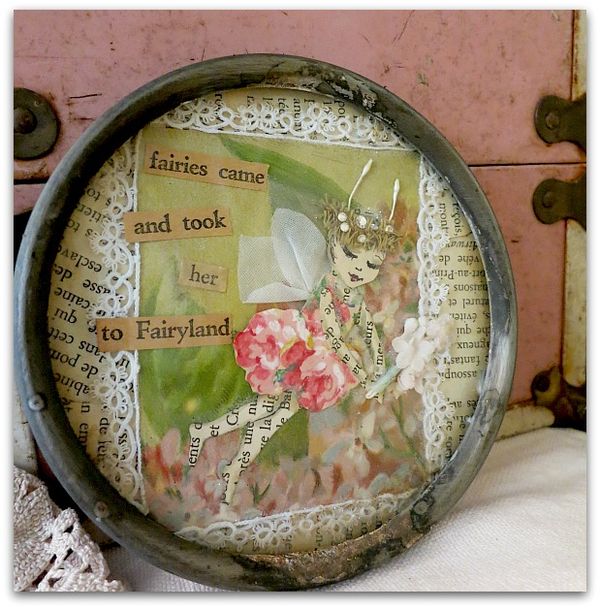
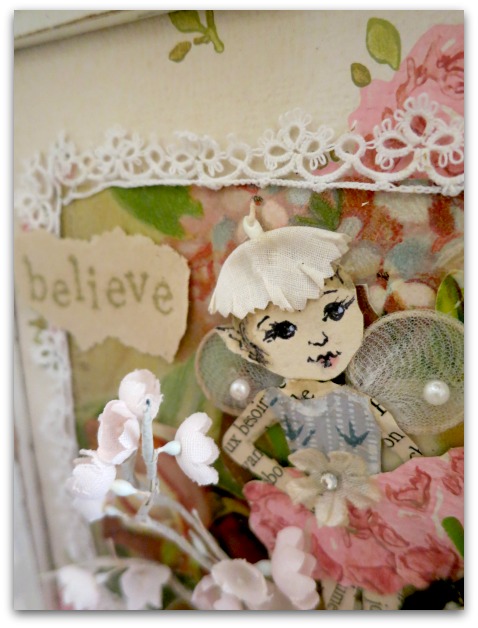
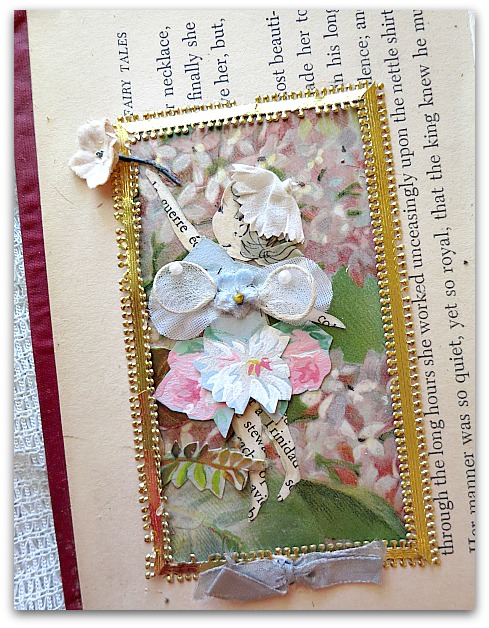
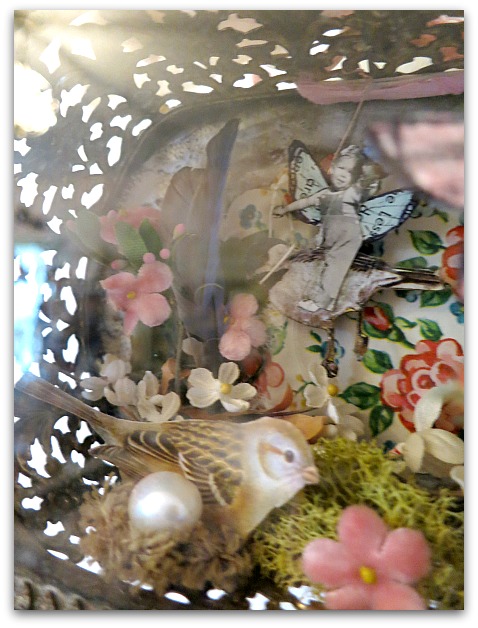
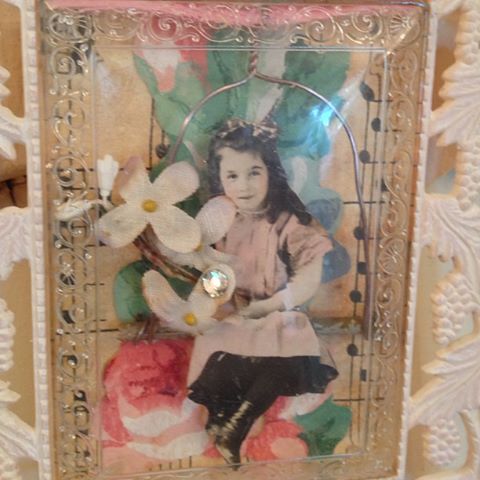
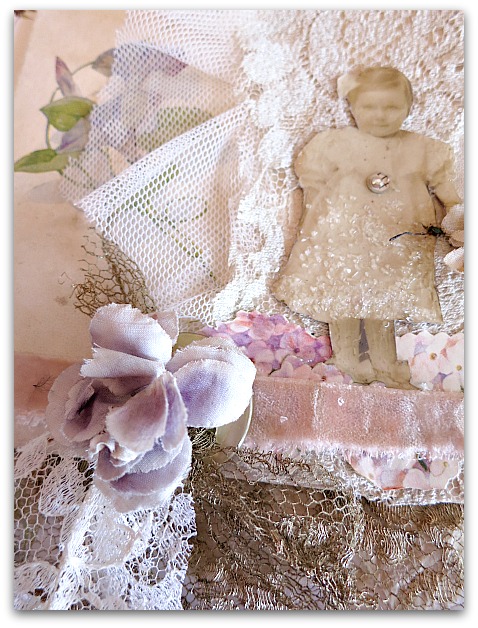
I've been fairying it up around here.  I draw these little girls onto plain paper, then cut them out to use as patterns to use on vintage text and wallpaper.  After they are assembled and glued to a background, I embellish them with some millinery flowers. 

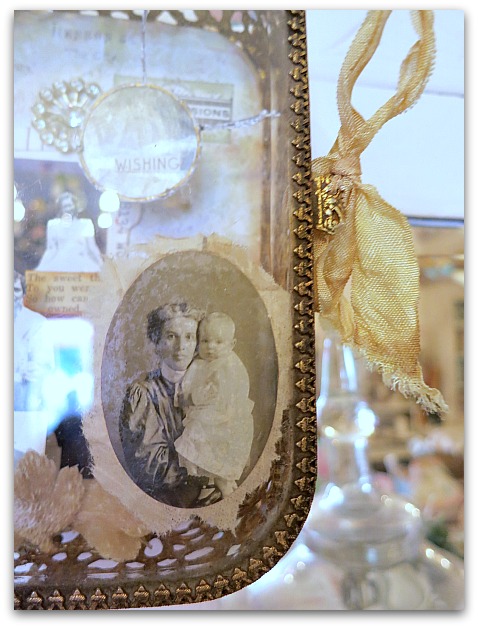
This one is in a very old metal frame.

Fairiesand stuff 016
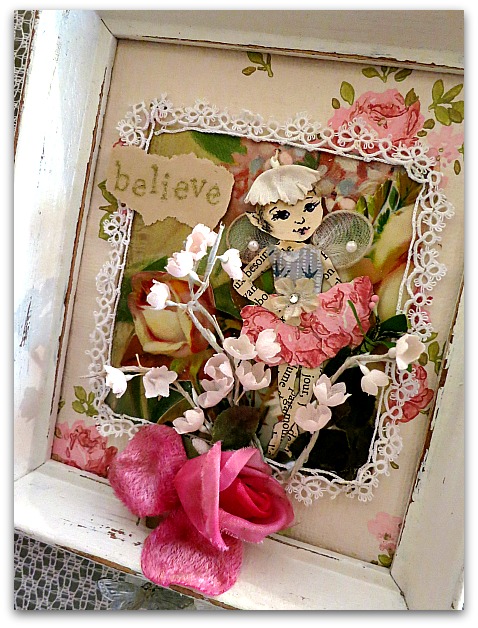
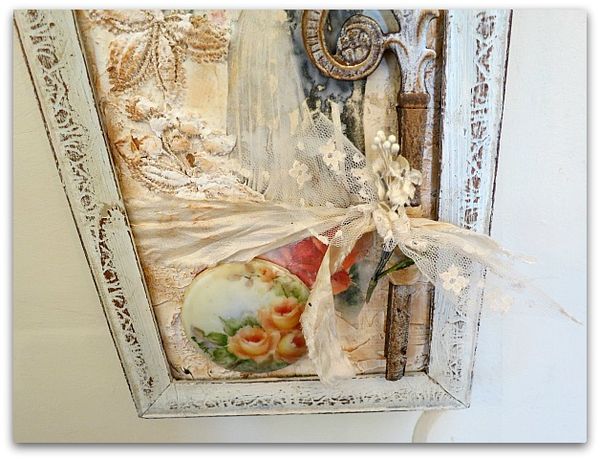
This one lives in a painted and distressed,wooden frame that I lined with rose patterned wallpaper.

Fairiesand stuff 017

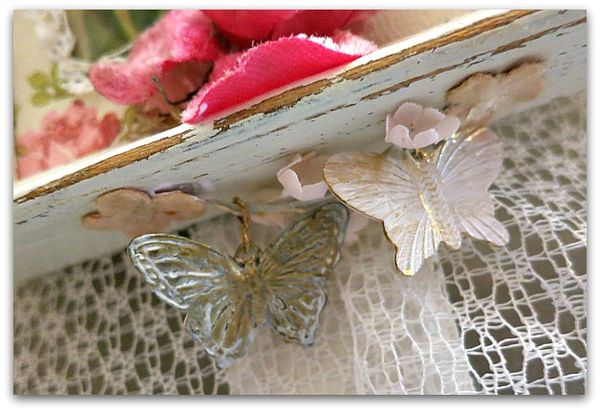
At the bottom of the frame, I glued a branch of little blooms and used that to hang some butterfly charms on.


Fairiesand stuff 018

At first, I'd made the heads from text too, but I missed having a facial expression, so I cut out new heads from the border of the text and used markers to add a sweet, little face.

Both of these will be added to the Boutique.  That is, if I ever get around to adding anything to that poor, neglected little shop again…. If you are interested in either for $35, you can send me an email at: Karlanathan@sbcglobal.net


Fairiesand stuff 025

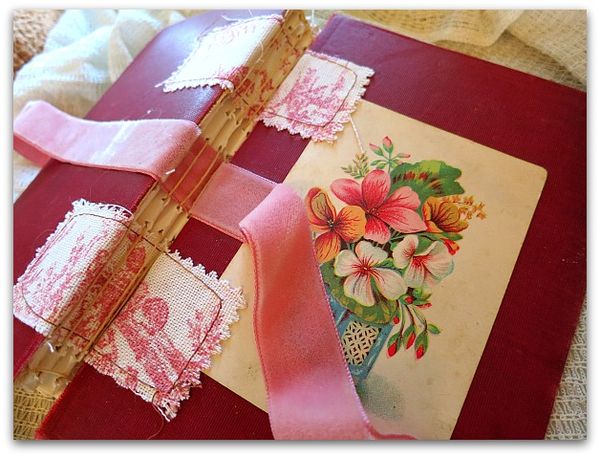
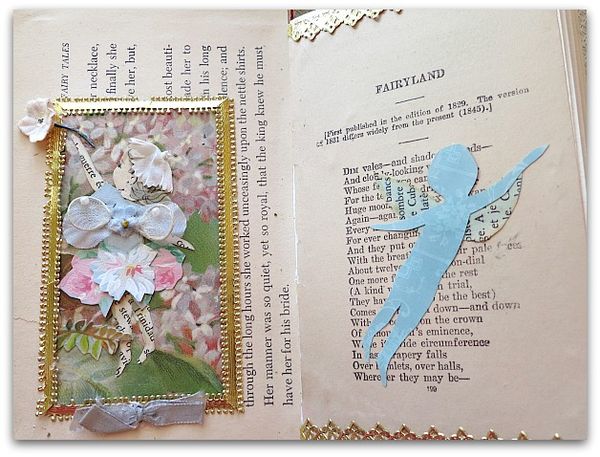
This sprite is one that I am keeping for myself, I've added her to a book that Beth made for me.


Fairiesand stuff 015

Don't you love the binding on it?  She knew I was having some personal troubles and made the journal for me to fill up as a distraction.  Plus, she listens to my complaints.  Now, that is a friend. 

Between poor Ry losing his job (rather unfairly) and the hours I've spent trying to help him find another, worries about this and that, as well as feeling crappy, I'm afraid I've been a bit cranky.  I don't even know why she is still my friend, all she ever hears from me are complaints. 

Ry has some interviews, I've been to the Dr. and have treatment now for esophagitis (from swallowing a heavy, string wrapped around a grilled tenderloin and scratching my throat, I thought it was gristle and tried to be polite by not spitting it out, since we were at a friend's house for a dinner party), and the other problems? Well, things work out somehow, don't they?


Fairiesand stuff 026

It's going to be fun filling up this journal with doodles, and doodads, and dwaddles. Getting creative again has made me feel better already!
One of the patterns I'd made for these kids was lying on my desk and it reminded me of a shadow, so I added it to the next page of the journal.


Fairiesand stuff 008

This fairy is a new creation too.


Fairiesand stuff 004

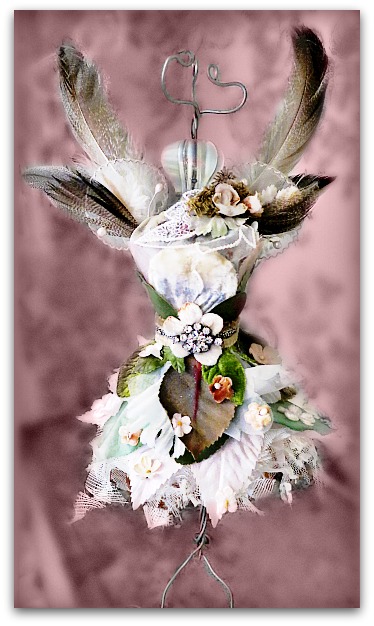
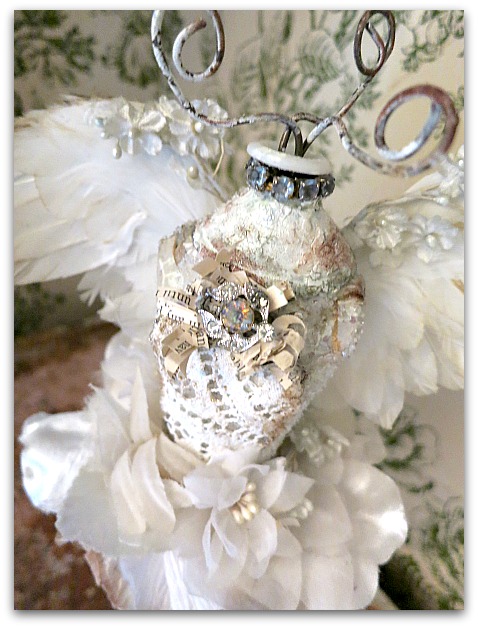
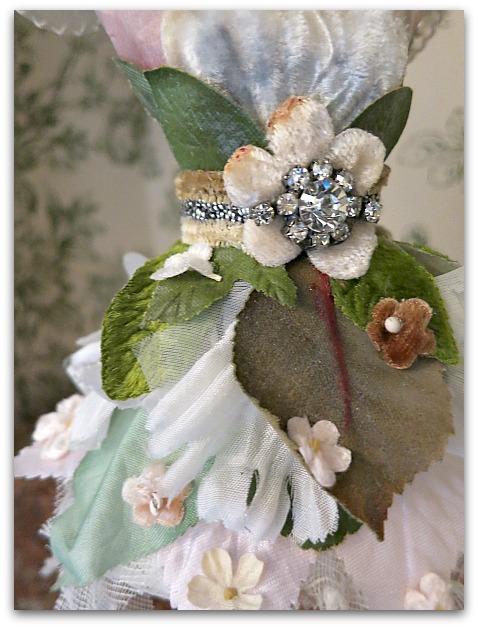
She and this angel have been added to the Mini Dress Form tutorial, with some simple how tos to embellish the basic forms that are taught there.  If you have already purchased the class, these are a bonus and you will find them under "fairy" and "angel" in the category list on the side bar of the blog.

If you'd like to join the class, you can do that here.

Fairiesand stuff 010
PS-Leave a comment on this post, if you would like to enter my two giveaways.  I'm away at the moment, but will draw names after Labor Day weekend
Craft Day at Gail’s- vintage wallpaper tags

vintage paper/collage art, wallpaper, We're having a party

Tags 028
Last weekend, my friend, Gail, invited me to a craft day. 

Tags 001

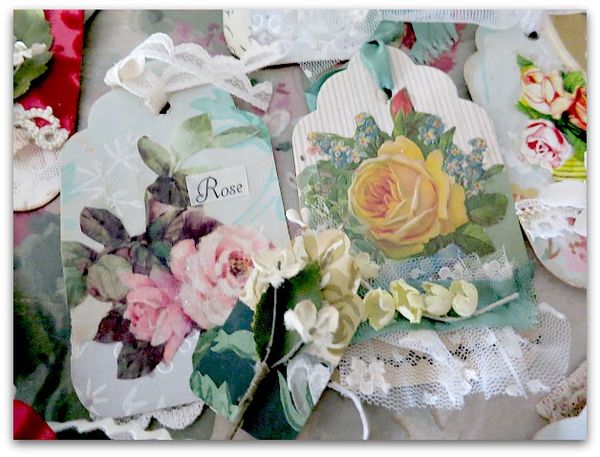
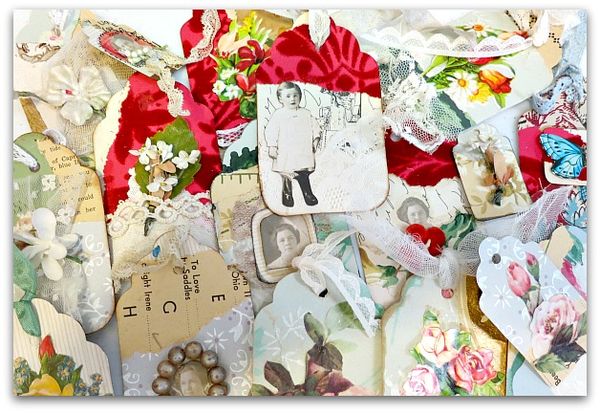
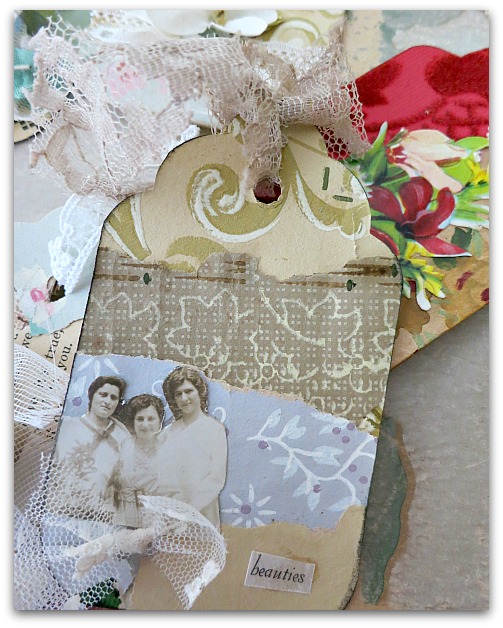
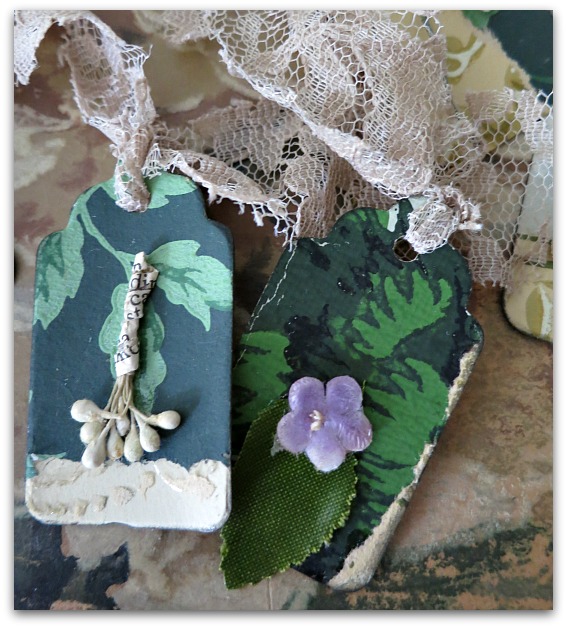
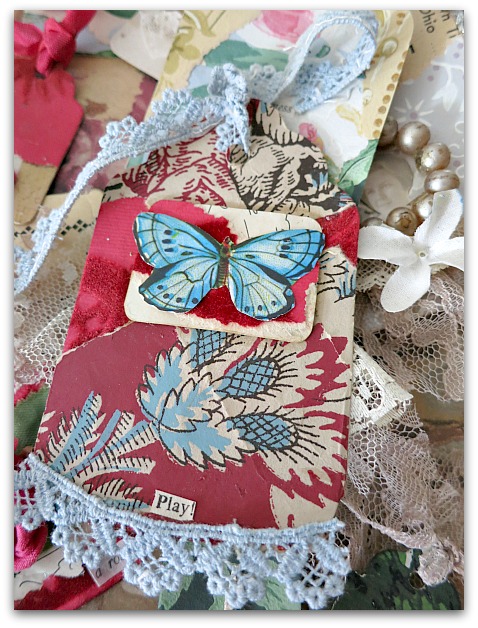
I didn't really have a project to bring, so I decided to make tags.  I packed a lot of old wallpaper scraps, some other ephemera and card stock.  Then, I tore the papers into rough edge bits and strips, then I drizzled glue over the card stock and layered the strips of old paper onto it.

After it dried, I ran it through the Cutlebug using a three part tag set die cut.


Tags 023

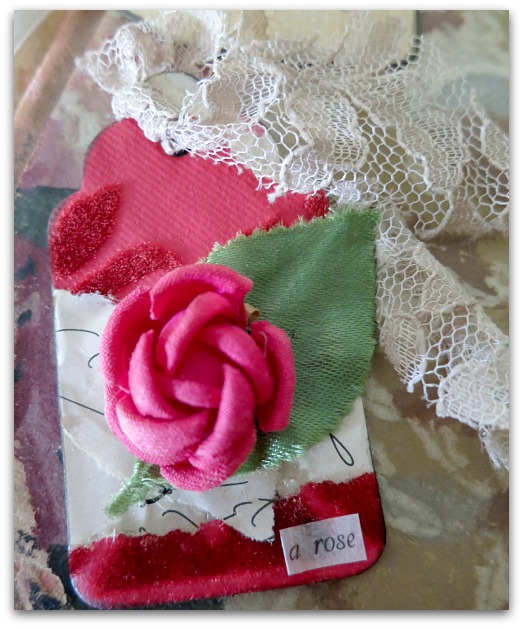
This made an interesting background to embellish with some tidbits I'd brought along.  I had a handful of lace, a small bag of flowers, some ribbon, two vintage greeting cards, a die cut rose and some ink pads.


Tags 024

When I'm working with wallpaper, I keep a container near me to save scraps. No piece is too small to save, you never know when you'll need an itsy bitsy piece, and why cut into a big hunk for a two inch strip?


Tags 025

Plus, I'm cheap. I don't like to waste scraps of pretty paper if they can be reused.  Tags are an excellent way to use up the remnants of a bigger project.


Tags 027

This was an ideal project for craft day.  It was easy to pack up and bring, didn't take much thought, and I could chat while I worked.  Gail and her daughter-in-law, Marj, had both been to my studio at Birdsong, and I felt like I already knew her grand daughter, Corrine from FB stories and pictures. 
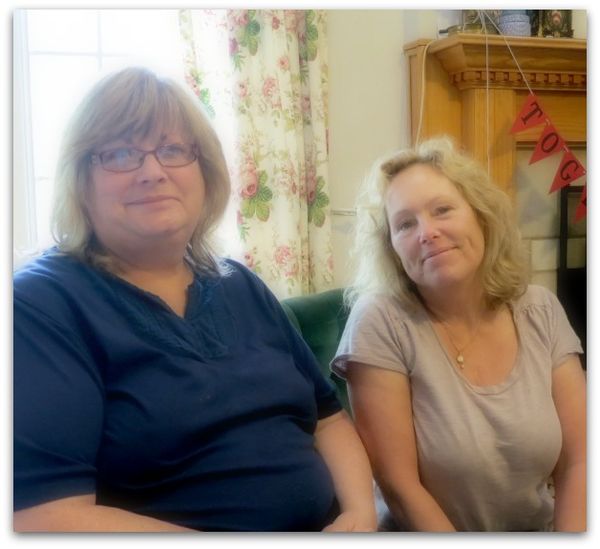
But the other ladies were new friends, and the projects ranged from crochet to scrap booking. Everyone brought something to work on while they hung out, that is my favorite kind of craft day.


Tags 010

Gail made us a tasty lunch, and gave me a tour of her cute place.  She loves vintage roses as much as I do, and her home was filled with pretty pink blooms.
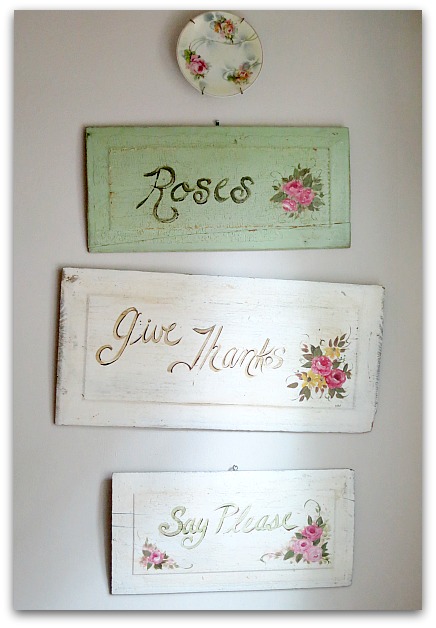

Tags 007

She also had houseful of things she'd bought from me, back when I used to host antique sales at my house.  I knew she'd been a generous customer over the years, but I didn't realize just how much she'd got. It reminded me of visiting my mom's house and how every where I looked, I saw something I'd made or painted. 
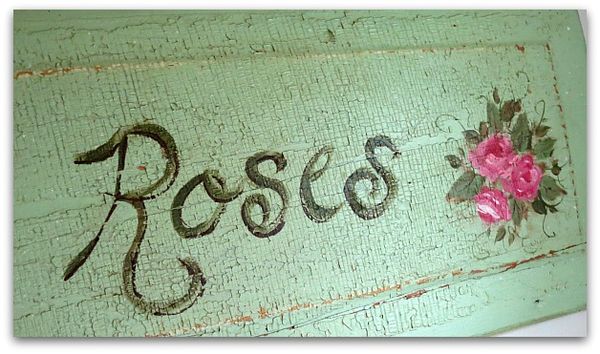

Tags 008

Gail might just have more of my stuff than I do.  I felt right at home!

Thanks, Gail!


Creating

vintage paper/collage art, wallpaper

If you are visiting for the Where Bloggers Create Studio Tour, you can see my pictures here

Stuff 030
So you don't think I've done nothing but goof off, here are a few things I've been making.


Stuff 024

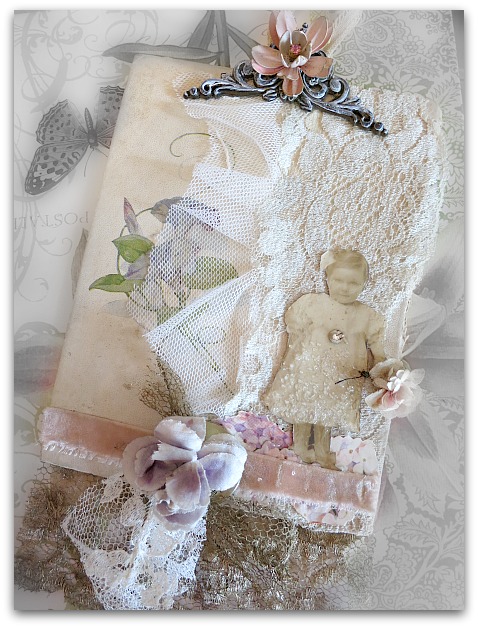
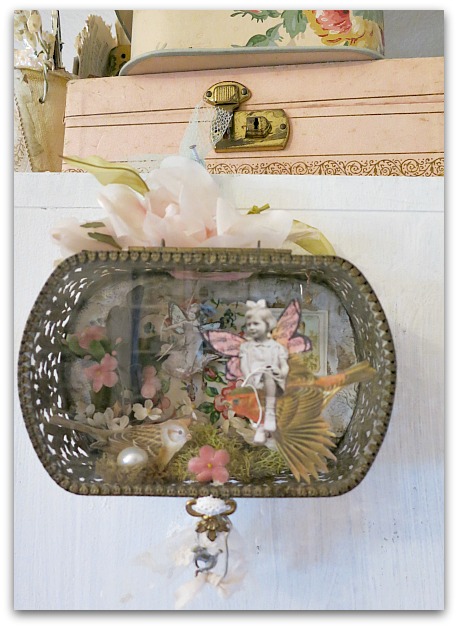
This collage is done on a book cover.


Stuff 027

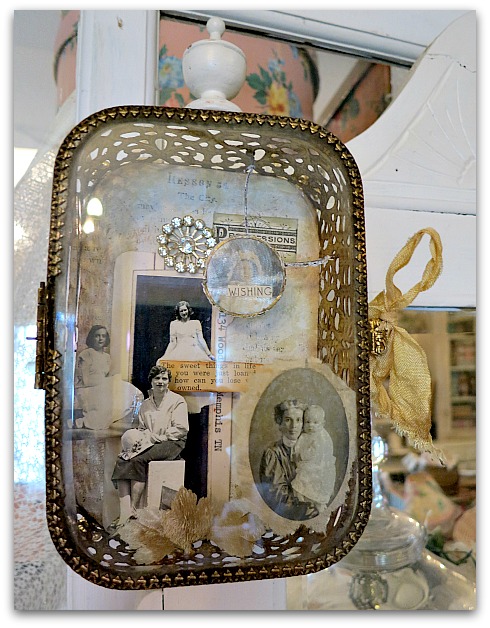
And this one in a jewelry box.


Stuff 034

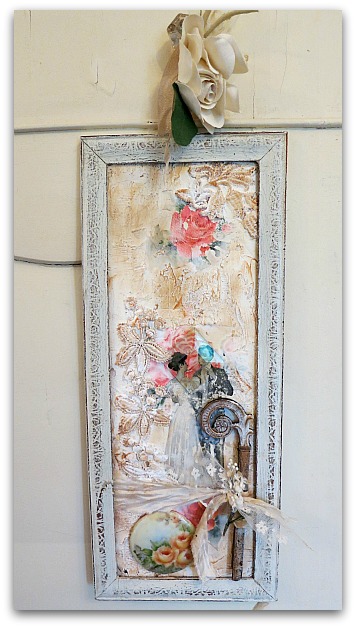
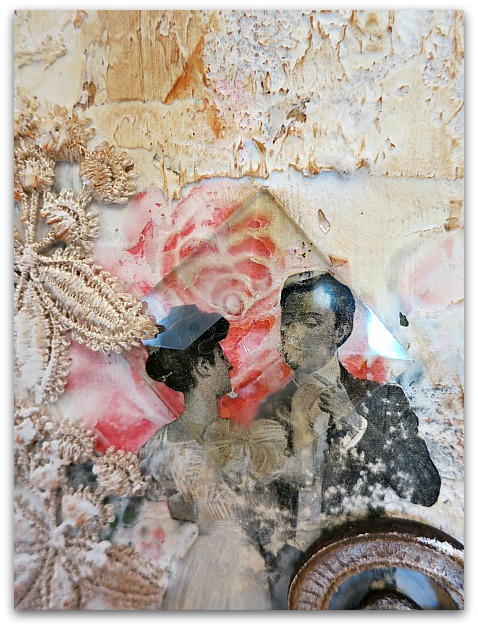
This is a frame that had a few die cut roses in it. I covered it with modeling paste, scraped some off, added lace and images, ink, and embellishments.


Stuff 035

Part of my Summertime Adventuretime is about creating for just the plain old heck of it.


Stuff 026

Not to make something to sell or to teach.


Stuff 029

Just to connect with the joy of making it.


1002778_10151663101069477_1937219872_n

Stuff 025
Stuff 036
Stuff 032

Tagging along, some stuff for sale, and a BIG Summer Sale too

bird song art event, how to's, the Boutique at Karla's Cottage, vintage paper/collage art, Workshops

More gifts cabinet redo 008
Lori had some great vintage images and pretty papers in her kits for Birdsong.  Her project was a wreath wrapped in frothy fabrics with tricked out tags tucked in it (how's that for alliteration?).  Since I didn't add tags to my own wreath, I made some tags up separate because I wanted to play with the images she had included.


More gifts cabinet redo 009

I'd also wanted to try using the Dimensional Magic  by ModPodge with crystal glitter over it.  I outlined the image (not the background) with the D. Magic, then slowly filled in, and the stuff did a good job of staying where I'd put it.

While it was wet, I coated it with clear glass glitter, and then tapped away the extra after the glaze dried and it was safe to pick it up.


More gifts cabinet redo 010

I've got about 6 bottles of that stuff, because we used it on the knotted ribbon necklaces class that I did, and I had a bottle of it out on each table for the students, and a little bit goes a looooong way.

This tag is all from Lori's kits too.  I tore the label off her kit and left the edges rough, glued it onto a tag, then inked the edges. I scrunched up some pattern paper, and added some of the twine trim Lori provided and a rhinestone from my stash.  Then, I did the same glaze and glitter trick as on the other tag, this time over the whole thing.


More gifts cabinet redo 006

She had a playing card in the kit too, and I used it as a tag.  I made a ruffle from some of the text she provided, and cut the bottom off of another playing card to go over that, and topped it with a millinery flower.

The center is a piece of pattern paper layered with text, and an oval image from Lori's stash.  I did the Dimensional Magic and glitter over the torn out oval, and I think I got too much glitter, because it dried a gloppy mess and you couldn't see the image at all.  So, i cut a rose out of something else and glued it over the top and added another pretty bit of sparkle and some millinery buds. It's also tied with the twine from the kit.


More gifts cabinet redo 011

On this one, the D. Magic and glitter once again obliverated the image.  I guess you have be careful to have a light hand with the glitter when doing this.  Or to use a very simple, clear, graphic image. I think it turned out really pretty over the first one, the lady's black and white face.

Around the screwed up image, I glued odds and ends that were in the kit, in a free form frame.  And I liked that part, it was too bad the rest was a mish mosh mess.


More gifts cabinet redo 047

After it dried, I tried to fix it by gluing a snippet of text and a bird out of a book from the 1800s. I'd used this same text and some birds from it for each of the kits I'd made up for the necklace class. These were the birds that we put in the pendants, although this bird is a little more colorful than the ones I used for the class.

I know, it was only a little tag, but I hate to leave anything badly done, so I did what I could to salvage it.  I finish all my projects, and save the bad ones as much as I can.  I figure that I've already invested time and materials into a failed piece, why let it go to waste if a little more time will fix it?


More bs3 009

If you are interested in one of Lori's lovely kits, I found two of them left here when I cleaned up.  I offered to sell them for her, and ship them out. Her wreath kit comes with the form, the fabric,images, papers, trims, and  tags. 

It's self explanatory, and a simple, pretty project.

The kits are $35 plus postage.


6a00d83451ead569e2017eeb07b921970d-600wi

When I sold my own leftover kits, I counted wrong and sold more than I actually had, so had to whip up a few more real quick.  Well, I made up some extras and have one knotted ribbon and one captured fairy birdcage (that comes with a free online course) left for $30 plus postage, each.

Please email me if you are interested in any of these, with your zip code and the email address you use for PayPal and I'll send you a  invoice with the postage figured.

karlanathan@sbcglobal.net


Bsperp 006

As well as one completed necklace that I used as a sample.  The one that says "nest" with the brown antiquing is available for $65. 


Bsperp 005

The white one that says "nest" in this photo too.  I think I'll keep the blue one myself.  The rest of my samples are at Somerset right now, for an article in Jewelry Affaire.  I might have some of those for sale later, but it could be months before they are returned.

And if that isn't enough shameless huckstering and trying to sell stuff to you, here is a little more.

I've got a ton of new things to add to my Boutique.  But I'd like to clear it out a little bit first, and start fresh. So, I'm offering a 30% discount till July 1st.  You'll need to use this link:

http://www.karlascottage.com/?code=30%

And type in this code at check out:

30%


Scroll to Top