vintage paper/collage art

How to dye crepe paper

how to's, how-to projects, Once upon a dream, Tutorials, vintage paper/collage art, Workshops
IMG_4711
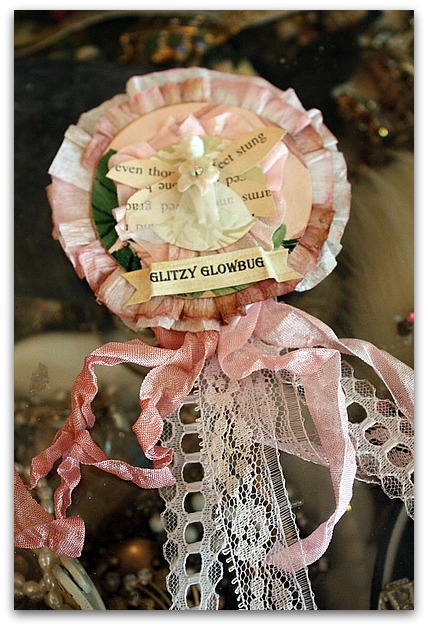
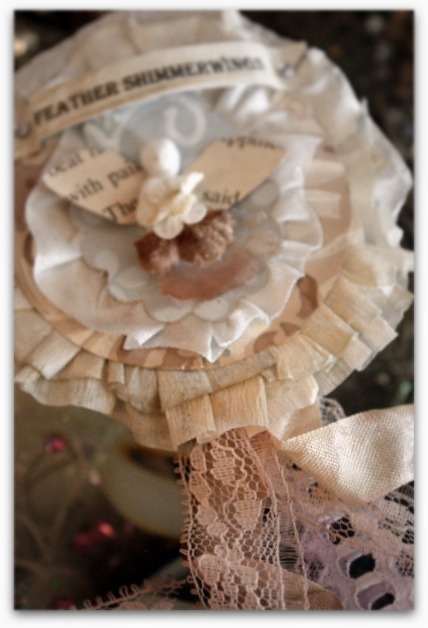
For the welcome night class I am teaching at Once Upon a Dream, I needed a pretty ruffle to top off my Prize Ribbon Sprite brooch.  Plain crepe paper was nice, but I thought it would be better with tinted edges.
 

IMG_4573

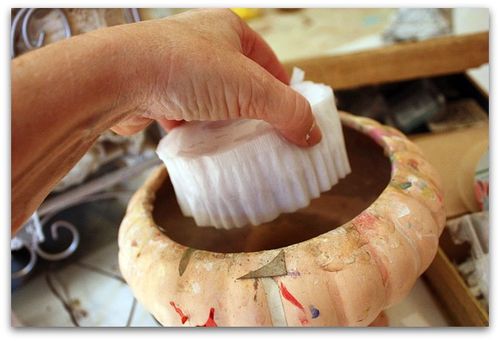
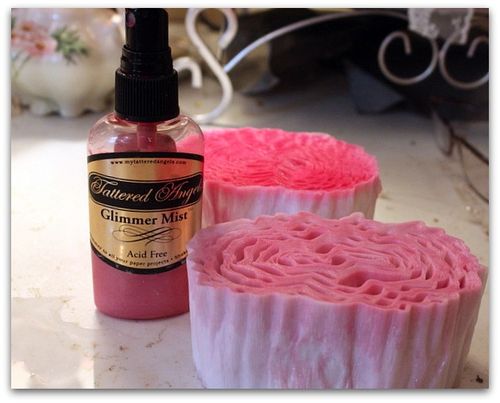
My first step was to dunk the top and bottom of a whole roll of crepe paper into a bowl of water.  I didn't immerse the entire roll, just about 1/4 on each side.
IMG_4574

While it was wet, I spritzed the damp edges with Glimmer Mist and let it bleed down into the paper. 
IMG_4576

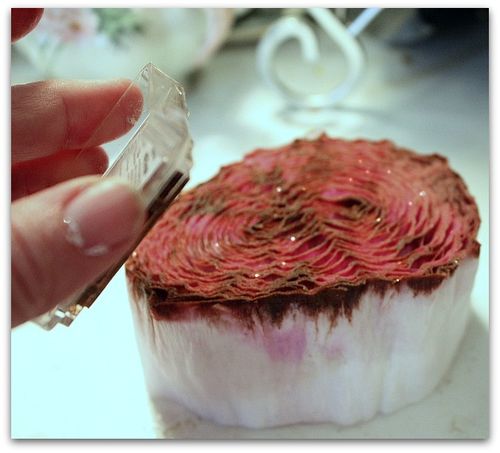
On one side of the roll, I rubbed dark brown ink over the Glimmer Mist for a two toned effect. (Glimmer Mist has a nice sparkle to it!)
IMG_4713 Then, I sat the roll of crepe paper outside on a sunny, breezy day to let it dry. It had to be completely dried out before I could make up my kits.

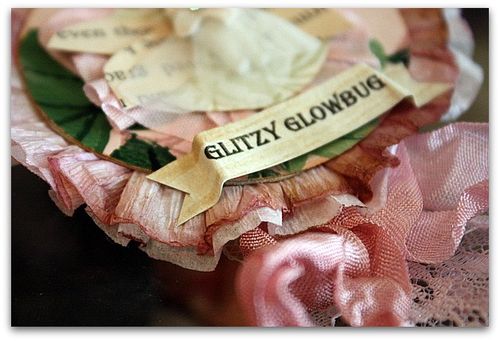
I'm happy with the way it turned out.  I folded a section of the streamer lengthwise and glued it onto the back of the wallpaper medallion to make the ruffle.
IMG_4602

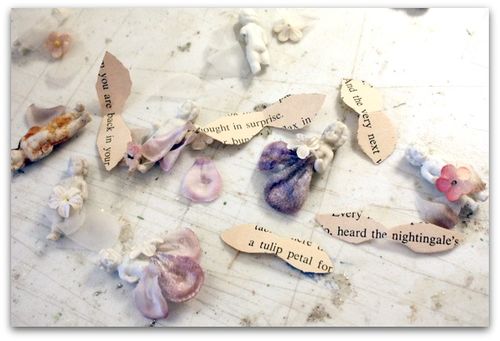
The kits each have a teensy weensy Frozen Charlotte doll, a mini flower for the bodice of her dress, and flower petals for her skirt. The wings are ephemera, and all hand cut. Each flower petal skirt was trimmed up just to fit the little Charlotte it would be glued to.
IMG_4710
Each prize ribbon has a banner with a fairy name on it too. No two kits are just the same. They took me ages to put together since I was matching the dyed ribbons and lace to the flower petals and wallpaper.  Plus trimming all the little petals to fit the dolls. Its a quick class, about an hour. I knew the guests wouldn't have a lot of time to fuss with the project, so I had to make it simple to piece together.

I'll be making up samples of the finished pieces for the class, and when I get home from my wonderful trip, I'll have them for sale in the Boutique. 

I hope all the care I put into the kits shows and that the students enjoy them!

 EDIT- This post was written ahead of time, before I left on my trip. I'll have new posts all week while I am away, but might not get to answer all comments or emails, but I will be reading and enjoying them on my Ipad. Thanks for coming by! I hope to add some "Live" posts from the road too.
Mushroom Fairy Rings

fairies, Once upon a dream, vintage paper/collage art

  IMG_4641
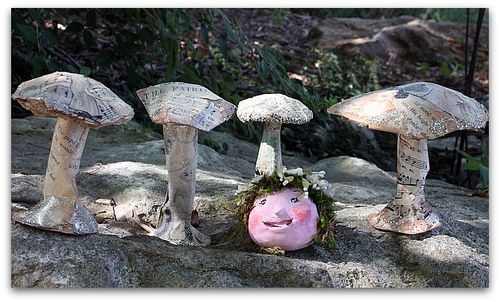
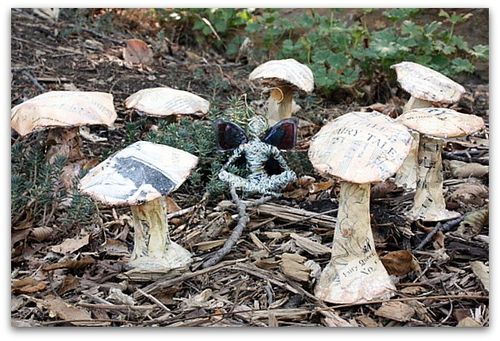
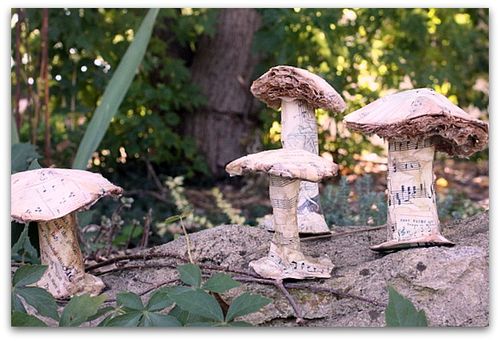
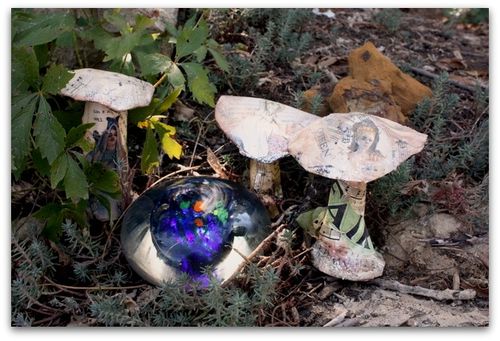
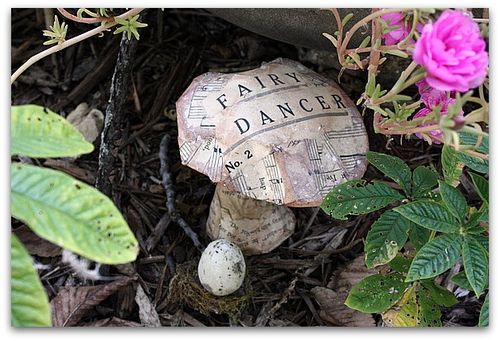
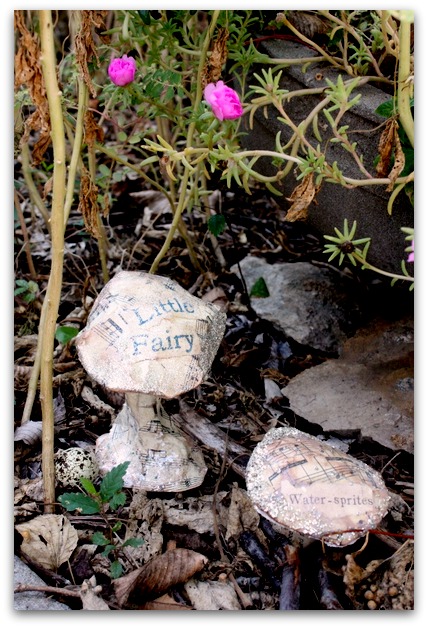
Lately, I've been obsessed with making paper mache mushrooms.

IMG_4643
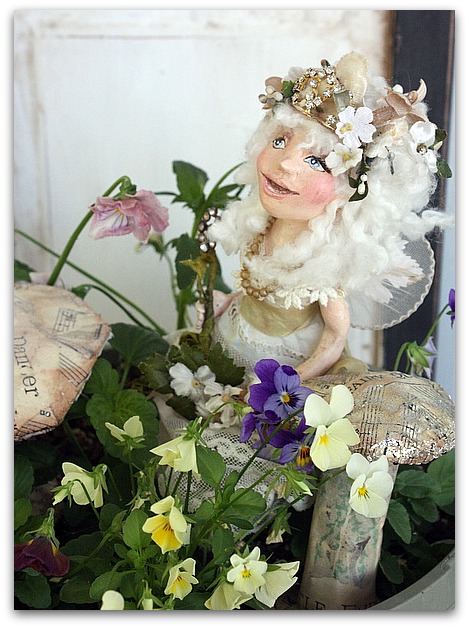
These are all for Jenn's fairy event in NC.  She sent  fairy themed ephemera for me to cover them in, and I created them with aluminum screen and duct tape covered in newspaper before adding her pretty papers.

IMG_4636
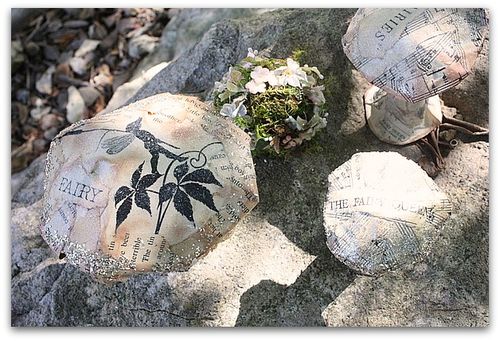
Over that, I rubbed ink pads in a mushroom color, brown, white, and moss colors.

IMG_4635
Next came glitters.

  IMG_4634

I  had bronze, crystal, silver glitters as well as mica flakes. 

IMG_4632
Each of the caps is finished underneath too. Some with multiple layers of crepe paper, some with lace or ribbon. 

IMG_4630 No two came out the same.  Even if I tried, I probably couldn't have focused on making two dozen clones.  And of course, mushrooms all pop up from the ground with such unique forms, that I thought it was fitting that my fungi were all individuals too.

IMG_4644
I'm so excited to see my glittery fungi gracing Jenn's magnificent decor!

 EDIT- This post was written ahead of time, before I left on my trip. I'll have new posts all week while I am away, but might not get to answer all comments or emails, but I will be reading and enjoying them on my Ipad. Thanks for coming by! I hope to add some "Live" posts from the road too.
Who is this woman???

fairies, family, give away, vintage paper/collage art

IMG_3149

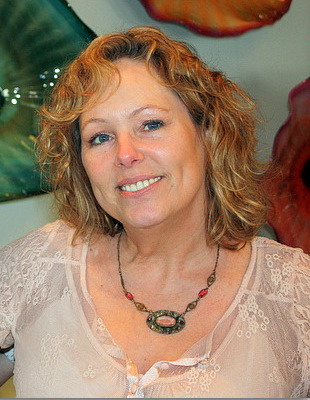
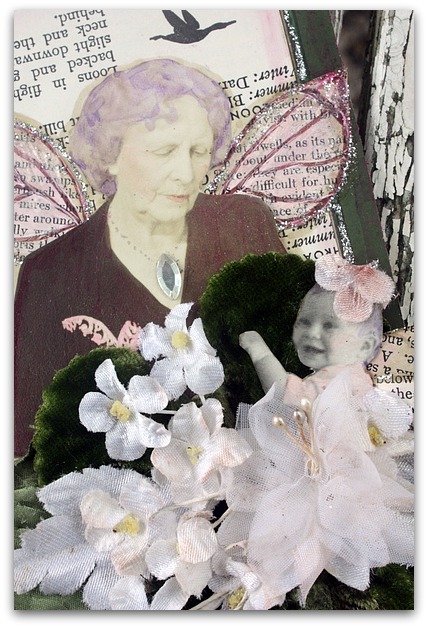
Can you guess who this photo is of?? If you guessed Karla Nathan, I just don't know if you are right or not.

Someone named Carla Ross, on Facebook, says it is her. She is using it as her profile picture. I'm a bit freaked out about the whole thing. I reported it to Facebook, and heard nothing back. I left her quite a few messages, asking her to remove it, and heard nothing back.

Yep, I'm more than a bit freaked out about it.

IMG_8952
I've changed my profile photo to this one, and changed my password too.  Honestly, I don't think there is much more I can do. Except hope that Carla Ross is just camera shy and borrowed a photo, and that she isn't really some weird, creepy, guy out to steal identities.
IMG_2587-1
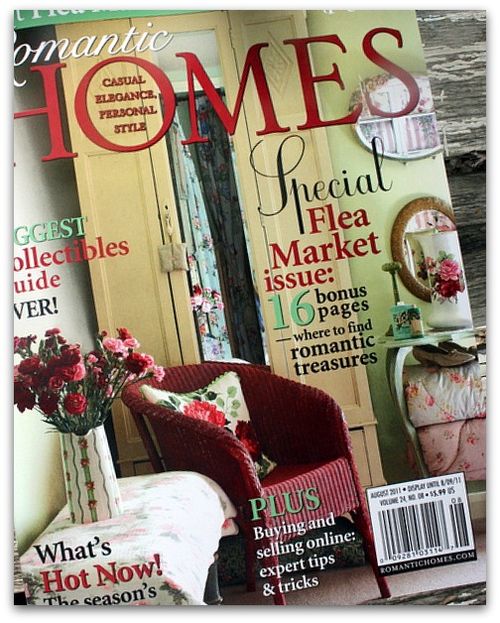
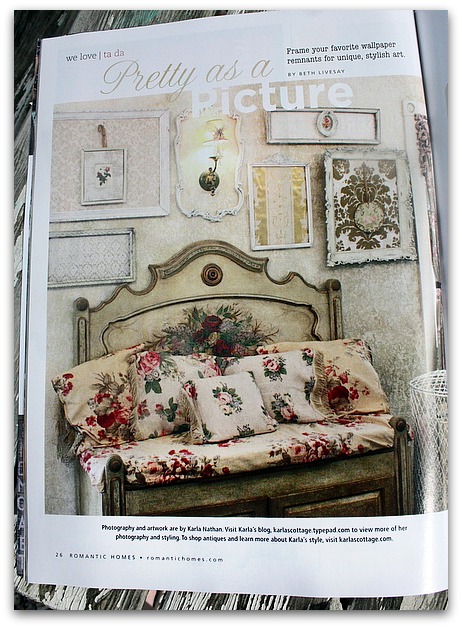
Now. onto a much more pleasant, happy subject- Romantic Homes has a blurb about my wallpaper obsession collection on page 26-27.

IMG_2585
This is one of the photos they used. I was squeamish about doing my own photos for them, since I am not a real photographer, I'm just a picture taker.  My camera is a nice one (and I LOVE it), but not a great one, and I don't use big girl editing like photoshop, just picnik.  I'm good enough for blog pictures and scrapbooks of fairy babies, so was really worried about doing a magazine shoot, even a mini one.

(that bench was built by my son, from a Victorian headboard that I painted)

IMG_2581 I'm still plugging away on the tag book covers. My God, what is wrong with me, that I offered to make 135 covers?????????????????  By the way, the swap is at full capacity now, thank you to those who joined.

  IMG_2580
  I promise I am not really cursing you all as I glue trim onto yet another in the never diminishing pile of tags. They will get done.  I know they will.  I can do it.  right?

IMG_2175

That is, if I live through this weekend… I am babysitting the tiniest fairy grand baby for the first time.

 For 3 days while her parents are teaching their zen and energy stuff at some festival.  I will have Sugarwings too, and she is a full time handful when she is here, so it could be exciting.  Did I mention that the baby is still breast feeding and has never been without her mommy over night?

IMG_2583
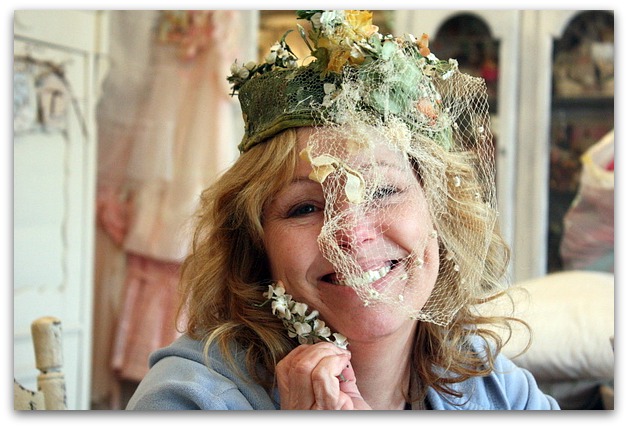
Maybe I will have to use this as my new facebook picture after doing 135 tag covers and watching the girls for the weekend.  I'm feeling hagard just thinking about it.

Honestly, it will be a good experience for us to have both girls together.  And we need to spend more time with our littlest one, she hasn't been over as much.  I remember lots of late nigths cuddling baby Sugarwings and rocking her when she couldn't sleep. This will be my first shot at it with her sis-star.

Wish me luck!!!!!!

Gothic arches1
Oh, I almost forgot- the winner of the dress form tutorial is

Kim Caldwell

That was such an easy giveaway, I think I'll do it again!

Leave a comment if you want a chance to win.

I'f you've already purchased the $15 online class, and you win the drawing, I'll send you a kit. ( I really do have kits made,  I simply have not photographed and listed them yet. It has been crazy around here.)

What did we make at the Guncle’s?

swaps, vintage paper/collage art

IMG_2561
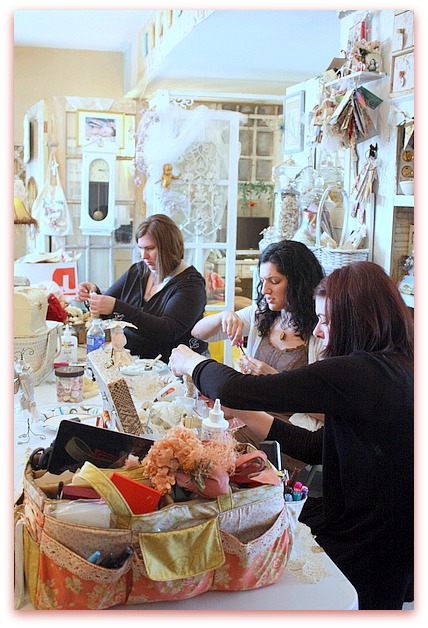
Not only did we pretend to be angels, then vampires, do some redecorating, play with pups, watch Tru Blood, and eat a ton of good food (I was afraid to try to zip my pants for the flight home), we did lots of creating in Randy's studio too.
IMG_2564
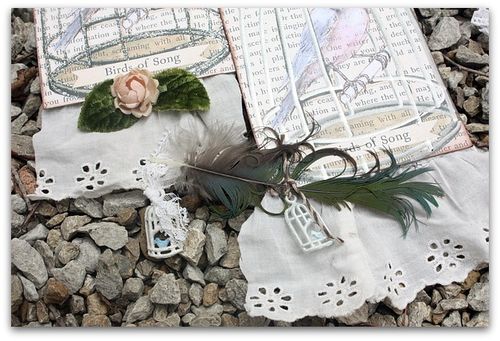
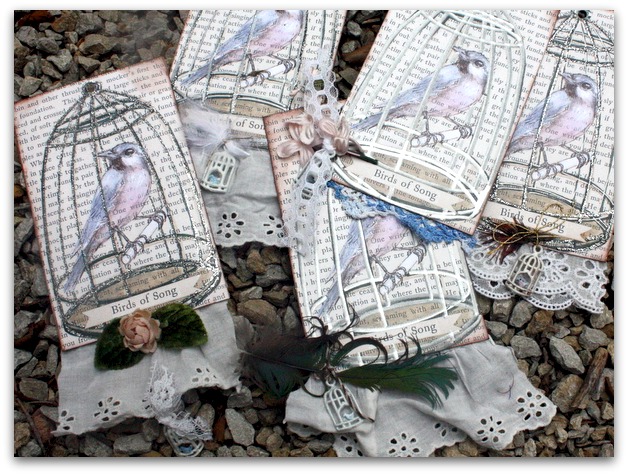
The deadline for my Bird Song tag book swap is coming up and I wanted to have some tags to swap too, so brought along stuff to make some. Randy had a lot of supplies to use also, and we shared back and forth as we worked in the studio till the wee hours of the night. And through most of the days too!

I also packed up a bunch of papers that Mary had given me from her new collections.  Both of these previous tags are sitting on a page from her collections, and the roses in the first one is from a previous collection of hers.

IMG_2337
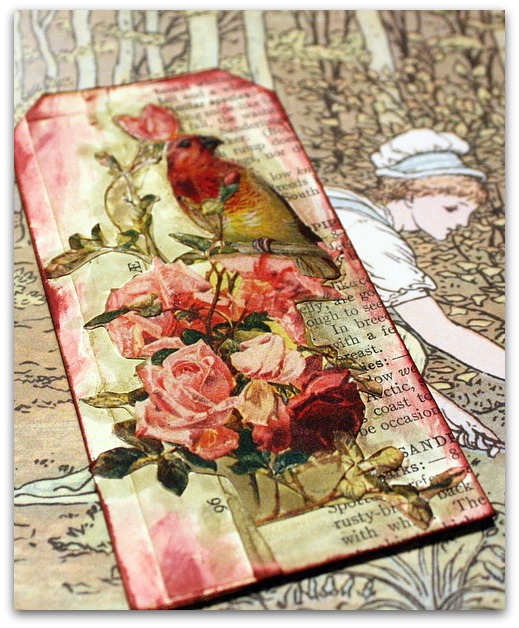
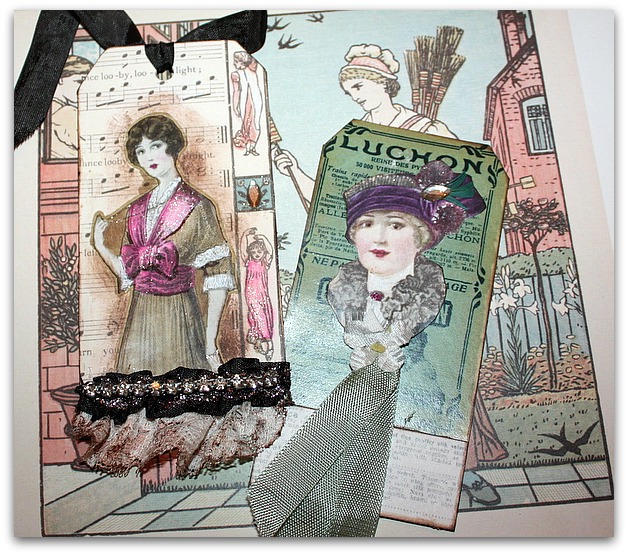
These tags aren't for the swap, I just felt like making them, because I loved the images that Mary had provided.  She has pages and pages of lovely ladies, some in color, some in black and white. I cut out these girls from the black and white pages and colored them with Coptic markers. I've always wanted to try those, and Randy's crafting bud brought some for me to experiment with.

I think I like them… the fact that you can buy a blending pen makes them much better than most markers. I'll be buying a few for myself with the weekly 40% off coupons that I clip out of the paper for Hobby Lobby or Michaels.

IMG_2344
Randy and his friend joined the swap, so we made tons of tags between us.

(this is the black and white version from Mary's collection, after Randy cut one of the ladies out to use on his scrapbook page)

IMG_2557
  Then he worked on scrap books, while I kind of messed around with whatever sounded fun. Like fairy-ing up some old photos.  I used some of Mary's older papers to make the wings and hat, and tinted him with the Coptic pens. (the sweet picture behind it, is from her new collection)

IMG_2341
But mostly I worked on bird tags.  Have you ever noticed how much more fun it is to make things with other people's supplies (or with a new package of goodies you just purchased)? Randy had some great ephemera and Kevin was popping in with things he'd found while out junking that he thought we might want to use.

IMG_2342

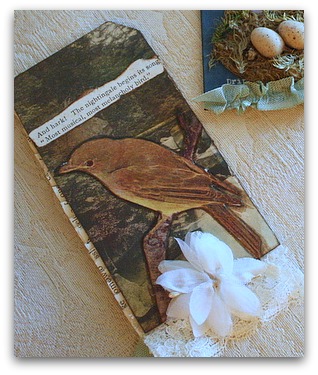
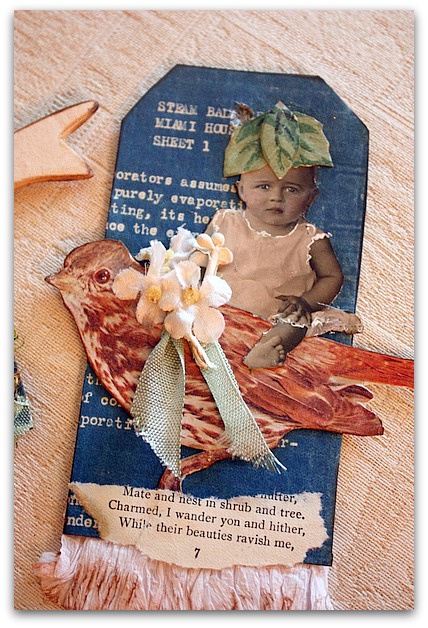
  Like the blue print paper in the background of this one.  I made a lot with this paper, I'd never worked with it before, and really liked it.  I got on a roll with making a night time sky with this paper, and birds in front of a full moon over the deep blue sky.

IMG_2343 All the info for sending in the tags is in a post you can reach by clicking on the Bird Song Tag Book Swap button on my side bar if yours are ready to send in.

They are starting to arrive, every day the postman has a bundle for me!! Its so fun to see them arrive.

I'm not opening them yet, please understand that I can't keep track if your package has arrived or not. I'm getting over 900 tags in the mail, that is a lot of packages!  And I am not the only one in the family to bring the mail in, so I haven't seen each one yet. My son and husband bring mail in and know to pile up the packages for me to open later.


A whimsical mantel redo

fairies, family, flowers, guncles, Travel, vintage paper/collage art

IMG_2234
My Guncle weekend was just wonderful, as I knew it would be.  Kevin bought my plane ticket as a birthday gift to Randy, lucky, lucky me

It all went by too fast, we played all weekend, and got sillier as the days passed by.

IMG_2233
Jacksonville is great, but we were having too much fun to get out and explore. We stayed in the craft room, garden or kitchen except for a quick run to pick up more seafood to cook or craft supplies to work with.

We got a bunch of these little wooden birds at Michaels and foofed them up for part of a redecorating project we wanted to do.  This one is perched on a grapevine wreath that we turned into a nest for the display.

IMG_2218
When I arrived, the guys mentioned that they were ready for a mantel makeover.  Here is a Before shot of that corner.

IMG_2266
And Ta-da! Here is the whimsical after.  We turned the fireplace into a magical fairy land, by shopping around the house, arranging some silk flowers, and making a few little tidbits to add here and there.

IMG_2257
After taking everything down, so we could start from scratch, we decided to remove the fireplace screen too. The logs are wrapped in mini lights, and we perched fairies with red glass wings, and some other fun creatures inside, then tucked lots of greenery all around.

IMG_2241
Out in the garage, I found a couple of large, metal bread racks, one in this great red, the other with chippy white paint. We leaned these up against the ornate mirror that was hanging over the mantel, then started tucking things behind the racks and hanging other stuff on them.

  IMG_2255

Kevin just happened to find a big bagful of marble eggs at a garage sale that morning, and we nestled them all around, in mossy nests.  (we were pretending they were fairy eggs)

IMG_2239

He also found two of these old bird books, one we used for display, the other we greedily tore apart and made things out of in the craft room.

The guys had lots of fairies, elves, and sparkly creatures around the house and in the garden for us to add.

IMG_2249 I'd brought them a Nest banner that I'd made, and we hung it right in the center.

IMG_2231
At Christmas, Randy had made a glittering nest in this top hat, and for summer, we redid it with the little Fairy Frog Prince that I'd brought to him for his birthday.

IMG_2242
And this magnicficent art deco piece is a light fixture that Kevin found along the road in the trash!! Randy arranged some flowers in it, since it neede rewiring before we could turn it on.

IMG_2329
Yes, we know that its busy, and there is a lot going on. But to us, that just made it all that much more fun. More treasures to discover each time you looked through the display, more magic to enjoy.

Neither one of us really get "editing".

For me, it was such a blast to get to shop his house for all the goodies we used. And to do something so bright and playful, since my house is all pastels and creams.  Plus, I got to play with my baby bro, and there isn't much better than that!


A velveeta box/ jewelry armoire

how to's, vintage paper/collage art

IMG_1255
At Paper Cowgirls, there will be a fund raiser where transformed Velveeta boxes are auctioned off. I was happy to join in and make one, even if it meant I had to eat some fake cheese.  It had been so many years since I'd had any of the artery clogging stuff that I forgot just how creamy and decadant it was. I could easily slip back into my old trailer trash ways and start making pots of mac and cheese with it again… but NO, it was a one time slip, and I'll not be buying any more of that, no matter how tempting it is. I ate it growing up and I raised my kids on that goo when I had a near zero dollar grocery budget, but now Sugarwings gets to eat some good, healthy foods and I've never fed it to her. (but honestly, is there anything creamier when melted over macaroni??)

But I digress with my love/hate cheese saga. The story is really about the box itself.

IMG_1263
Anyway, I turned the box into this.

The lid and the bottom are turned on end, side by side and covered in paper, inside and out.

IMG_1260

It has feet made up of 4 Scrabble tiles covered in old velvet ribbon.

IMG_1262
Shelves are chip board and the "hinges" are ribbon.

IMG_1261
There is a chipboard drawer too.

IMG_1264

Its topped with a beautiful, old rose, and decked out with lots of laces and trims.  I added a heavy antique clasp from a vintage photo album  to the chip board door.

(rhinestone chain sold for $3.50 per foot available here, to make your own trims!)

IMG_1256
The clasp was hefty and made the piece top heavy, so I balanced it by hanging lots of pretties on the side, a key, a chandelier drop, and jewelry.

Speaking of jewelry, I filled it up with some jewels too, just in case no one guessed it was actually a jewelry armoire instead of a cheese box now.

So, is this a case of making a silk purse out of sow's ear, or just slapping lipstick on the pig?

Button sweetness

ps-The Dolled Up Dress Forms online tutorial is available here. 

Or leave a comment if you'd like a chance to win one.  (if you already are signed up, and you win, you will receive a kit full of vintagey goodies to make the dress form)

Freebirds and a lifetime supply of lace

free images, Sugarwings, swaps, Tutorials, vintage paper/collage art, wallpaper

IMG_1197
I hope you all had a memorable Memorial Day weekend!  We went to a family BBQ and graduation celebration, saw a movie, planted the garden, I worked in the studio, and  we also got to spent two afternoons on the lake.  And even though the boat died in the water and we were stranded for a while, it was still a great time. 

IMG_1183
On Friday, we had both of our fairy babies over, it doesn't get any better than that.  Not a bad kick off for a 3 day weekend.

  IMG_1223
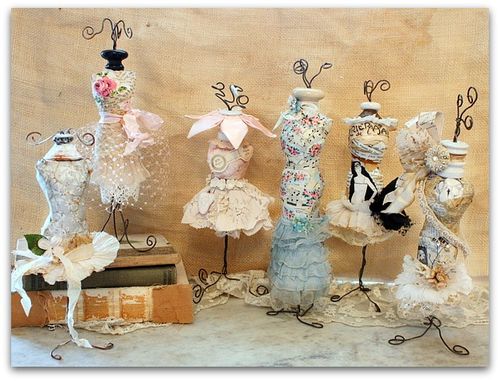
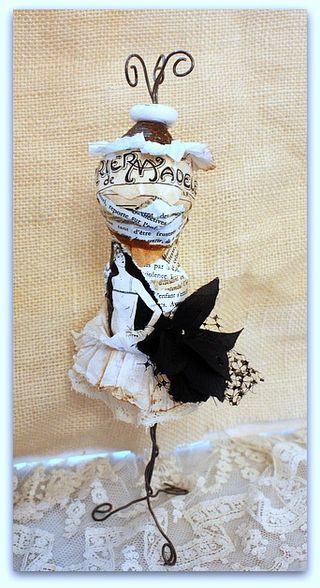
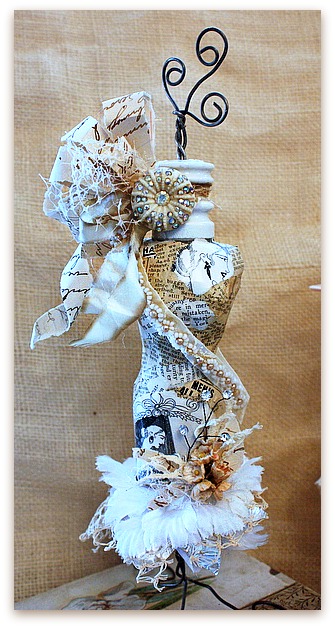
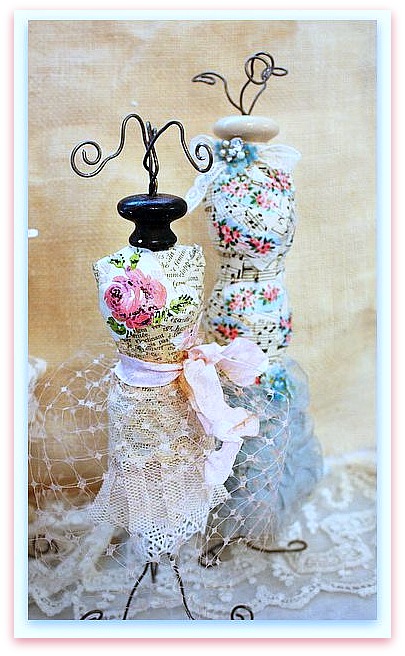
While my husband played golf on Saturday, I was able to work in the studio a while.  I'm making up some books to take to vendor night at Paper Cowgirls, but while I was at it, I made a few dress form tags too, since these gals have been on my mind so much while I am getting ready for the class in Texas and setting up the online tutorial. (by the way, that gorgeous wallpaper is one of the papers provided in the online class)

Details are in the previous post, or you can find them on my side bar, by clicking on the Dress Form Workshop button.

Thanks to all of you who already purchased the class!

IMG_1227-1
Today, I start packing up my kits.  And just in time, I got this order of vintage lace!  Hundreds of feet of it.  I think I might have plenty for the kits, huh?

IMG_1231
There are 3-1/2 giant sized rolls of the stuff. These two are my faves. The others are a bit mundane, but useful anyway. 

I'll be making up kits for the class itself, some to sell on vendor night, plus extra for the Boutique.  I'll let you know when I get them done. Each kit includes a free entry to the online class, as well as vintagey goodies to make your dress form. No two will be exactly the same, since I am using ephemera, but each will be of equal value and style.

Img241

I'll be able to use up some of that lace to tie the Birdsong tag books together too. We are over 100 participants, but I still have room for more. If you are interested, details can be found on my side bar by clicking on the Bird Song Tag Book button.  

Here are some scanned French chocolate cards with birds on them, for you to print. Click on them to save as a larger size first.


6a00e008c9f15d883401538ed4baf1970b-320wi

ps-My pal, Mary is having a sale on her online tute, and she is the queen of gluebooks if you are wanting to learn. Check it out here.


How To Alter a Book Cover with vintage pretties

flowers, how to's, Tutorials, vintage paper/collage art

IMG_0915
Here is an altered book I made this week.  I thought I'd do a simple, quickie tutorial about the cover.

  • The wallpaper covered cardstock is attached by gluing ribbon to the edge of the front cover and to the back also.  Leave the center of the ribbon alone, not glued to anything, that leaves space for the cover  to open and close.
  • The pages can be stitched together and sewn to the center of the binding ribbon.  Use a heavy duty ribbon, like the velvet one I chose.
  • I cut girl from a hand tinted, old photo, and added it slightly off  center to a medallion cut from wallpaper.  At the bottom of the medallion, I used my Exacto blade to cut a slit to slide the photo under, so she looks like she is framed in the oval.
  • I glued down the oval/medallion, and the photo of the girl.
  • With a dark marker, I outlined the girl, and also the OUTSIDE rim of the oval, for shadows and depth.
  • Leaving the outside ring of the oval "frame" alone, I spread crackle glaze (from Tim Holtz) over the entire center of the medallion and over the girl too.
  • After drying, I topped it off with a bouquet of flowers and ribbons at the bottom and lined smaller flowers along the top of the frame.

Packing it up

flowers, Tutorials, vintage paper/collage art, Workshops

IMG_0884
The April Showers bring May Flowers sale is still going on in the Boutique and Etsy. I've added a few more packs of millinery flowers, and you'll get free shipping for the month of May for all flowers (USA only, sorry)

For the boutique, pay as usual, and I'll send a refund. For Etsy shipping is already marked free.

IMG_0921
I've also been busy packing some up to sell at Paper Cowgirls next month.   Lisa and I are sharing one table, so I'm trying to be smart about my space and what I'm packing to take along. Beth is good at figuring what items pack the most punch for the space they take up and I'm listening to her advice.

I tend to think that I can just take it all, and that isn't so smart. So this trip, I am trying to FOCUS on a few items that look well together, pack easily, and are affordable, but still worth my time to take.

This is my first Paper Cowgirls event, but Lisa has given me some tips on what the shoppers might like on vendor night too.

IMG_0923 Here's what I have so far, some little Charlotte dolls (I have a few hundred more ordered, I hope I get them in time.  If not, it will be a small basketful tagging along on this trip)

IMG_0926
Lately I've been experimenting with paper clay fairies too, so I might bring those. On the other hand, they might be too hard to pack, since they are fragile… I'll only have one tub to fill, Beth and I are driving and neither of us have a big car.  I have all the kits for my class that I need to take too. Beth is vending and will have a full table to fill, so space is limited.

IMG_0914
And I think that some of my class kits for making dress forms is a good idea. 

(by the way, I am making up extras to sell in the Boutique too. Along with an online tutorial.) I'll let you know when I have them ready to go.

IMG_0918 Yesterday I made up some foofed journals to take along to sell. This one is an old diary, with a locking clasp.

IMG_0916
These two are tiny little bank books I've given make overs to.

I'll probably have room for a few more little books.  I wonder if that is a good idea? Any of it is a gamble, you just never know any time you plan to sell things.

But I'm going for the pure joy of being there, I've heard such wonderful things about Paper Cowgirls.  Anything I sell is just icing on the cake!

Birdsong tagbook

We are over 80 participants in the Birdsong tag book swap, but I've got room for more.  If you want to join us, details are in my blog post about it. You can get there by clicking on the button on my sidebar.

Hope to hear from you!


Hello Dollies!

antiques/junking, bird song art event, celebrations, parties, vintage paper/collage art

IMG_9904
On Saturday, we had a create-a-thon in the studio. 

IMG_9878

They helped me work out kinks in my upcoming class for Paper Cowgirls

Pictured are the creations of:

Me * SuzanneAndrea * Jenn * Heather * Lori

IMG_9889 For my dressform, I wanted to experiment with wallpaper instead of text.  It was a little harder to do (stiffer paper) but I like how it turned out.  I also kept mine simple, using only things that will be given to the students in the kits.

  Its very frustrating to take a class and find that the teacher's example can't be made with what she gives you, isn't it?

While I was in the grips of decopauge fever, I covered this little bird too. It was just a white bird from the craft store, and Agnes Rosebud had eaten its head half off, so I did a bit of a redo on the poor little guy.

      IMG_9886 IMG_9883IMG_9881

A room full of pros is a wonderful thing when you are figuring out ideas.  And with this bunch, I wasn't exactly "teaching" them, it was more like all of us working on the same thing at the same time. I just gave them a few directions and they took off.

IMG_9887
Those ladies gave me as many ideas as I gave them.  I find that is true of any artful gathering. You get as much info from your tablemates as from any instructor.

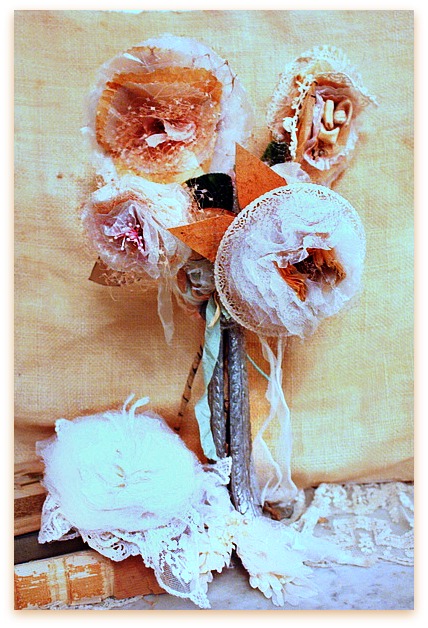
IMG_9893 Lori showed us how to make some wax paper flowers that were recently featured in Somerset Life.  See how different they all turned out too?

The flowers are in a "vase" that I bought at Bottom's Up for $10. Its just some salvage bit of part of something else, but that is one of my favorite kinds of purchases. I'll use it a lot.

IMG_9869 Beth spent the day working on the covers for her journal swap for Bird Song, but did get to make a flower too.

IMG_9871 She got quite a few covers done, and no two were alike.

IMG_9863
The group not only gave me good tips for my Paper Cowgirls class, they had lots of good ideas for the seating and studio arrangement for Bird Song

I'd kind of oversold the event and was trying to figure out how to seat everyone.  Suzanne had a wonderful idea and I've already rearanged the furniture as she suggested. I did that as soon as I got back from taking them to the airport.

Since I had more requests even after the class was overstuffed, I talked to the teachers, Carol, Lisa, and Debbie, and all of them agreed to give up their seats to students. So, now, I've gone from too full, to having a couple extra spaces. 

Interested? Please let me know.

IMG_9891
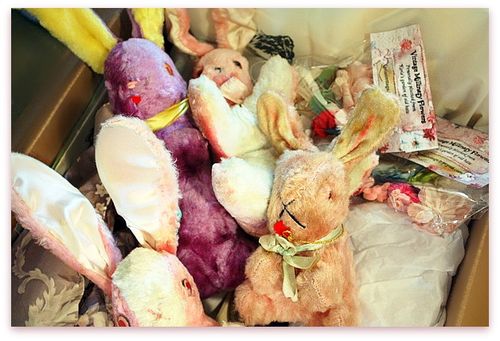
Now my studio seems lonely after having such a fun bunch here.  I've packed up and mailed the last batch of purchases too big to fit in my guest's suitcases, and got those in the mail.  Can you guess whose box this is?  Yep, Jenn Hayslip, bunny queen. She scored big time on the bunny front while here. (by the way, she has spaces available for her romantic, prairie fairy tale if you'd like to get  away on an arty adventure. We'll all be there too!)

And I was thrilled that everyone shopped my studio too. It was nice of them, and I know it is never easy to randomly shop around with stuff not priced. It was sweet that they made the effort. 

Scroll to Top