vintage paper/collage art

Buttons, Blossoms, and Beauties

family, swaps, vintage paper/collage art

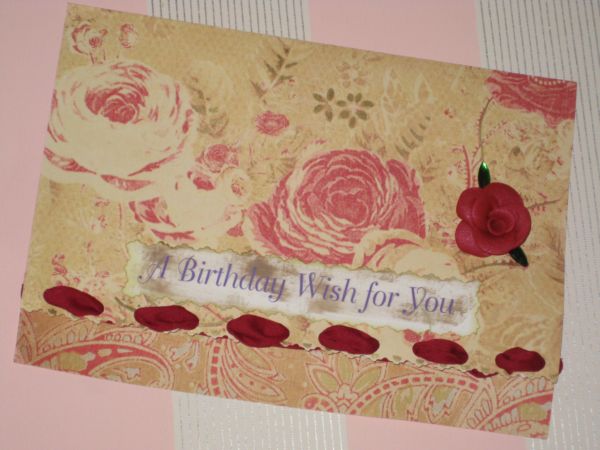
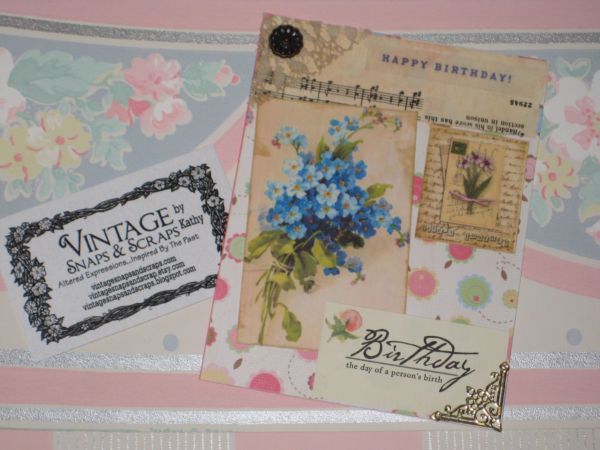
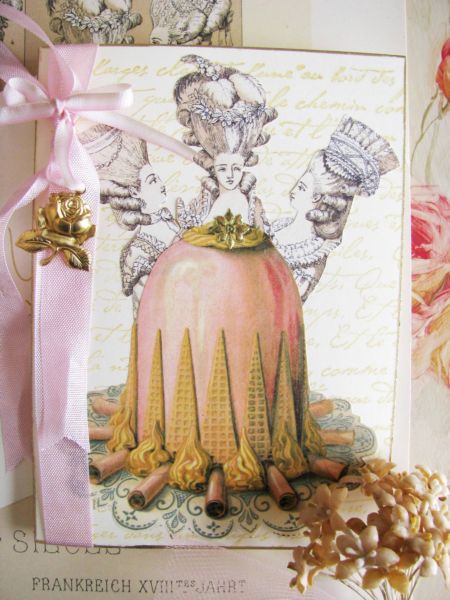
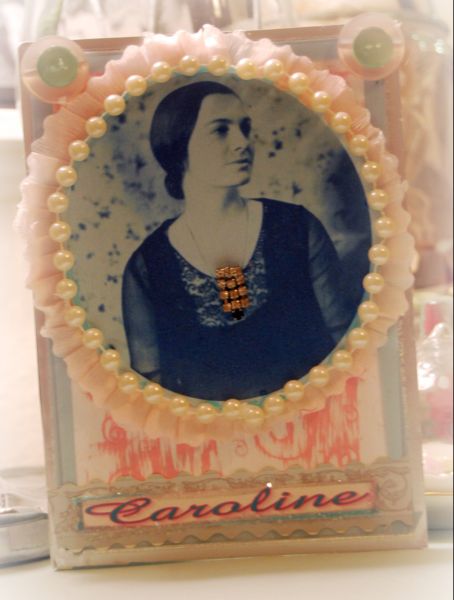
Aunt_caroline_016 Thanks to all of you generous souls who signed up to make a card for my Great Aunt’s 100th birthday.

I am close to getting enough cards, but could still use a few more to make up 100.  And it wouldn’t hurt to have a few extras in case someone isn’t able to after all.Aunt_caroline_020

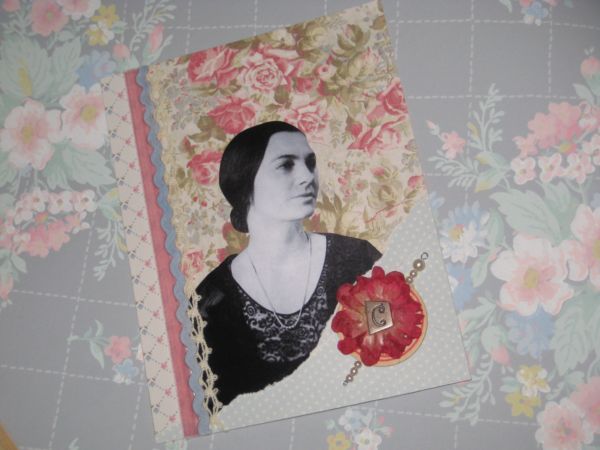
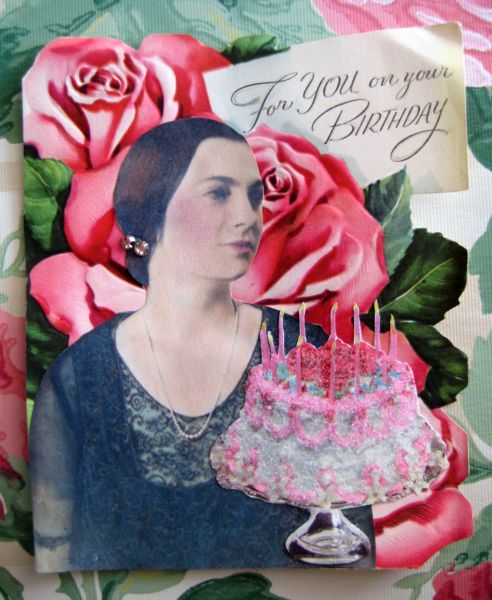
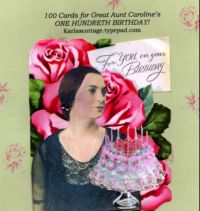
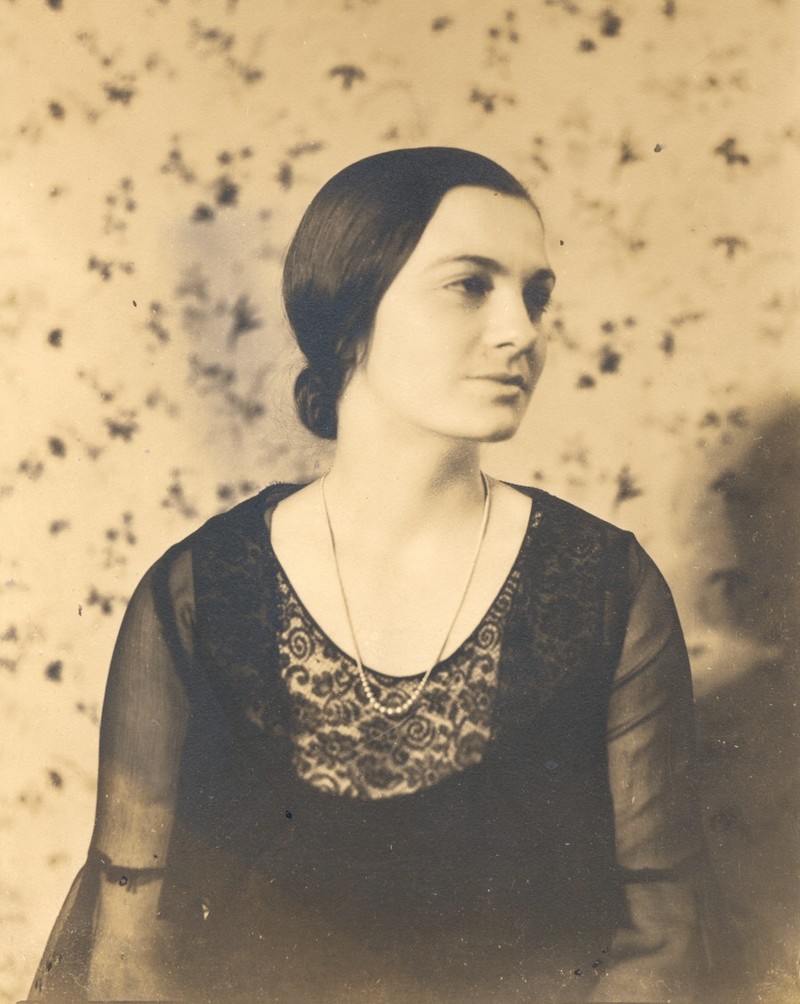
This is the one I made for her.  I copied her photo, and added color with pastels, then glued it to a vintage card with roses.

After that, I cut out a cake from another old card, glued it down and sugared it up with glitter.

Aunt_caroline_017 

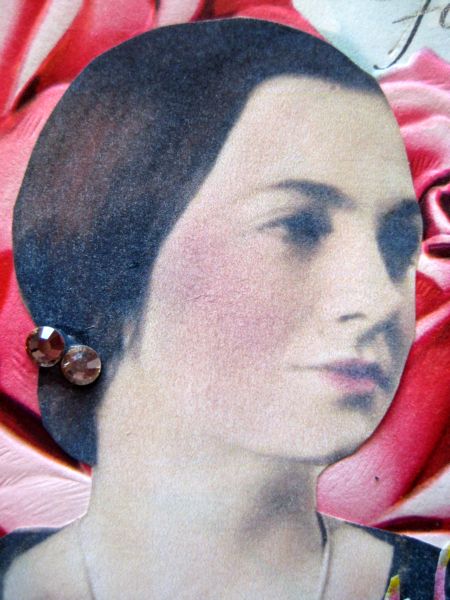
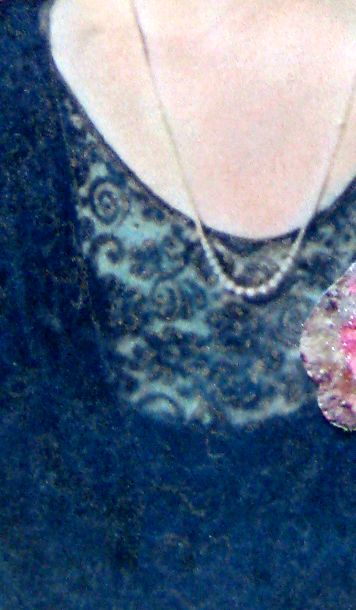
To add some sparkle to her lace dress, I used a Gelly Roll Stardust pen to highlight the scrolls and flowers in the lace.Aunt_caroline_010

Aunt Caroline is in wonderful health, even for a much younger woman.

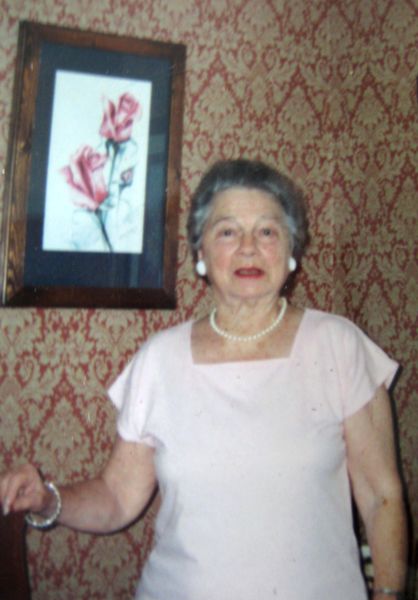
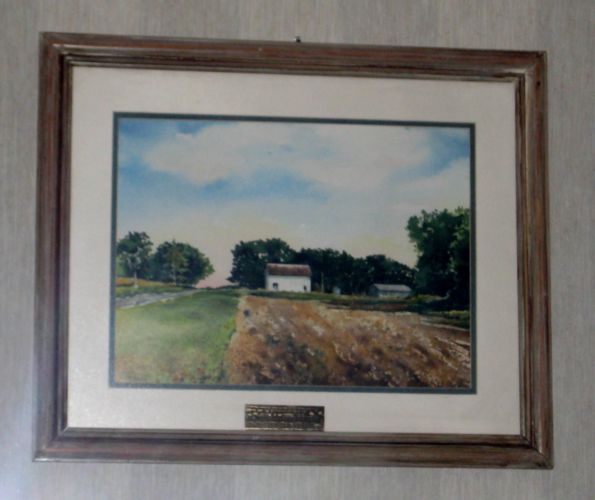
Here is a photo of her at 91 in her home in front of a painting I did for her. 

She is sharp as a tack and will really be tickled by all these cards.  As a person who has made hand crafted things all of her life, she will appreciate the work that is going into this bonanza of mail for her.

She told me once that she lives by this motto, and it has always stuck with me and I try to live by it as well, "Think Right, Live Right, and Do Right".

Curious_sofa_025 I will be having a drawing for a prize to give one of the 100 card creators before I pack  up the cards to take to her in Florida this June.

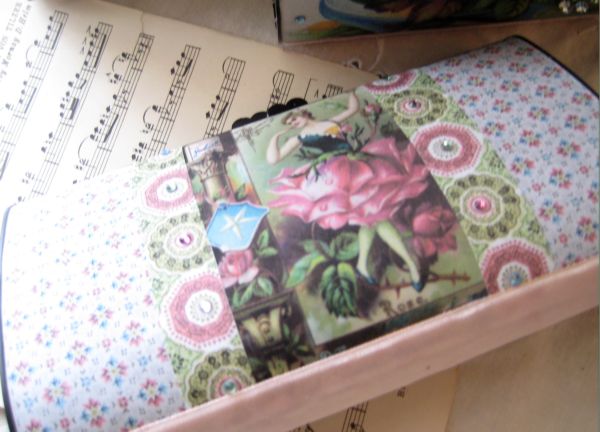
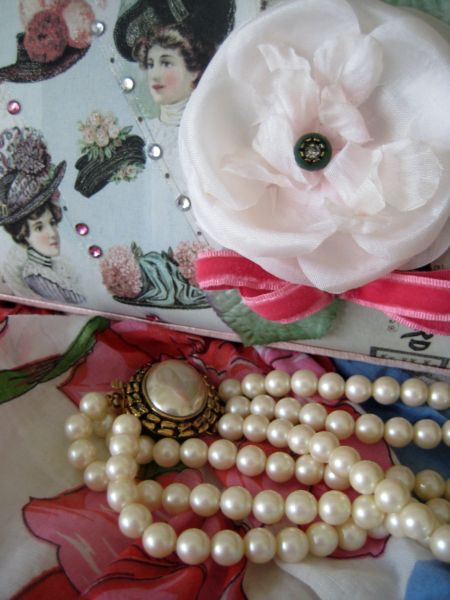
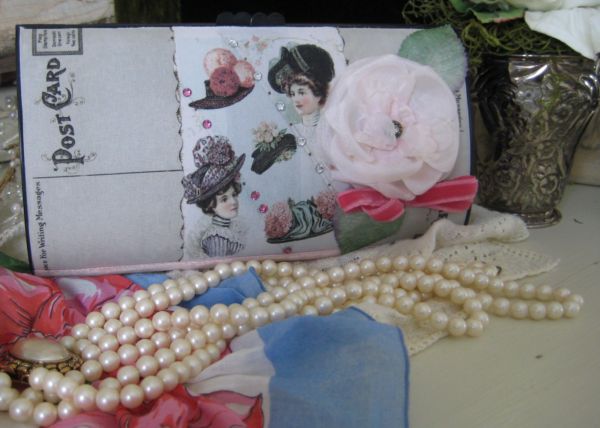
This Vintage Workshop clutch is covered in in a printable fabric and I will give it as a thank you gift to the winner.  I just wish I had 100 of them to give, I really appreciate all your work and help with this surprise!Curious_sofa_041_2 

I will also be giving a 2nd purse to a drawing winner from the swappers in the Birds and Bonnets Vintage Workshop Swap that Beth and I are co- hosting.

We have a good number signed up already, but there is room for more! The more that sign up, the more presents we’ll offer for the drawing. So far we are up to 10 gifts.Millinery_223

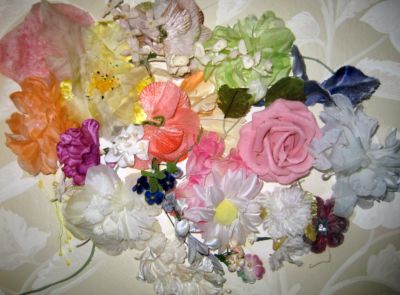
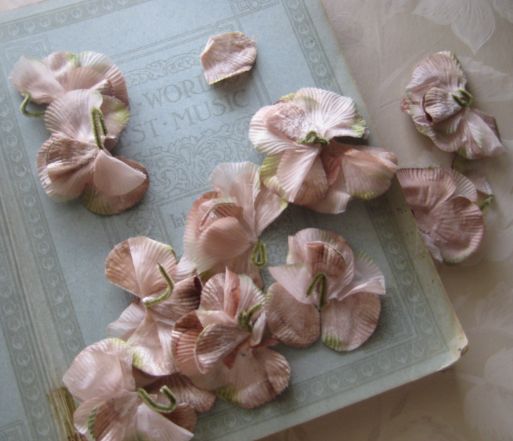
Speaking of swaps, I am in a mini swap with my friend, Lili in The Netherlands.  She said she has a hard time finding millinery flowers where she lives, so I am sending her a few.Millinery_209

Living here, deep in the Bible Belt of the Midwest, I am in millinery heaven.  My theory is that there wasn’t a single, good God fearing woman in the state back in the good old days, who didn’t own a flowery hat to wear to church every week.  And since Midwesterners also believe in "waste not want not", most of those hats were saved.

So, this bunch of blossoms is on its way across the ocean right now, hope you like them, Lili! Thanks for swapping with me. (I can’t wait to see what she surprises me with, she has exquisite taste!)6a00d83451ead569e200e551c24d3a88348

And while on the subject of millinery flowers, Jenny Doh of Somerset Life asked me if she could use this photo in an upcoming issue.  I was happy to have it in there, of course!Img146

If you would like to post this button about Aunt Caroline’s 100 cards for her 100th birthday, feel free to do so.  I’ve also got a flickr site for it, if you want to make a card and upload it there.

I plan on loading the photos myself when the cards arrive too.  Here is the site for Aunt Caroline’s cards:
http://www.flickr.com/groups/679216@N25/ (and people have already added some cards to it!)

And here is the site for our Birds and Bonnets swap:http://www.flickr.com/groups/702816@N20/

Remember to sign up for the swap!6a00d8345159d669e200e551cf04fe88338

Here is the list I have so far for the Cards for Caroline Creators.  If you have signed up and missed you on the list, would you please let me know?  (or if you see any other mistakes, I do tend to make some)

Thanks.  And thanks for the help, she will be so pleased!

EDIT- I have 100!! But, if anyone would still like to send one, I’m sure she would love to get it. I will add another prize to the drawing since I am now over 100 people.  Thanks so much for helping me do this fun surprise for Aunt Caroline!!

100cards

  1. Karin http://madrekarin.blogspot.com
  2. Michelle http://www.ginghamworld.blogspot.com
  3. Pam http://blogcabinfever.typepad.com
  4. Lesa Farmer
  5. Robin~ thrifty_misspriss@yahoo.com
  6. Robin Foster
  7. Lori http://faeriewindow.blogspot.com
  8. Kathy http://www.kathyscottage.blogspot.com:
  9. http://oodlesandoodles.typepad.com/
  10. Carol Spinsky RaisedInCotton@aol.com
  11. http://soinspired.blogspot.com
  12. Lori http://pinkfadedroses.blogspot.com
  13. Janine http://angelgurl.wordpress.com/
  14. http://emmaspaperpatch.blogspot.com
  15. Liane Tatum
  16. http://bluemuf.blogspot.com Karen
  17. http://simplysage.blogspot.com Mahala
  18. Beth http://bethleintz.typepad.com
  19. Debbie Doughty http://queendebbee.blogspot.com/
  20. Alice Wingerden http://www.paintedwhite.com
  21. Karoline http://www.cherishedvintage.blogspot.com
  22. Joyce Rodli
  23. Lili http://lilimsadventures.blogspot.com
  24. Mandy Blake
  25. *Heidi* http://journals.aol.com/hwoodred/everyday-cookies/
  26. http://www.bonoramamama.blogspot.com
  27. Kirstie http://adelinecountrycottage.blogspot.com
  28. Phyllis http://shabbyinthecity.blogspot.com
  29. Sherry (Edie Marie’s Attic)
  30. Pinkie Denise
  31. Marilyn http://marilynbutler.blogspot.com
  32. Melissa http://melissaburford.typepad.com
  33. Lisa Russell
  34. Crystal http://www.fariebees.blogspot.com
  35. Janice Rehmeyer
  36. Meredith http://www.thevictorianlady.blogspot.com
  37. Nancy ~ Fete et Fleur http://feteetfleur.blogspot.com
  38. Jessi http://www.scrappyjessi.blogspot.com
  39. Donell
  40. Jenn~ http://whinenroses.blogspot.com/
  41. Lolly http://lollysnestegg.blogspot.com
  42. Gail   Sell
  43. Kathy http://www.vintagesnapsandscraps.com
  44. Barbara http://smith411.typepad.com
  45. crchaffee@cox.net
  46. Edie Marie http://ediemariesattic.blogspot.com
  47. María Elena
  48. Kelley  http://www.junqueygal.blogspot.com/
  49. Kelley: http://teacupmosaics.blogspot.com
  50. Carlene http://carlenefederer.blogspot.com/
  51. Barb http://www.123lavenderlollipoplane.blogspot.com
  52. Louisa http://beachyscapecodcupboard.blogspot.com
  53. Jen http://Sanctuaryarts.blogspot.com
  54. Sandy Babb
  55. Colleen Cavanaugh http://cc-creativeramblings.blogspot.com
  56. Rachael http://theroseroomnz.blogspot.com/
  57. Valerie http://Queenschocolate.blogspot.com
  58. Joy http://www.thejoyof.blogspot.com
  59. Sheri Ingrande http://www.pawshpoodle.com
  60. Mary Isabella
  61. Natasha Burns http://www.natashaburns.blogspot.com
  62. Di Ann Sheps
  63. Pat
  64. Cami http://www.camillefano.typepad.com
  65. 3rdEyeMuse http://3rdEyeMuse.blogspot.com
  66. M.Kate http://www.melialissa.blogspot.com
  67. DELIA  http://brooksidecottage.blogspot.com/
  68. Joyce
  69. Kathy
  70. Samantha 
  71. Karen http://karenharveycox.blogspot.com
  72. Sarah Lee (Adelaide’s Country  Cottage)
  73. Louise http://pinkgate.blogspot.com/
  74. Betty http://shessewpretty.typepad.com/
  75. Amy Wald
  76. Tera http://Stampqueen.blogspot.com
  77. Kari and Kijsa http://www.kariandkijsa.blogspot.com
  78. Kathy Jacobson  kathyjacobson.typepad.com
  79. Vickie http://www.whisperofinspiration.blogspot.net
  80. Amy P http://www.rubymoonart.blogspot.com
  81. Shannon J  http://www.faithandchocolate.blogspot.com
  82. Gail http://boutiqueginabeana.blogspot.com/
  83. Cindy http://yappingcatstudio.typepad.com/my_weblog
  84. Rhonda http://rhondamum.blogspot.com
  85. Irma http://irmasrosecottage.blogspot.com
  86. Rhonda RhondaMum.blogspot.com
  87. Alison Gibbs
  88. Paula Kay
  89. Jeanette http://scrapnchick-keepmeinstitches.blogspot.com/
  90. Jeanie http://www.themarmeladegypsy.blogspot.com
  91. Whitney Johnson http://www.kindredjoy.blogspot.com
  92. Corina http://corinaj.wordpress.com
  93. Lisa Lee l-lee@sbcglobal.net
  94. Sammy  don@stafney.com http://sammystuff.blogspot.com/
  95. Rachael’s Princess
  96. Rachael’s Mum
  97. Sissy
  98. sonya http://www.loveofyellowroses.blogspot.com
  99. Beverly http://howsweetthesound.typepad.com/
  100. Holly Abston >http://www.hollydoodledesigns.com
  101. Adla http://www.vintagedelights.blogspot.com

Birds And Bonnets Vintage Workshop Swap with Karla and Beth

swaps, vintage paper/collage art

6a00d8345159d669e200e551cf04fe88338 Here is your official invitation to join our latest swap!

You can sign up at Beth’s blog, Gathering Dust, and she will send you the file full of images provided by the Vintage Workshop to use for your creations.

Please feel free to add this button to your blog, and upload photos to this flickr site:

http://www.flickr.com/groups/702816@N20/

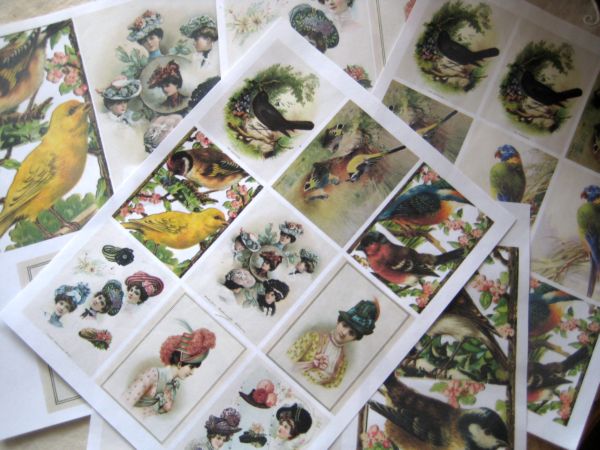
The images provided by Vintage Workshop are pretty as a, well,  a picture!Curious_sofa_051

You can embellish, redo, add to, paint, ink, stamp, cut, crop, glue, foof, what ever you want to do to the panels you make.

It will be so cool to see what each artist does by adding their own touch to the theme.  Check out Beth’s examples on her site too.Curious_sofa_049

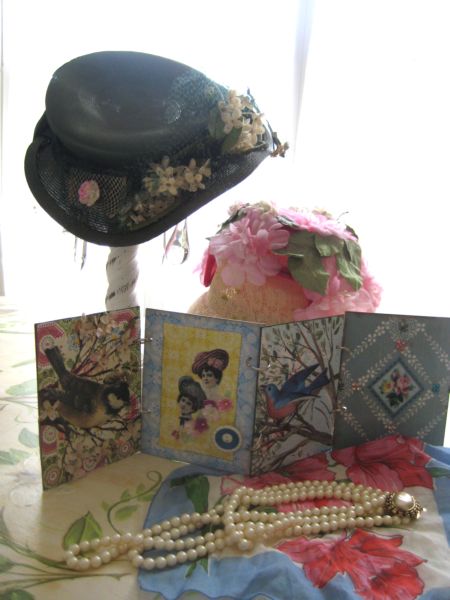
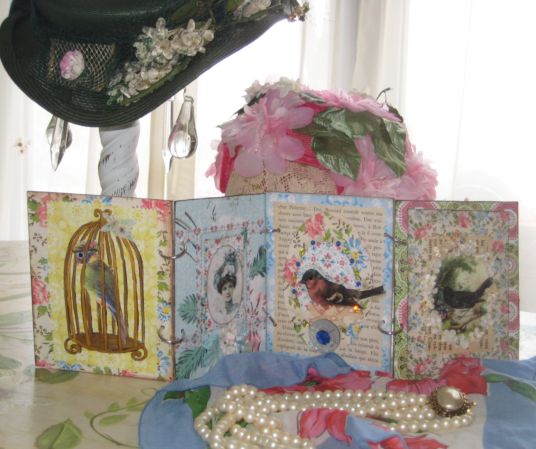
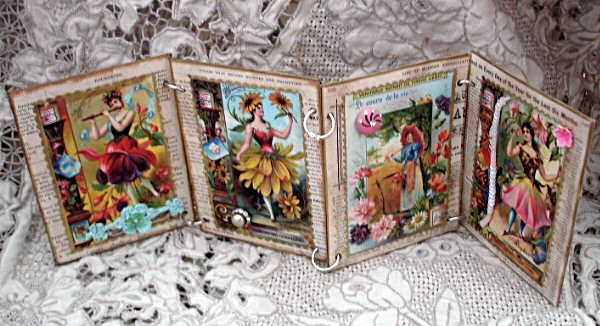
You will be decorating 4 panels, each side.  Here is the flip side of mine.Curious_sofa_042

Curious_sofa_030 Some of the tricks I used on mine were printing the images in multiple sizes and printing them on different textures of paper.

Crackle glaze, diamond glaze and crystals made good accents too.Curious_sofa_055 

I also added some hand painted details like the gilded bird cage and the tree branches the birds sit on.Curious_sofa_047

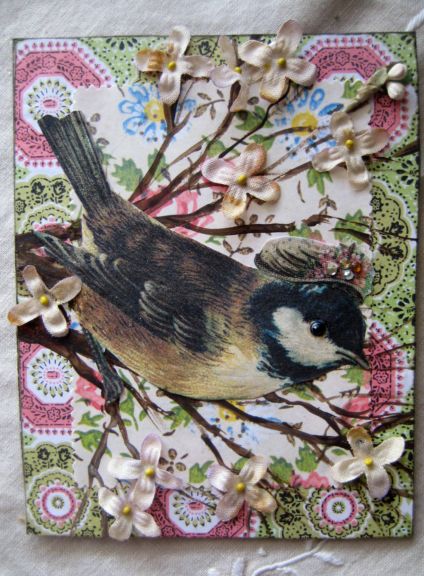
This is two of Vintage Workshop’s back ground wallpapers that I painted branches onto, then cut out and glued a bird on. 

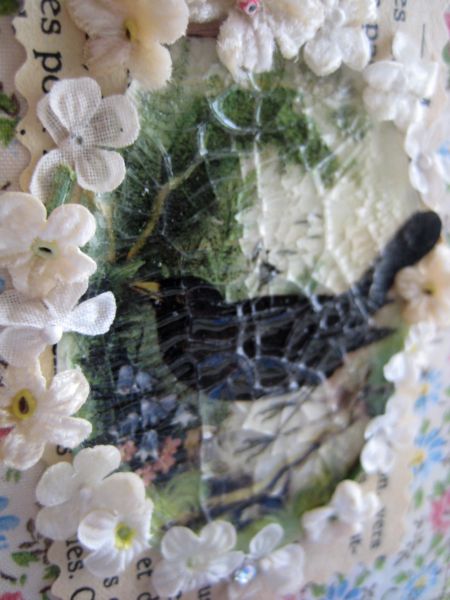
The bird is wearing a bonnet I printed on fabric paper and cut out and she has a black crystal eye.    The hand painted branches are accented with flowers I pulled off of an old hat in my stash.Curious_sofa_046

Here is a mistake I made- DON"T glue anything too near the edge where the hole punch needs to go for the connecting ring!!

By putting this cool, old button in that spot, I ruined this panel and it doesn’t quite fit right.  I’ll have to make another one.

We’ll let you know the measurements of where the punches will go so you don’t make the same mistake I did.

Curious_sofa_037 Did I mention the PRIZES?  We will have a drawing and pick winners from all the participants.

Beth and I each made a clutch from these cute purses that Vintage Workshop sells.

Amy, the owner, gave us a bagful of fun things to make up, and I will be making   a couple more presents too.

Plus– Vintage Workshop is providing SIX gift certificates!Curious_sofa_039

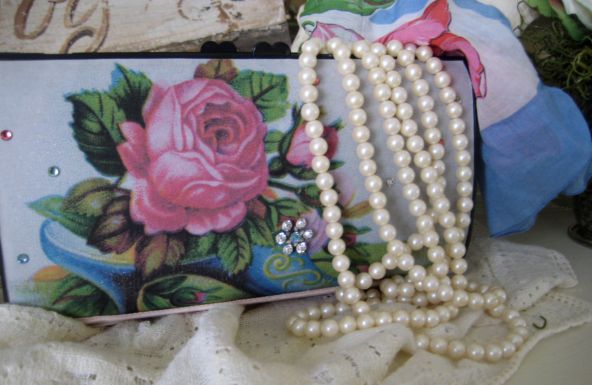
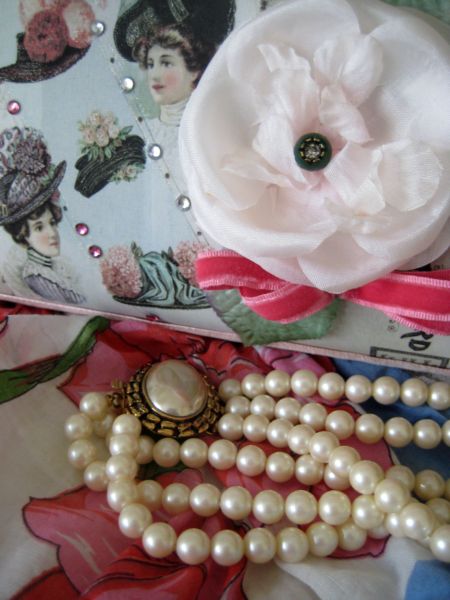
This purse is embellished with a vintage pink rose and bow of velvet from an antique bonnet as well as crystals and images from Vintage Workshop that I printed onto their fabric paper.  Curious_sofa_041

I am including the pretty hanky and the string of pearls since they look like they are all meant to be together.

Beth is including pearls with her purse too.

Ready for the official rules and guild lines?  I hope you sign up! Here is the info you will need:

Karla & Beth’s Birds & Bonnets

Vintage Workshop Swap

To introduce its beautiful and versatile new printable wallpaper collection, The Vintage Workshop (Thevintageworkshop.com) is teaming up with Karla and Beth to host a swap. 

Decorate both sides of four 4” x 5 1/2” panels using at least one image or background from The Vintage Workshop collections on each panel. After you sign up for the swap, we’ll send you a link and log on to a website where you can download, resize, digitally collage and print the images you’d like to use.   You can make your panels all the same or each one different.

You can use more than one image per panel, and you can use other collage materials, too.  In other words, feel free to use your own accents, buttons, and trims to compliment the images we’ll send you.  All digital collage is great, too.  Or you can work digitally and embellish copies.  Just about anything goes, as long as you use at least one of the Vintage Workshop images or backgrounds we send you.

Send the panels back to us, and we’ll assemble the panels into unique decorative screens using ring binders.

We’ll be photographing the finished screens for The Vintage Workshop, so please be aware that by participating in the swap, you are agreeing to let The Vintage Workshop use your panels on its website or in future publications.

The Details

The Images- The images for the swap will be sent to you via an emailed file.  You will need to size and print the images you select to use to use make your panels. 

The Panels- 4” x 5 ½”, made of something in weight similar to chipboard or book board.  The cardboard back of a tablet works great for this.  Whatever you use, it has to be substantial enough that it can stand up as part of a screen, but thin enough to be hole punched.

Sign Up Date- Sign up by emailing Beth, using the email link on the upper left side of her blog.  The deadline is April 18. 

On Apr 20, we’ll send a confirmation email with the jpeg image file with to all participants. 

Receive by Date We’ll need to RECEIVE your panels by May 19. 

Cost- The cost for a padded envelope, mailing and materials is $5.  The $5 needs to be included with your panels.

What You’ll GetA unique four panel screens, with each panel made by a different player.   We’ll mail the screens by Jun 1.

Remember, there is not a limit to this one, so there is room for everyone.  So far we have 8 prizes, but if we get a lot of people we will add more gifts to the drawing. You know I LOVE to give presents!  Every comment you leave is entered into my monthly giveaway.

Birds and Bonnets (Please join us!!)

swaps, vintage paper/collage art

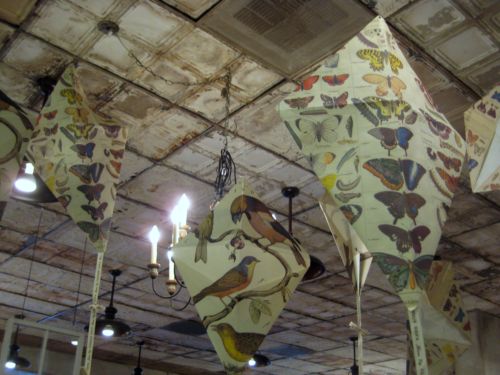
Curious_sofa_006 Beth and I had a fun day Thursday, one of our stops was Curious Sofa.  Deb Dousenberry has such wonderful taste, her shop is an experience.Curious_sofa_003

So many simple ideas, and simple everyday objects are made special just by the way Deb puts them together and displays them.Curious_sofa_009

We also went to see Amy of Vintage Workshop, then treated ourselves to bakery goods from Andres to sort out ideas about our next swap.Curious_sofa_011

Vintage Workshop is providing the images for our swap! Here are a few of them.

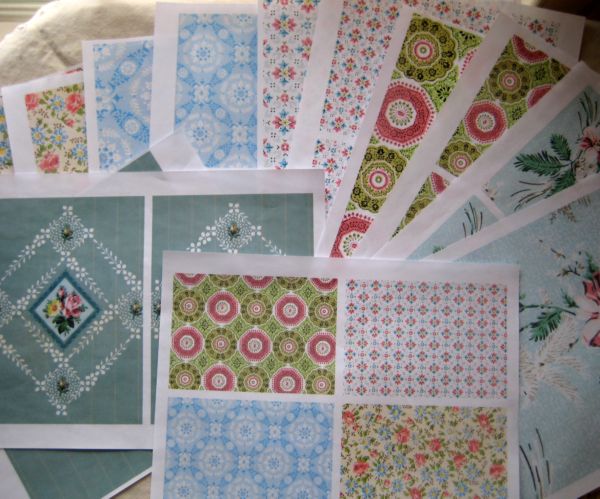
I like to download the pictures, then print them in multiple sizes.Curious_sofa_014

Especially the wallpaper backgrounds.  I print those in at least 3 sizes. Having the same image in different forms is really fun to play around with.Curious_sofa_030

Sugarwings stayed all night again last night and I am afraid I didn’t get finished with everything I wanted to show you for the swap we are doing, but here is a sneak peak.

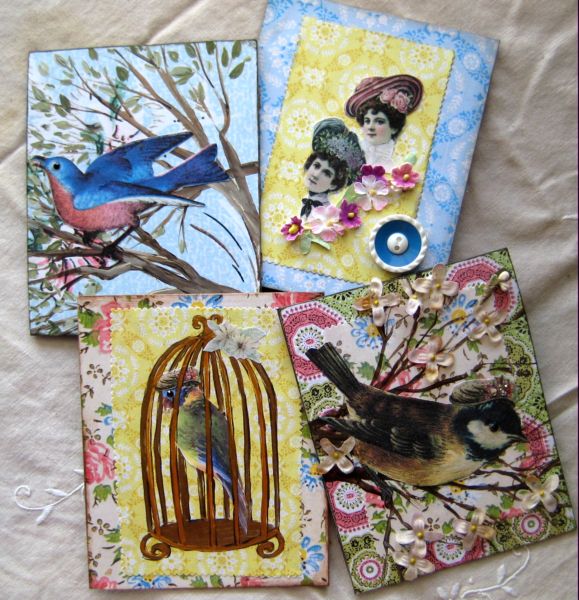
I made these four "panels" from the Vintage Workshop downloads and then doo-dadded them up.

I haven’t decorated the backs yet, that needs to be done so they can fit together like a screen.Screen_2

This screen is one that Beth has made (hers is finished, unlike mine!)  Curious_sofa_032

Here are some of the details of the swap:

Everyone will make 4 of these panels using at least one image from Vintage workshop.

You can decorate it up as elaborately or simply as you’d like.

By everyone using the same 3 Vintage Workshop collections, we’ll have a cohesive look, so that all the panels will look lovely together.

Curious_sofa_033

But by having so many artists do the work, then putting 4 different person’s work into one screen, they will be eclectic and fun.

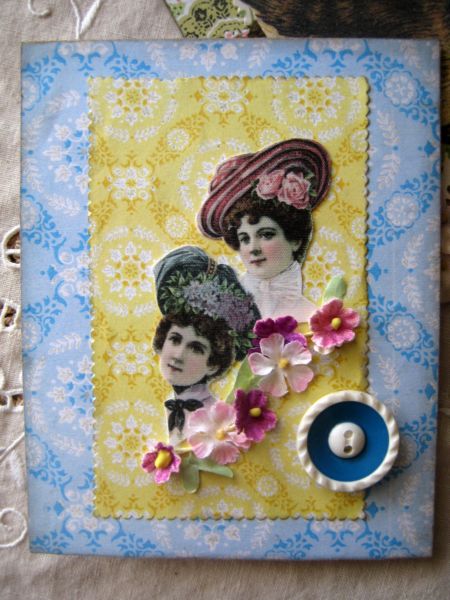
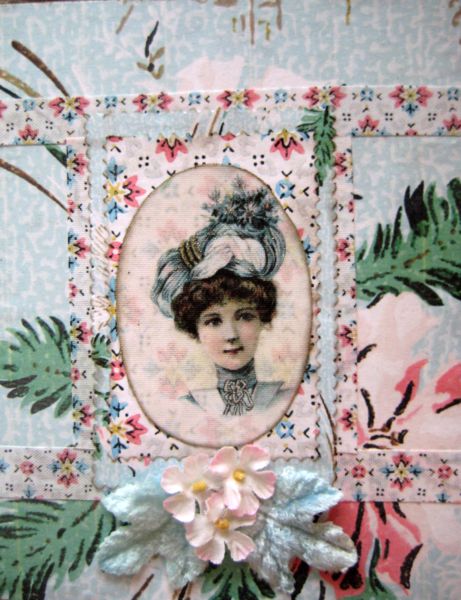
By using the various sizes of  the pictures  and printing some of it on textured paper (the lovely lady is printed onto fabric paper that Amy sells. She gave me some to try and I have to say I am hooked on it now!)Curious_sofa_034 you can get lots of different looks from the same imgages, so the choices are limitless!
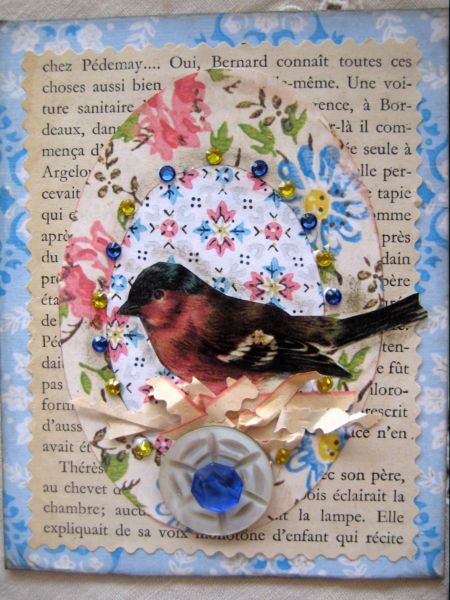
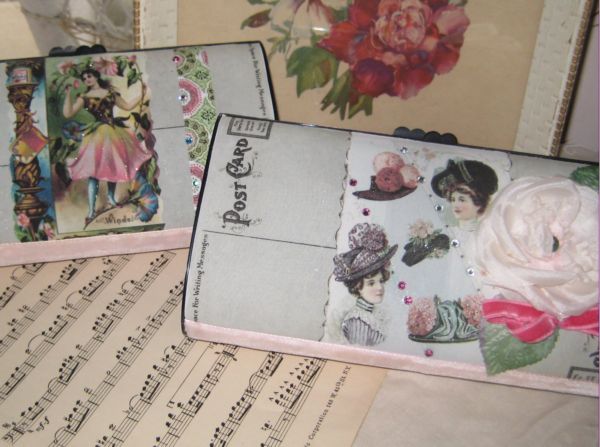
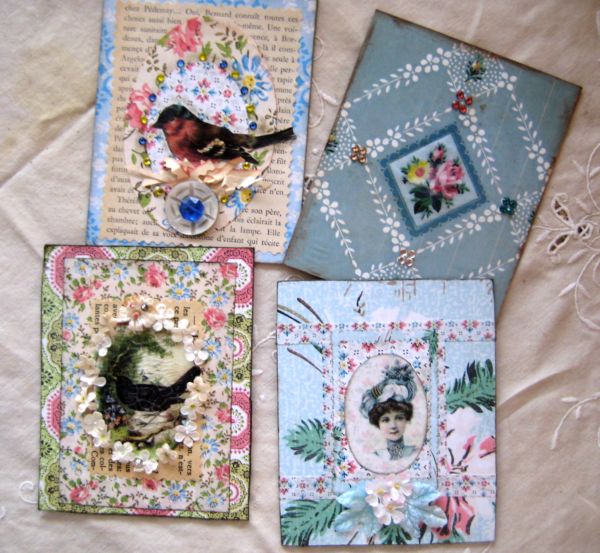
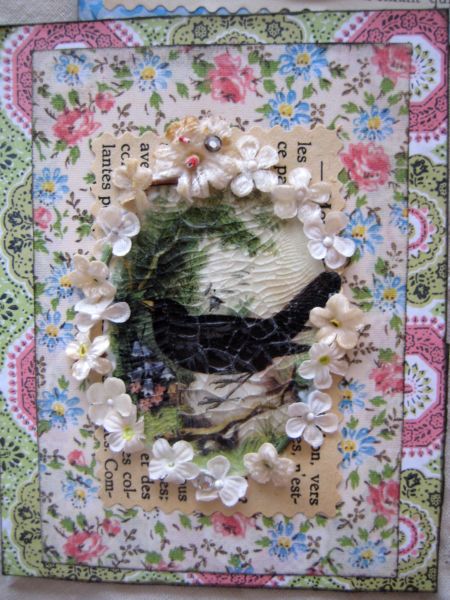
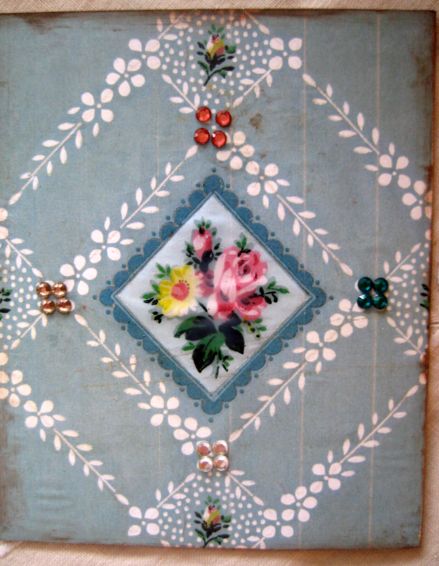
Mine are done with using some added millinery flowers, crystals, pages from an old book, then crackle or paper glazes for texture.  On this one, I outlined the details in a shimmering ink (shows up better in person) and then used paper glaze over the central design, rubbed the edges with a walnut ink pad and glued down crystals to the pattern of the paper.  Curious_sofa_035

This one wasn’t much more complicated, I layered the different papers I had printed out from the wallpaper background collection, then added a page from an old French book, inked the edges, glued them down, and cut a bird out of one of the collections. 

She is nesting in the scraps from cutting out the French book page, and is accented with crystals and a couple old buttons.

I’ll get more examples made up, and also some panels made so I can swap too!

What I am trying to show you with these, is that you can do a lot of different styles with these 3 collections Vintage Workshop is providing for us (We get to play with her fun papers for FREE! YAY, Amy!) Curious_sofa_018

Amy is also supplying us with PRIZES!  We’ll have a drawing from all of the entrants in the swap and 6 will get gift certificates to download more images to create with.

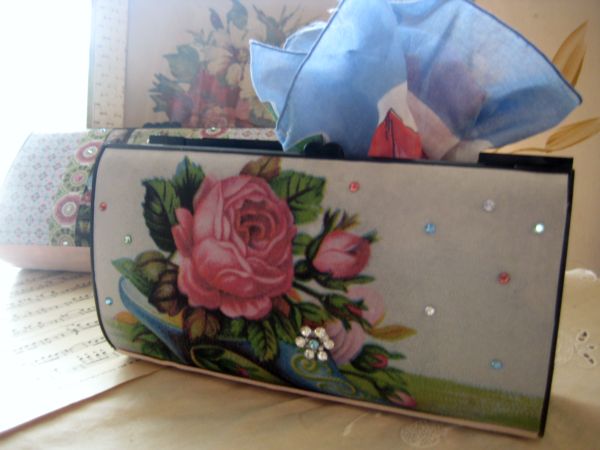
Vintage Workshop sells these purses to embellish, and I got a few to foof up with the printable fabric, sticky back paper.

One, I will give as a drawing prize for the swappers, and the other will be  a drawing prize for all the kind people who are making a card for my Aunt Caroline’s 100th birthday.Curious_sofa_024

These clutches are so fun to make, I made up the 2 of them, with the fronts and backs different.

Curious_sofa_025

I lined the bottom with a wide velvet ribbon in the best shade of faded pink on both of them, and added some old rhinestone buttons, millinery flowers and crystals.

Beth will make a prize too. And knowing me, I will make more. I like to give presents!

Exact details of the swap will be added later. Beth has it all written up and ready to go, and sign ups will be on her blog.

Auntcaroline So, I hope we get a lot of sign ups! This will be a pretty swap, who doesn’t love Birds and Bonnets?

And I want to thank all of you who have offered to make a card for my great Aunt Caroline’s 100th birthday. 

I have 68 so far, am almost to 100, so could use a few more people to surprise her with 100 cards.

I will be showing the cards on my blog as they come in, so we can all enjoy them, and will draw a name from the 100 people who help me out and send one a Vintage Workshop clutch.

Here is the flickr site if you want to post a photo of a card you have made:

http://www.flickr.com/groups/679216@N25/

Time to hang up your dancing shoes

Etsy Goodies, fairies, vintage paper/collage art

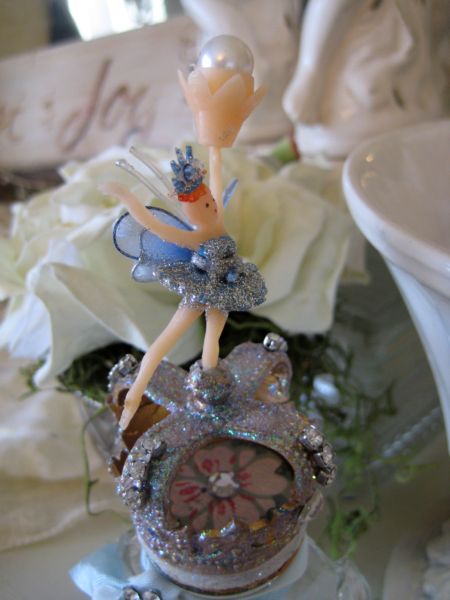
Scraps_209_2 I just finished this decorated bottle, moments ago and thought I’d take a quick photo and do my post for today before I went to see little Sugarwings and enjoy some (at last!) Springtime sunshine.
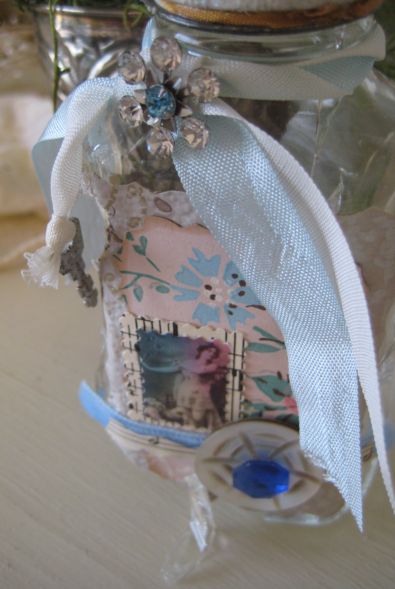
I’d found an old bottle whose lid perfectly fit into an old Wilton cake decor crown that I sparkled up and added a fairy ballerina to.Scraps_210  Lots of work went into making the lid work and turn just right so that the ballerina was the angle I wanted her to be in when the lid was shut.
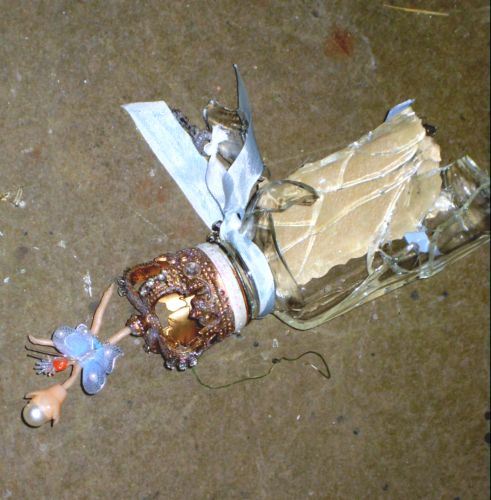
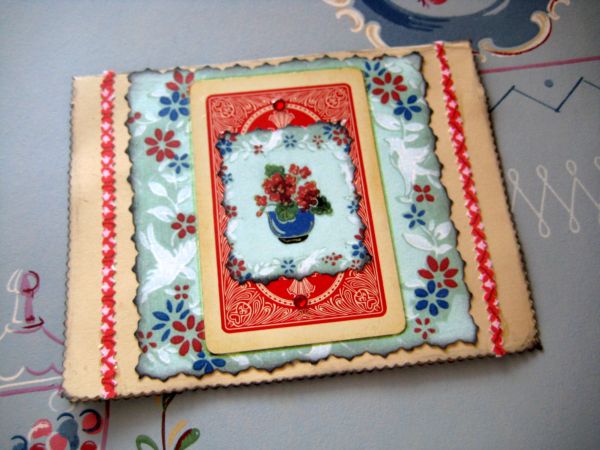
And I kept with my New Year’s resolution of not being greedy with my "good" stuff.  This bottle features a lovely old rhinestone posey, a cute key, a great mother of pearl button topped off with a pretty cobalt blue glass button and………

Well it really doesn’t matter at this point, take a close look at the bottom of the bottle!Scraps_202

Yep, I dropped her. This week, I have been dropping and breaking everything. I am almost afraid to pick up the baby! I crashed so much stuff while rearranging my studio. Mostly by being in a hurry and not emptying shelves when I moved a cabinet.

But you know me, I will salvage as much as I can from this bottle and it will be another project, or two later on this week. 

That tiny dancer deserves a new stage so she can dance her little heart out.Scraps_189 

And on a happier note, I had a fun day with Beth yesterday.  She had a new collection from Vintage Workshop to play with.

Beth designs projects with easy how-to steps for the Vintage workshop newsletter and offered to let me use some of the images she had just gotten.Scraps_191

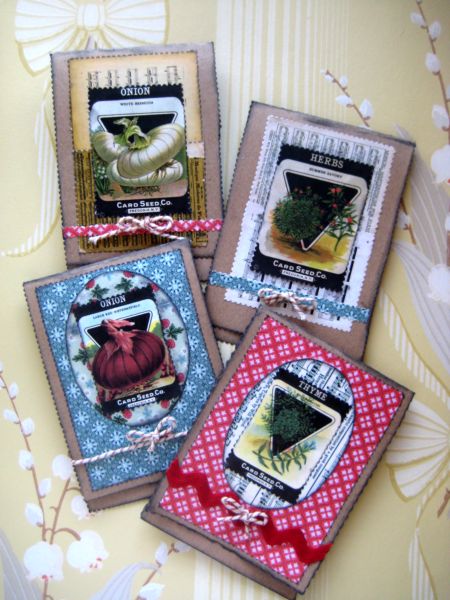
All 5 of these greeting cards are from the same collection. There were so many ways to mix and match, it was a fun challenge to come up with a set of looks that went together (the veggie seed packets) then use another image (the geraniums) for a whole different style of card.

One interesting thing that Beth did, was to download and print the same images at different sizes.  On the geranium card, I used the picture in its larger form as background, then the smaller form as the centerpiece.Scraps_196

Beth and I always have fun play dates together, this weekend we are going to an auction.  I hope to find more pretty papers to make my journals, for an upcoming art and craft show I will be in.

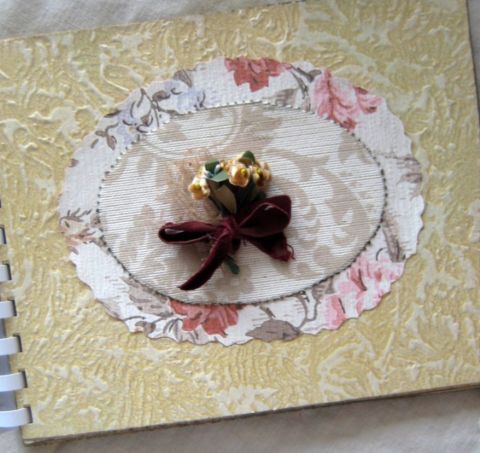
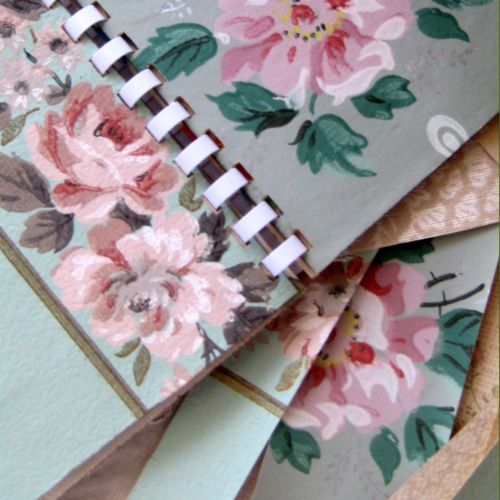
This journal is all wallpaper, but I think it would be interesting to mix other ephemera in too.

Scraps_201 This one is listed on my etsy shop and is simply vintage wallpaper pages ready to be used as a backdrop to what ever the new owner wants to create. 

It is loosely bound so that there is space for plenty of embellishments, foof, and doodads to be added.  And I am including a scrap pack of papers I used in the book, to make decorating the interior even more fun.

Speaking of fun, did I mention that I was about to go see Sugarwings???  And that there is actual sunshine outside today?  Even with a smashed ballerina fairy to start the morning, this will be still be a good day!

Not just one Winner, but TWO Winners for March

Etsy Goodies, fairies, give away, Hand Painted Furniture, hand painted signs, magazine pictures or articles, vintage paper/collage art

Scraps_187 As I selected a name for my monthly giveaway, I was pleased to see that the winner was

BOBBIE VALENTINE

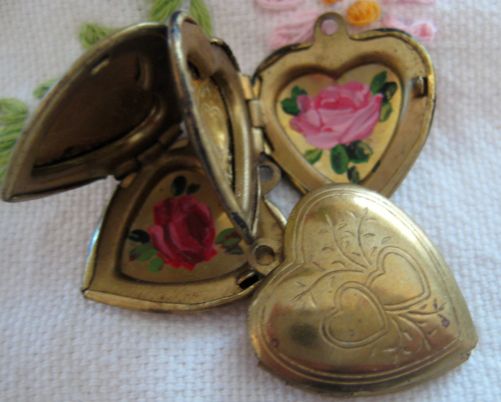
With that last name, I just had to pick out something special to send to her, and thought she might like this heart shaped locket with a hand painted rose.

Well, I should know what she’ll like, Bobbie is my sister!Scraps_181

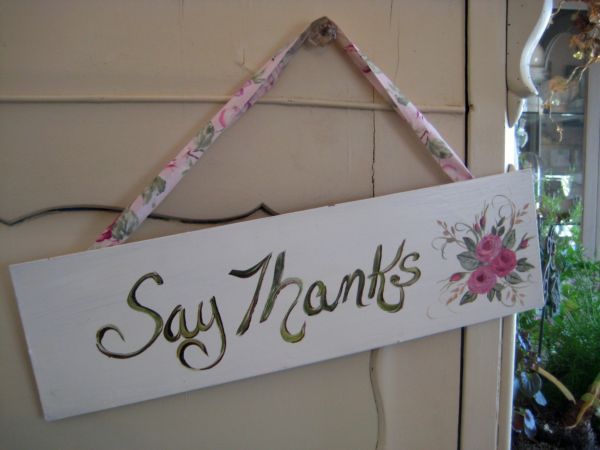
So, then, I decided that maybe that wasn’t fair, and I pulled another name to send this hand painted sign to.

MichelleScraps_152

If you want to win a prize from me, all you have to do is leave a comment, any comment, any post, any time during the month and it is entered into my monthly giveaway.

Remember my dilemma about the cabinet with the black trim? I just had to paint the trim white.  I loved the black, but it took away from the calm, serene look I was going for in my studio redo. Scraps With so many supplies and so much going on, I wanted the background to be more subtle and that black stood out too much.
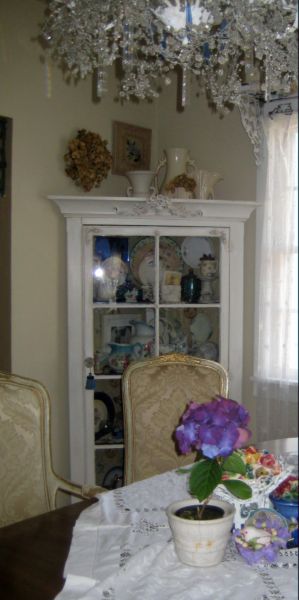
Scraps_174_2  I also simply couldn’t leave this cabinet alone. When I got the new, and much more formal table, this cottagey corner cabinet just looked too country.Scraps_177
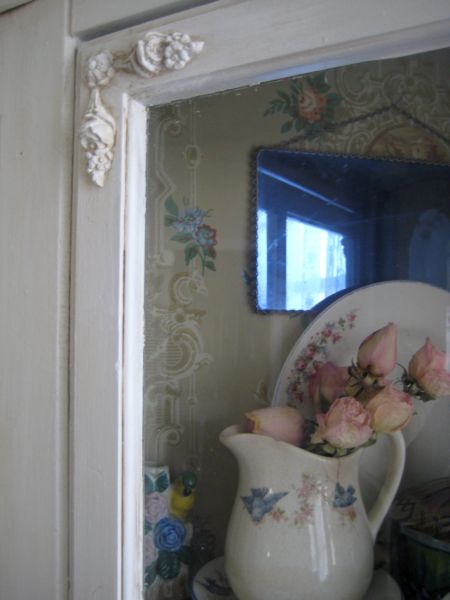
If you remember from this post, I had already repainted the cabinet a  warmer white, added a piece of trim to the top, rearranged the shelves, and then covered the bead board interior with vintage wallpaper,.

Scraps_178

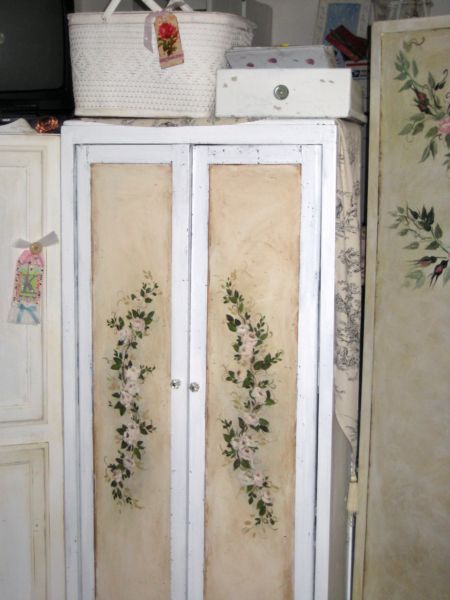
That didn’t quite do it.  It needed more. So, I added these round embellishments to the center of each window panel and rose embellishments to 4 outside corners.

Then I brushed on and wiped off a pale tan glaze.  I’m much happier! for now……..

Dining_room

While looking at the photos of the new cabinet, I got to thinking about some past redos of that room.

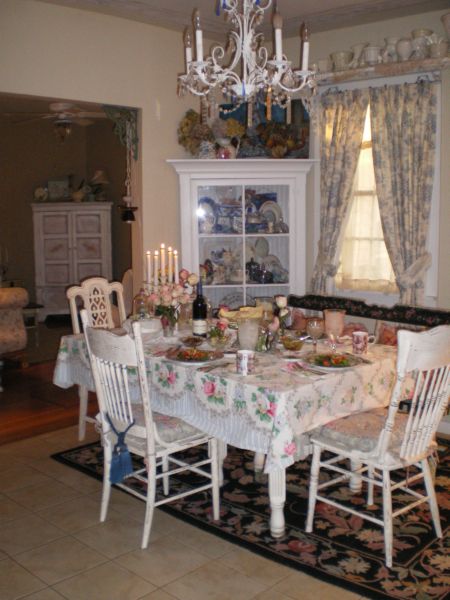
These red floral curtains and black accents were an attempt to try something really different for me.  I didn’t like it for long.  But the curtains were clearance fabric, that I didn’t even sew, just cut to fit and clipped up on the curtain rods, and the black chairs just needed a lighter coat of paint, to change the whole look.Dining_002

So, it became this, with some vintage blue toile curtains, and still a few touches of black.  (There are more dark items not pictured, on the other side of the room, that makes it work)Buttons_001

Then, when Twinkle refused to be housebroken, I threw out the rug.  And lightened up the room for Christmas.

Oh, did I mention this was all in little more than one year? Img007

Before that, it looked like this. (this photo is by Bill Mathews, styled by Gloria Gale and was featured in Paint magazine).

I’m not quite finished with my current look.  I might just have to paint the natural wood table top… And if that dog is EVER house broken, I’ll get a rug.Scraps_165

I do enjoy  my redos.  The one from the studio this week has been a deep cleaning and major redo, I delved into cabinets, drawers, boxes of junk and resorted it all.

I came across a lot of supplies that I figured I wasn’t going to get around to using and have listed some collage kits on Etsy for $12 each. Some have already sold, but  I am making up more to list if you are interested in one.Scraps_172

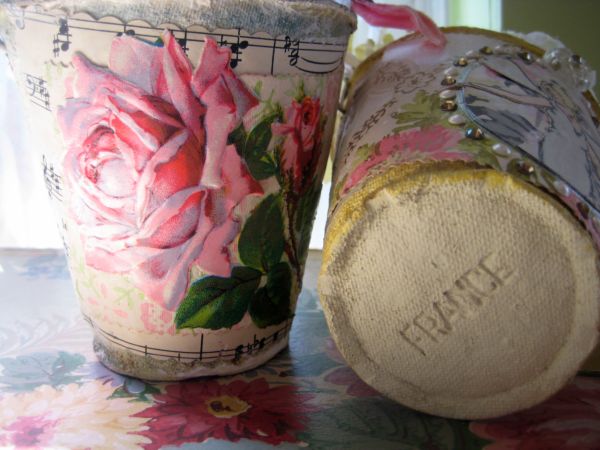
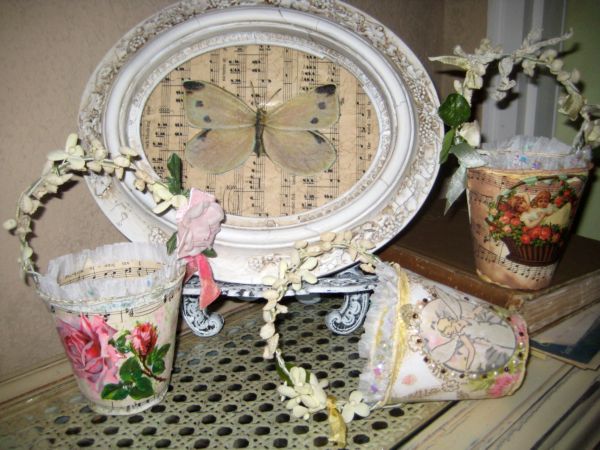
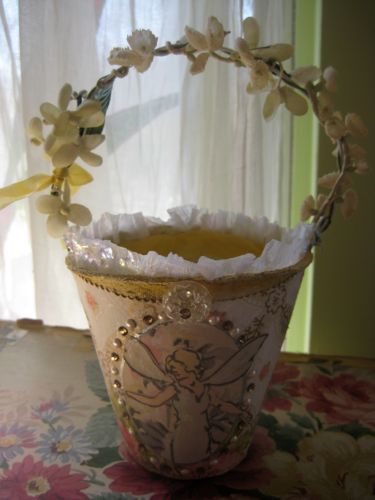
I also stumbled across these buckets that I had tucked away and never done anything with.  So, I foofed them up with some vintage goods and old wallpapers.Scraps_167

A redo can be a creative stimulus, coming across things I’d forgotten about, looking at a room and its function in a new way, re-purposing items, and getting rid of stuff that I knew I wasn’t going to make use of.Scraps_169

And along with my New Years resolution to not hoard my good stuff, I pulled out my extremely favorite, expensive, beautiful, wonderful, most perfect wallpaper and cut out a piece to decorate this bucket with.  Look at the 1930s fairy on this, isn’t she something?

Well, back to work, this wallpaper doesn’t glue itself to the junk I have lying around!

The Rest of the Studio and a Bucket of Buttons

antiques/junking, redos, vintage paper/collage art

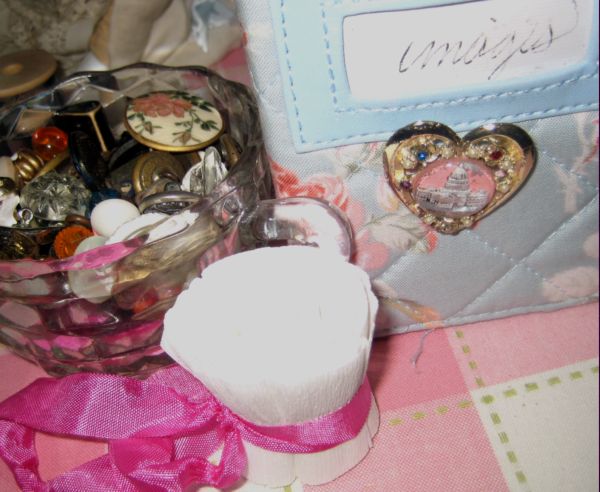
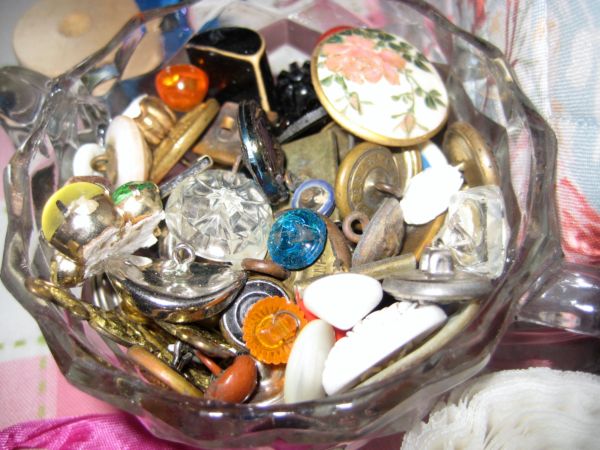
Scraps_151 Over at Sugar Sugar, there is a button challenge.  I’ve enjoyed looking at the linked site’s bountiful displays of beautiful buttons, but the best is Beth’s. (now we need to see Susie’s seashells or hear Hilda’s horn, I do tend to over do the alliteration, huh?)Scraps_146

All the buttons on the challenge tour are so nicely displayed and there are even tips on washing the collections.

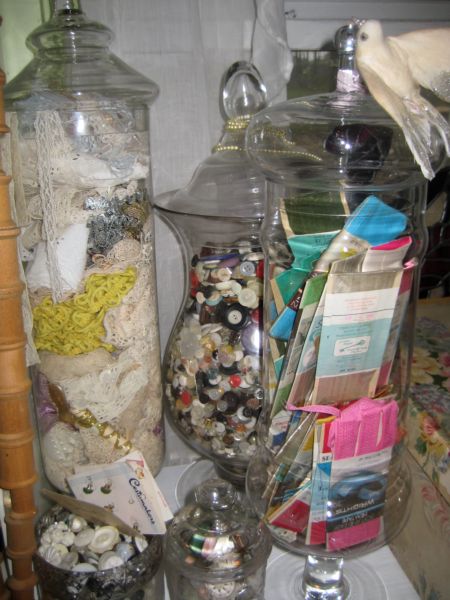
Washing? I dump mine into containers, dig out a handful here and there to use in projects or to send in packages. Hmmm, they are supposed to be washed?Scraps_145

I am hugely ignorant of button value. I was floored when Beth sold a set of 3 buttons for $150 on Ebay!!! 

I just use mine, gluing them onto pretty pieces I make.  I wonder how many valuable ones I have glued onto a collage and sold the whole thing for $5-10?   Story of my life. If you ever buy something from me, examine the button, it might be worth a lot more than the piece itself!!Scraps_121

Thank you for all the kind comments about my studio.

I am CRAZY about my studio and know just how lucky I am to have it.  I’ve had to store supplies under a bed, and set up card tables in crowded corners in the past.  It is pure joy to have all this space to spread out into now.

Scraps_091

Heck, at near 1,000 sq ft this studio is larger than the 90 year old house was when we bought it, and started adding on to the building. 

There are benefits to living in Kansas where land is cheap and prices are low!

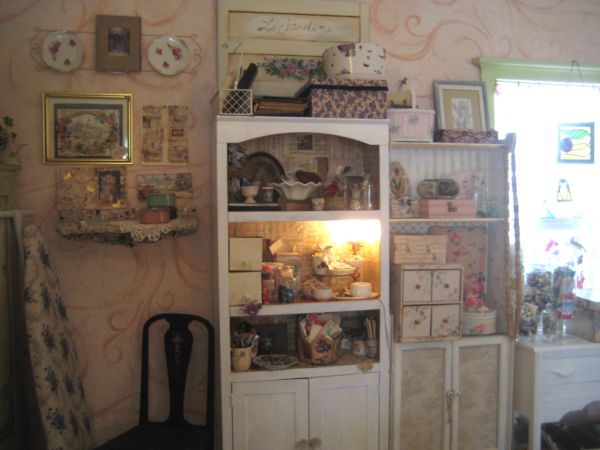
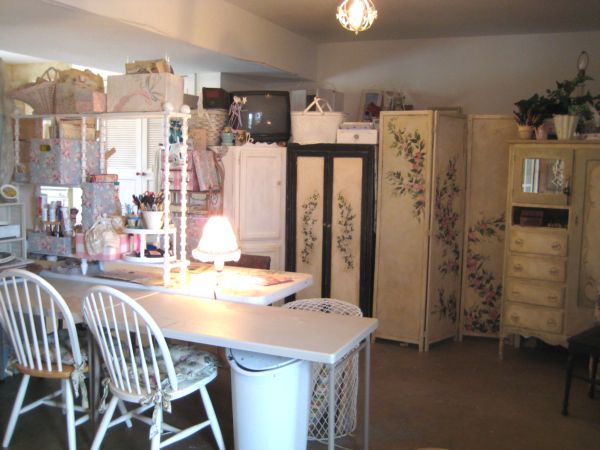
I thought I’d show you some more of the room and how I use the space.

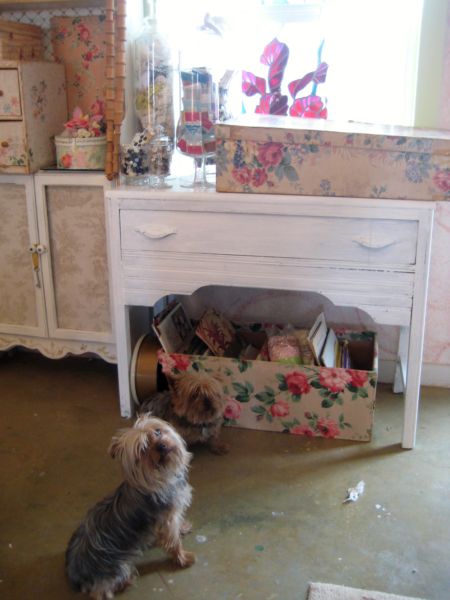
Of course, there is a spot for Sugarwings and her best pal, Twinkle. Or as she calls her "Yeenkle". 

Scraps_102   

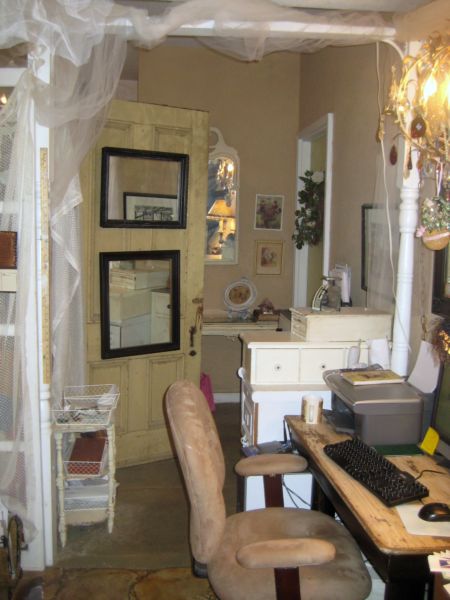
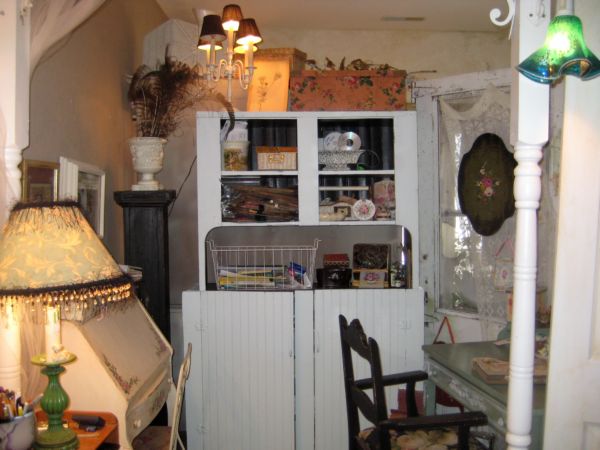
The space is one large open room, that I have divided up with old doors hinged together, and with large pieces of furniture. The desk sits under  a gazebo I made from 4 porch columns ($6 each at a junk shop) and a miss matched bunch of 8 white wrougth iron corner brackets.

Right next to Sugarwing’s area is my office. (I’d like to recover the chair, but don’t know if I am up to the task)Scraps_133 

This old hutch in the office area holds all of my mailing supplies and collage kits listed on Etsy and waiting to go to their new homes.Scraps_126

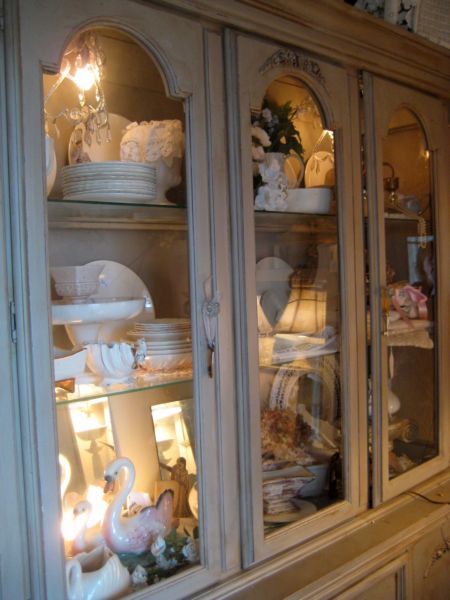
That office hutch sits back to back with this giant piece (known as the crying cabinet because it about caused a nervous breakdown at the auction Beth and I found it at- that is a long and whiny story you don’t want to hear).Scraps_139

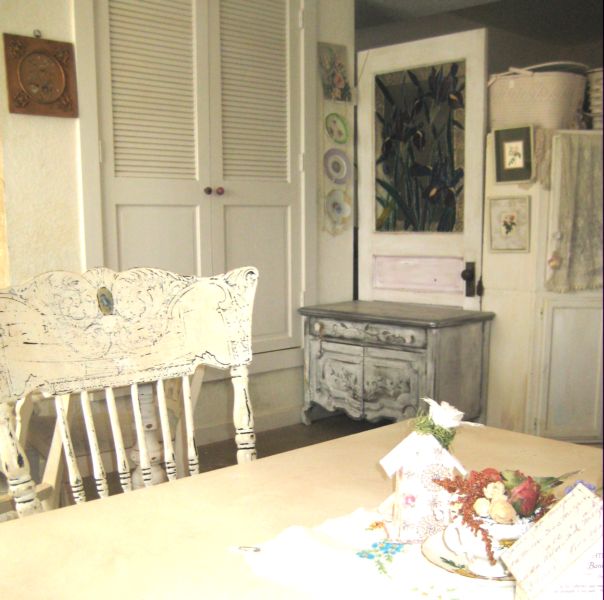
I have two large closets in the room. One is full of shipping boxes and  bubble wrap, the other is for utilities.  The door with the iris was an  original kitchen door in the farm house.  I added the flowers with stained glass paint.Scraps_137

Here the door is from the other side, with the sunlight shining through the glass.

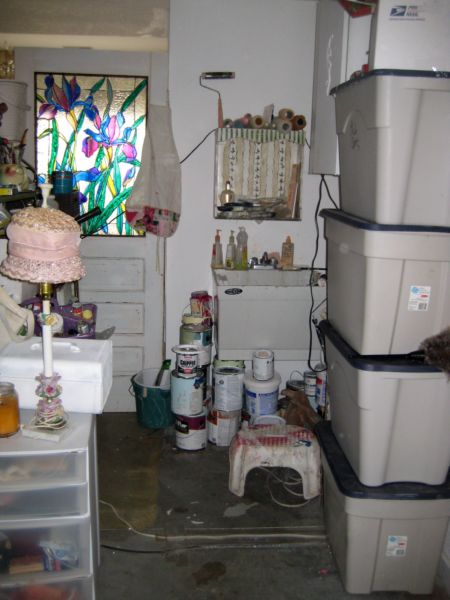
This storage room is in the back corner of the room and is where I keep my paints, tools, seasonal storage and just JUNK.Scraps_136

At the other end of the storage area, I keep completed projects I am sick of looking at and jewelry I have made and the displays I sell it from.  Scraps

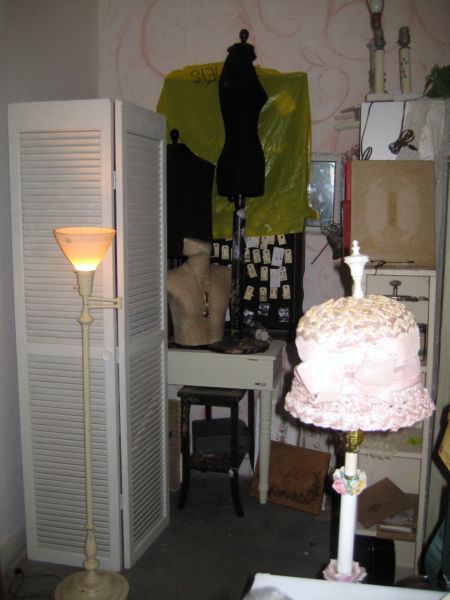
This odd assortment of furniture and a screen is what I have lined up to make the wall that forms the storage area behind it.

The more I look at this the more the black cabinet bothers me.  I really think I need to paint that…

And what do I watch on TV while I work? Dragon Tales, what else?  Although prefer the Hoobs and Tiddlypeeps.Scraps_130

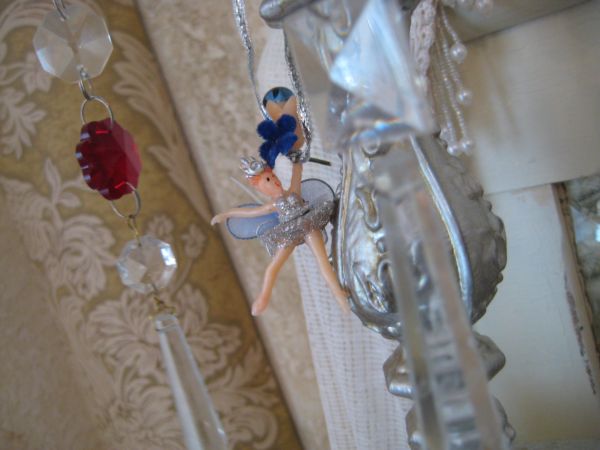
My studio will never look totally pulled together, because I have so much stuff in it. I love all the little details, like ballerina fairies on the candelabras.  What is a studio without fairy candelabras???Scraps_123

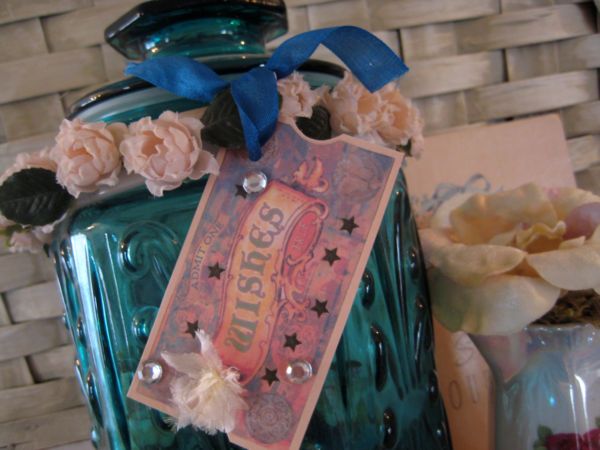
There are sentimental things too, like this "wishes" tag that my Sissy sent to me.Scraps_110

And a lot of my labels are made from gifts other artists have given me.  This fabric covered piece is from Beth, as part of a birthday card she made a few years back.  I saved the cover and turned it into a box label.Scraps_111

The birdie adorned box was a gift from my first swap partner, Karin.

It holds Valentine ephemera.Scraps_124

Of course, there is a picture of Sugarwings.  This is her Easter picture, instead of putting it in the scrapbook, I decided to stick it into the corner of this De Longpre print that I found at a garage sale for $10.  Scraps_125

My Sweet Treats and Roses recipe book sits near my desk too.

The cabinet it sits on holds my sewing machine (which rarely gets used) and its top is a ceiling tin that my son added for me.   That sure changed the look of this piece that I found in the trash and fixed up.

As a matter of fact, most of this furniture was free or dirt cheap.  Trades, trash, or cast offs from family that all got fixed up. My main splurges in this whole studio are the 3 folding tables that I actually use for work space.  I’d say that $58.00, 6 foot table is the most expensive thing in the room.Scraps_132

That is, if you don’t count my collection of wallpaper.  I’ve probably spent more on that than I have furniture. 

Well, I seem to be organized now, I hope I can make it last. I love my new storage pieces, the trick will be using them instead of making piles everywhere.

Wish me luck!!

ps- birdhouse decorators are still adding their links to our party post on March 27th, if you want to see  more, check out the lastest comments.

ppss- I will draw a name for the winner of March’s giveaway tomorrow, you still have time to enter!

A winner, A feature, A first auction, and A redo

family, give away, I do tend to run on, don't I?, parties, Sugarwings, vintage paper/collage art

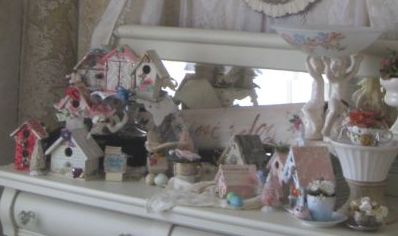
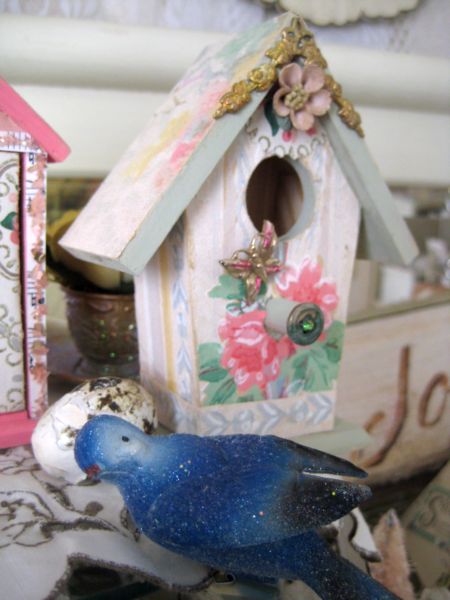
Scraps_056 First of all, I want to thank everyone who came to the "What do you LOVE about your Birdie’s Home" party that Beth and I had on Thursday.  Scraps_057 What a fun turnout, lots of blinged out birdhouses to see! Wow, thanks so much for coming by and for creating such palaces for us to enjoy.Scraps_055

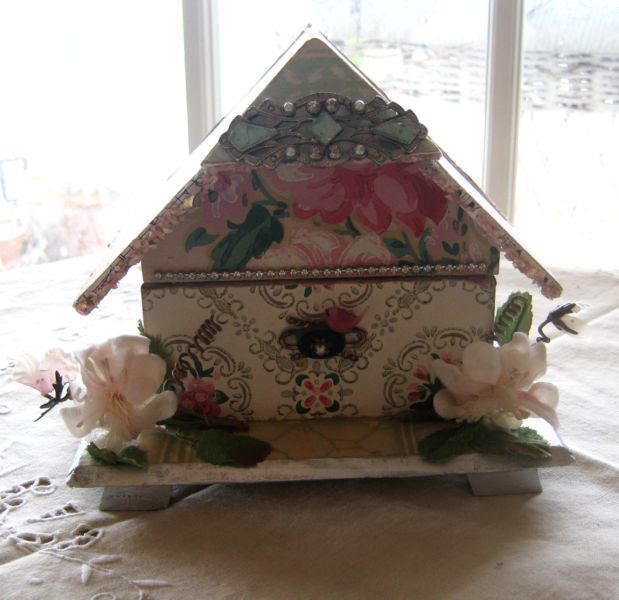
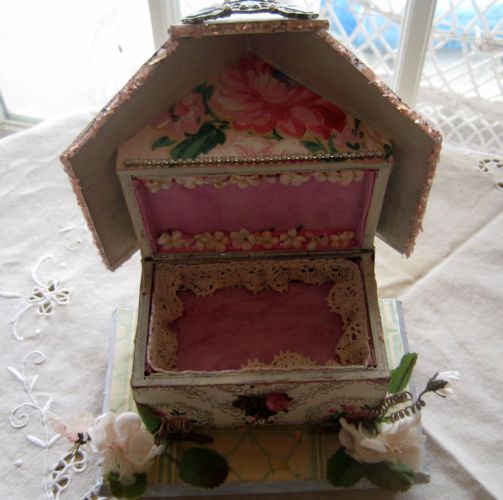
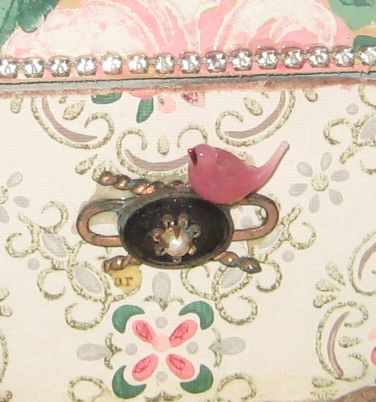
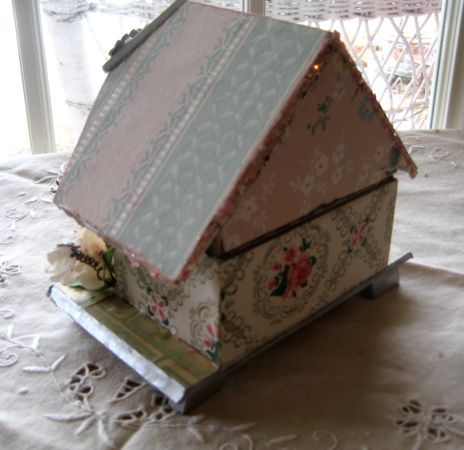
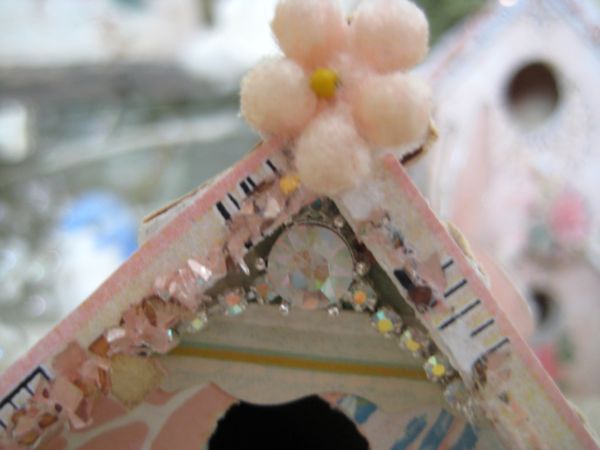
I had forgotten to show this one that I made, it is a music box, jewelry box, and used to be a Swiss Chalet.  I faked the birdhouse part, by adding this tiny blown glass bird and the piece of black onyx jewelry to represent a hole and a perch.Scraps_058

Thanks also to everyone who bought a birdhouse from me! If you buy one from that post, it is only $15 each.  I will be listing them on Etsy for slightly more later on.

Oh, and did I forget to mention that one goes as a gift to a commenter during the party? The winner is:

Denise

And on Tuesday the  1st, I will draw a name for the monthly prize, so you still have time to enter that.  The prize is a secret. (Because I haven’t picked out a gift to send yet)

Blogaward_2 I also want to thank the group at the Snooty Women’s Club (they really do seem nice, not snooty as their name implies!) for featuring me this week.  Thanks, ladies! Good luck with your new site!

Scraps_024

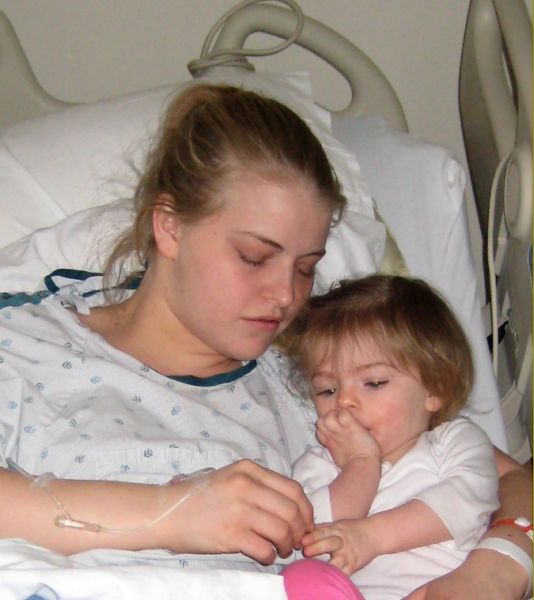
It has been a bit hectic around here,  Sugarwing’s poor little Hippy Chick mommy had her gallbladder out this week, so I have had the baby staying with me.

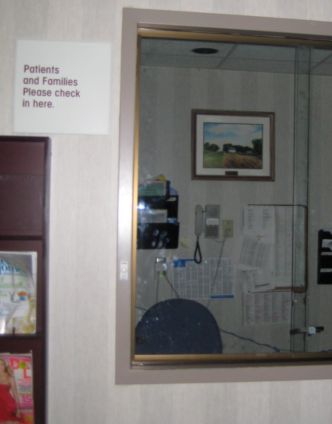
We went up to see her mommy in the hospital a few times, went for walks in the park, played with Twinkle, had tea parties, mostly just stayed very busy so she wouldn’t be asking where Mommy was too much. Scraps_035

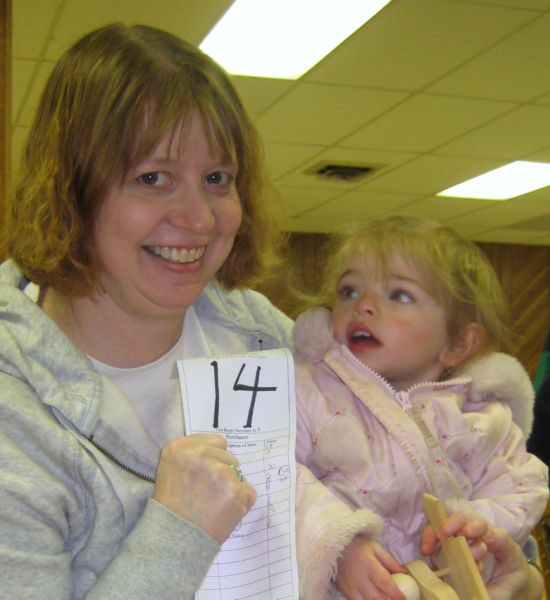
I even took her to her first auction!  Here she is with Beth, we just popped in to visit  and eat her pretzels. Beth  got a ton of great stuff and  I was a bit jealous, but staying to bid wasn’t really an option with my little helper along.Scraps_031 

While at the hospital, my son pointed out one of my paintings hanging in the office!Scraps_030

I didn’t even know that the hospital owned it, they had purchased it at a benefit auction I had donated to a couple years ago.

What a nice surprise to see it hanging there.  Scraps_062

Look at what I have been doing while the baby napped or after she went to slept at night! Organizing, big time!

I’ve taken every single piece of paper in my studio and FILED or stored it!Scraps_065 

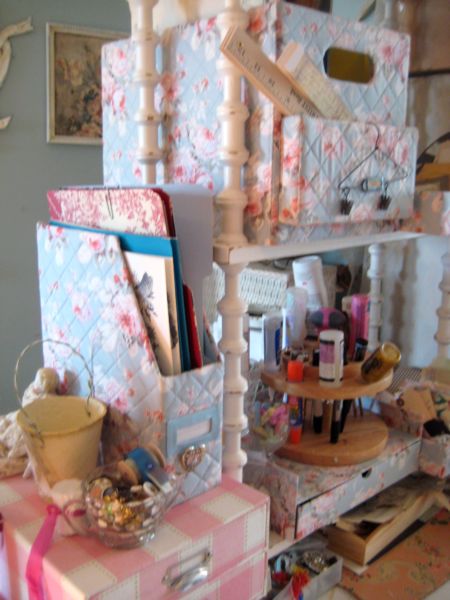
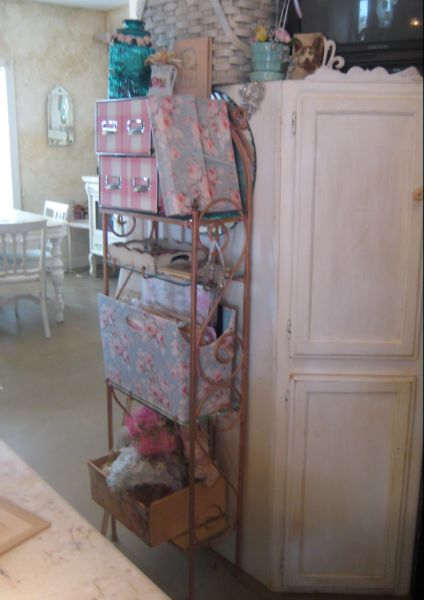
Tuesday Morning had all these pretty desk organizers on sale and it inspired me to try to pull the whole room together.Scraps_066

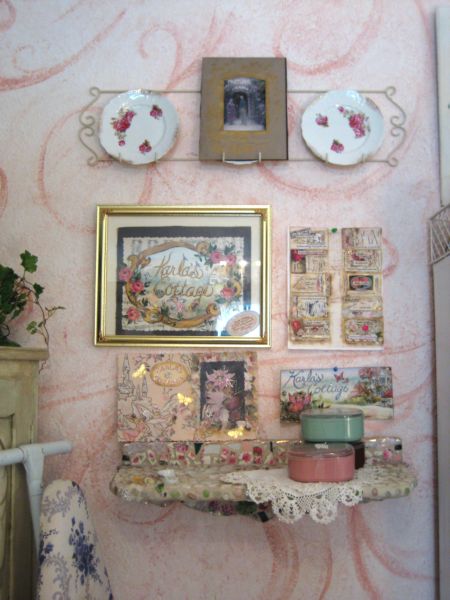
I  hung all my past blog banners on the wall along with my business card template and a photo of my grandma and some rosey plates.Scraps_067

Well, that lead to repainting my furniture so that the pieces matched each other, and looked more pulled together, then rearranging it all.Scraps_071

I made used of all my old wallpaper storage items, and turned this vintage shoe rack on its side, then used it to file scrapbook goods into.Scraps_073

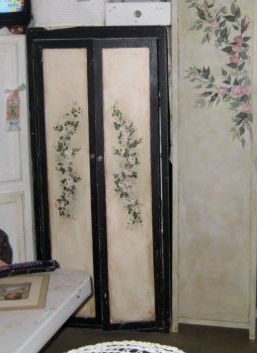
I didn’t repaint the black and white cabinets with the roses on the door, thinking I might like the contrast, but now am not sure. I might paint it lighter (but leaving the roses on the doors).

When I didn’t have enough storage containers, I made some by covering Girl Scout cookie boxes in old wallpaper.  Don’t ask why I had so many boxes….Scraps_089

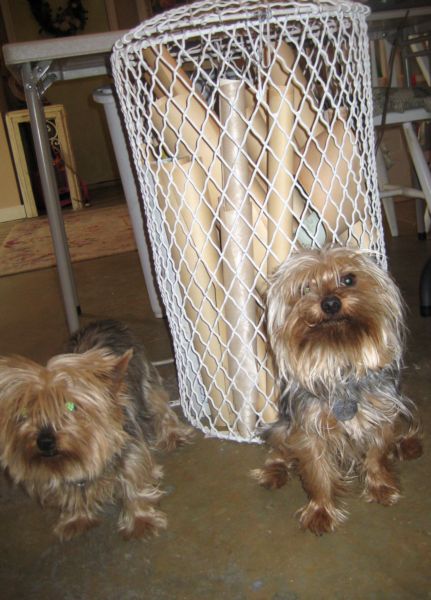
I moved some rolls of vintage wallpaper close to my desk and stored them in this old trash can holder.  I think it was meant for a park, to keep animals out of the trash.  I found it at an antique store and have been using it for bubble wrap, but I like the rolls of paper in it.Scraps_054 

The front part of the room got a clean up too.Scraps_059

There is only so much I can do with this room, it isn’t easy to tidy. I keep so much out there and it has so many uses, that even with about 1000 square feet, it is jammed full.  Scraps_078

And no matter how much I tidy up there will always be a card table set up full of junk to be sorted, mailed, put away, or made into something, etc.

Just like, I think I am going to write a post that is tidy and everything looks pretty together, and next thing you know, I have done this- run on and on and on about a dozen different things and then the posting is all messy and run together.

My life tends to be like that, lots going on at once, and all the pretty things jammed in with the clutter and mess of it all. 

Scraps_075

But I love it that way, there are some sweet little details jumbled up in that mess and they are worth sifting through it all to get to!

Time to preen your feathers and Bling that Birdhouse!

Etsy Goodies, fairies, parties, swaps, vintage paper/collage art, We're having a party

sk!Birdhouse_200 Birdhouse_297 What do you LOVE about your Birdie’s home??

Welcome to our Self Linking, Self Swapping, Self Marketing party! Yes, Beth and I are lazy hostesses, she says this is the equivalent of inviting people over and asking them to bring all their own food and drinks, then clean up after themselves.

Birdhouse_295 The rules are simple:  you can buy, sale, or trade, if you like, just let people know in your posts, or on the flickr site if you want to moving the real estate.
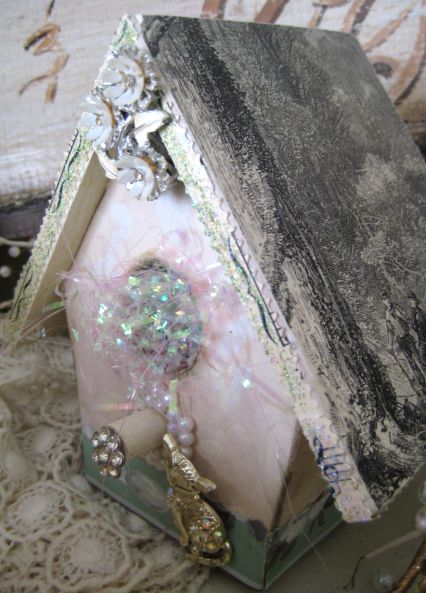
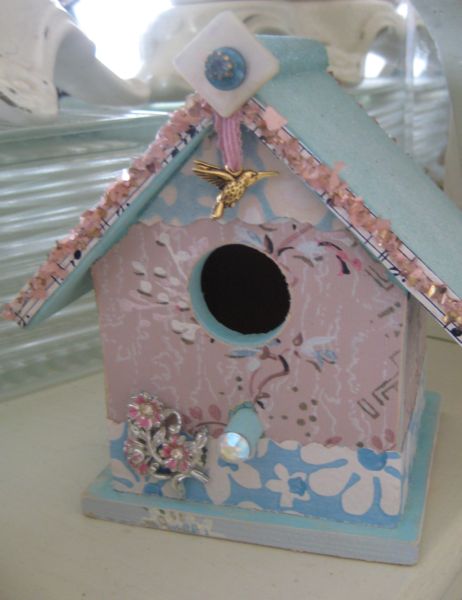
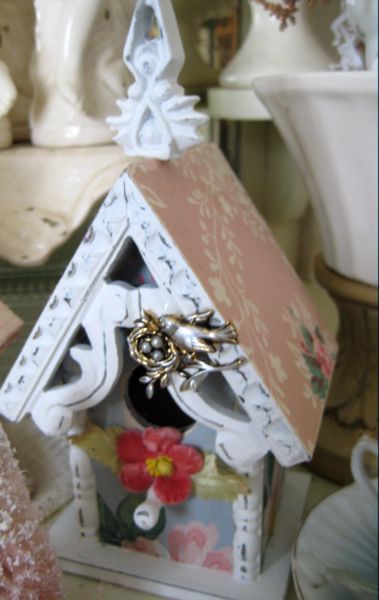
I will be giving one house away today to someone who leaves a comment.

The rest are FOR SALE!

And for a special price too, any of these cuties, big or small, simple or ornate, blingy or elegant (who am I kidding, these are all blingy and gaudy!!)—if purchased this week from this post— are only $15 each plus postage.Birdhouse_212

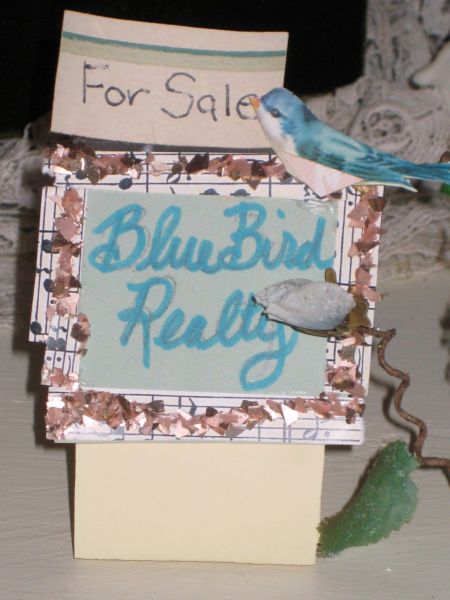
Ok, so those are my personal specs for sales.  Make sure you state yours if you want to sell or swap a home during the party.  I am also up for a swap…… I could use a special bird house for some fairies to move into up in Sugarwing’s bedroom. Birdhouse_213

The birdhouse with the kitty is sold to Louisa

Now, for the party linking rules.  Like I said, we are pretty laid back about this one! 

All you do is leave a comment, on my blog, Beth’s blog or BOTH.

In your comment, tell people that you are inviting them over to see your creations.Birdhouse_201 

Make sure you leave the URL or link to your blog, or you can show the birdhouse on our flickr site if you don’t have a blog.

Everyone is invited to play along!  Flickr is free and easy to do, so jump in and give it a try.

Birdhouse_203 Simple huh?  Leave a comment, join the party!
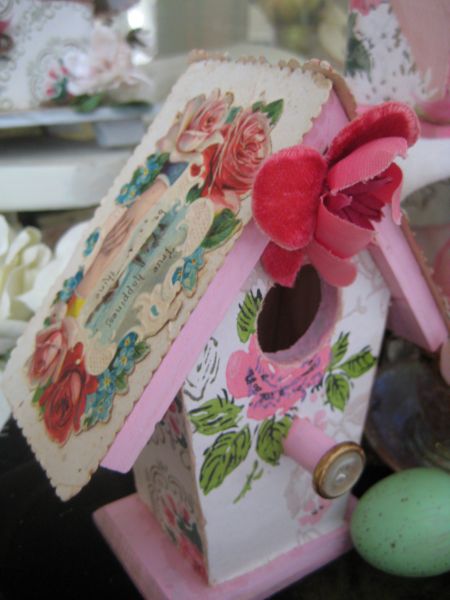
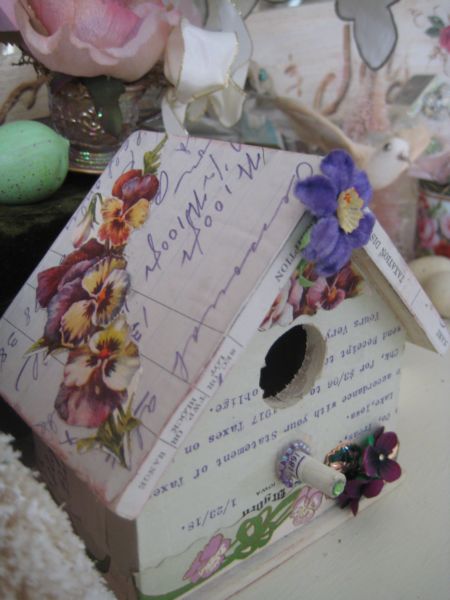
Birdhouse_204

Now, if you want to party hop and visit all the homes on display for our feathered friends, all you need to do is read the comments on my blog and Beth’s blog.

Birdhouse_216 Not everyone who reads my blog leaves a comment and if you haven’t because you don’t know how, here is what you do:
At the end of the post, the small print says the time it was written, a list of categories, and then "comments".  Click on that word.

Then, you get to read all the previous comments.  Usually, you can click on the author’s name and it will take you to their blog. Sometimes, you can’t.

If there isn’t an active link, then you can copy and paste the URL that the birdhouse blinger has left for us to find them and see what they have made. Birdhouse_232

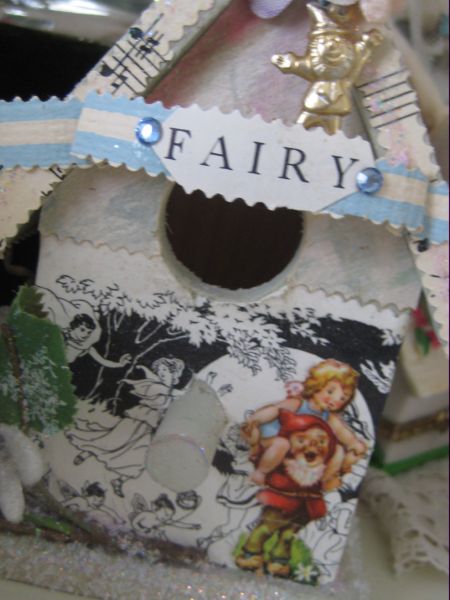
Any questions, feel free to ask. Email me or Beth and we’ll do what we can to help you get to visit everyone or to help you invite people to visit you.Birdhouse_300 Fairy Banner house sold to Betty

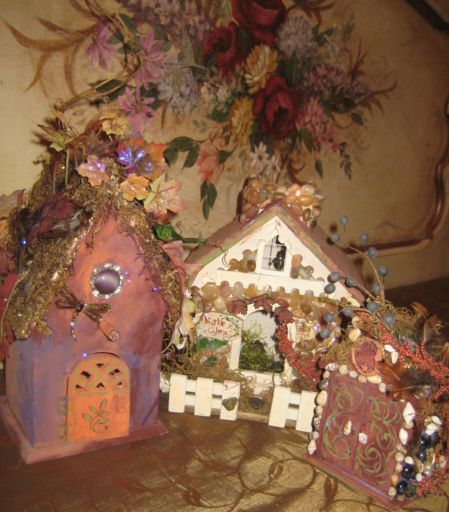
Fairy houses count too, right?  I’m sure that if a bird wanted to share the rent, they’d be allowed to move in.Birdhouse_303

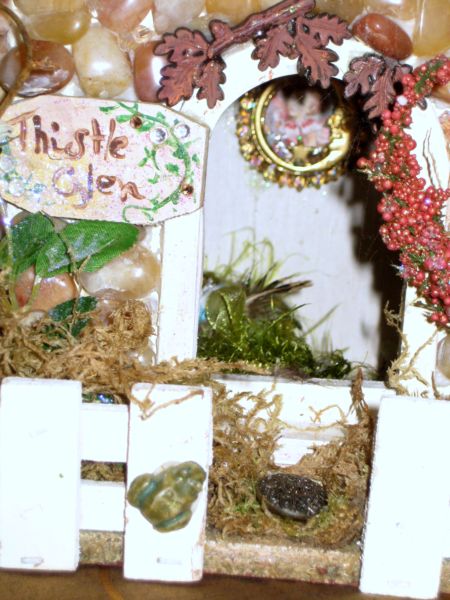
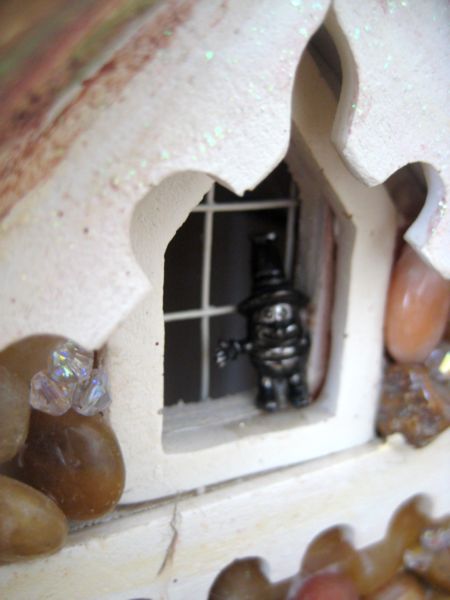
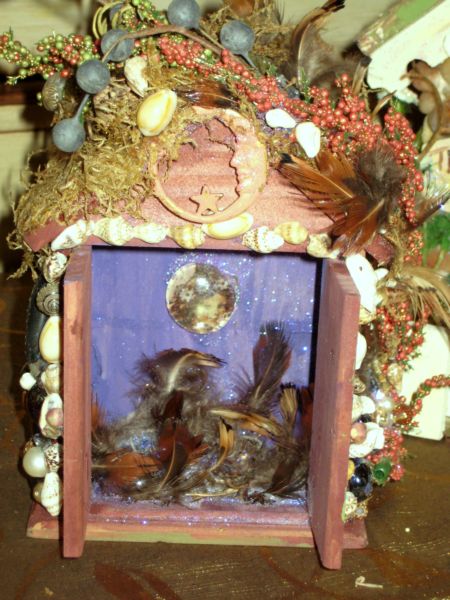
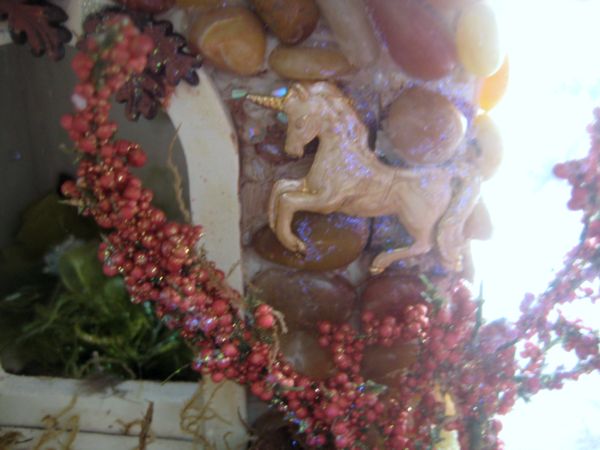
The postage might be a bit higher on these fairy homes I have made.  A couple of them are covered in stones, glass, beads, and trinkets, which tends to weigh more than the vintage wallpaper I put on most of the houses.Birdhouse_304

All the fairy homes come complete with a nest ready for the fairy to curl up on.Birdhouse_231

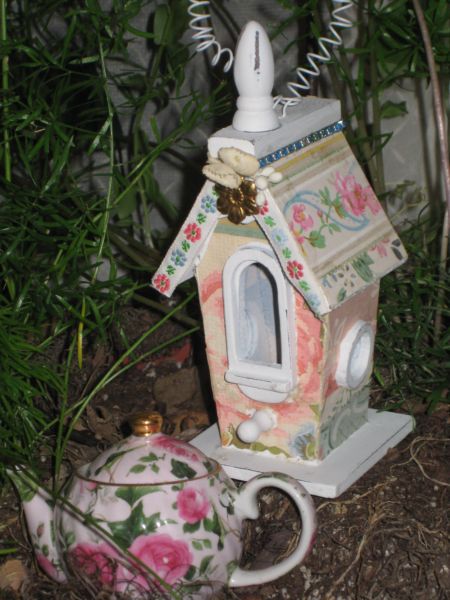
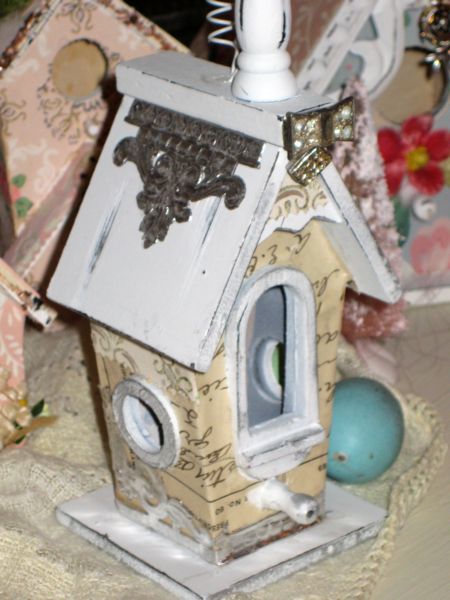
As you can probably tell, I got a bit carried away, like usual.  I tend to make more than one or two when I try something…. I might have a done a couple dozen houses or so.Birdhouse_280

I could just keep going and going, these are such fun to decorate!  I hate to have this challenge come to an end.

Birdhouse_286 But I am sure I will feel exactly the same about the next project I take on.  Don’t you just love to experiment? In the last year of blogging, I have had opportunities to participate in so many fun swaps and challenges and each one I did, the nests, matchboxes, tiaras, doll hats, all of them, I just wanted to make more, more, more!
Blogworld is such an inspiring place to be. Always a new project or idea to sample.Birdhouse_187

So, Beth and I decided to sponsor another swap. Details to come, but it will be through Vintage Workshop and we have permission to feature their images and offer free samples to our swappers to use! 

We’ll let you know when we get it all worked out and are ready for sign ups.

Birdhouse_217 Please check back later if you are interested in our Spring Swap.

And for today, thanks so much for coming to Our Bling Your Birdhouse Day and please go and visit some of the other bird abodes that our friends came up with!

Frilly Things, Blings, and Butterfly Wings

fairies, family, holiday decor, how to's, parties, Sugarwings, vintage paper/collage art

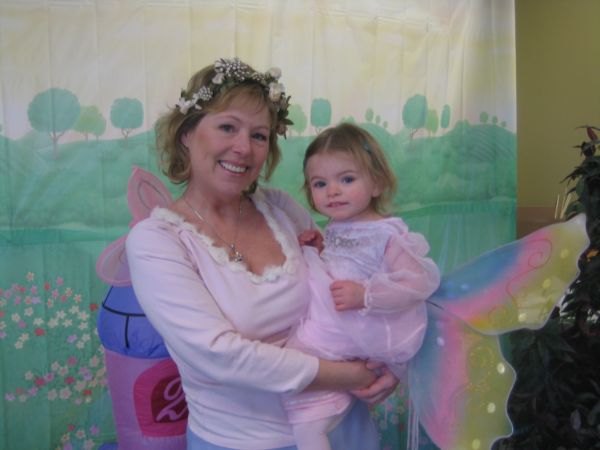
Bookclub_113_3 I was invited to a fairy tale party with Sugarwings yesterday and of course it was right up our alley. We got to wear our wings and frilly things, plus do some blingsBookclub_132 !

The party was at our local HyVee grocery store promoting the release of "Enchanted"Bookclub_137

All the little girls got craft packs to decorated crowns and wands, that of course came with a ‘poisoned’ apple, since they were all fairy princesses. Sugarwings decorated me with most of her glittery stickers instead of putting them on her tiara.

Afterwords, when I went grocery shopping to get some forgotten items for the dinner for 18 I was cooking that night, I looked very sparkly in the store with my extras the baby added to my fairy grandmother outfit.

They dined on mini pizzas. Dessert was a chocolate fountain with lots of goodies to dip into it.  So, she wasn’t too hungry for my build your own burrito bar that night for the big family dinner.  I don’t blame her, its hard to come back to reality and eat a burrito when you have spent the afternoon as a princess and being served chocolate from a magical fountain.Easter_egg_002

With company here, gallbladders going bad every where I look, and tax season approaching, there certainly has not been much creative time at my cottage lately.

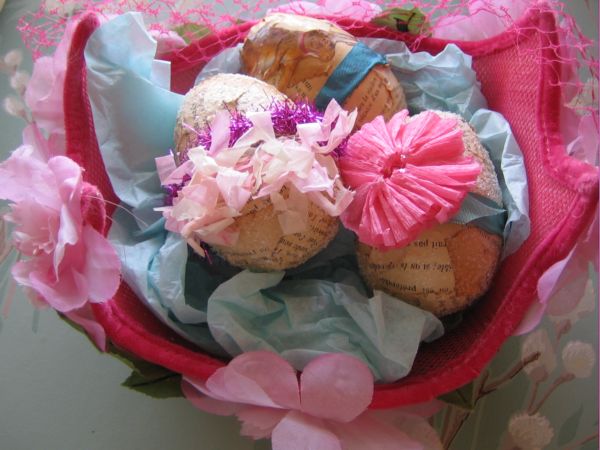
I was able to squeeze in an hour or so yesterday and made 3 eggs.  I’d seen these made at Amy’s and hers are so much better, but I chose to use throw away materials,  not anything wonderful like her velvet ribbons and rhinestones.Easter_egg_003

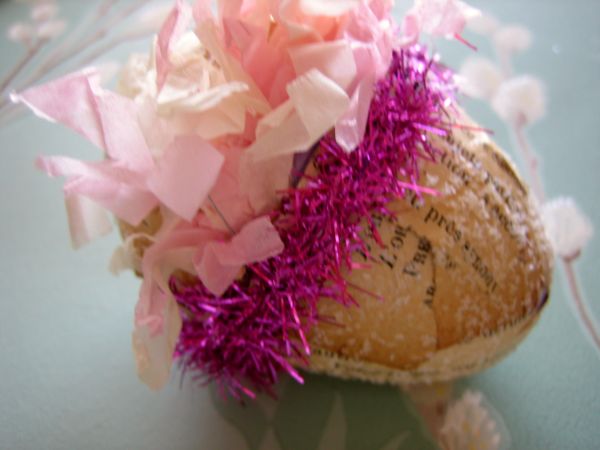
The trim I used was just snippets of crepe paper and tinsel. I was too cheap to use the ‘good stuff’

Easter_egg_004 Heres a quick how to:

Start with the large sized plastic eggs

pick a paper you want to cover the egg in, tear in small strips and soak the paper for a moment in water

brush glue onto one side of the egg, add paper strips, mushing them down well with your fingers, then brush glue over the top and sprinkle with glitter (I used the kind that looks like sugar)Easter_egg_007

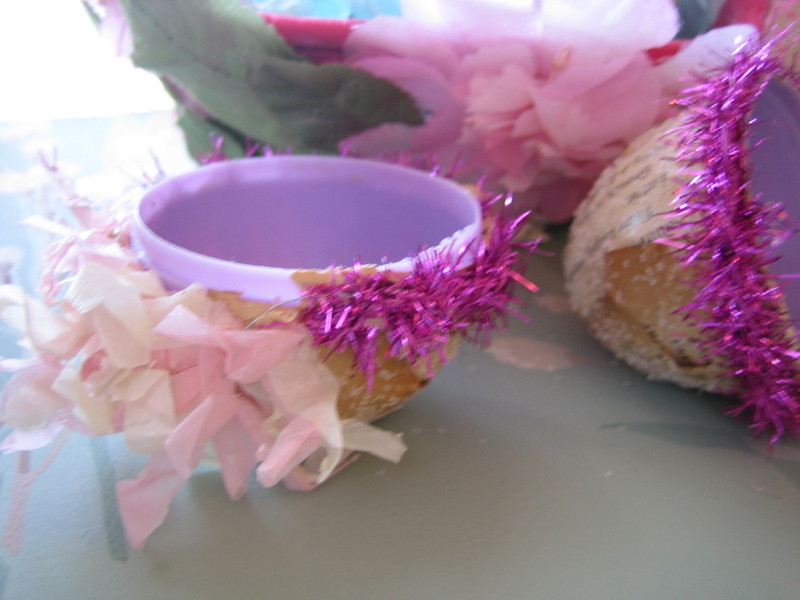
Repeat with the other half of the egg, being careful to get close to the edge but not interfere with the lip.

Glue trim along the edge to cover the rims, so they don’t show when the egg is put back together.

I’d keep these out of candy baskets, because of the glitter, but they make a pretty display and I will put a gift card in them to give to the bigger kids.Easter_egg_012

I also got started covering my Swiss Chalet music box. Not exactly a birdhouse, but it is a house and I will add some birds, so I think that if I get it finished, it can come to our Bird House Bling Party next Thursday. 

Check out the details if you’d like to be a part of it. And remember, you don’t have to be a blogger, you can get a free flickr account and upload photos there too.

This chalet is barely begun, but I think that the pink polka dot ribbon might be jarring.  I usually go for all vintage trims and maybe this one is too new looking??  The velvet is a scrap from a rocking chair I redid for Sugarwings when she was born.  I found some white velvet, and was able to do a soft pink marbley look with fiber reactive dyes.  Her little Hippy Chick mom loves tie dye, so this was done just for her.

Today will be a craftapoolza- Beth is coming to play! We will be making birdhouses all day to be ready for next week (I hope you join us! Feel free to add the button to  your blog too).  We’ll also be plotting our next swap, so I hope you’ll join that also.Easter_egg_003_2

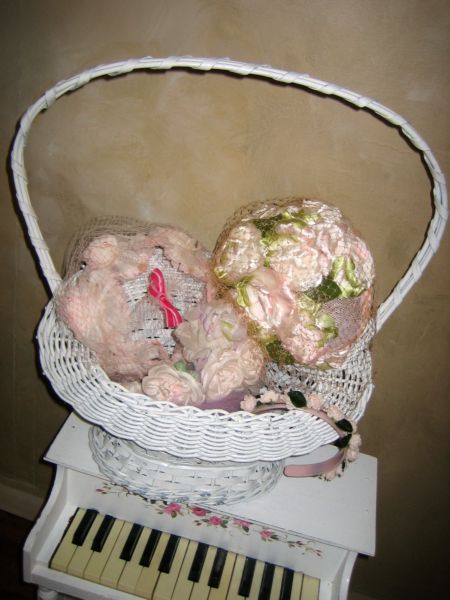
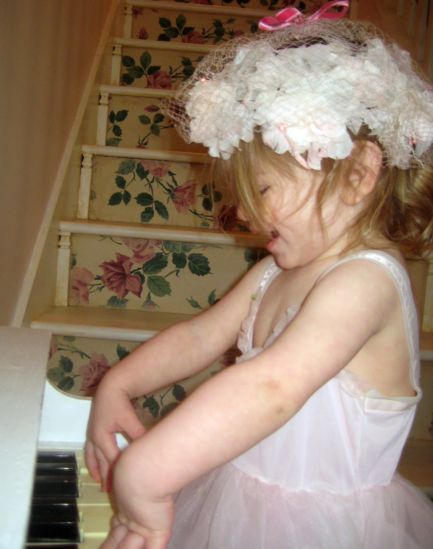
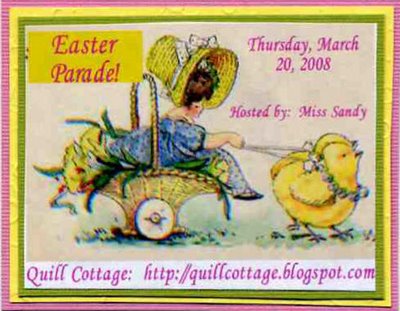
We aren’t the only ones planning a party, there is always something fun going on in blogworld. Sandy is hosting an Easter Parade today and is asking us to show our Easter Bonnets.  Here are some of my latest purchases, in a basket on the fairy grandbaby’s piano. She likes to wear one while she serenades me.Bookclub_105

She is going through a hat phase right now and luckily, I can keep her supplied with plenty of rosey ones to show off in.Easterparade005

Thanks, Sandy!

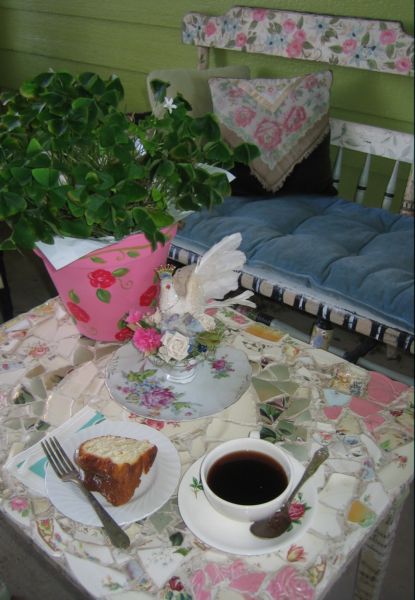
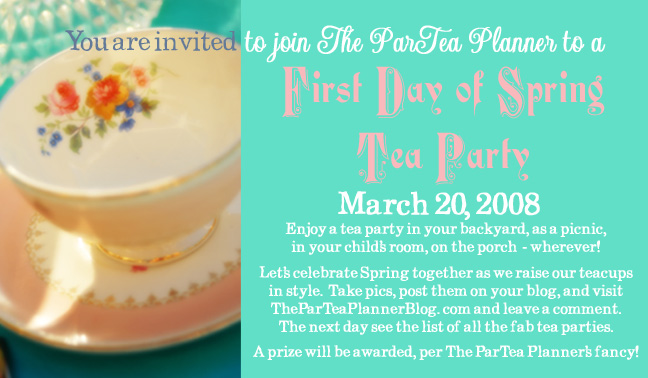
Easter_egg_004_3 And over at the Part Tea Planner’s there is a tea party welcoming the first day of spring.Firstdayofspringteaparty_header_cop

Enjoy the celebrations!

Greetings! A mini tutorial on making some greeting cards with vintage papers

family, how-to projects, paintings, vintage paper/collage art

Bookclub_057 My baby brother-in-law, Randy, has started making cards and has been asking for a bit of advice.

I offered to send him a box of goodies to use, and he said he didn’t know what to do with pages from an old book or vintage wallpaper.

So, I am making these cards with some how to’s for him to follow along with when he gets his package of vintage delights in the mail from me.Bookclub_036

(All of these cards have been created with pre-made linen cards from Michaels.)

The first one is on a white card. I started by laying the card onto the wallpaper and cutting out a piece to fit with an exacto knife. Bookclub_040

The piece of wallpaper was then attached to the card with a glue stick.Bookclub_037_2

After the glue dried, I sanded the edges with the sponge sanding block, for a smooth finish.Bookclub_042

As if vintage wallpaper isn’t old enough… I ‘aged’ the sanded edges with the side of my ink pad.  This color is distressed walnut.Bookclub_045

After the base of the card is ready, then the fun part happens!  Time to embellish-

I cut an oval from a page torn out of a 1917 book with French text, and inked the edges with the walnut ink, then added a smaller oval of a coordinating wallpaper to the center and to that added a gold foil butterfly. Bookclub_046

Some old brown ribbon and a single bloom of an old millinery flower are arranged across the bottom.  I glued a crystal rhinestone (I only use glass ones, never plastic) to the center.

Right now these stones are on clearance at Hancock Fabrics for 75% off.Bookclub_047

For a touch more sparkle, I’ve used a Martha Stewart glue pen to draw dots around the small oval of wallpaper.Bookclub_048

I then dusted my favorite glitter over the glue.

As much as I hate to make Martha even more wealthy than she already is, I just HAVE to buy her glitter. It really is so good to work with!  I use the fine ones, for a sheer look.Bookclub_056

This card starts with a reddish-pink, kind of an azalea color, paper as its base.Bookclub_050

Decorative scissors were used to cut out the French book page and the vintage wallpaper.Bookclub_053

After gluing down the papers, I once again inked the edges.  This time, I blended the ink a bit with a cosmetic sponge.

These old papers can be very fragile, so do this gently.

To finish, I added a snip of embroidered old ribbon, a mother of pearl button, and a teeny butterfly shaped button.

(Randy grows a butterfly garden, so the flowers and butterflies are some of his favorite things)Bookclub_058

Beautiful, beautiful, beautiful, old red flocked wallpaper that I got from Allissa is glued on to a warm pink card for this one, traced with an exacto knife and inked on the edges the same way the first card was done.

After, I used 2 different decorative scissors to cut out the French book page, and a color copy of one of my own paintings.

At the bottom is a brass charm accented with 3 pink crystals.

Bookclub_059 One last how-to for Randy, this card has a pretty cornflower blue base.

To it, I added a strip of wallpaper cut with decorative scissors, and a piece of anaglypta wallpaper that I have aged with an umber glaze.

After the wallpaper was glued into place, I inked the edges with the side of the walnut ink pad.

In the center is an oval of the French book pages, and a German die cut.

To finish it off and add some glitz, three little crystals in the same blue are glued to the border of the anaglypta paper.Bookclub_060

While I was making these examples for Randy, I thought he’d appreciate a kit for each one. While I was at it, I made a little extra.

I had enough bits to make two kits of three cards each.

Everything I used to make my own is in the kit and ready to be glued and mailed out to someone special (Mother’s Day is coming up, before you know it)Bookclub_061

The pieces are already cut with decorative scissors, all you will need to complete the cards is:

glue

ink

glitter

glue pen

exacto knife

If you are interested, email or leave a comment.  Each 3 card  kit is $12, including postage. (unless overseas)Fl_trip_07_041

The last time I went to visit Randy, he and I painted the floor of his craft room to look like a pond.

I wish I could be back there in his colorful room and make cards with him, but isn’t the Internet great? I hope he reads this and feels like I am there with him.Fl_trip_07_015

I love you baby brother!!

Scroll to Top