vintage paper/collage art

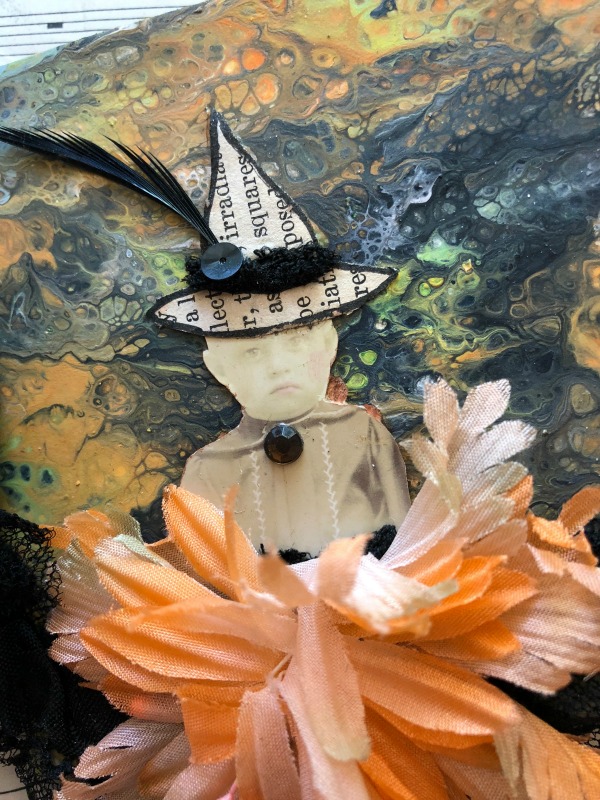
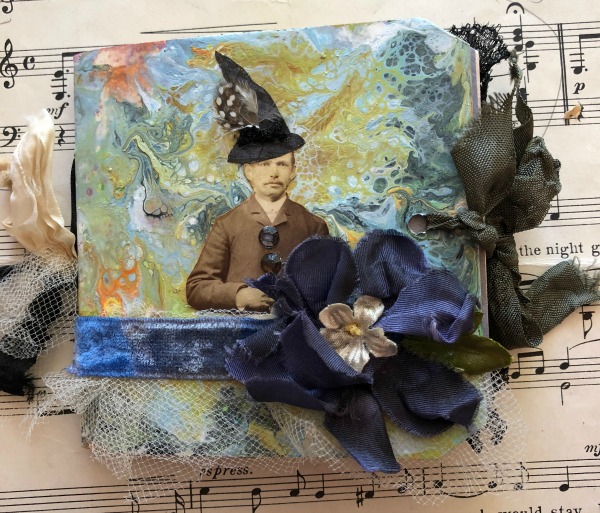
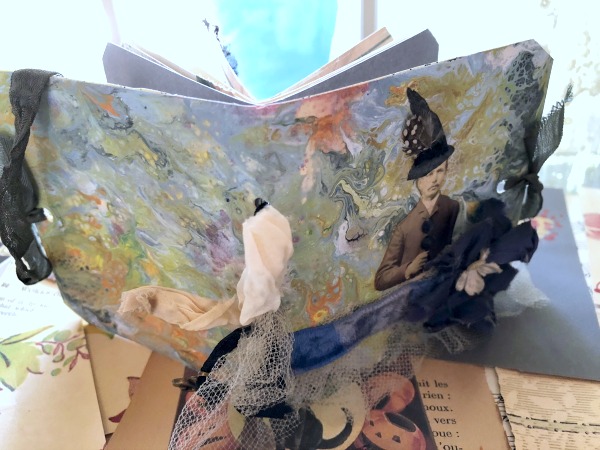
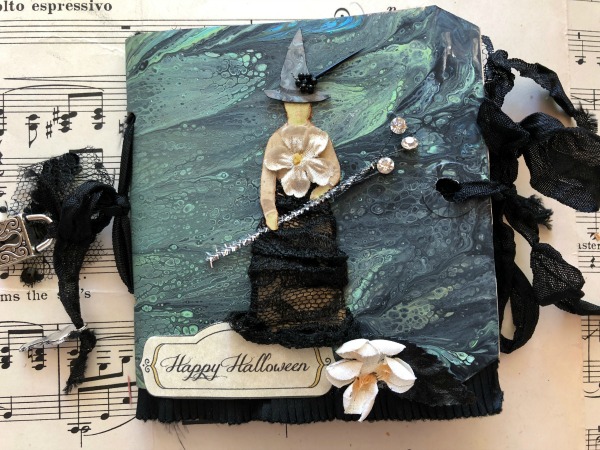
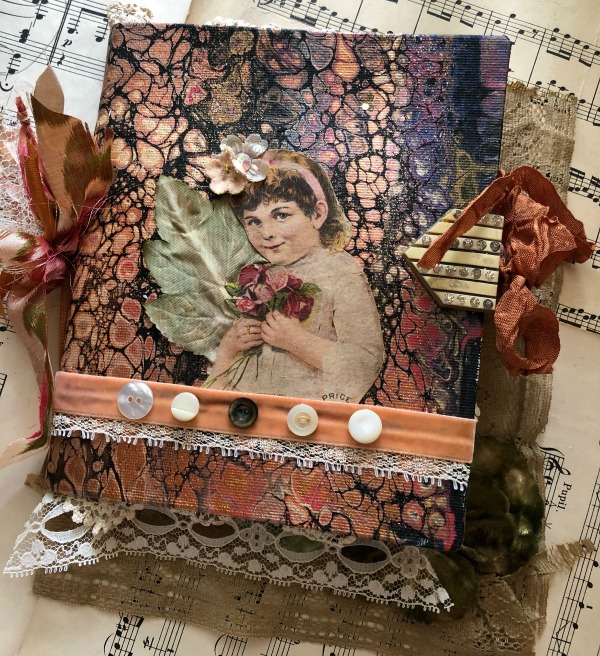
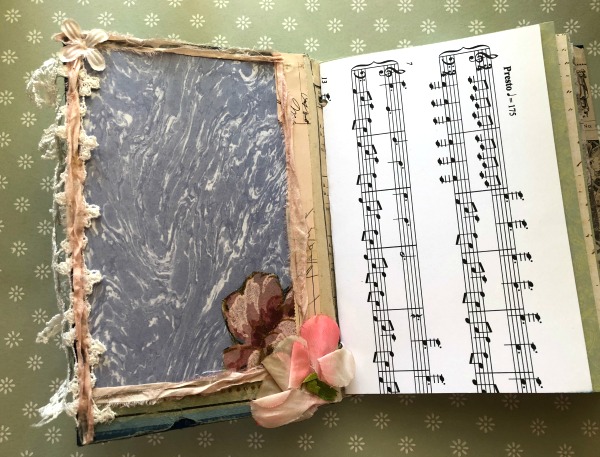
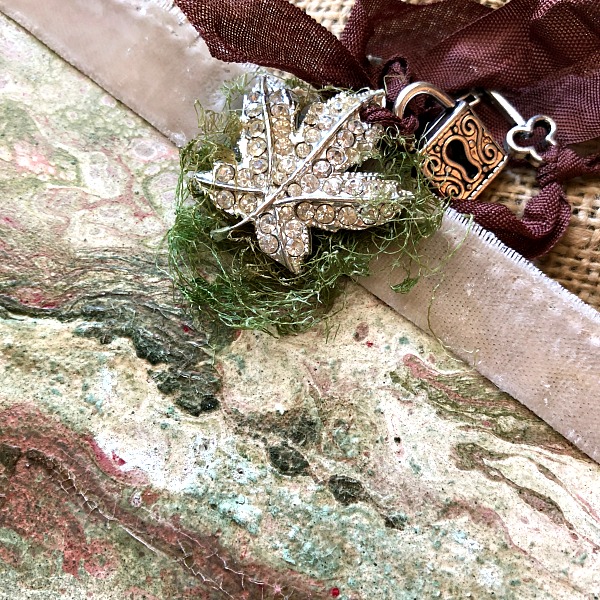
I can’t stop making Bewitching Books! Mini Art Journal kits are in the Bootique

Books, vintage paper/collage art

IMG_1133

Someone stop me!!!!!!!!!!

IMG_1125

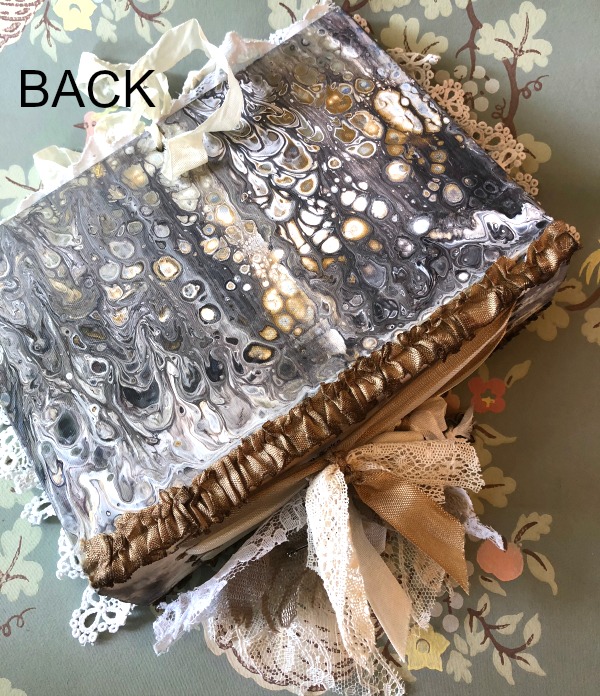
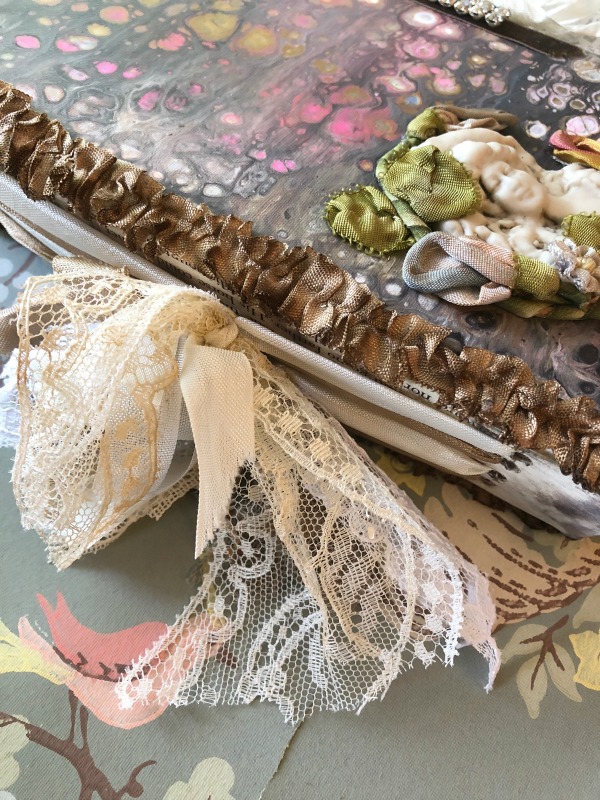
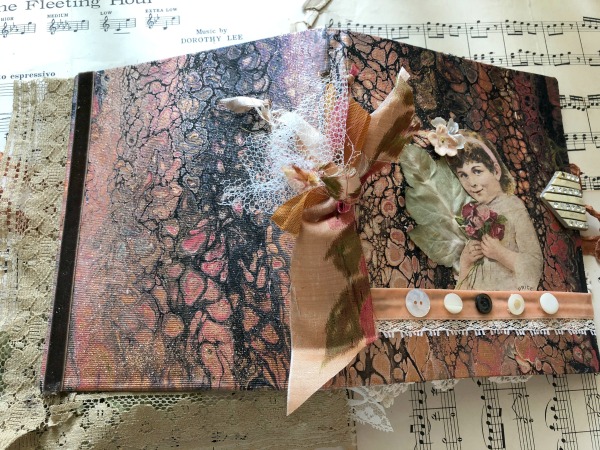
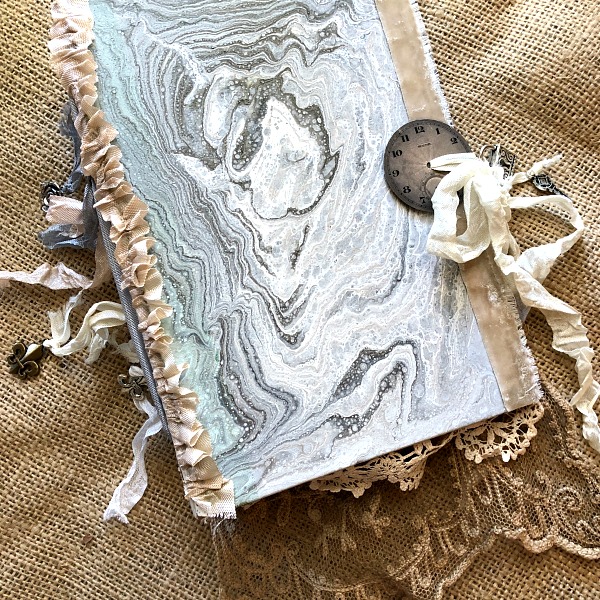
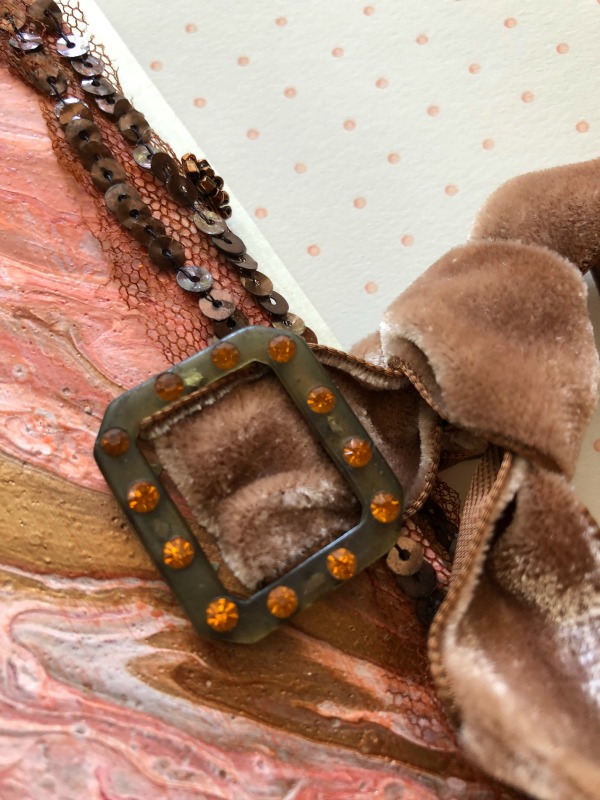
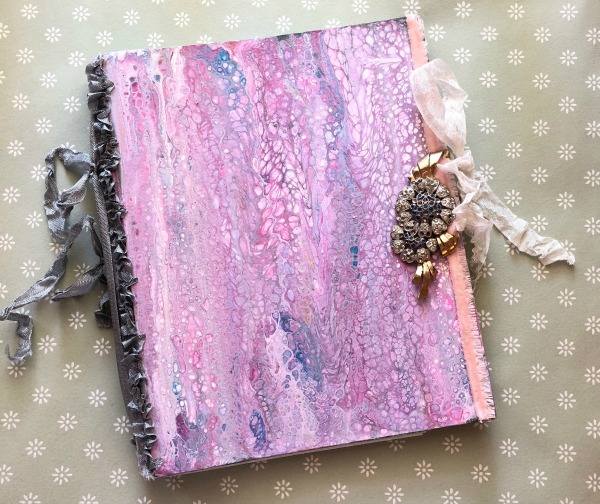
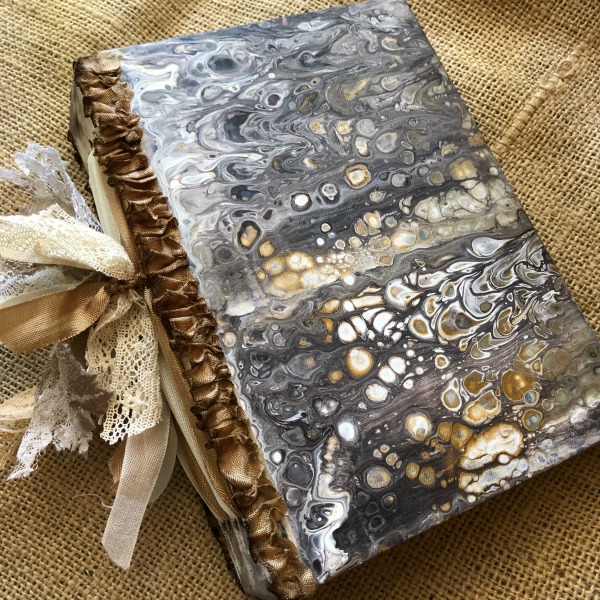
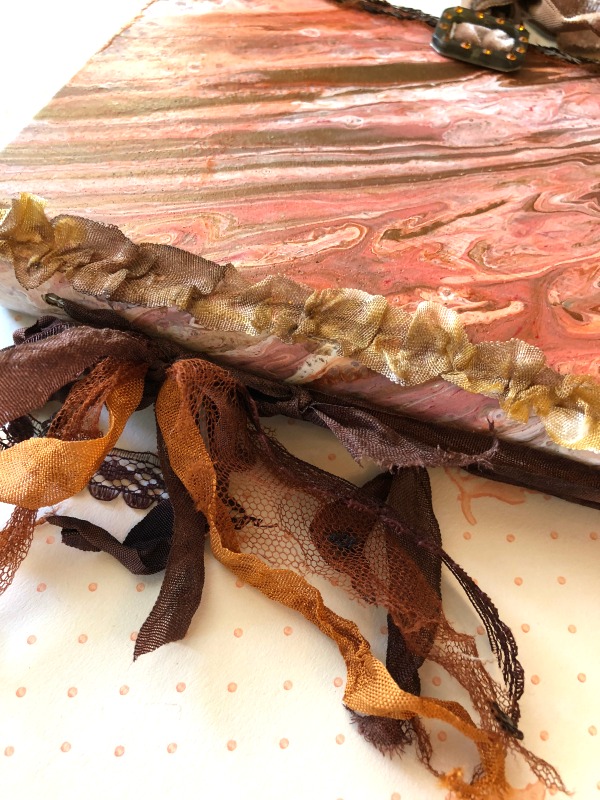
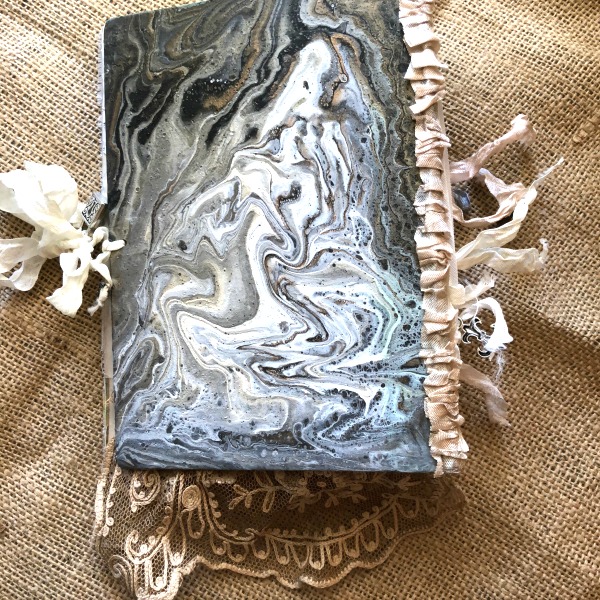
I can't seem to tear myself away from making these paint pour cover books.

IMG_1127

It has been way, way, way, too much fun.

IMG_1138

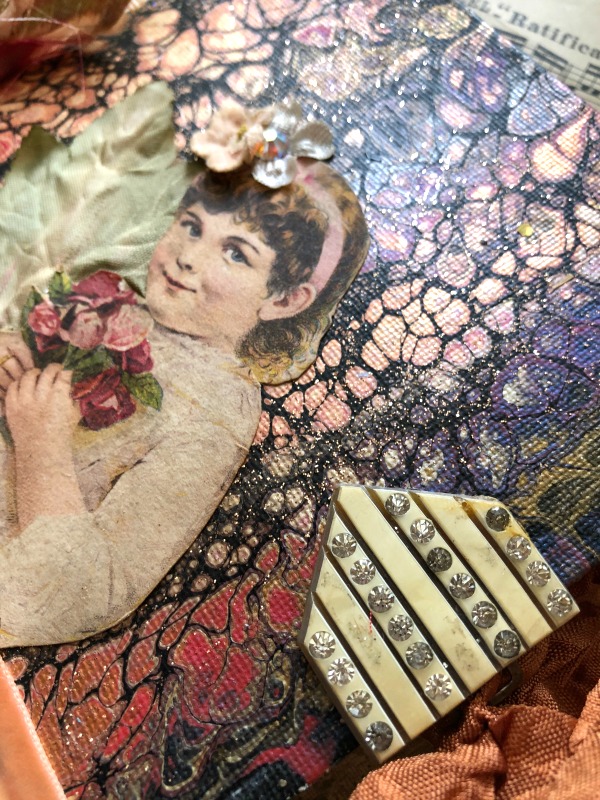
I'm blaming my earlier obsession on the whole paint pour business that got me started on this.  I was playing with paint for the pure joy of swirling it around and smooshing it and tilting, and pouring and watching the colors blend to create designs.

IMG_1135

 I have stacks and stacks of canvas and tags with the poured or flow paint colors on them.  So, now, I'm snipping and slicing and turning them into books.

IMG_1134

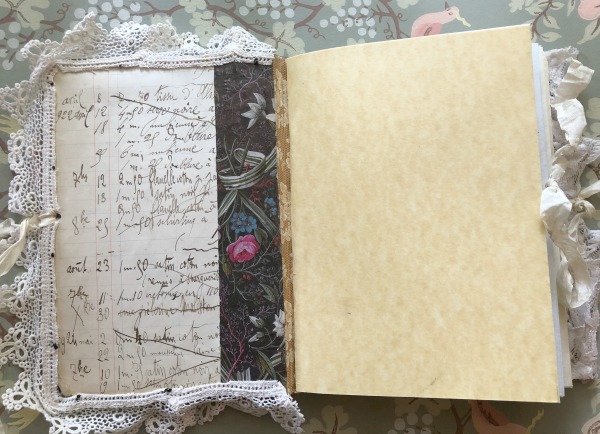
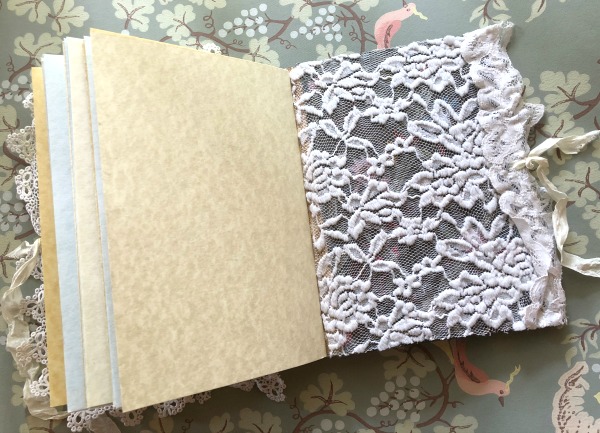
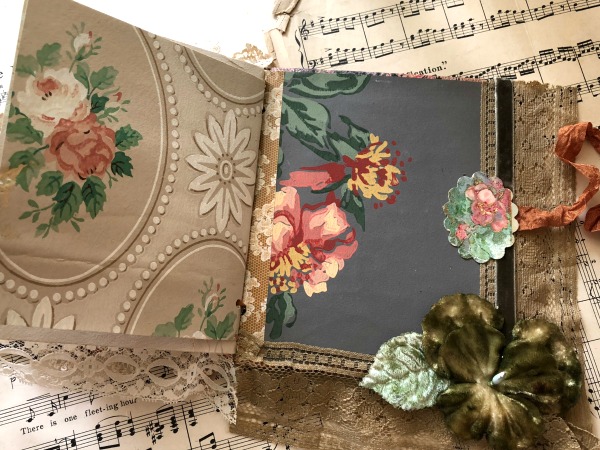
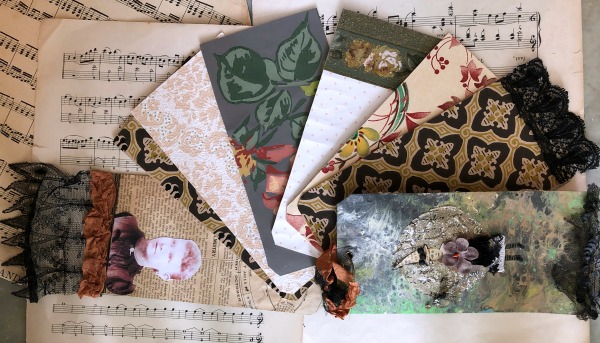
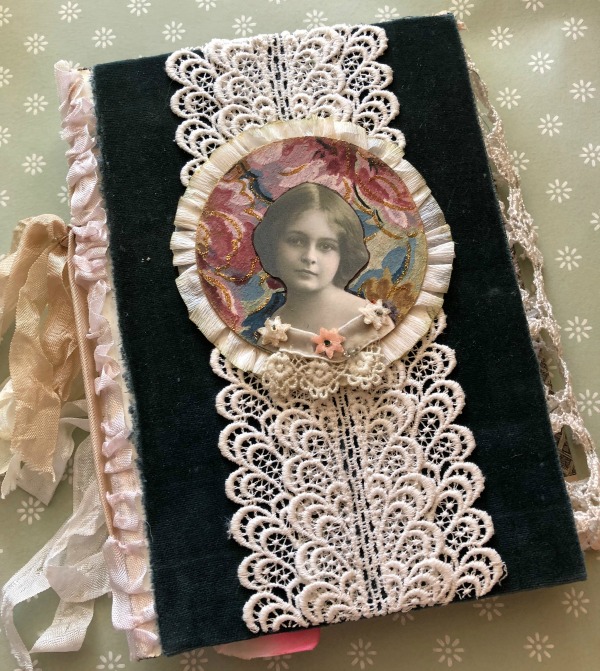
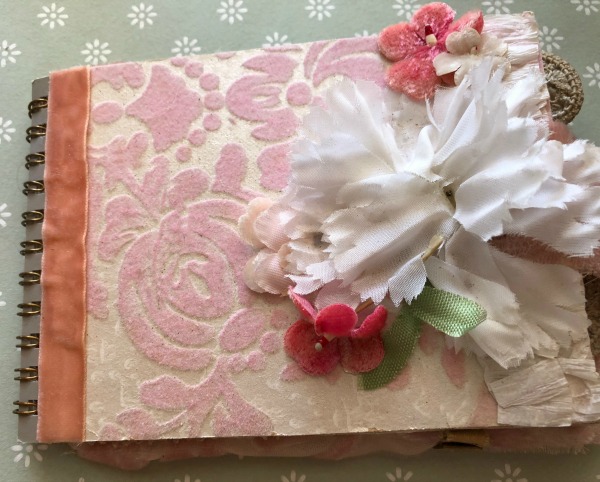
All of the books are pretty as is, but also would make a good starting point to use as a scrapbook (photos of your loved ones in their Halloween costumes?) or a holiday themed art journal.

IMG_1137

These four come with scrap packs to inspire your own creativity in completing the booklets.

IMG_1126

I hope you'll have as much fun playing with them as I did.

And THANK YOU to all of you who have supported my habit by purchasing books from me!!

If you'd like one too, you can get it here:

www.karlascottage.com


Bootiful Bootique Books and a lot of how to tips and ideas for art journal pages

Books, holiday decor, how to's, Romantic Gothic Ghosts, vintage paper/collage art

IMG_1048

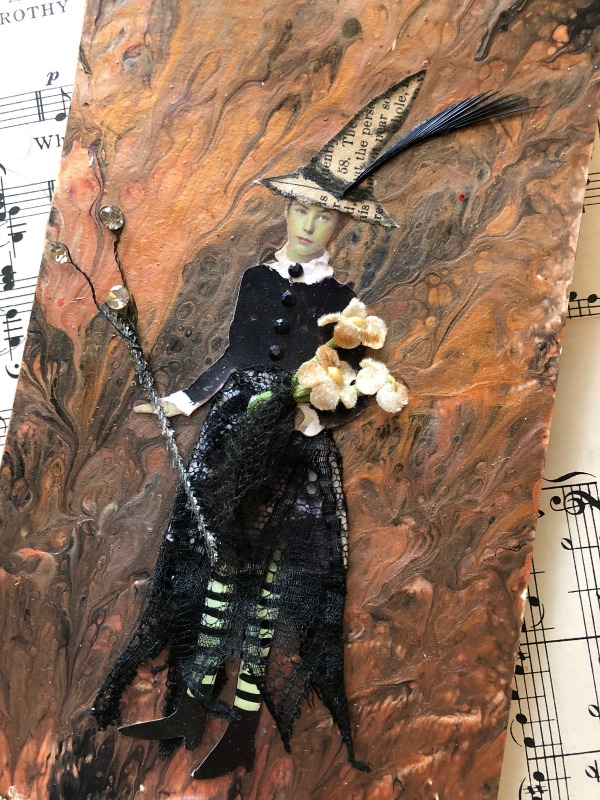
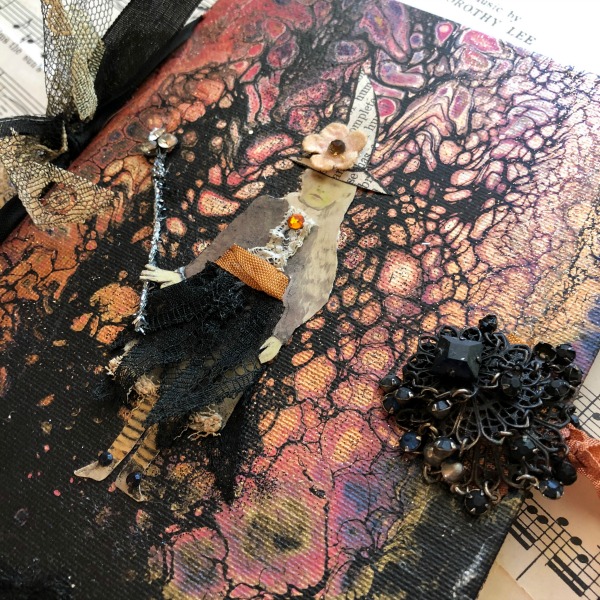
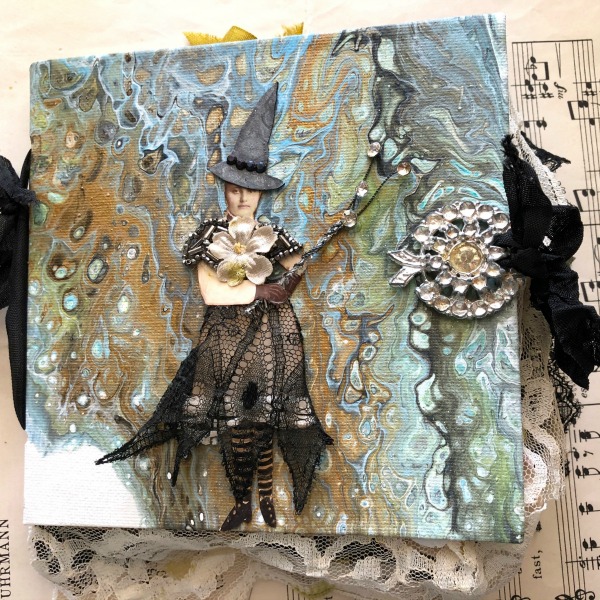
There are a couple more pour paint canvas books with witchy themes in the Bootique now.  This one has the outside covers in flow paint with a witch I've cut from an old photograph and spooky-foofed up. 
IMG_1051 IMG_1052

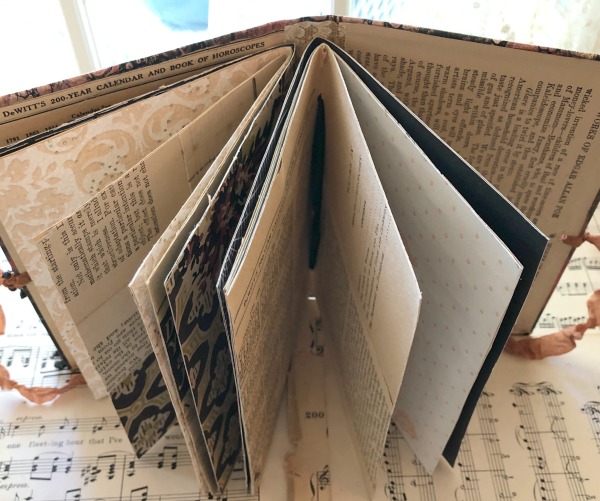
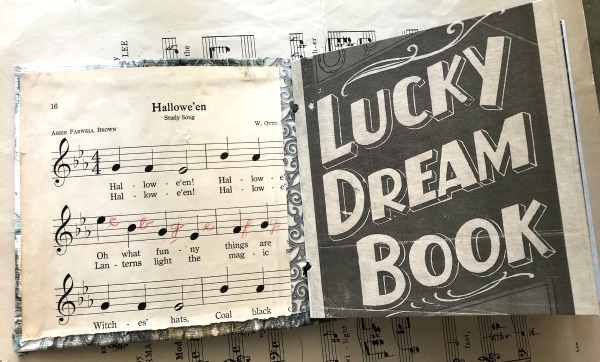
The inside covers are covered in old paper and the interior pages are a grey, parchment style card stock, ready to be embellished.
IMG_1053

This book has the same type of cover.
IMG_1055

Instead of it being a kit for you to finish, I've gone ahead and journaled it throughout, myself.
IMG_1056

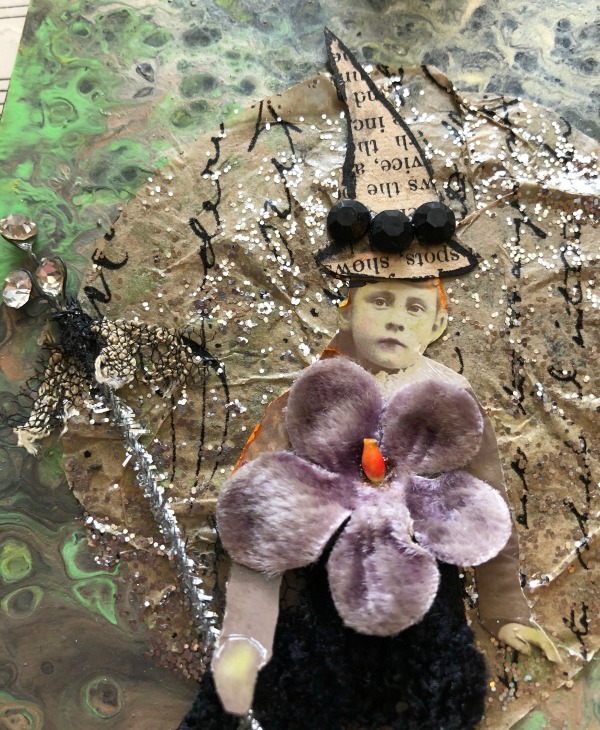
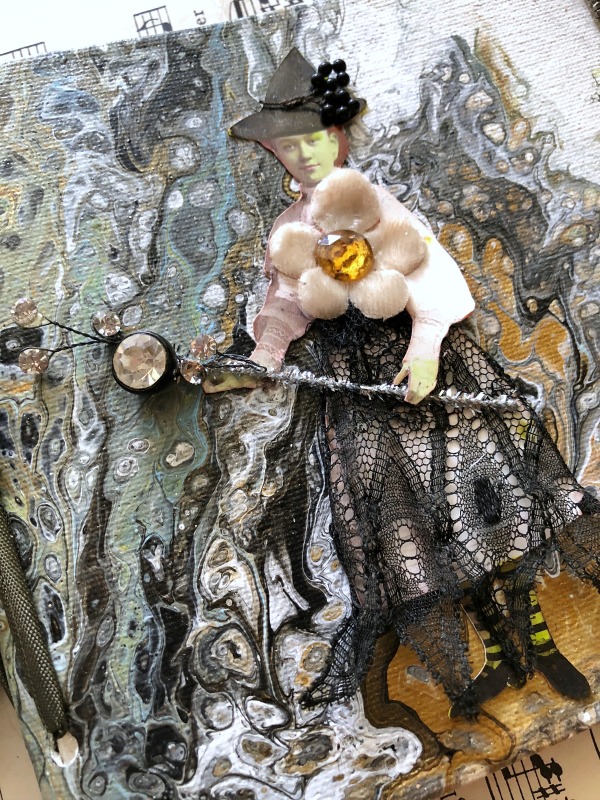
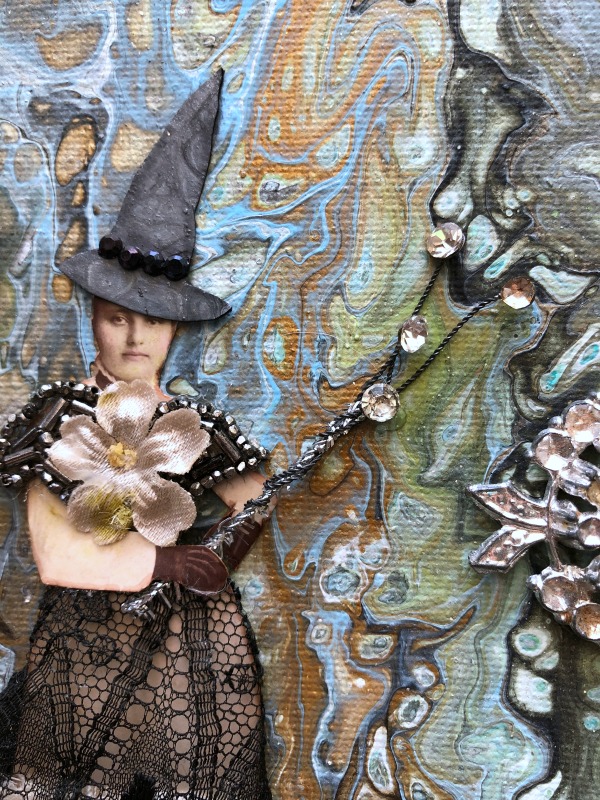
Here is a close up of our sorceress, with her magic wand made of a trimmed pipe cleaner and topped with a vintage rhinestone spray, with its wire wrapped around the pipe cleaner.  She has old lace wrapped around her dress, and a hat made from card stock that I'd painted.  

TIP- When adding a gown to a photo, it is often easiest to cut the person in half after cutting her out of the background.  You will want to stretch the fabric around the figure and secure it with glue to the backside. And arms are often in the way. I either cut around the arms, or in this case, I simply cut the lady into two pieces, added the lace, and glued the two parts down onto the book to reassemble.

And it looks better if you do away with the stark white edges of the cut out person by running a light brown marker or ink pad over them.
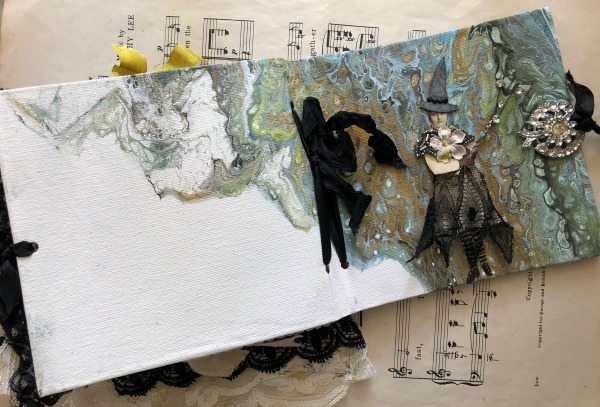
IMG_1057

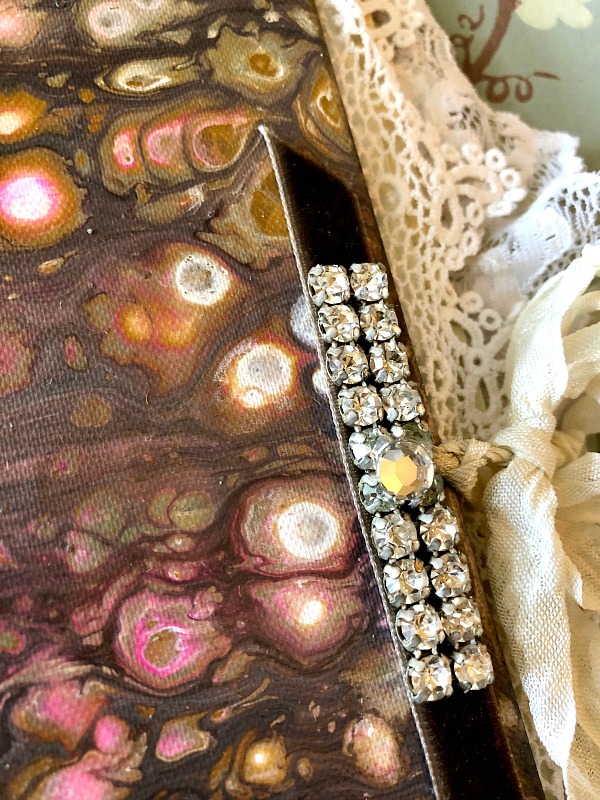
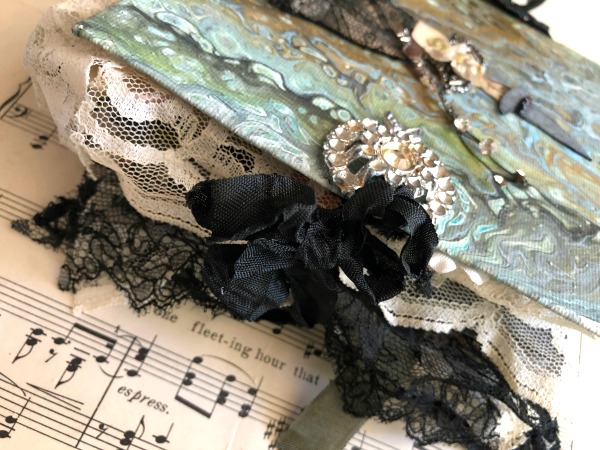
The "fastener" on the book is a vintage brooch.

TIP- Old brooches look great on the side of a book to create the illusion of a closure.  But, they sit unevenly.  Take a pair of pliers and twist off the pin back.  This one still had a sort of stump where the pin had attached in the center, so I punched a hole in the cover and added glue to the rim of the hole, then pushed the raised bit down into the empty space for the brooch to sit evenly  More glue was added to the back of the pin that met with the cover.  
IMG_1058

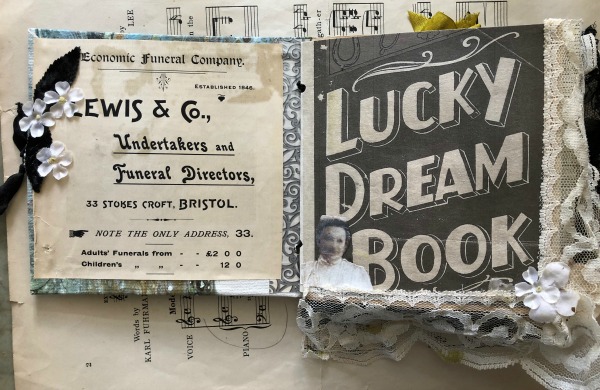
The first page is simple, I've used an ad from an old magazine for a funeral home (Thinking ghostly here). The leaves and flowers are glued over the hole I'd used to attach the brooch onto the front of the book.

TIP- Lots of lace adds a lushness to a journal.  I like to start a book with some trailing from the first couple of pages.  And add it to different sides of the pages throughout the book, on this page it is on the side and bottom.  To hide the pleat, I've added a flower.

The ghost if from an E-zine I did with Beth years ago.  It was called ROMANTIC GOTHIC GHOSTS and included full directions, tips, plus a lot of images to download and print. It is still available here: http://bethleintz.typepad.com/workshops/, scroll down, there are two zines to buy, the first one is a Xmas theme and the ghostly one is at the bottom.  
 

IMG_1059

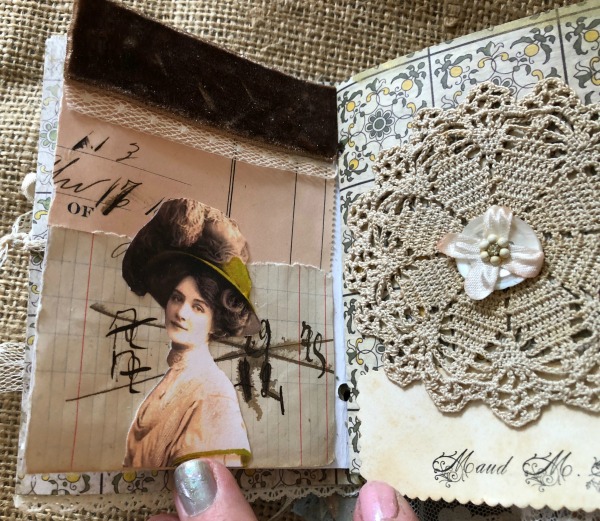
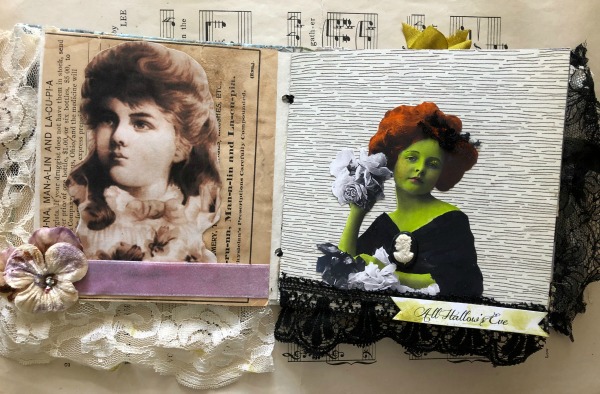
My book features both copies and originals.  It has vintage paper and scrapbook paper.  The sepia girl is a color copy of an old photo, glued to original, vintage text, simply accented with a velvet ribbon and velvet pansy for nice textures.

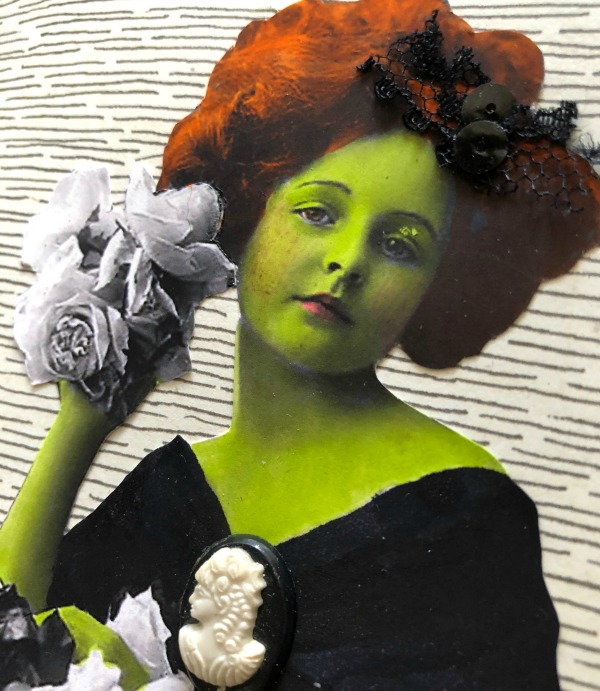
The next page is scrapbook paper, with a girl cut out of a black and white copy of an old photo.  I've used marker on her flesh to make her look "wicked".
IMG_1060

TIP- I find it easier to color the people before cutting them out of the photos.

And I use a blendable marker in lighter green, then a slightly darker green where you'd apply eyeshadow, for depth.  Marker also works for lips, but please use a red colored pencil to get a realistic blush look.

Add 3D elements like the cameo or hair bow for accents.
IMG_1061

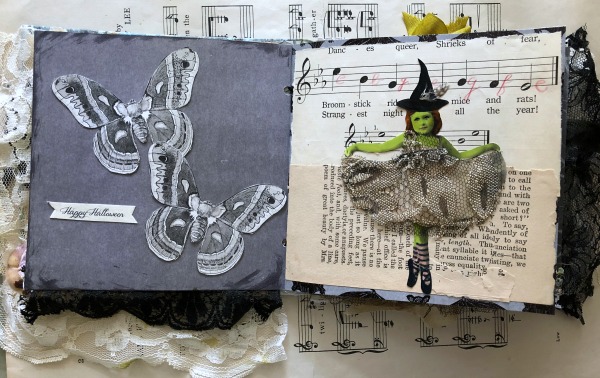
The moths are cut from copies of images found on Romantic Gothic Ghosts, glued onto plain, gray scrapbook paper with black ink around the edges.

TIP- Simply done pages can add a lot to a book. Not every page needs to have a lot going on.

Next, is another girl I'd treated to a wicked tint.  Her dress is lace, and her hat is cut from other paper and added to her head after she is glued to the background of vintage texts, layered on the page.

TIP- Striped socks are an easy way to change a girl into a witch, just color the socks with marker in a basic color and draw the curved lines with pen.
IMG_1062

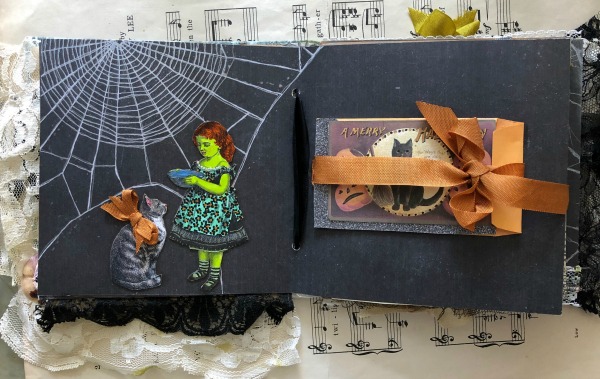
On the left is scrapbook paper from a Halloween book, with a spiderweb. I've drawn over the web with a metallic pen.  The girl and her cat were cut from a black and white copy, and colored with markers and glitter pens, then a bow was added to the cat.

On the right, a small envelope was covered with a vintage image, color copied and accented with glitter pens.  It has a ribbon wrapped around it, and then was glued in place.

TIP- Use envelopes and pockets in your books to tuck away treasures or surprises.
IMG_1064

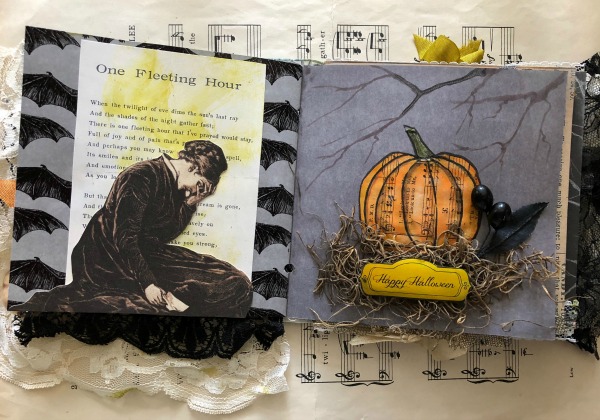
Another simple page with a big impact, bat themed scrapbook paper, topped with a copy of a poem, and a cut out of a grieving woman.  Her dress has been accented with glitter pens.

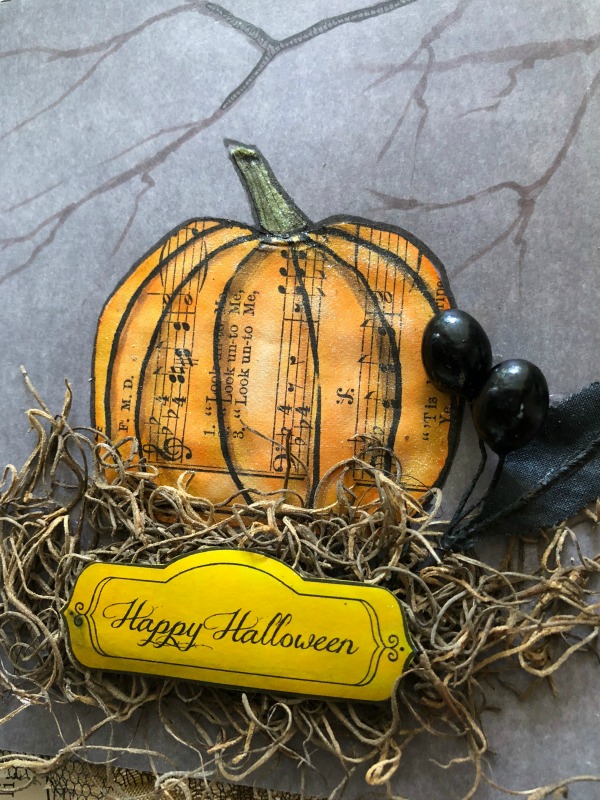
The paper used on the right was also from the Halloween scrapbook pad that I had, but I have added a few hand drawn branches to the background. The pumpkin was drawn onto sheet music, colored with markers and glued down to the page and moss was added over it. The words were printed in black and white and colored with gold marker, then highlighted with glitter pen.
IMG_1065

TIP- Hand drawn or colored elements, whether free hand or done by coloring stamps or stencils, add a lot of interest to your pages.
IMG_1066

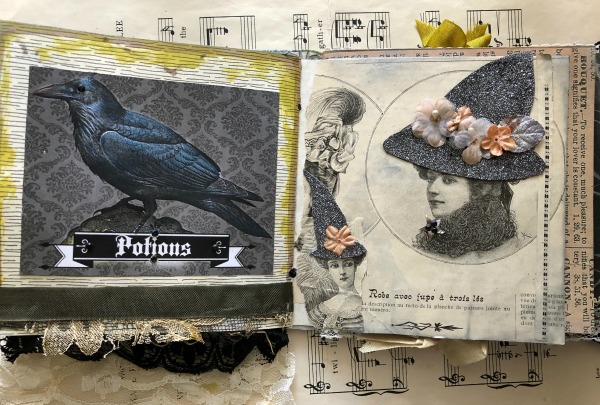
The raven is a printed copy, with the bird itself accented with glitter pens, and the background left with its matte finish.  The bottom of the page is trimmed with tattered lace, topped with velvet ribbon.

TIP- Your lace doesn't need to be pristine.  Old and tattered bits add character to a book.

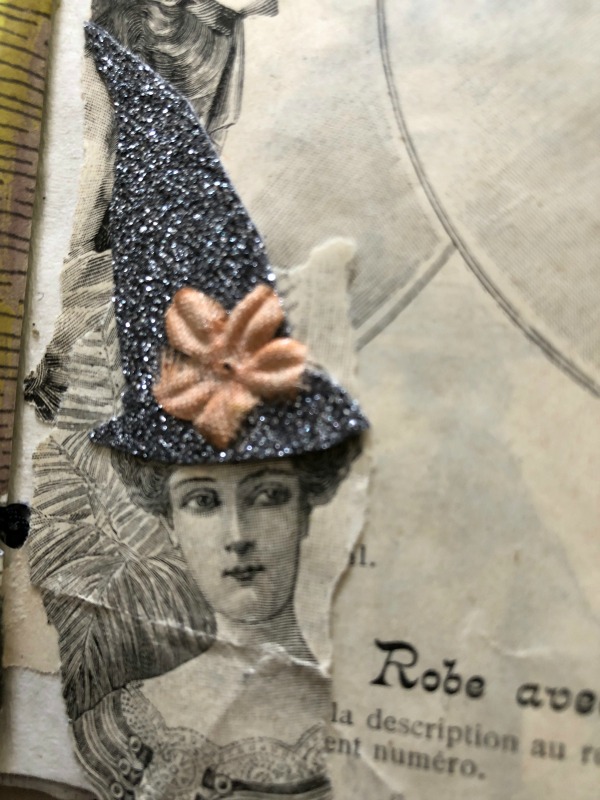
The witches on the other side were ladies from an ad in an old magazine. I've added hats made of glitter card stock and millinery blooms.
IMG_1067

TIP- For a more finished look, I ran a black ink pad along the edges of the glitter card stock hats.
IMG_1068

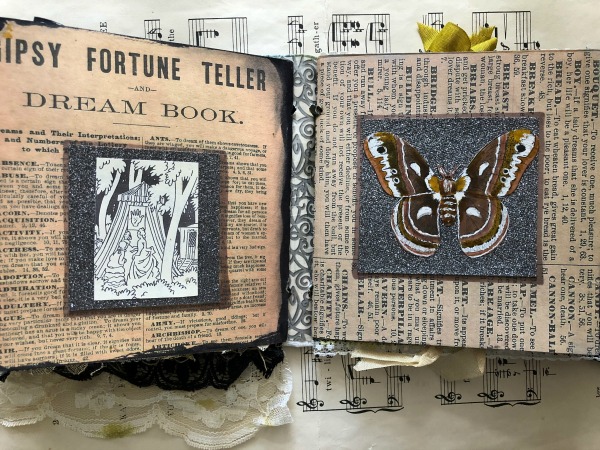
The same moth image from Romantic Gothic Ghosts that I'd used on an earlier page is used over glitter card stock on this page. It is colored with tones of brown markers and a little glitter.

The same style of layering squares over text was done on the left page for a cohesive look.

TIP- Do not be afraid to reuse the same images or ideas in slightly different ways, throughout your book.  Reusing themes can bring unity to your pages.
IMG_1069

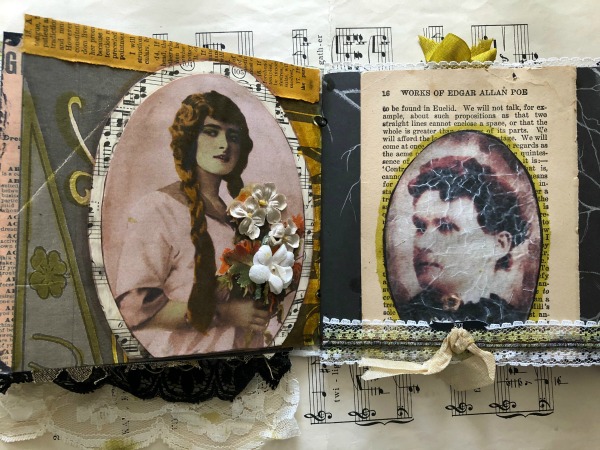
I've done a similar thing on these facing pages.  Instead of squares, I've used ovals, layered with the images.

TIP- Not all dangling trim needs to be lace.  Here, I have a knotted ribbon that hangs down past the bottom of the book.
IMG_1070

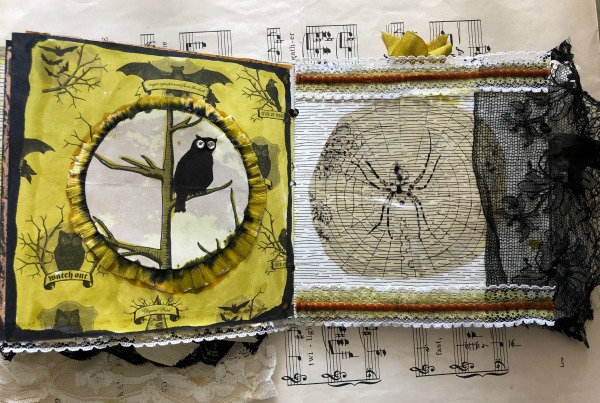
Both of these pages have scrapbook paper as a background.  On the left, I colored the page with a glitter marker in gold, the cut an owl image from another scrapbook page and turned it into a medallion by adding a crepe paper ruffle to the back.

The spider is cut from an image (Romantic Gothic Ghosts) then printed onto a transparency.  

TIP- Photos or images printed onto transparencies or vellum paper can give you a ghostly feel or some nice texture.
IMG_1073

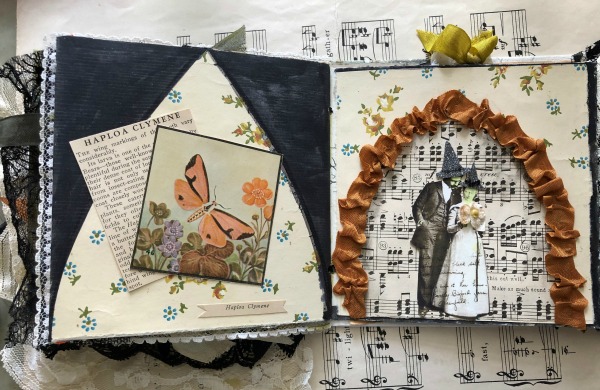
Here is another moth, taken from a biology booklet, centered over a gothic arch.  I've used the same vintage wallpaper in two different ways on these face to face pages, along with two styles of gothic arches.

The couple easily became a witch and warlock by tinting their skin and adding hats.
IMG_1071

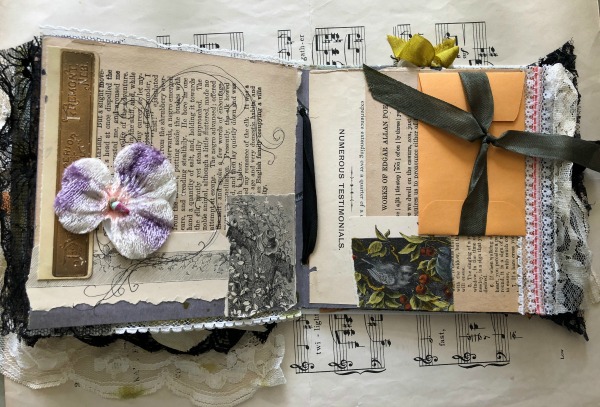
These pages are a patchwork of vintage papers, layered with a flower and an envelope. I've drawn a flourish on the page with the flower and colored the black and white image on the page with the envelope.
 

IMG_1076

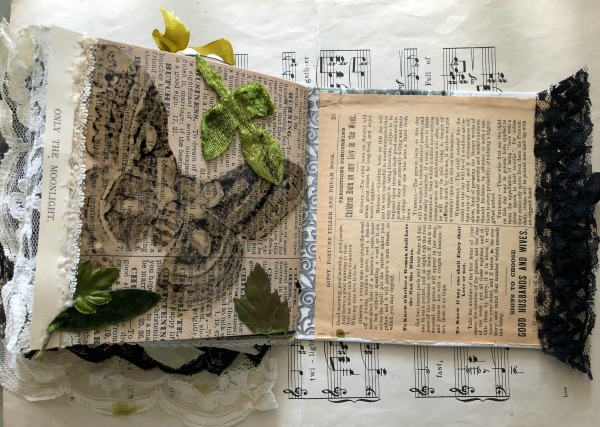
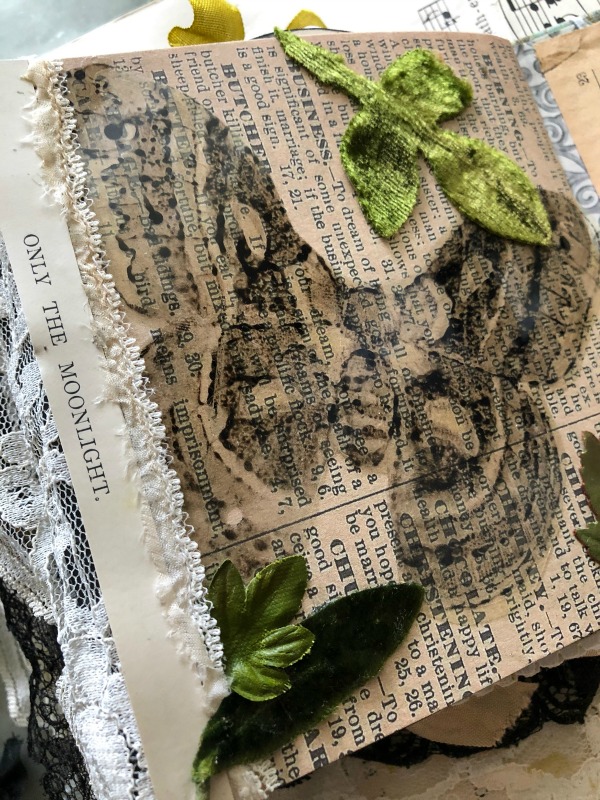
The last page shows the same moth I'd used on two other pages, one as is, one tinted.  This time it is printed on a transparency.
IMG_1077

Velvet leaves were scattered onto the page for texture, and words cut from an old book add atmosphere.

TIP- I make a file of interesting phrases or words and snip them out as I come across them, and save them in the file for later.  If you are specifically looking for just the right words in old books, you will spend all of your time searching and none of your time creating! So, when you see something interesting, snag them then and save them for the future.
Tips

I'll be adding this info to my tutorial, "Creating an Art Journal", it is filled with lots of ideas and designs for making your own books.    
More Witchiness in the BOOtique

Books, the Boutique at Karla's Cottage, vintage paper/collage art


IMG_1044

I've been making more art journal kits. Here is the info about this one:

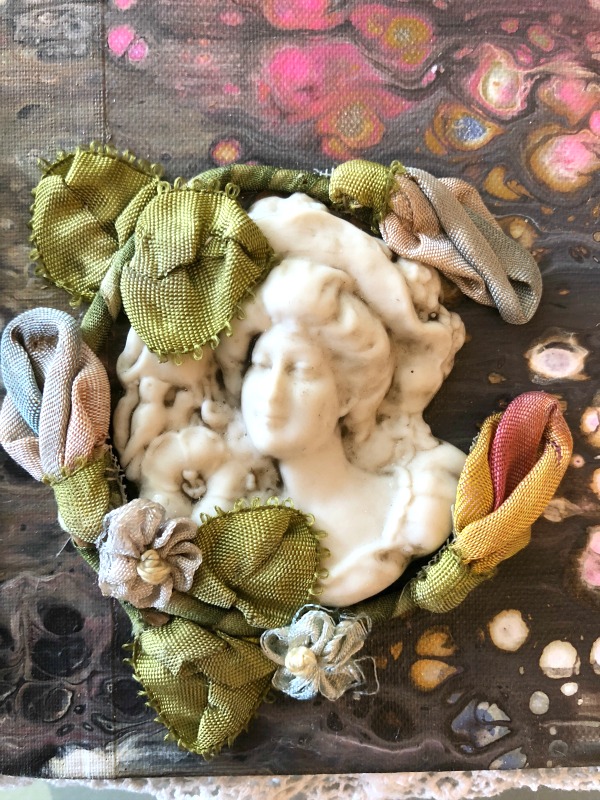
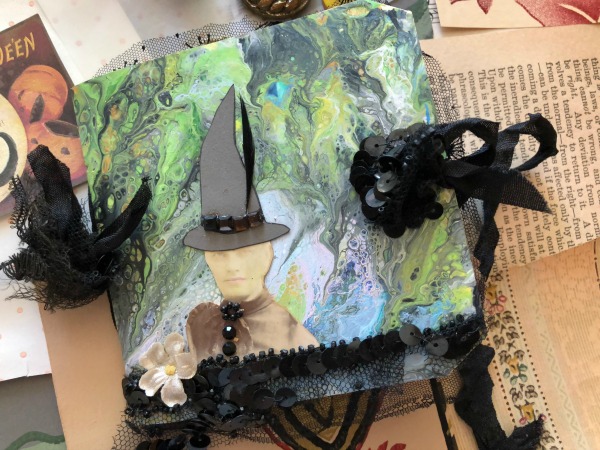
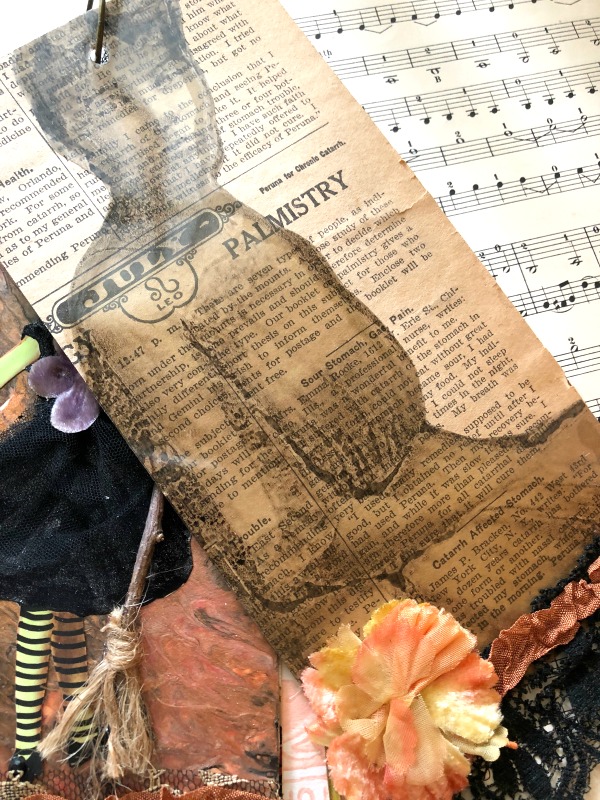
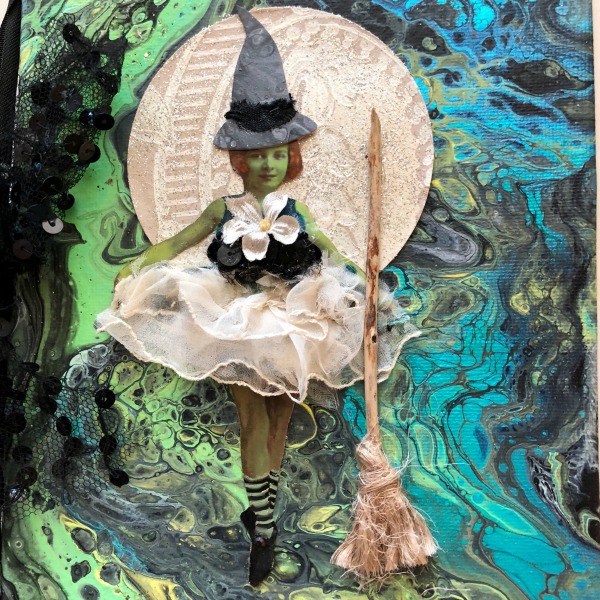
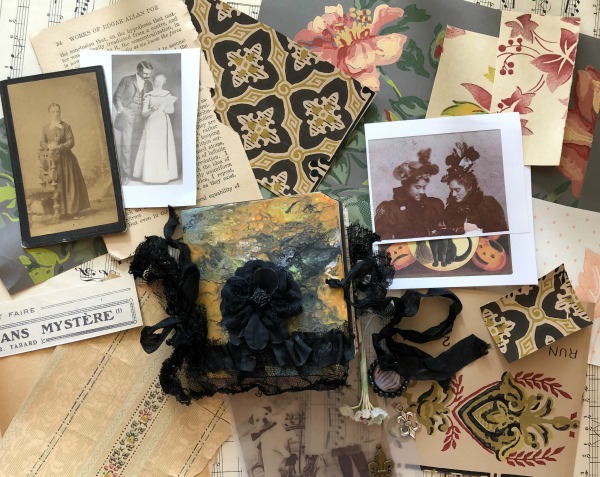
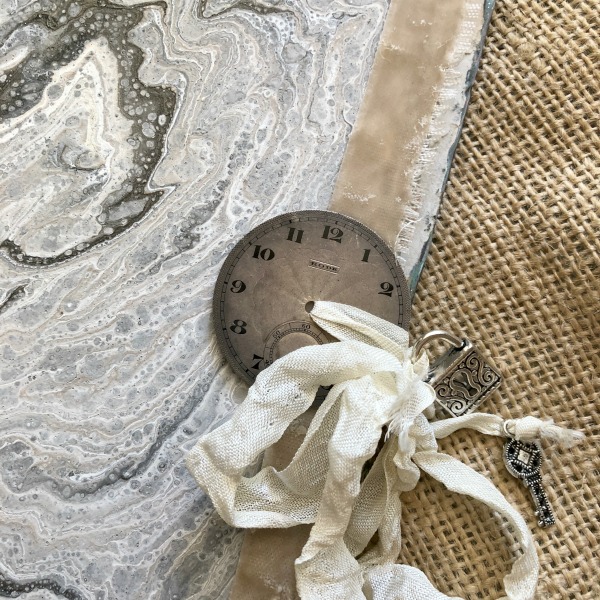
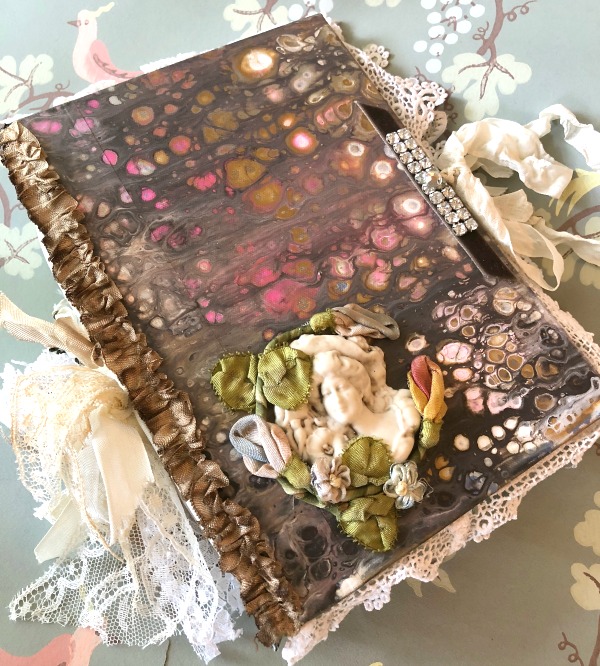
This 5-1/2 x 9" book is completely hand made from top to bottom, using only the GOOD STUFF. I've painted a canvas with and acrylic paint pour techique, with witchy colors including a metallic, color changing peacock blue.The canvas has been adhered to chip board and lined with vintage text taken from a 1914 astrology book.

After reinforcing the spine with decorative tape, I've tied in pages of Halloween themed cardstock (to use as a background or cover as desired.)

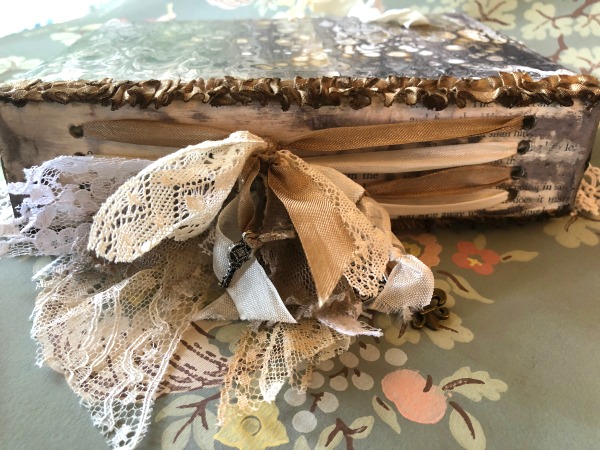
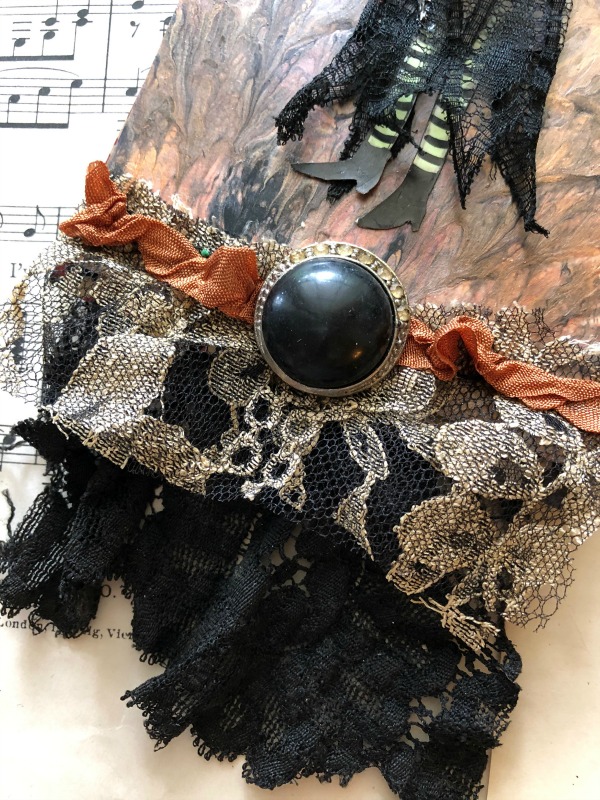
Vintage lace rims the back cover and trim cut from a black, sequinned, flapper dress is used on the front and to decorate the ties at the spine.

The full moon, is made of vintage wallpaper that I have glittered, and the witch is cut from a copy of a vintage photo printed onto quality photo paper and hand tinted.

The witch's dress is tattered silk, taken from a 100 year old gown. Her hat is also painted with a pour technique in grays.  I've hand crafted her broom and added vintage trim to her frothy dress.

Included, you will receive to finish your book:

a vintage photo

a selection of printed vintage photos

vintage text from an Edgar Allen Poe book

old playing card with a spider back

page of French text

selection of old wallpaper in dark tones for Halloween

2 small collages on vintage paper

sheet music

IMG_1033

And this one:

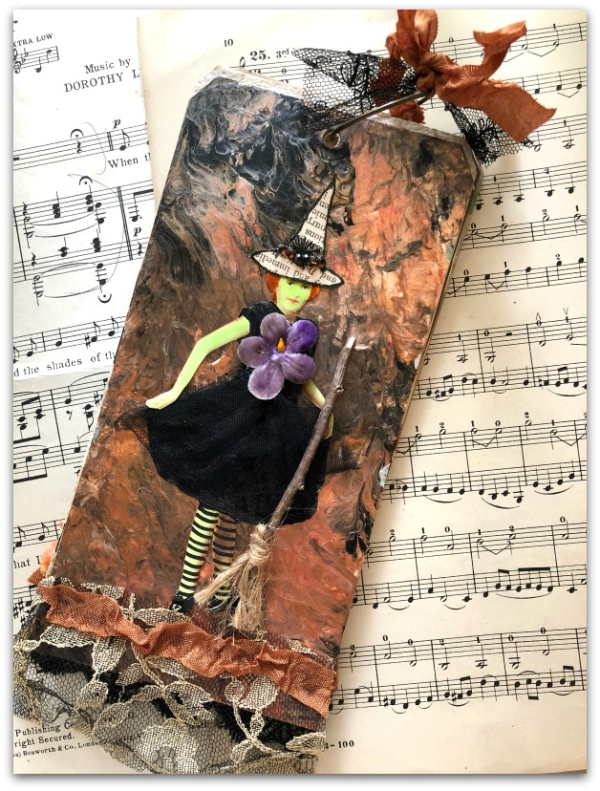
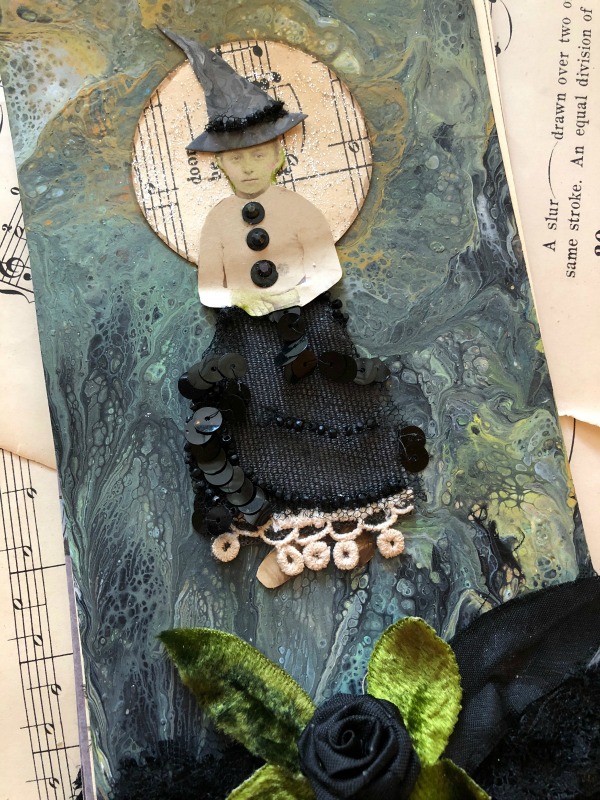
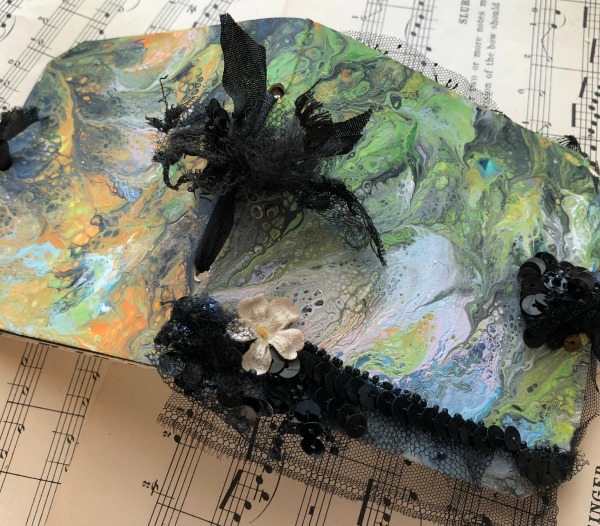
This 4 x 8' tag book is created with hand painted tags front and back using an acrylic flow paint technique in Halloween colors.  I've created a little witch from a vintage photo, pour painted hat, and sequinned skirt to add to the front of the booklet.  He skirt is made of grossgrain ribbon covered in sequin fabric cut from a flapper dress then trimmed in tatting.

More lace peeks from the bottom of the book, with sukver beading cut from another flapper dress, and vintage velvet leaves, topped by an old, black ribbon rose complete the front cover.

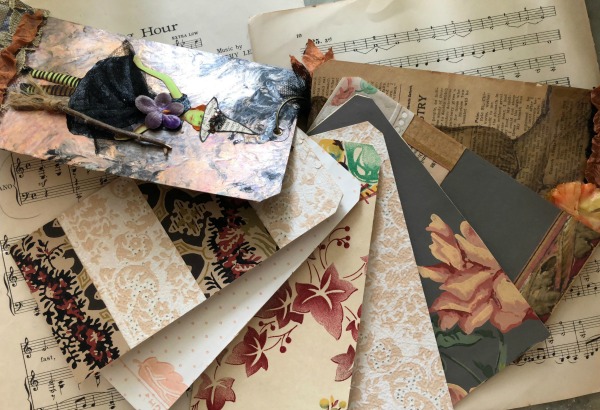
Interior pages are tags and hand cut tags made of decorative Halloween papers.

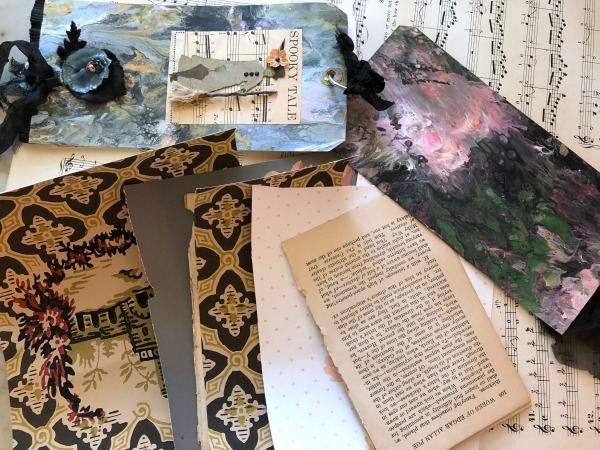
You also receive sheet music, vintage wallpaper in fall tones, and pages torn from an old Edgar Allen Poe book.

IMG_1037

If you are interested, you can find them in the BOOTique, www.karlascottage.com

IMG_1019

There is a lot of witchiness and wicked greens for Halloween going on there right now.  


Mini Halloween Art Journal Kits in the BOOtique

Books, the Boutique at Karla's Cottage, vintage paper/collage art

IMG_1012

Yep, I'm still paint pouring.

IMG_1019

And still making books.  This one is Wicked Green.

IMG_1017

I thought I'd turn them into Halloween art journals.

IMG_1023

So, I gathered up some vintage black lace and millinery, cut up some pages, and tied them together.

IMG_1009

And of course, they needed some coordinating supplies, right?

IMG_1022

Thank you to those who bought me last little booklets.  

IMG_1029

I've added a few more of the floral ones along with the Ghoulish toned kits, in case you wanted one and didn't get in on the rush.

IMG_1031

I very much appreciate you coming by to look and shop!

IMG_1015

Here is the info about the books and kits:

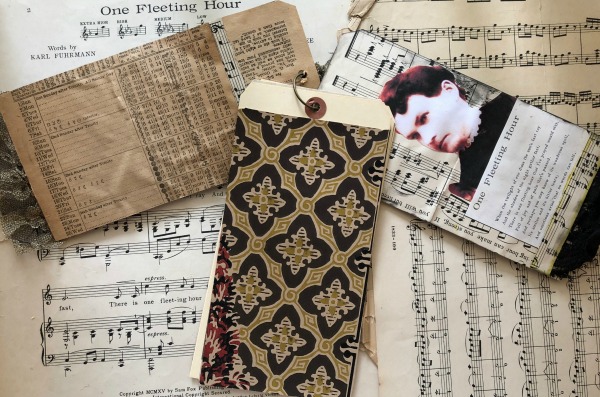
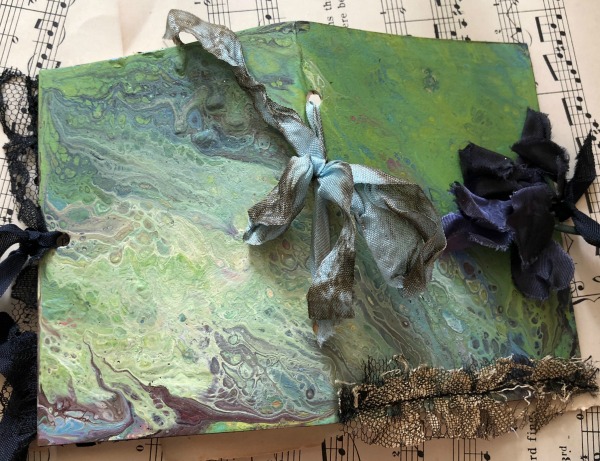
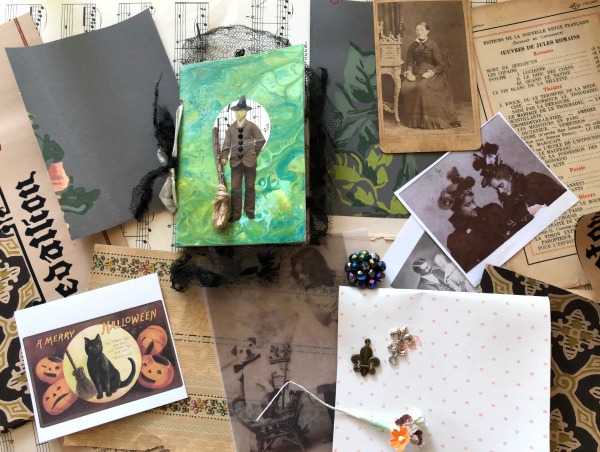
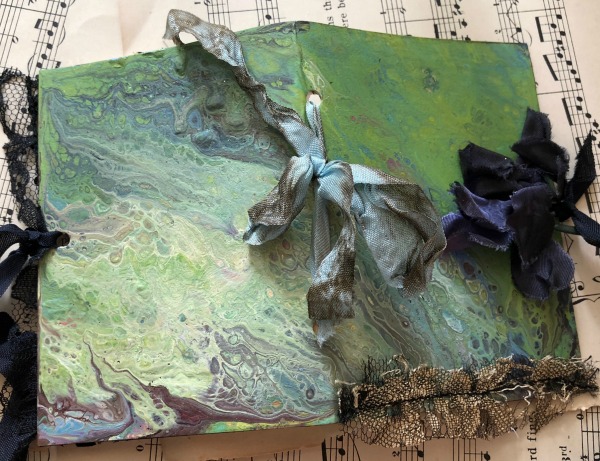
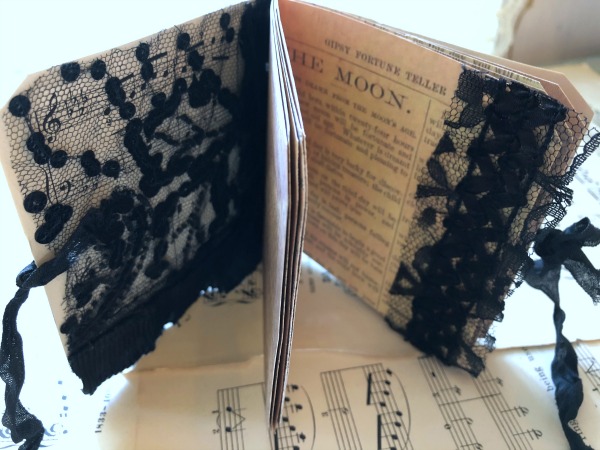
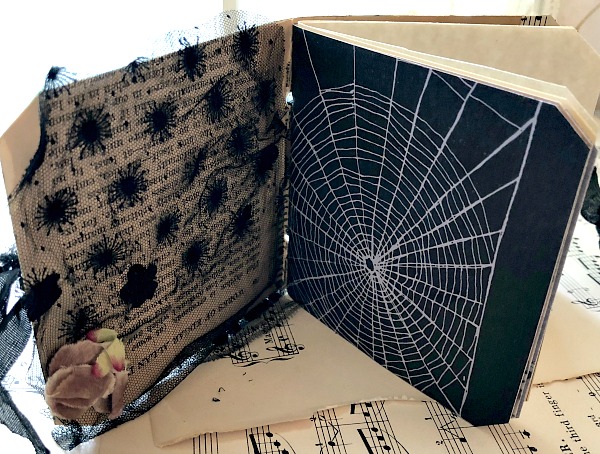
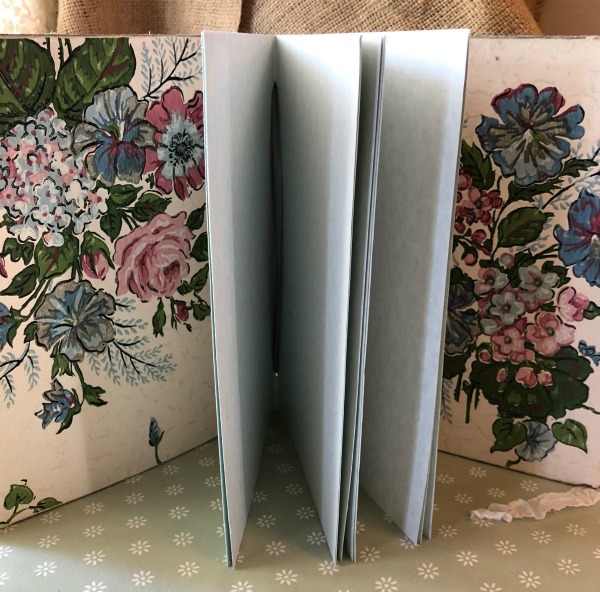
These 4 x 4" art journals are made of a sturdy tag, painted in a "flow" style with acrylic paints, folded over and filled with pages made of themed or plain cardstock to use as is or cover as desired.

The cover was embellished with millinery taken from an old, floral hat and black lace peeks out from inside the books.

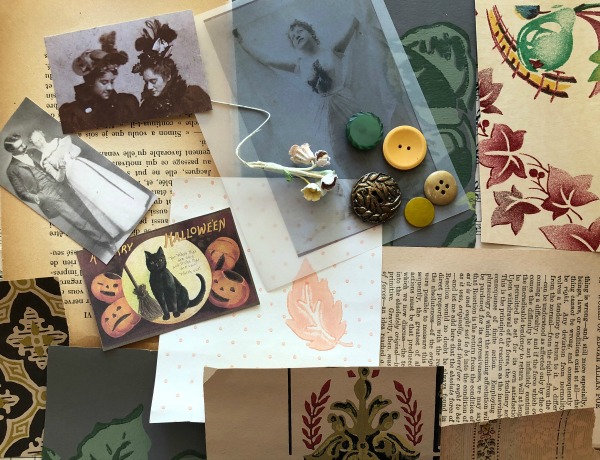
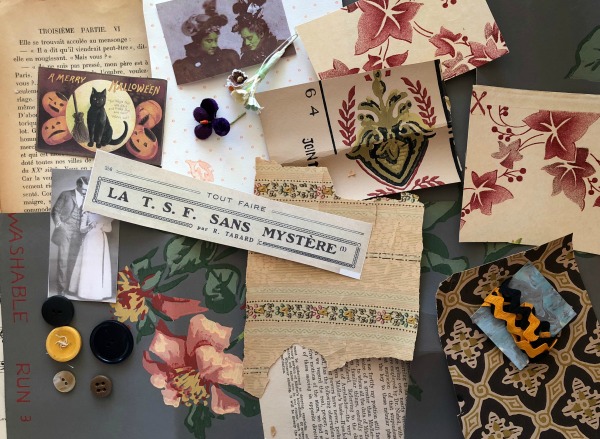
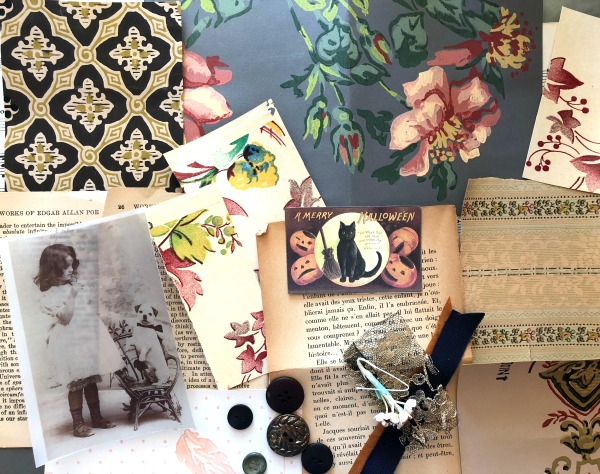
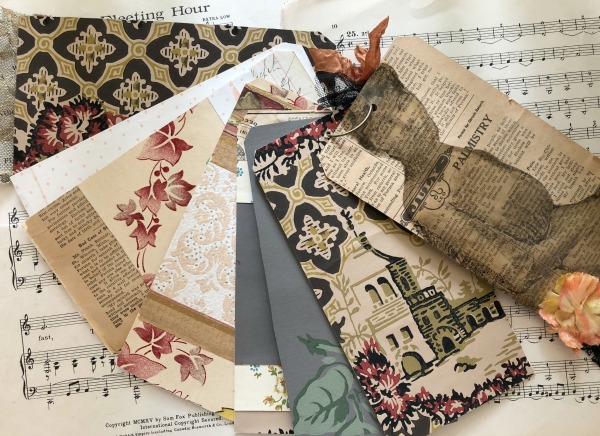
Each kit contains a vintage photo, a sprig of fall toned forget me nots (vintage), an old earring, two fleur de lis charms, an assortment of vintage wallpaper scrap and some text (including from an Edgar Allen Poe book).  There are also a few photo copies of vintage pictures, as well as one printed onto vellum, for a ghostly look.

 Available in the BOOtique- www.karlascottage.com


Mini Art Journal and kits

Books, the Boutique at Karla's Cottage, vintage paper/collage art

IMG_0512

This summer, I have been utterly hooked on "fluid painting."

IMG_0542

Some, I have turned into doodles, some became oceans, or roses, and some I made with a more traditional pouring style

IMG_0541

Recently, I've also used the technique on book covers.

IMG_0522

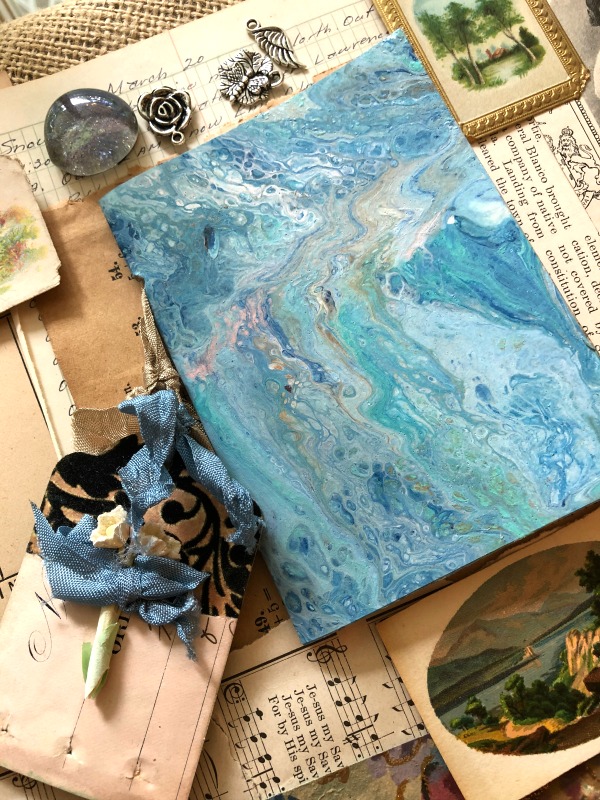
Which led me to making my own mini book covers too.

IMG_0518

I couldn't resist melding my new obsession with some of my old and coordinating lovely, old, ephemera with the itsy bitsy books and teaming it all up into kits.  
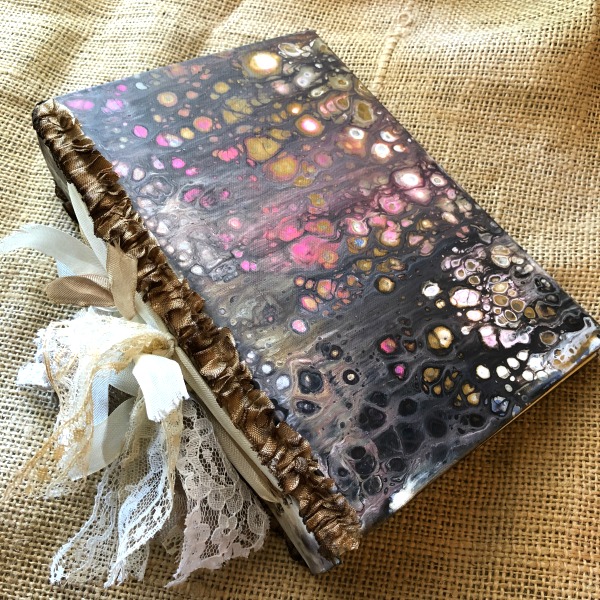
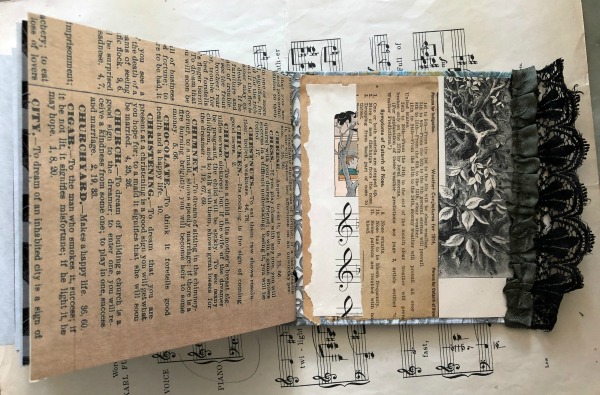
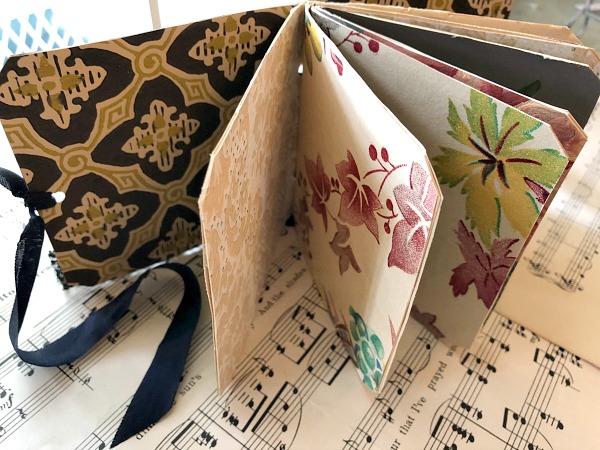
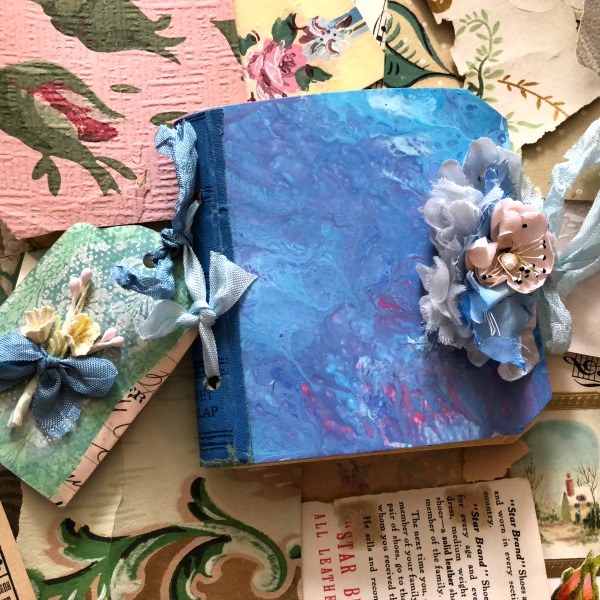
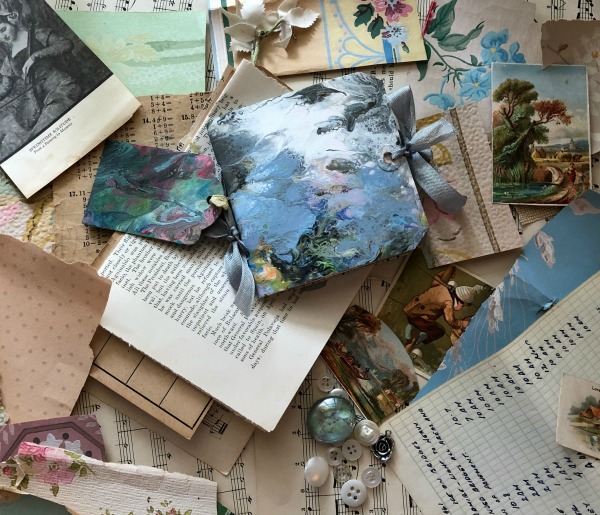
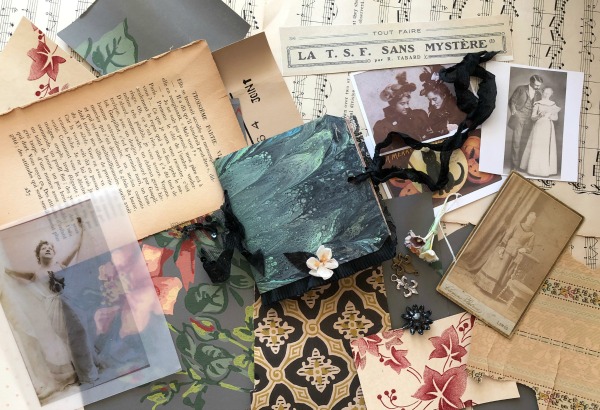
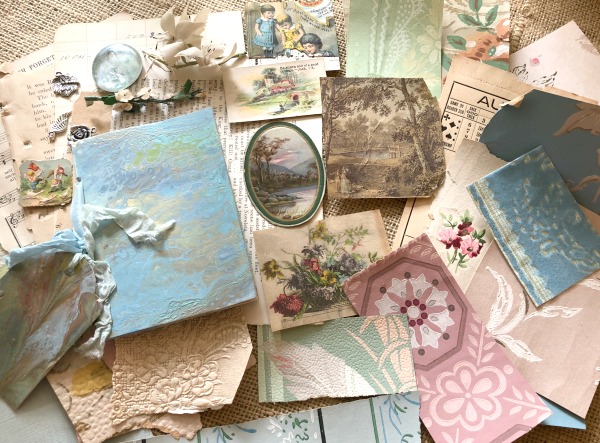
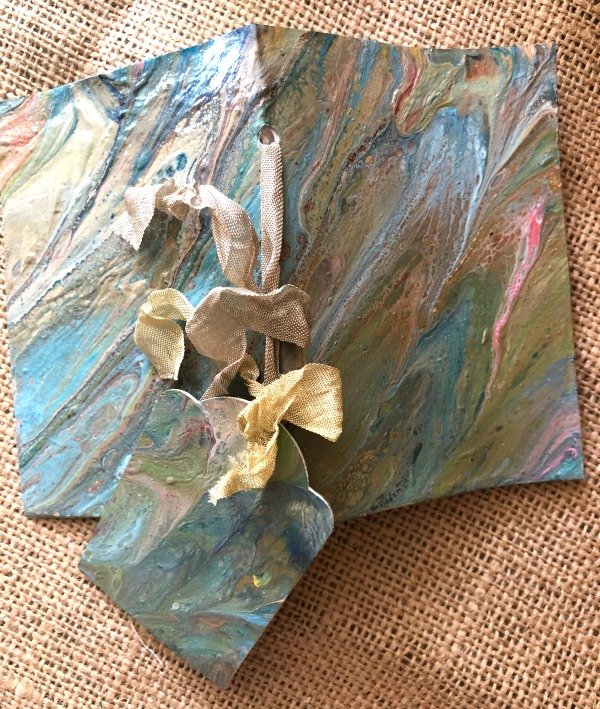
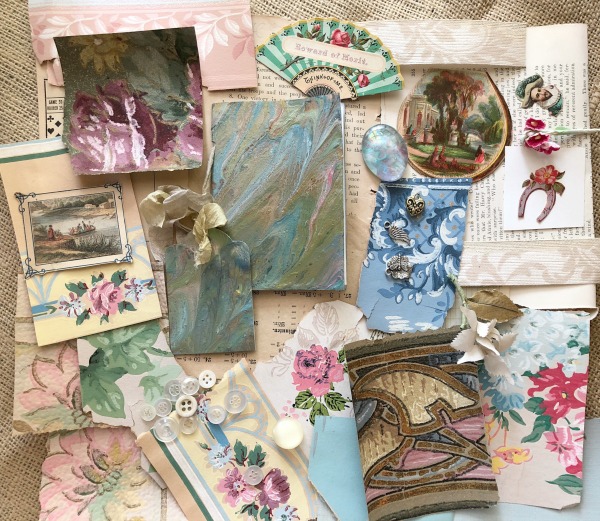
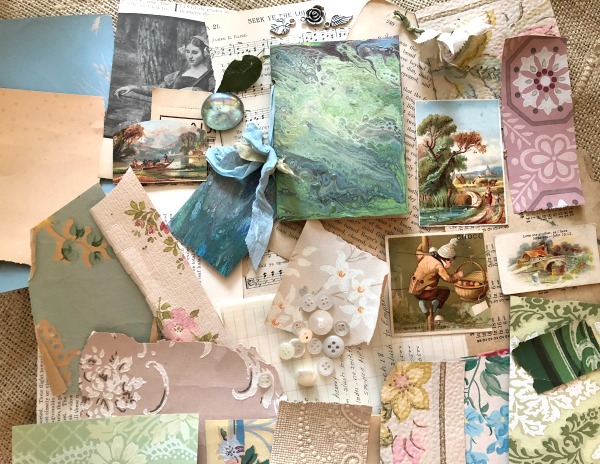
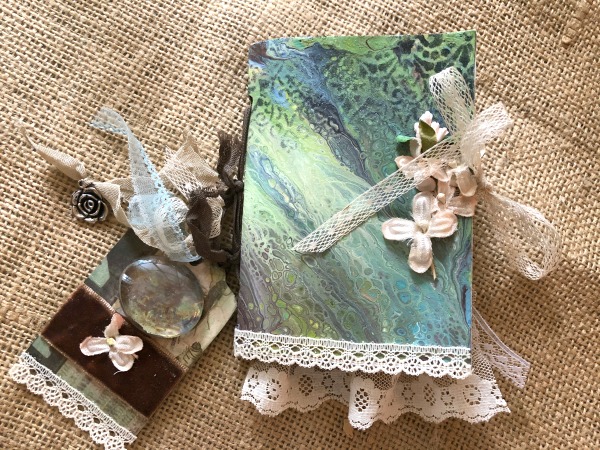
Each 3-1/4 x 4-1/2" hand made mini journal with painted cover comes with a matching tag, attached with ribbon, along with 3 small charms and a glass nugget done with a pour paint dip.  There is an assortment of vintage wallpaper scraps, old text, illustrations, buttons, and millinery.  
No two are alike, since they are made up of vintage bits and pieces, but each is of equal value. I've spread out and photographed each luscious pile of goodies separate, so you will know what your own kit will contain.  The packages will be as shown in the pictures.

IMG_0523

Here is a journal that I made myself with some of the materials.

IMG_0528

The book that I have made is also available in the Boutique, as well as the kits.

IMG_0529 (1)

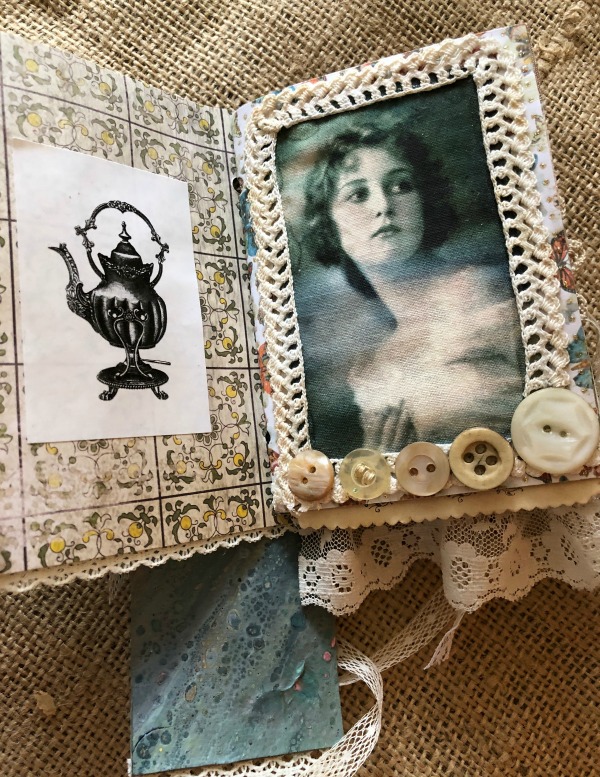
I'll leave you with some pictures of the interior.

IMG_0530

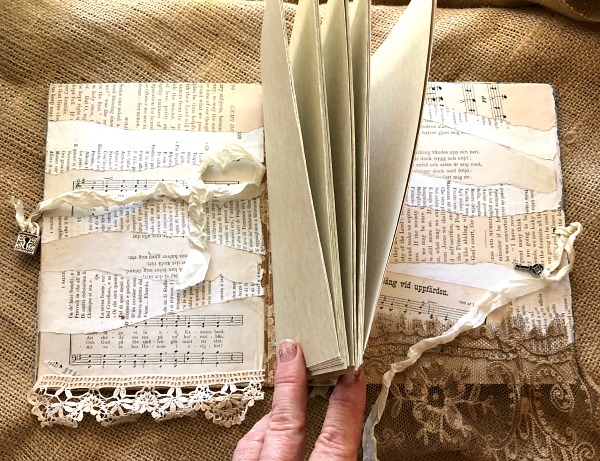
This book can be considered finished, or used as a head start to add more creations of your own.

IMG_0531

It differs from the kits in that, I have used decorative card stock to build the book, the kits are made up of plain papers.

IMG_0532

IMG_0533 (1)

IMG_0535

IMG_0536


Art Journals from Altered books

Books, the Boutique at Karla's Cottage, vintage paper/collage art

IMG_0391

I've been on a book kick lately and have a towering stack of them on my desk now.

IMG_0472

Many have fluid paint covers

IMG_0482

This one has velvet and lace

IMG_0487

This mini book is covered in flocked wallpaper.

IMG_0475

This started as a 19402 reader.

IMG_0478

And has rose wallpaper lining.

IMG_0392

Each has special details.

IMG_0394

And pages ready for you to fill

IMG_0483

If you are interested, you can find them in my Boutique.

IMG_0484

And please check back, I have some mini book kits ready to photograph and add to the shop too.

IMG_0387 IMG_0396

IMG_0471

IMG_0393

IMG_0395

IMG_0486

IMG_0474

Once Upon An Easter and some free images for you

free images, vintage paper/collage art, Workshops

Bunny

Jenn Hayslip will be working her magic again, at another glittery art event!  And I am honored to be a part of it.  When she announced the party, I was ready to sign up and attend, because her gatherings are so dreamy and beautiful.  

Bunny

I didn't even know who might be leading the projects or what they would be. I just knew that it had been too long since I'd attended one of her confections of perfection.

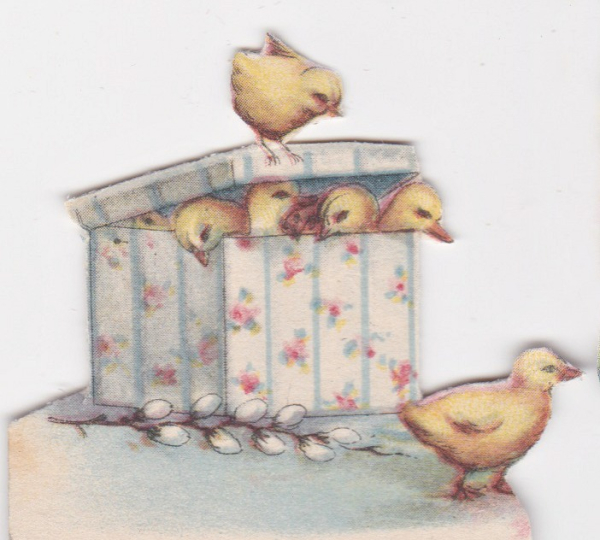
Chicks

Then, when she contacted me and asked me if I wanted to be a teacher, I was thrilled and surprised! And excited to come up with a frothy, pastel, bit of prettiness to fit in with her aesthetic. 

Lately, I've been doing a lot of the acrylic flow painting, and doodley stuff, so I was missing my days of working on delicate, sweet goodies.  I tend to jump from idea to idea, and style to style, medium to medium, but I will always adore playing with vintage wallpaper and millinery blossoms in soft, dainty tones. 

So, yep, I was in, and excited to delve into my stashes of vintage goodness.

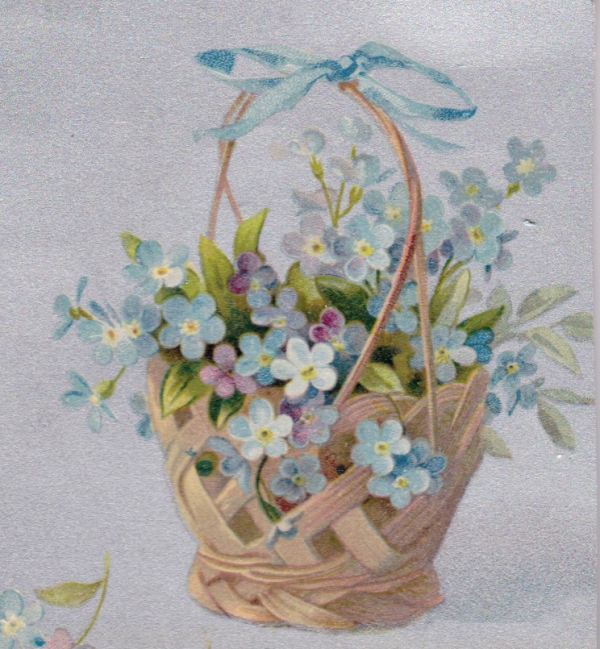
Basket

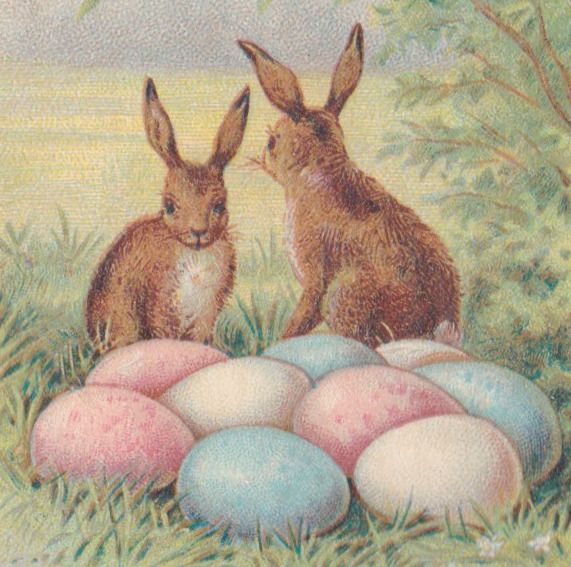
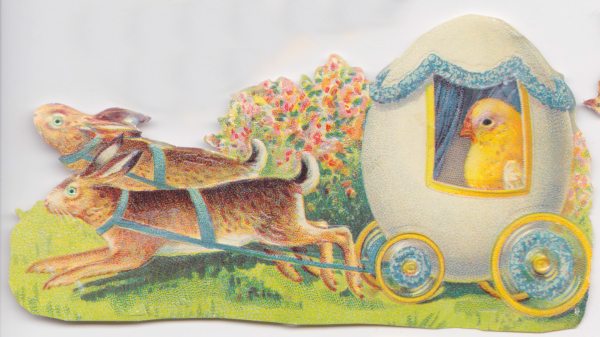
At first, I scanned all of these images from Victorian Easter postcards to use. Then, decided I had something else in mind after all. 

If you'd like them, please do save them from your screen and print. (I prefer printing onto matt photo paper, myself.)

IMG_4878

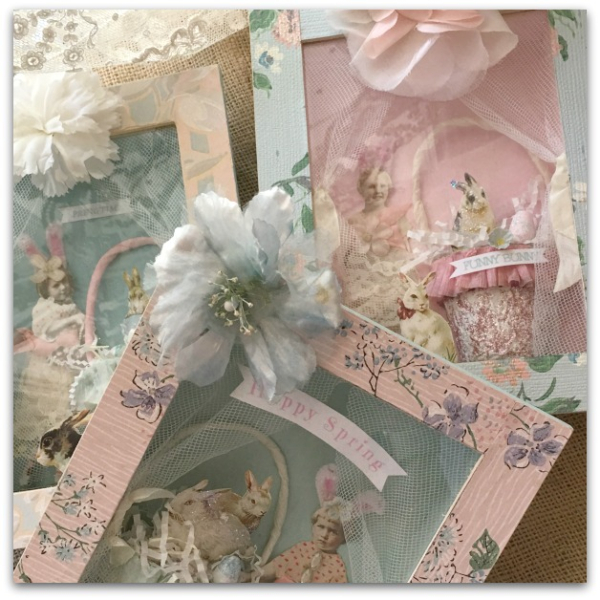
For my own project, I've found some other images that I wanted to add.  I scanned some old photos of little girls, bunnies, and baskets.  Each kit will come with a collage sheet to chose the pictures the artist wants to use for their creation.  

You know me, I like to offer extras and choices! And of course, we will be using the Good Stuff.  

The only bad thing about this upcoming event is that it is soooo far away! I have to wait until next spring for it.  I'm ready for some girlie fun RIGHT NOW. 

Oh well, anticipation is part of the excitement right? 

I hope I will see you there!


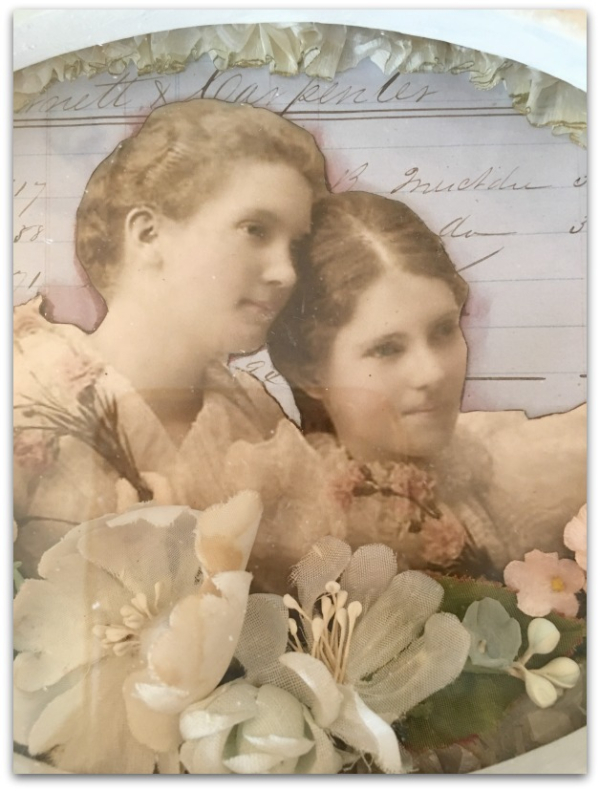
Great Grandma Nellie and her sister, Martha

family, vintage paper/collage art

IMG_3805

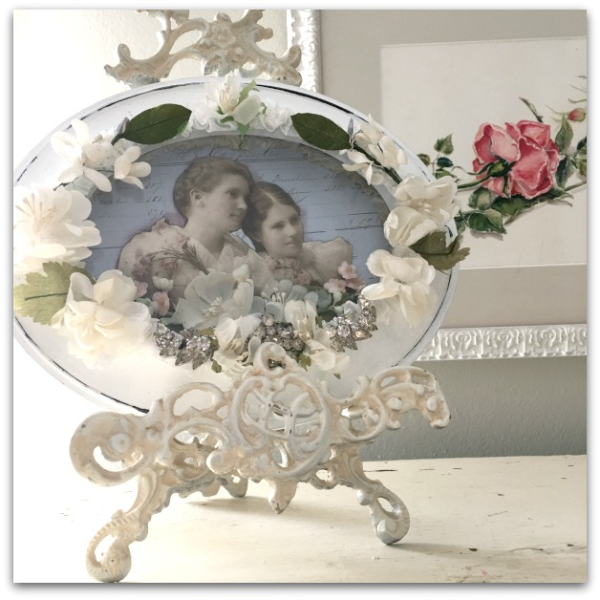
Previously, I showed you the old, family photo my sister had, and how I edited it.  I was so in love with the picture, I wanted to do a very special frame for it, hopefully, a shadowbox.

IMG_3801

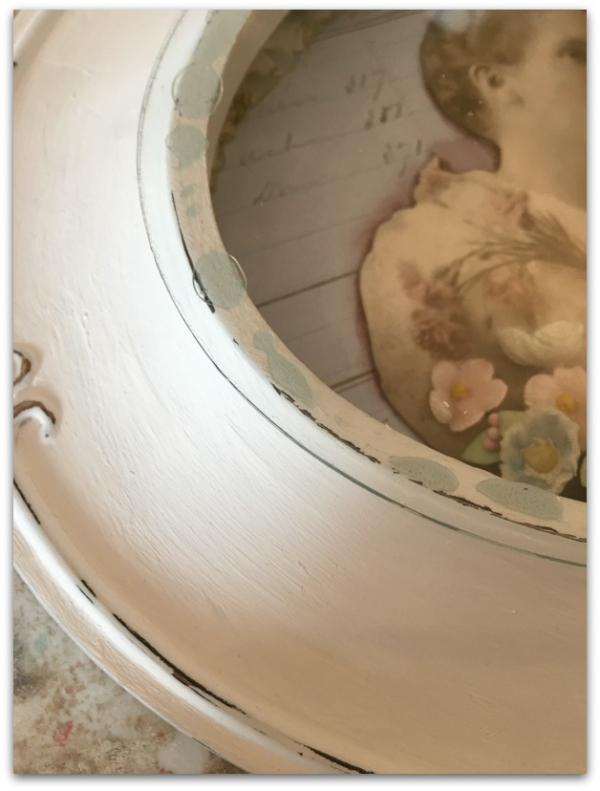
But I couldn't find a shadow box as ornate as I'd like. Instead, I bought a black, oval frame ($7, Hobby Lobby), painted and distressed it.  Then,  filled it as I liked and added the glass to the top rim of the frame instead of flat against the insides as it was meant to be. 

I glued it down (Crafter's Pick, the Ultimate Glue), but the glass was made slightly larger than the place I wanted it to be, so I had to do some camouflage.

IMG_3804

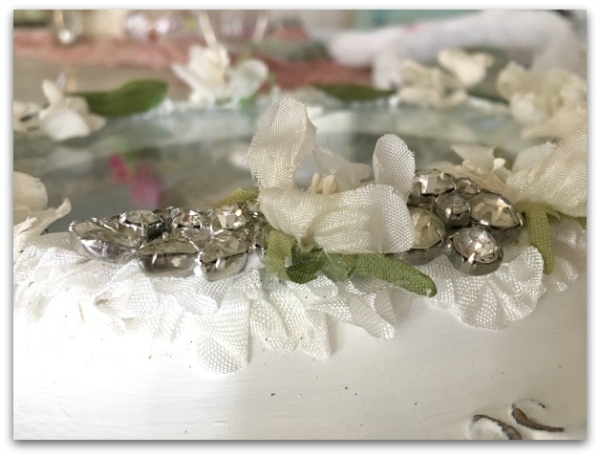
I goobered it up, with ruffled ribbon, and lots of foof.  That took care of the problem.

IMG_3802

The sisters were cut out of the picture, and edged in brown marker, with a little brown water color on the vintage, ledger paper behind them, to make them stand out.  Their dresses were sparkled with a Gelly Roll stardust pen in clear, and I gave them millinery flowers to hold.  

There was also a slight, gappy looking area around the inside of the frame, where the glass should have been before I decided it needed to be on top instead.

I ruffled some crepe paper and trimmed it to about a 1" long and then pressed it into a bead of glue all the way around the inside edge of the frame before permanently gluing the glass down to the top and foofing it up.


Special K Day, a party in the studio

celebrations, flowers, Food and Drink, vintage paper/collage art, We're having a party

IMG_4243

When I'd heard that my Fab, Florida Friend, Karen Hillman, was going to be in Kansas, I thought it would be an ideal time to plan a craft day.  

IMG_4204

Since my birthday was coming up, I thought I'd combine her visit with a little party to celebrate the occaision.

IMG_4205

Karen and I call each other, "Special K", along with our third K, Guncle Kevin.  And I wanted to make the day extra special for my K, so I set the table with some of my favorites and we all made some goodies for a ladies' luncheon.

IMG_4215

I fixed quiche, bread, and cupcakes. Others brought snacks, treats, and plenty of deliciousness.

IMG_4214

While in Florida, I arm wrestled Guncle Randy for the leftovers of the cake Karen had baked, packed it in my carryon and froze it that night, to thaw out for Special K Day and serve to the guests.  

It was every bit as mouth watering as it was the day she made it. Wow, I need to try to make one of those.

IMG_4210

We had some afternoon goodies in the treat cabinet too.

Can you have enough desserts on craft day? I don't know if I like craft days for the food or the projects.

IMG_4207

For birthday party gifties, I provided unfinished wood shadowboxes, with a table full of the supplies to fill them up.

IMG_4209

I also found some Crabtree and Evelyn scented cream, in pretty, spring like tubes for everyone.

IMG_4231

It always makes me happy to see what variations the artists come up with for the projects. 

IMG_4232

I didn't have kits as I would for an actual class, just a table full of goodies to chose through, so the styles were even more unique than usual.  I also set out wooden bird houses to fix up.

(That dark paper with the birds? A gift from Alice-Anne, it is scented drawer liner that came in a box labeled, "Birdsong"!

IMG_4234

Pretty ideas, aren't they?
IMG_4245

So sweet.

IMG_4252

Tami brought this lovely bouquet and table runner for me.

IMG_4265

And Nora crafted this hand made basket!  My friends were very generous and thoughtful. It made Special K Day even more special to spend it with some of my dear, Birdsong Peeps!


Scroll to Top