vintage paper/collage art

Art journals in the Boutique

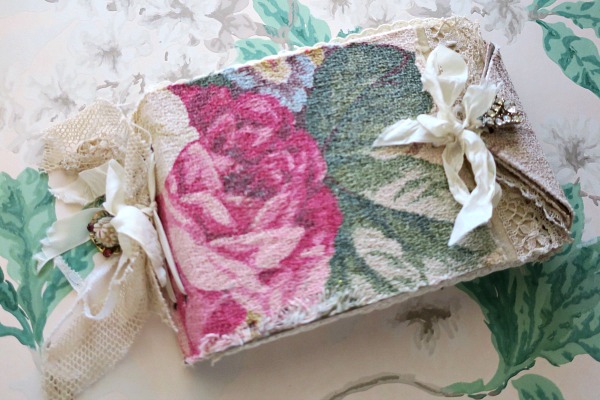
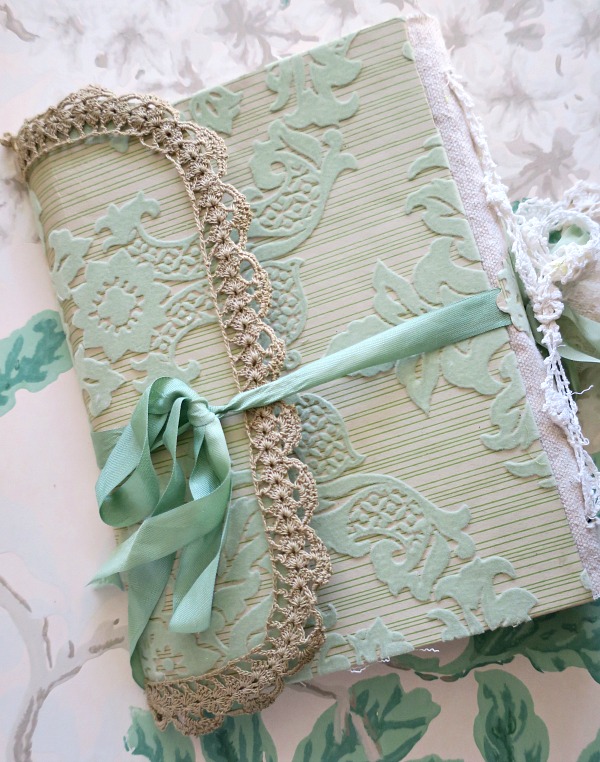
Books, vintage paper/collage art

IMG_1456

My studio is full to the brim with art journals.  They are a passion of mine, and I make so many, that I'll never fill them all up!

IMG_1460

Now, don't get me wrong, I  love filling them as much as making them.

IMG_1475

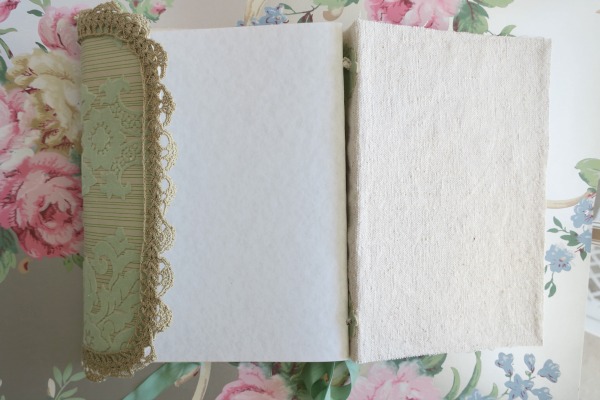
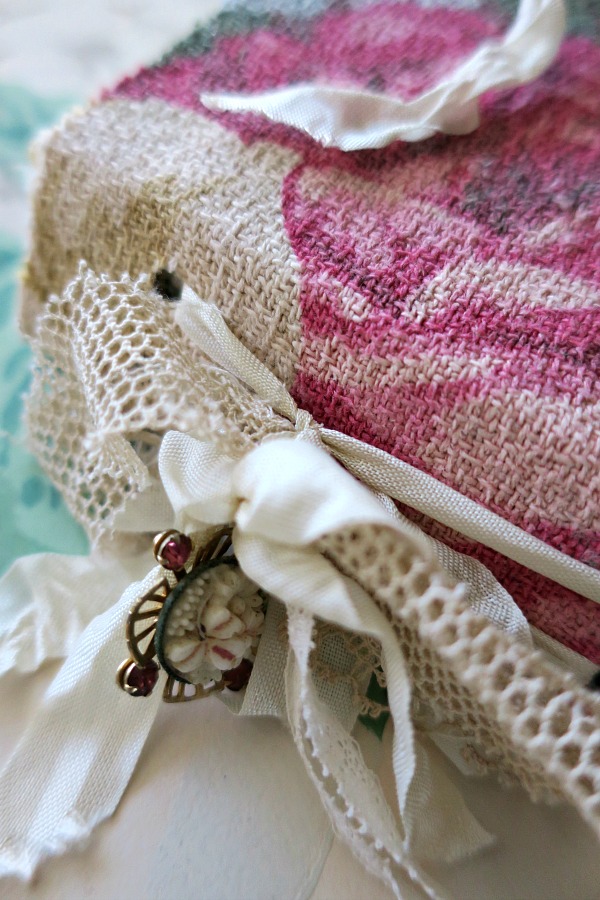
Some, I like to use as art journals, some photo albums or scrapbooks. Others, a combo.  

IMG_1457

Either way, I enjoy having a stack of them ready to go, all pre-made and decked out, so if I want, all I have to do is slap in some family pictures, and I have a finished book.  

(any book is prettier with pictures of grand fairies in it, right???)

IMG_1461

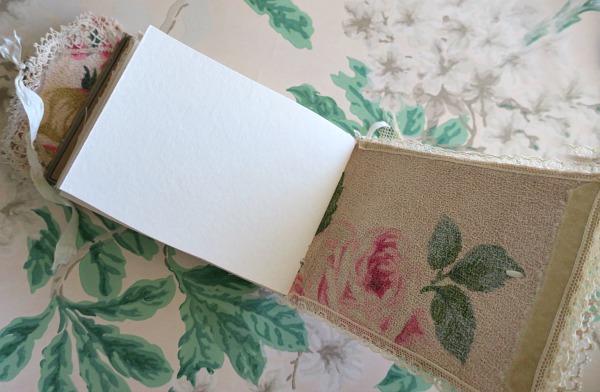
Other times, I appreciate having blank pages that I can draw on or cover in pretty papers or scraps.

IMG_1458

 (Instructions to make your own from an old photo folder can be purchased here: http://www.karlascottage.com/item_1875/Creating-an-Art-Journal-Tutorial.htm  along with a lot of other hand made books)

 These are some of the books I made to illustrate the online class.

IMG_1459

I've listed a few of these in the past, and then well, I kinda got out of the habit of using my Boutique and let it lay idle for too long. It has been nice to get back to business, and I have plans to get photos of the rest of the pile of books that I've made up.  

It is a BIG pile…..

IMG_1474

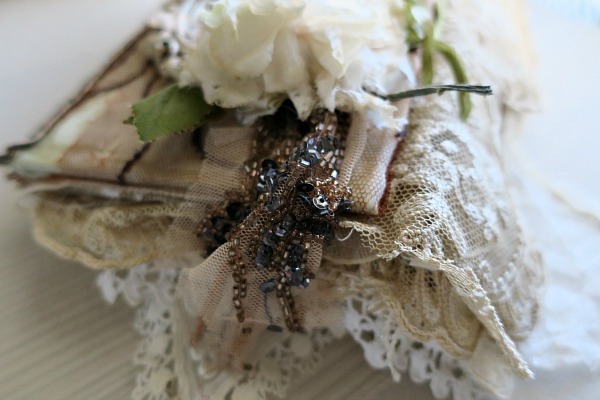
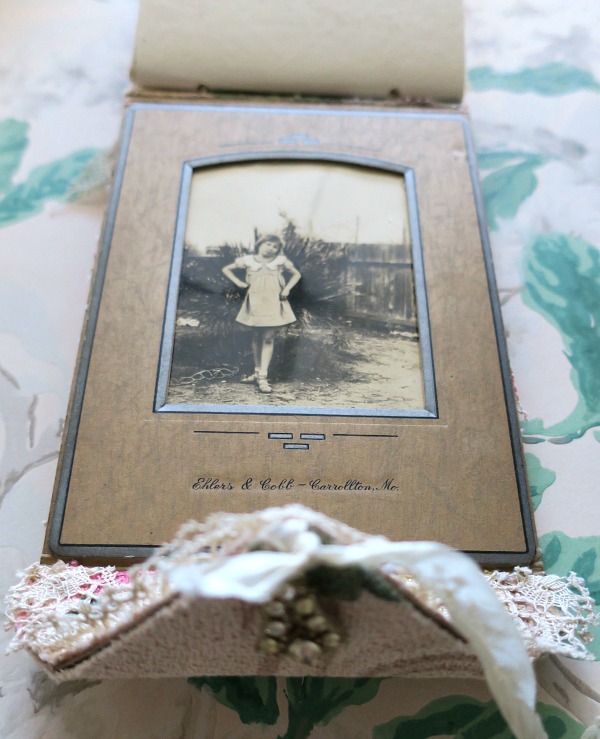
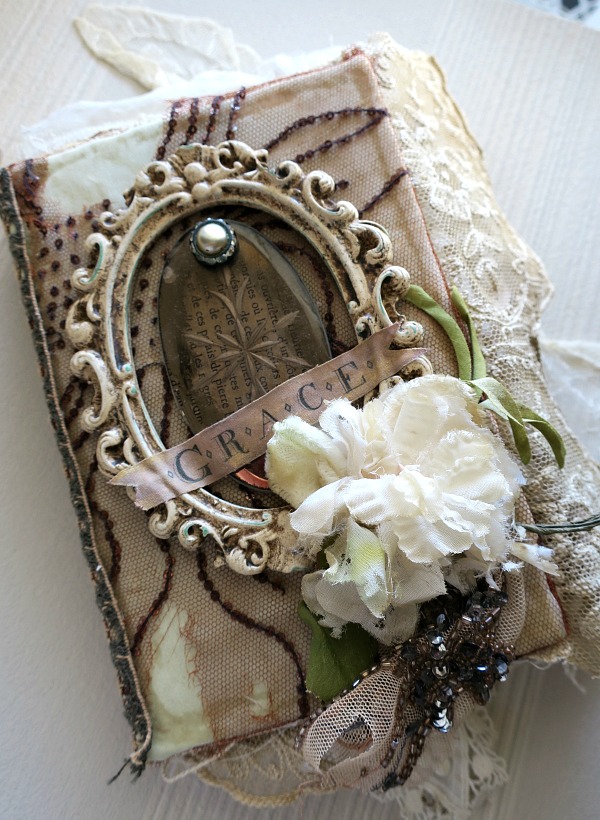
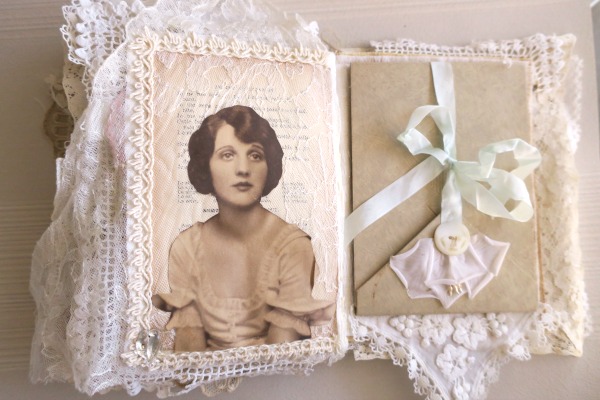
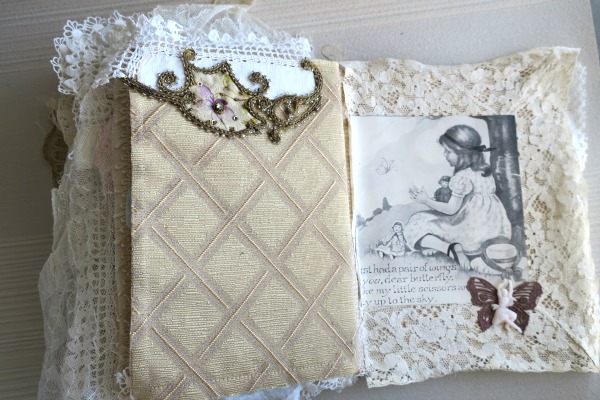
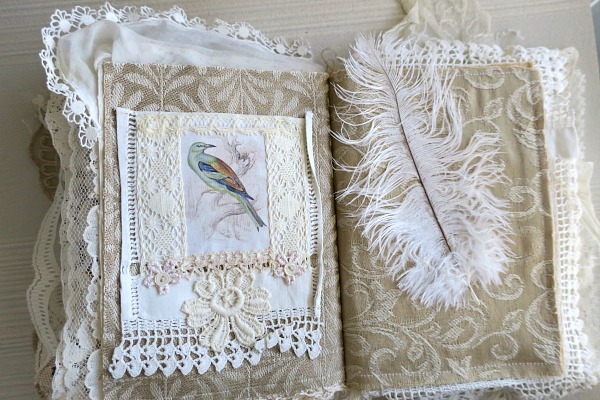
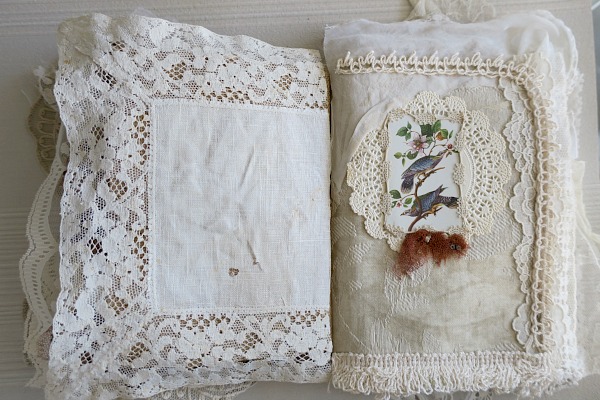
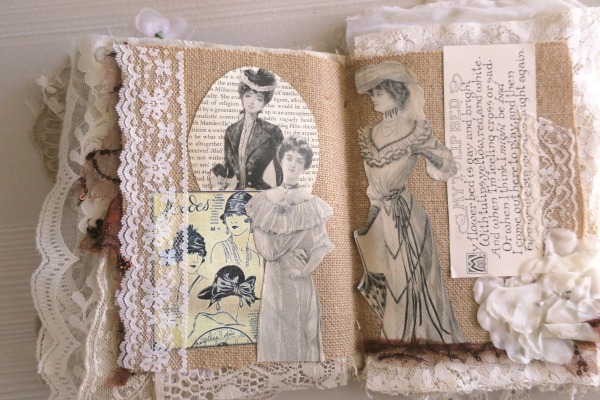
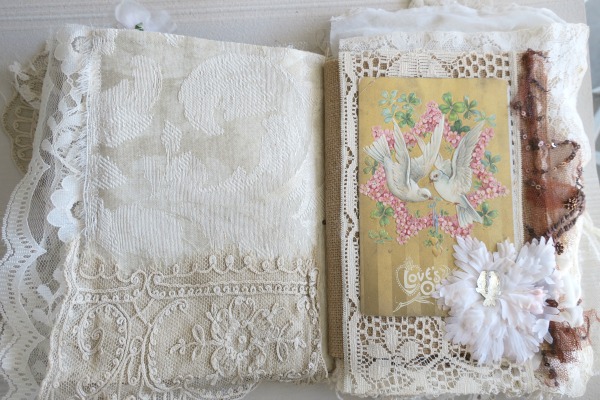
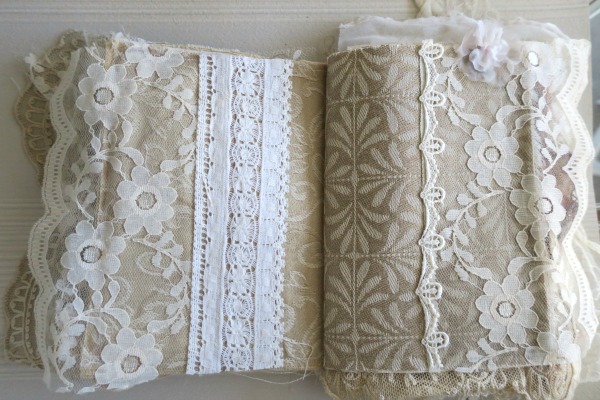
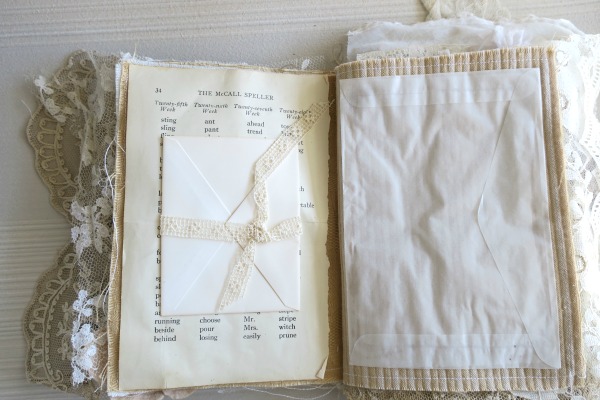
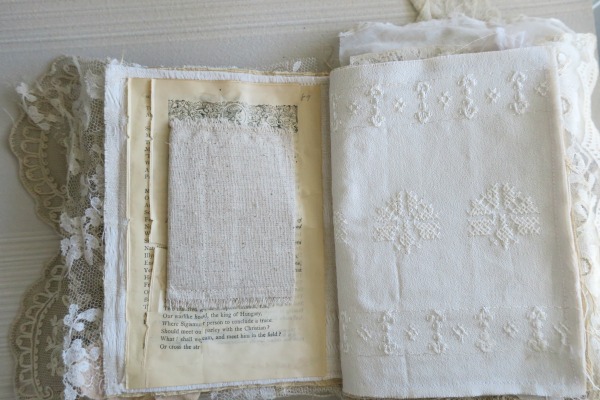
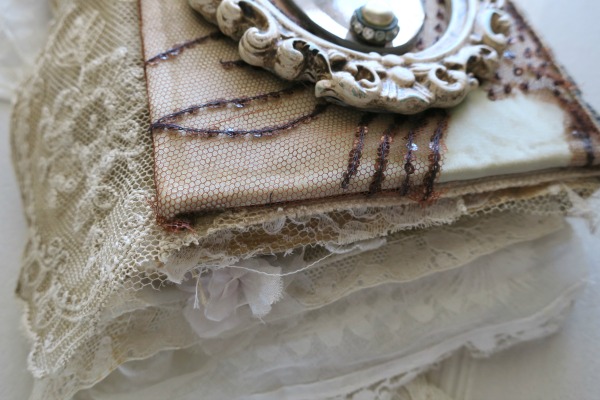
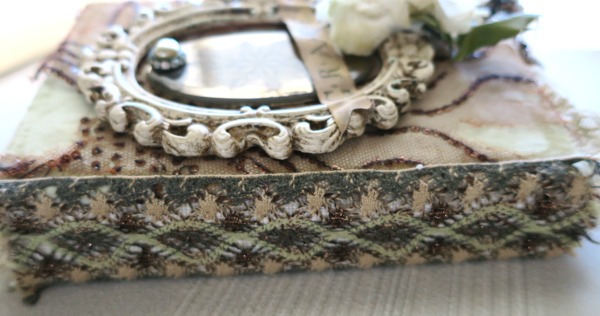
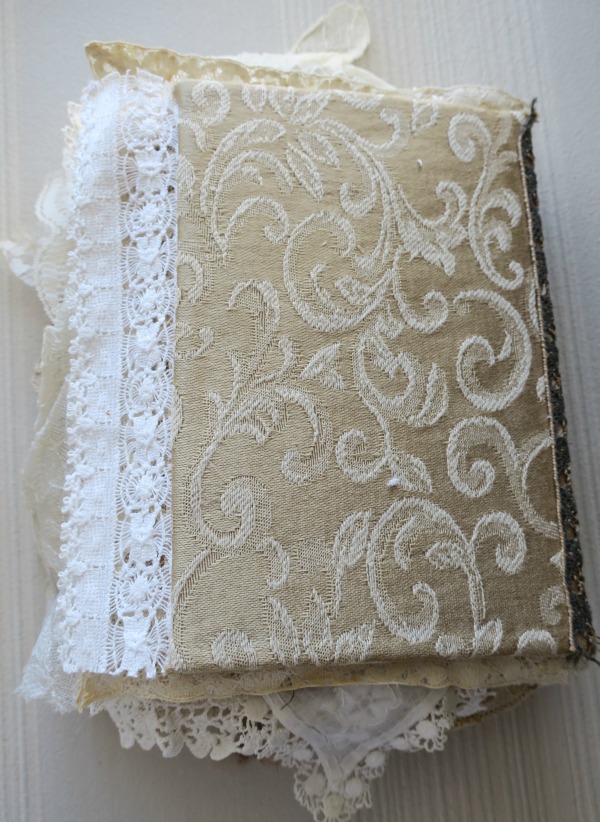
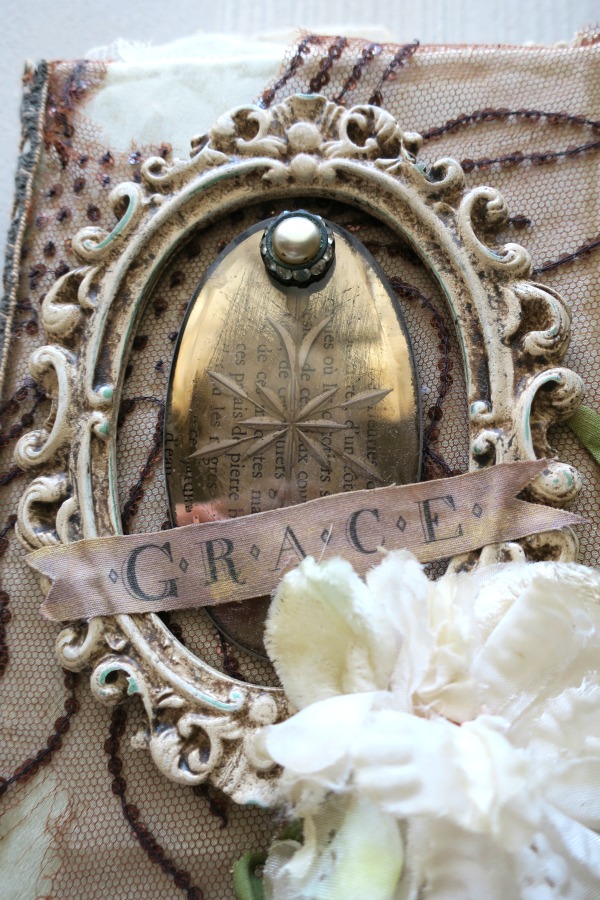
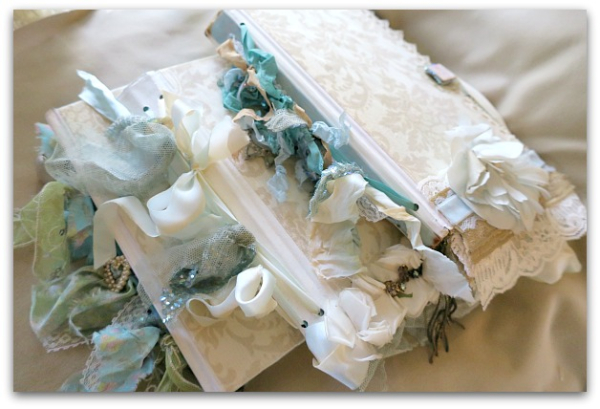
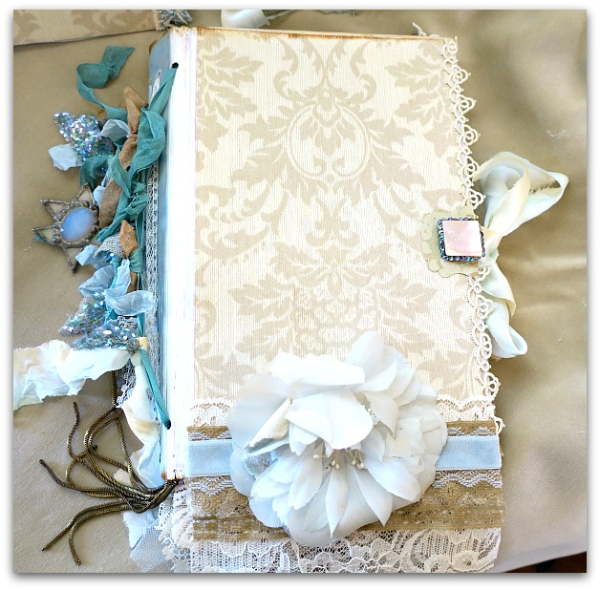
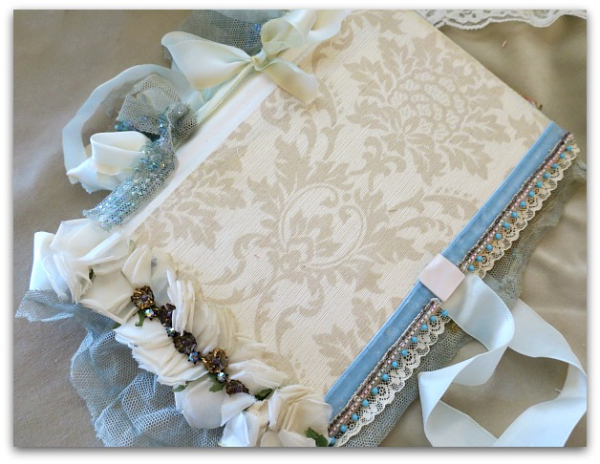
This is one of my faves, and it has all of the pages lined in some of my best lace.  Wouldn't it be a wonderful wedding album? All of the cloth pages inside are prepped and ready to add a photo, or it could be used as backgrounds for your own artwork. 

In my Boutique, I can only use 3 photos, so I'm going to show the rest of the interior on this post and link it to the sale site.  Here are the rest of the pages:

IMG_1463 IMG_1464 IMG_1466
IMG_1467 IMG_1468 IMG_1469 IMG_1470 IMG_1471 IMG_1472 IMG_1476 IMG_1477 IMG_1479 IMG_1478

Easter banners and banner kits

holiday decor, vintage paper/collage art

IMG_1433

It has done my heart good to be cutting, gluing, and playing with ephemera again!

IMG_1449

Working with lovely, old things makes me grin.

IMG_1438

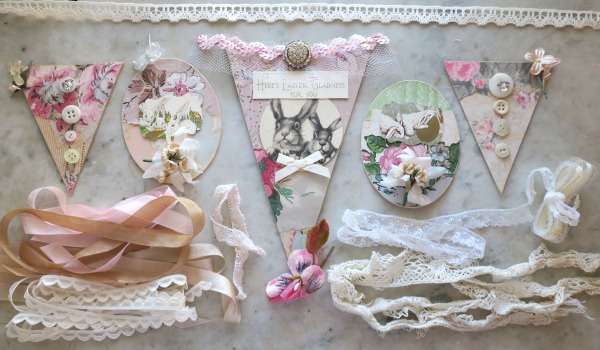
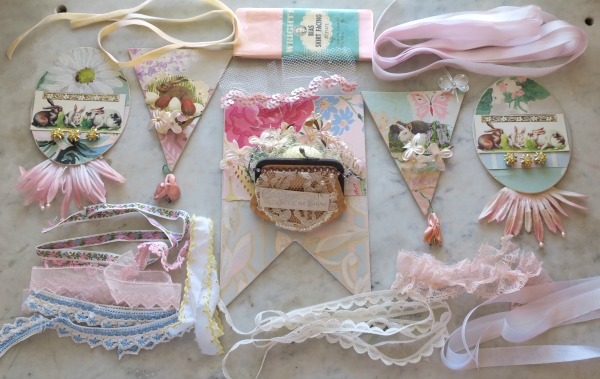
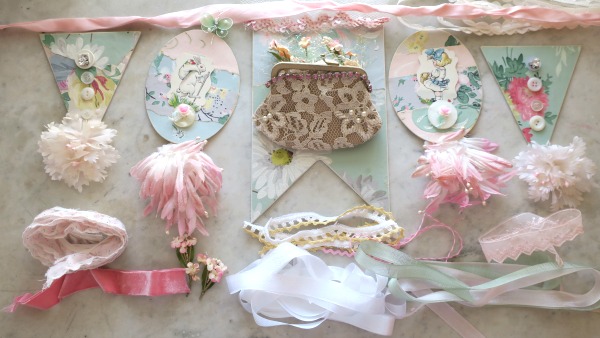
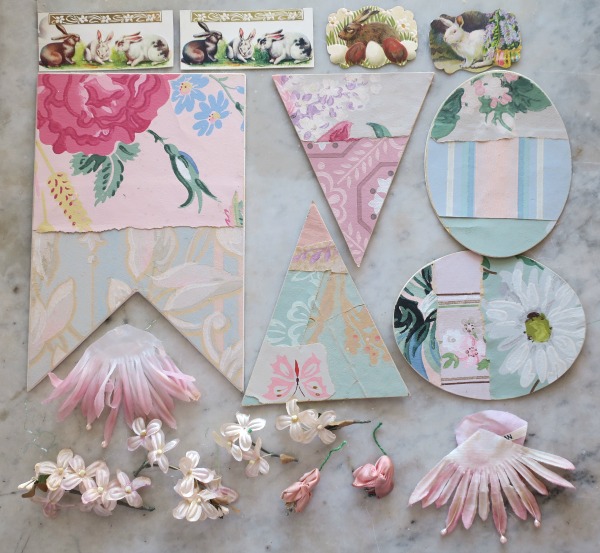
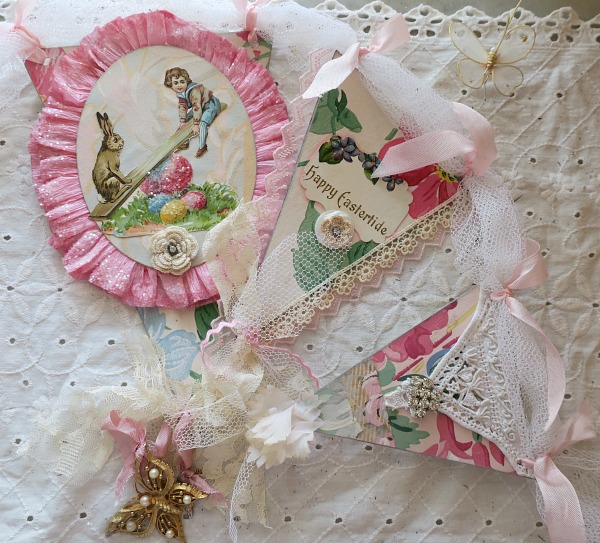
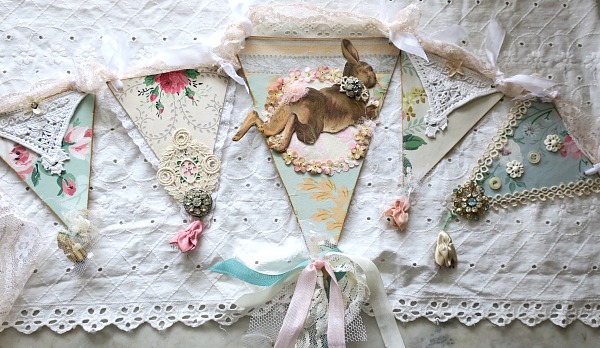
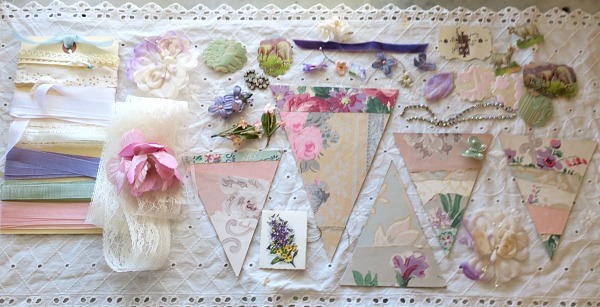
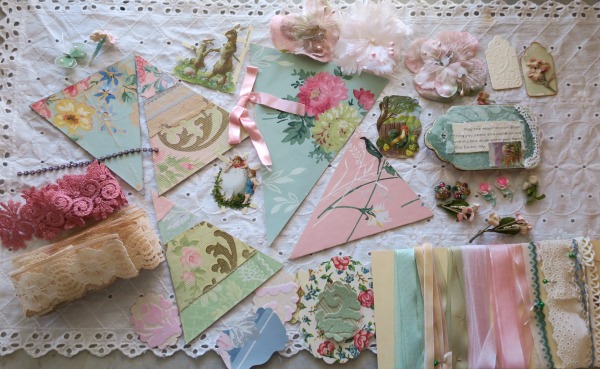
These kits were especially fun to make. I glued the wallpaper to the pennant pieces, and coordinated all the bits and pieces to go onto them. So, it felt like I was making one myself, minus the glue.

IMG_1442

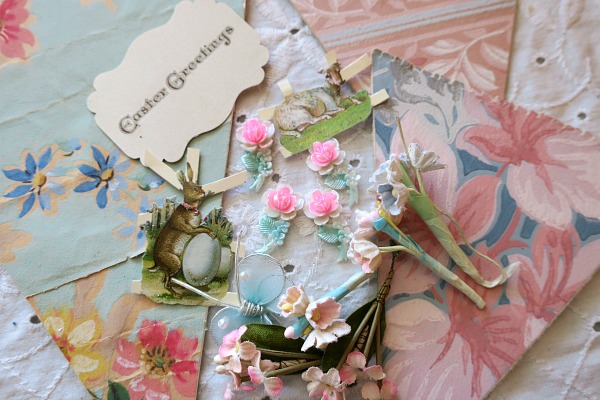
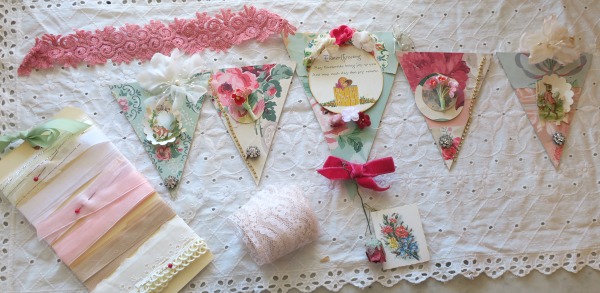
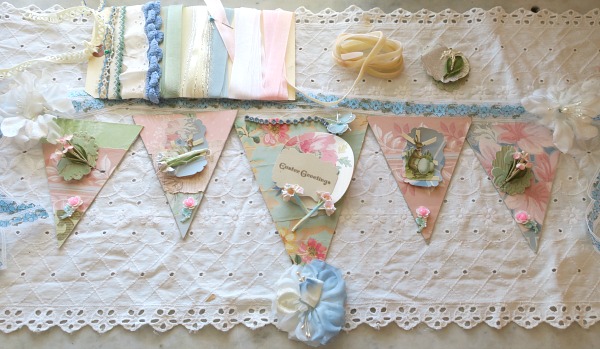
I lay out all of the elements as I would build the banner myself to make sure that everything needed is included. 

IMG_1447

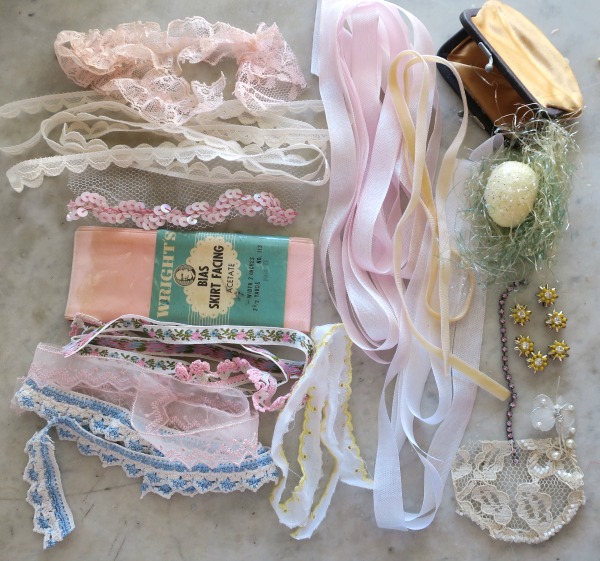
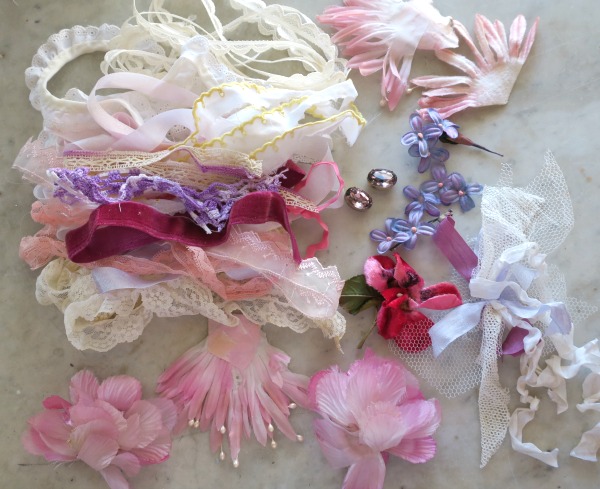
Then, take a photo of my own layout, and another of just the piles of supplies. So that the person who purchases the kit can have a guideline and some ideas or mix it all up and create the banner however they like with their own sense of style.  

IMG_1453

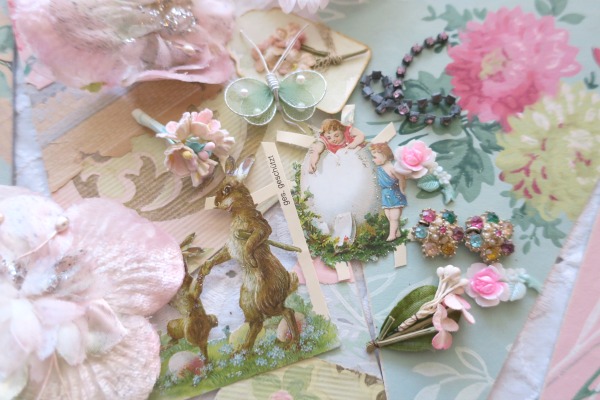
There are plenty of coordinating goodies for mixing and matching.

IMG_1454

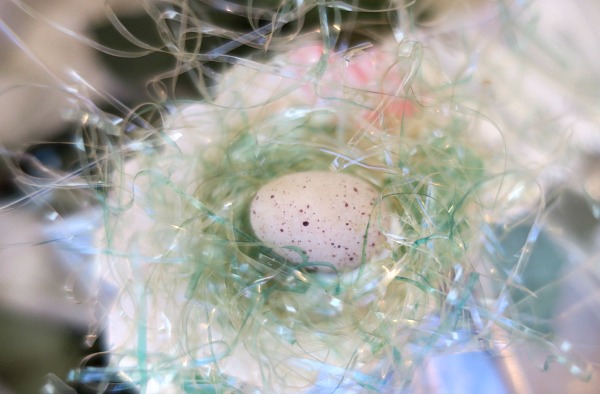
For this batch, I made little nests for the labels.  If the buyer wants to, they can snip the nest off the paper and glue it right onto their Easter banner.

IMG_1435

Of course, as much as I like making kits, putting them completely together like this one is even better.

IMG_1434

It looks like I've about reached the end of my Victorian Easter ephemera to cut up and use, but I have rolls and rolls and rolls of wallpaper, gardens of millinery flowers, buckets of rhinestones, and miles of trims.

IMG_1452

Easter Banners might be finished, but Spring Time Banners are a possibility! I'll let you know if more kits are coming. 

IMG_0447

Because I am in an ephemera state of mind lately.

IMG_1421

And thank you for all of the tart tin kit shopping!  At this point, there are a couple left, but they are going fast.  If you'd like one, please check here.

edit- all banners and kits are sold, thanks so much!!

More tart tin Easter decor and another step by step tutorial to make your own

holiday decor, how-to projects, the Boutique at Karla's Cottage, vintage paper/collage art

IMG_0449

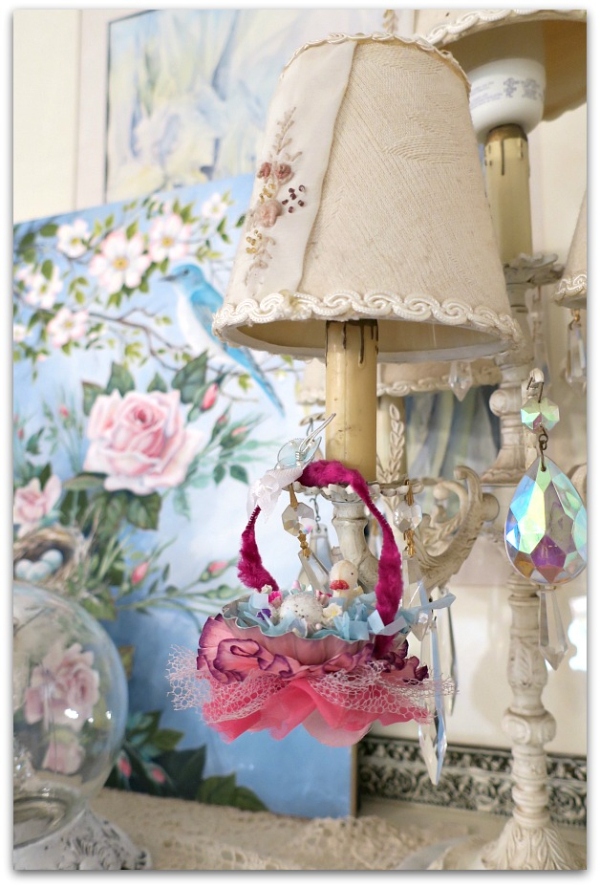
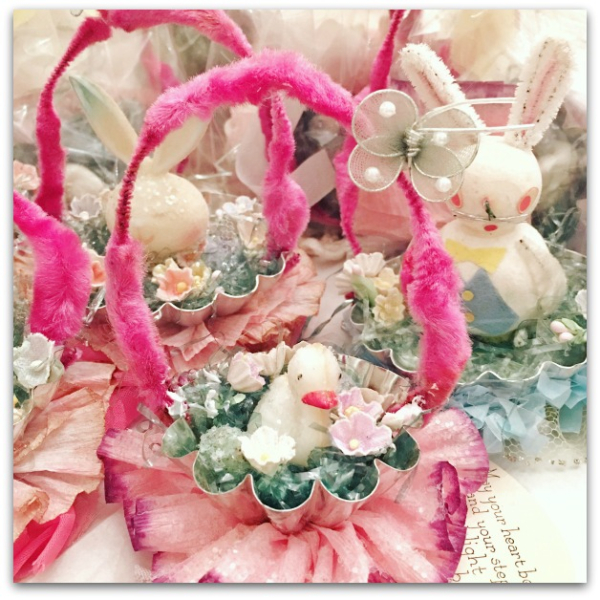
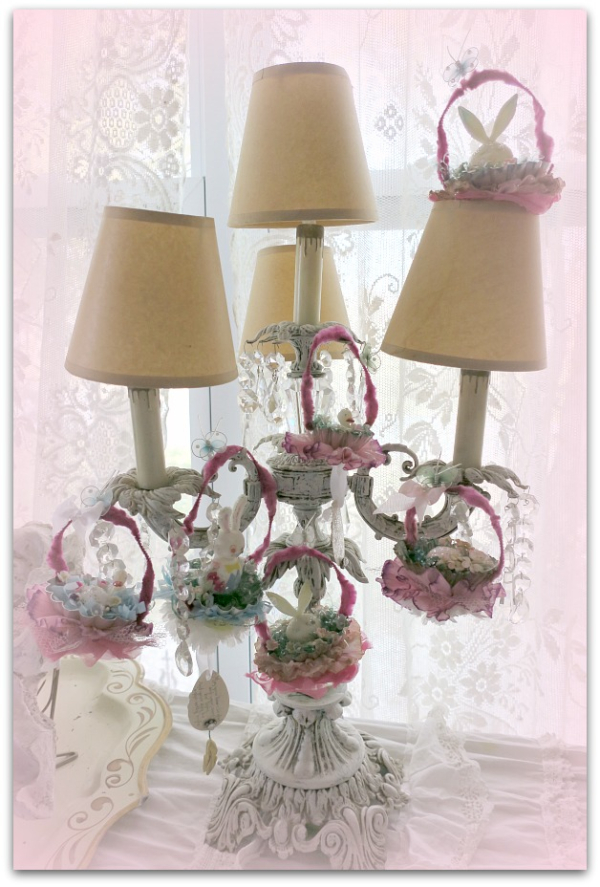
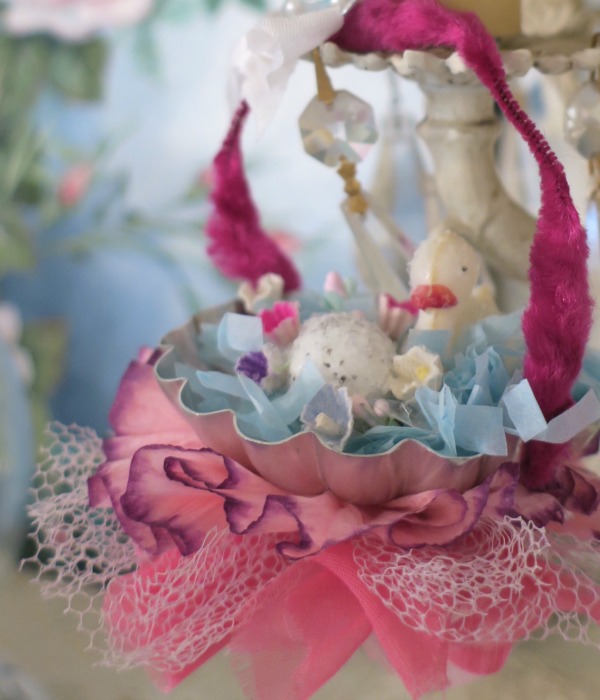
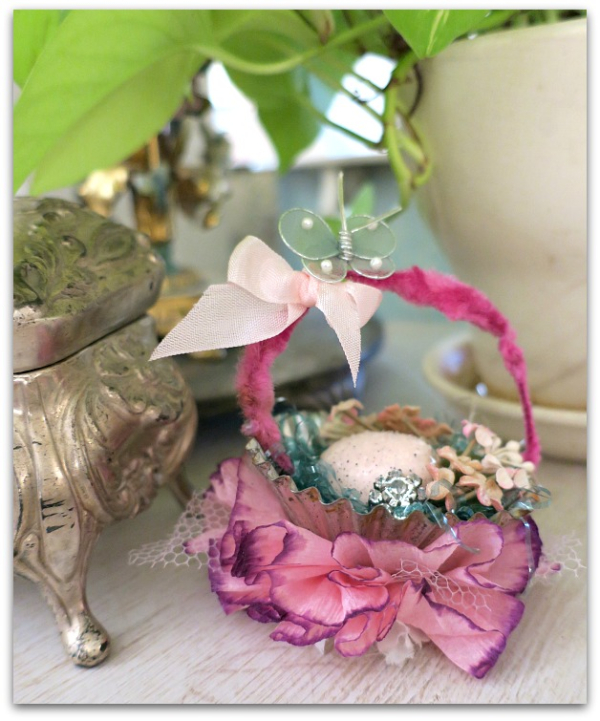
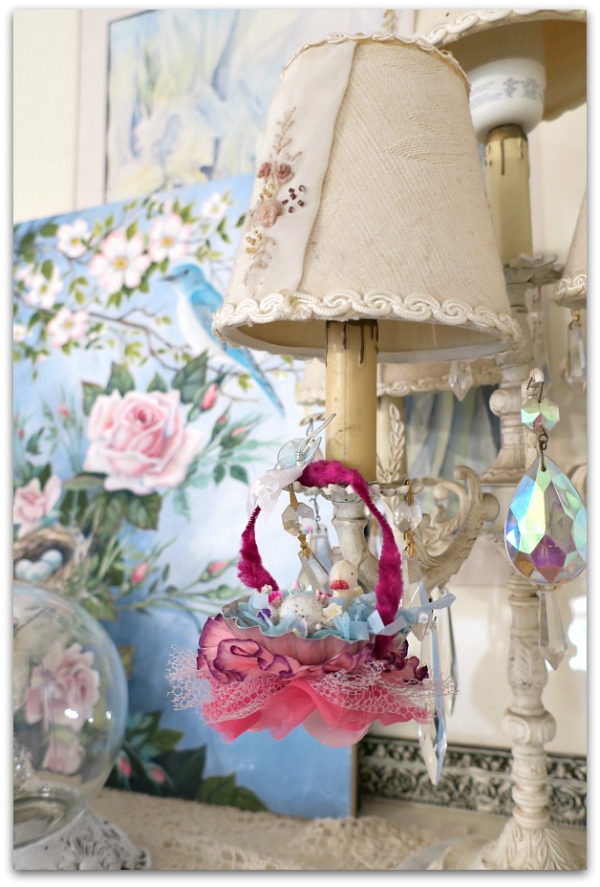
These are just too much fun to make. And I hope that you guys think so too, my previous kits are sold out! So, I made up a few more, this time making the tins into baskets with vintage chenille stem handles.

IMG_1386

There are a different versions completed and for sale in the Boutique as well.

IMG_1422

Because you know me, I start to make something and become enamoured with the process and  make a BUNCH of them! (by the way, I've got more banners and banner kits coming up too)

IMG_1426

And these guys were all so sweet to do.

IMG_1418

All are meant to hang, but a few are okay for sitting on a table top too.

IMG_1392

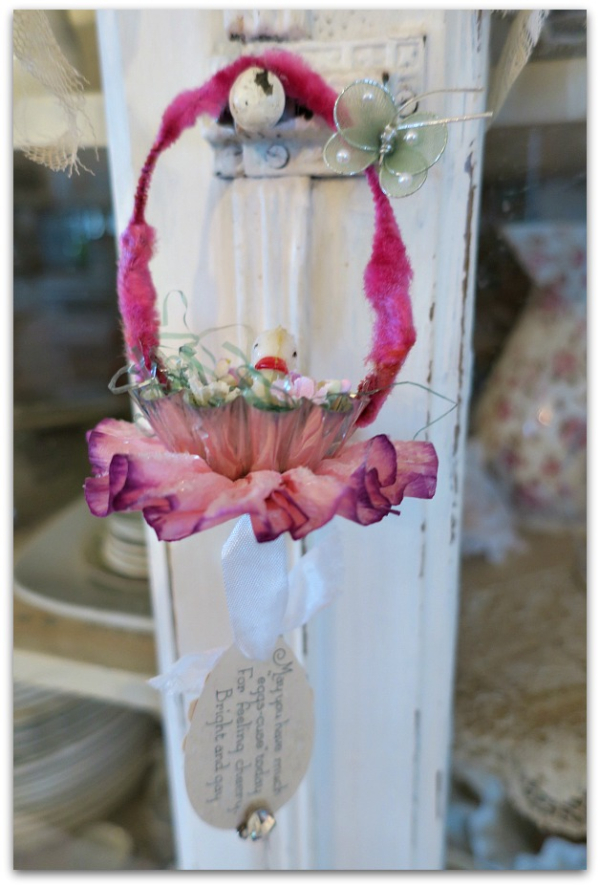
In case they are hung up, the bottoms are pretty to see.   (of course!)

IMG_1421

Since I listed so many to sell in the Boutique, I'll have to make more for myself, I miss seeing them around the house where I'd hung them for photos.  

Maybe the grand fairies can create a few with me, I think they'd enjoy it too.

IMG_1415

Here is the one I've made up kits for.  I'll tell you directions here, and will use the kits as my guideline.If you do not have a kit, please feel free to sub your own supplies for the ones I  mention.

  • Such as using a peat pot instead of a tin?  
  • Or pipe cleaners instead of the vintage chenille stems for the handles?
  • Or little eggs from a hobby store if you don't have a vintage cutey to add to your own basket?  
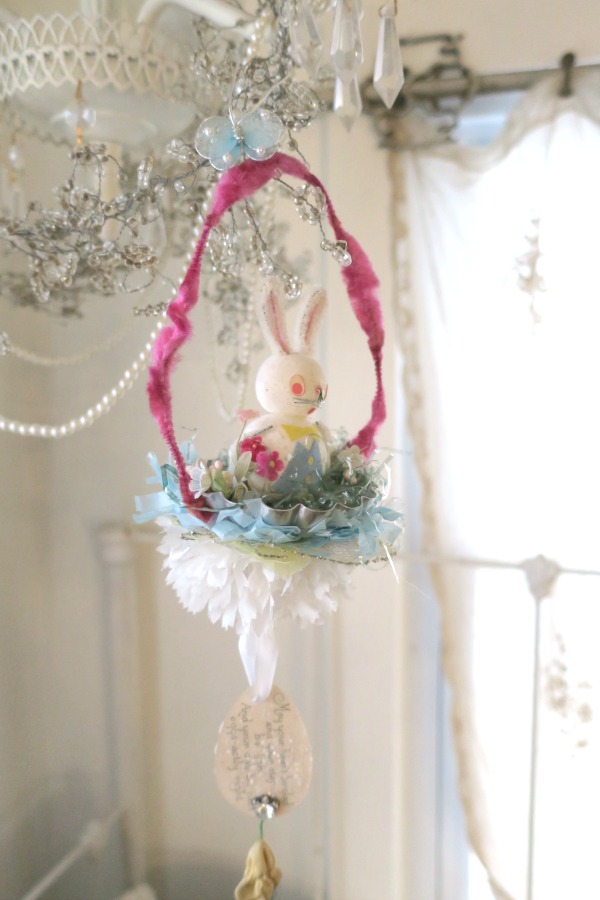
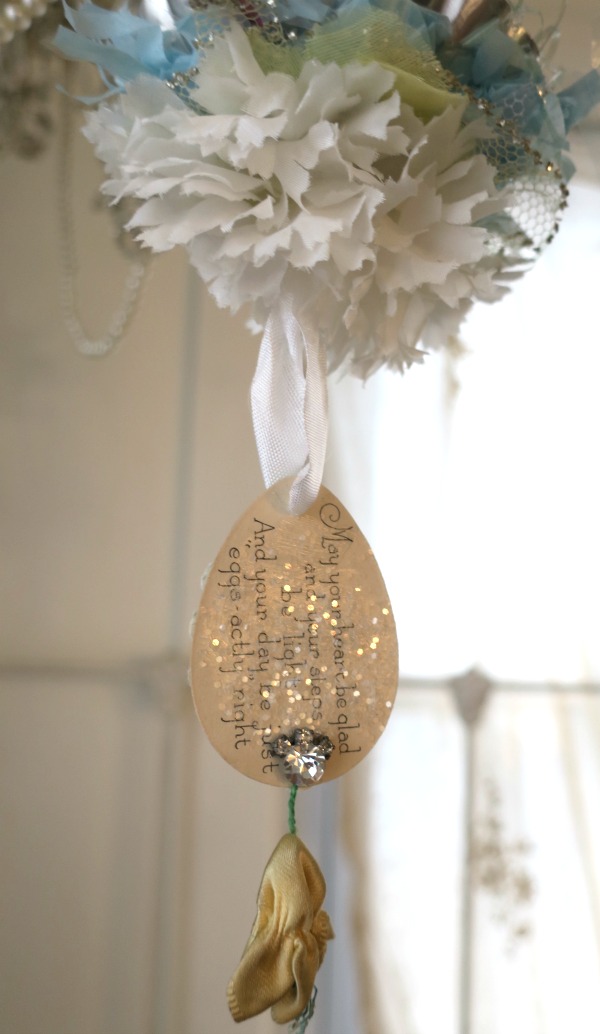
  • I've hung an egg shape taken from a Victorian card at the bottom of my own creation, but you could make your own piece with a pretty hole punch instead.

IMG_1371

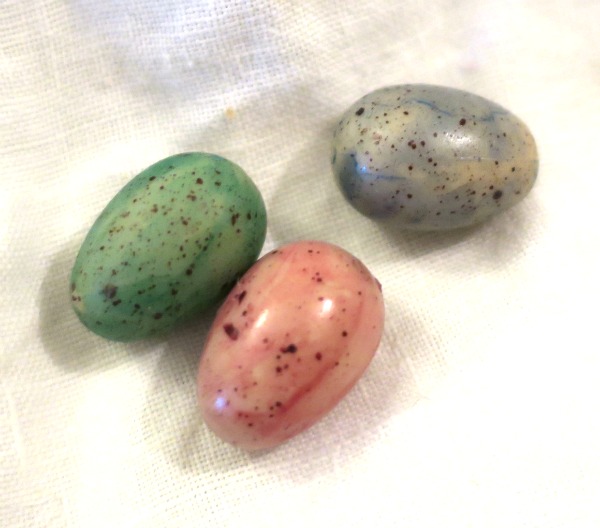
These are the little wooden eggs I have in the kits. I've colored them with Coptic markers, then added white dots to them and coated the eggs with glue and dipped them into clear, crystal glitter. 

Each kit comes with two eggs.

The glue I always recommend is Crafter's Pick The Ultimate.  Use what you are comfy with, but I swear by this stuff.  Always store it upside down in a cup, it is thick and will settle to the bottom.  If your bottle lasts for more than a few weeks, be sure to stir it with a dowel, because that stuff will not shake up.  

IMG_1372

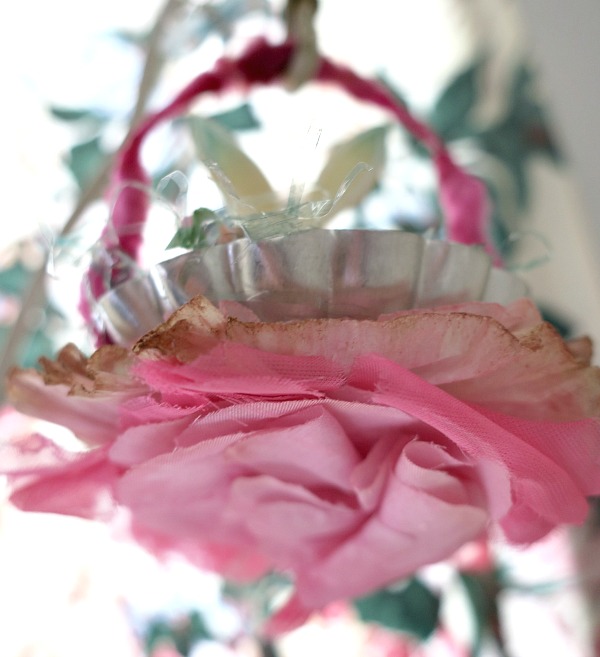
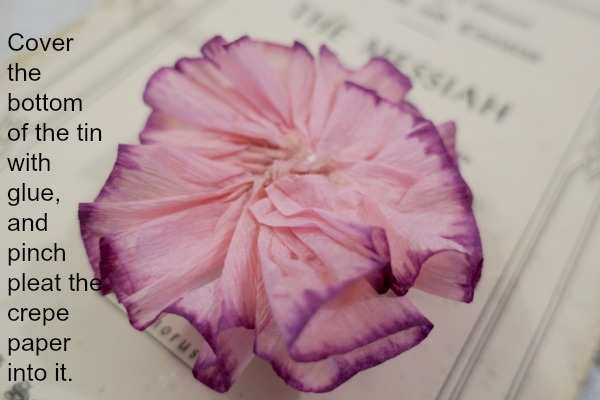
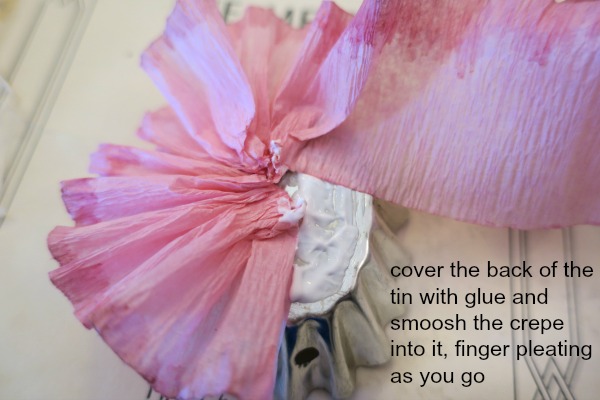
The bottom of the tin is covered in glue, then crepe paper. You can see more pictures of this step in the  post I did last week– here.

IMG_1375

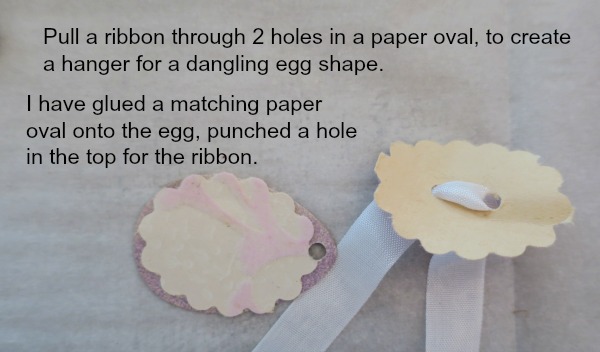
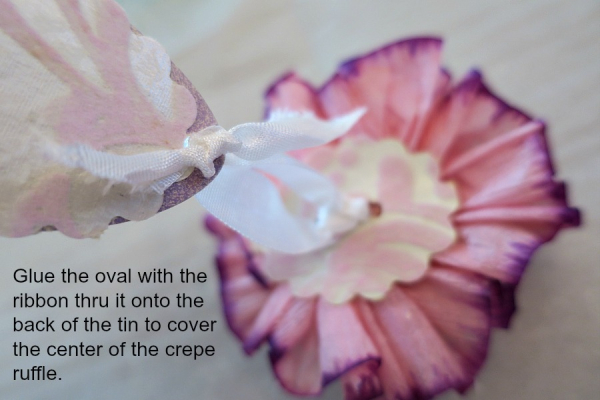
I always cover the rough edges in the center of a crepe paper ruffle medallion.  This time, I used a decorative hole punch on flocked wallpaper to make this oval.  Another oval goes onto the back of the egg shape that will hang from it.

Two holes are punched into the first oval, and a ribbon is pulled through it.

IMG_1376

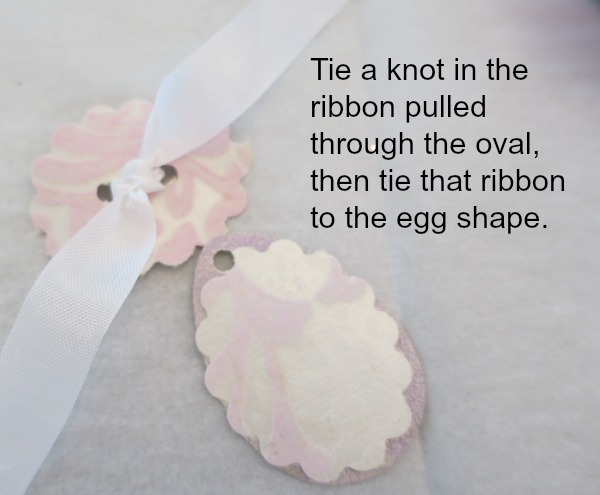
A knot is tied in the ribbon, then the dangling piece is tied onto the bottom of that ribbon.

IMG_1378

In this photo, I am holding up the egg shape piece that is tied to the oval that was glued over the crepe paper ruffled medallion on the bottom of the tin.

IMG_1379

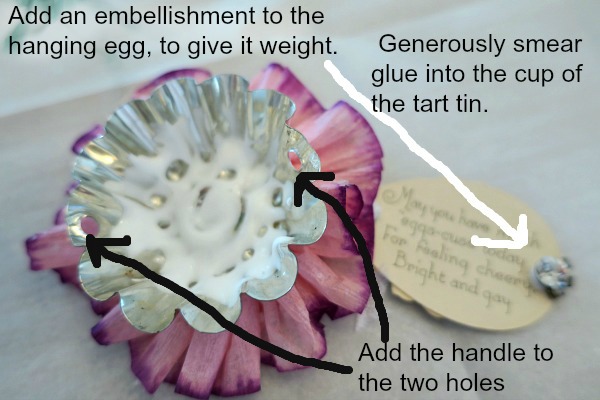
The paper piece that is  meant to dangle is pretty light weight, so I added a rhinestone cluster to make it a bit heavier. That will make it hang nicely.

The tart tins that I provide in kits have the holes pre cut.  If you are doing your own without a kit, use a Crop-O-Dile to cut them, that amazing tool makes it simple, and slices through the metal like it is a piece of cake!

The ends of the pipe cleaner, or chenille stem go into the holes, poke thru and fold up.  Secure with a dab of glue.

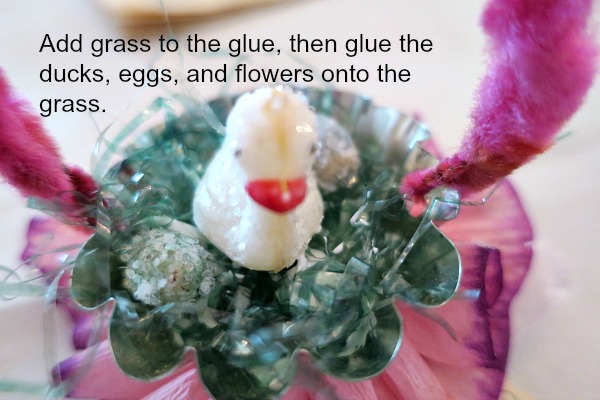
Then, generously add glue to the bottom of the tart tin.

IMG_1380

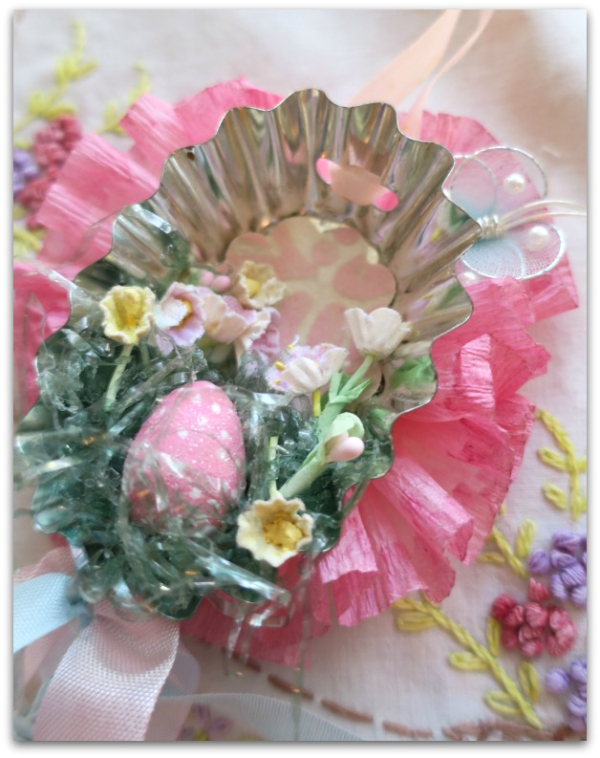
I provide a bit of faded, old Easter grass. But new grass would work too.  Press it down into the glue, then add more glue to that and add your embellishments. You might need to hold them in place a moment or two so that the grass adheres firmly and your pretties stand up right.

IMG_1381

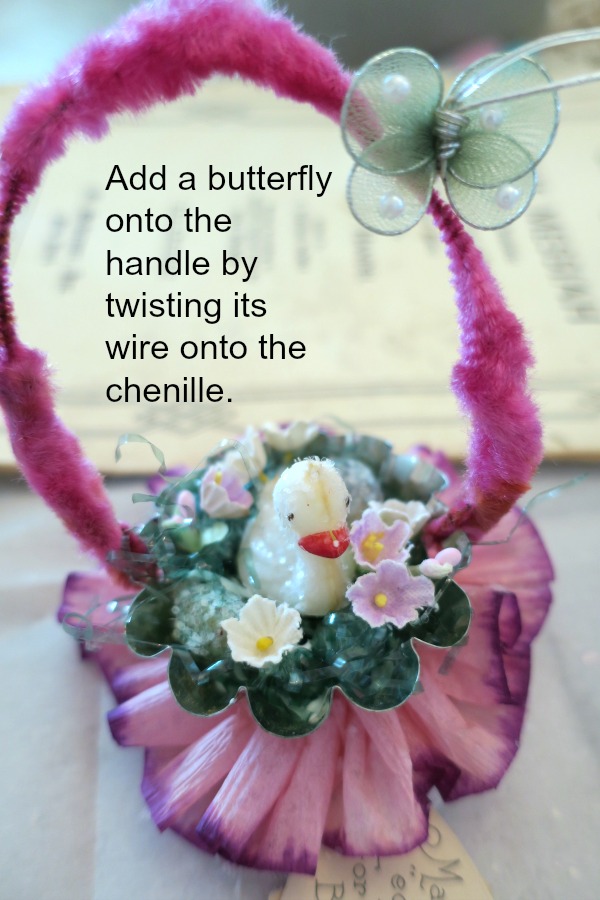
The butterfly in  my kit is a sweet little millinery piece that has a wire on it, that wire simply twists onto the handle.  Put it near the top, slightly to the side. If it is at the very top, the piece won't hang right. If you put it too far to the side you will weight it over that way and the basket could tilt when hung.

IMG_1428

Once you know the basics, you can make up lots of variations to the themes, like I did.


How to make a vintage tart tin Easter decoration- step by step

holiday decor, how-to projects, the Boutique at Karla's Cottage, vintage paper/collage art

IMG_1368

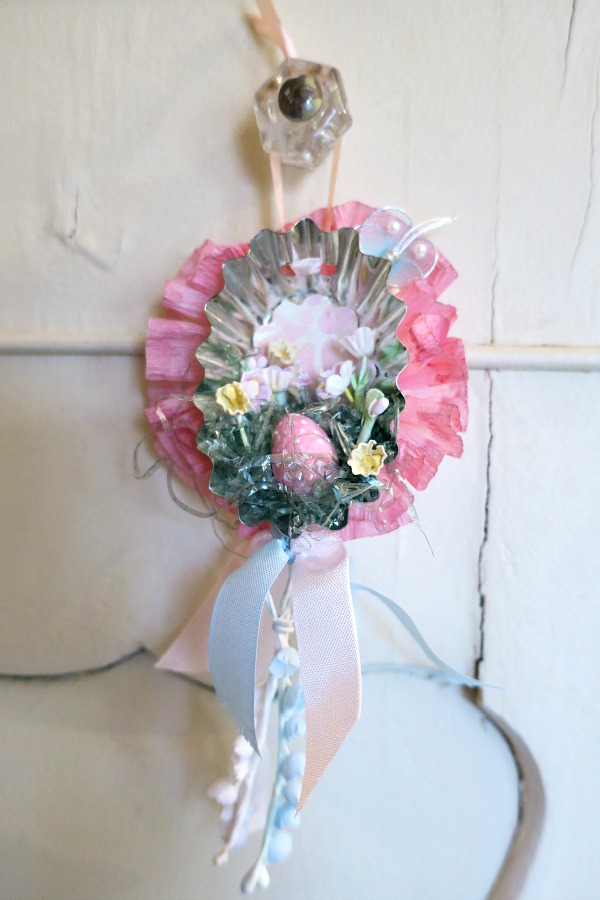
Don't you love tart tins? I never pass them up at estate sales.  I especially enjoy making holiday decorations with them, like this Easter egg to hang.

 I'll list the steps here if you'd like to make one yourself. Since I have some kits available, I'll be talking about building this with the supplies I used, but you can take the ideas and use your own supplies if you don't order a kit.  They are pretty simple to make, and you don't have to do yours exactly like mine, of course.

IMG_1355

The tins in my kits already have holes punched into them.  If you are using your own tin, a Crop-o-dile makes adding holes so easy to do, like slicing through butter!

The top holes are for the ribbons that hang it, the bottom ones are for a bundle of ribbon.

Please put two holes into the fluted metal, as near to the flat bottom of the tin as you can get, at least on the top of the tin.  Putting the holes toward the bottom makes it hang straighter.  Too far the other direction and it will hang oddly.  Use two at the top, two at the bottom, so you can thread the ribbon through them.

After you have the holes in, glue the crepe paper to the back.  I am providing pink crepe, with dyed edging in my kits, so if you are using the kit piece, make sure the deeper color is toward the outside.

IMG_1356

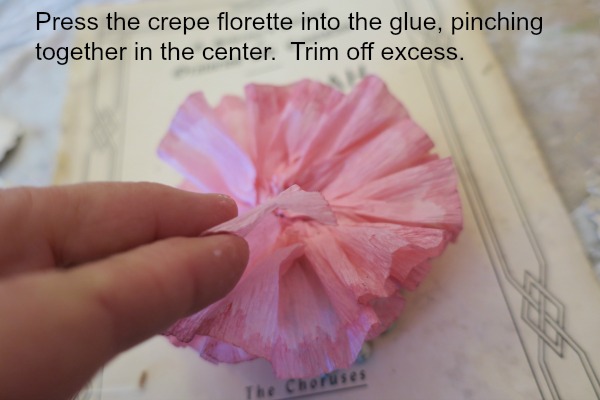
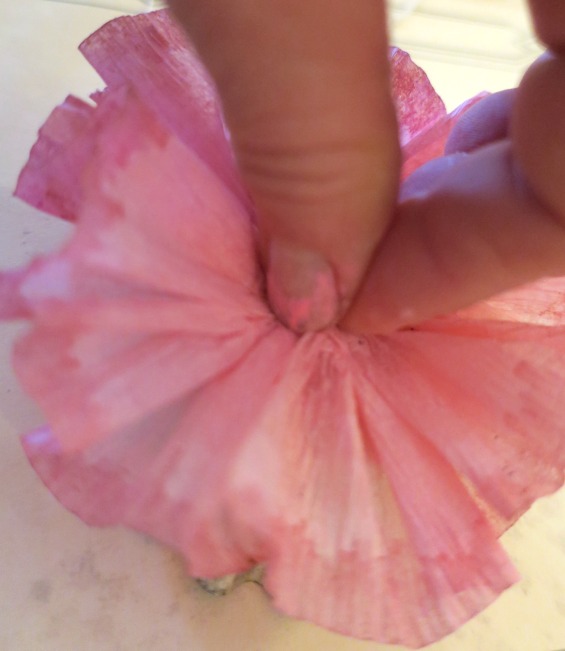
You are making a little floret on the back of the tin with pinch pleats pushed into the glue.  I prefer Crafter's Pick The Ultimate glue.  It holds quickly, and is strong.  

At this point the glue is still mushy enough to slide the crepe paper around and get it positioned, but it will not stay that way long. You can double check that your floret is where you'd like it and the shape is right.  Be careful to not tear the paper.  (My kits contain extra paper, you won't need to use it all)

IMG_1357

Push the center down tightly.

IMG_1358

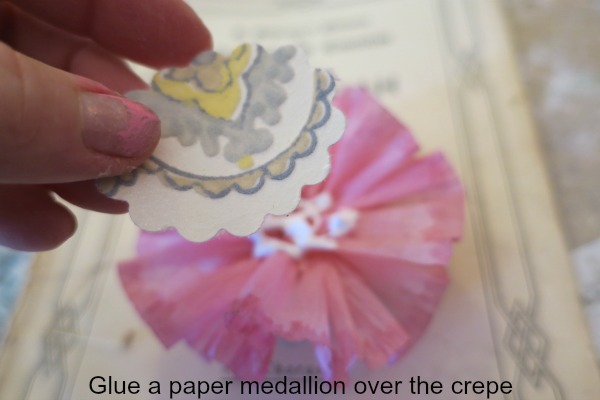
Glue a paper medallion over the back of the crepe paper. (the kits include flocked wallpaper cut and ready to go)  I used a hole punch, but if you don't have one the right size, trace the bottom of the tin onto your paper before adding the crepe paper to get the right shape.

IMG_1360

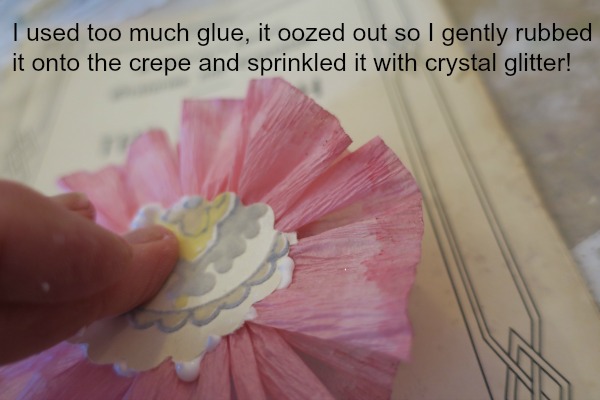
I was sloppy!  My glue oozed out from under the medallion.  

So, I gently spread the glued out toward the edges of the paper with my fingertip, and sprinkled crystal glitter over my mess.  It became an "I meant to do that" moment.

IMG_1361

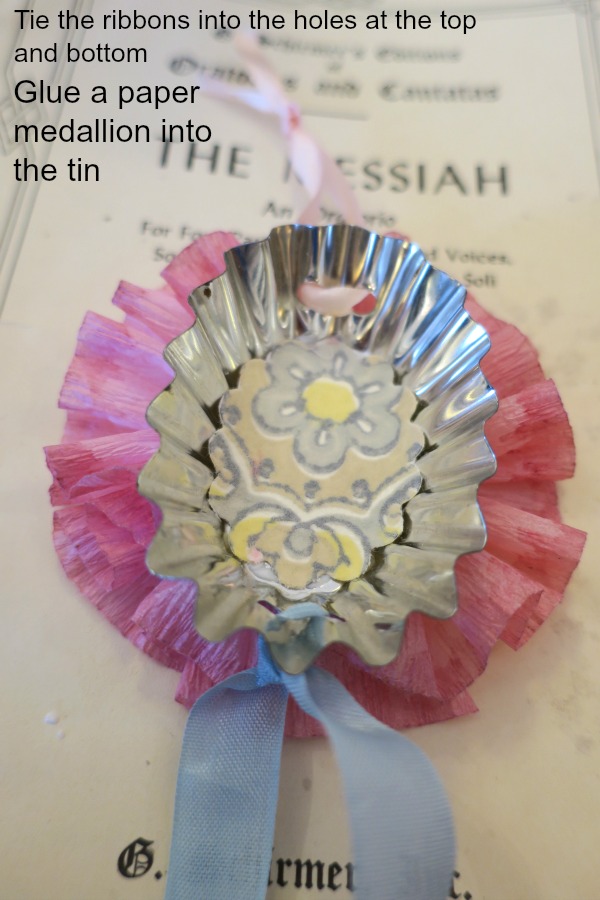
Next, add the ribbon to hang it from, and another at the bottom to tie a bundle of ribbons and flowers to later.  

Then, glue in the second paper medallion.

IMG_1362

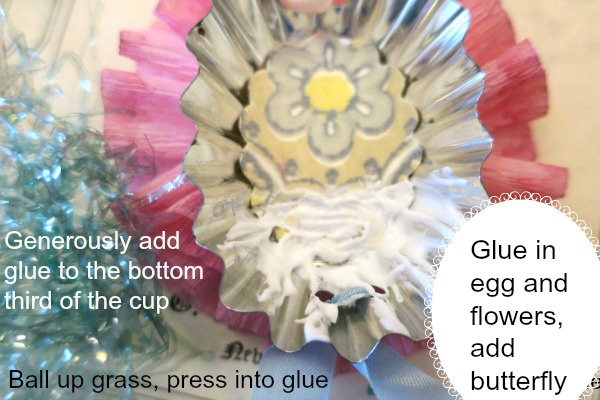
Cover about 1/3 of the bottom of the tin in a heavy coating of glue.  

Add Easter grass (my kits are nicely faded, vintage grass).

Drizzle a little more glue over the grass, and add the flowers and egg (mine is a hand painted, wooden one, with polka dots and glitter)  

If you have exposed glue and feel it looks a little messy, sprinkle more glitter over it.

IMG_1369

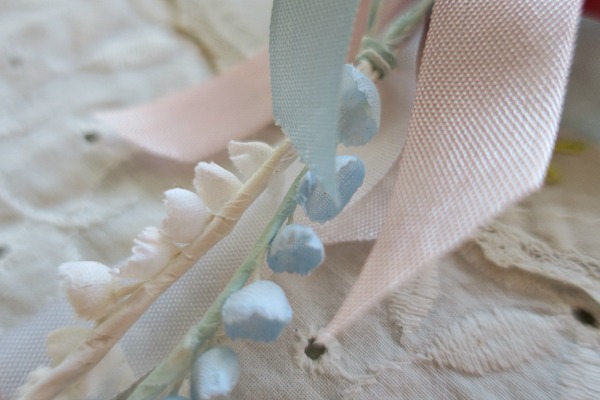
At the bottom, add a bundle of pastel ribbons, and a sprig of flowers.

IMG_1367

I have also included a teensy, vintage butterfly in the kits.  If you want to add one of these, you can either twist its wire to the ribbon at the top, or cut off the wire and glue it to the piece where ever you'd like it. Maybe inside the tin? I glued mine to the ruffled crepe.

IMG_1365

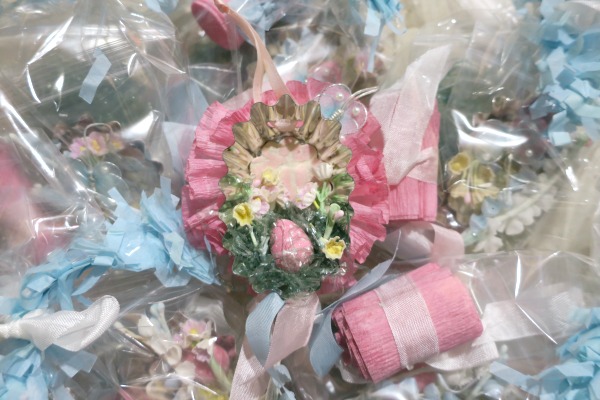
The kits are here if you want to order one. The include everything but the glue, and the extra glitter you might want to use.  The painted egg is already "sugared" with clear, crystal glitter.

  IMG_0384

ps- I'm working on adding a few more tidbits to the Boutique too


Galentine Crafting fun

friends, holiday decor, vintage paper/collage art

IMG_0321

My pal, Tami, has been hosting craft days for a group of  friends, many of us who met at Birdsong.  It means the world to me that some of theses buddies were introduced to each other at my home and are now close.

I sincerely miss Birdsong and all the camaraderie, crafting, and caring that we shared there.  Last year was ROUGH on me, so I was glad I didn't host the party, and this winter, when it was time to plan another event, I still wasn't quite myself, and I decided not to have it.

But- man, I feel good again! Back to my old self!!

Yet, I thought I'd missed the window of opportunity and it was too late to invite my Peeps to a bash for 2017.  Then, someone mentioned waiting til Fall instead of having a Springtime craftathon.

hmmmmm…..

tempting……..

I'm turning that one over and contemplating the possibility.  It has been so nice to get inquiries about Birdsong '17, and my whistle has been wetted.  

I'll give it a little more time, and will let you know when I come to a decision.
IMG_0315 IMG_0314

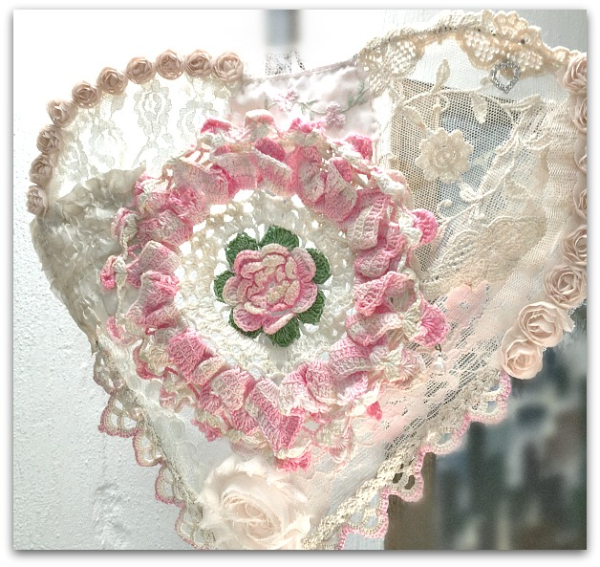
In the meantime, until I reunite with Peeps at my own home, I'm thrilled that Tami includes me in her crafty group.  She is generous with her time and space, and we love gathering there for a day of laughter.  Here are some of the examples she made in advance for us to see before we started work on our own projects.
IMG_0313

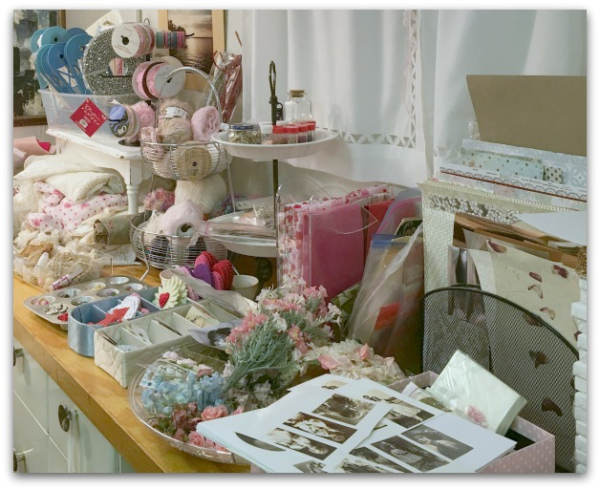
She is generous with her supplies too, and set up a big buffet of goodies for us to use.
IMG_0329

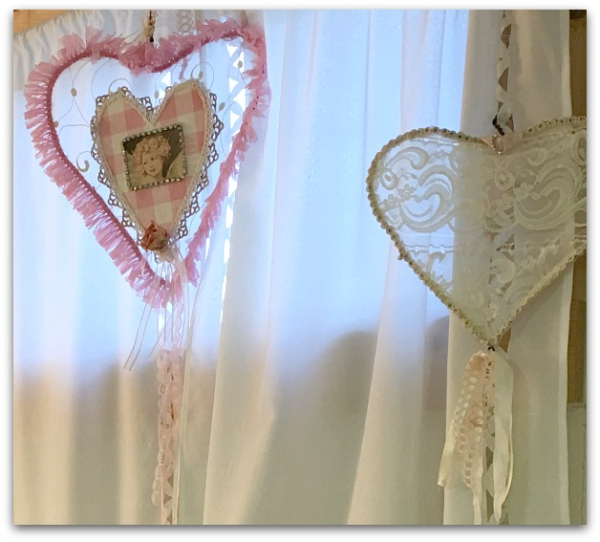
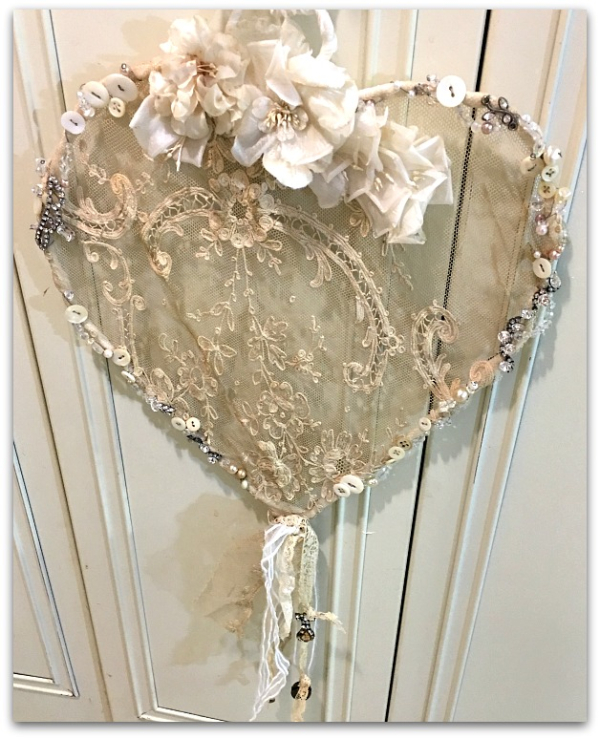
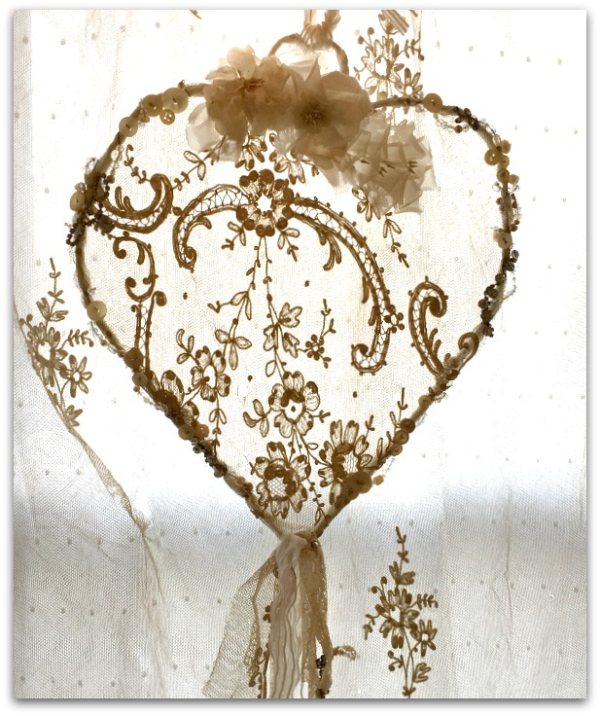
I brought my own lace, because I wanted to make a heart from the tattered remains of my beloved curtains.  The fabric is French Net, and was very old.  It was in great shape when I hung them up, and I adored the curtains in my kitchen for years. But after those years of use, they just couldn't hold up.  We like windows open, and blowing in the breeze wasn't the healthiest thing for 100 year old, dainty lace.

I salvaged what I could to make new curtains when we remodeled.  You can see here, I used some of the netting over vintage dotted swiss, hoping that will be a sturdy enough backing and they will hold up better now.

But I missed the ornate scrolls of lace that I previously had, and wanted to make a heart from some of the remnants to hang over the remade curtains.

Ta- da!

I  like it so much, I might make one for each window and leave them up year round.  Who says hearts are only for Valentines?
IMG_0318

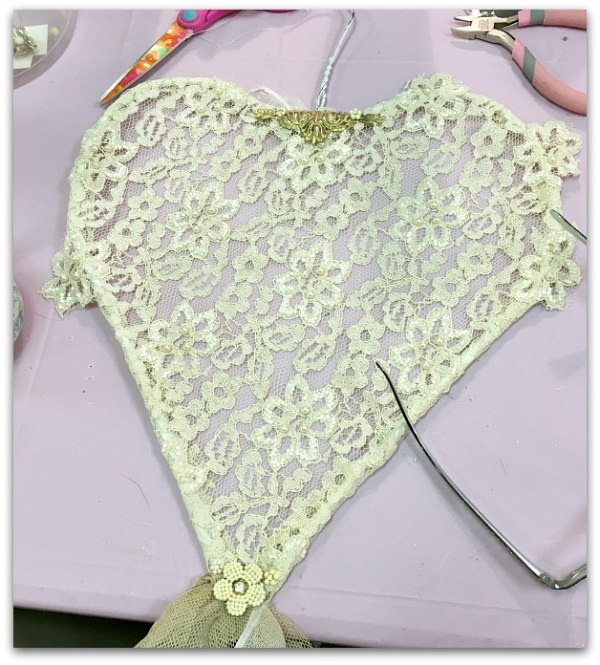
While at Tami's though, I made a second one from this beaded lace since I didn't have more curtain material with me.

It is from the same vintage dress I'd taken apart to make angel wings for Christmas.  Those are still hanging above my mantel. While angel wings are sweet for Christmas, and hearts are traditional for Valentines, I feel both are just lovely year round.    I took down all of the overt holiday things on the mantle and left my wings over burlap up for the winter. I'll return to roses and bluebirds when spring finally returns too. Til then, I'm enjoying the neutral tones.
IMG_0328

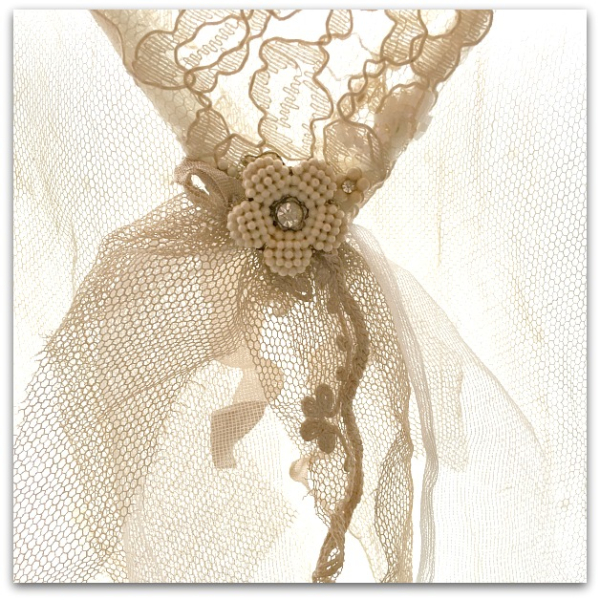
For now, this second heart hangs in the kitchen window above the grand fairies' play area.
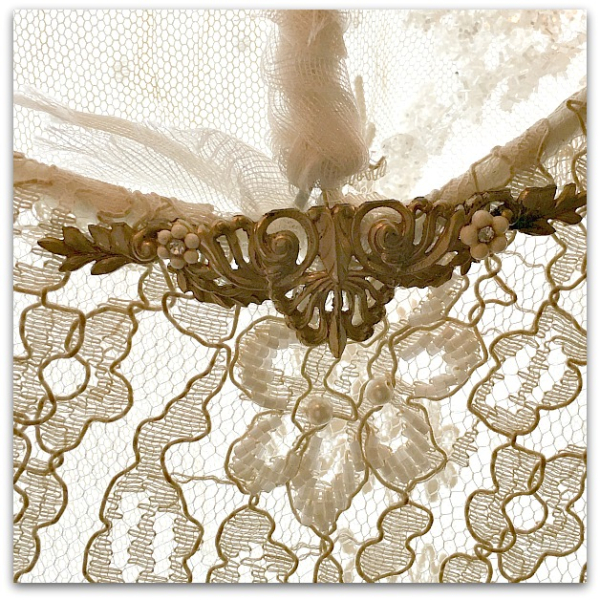
IMG_0330

Which is why you are only seeing a close up of the details, not the whole nook.  I'd need a bulldozer to move Legos, crayons, piles of paper, and scissors out of the way before I could take a picture of the area.
IMG_0326

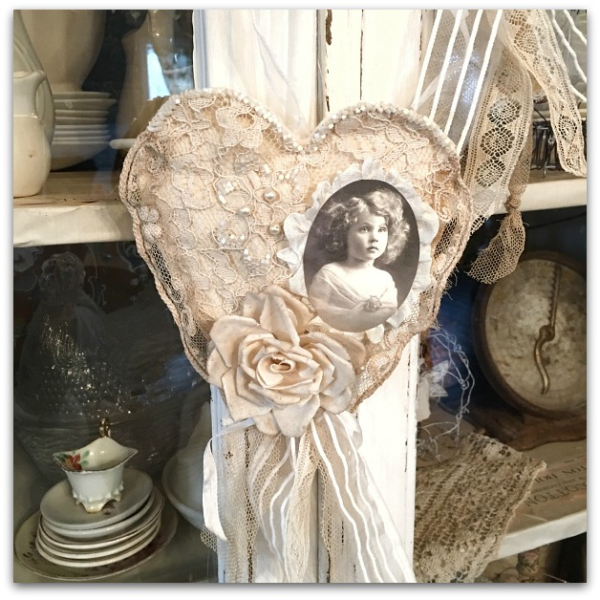
Tammy also had out cotton batting for us to use to make embroidered hearts.  Instead, I used two layers of it, glued together and stuffed to make this hanging heart.  (no sewing for me!)

It is covered in the same lace, using the beaded scalloped hem as the top of the heart. I've added a print of a vintage picture (from Tami's stash of treasures) and framed it with ruffled seam binding. 
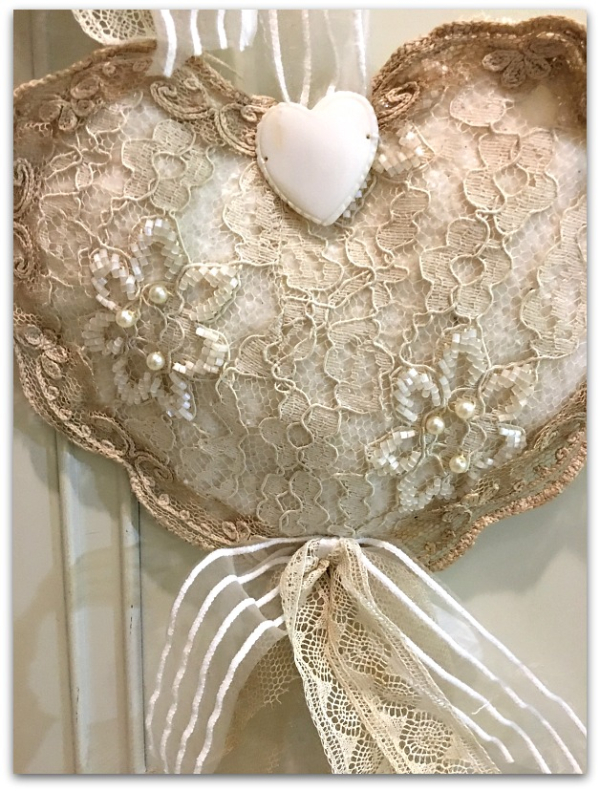
IMG_0323

That one was so quick and easy to do, that I made another one the same way.  I was out of scalloped trim (durn it) but I did have the edging from the sides of my old curtains to add to it.
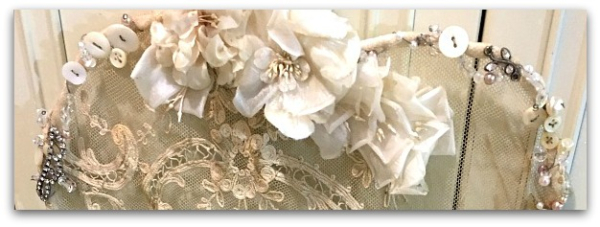
IMG_0321s

My wires on the other hearts are actually coat hangers, bent into a heart shape.  I found it was easier to get the corners smoothed out of them  and reshaped with a pair of pliers.  

Then, I decided to wrap the wire in fabric before gluing the lace to it, that gave something for the lace to stick to better than just the wire. (Tami sewed hers, so that wasn't an issue for her pretty creations)

The beads, MOP buttons and rhinestones are woven around the shape on thin wire.  

To glue the millinery in place, I placed bits of fabric behind the lace, so the flowers would have something to stick to. I was afraid that if I tried gluing them to the delicate lace, they wouldn't have anything to grab onto. 
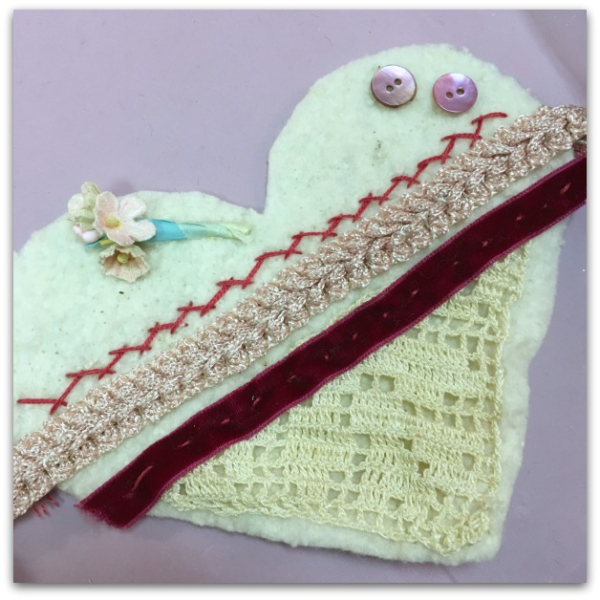
IMG_0311

The day was filled with hearts.  Beth was stitching this one onto some of the cotton batting.
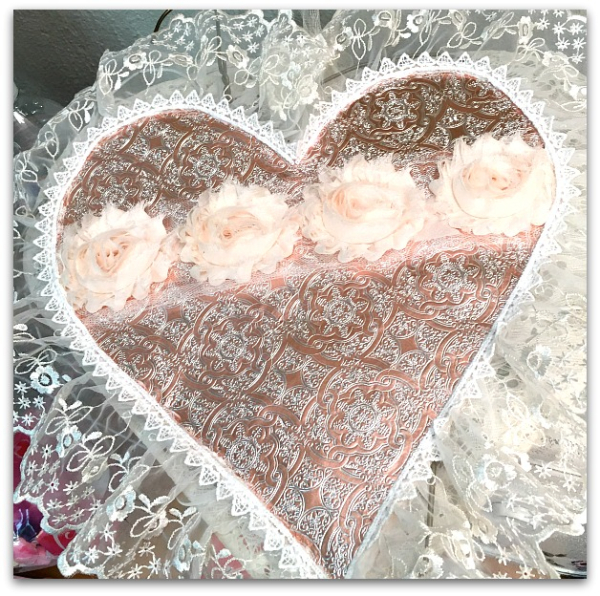
IMG_0316

And Nora made this with foam core board and wrapping paper. 
IMG_0320

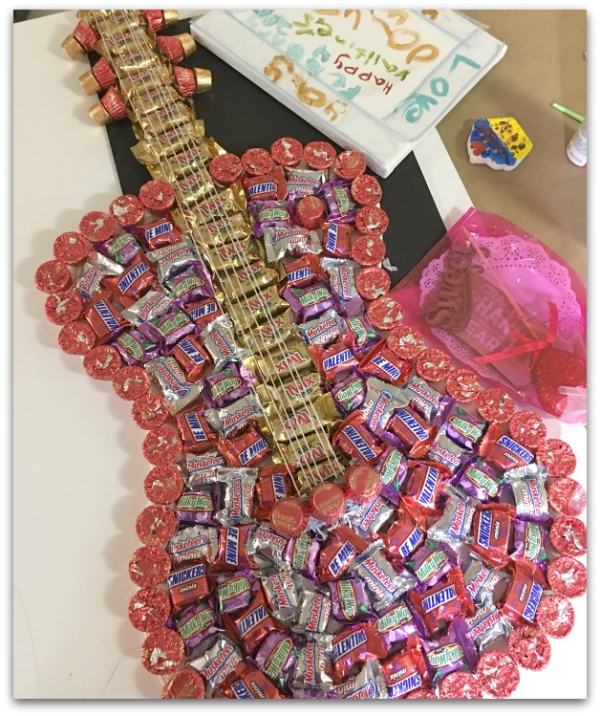
But hearts weren't all that was going on.  Look at this foam core guitar covered in treats! 

Yep,  lots of goodies, lots of lovelies, lots of laughs.

Thanks, Tami!

ps- I made a few more of these hearts, most have sold, but at last check there was still one on Etsy.  
Much needed vacation craft days

fairies, guncles, vintage paper/collage art

IMG_9723

When Guncle Randy and I get together, there is usually some pretty paper and glue around.  We always make time for a craft day and on my last visit, we even fit in more than that.

Art

 We had a full day with our pal, Regina plus a lot more time back in the stuffed to the brim (with delights) art room he has.

IMG_9708

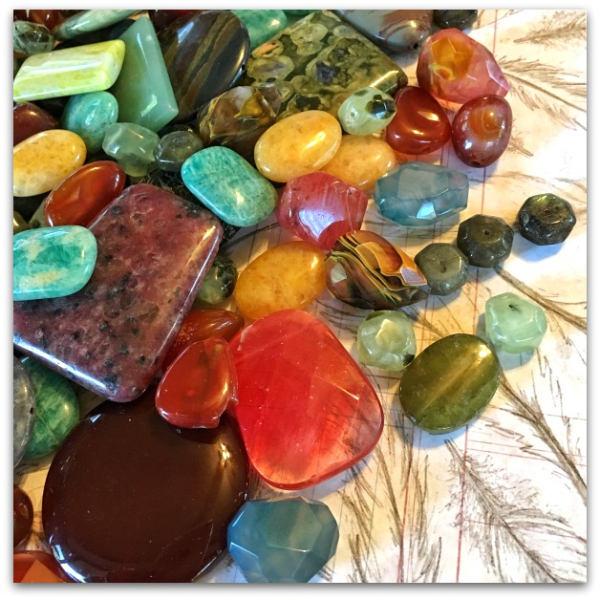
Regina gifted me with some gemstones, and I'm looking forward to getting them turned into jewelry.
IMG_0998

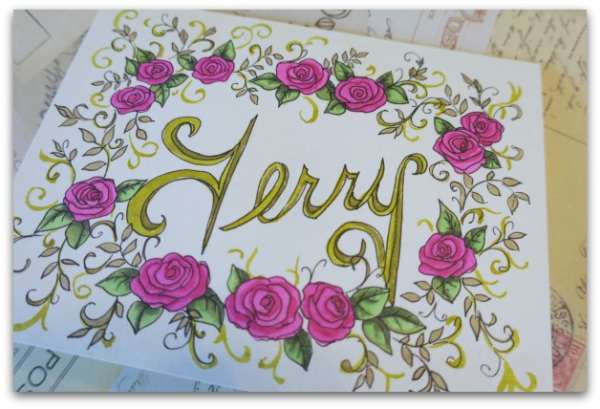
During our play date, I made some cards, my sis had a birthday coming up.
IMG_1000

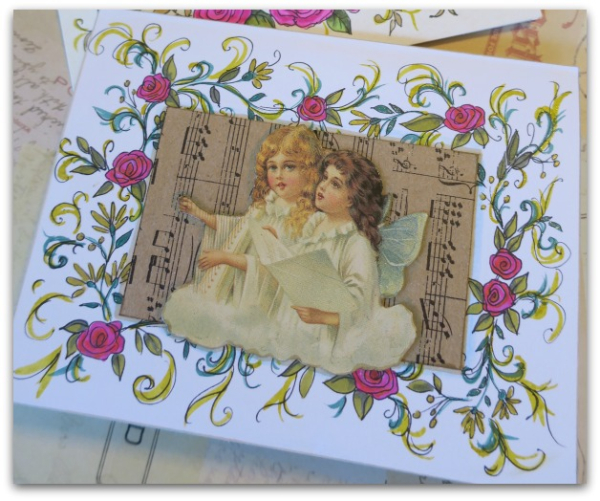
And a nephew had just gotten married.

IMG_9723

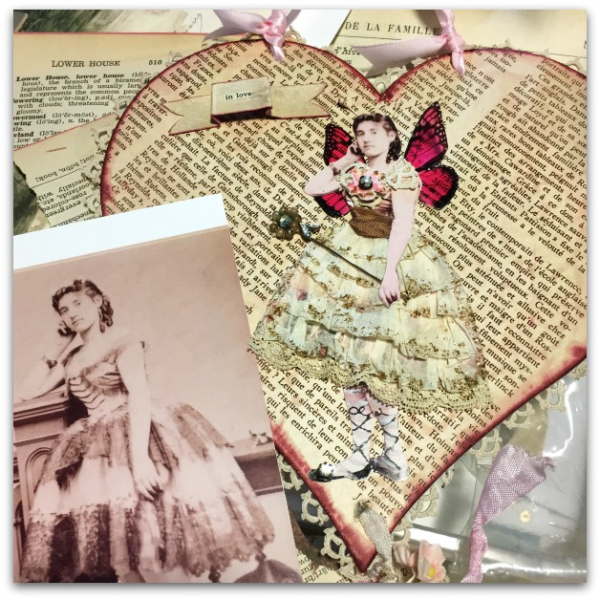
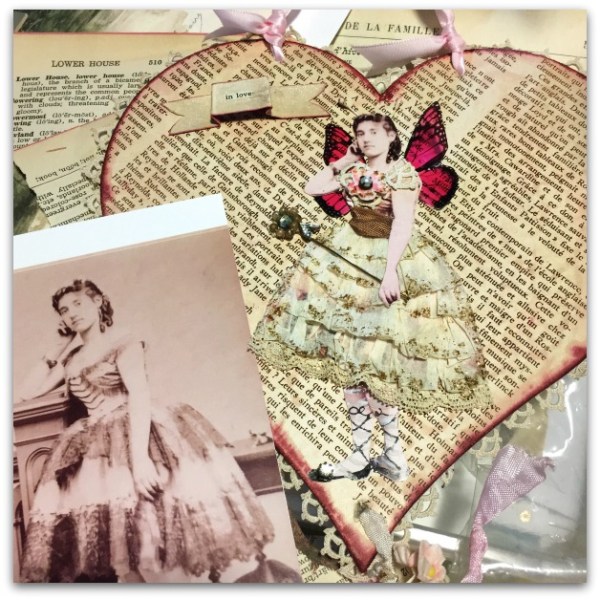
Randy had this awesome, old, ballerina photo that he copied for me to use, so I made this Valentine from the picture. I also created a Valentine banner with some red felt triangles he gave to me.

IMG_9727

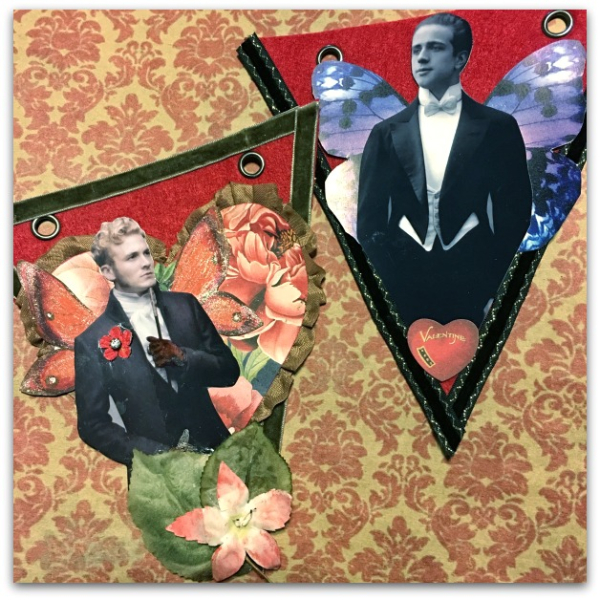
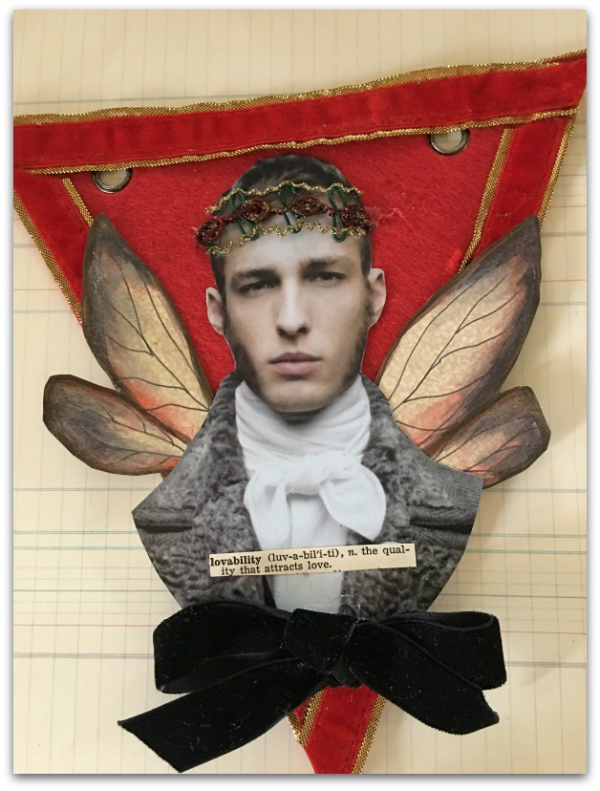
After I finished my sweetheart banner filled with ballerina girls, Randy and I collaborated on a banner with hunks for his mantel.

The left hand piece is by me, the right by Randy.
IMG_9729

Here is another that I made for  him. The red felt pieces are from Target's Dollar Spot.  They always have good supplies, don't they? 
I never get out of there with spending just ONE dollar….

IMG_9730

When I left Kansas, I threw a few supplies in my suitcase, but not enough. No problem, at the Guncles' house, there are lotsa goodies to play with.  Randy shared with me and we worked for hours back in his room of wonders.

IMG_9714

Yep, it was a fun brother/sister/best friend week. Thanks, Baby Bro!

Fairy cards

fairies, family, vintage paper/collage art

IMG_0920

The week before Christmas, I squeezed in a smidgeon of time to make a few cards to send out. Not many as I would have liked to create, but enough to bring  me a smile from getting my fingers gluey and glittery and to send to my sisses and my husband's moms.

IMG_8935

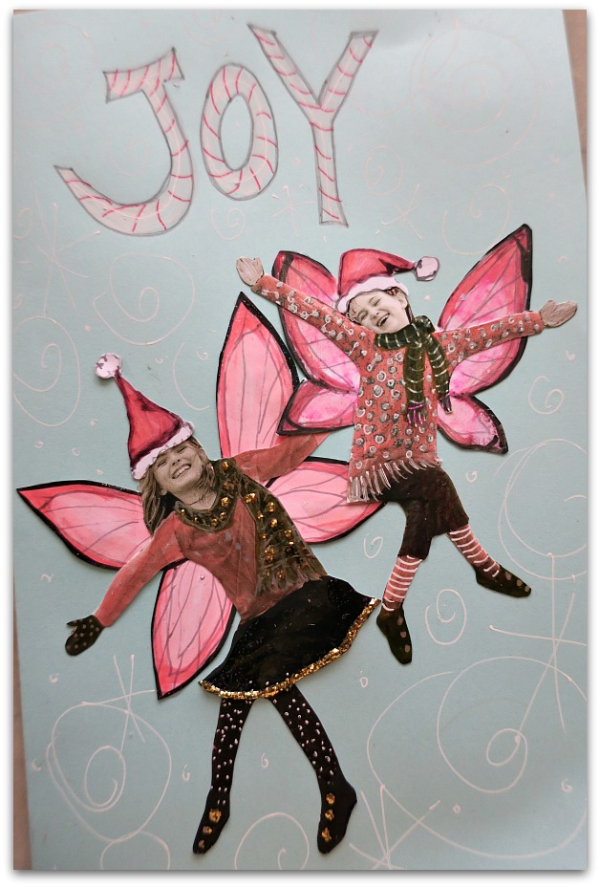
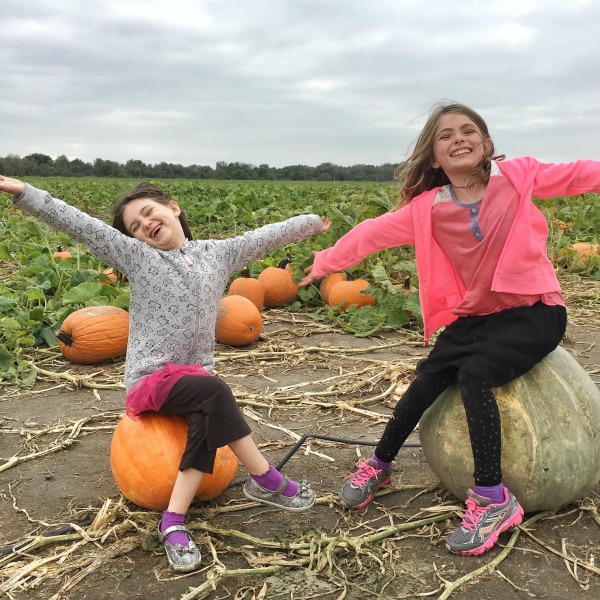
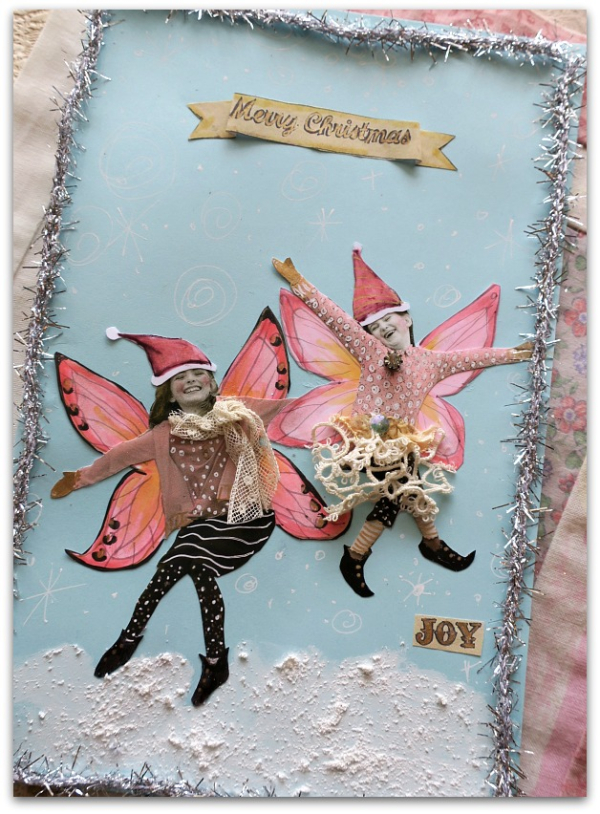
For the great grandmas in my grand fairies' lives, I printed this happy picture from the punkin patch onto matt presentation paper.  The hands had been cropped out, but I figured I could make it work.  I cut out the girls, leaving space to add mittens for Dewdrop and one for Sugarwings, but she was missing a lower arm too.  So, I layered the pictures on the card to position her missing arm under her sis, making it look like a hug.

They do a lot of hugging, so that was a fitting fix.

IMG_0917

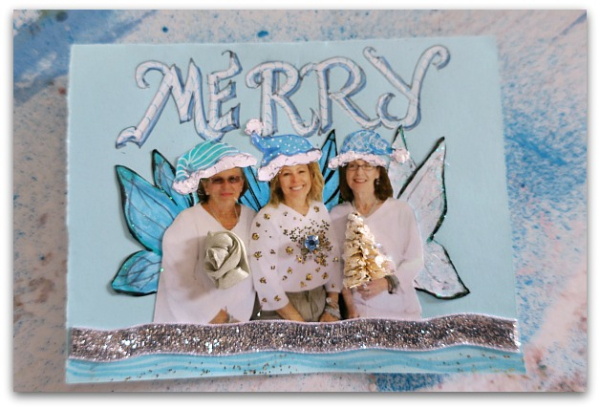
To remove the Happy Halloween feel and add some Merry Christmas cheer, wings, scarves, and hats were added, then the fairies were glittered up and colored with markers and gel pens.  On this card, I added lace, and glued them onto a sky blue piece of card stock.  At the bottom I smeared on some of that crafty snow paint that comes in a jar.  Then drew snowflakes with a white gel pen.

IMG_0918

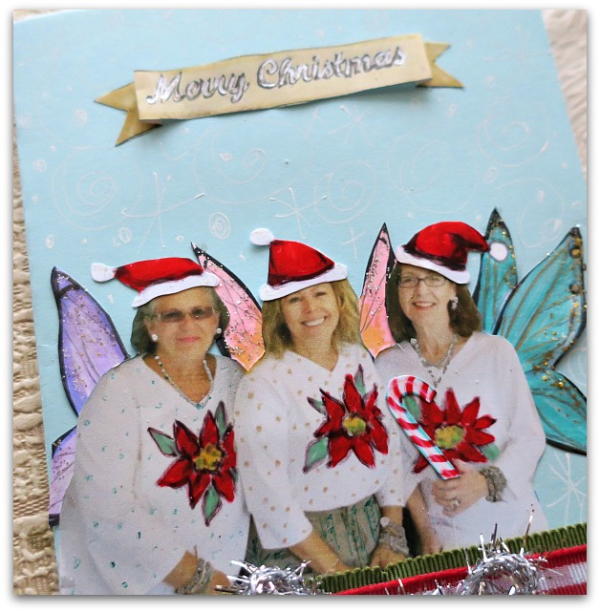
This card for Bobbie was done in a similar way. We were wearing mermaid shirts in the photo and Sissy was holding a little mermaid figurine.  Which were cute as a beach photo, but not what I wanted for a Christmas card. So I used markers to draw poinsettias on the shirts, and drew, cut out, and glued a candy cane into Sissy's hand.

IMG_0923

The same photo from our Sister Trip to Siesta Key was used for Sissy's card too, but done in her favorite color of sea blue.  I covered up the mermaids with a silk rosebud, glitter, a rhinestone and a mini tree.

ps-For some reason, my [printer is not feeling well.  All of the photos I used weren't as clear as I'd like them to be.  I've gone through the fixes on the toolbar of the printer, but I still get lines and less detail than there should be with high quality paper.  Hmm, I'm not sure what is going on, but I used the photos anyway.  The quality bothers me, but I hope that the joy I felt while creating still comes through to the people I sent these to.

A Craft day party (on my own)

holiday decor, vintage paper/collage art

IMG_0910

This holiday season, I've been on a non-stop quest for filling my days with all of the holiday fun I could find and I've been pretty successful at it.  Parties, luncheons, play dates, cocoa parties, and more.

IMG_0911

Last Tuesday, I had plans for a full craft day and lunch party with a few friends.  Sadly, no one could make it after all, and I thought I should probably get busy and do some Christmas shopping while I had a free day.  But instead. I decided to have a solo party. I got myself a candy cane and headed to the studio to make some stuff. I've missed creating, there has been a very small amount of it lately.

IMG_0909

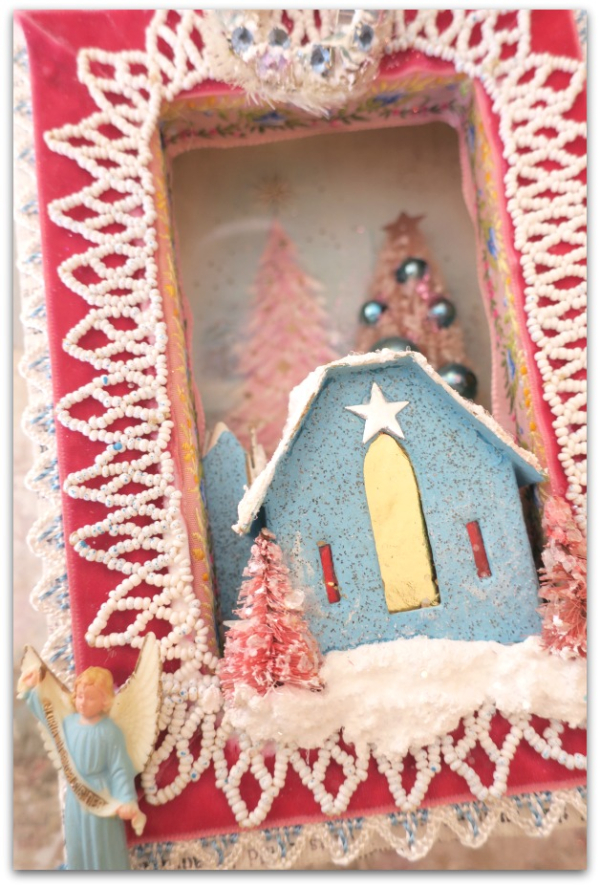
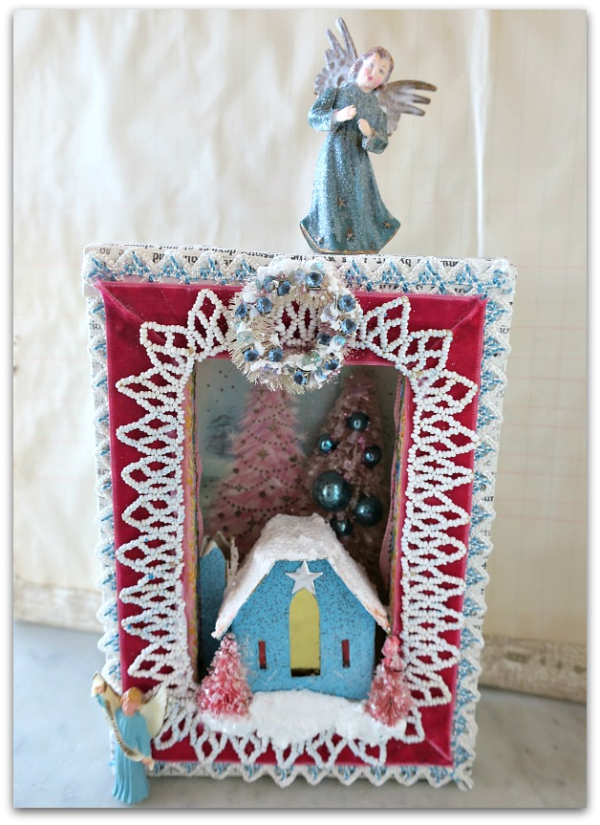
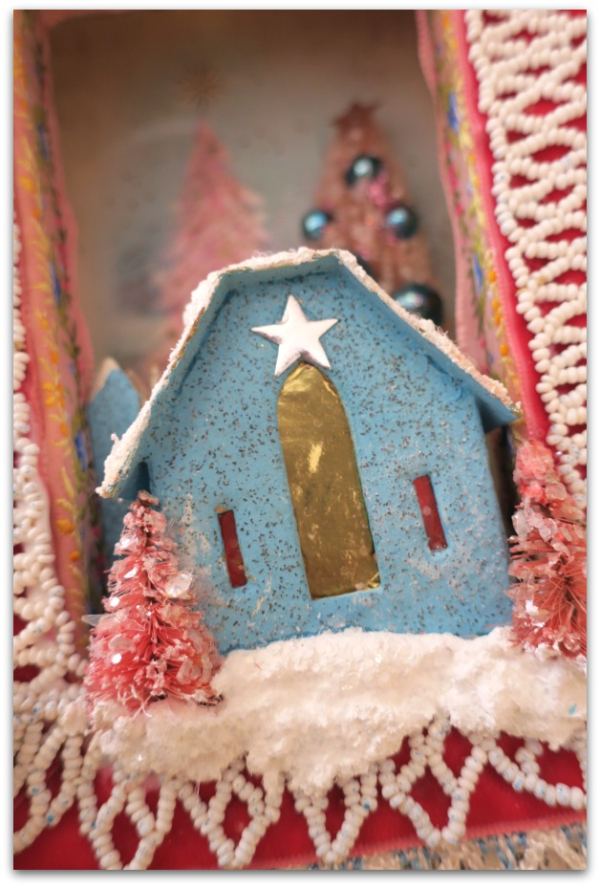
It was a  good day, even though I missed my buddies.  Whipping up this shadow box (made from the backside of a wood framed canvas, lined with a Christmas card and filled with bottle brush trees and a putz house) sure made me happy.

I even treated myself to a second candy cane while I worked.

IMG_0907

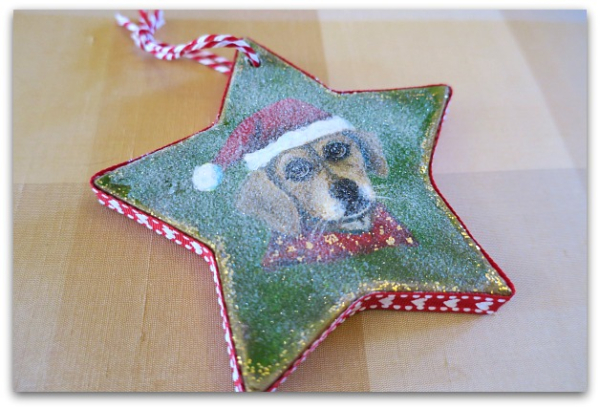
Then, I painted this pup for a friend (the glue under the glitter is still a bit wet, the glitter will dry clear, not white.)

IMG_0905

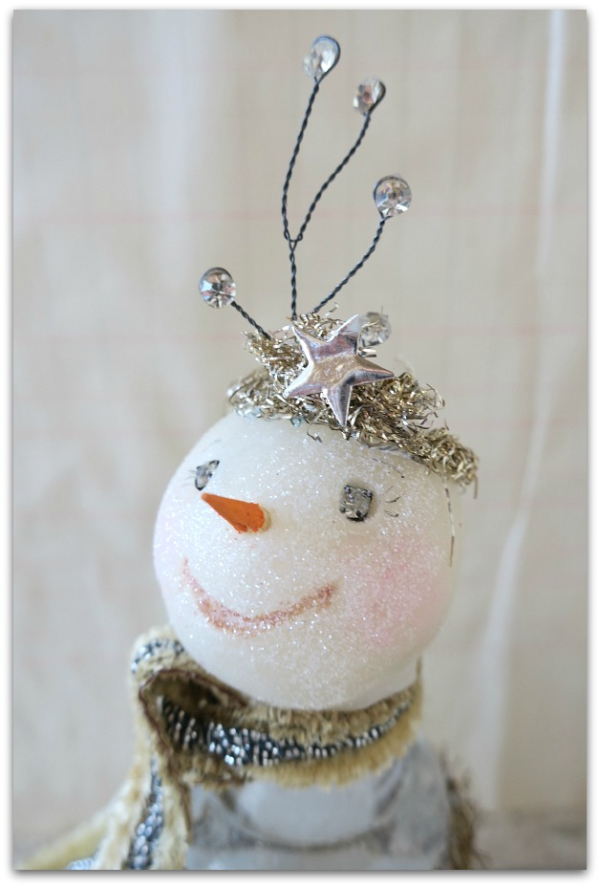
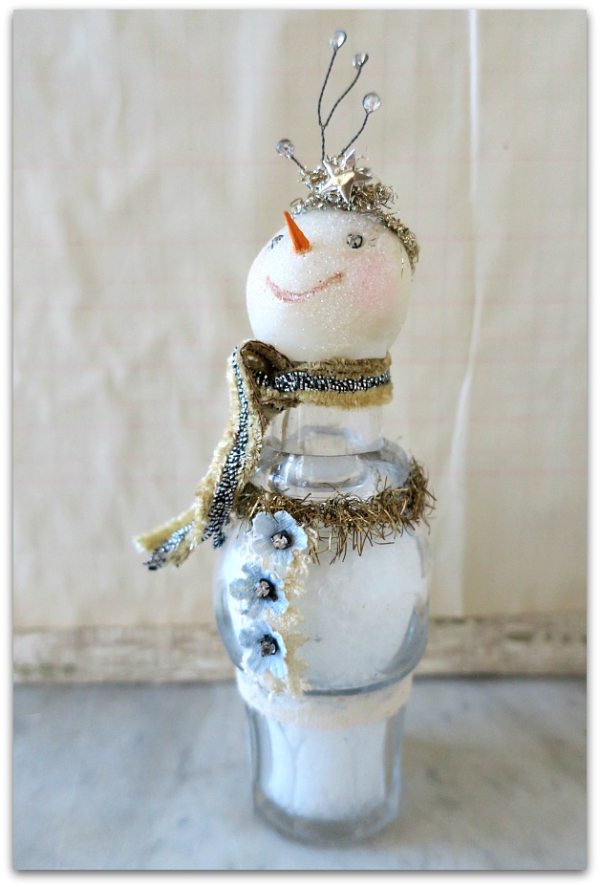
Earlier, I'd started this snow gal head.  I took advantage of my solo craft day to finish her.

IMG_0904

Her body is a Victorian cruet bottle filled with fake snow.

Yep, a good day.  Of course, I missed my friends, but sometimes it is good for the heart and soul to have a day just to piddle around with supplies and make something.

Sister gifts- hand made art journals

Books, family, vintage paper/collage art

IMG_0701

When Bobbie, Sissy and I go on our annual sister trip to Siesta Key, we pack craft supplies and I make journals for us to work in.  My suitcase is 90%  tools, lace, ribbons, ephemera, and other pretties to foof the books.

IMG_0704

Although, they do start out pretty foofy already. The spine is all decked out in beachy toned trims.

IMG_0705

The theme this year is Beach.   The first year it was Blessings, last year it was Witchy Girls

IMG_0709

Each one is a little different than the others.  But all are covered in silk wallpaper (that I waxed for durability) and are made in the same colors.

IMG_0710

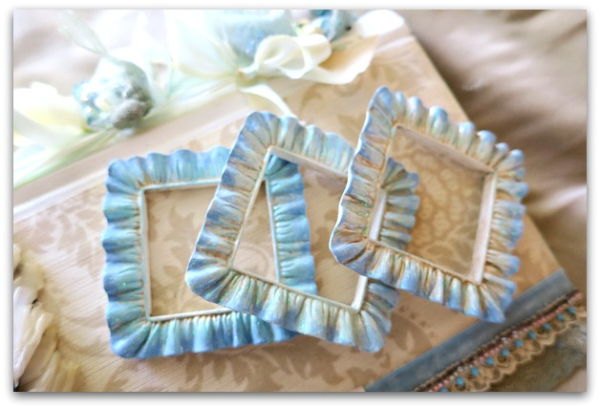
I painted these little frames in ombre blues with glitter, so we can take photos of ourselves on the beach and add those to the covers. (I packed my portable printer)


IMG_0703

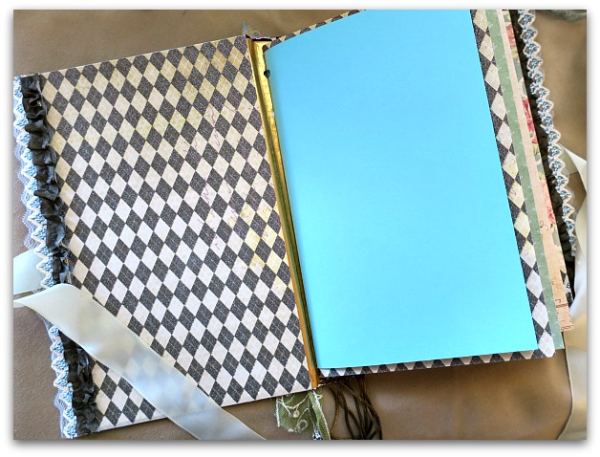
The  interiors are made up of scrapbook papers. They are heavy card stock and can be covered or used as is. Bobbie's has this black and white Harlequin pattern.

IMG_0706

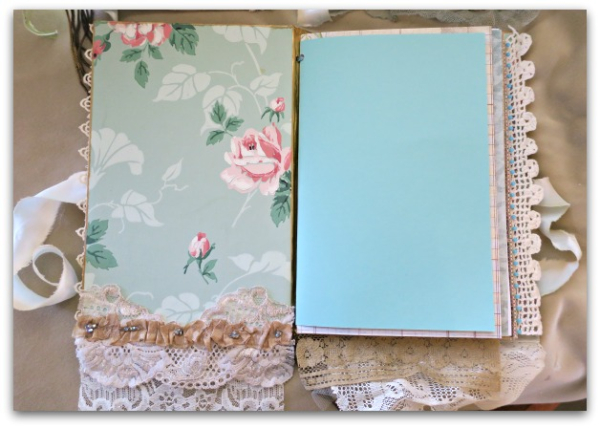
Sissy's has wallpaper roses.

IMG_0707

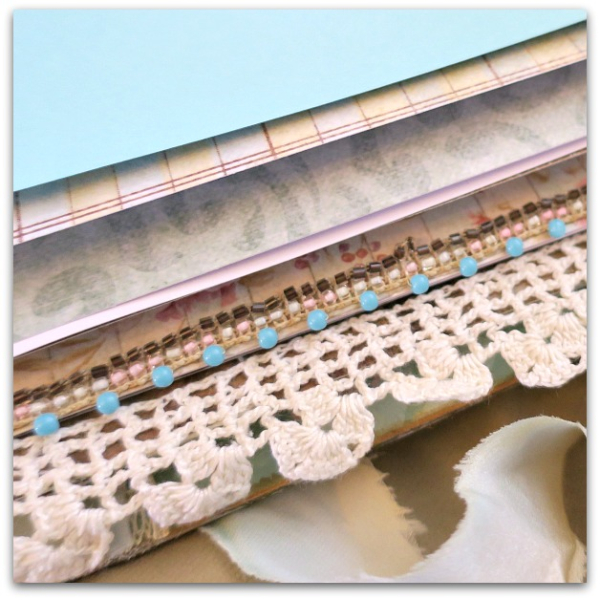
There is already a little bit of trim added and I packed a two gallon sized bag full of ribbons and lace to really make these special and drip with vintage goodness galore.

IMG_0712

I'll be sure and get photos of finished pages as we go along.  More to come!

A couple of Witchy girl banners

holiday decor, vintage paper/collage art

IMG_0693

Last Halloween, I was enamoured with making witchy girl banners.  And as October was progressing this season, I felt the urge to conjure up a couple more.

IMG_0692

And I still love making them. 

IMG_0696

Especially creating little skirts or embellishing the gowns with vintage fabric and trims.

IMG_0697

Or making the magic wands. That is my favorite part.  

No, wait! My favorite part is making the brooms! I love going out in the yard, finding a stick to trim and adding the "straw" so that my enchantress has a broom to fly away on.

IMG_0695

Maybe I just plain old love making these.  Last Halloween I was whipping them out nonstop. This year, this is probably it, I've got a couple of trips planned and have been busy with finishing up the remodel plus some entertaining.

Hopefully, I'll be able to make Sugarplum Fairy banners for Christmas, they are every bit as much fun to sparkle up and glue together.  In the meantime, if you'd like a witch themed banner made with lots of vintagey goods, you can find these two here.

Scroll to Top