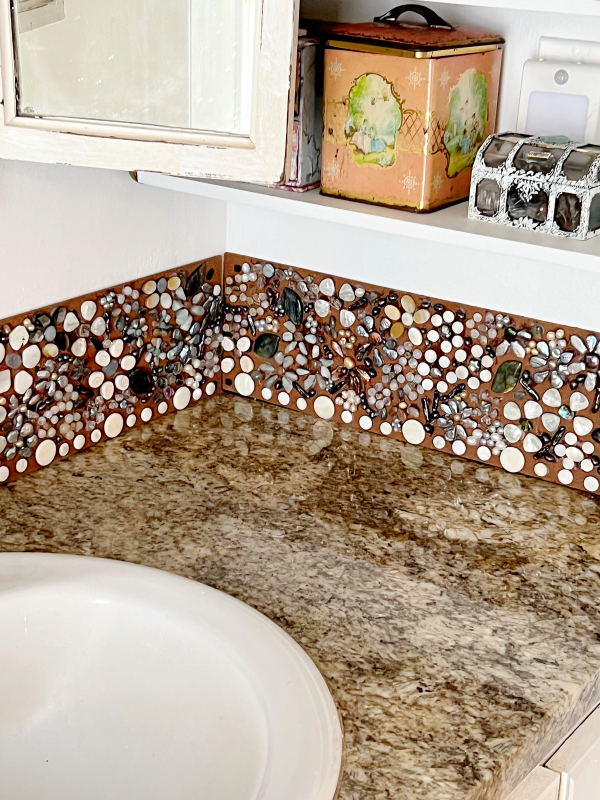
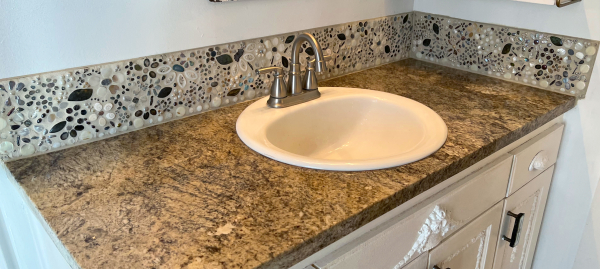
This mosaic backsplash felt like a huge job, but actually was completed in bits and spurts over the course of a week.
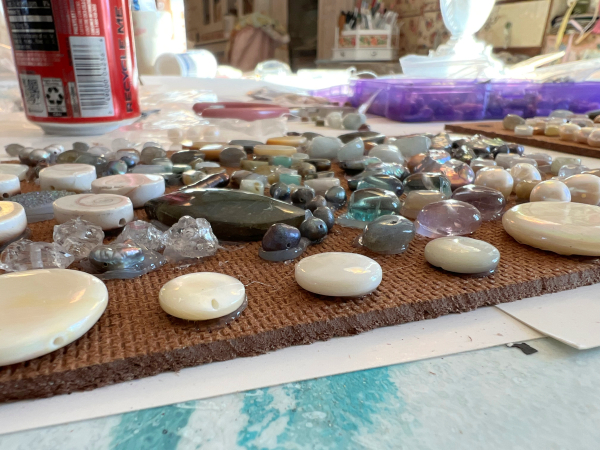
The boards were set out on my table like a jigsaw puzzle that I pieced together whenever I had a spare hour of time.
First, I measured the spot, then I had Masonite cut to fit the area. I drilled holes where I wanted to screw it into the wall, and left those spots blank while adding stones.
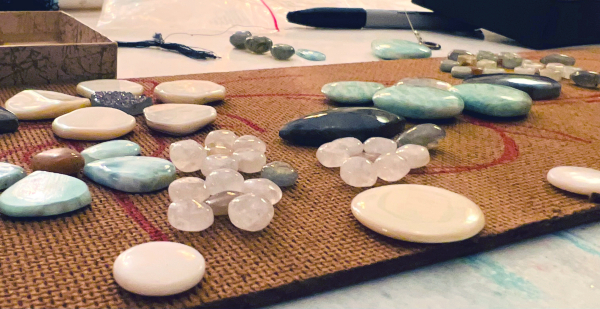
Then, I used a sharpie to draw a design that I promptly ignored and started placing stones in posy shapes.
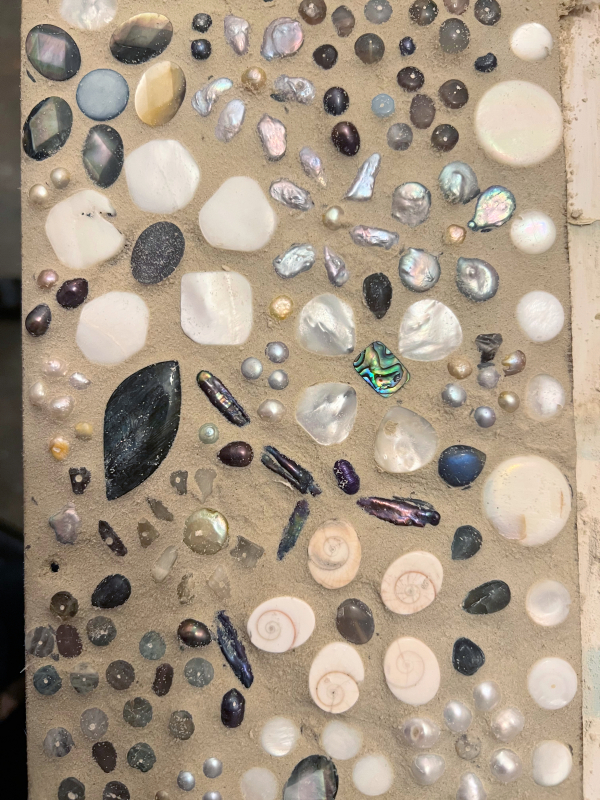
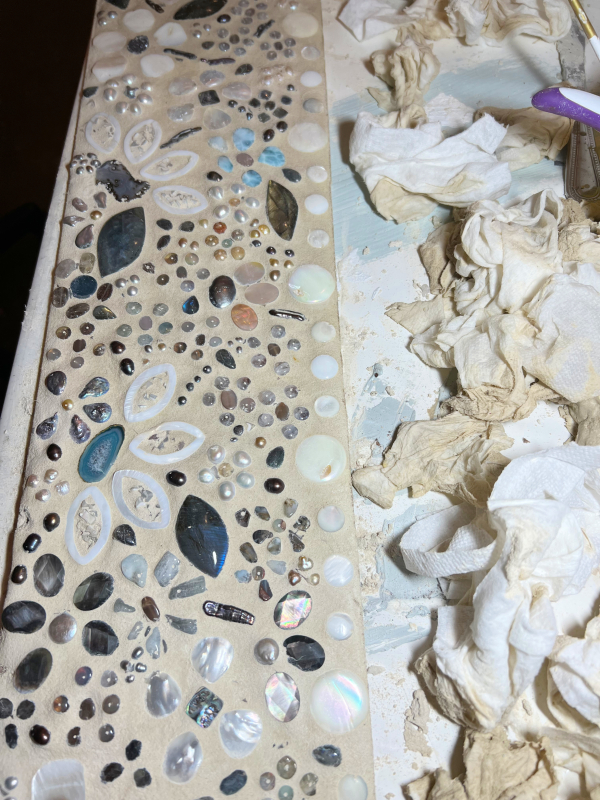
I started with the largest flowers, working out from the center of the board, where the faucet of the sink would be. Then spaced large flowers throughout the Masonite.
Next came medium flowers, then small ones, and finally the darker pearls, petals, and leaves.
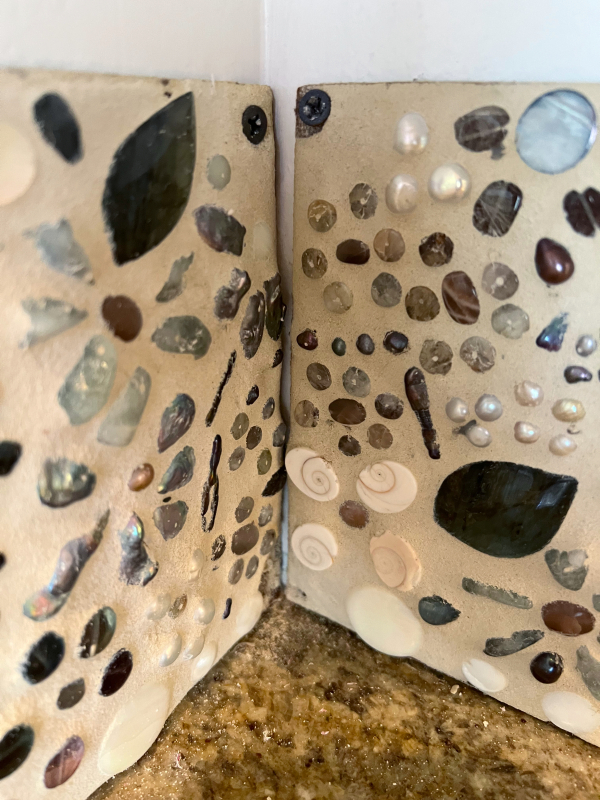
The stones are glued down with silicone. After the adhesive dried I brought the mosaic in to see how it was going to look and decide on grout color. I had been proud of myself for having a continuous design in the corner from piece to piece, but didn’t allow for the thickness of the beads.
oops
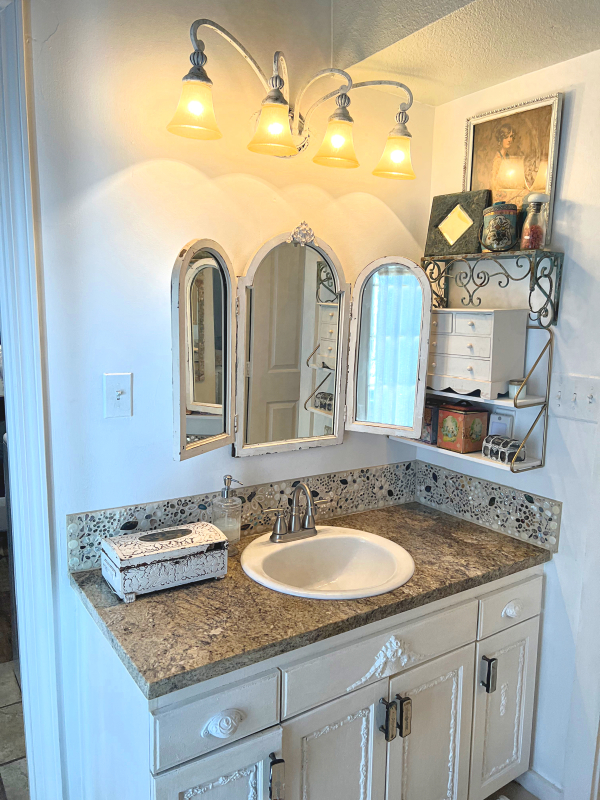
When I first measured the materials, the boards butted up against each other, now with grout and beads, they don’t. Oh well, caulking fixed the crack, and it doesn’t really bother me too much that the backsplash is about a 1/2” longer than the vanity top.
Grouting was HARD. Really hard, because of the different heights of the stones.
I worked on 6” sections at a time so I could get each bit polished up nice before it dried too hard.
The grout is Bone, and I used a matching caulk to seal the Masonite, trim out the edges, and cover the screw holes. Honestly, I think the flowers would’ve stood out better with a darker grout, more like the color of the board they were on, but I needed it lighter to flow with the rest of the room. And that was important.
Grout can be such a mystery to me. I don’t do enough mosaics to know exactly how the added background color will affect the piece. No matter what color though, it sure makes it look finished and professional. Adding grout to a mosaic is the equivalent of adding mulch to a flower bed. It just makes it look more pulled together.
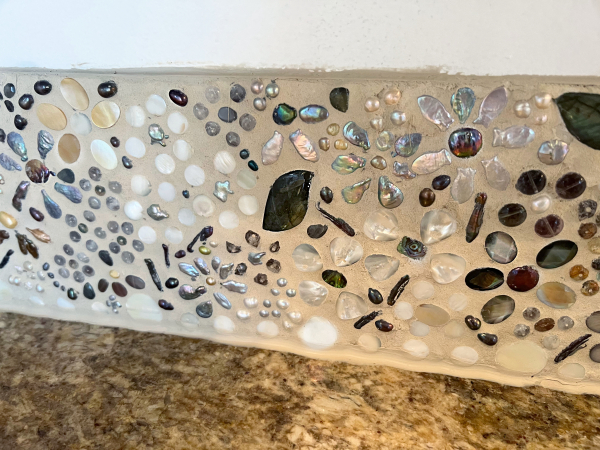
My sis, Terry, has recently moved and cleared out her craft supplies before going. She gifted me with an amazing stack of jewel filled boxes, that inspired this creation. I had many of the beads myself, but getting her largesse gave me the idea to make a project with it instead of necklaces.
I thought I’d feature a few flowers and use mosaic glass as a background. But once I got going, I loved the gemstones so much, that I made the entire piece with just those. I found bags of real pearls and some other extras at an antique store nearby, and that was just what I needed to complete it. I would hate to know what these gems would cost retail! Terry and I had both shopped wholesale markets and catalogs for the ones we had. Still, this would’ve cost me a pretty penny if I hadn’t been gifted with such pretty beads. Thanks, Terry!
Here is a list of what I used:
- labradorite
- opal
- moonstone
- mother of pearl
- pearl
- larimar
- herkimer diamond
- quartz
- agate
- amazonite
- topaz
- aquamarine
- shell
- flourite
- abilone
Karla – beautiful and creative! I’m a gem geek and jewelry maker, and I can’t imagine using any of my stones like that! You are fortunate to have such a generous sister!