Books

A mermaid book for Dewdrop’s mama

Books

IMG_2357

I got to spend some time with Dewdrop's mother in North Carolina on our trip to pick up our snuggle fairy for Thanksgiving.

IMG_2358

We went out for a lunch in Asheville and took our time, chatting and catching up.

IMG_2360

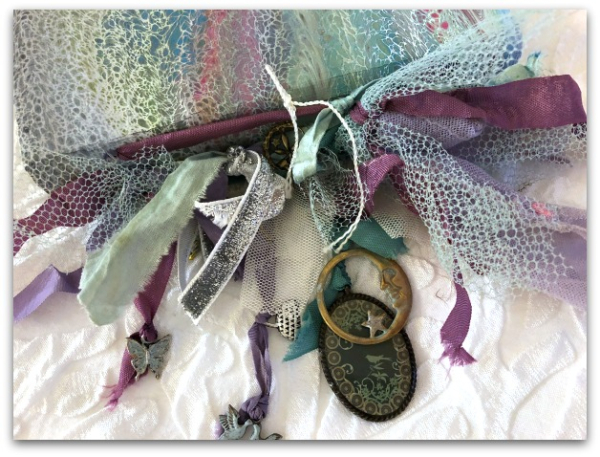
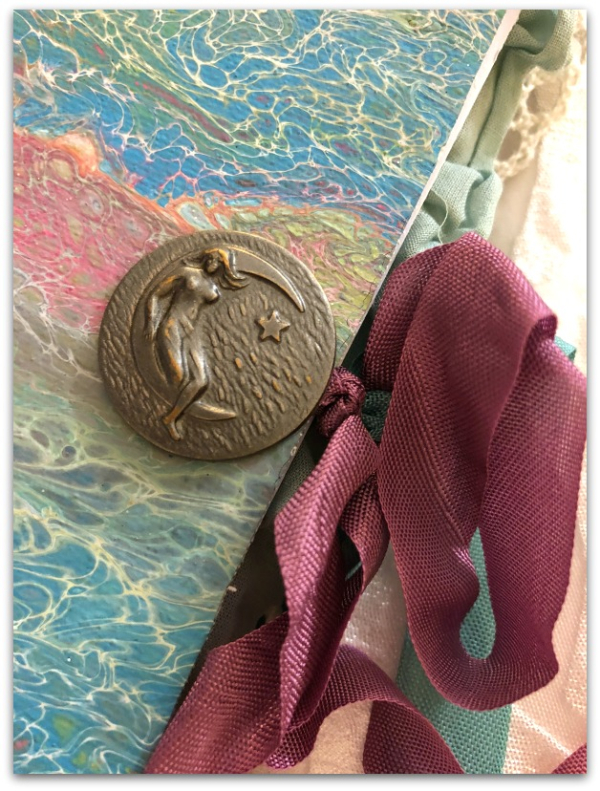
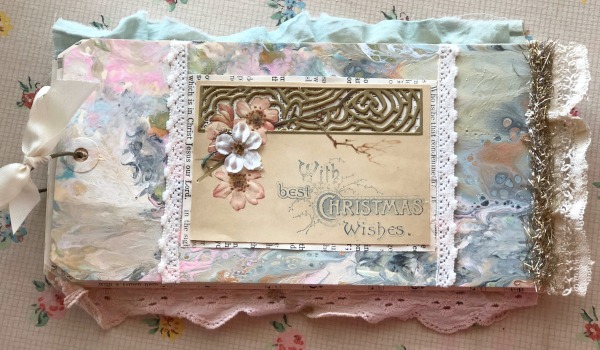
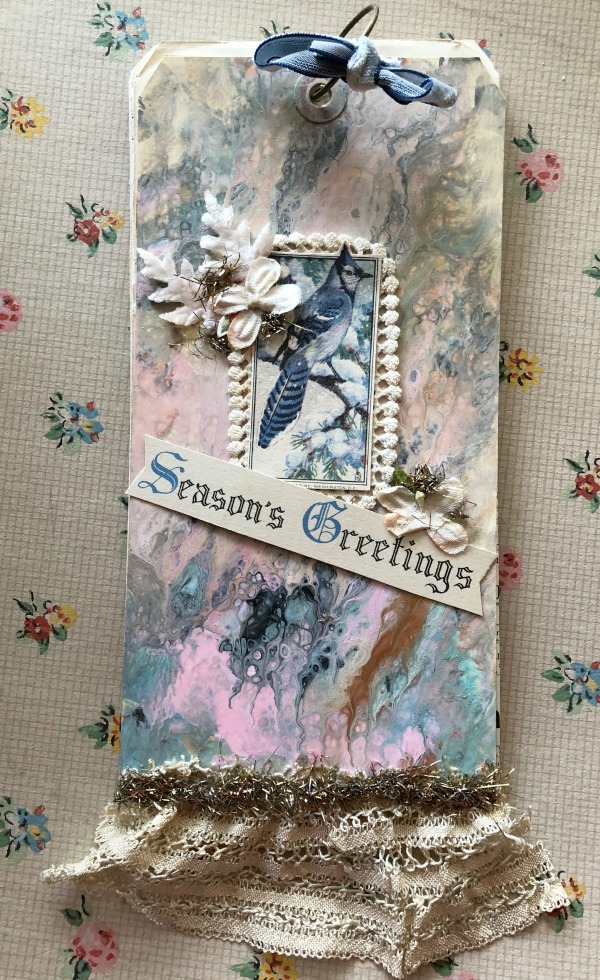
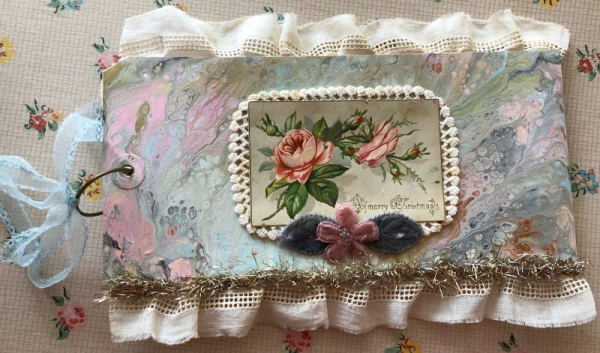
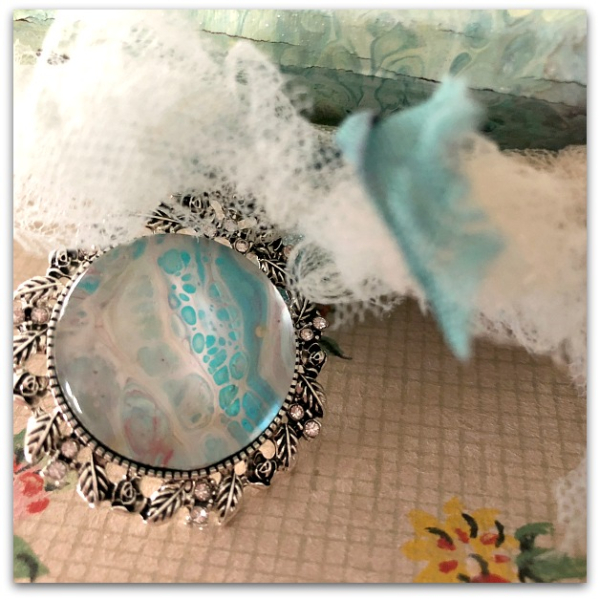
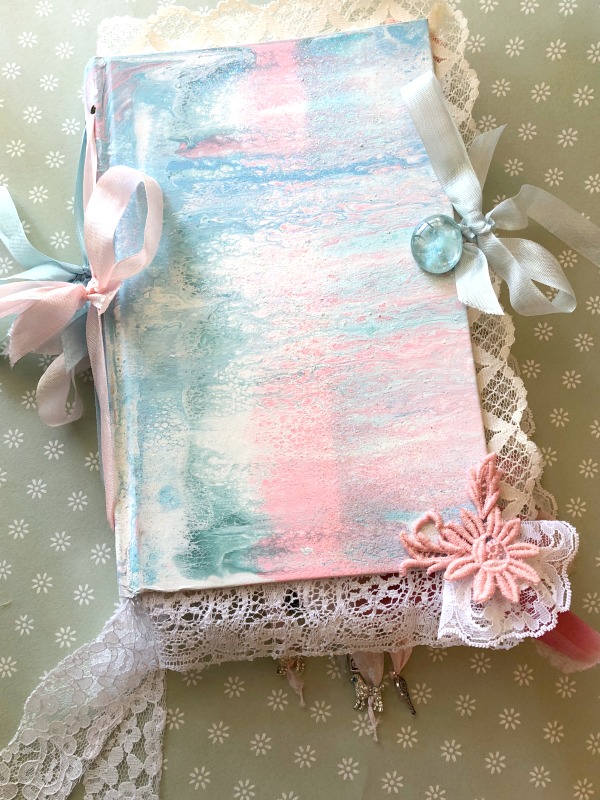
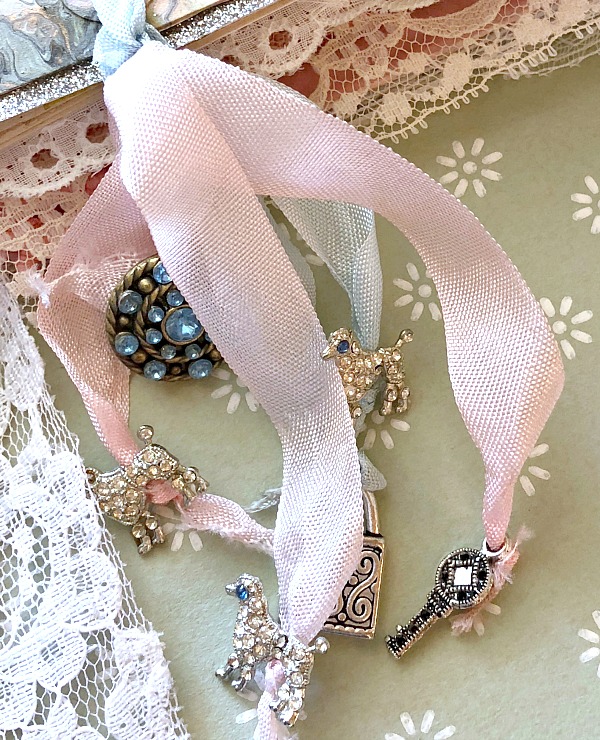
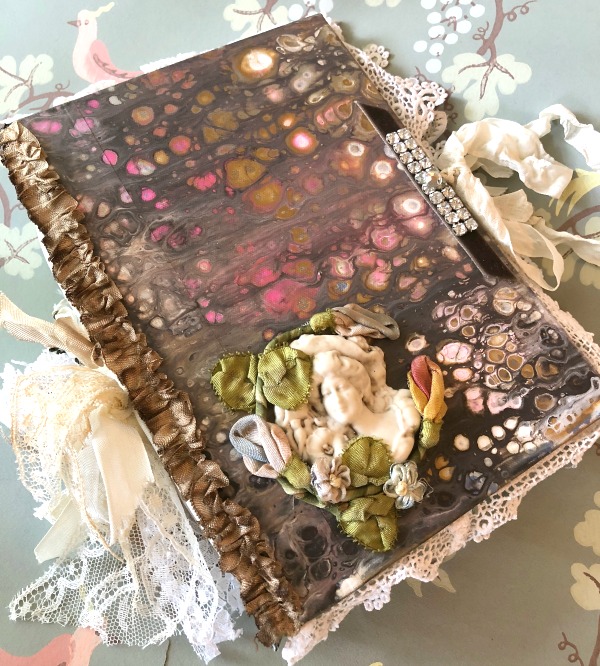
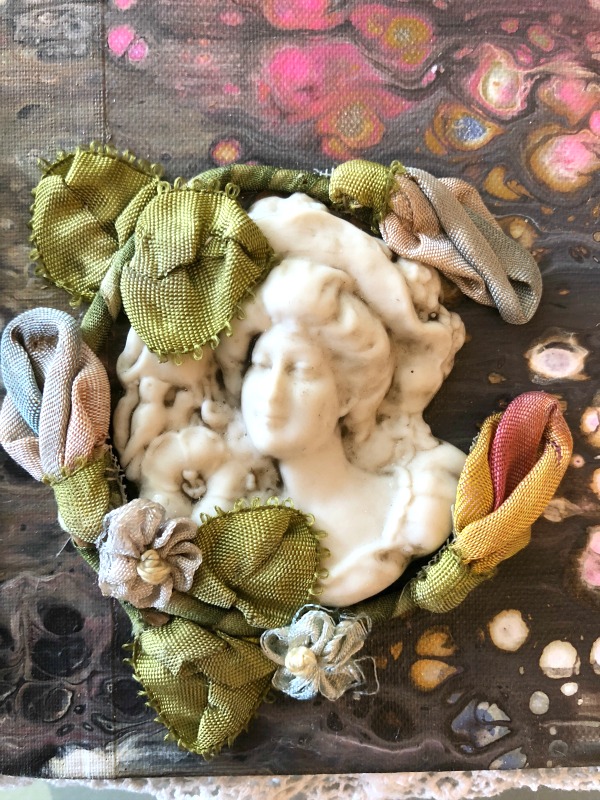
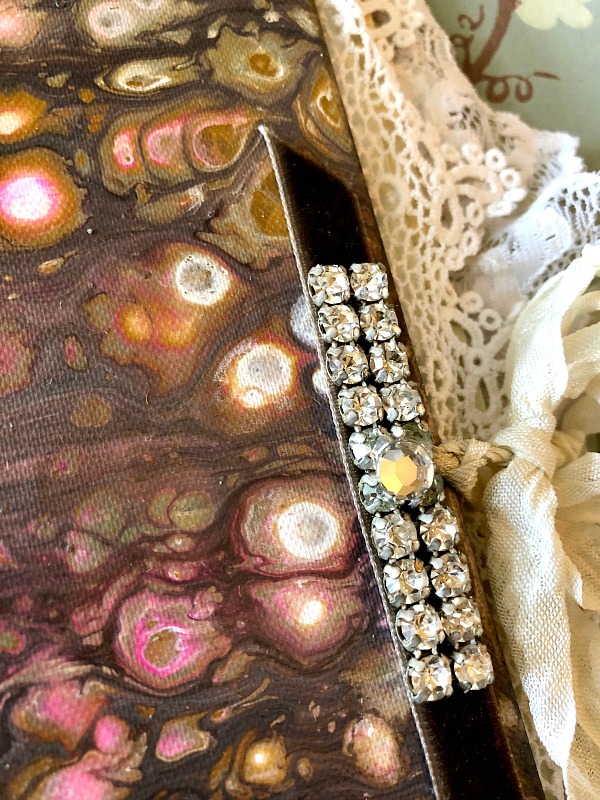
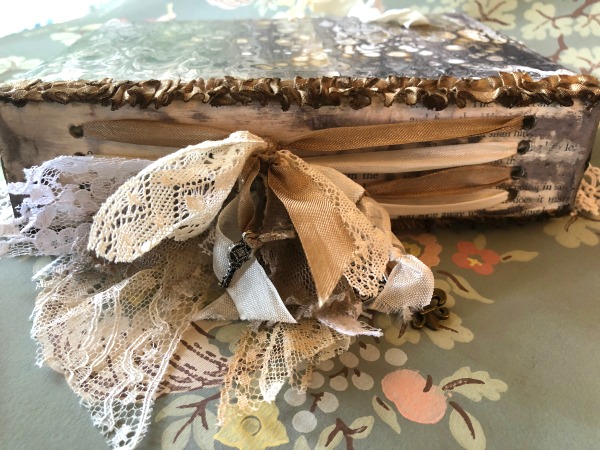
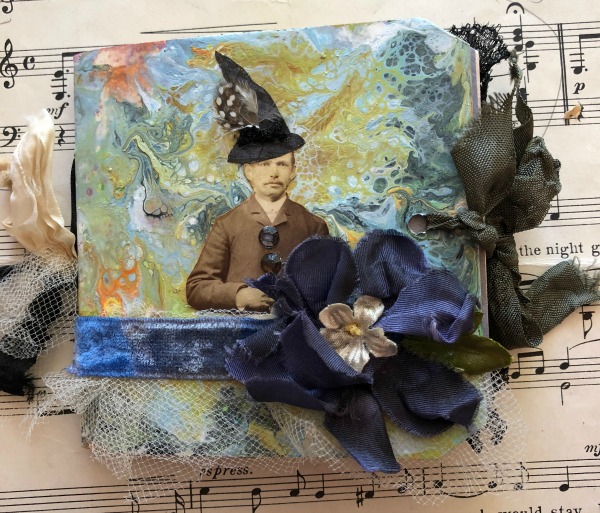
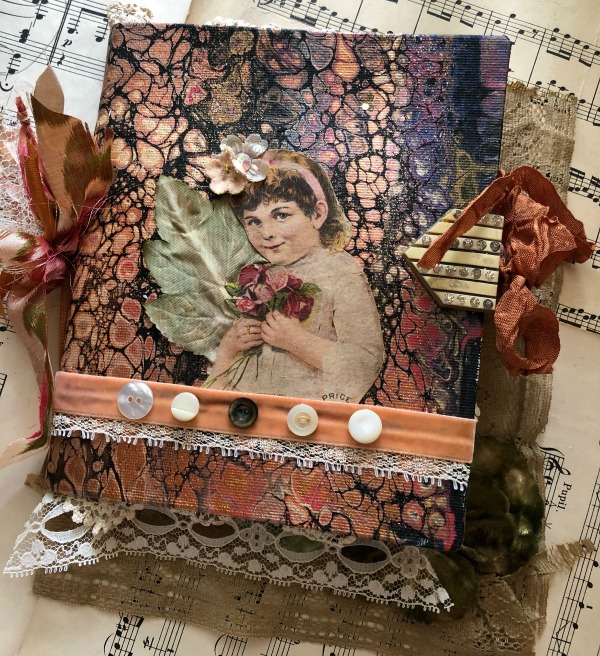
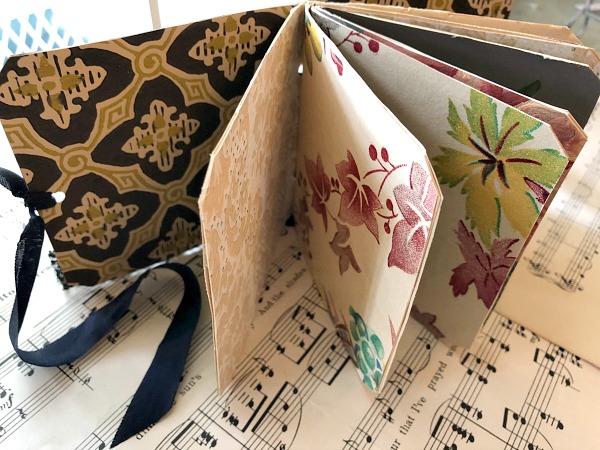
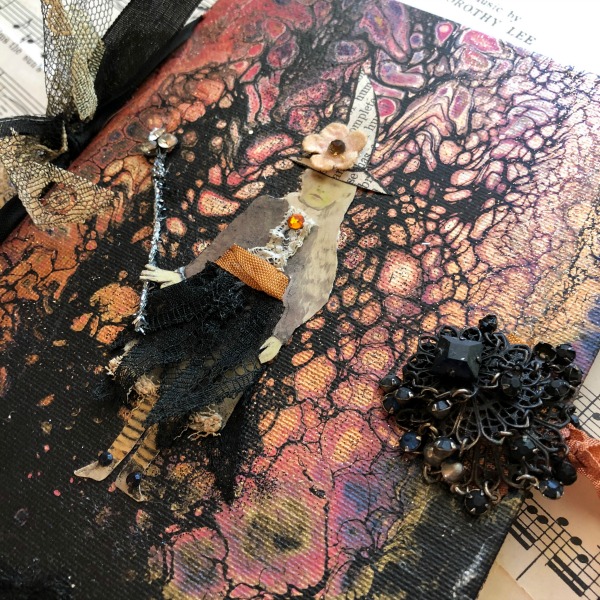
Before leaving home, I made this book for her.

IMG_2362

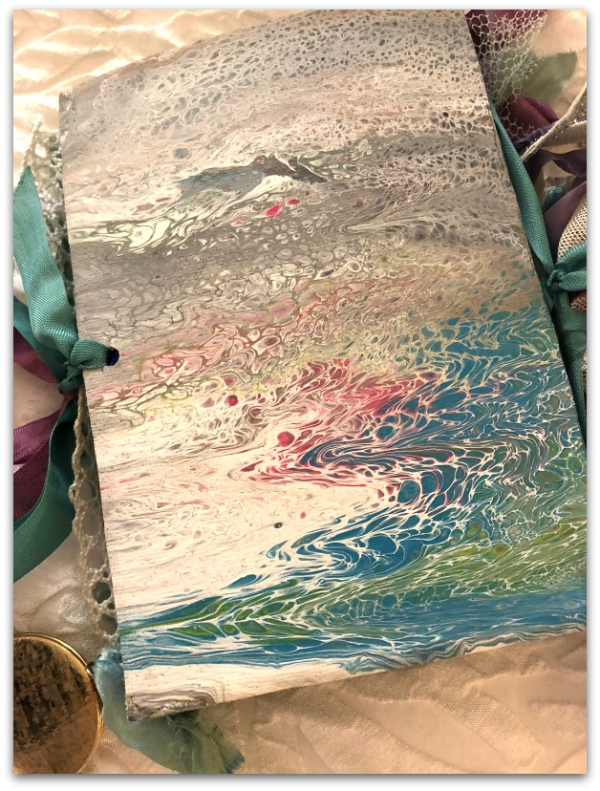
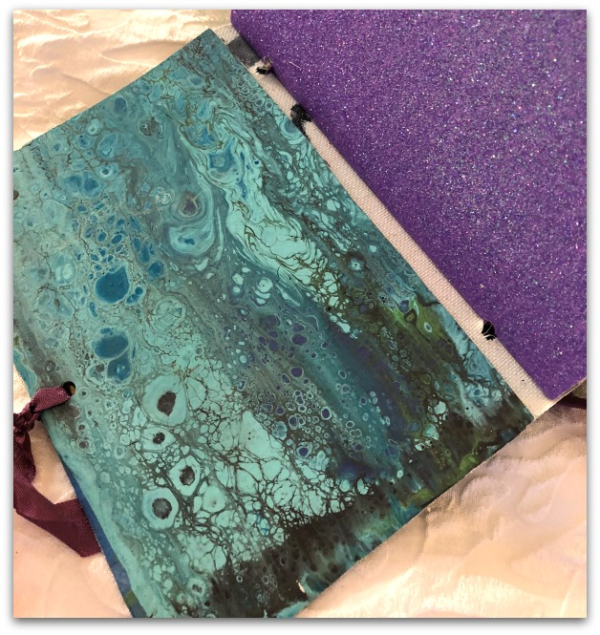
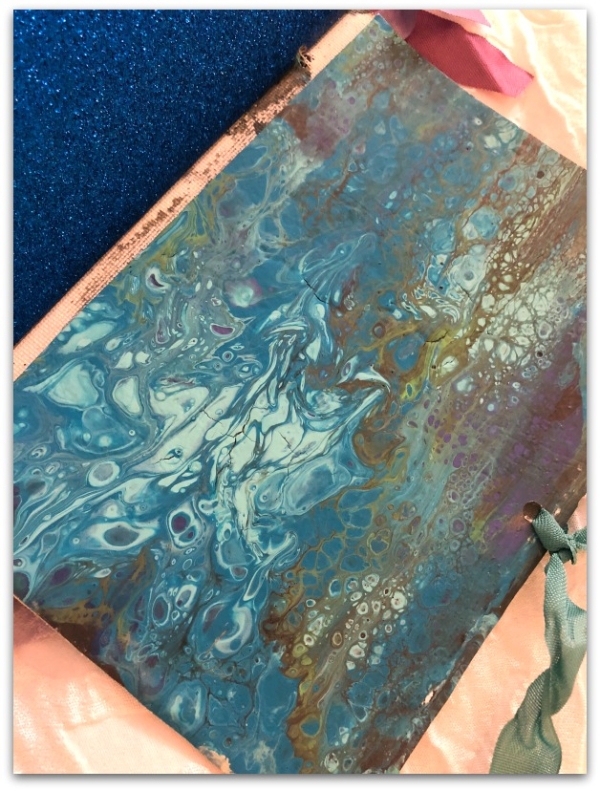
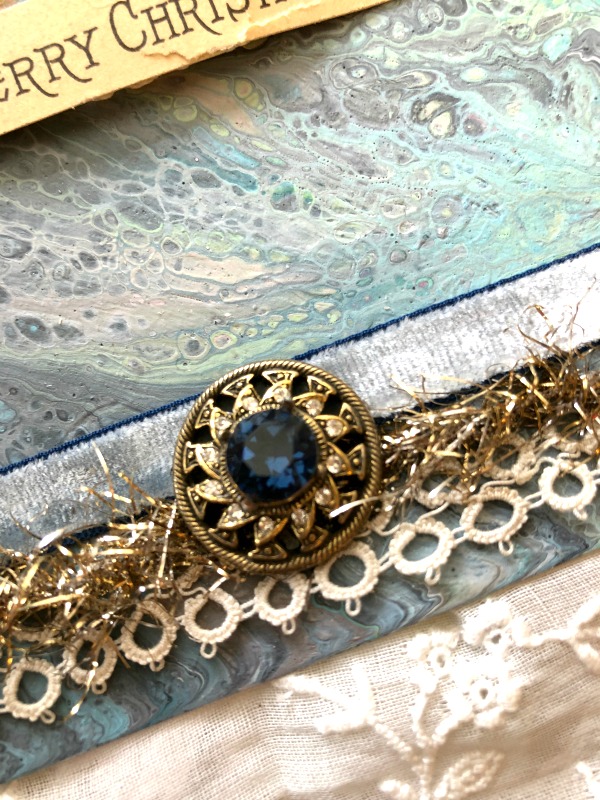
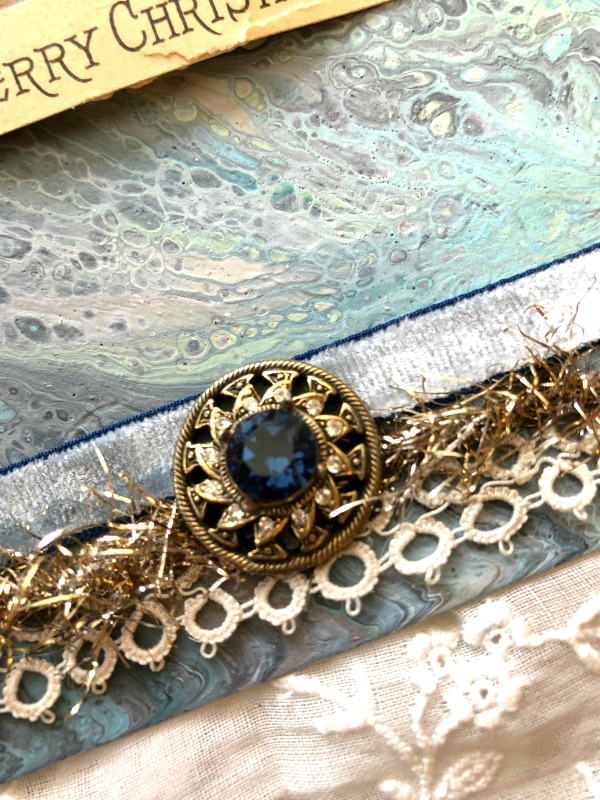
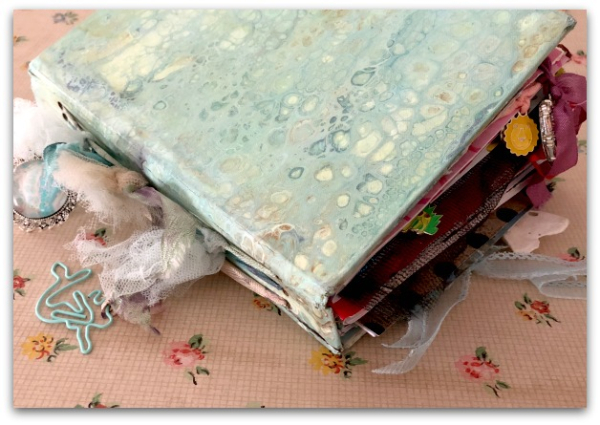
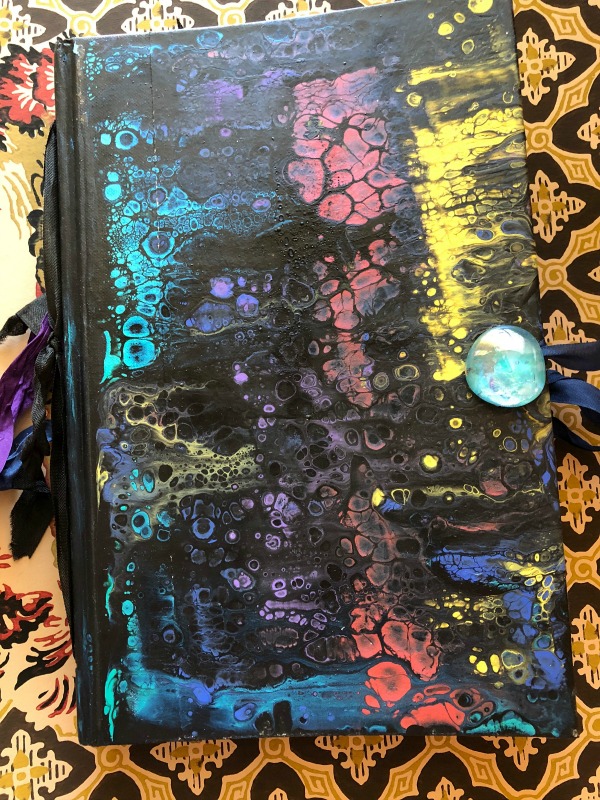
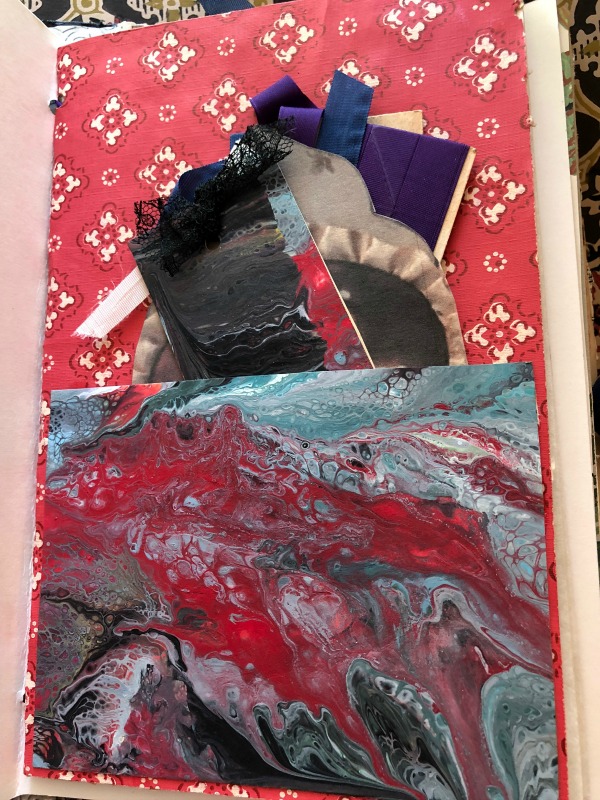
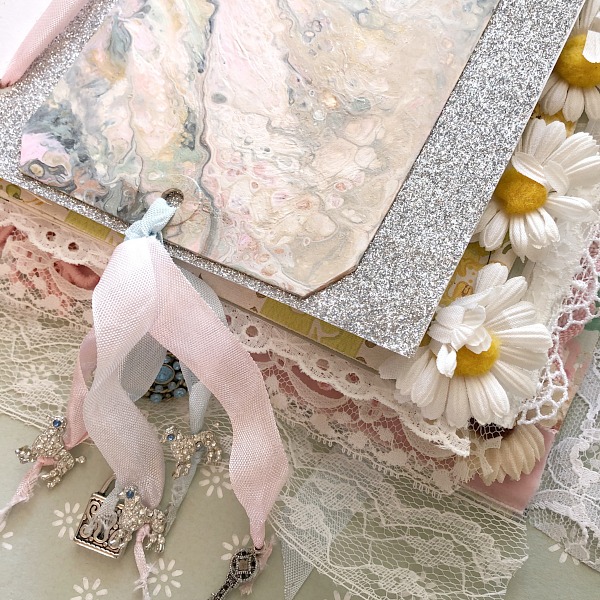
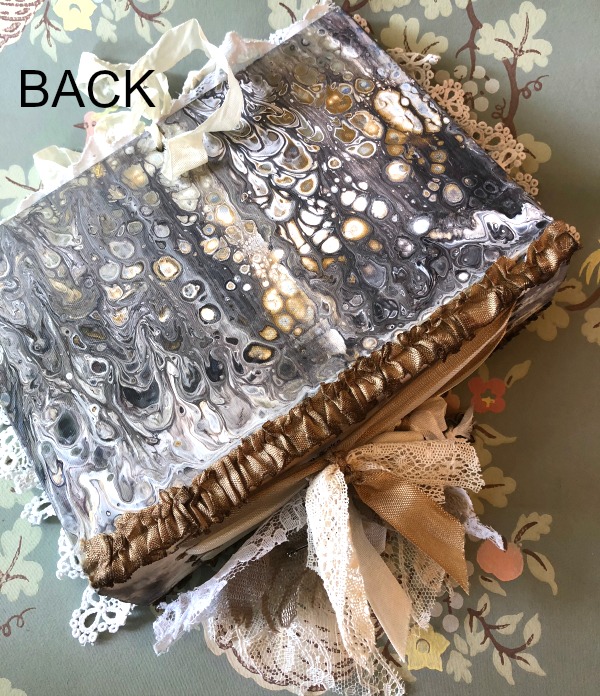
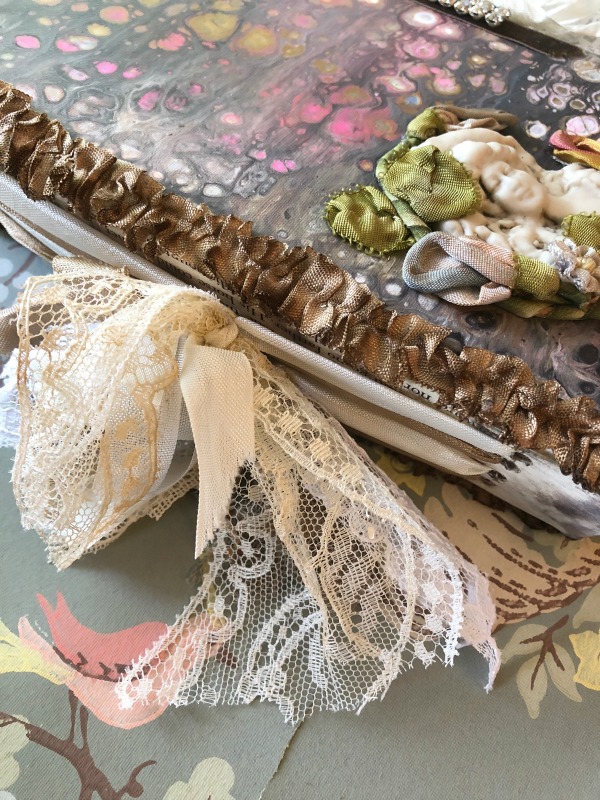
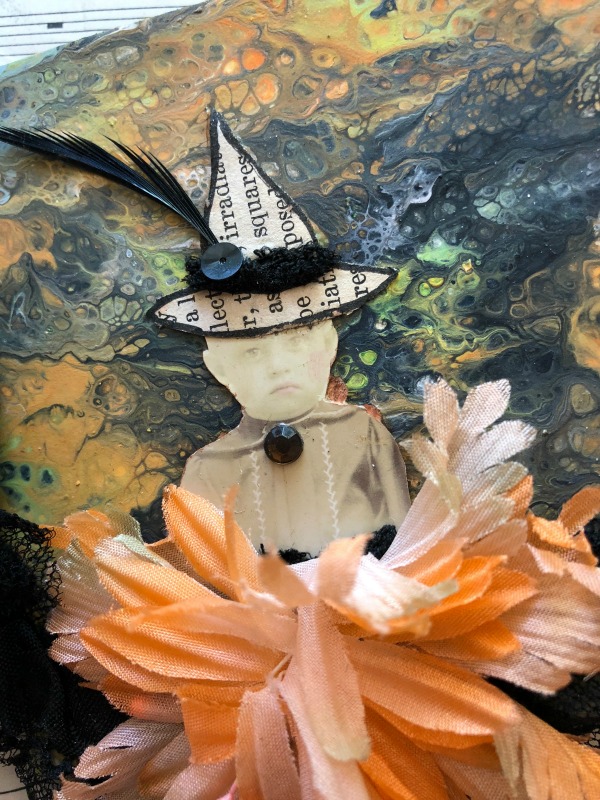
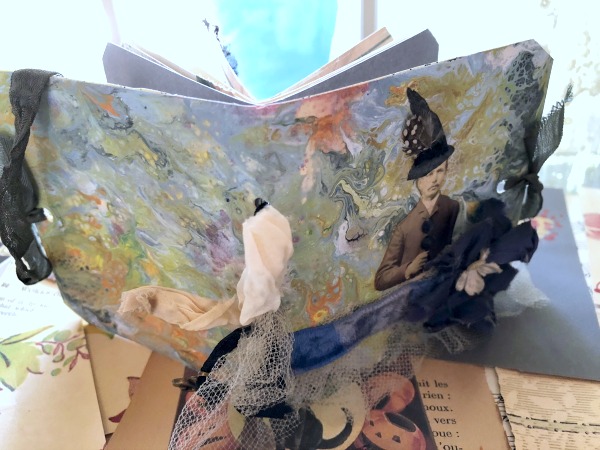
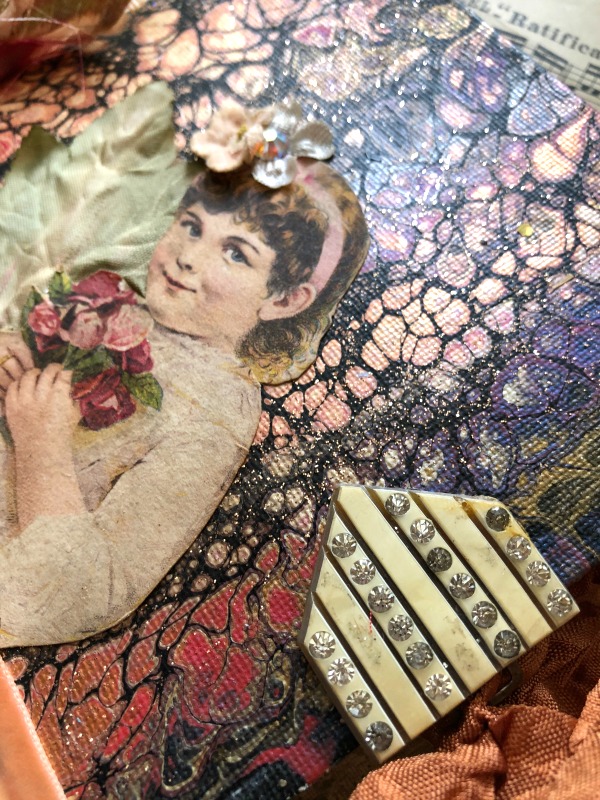
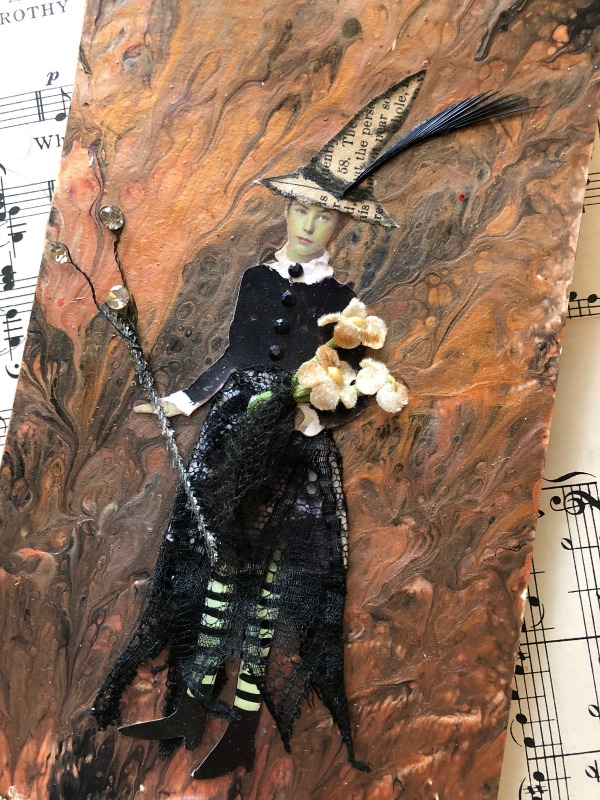
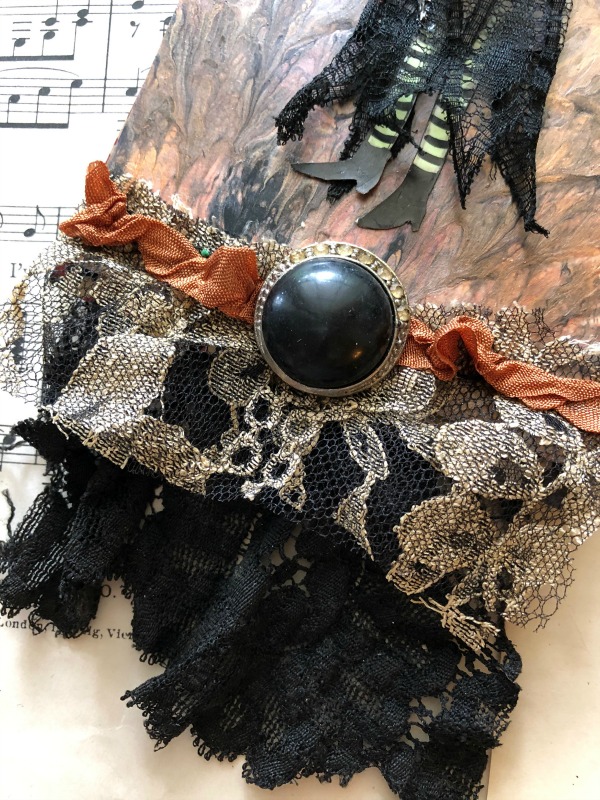
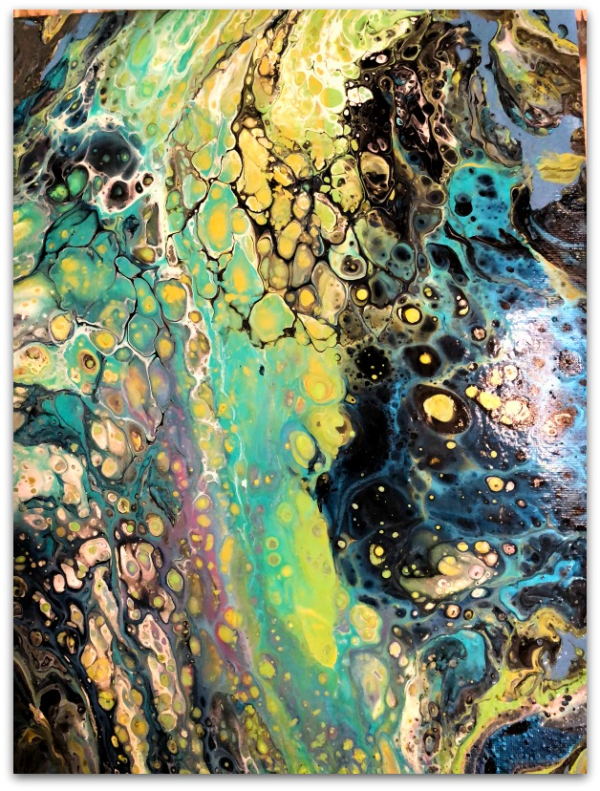
The covers are an acrylic paint pour. This is the back.

IMG_2363

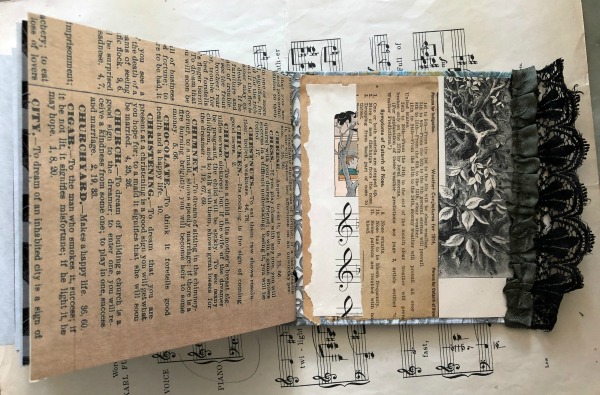
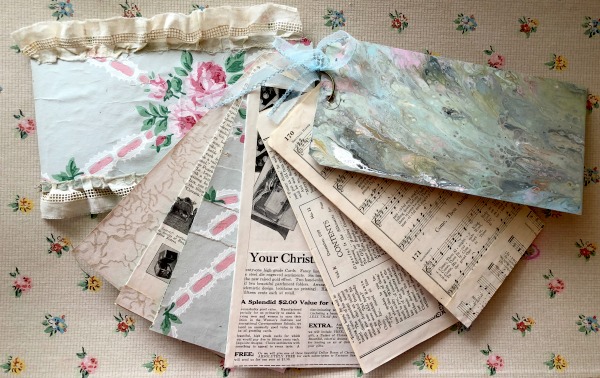
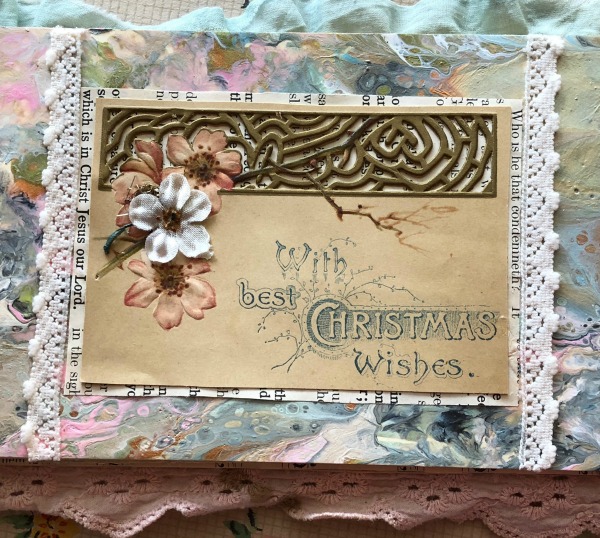
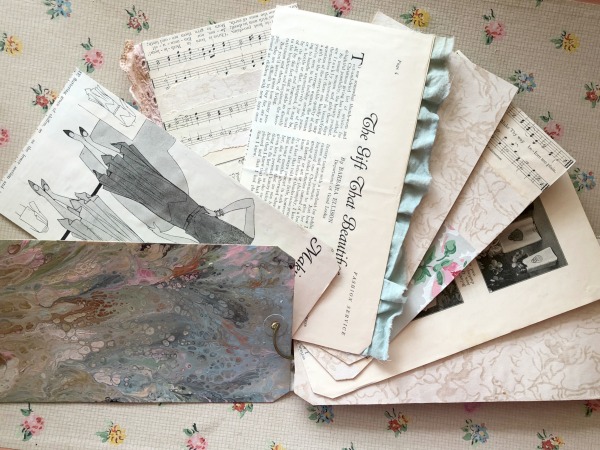
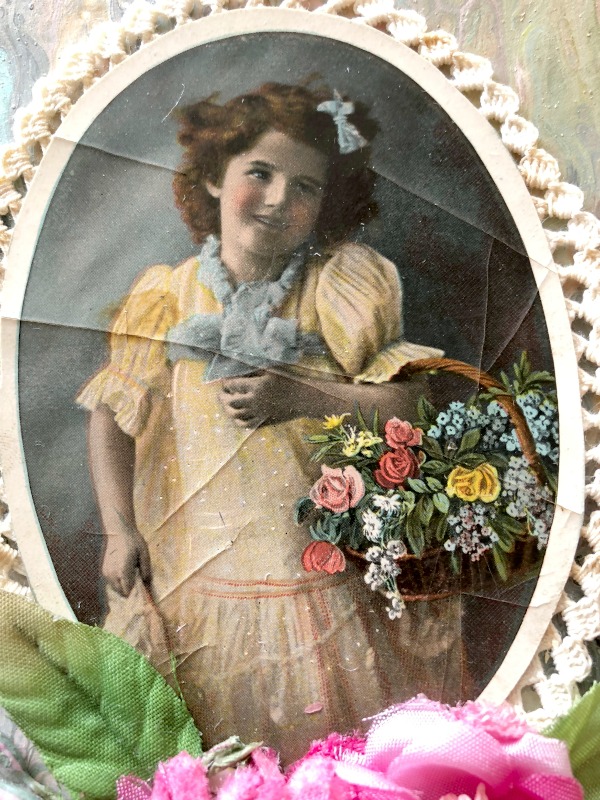
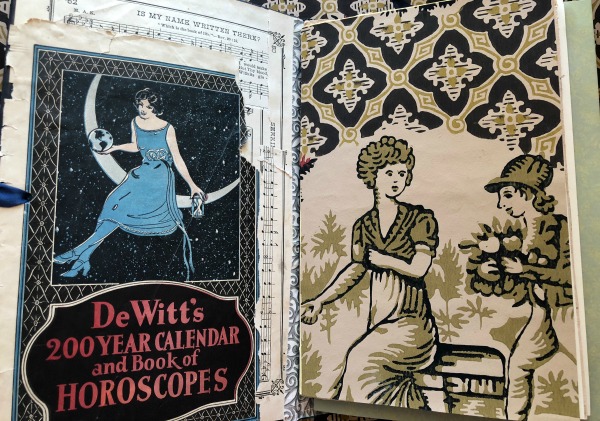
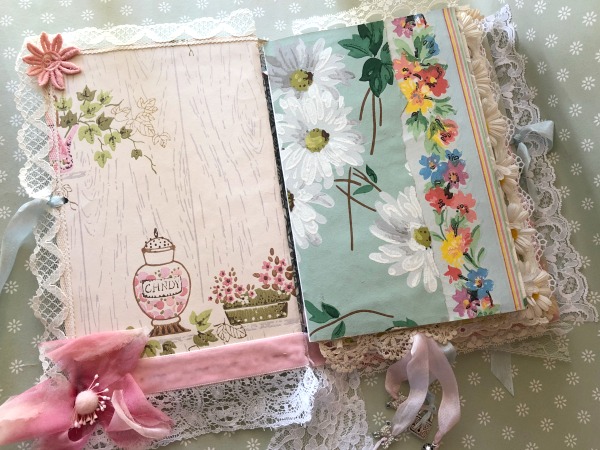
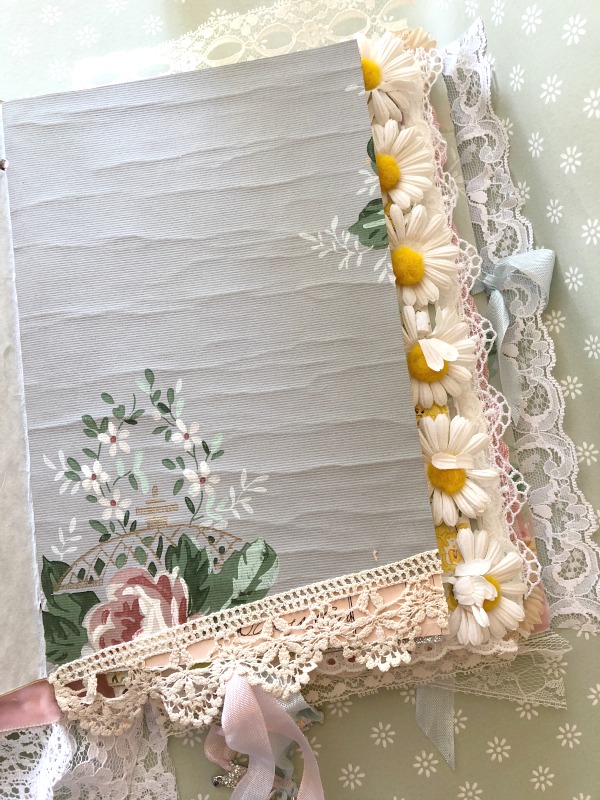
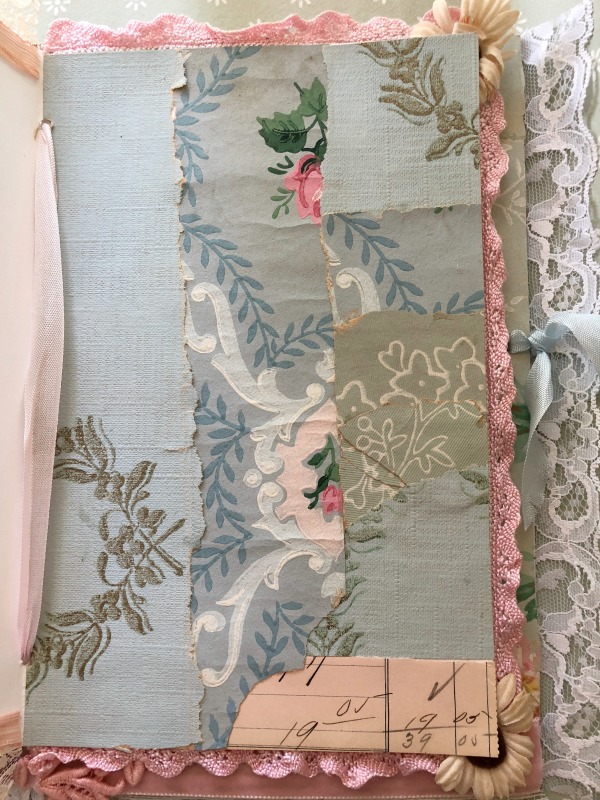
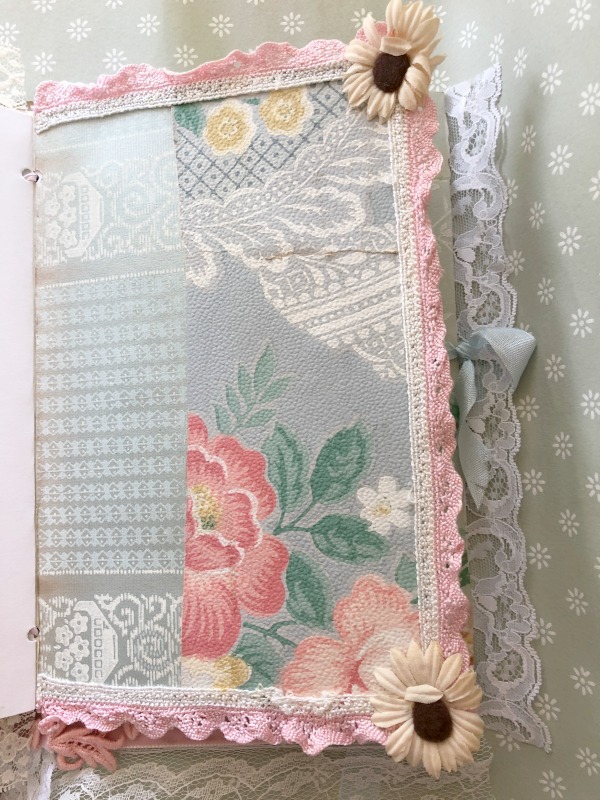
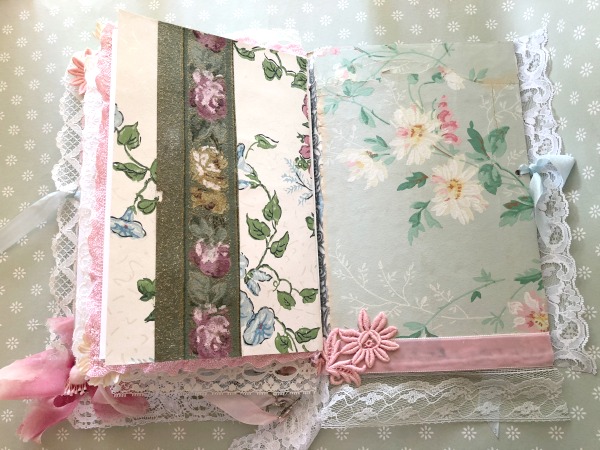
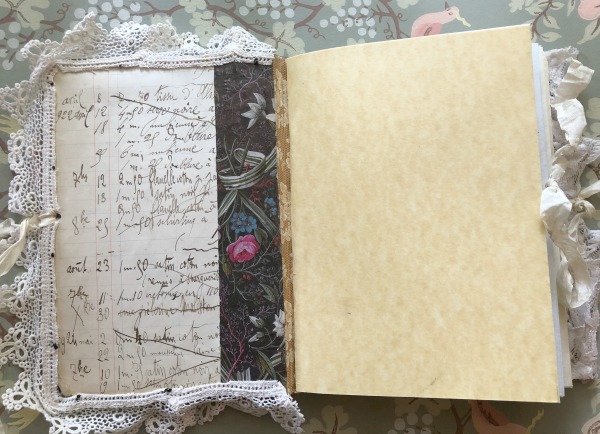
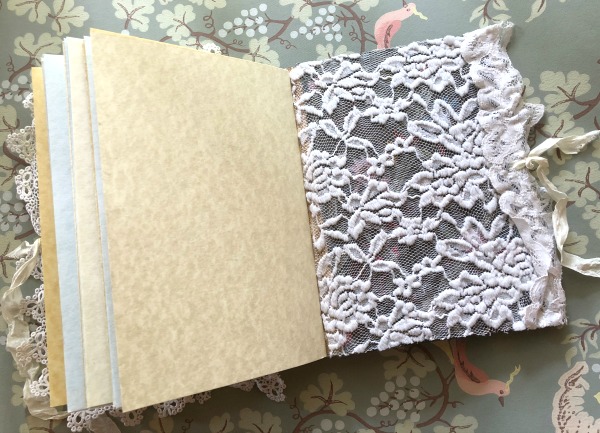
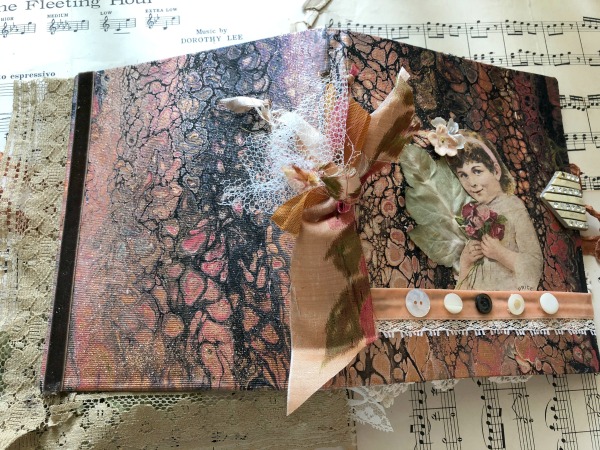
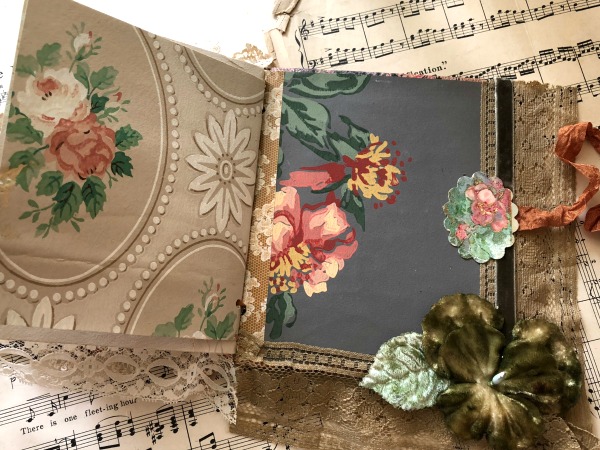
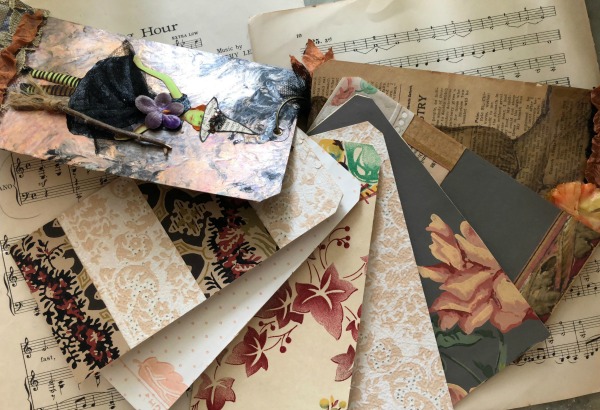
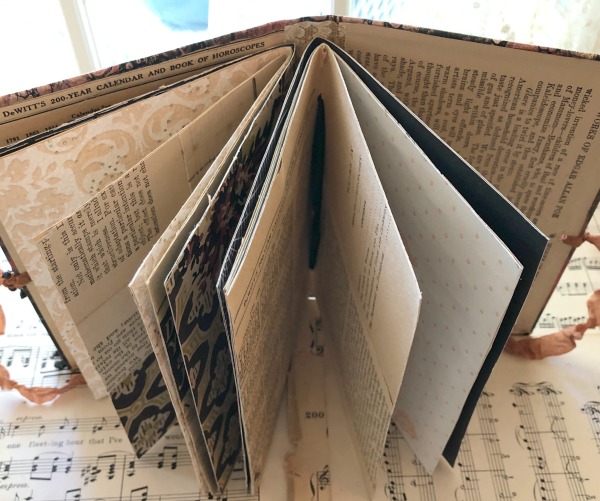
And this is one inside cover.

IMG_2364

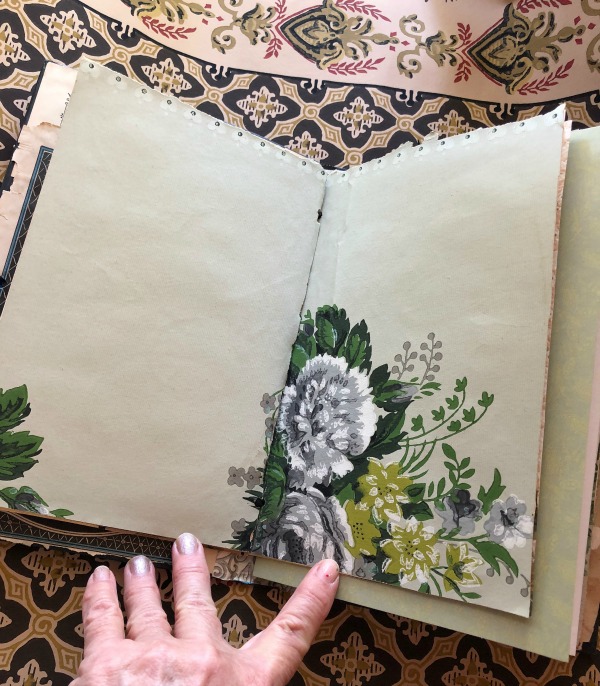
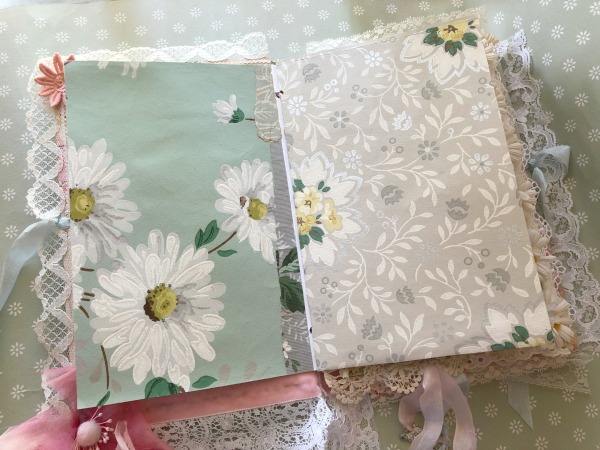
And this is the other.

Christmas tag books in the Boutique and a sweet wedding, at the BEST weekend

antiques/junking, Books, celebrations, friends, holiday decor, vintage paper/collage art, wallpaper

IMG_2449

I'm still enjoying the bounty of paint pours from my creative binge this summer and am now using the pieces to make holiday tag books.

You can purchase them HERE, in the Boutique.

IMG_2452

I seriously adore the technique and the look of the swirled paints.  Acrylic flow painting is the BEST!

IMG_2450

I'd gone with Beth to attend the wedding of The Other Karla's son in St Paul and brought crafty goods (including these painted tags) with me to play with in the hotel room, then found a bounty of beauties at a flea market on the way there. 

IMG_2433

Once I got started on making these, I couldn't stop. I was a bad friend and sent Beth out on her own to have lunch with her Minnesota nieces while I stayed in my jammies and made book after book after book that day, till it was time to get ready for the wedding.

IMG_2283

Because- WOW- look at this paper I'd found!!!!!  How could I leave it uncut, when I had all of these pretty, painted tags to make things with????

IMG_2447

I'd also bought 1928-29 women's magazines from December with lots of helpful Christmas tips, along with an old book of hymms that included Christmas carols.

IMG_2442

And stacks of holiday ephemera.

IMG_2450

And did I mention that it was 13 degrees outside? And I'd driven through mini blizzards to get there.  Yes, I was content to do hotel crafting in my jim jams and had a beautiful, wonderful, magical day.

IMG_2434

It was the BEST.

IMG_2436

Not only did I have a fab night with friends, then a day at a flea market on the way to the wedding, I had an entire day with the most magical of vintage supplies, topped off with a night of dancing and laughing til my sides hurt at the wedding.

IMG_2445

Or did my sides hurt because I was way to old to dance that hard and that long?

IMG_2438

Either way, it was a perfect weekend.  Laughter, road trips, making things, attending a lovely wedding.  Yep, the BEST.

IMG_2300

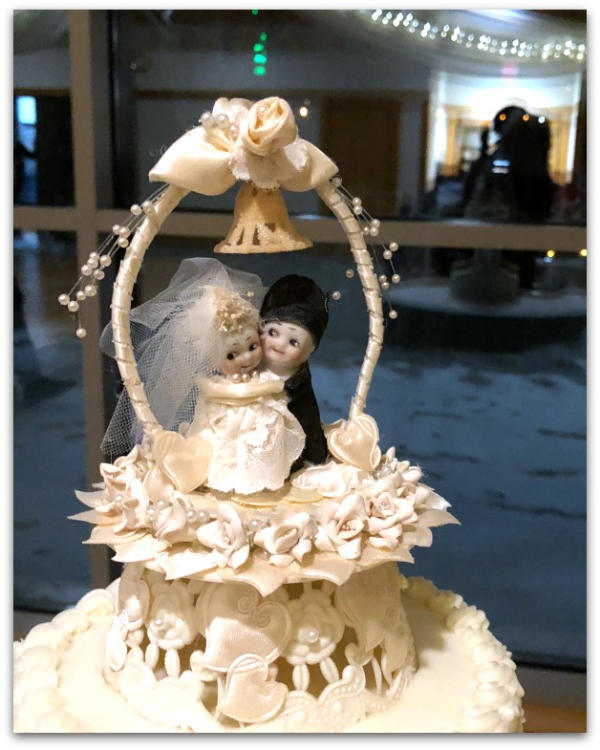
I had never met Karla's son, but soon realized he was a catch.  His wife won my heart quickly too, when she told us about the family tradition of using this vintage cake topper.

IMG_2302

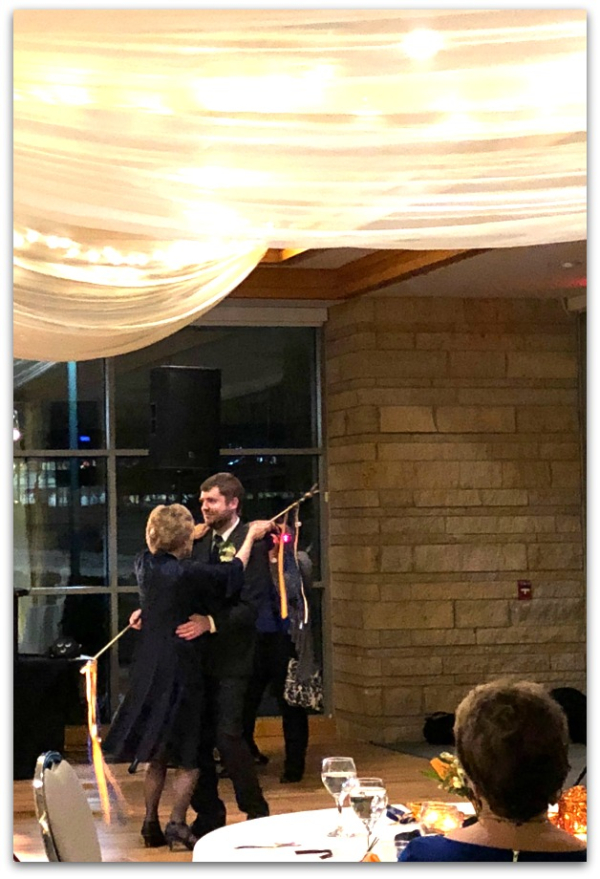
Karla made ribbon wands that were waved in the air when the couple entered the reception, and soon we were all dancing and waving them around out on the floor.  Not only were they pretty to see flying about, but they had magical properties.

When we twirled them about, we were FANTASTIC  dancers. We were the BEST.

And personally, I can't dance and have less rhythm than, well, I can't actually think of anything or anyone with less skill on the dance floor than I have.

IMG_2312

Between the laughing and the ribbon wands, my dancing skills suddenly became amazing.  Everyone's did. 

Yep, it was the BEST.


From inside my travel journal

Books, Travel

IMG_1918

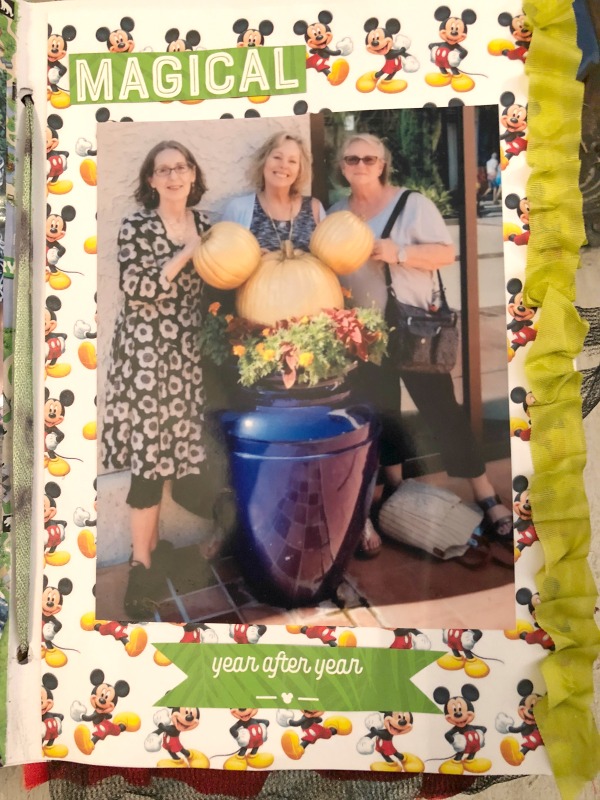
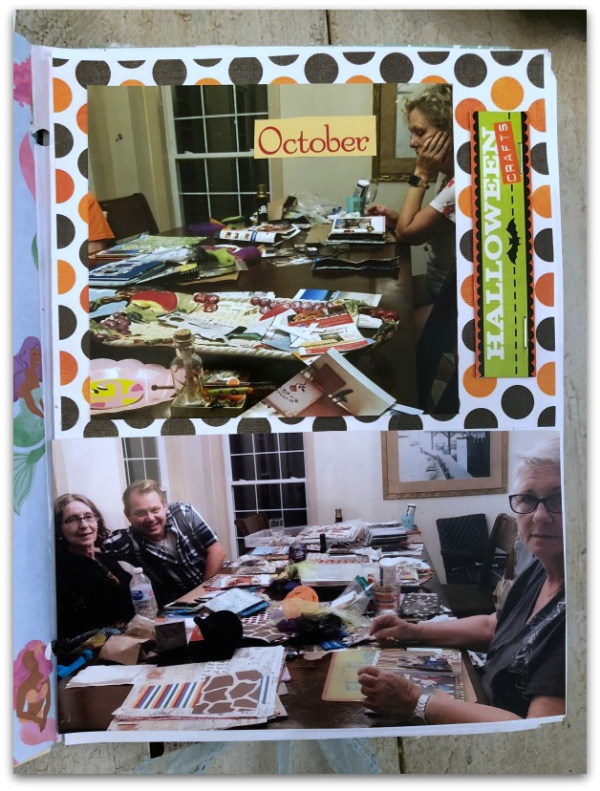
Our sister trip to Florida included lots of craft time.  I pack my portable printer and we slap photos  into the books I made for us along with doodles, scraps, and other memorabilia of the day.

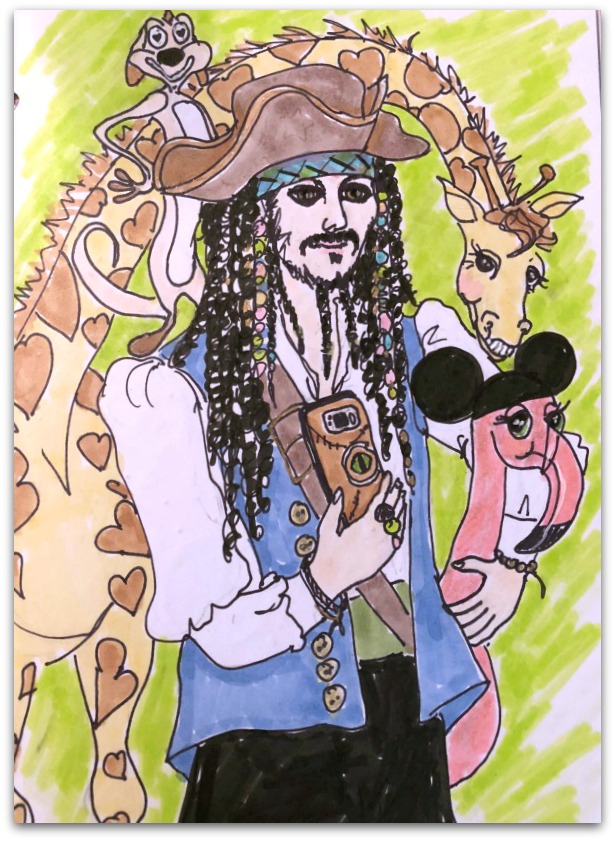
This is a drawing I did for Bobbie's pages, with highlights of her Disney time.  She is a big fan of Pirates of the Caribbean, so I drew a Capt. Jack for her, and he is holding her cell phone with its Hocus Pocus cover to take a selfie with a giraffe (in honor of taking animal pictures from our balcony at Animal Kingdom), Timon (who has heart pupils because I teased her about flirting with the character at the park), and a flamingo wearing MIckey ears, because she loves those birds.

IMG_1947 (1)

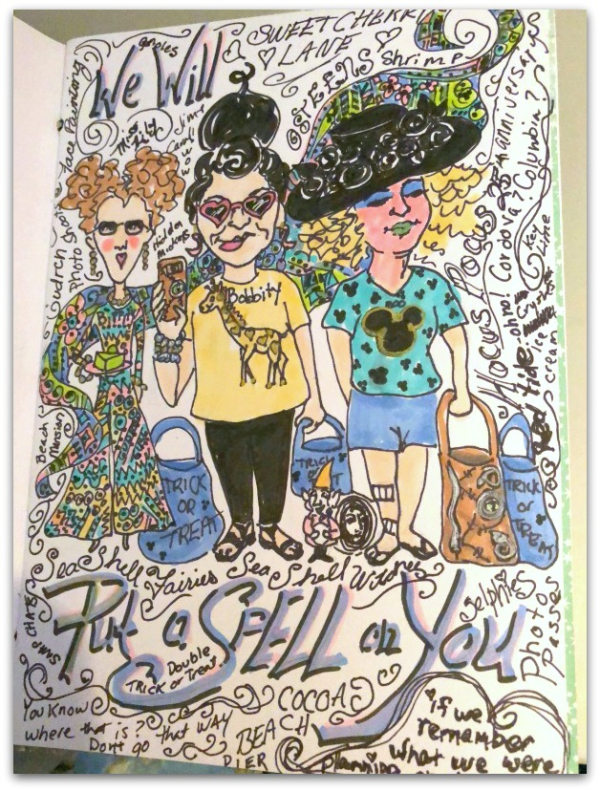
And here are the three of us as Sandersons stating, "We will put a spell on you if we remember what we were planning to do"

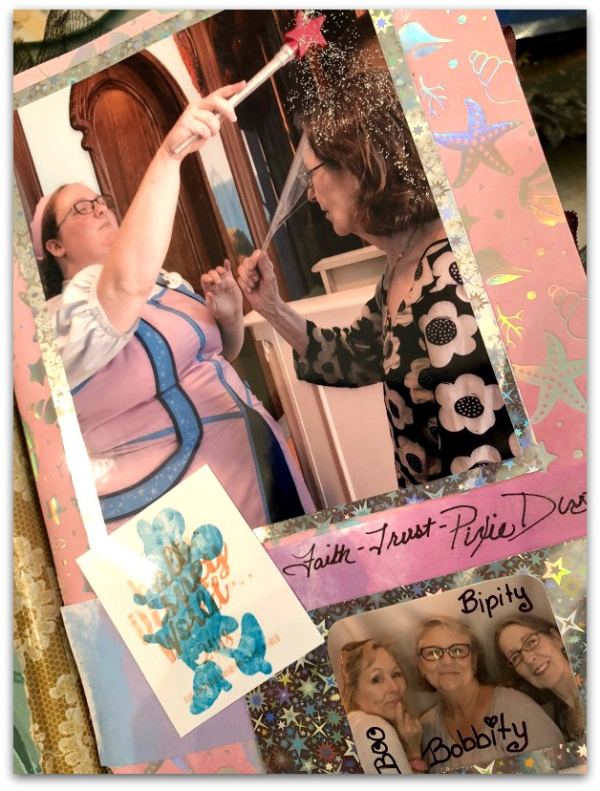
It references lots of fun moments from the week, including our names for the week, Bibbity (Sis) Bobbity (Bobbie, of course), and Boo, (me).  My face is painted witchy pink, from our night at the guncles'.

Sis is wearing her Gundren clothes, Bobbie's hair is meant to be both from Hocus Pocus and an ice cream cone shape.

IMG_2122

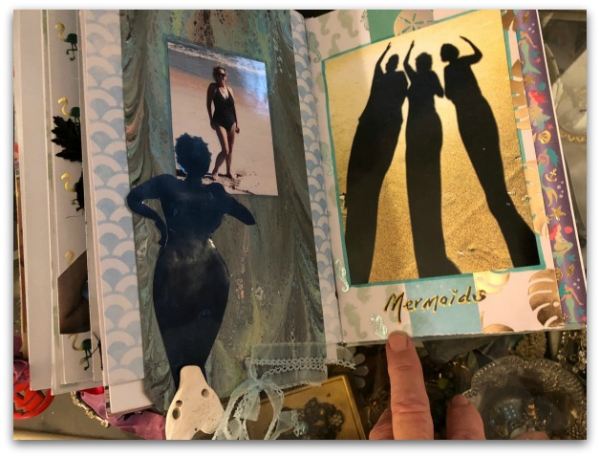
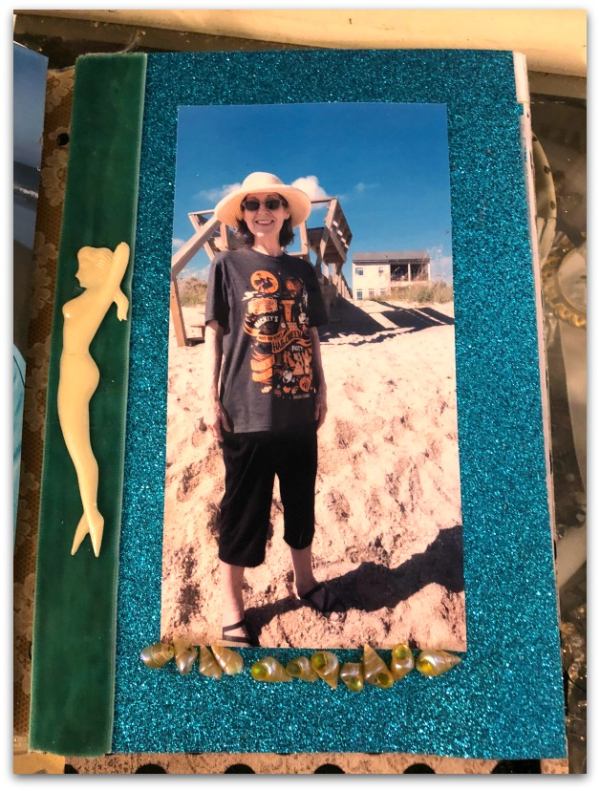
We posed for mermaid shadow selfies on the beach, and I found a shell that I thought was a heart at first, then realized that it was really a tail fin.  So, I glued it to my shadow.

IMG_1984

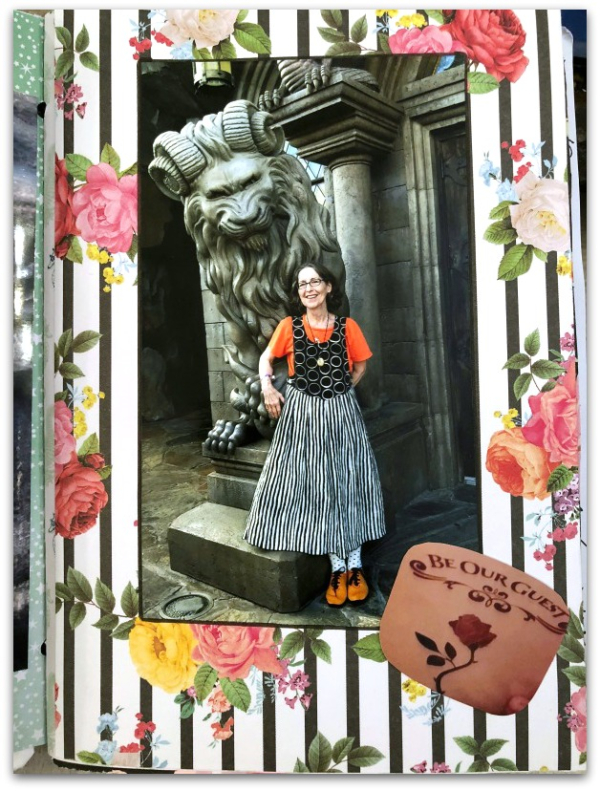
Here is Sissy at the Beast's restaurant.  

IMG_1981

I used paper from Michaels and words cut from the Disney Springs map on this page.

IMG_1982

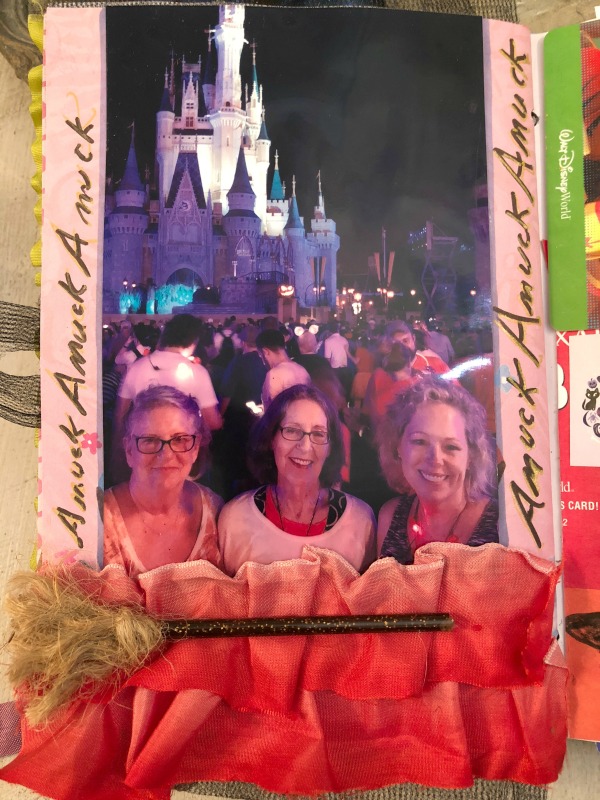
And made a broom for this picture of us in front of the castle after watching the Hocus Pocus show. IMG_1977

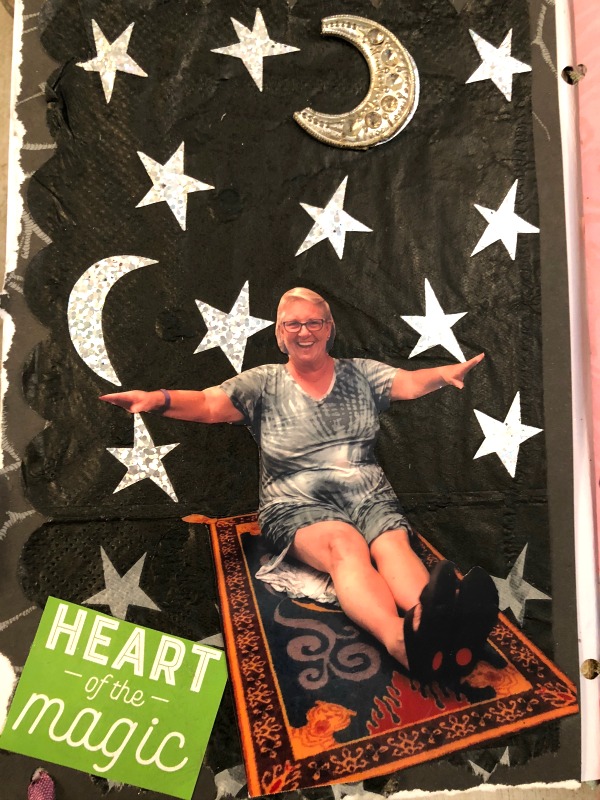
This rug was part of the carpet in our room, I cut out Bobbie on it, and glued it over a napkin that looked like a starry sky.

(Her name is Valentine, so I thought the cut  out phrase was appropriate.)

IMG_1976

At the Bippity Boppity Boo salon, we were frosted with fairy dust. For my book, I added glitter over the sprinkles.  

IMG_1980

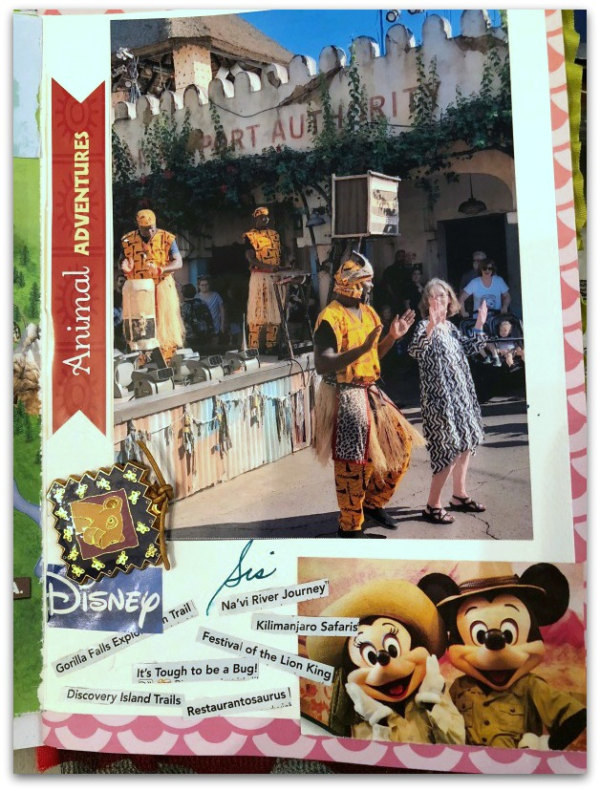
I used a trading pin, and pictures from the map for this picture of Sissy dancing at Animal Kingdom.  Then, I cut out names of the places we visited there and glued them onto the page.

IMG_1985

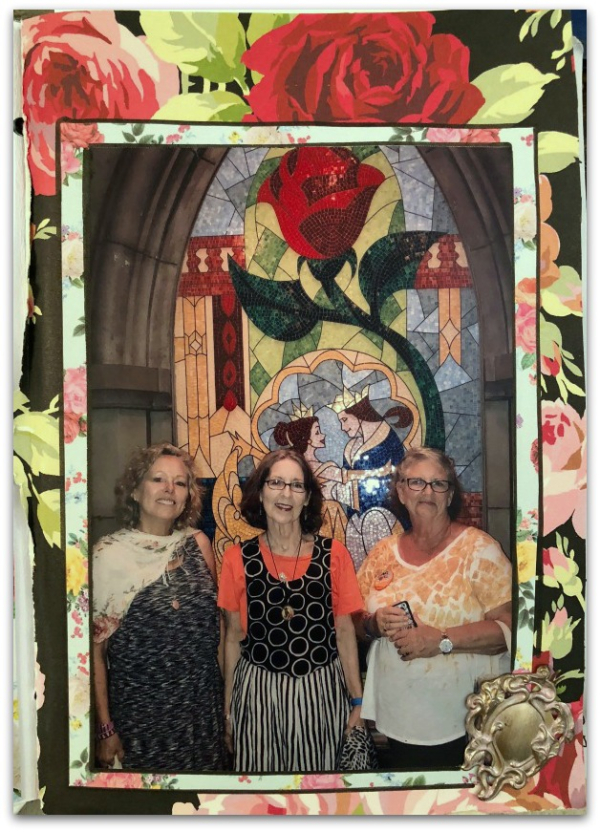
For our photo in front of the stain glass window at the Beast's castle, I layered rose papers and added a charm that looks like the enchanted mirror from the story.

IMG_1986

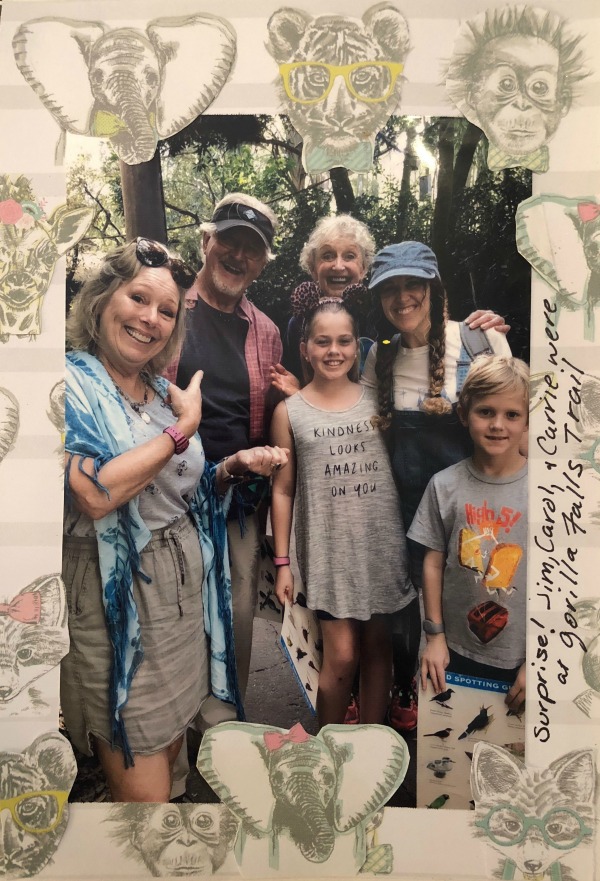
This animal paper from Michaels was ideal for Animal Kingdom!! It is two layers, one as a background, then I cut out the animals that got covered up and glued them over the photo too.

IMG_1990

As much as I love vintage papers, for scrap books, it is nice to use some actual scrap book paper, because you can always find something to fit the them.  I also like using maps and brochures from places I visit.

On this Halloween crafting page, I cut out a label from a pack of supplies that says, "Halloween Crafts".  So, sometimes, it is worth it to use the trash too.

IMG_2120

Sparkle papers and textures are great too.  I've glued shells and a vintage stir stick (found on one of our shopping days) to this one.

IMG_2121

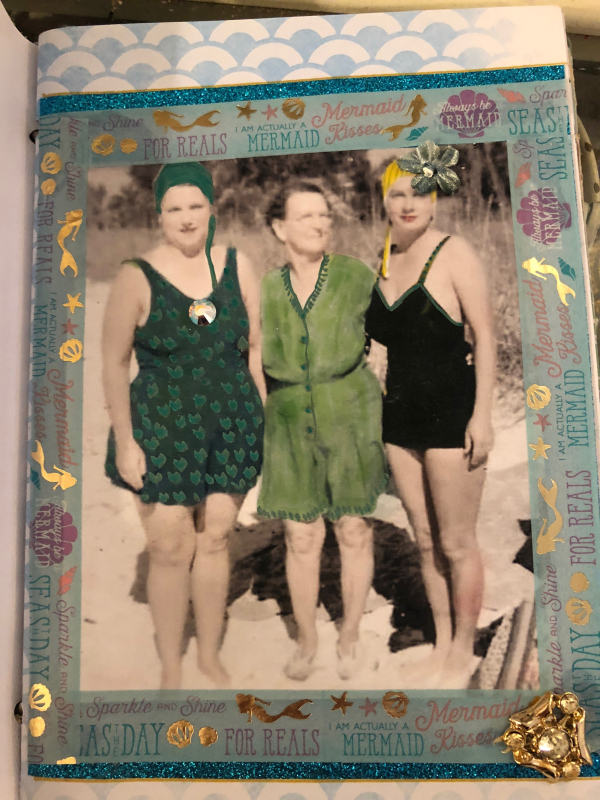
This one is a fave, it is a photo of our grandma, her mom and sister that I doctored up. 


Oh, and here are a couple pics of the cover too!

IMG_2330
IMG_2330


Guncle Randy’s Paint Pour Book

Books, family, vintage paper/collage art, wallpaper

SIMG_1153

When Guncle Randy was here in August,  We had a paint pour day and he did a "swipe" technique on this cover.   I finished assembling the book to mail to him later.

IMG_1154

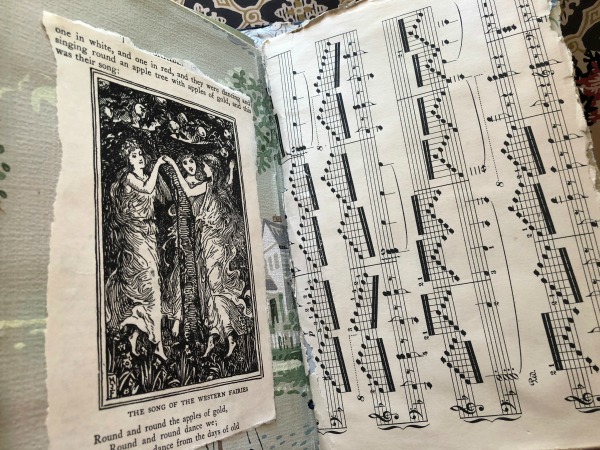
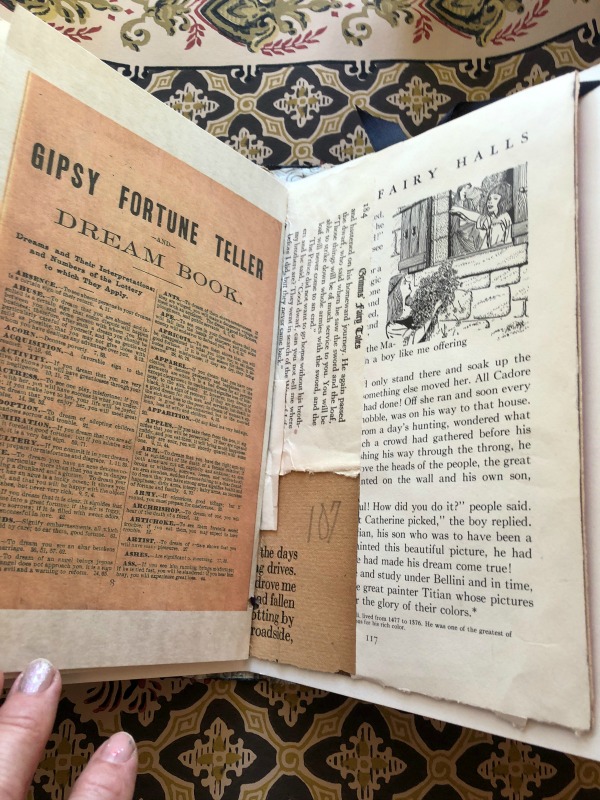
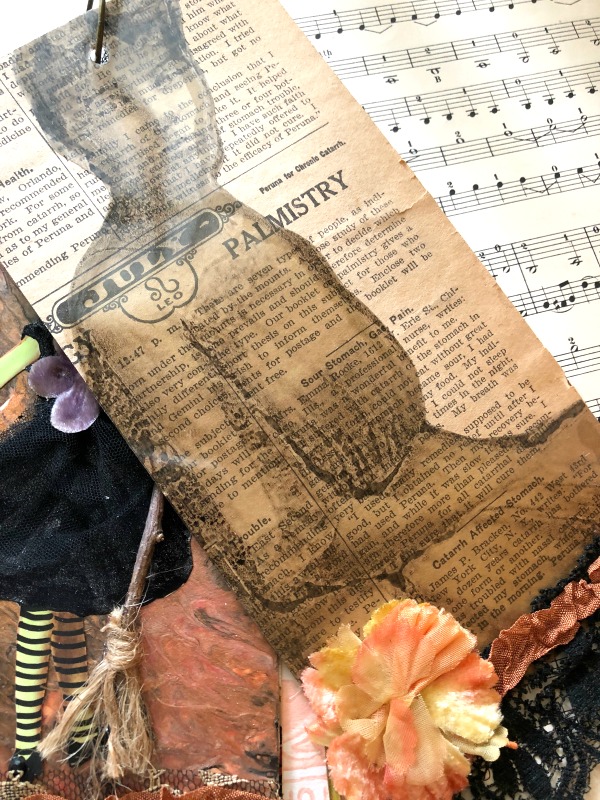
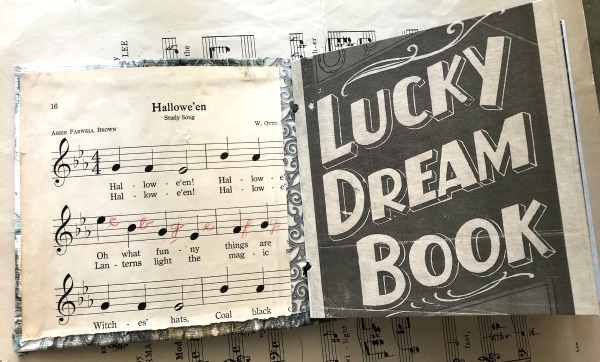
And of course, I couldn't help myself…. I had to add some vintage papers to the book for him to use as a background for his own work.  He plans on using it for a Halloween/Autumn journal, so I kept with a darker or fall theme.  Including this great horoscope book cover from the 1800s!!!

(I'd been saving it for something really special.)

IMG_1156

Grey flowers seemed to be ideal for Halloween.

IMG_1161

As were these black and white pages.

IMG_1157

The red might be a little bright for the season, but I guess he could consider it gorey… I made a pocket from some paint poured paper, and filled it with tidbits to use in his own work.

IMG_1158

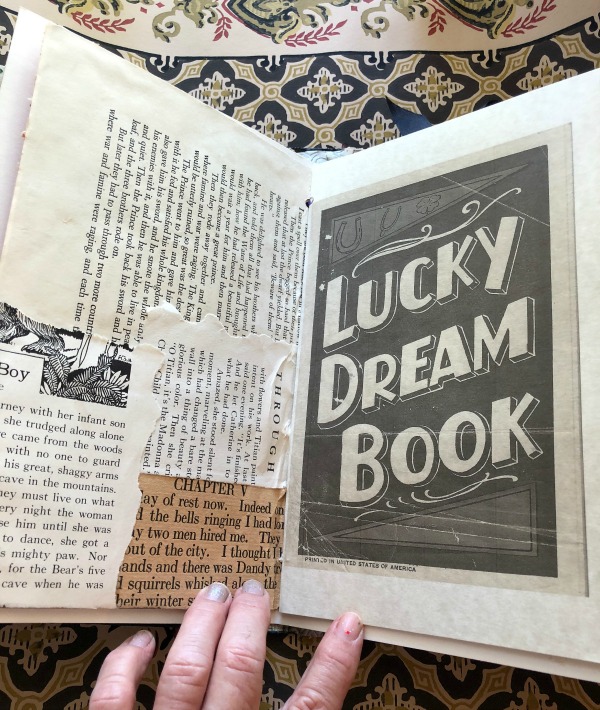
The Dream Book page is a scan and copy, but suits the mood.

IMG_1159

As well as the Gispy Fortune Teller page.

IMG_1160

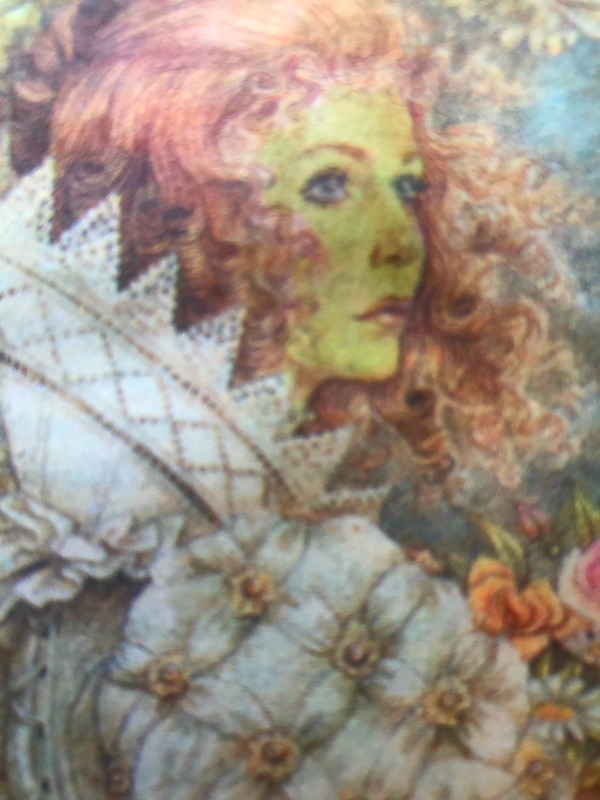
This lovely lady was cut from an old fairy tale book, and I added green marker to her face to make her witchy.

IMG_1163

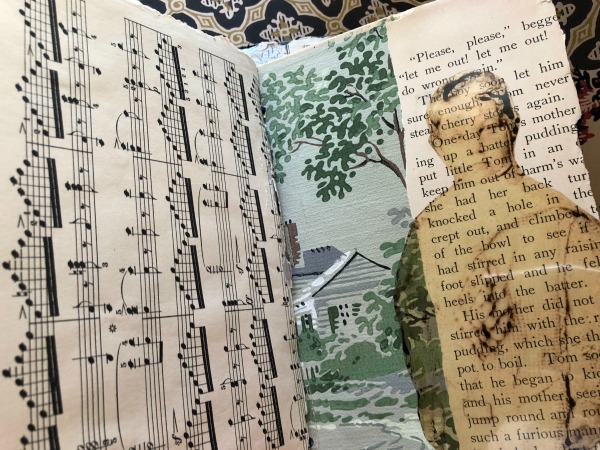
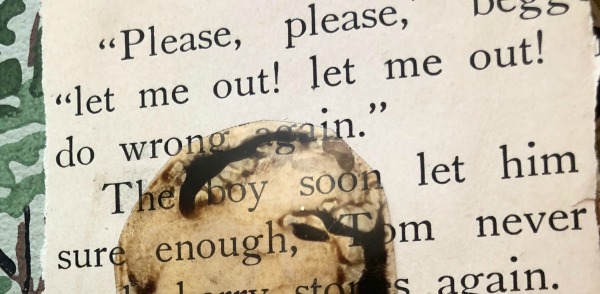
This boy is scanned from an old photo and printed onto a transparency for a ghostly look.  

IMG_1167

Typically, I chose text for shape and style, but sometimes I find some that fits the mood of the page too. While this is simply about Tom Thumb and is a cute fairy tale, I thought the first sentence seemed a little creepy and went well with a Halloween book.

IMG_1168

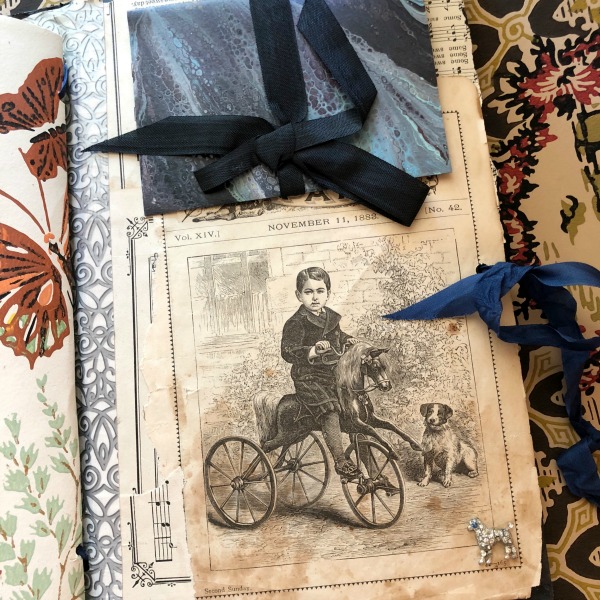
The inside of the back cover gets a paint poured note card to open and fill up, and a cute (but slightly vampire-ish) boy and his dog.  I added a sparkly, rhinestone poodle too, since the guncles have two cute poods of their own.

Have fun filling your book up, Randy! I love you and loved getting this ready for you!!

 I will be away from my desk, enjoying Sister Time in Florida til the 22nd.  All orders from the Boutique will ship on the 24th. Thanks! 

Karen’s (Daisy) Book

Books, friends, vintage paper/collage art, wallpaper

IMG_1142

Back in August, Karen gathered a group of us together for a getaway and shopping, then the group came to my house to try their hands at pour painting. This book cover is Karen's creation from the day.

IMG_1143

My painting friends were visiting from Florida, and the paint takes 3 weeks to cure completely, since it is so heavily applied and has conditioners in it.  So, I kept the pieces here to dry, and mailed them later. 

IMG_1144

But before I did, I put this book together for her, and another for Guncle Randy. Both were empty covers that they'd painted.

IMG_1149

And since I LOOOOOOVE making books, I couldn't help giving her a head start on her pages.

IMG_1145

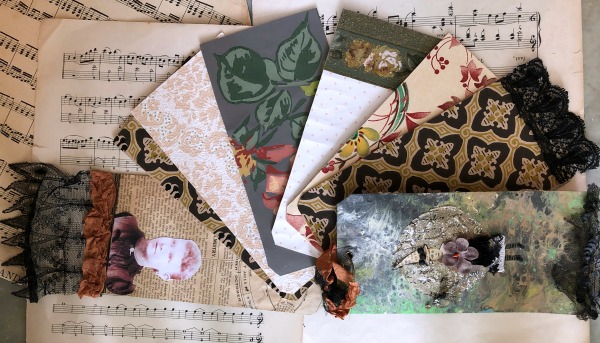
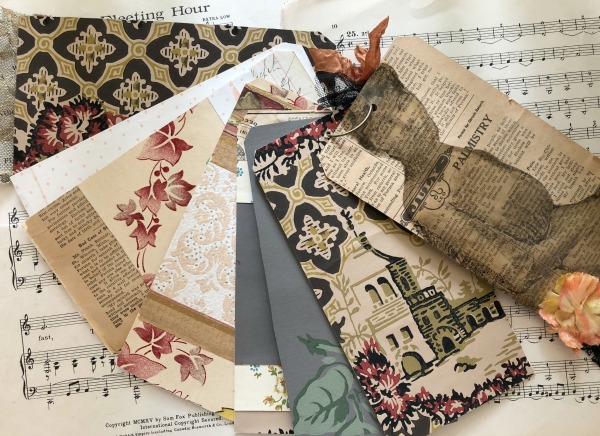
About half are blank, and I added some vintage wallpaper, lace and embellishments to the rest.  Now, she has some backgrounds ready to add her own art, or poetry to.

IMG_1148

My Special K, as I call her, loves Gatsby.  And identifies with Daisy.  So, I made sure there were plenty of daisies in the book for her.

IMG_1146

She has a lovely poodle, Queen Satine, so when I saw these rhinestone poodles, I knew they had to be a part of the book too.

IMG_1150

It is a joy to use these papers, I hope Karen loves working with them too.

IMG_1151

Her cover turned out so sweetly, I wanted to honor it with an equally sweet interior.

IMG_1152

Thank you for hosting our group for the flea market getaway and for coming to play with paint with me, Karen!!

And if any of you want to make a book with the two of us, I'll be teaching a class at her studio in Deland, Florida in February.  Details to come

I will be away from my desk, enjoying Sister Time in Florida til the 22nd.  All orders from the Boutique will ship on the 24th. Thanks! 

Rich autumn tones and old silk ribbon flowers in a lush book

Books, vintage paper/collage art


IMG_1280

The colors of this painted cover inspired me to dig out some of my treasured, very vintage, ribbon flowers to add to the front along with this pretty porcelain piece.

IMG_1281

I wish I wasn't running low on my ribbon roses….. They have been a JOY to use.  

IMG_1283

Which is why I'm hitting the end of the hoarded pile.  I believe in using that GOOD STUFF, not hiding it away.

IMG_1285

If a piece is worth doing your best work on, isn't it worth your best supplies too?

IMG_1284

I've loved working with the paint pourings to make book covers too.

But sadly, I have packed away all of the paints, tables and racks that I've used all summer to work on making them.  My garage has been a paint studio for months, but with fall here, it was time to return it to its purpose of hosting my car.  Sugarwings and I were sad to see it all put away, she and I have had a blast making art together out there. I've had lots of parties and gatherings with friends coming over to paint with me too.

I'm already looking forward to next spring and putting the garage back to a better use by doing more of them then!

IMG_1286

I'll probably have enough canvases to cut up and turn into books and banners til then, I was so enthusiastic with the technique, I've filled my studio with stacks of paintings to use.

IMG_1287

And thank you to all of you who have helped support my habit by buying the books I've been crafting.

IMG_1282

This one is a thick one, four sets of blank pages ready to fill with your own art, musings, photos, or dreams.  You can find it in the Boutique.

I can’t stop making Bewitching Books! Mini Art Journal kits are in the Bootique

Books, vintage paper/collage art

IMG_1133

Someone stop me!!!!!!!!!!

IMG_1125

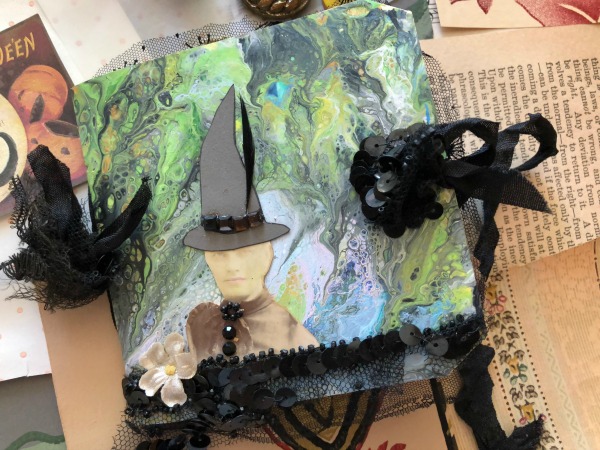
I can't seem to tear myself away from making these paint pour cover books.

IMG_1127

It has been way, way, way, too much fun.

IMG_1138

I'm blaming my earlier obsession on the whole paint pour business that got me started on this.  I was playing with paint for the pure joy of swirling it around and smooshing it and tilting, and pouring and watching the colors blend to create designs.

IMG_1135

 I have stacks and stacks of canvas and tags with the poured or flow paint colors on them.  So, now, I'm snipping and slicing and turning them into books.

IMG_1134

All of the books are pretty as is, but also would make a good starting point to use as a scrapbook (photos of your loved ones in their Halloween costumes?) or a holiday themed art journal.

IMG_1137

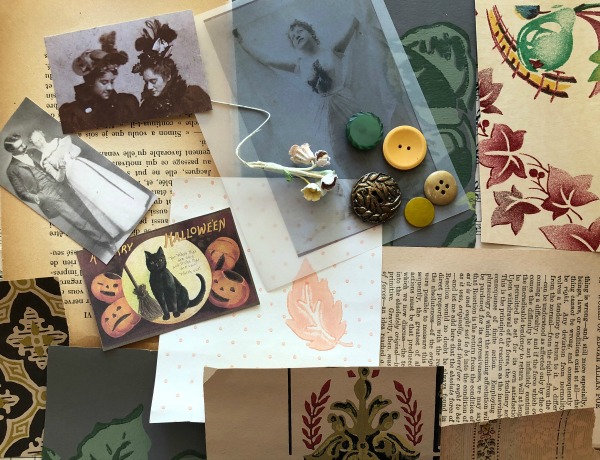
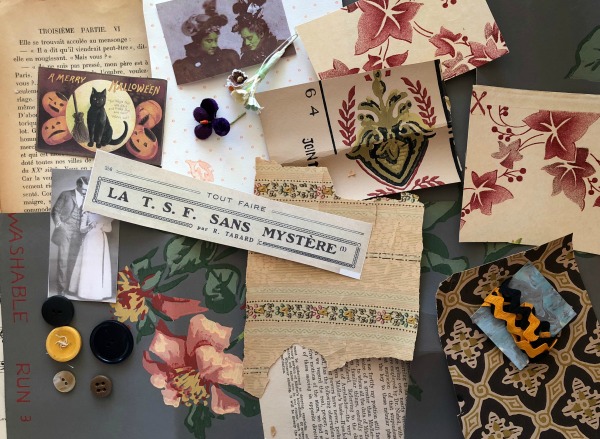
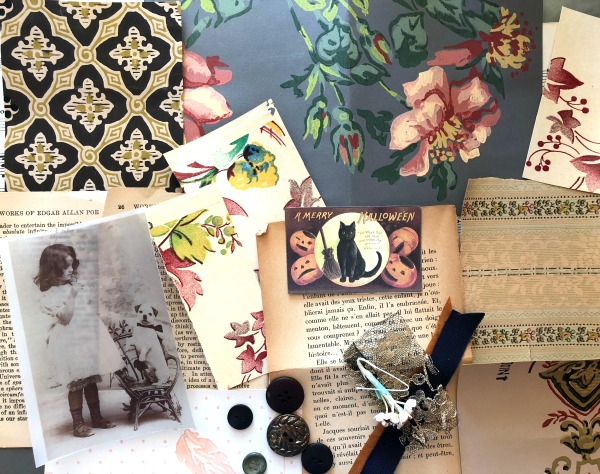
These four come with scrap packs to inspire your own creativity in completing the booklets.

IMG_1126

I hope you'll have as much fun playing with them as I did.

And THANK YOU to all of you who have supported my habit by purchasing books from me!!

If you'd like one too, you can get it here:

www.karlascottage.com


Florida Friends with Flowing Paint and eating from field to fork

Books, celebrations, dogs, family, Food and Drink, guncles, paintings

IMG_0867

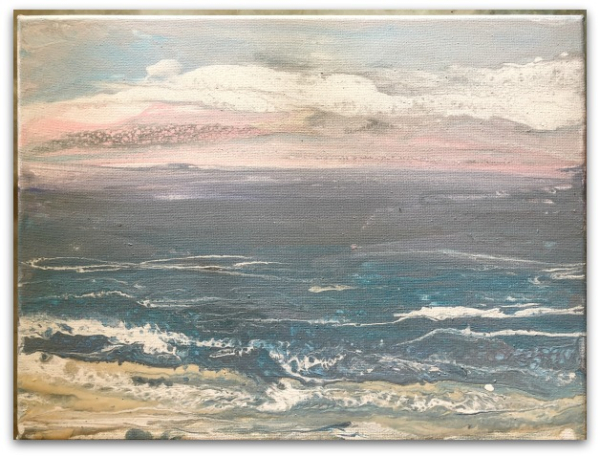
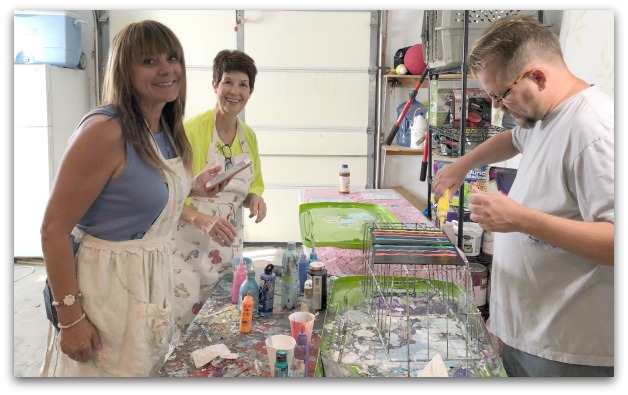
While Karen, Regina, and Randy were here from Florida, we got together at the Cottage for some flow painting.  I showed them how to make an ocean scene.

IMG_0843

And we made some book covers.

IMG_0844

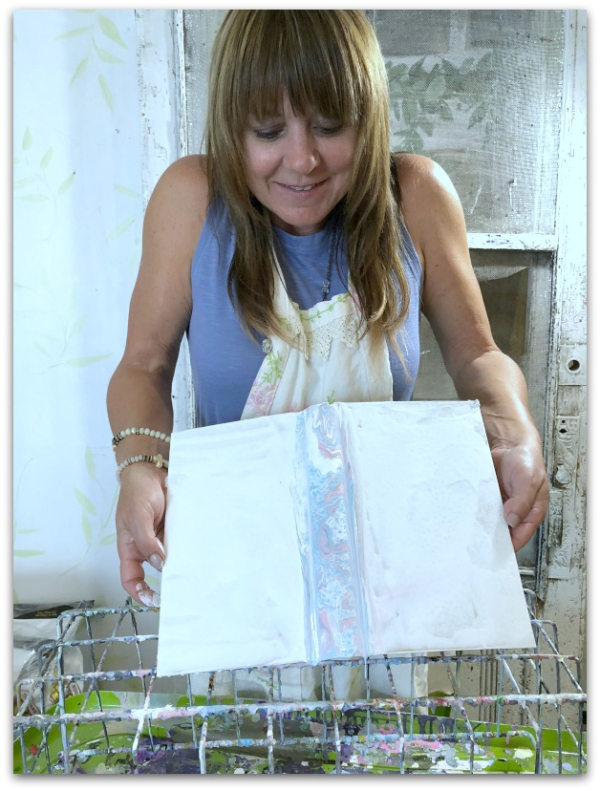
They all got messy with me, and we poured paints in the garage.

IMG_0845

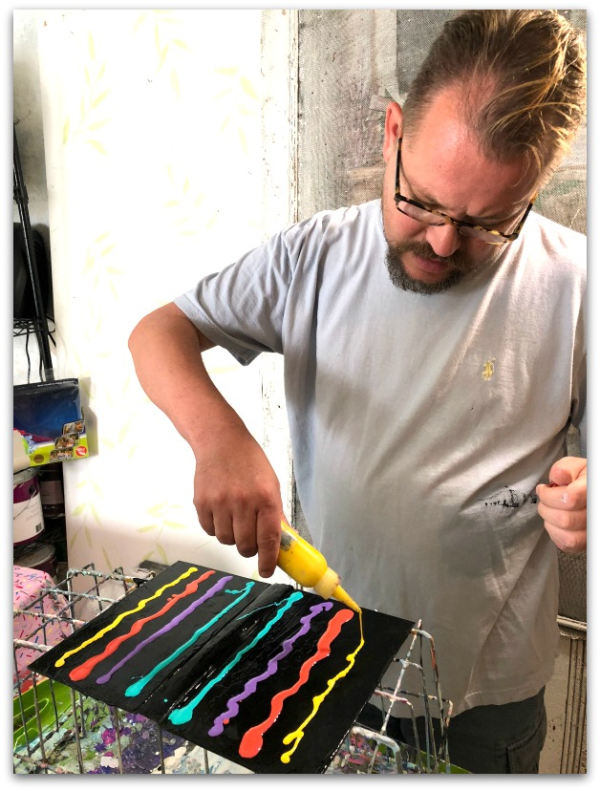
This is a "swipe" technique. The colors go on over black paint, then more black paint is drizzled over it, and swiped across to make a pretty design. The paint needs to dry for a while, when it is done, I'll assemble the books, and show you how it turned out.

IMG_0869

Here is Guncle Randy's other painting.

WOW.

I love it. 

I wonder if he will notice if it isn't in the box I am mailing to him when the paint dries….

IMG_0837

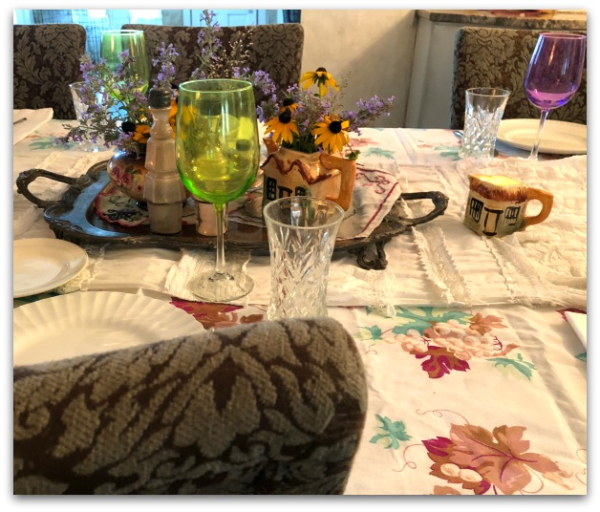
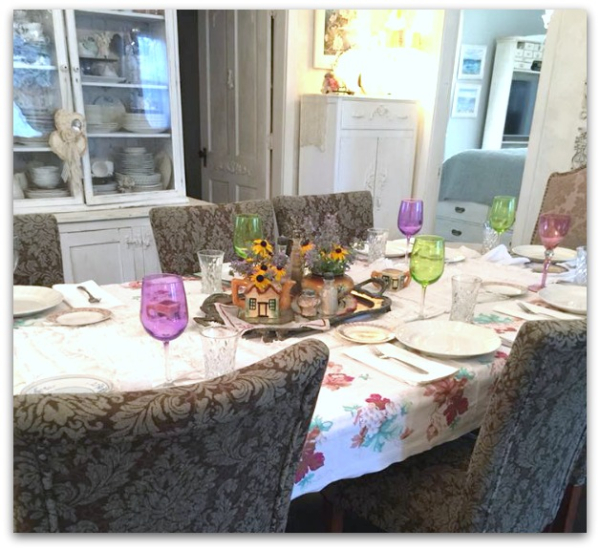
I'd planned a lunch for us and was happy to have a chance to use the fall tablecloth that I found at the flea market we all shopped at.

40537083_10209747414280796_3950198206586945536_n

We had beef pot pie with puff pastry, salad, and rosemary garlic bread fresh from the oven.

IMG_0838

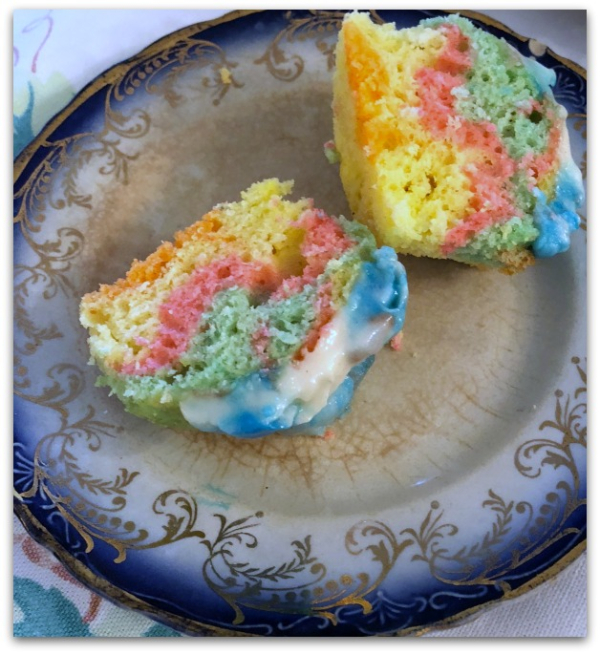
With "paint pour" cupcakes for dessert.

40534859_10209747417280871_5032112077745946624_n

But that wasn't it for the day…

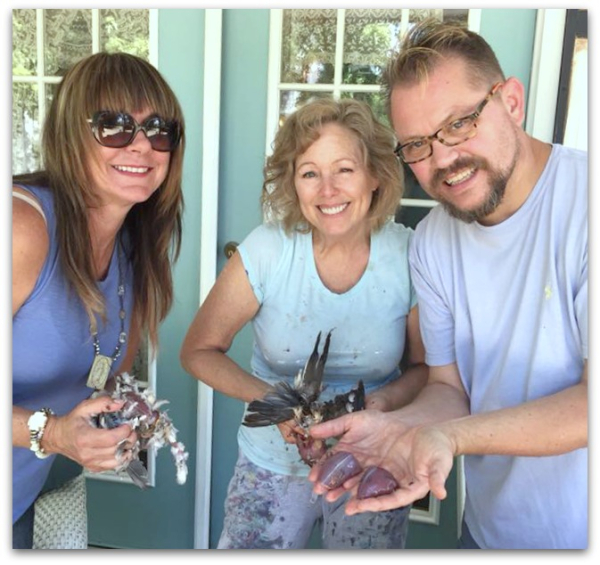
Karen started her morning at 4am, dove hunting at the camp we had been visiting.

40568619_10209747416880861_3050350296912887808_n

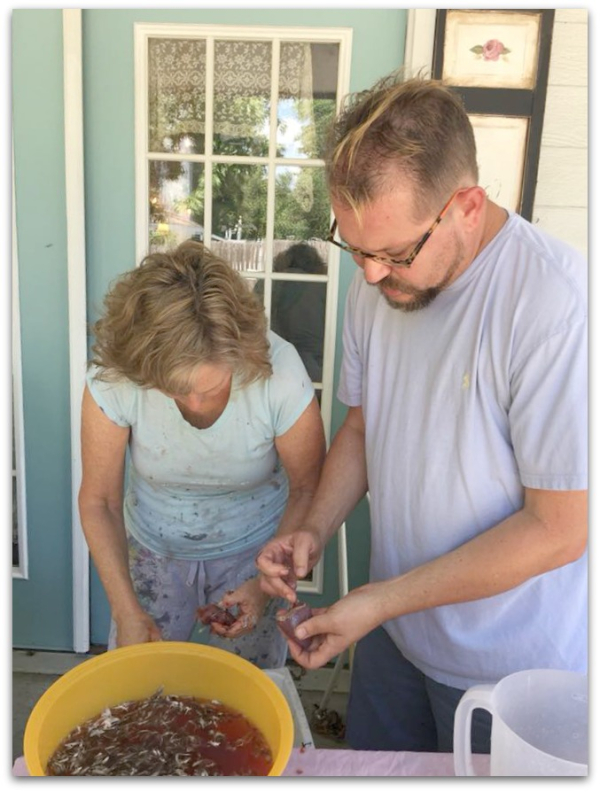
She brought them along to clean and gifted us with a whole flock.

IMG_0835

It is not something I've ever done before, but intriguing.  There is definitely a bonus to a meal that you have hand crafted, whether from garden to table or from field to fork.

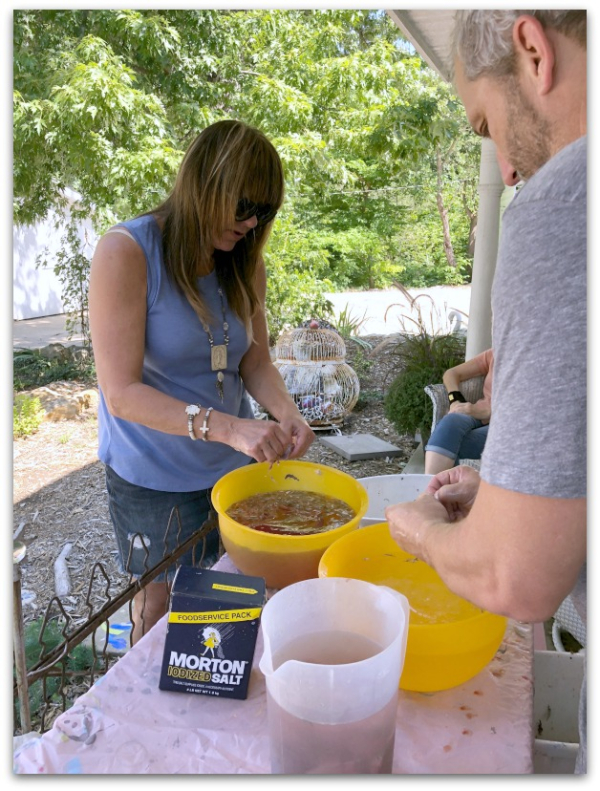
And well worth it, those doves were tender and delicious!  We soaked them in salt water for 24 hours, before marinating in Italian dressing.

IMG_0872

While the dove breasts soaked up the flavors, we took a Labor Day spin out on the lake.

IMG_0875

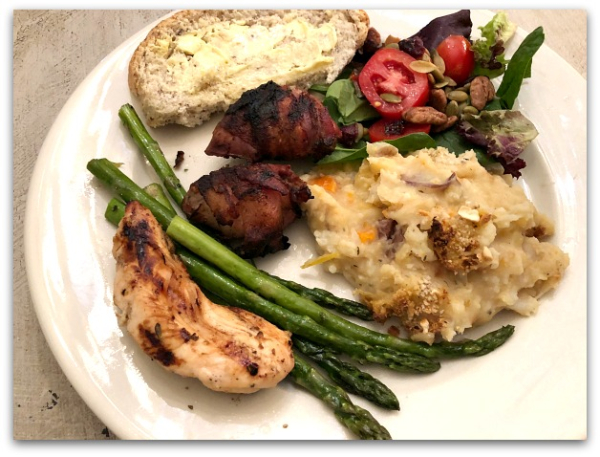
After boating, I wrapped the breasts in bacon, and my husband slow cooked them on the grill. We served it with a cauliflower mash, asparagus, fresh made bread, and a salad featuring tomatoes just picked from the garden.

Thanks, for being such a great shot, Karen! And for sharing your bounty!


Bootiful Bootique Books and a lot of how to tips and ideas for art journal pages

Books, holiday decor, how to's, Romantic Gothic Ghosts, vintage paper/collage art

IMG_1048

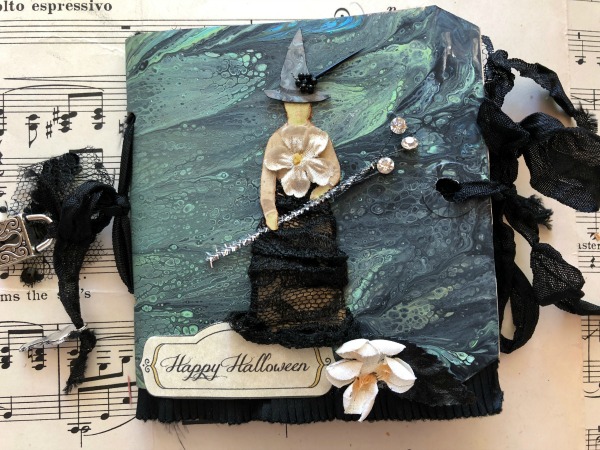
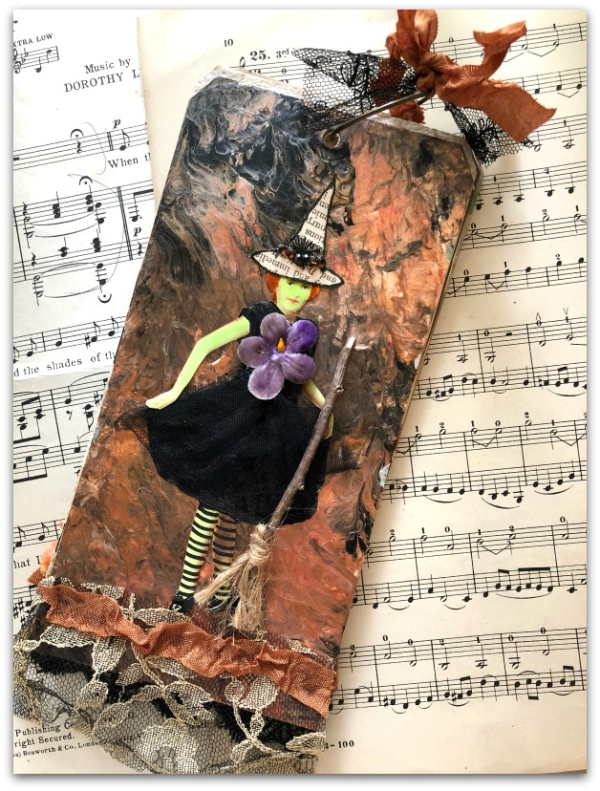
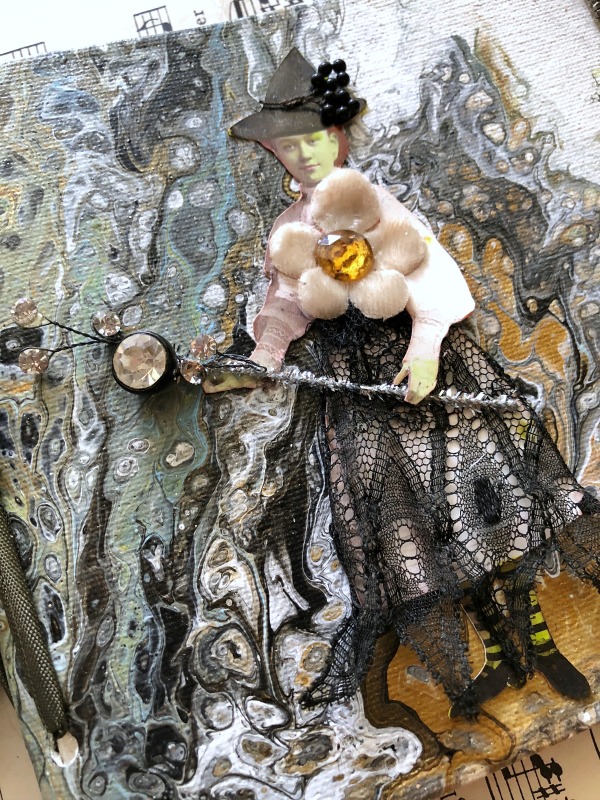
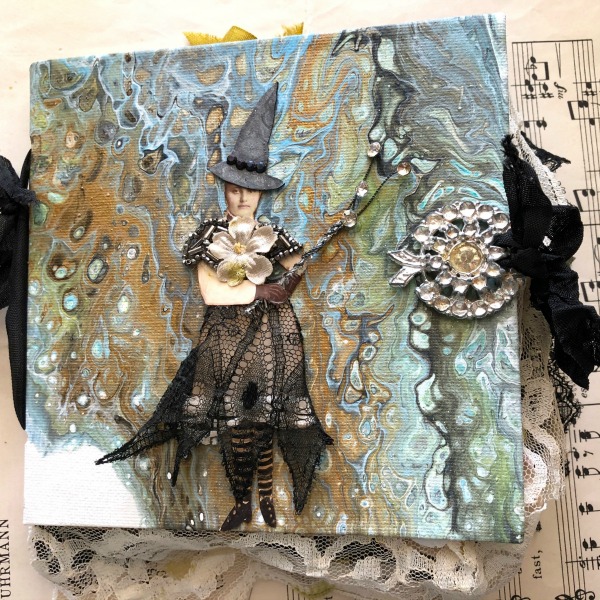
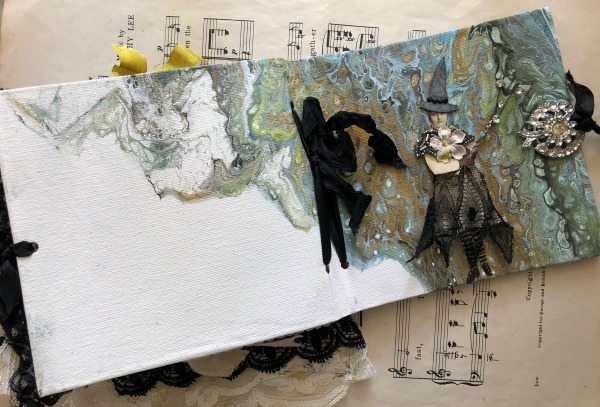
There are a couple more pour paint canvas books with witchy themes in the Bootique now.  This one has the outside covers in flow paint with a witch I've cut from an old photograph and spooky-foofed up. 
IMG_1051 IMG_1052

The inside covers are covered in old paper and the interior pages are a grey, parchment style card stock, ready to be embellished.
IMG_1053

This book has the same type of cover.
IMG_1055

Instead of it being a kit for you to finish, I've gone ahead and journaled it throughout, myself.
IMG_1056

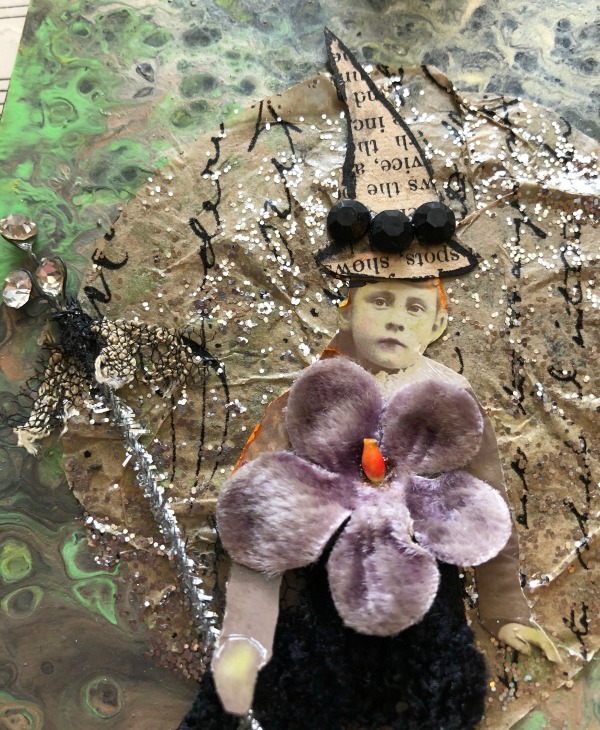
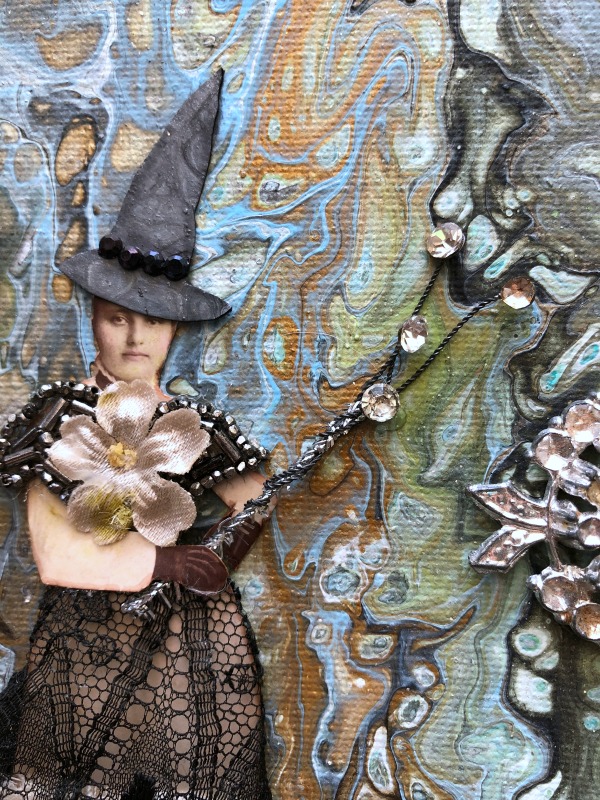
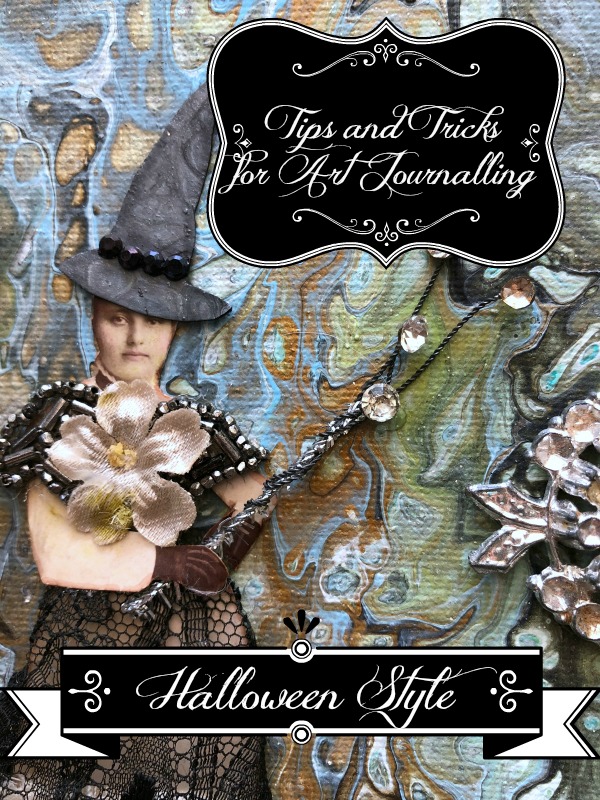
Here is a close up of our sorceress, with her magic wand made of a trimmed pipe cleaner and topped with a vintage rhinestone spray, with its wire wrapped around the pipe cleaner.  She has old lace wrapped around her dress, and a hat made from card stock that I'd painted.  

TIP- When adding a gown to a photo, it is often easiest to cut the person in half after cutting her out of the background.  You will want to stretch the fabric around the figure and secure it with glue to the backside. And arms are often in the way. I either cut around the arms, or in this case, I simply cut the lady into two pieces, added the lace, and glued the two parts down onto the book to reassemble.

And it looks better if you do away with the stark white edges of the cut out person by running a light brown marker or ink pad over them.
IMG_1057

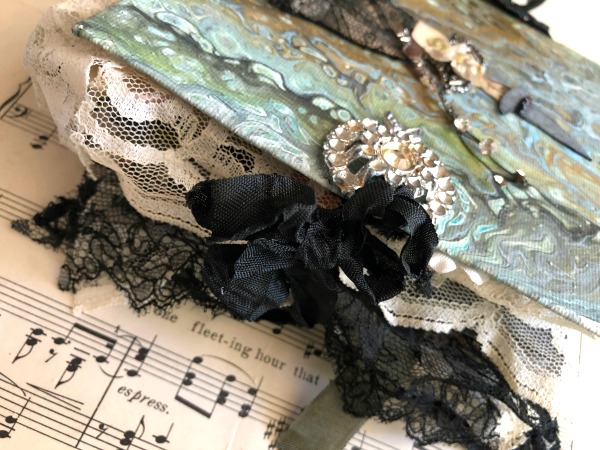
The "fastener" on the book is a vintage brooch.

TIP- Old brooches look great on the side of a book to create the illusion of a closure.  But, they sit unevenly.  Take a pair of pliers and twist off the pin back.  This one still had a sort of stump where the pin had attached in the center, so I punched a hole in the cover and added glue to the rim of the hole, then pushed the raised bit down into the empty space for the brooch to sit evenly  More glue was added to the back of the pin that met with the cover.  
IMG_1058

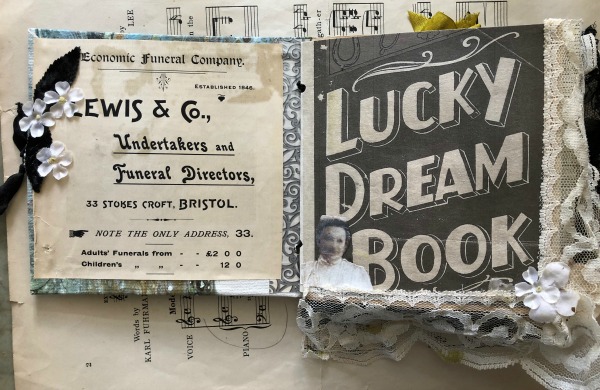
The first page is simple, I've used an ad from an old magazine for a funeral home (Thinking ghostly here). The leaves and flowers are glued over the hole I'd used to attach the brooch onto the front of the book.

TIP- Lots of lace adds a lushness to a journal.  I like to start a book with some trailing from the first couple of pages.  And add it to different sides of the pages throughout the book, on this page it is on the side and bottom.  To hide the pleat, I've added a flower.

The ghost if from an E-zine I did with Beth years ago.  It was called ROMANTIC GOTHIC GHOSTS and included full directions, tips, plus a lot of images to download and print. It is still available here: http://bethleintz.typepad.com/workshops/, scroll down, there are two zines to buy, the first one is a Xmas theme and the ghostly one is at the bottom.  
 

IMG_1059

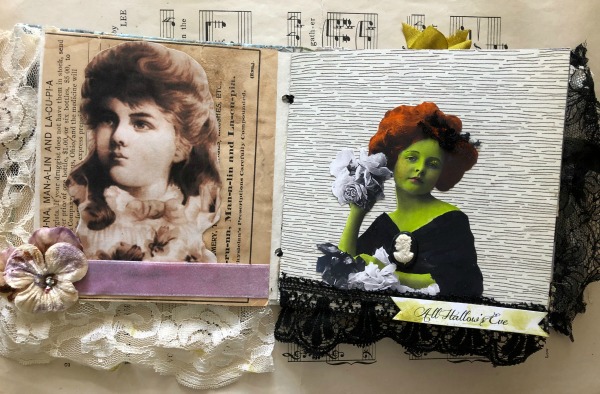
My book features both copies and originals.  It has vintage paper and scrapbook paper.  The sepia girl is a color copy of an old photo, glued to original, vintage text, simply accented with a velvet ribbon and velvet pansy for nice textures.

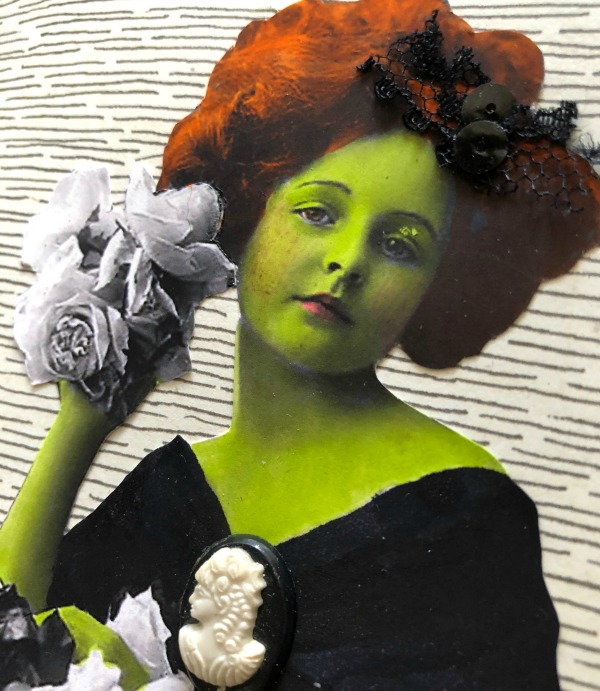
The next page is scrapbook paper, with a girl cut out of a black and white copy of an old photo.  I've used marker on her flesh to make her look "wicked".
IMG_1060

TIP- I find it easier to color the people before cutting them out of the photos.

And I use a blendable marker in lighter green, then a slightly darker green where you'd apply eyeshadow, for depth.  Marker also works for lips, but please use a red colored pencil to get a realistic blush look.

Add 3D elements like the cameo or hair bow for accents.
IMG_1061

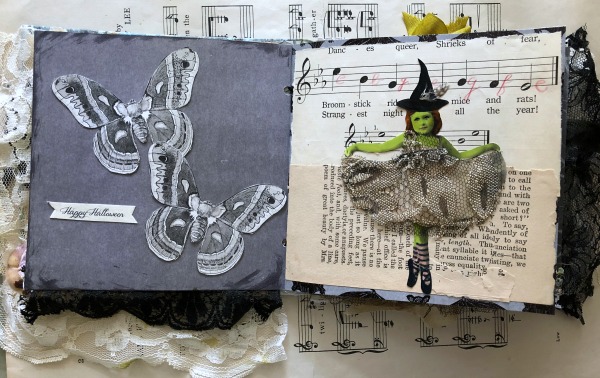
The moths are cut from copies of images found on Romantic Gothic Ghosts, glued onto plain, gray scrapbook paper with black ink around the edges.

TIP- Simply done pages can add a lot to a book. Not every page needs to have a lot going on.

Next, is another girl I'd treated to a wicked tint.  Her dress is lace, and her hat is cut from other paper and added to her head after she is glued to the background of vintage texts, layered on the page.

TIP- Striped socks are an easy way to change a girl into a witch, just color the socks with marker in a basic color and draw the curved lines with pen.
IMG_1062

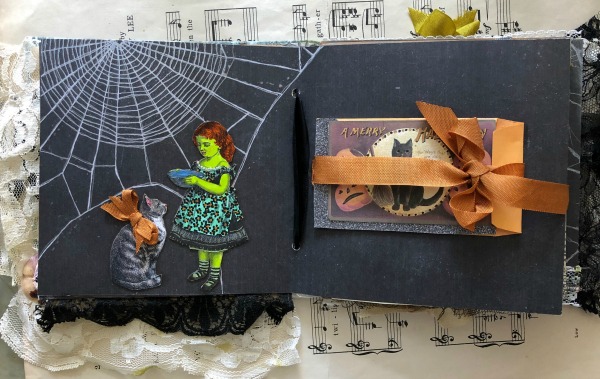
On the left is scrapbook paper from a Halloween book, with a spiderweb. I've drawn over the web with a metallic pen.  The girl and her cat were cut from a black and white copy, and colored with markers and glitter pens, then a bow was added to the cat.

On the right, a small envelope was covered with a vintage image, color copied and accented with glitter pens.  It has a ribbon wrapped around it, and then was glued in place.

TIP- Use envelopes and pockets in your books to tuck away treasures or surprises.
IMG_1064

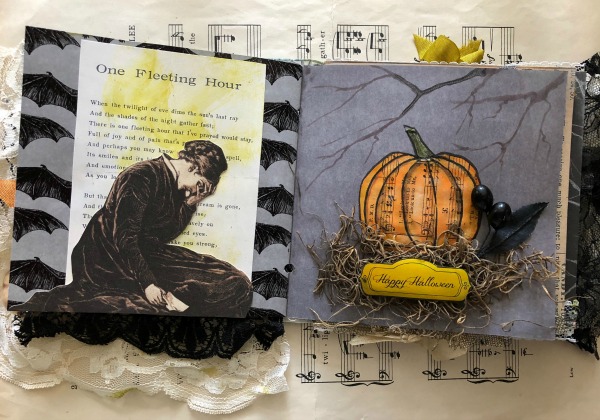
Another simple page with a big impact, bat themed scrapbook paper, topped with a copy of a poem, and a cut out of a grieving woman.  Her dress has been accented with glitter pens.

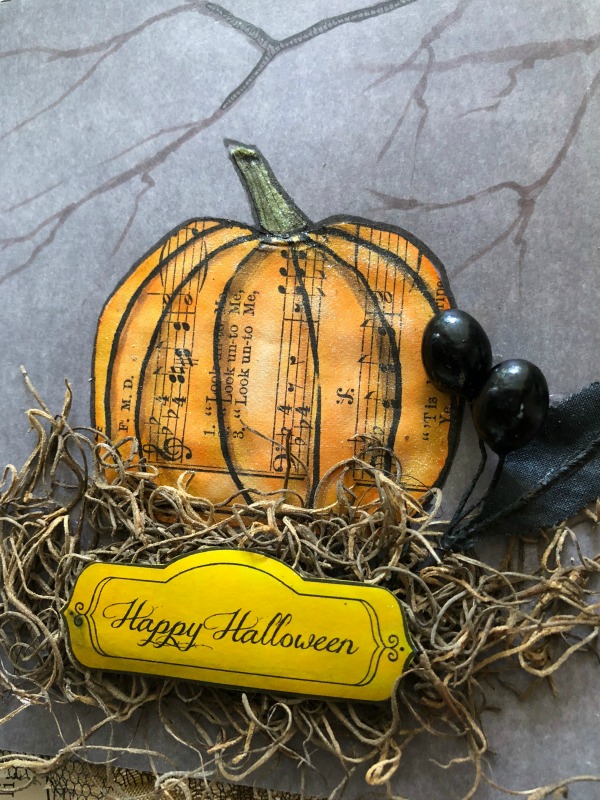
The paper used on the right was also from the Halloween scrapbook pad that I had, but I have added a few hand drawn branches to the background. The pumpkin was drawn onto sheet music, colored with markers and glued down to the page and moss was added over it. The words were printed in black and white and colored with gold marker, then highlighted with glitter pen.
IMG_1065

TIP- Hand drawn or colored elements, whether free hand or done by coloring stamps or stencils, add a lot of interest to your pages.
IMG_1066

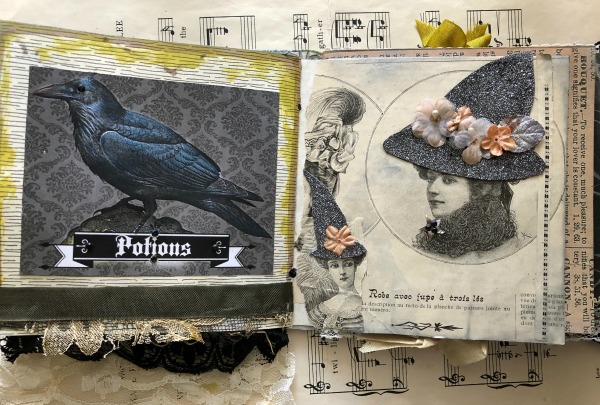
The raven is a printed copy, with the bird itself accented with glitter pens, and the background left with its matte finish.  The bottom of the page is trimmed with tattered lace, topped with velvet ribbon.

TIP- Your lace doesn't need to be pristine.  Old and tattered bits add character to a book.

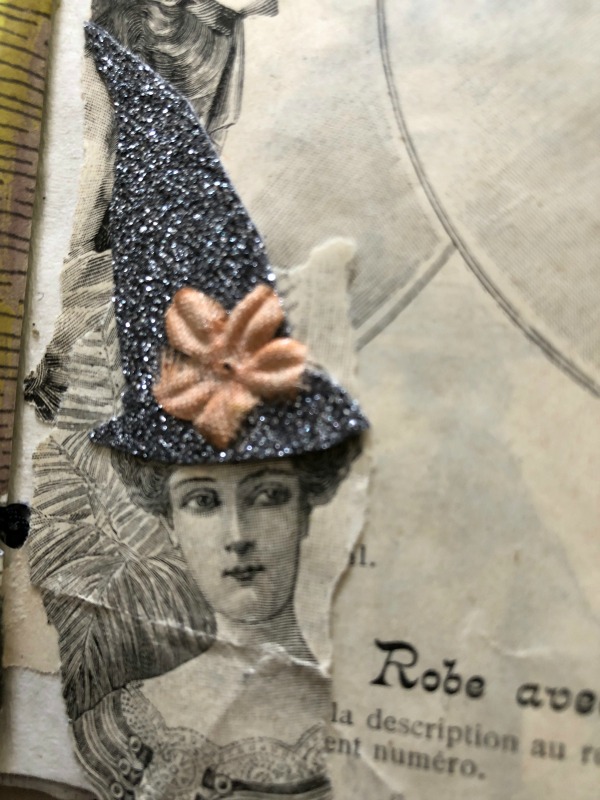
The witches on the other side were ladies from an ad in an old magazine. I've added hats made of glitter card stock and millinery blooms.
IMG_1067

TIP- For a more finished look, I ran a black ink pad along the edges of the glitter card stock hats.
IMG_1068

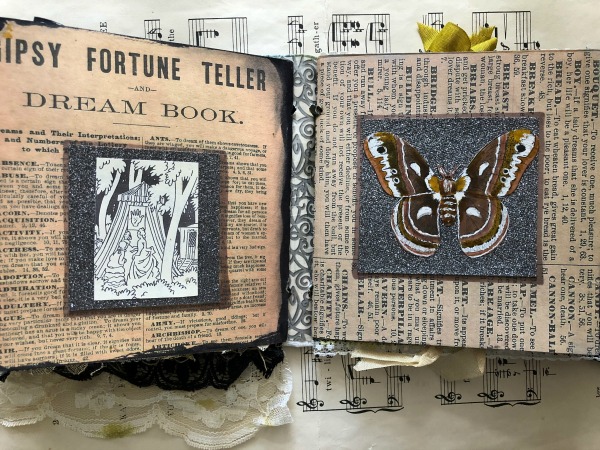
The same moth image from Romantic Gothic Ghosts that I'd used on an earlier page is used over glitter card stock on this page. It is colored with tones of brown markers and a little glitter.

The same style of layering squares over text was done on the left page for a cohesive look.

TIP- Do not be afraid to reuse the same images or ideas in slightly different ways, throughout your book.  Reusing themes can bring unity to your pages.
IMG_1069

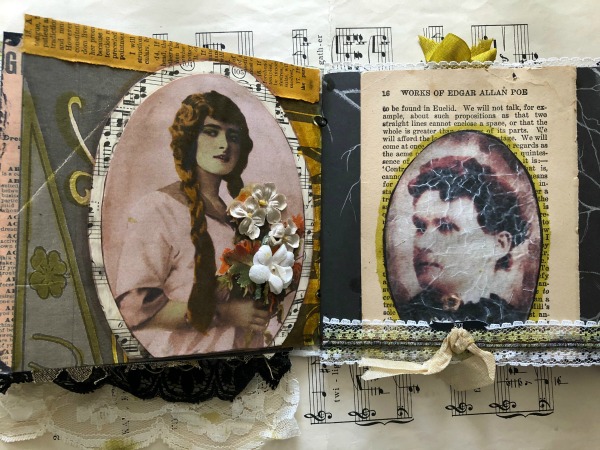
I've done a similar thing on these facing pages.  Instead of squares, I've used ovals, layered with the images.

TIP- Not all dangling trim needs to be lace.  Here, I have a knotted ribbon that hangs down past the bottom of the book.
IMG_1070

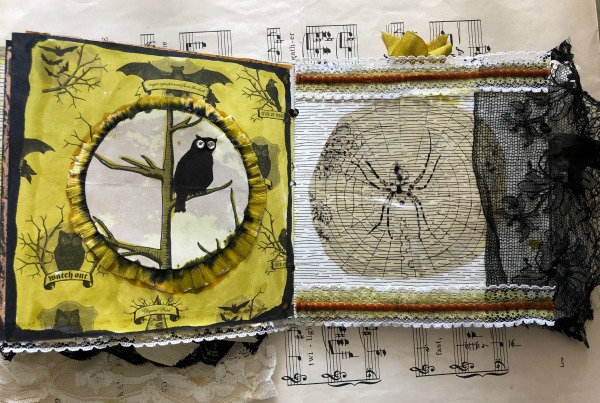
Both of these pages have scrapbook paper as a background.  On the left, I colored the page with a glitter marker in gold, the cut an owl image from another scrapbook page and turned it into a medallion by adding a crepe paper ruffle to the back.

The spider is cut from an image (Romantic Gothic Ghosts) then printed onto a transparency.  

TIP- Photos or images printed onto transparencies or vellum paper can give you a ghostly feel or some nice texture.
IMG_1073

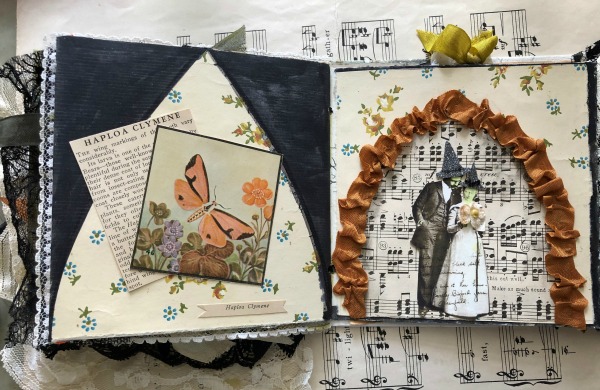
Here is another moth, taken from a biology booklet, centered over a gothic arch.  I've used the same vintage wallpaper in two different ways on these face to face pages, along with two styles of gothic arches.

The couple easily became a witch and warlock by tinting their skin and adding hats.
IMG_1071

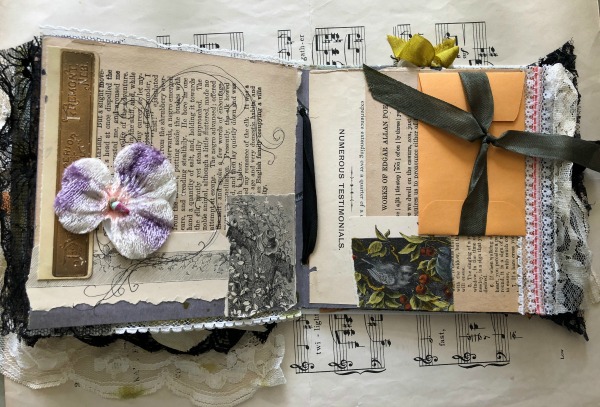
These pages are a patchwork of vintage papers, layered with a flower and an envelope. I've drawn a flourish on the page with the flower and colored the black and white image on the page with the envelope.
 

IMG_1076

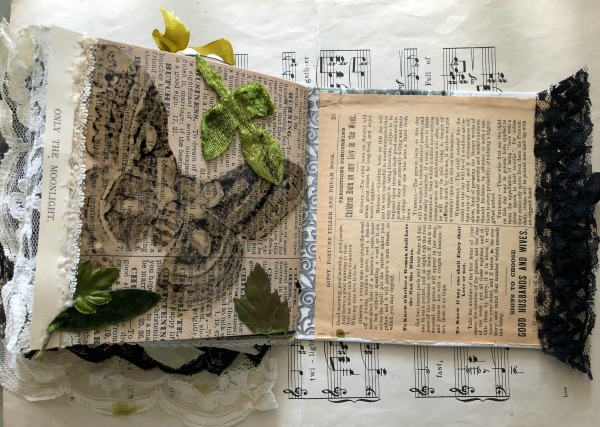
The last page shows the same moth I'd used on two other pages, one as is, one tinted.  This time it is printed on a transparency.
IMG_1077

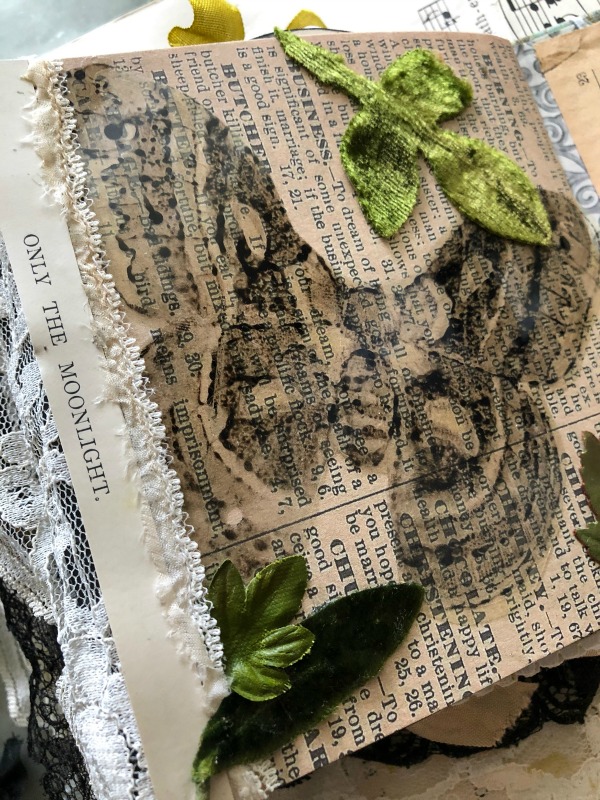
Velvet leaves were scattered onto the page for texture, and words cut from an old book add atmosphere.

TIP- I make a file of interesting phrases or words and snip them out as I come across them, and save them in the file for later.  If you are specifically looking for just the right words in old books, you will spend all of your time searching and none of your time creating! So, when you see something interesting, snag them then and save them for the future.
Tips

I'll be adding this info to my tutorial, "Creating an Art Journal", it is filled with lots of ideas and designs for making your own books.    
Scroll to Top