I've done a few other furniture painting tutorials (you can find them on my side bar, along with a lot of other how-tos), but those were mostly whites, creams, grays. Not everyone lives with "low color" like I do, a lot of people like some flash. I know my family does, they all think my neutrals are boring. So when I paint something for them, its usually bright and cheerful.
So, I thought I'd give you some tips for using deeper colors.
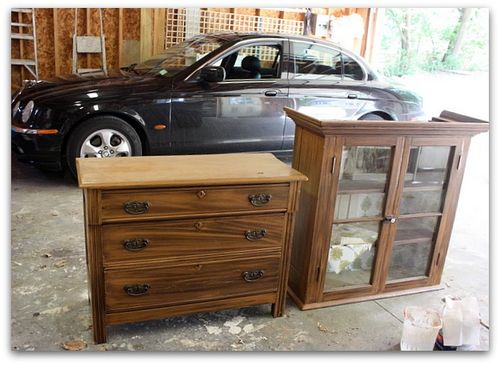
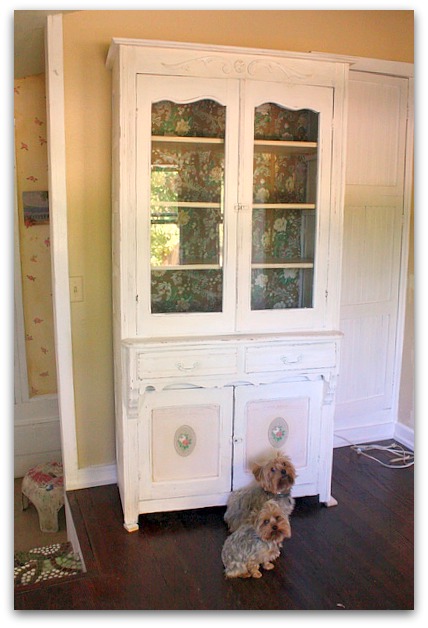
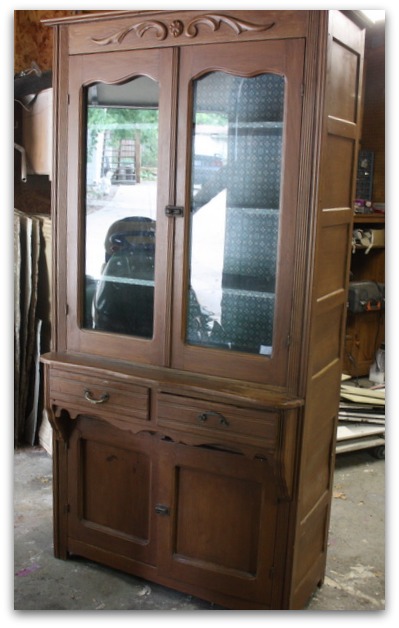
Our Hippy Chick was given this two piece set by her dad, it used to be his mom's. It looks okay as is, but dull for a fairy's bedroom, and this was meant to go in Sugarwing's room at her mommy's house.
Its been painted a number of times, looks to me, like the latest was a 1960s antiquing technique.
When I don't know who painted a piece or what they used on it, I always coat it with a BONDING primer, so my own paint will have good adhesion. If I painted it myself and know that it was latex with no poly top coat, I skip the primer and just paint it as is. But since so many things I paint are garage sale or flea market pieces, I have no idea who used what on it and I use primer in case.
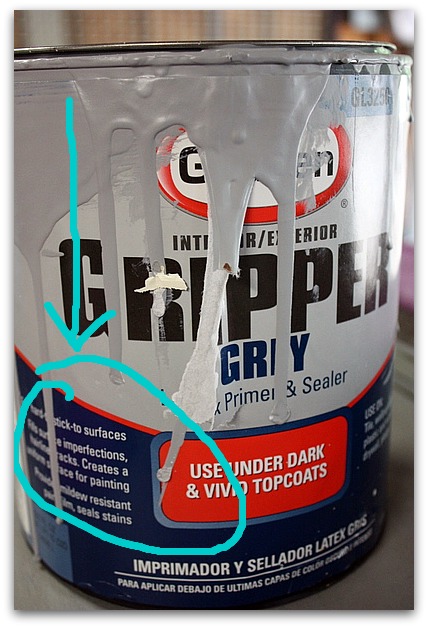
Over the years, I've tried many of the brands of primers. Currently this is my favorite water clean up one.
There are gobs of primers out there, be sure that you are using a Bonding primer, that says it will stick to glossy surfaces, do NOT use dry wall primer, that is a completely different thing. Kilz will not work unless you also sand.
I NEVER ever sand or strip the piece before I paint it. Life is too short!
Now, if you are painting something really tough, like laminate or a high gloss laquer, maybe a quick sanding wouldn't hurt, just to give it some tooth. But for most furniture, a bonding primer will be just fine with no sanding at all, as long as the piece is clean.
For darker or deeper colors, use a gray undercoat to prime with. The white one is too glaring and will take more coats to cover it.
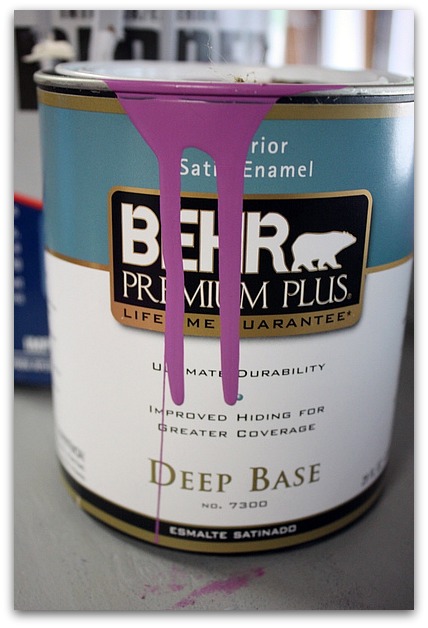
Speaking of coats, use good paint. Wall-mart paint is cheaper, but you use more because you are going to use more coats. More time, more work, more paint.
A quality paint saves you quite a bit. This Behr is my fave, it comes in many colors and usually only takes one coat.
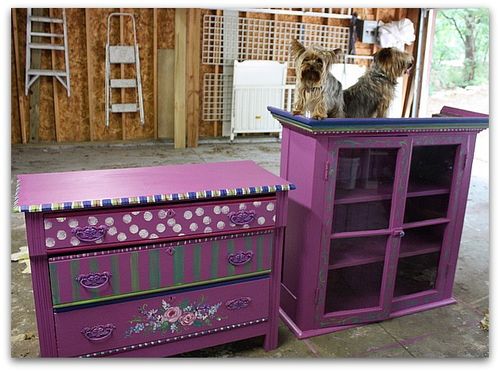
For this, I let Sugarwings pick out the color herself. Its a Disney shade that is carried by Home Depot.
I chose Satin finish, that should hold up to little fingers and heavy use with no top coat. This is a good paint that will last.
After cleaning the furniture, decide if you want to change the hardware, if so, you might need to fill in the holes with putty, let dry, sand and then repeat. After the piece is painted, you drill new holes to match the new hardware.
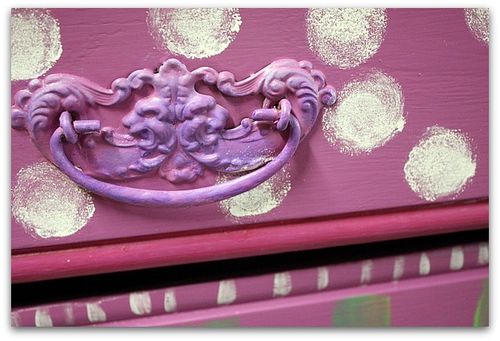
If keeping the knobs, do you want contrast or do you want to paint over them? If this was going to be a cream colored piece, I'd have liked the contrast of the aged brass. But for a kid's room, I wanted the pulls to blend in. So I left them in place and just primed and painted right over them. (when I was all done, I dry brushed another shade over them so they would have a little more interest)
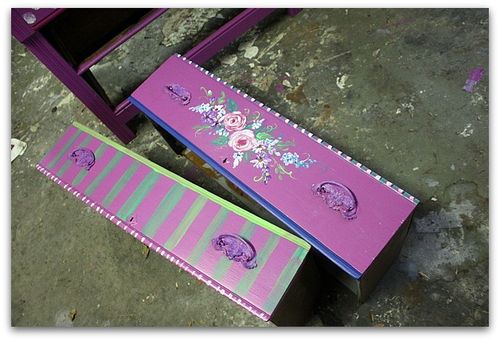
Pull out any drawers, and set them up on their backs to paint. It will save dripping.
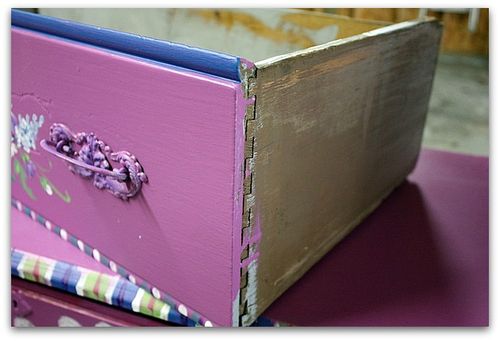
Don't ever paint the sides, or the bottom of the drawers, or they will stick like crazy! I like to wax the sides of each drawer, for an easy opening and closing.
Also, I paint the interior of each drawer, just to make them feel clean and fresh.
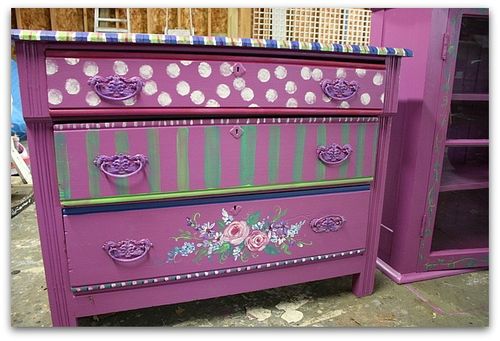
If you are doing decorative work after the paint dries, acrylic craft paint works fine. I made simple stripes in multiple sizes with different sized brushes, and polka dots with a round sponge. Then painted some flowers on the bottom drawer, added vines to the doors, and accented the trim with various shades.
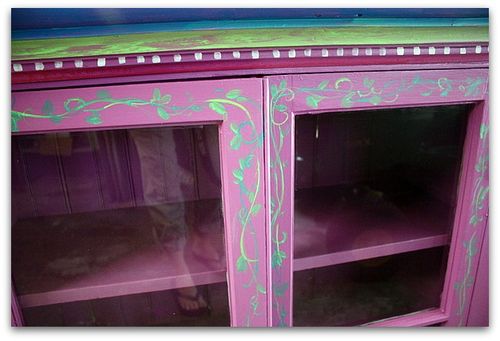 I am not a perfectionist. I like old furniture to look like old furniture. If its been painted a few times in its life, I like that to show. I don't sand it down before painting, or between coats. If you like the perfectly smooth look, you'll need to sand.
When painting around glass doors, make sure you scrape the glass off with a razor blade within a couple days of doing the job, or the primer will be hard to get off.
If you are painting a two piece set like this, let the paint "cure" for a few days before stacking them.
Any questions? Feel free to contact me.
Tools you'll need:
- bonding primer
- quality paint
- opener
- drop cloth – unless like me, you don't worry about your workspace floor! You can see mine has seen some painting over the years
- a wet rag is nice to keep handy
- paint brush
- small sponge roller (for big, flat areas, this sure speeds things up)
