vintage paper/collage art

Cartons, Kidneys, and Kits

paper cowgirl, vintage paper/collage art, Workshops

IMG_7397

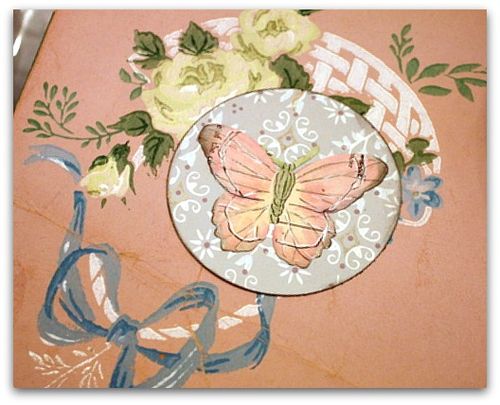
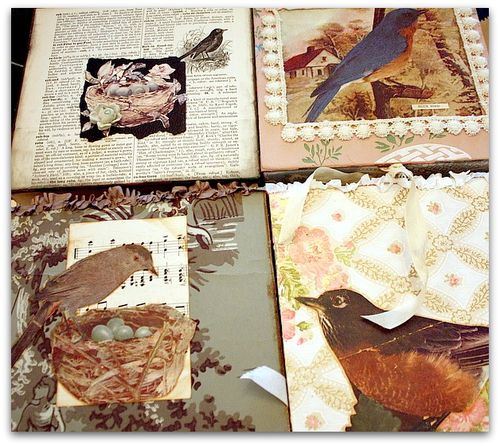
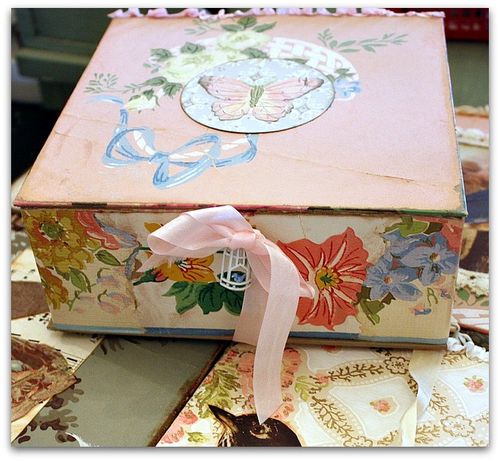
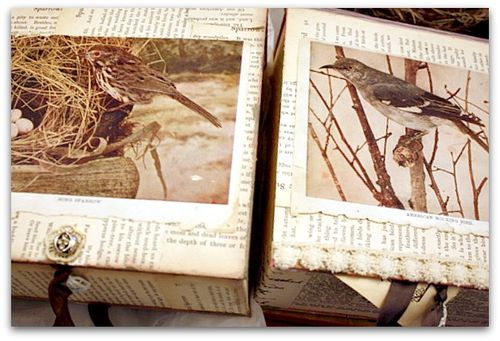
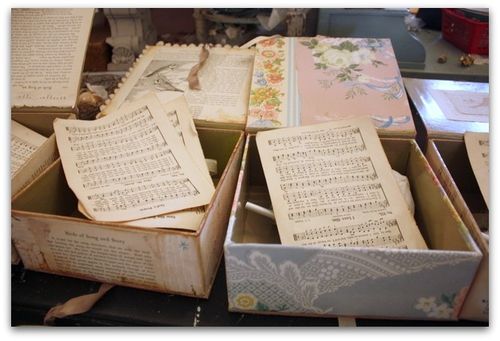
This week, I've been knee deep in ephemera scraps, covering these boxes in bits of old paper, with a flower and bird theme.

IMG_7395
After they got foofed, I started filling them up with goodies to make the wire wreath for the class at Paper Cowgirls.   I've not got very far on the kits themselves yet, I came down with a kidney infection and being on my feet was starting to get to me, so after making the boxes, I quit for the day.

IMG_7394
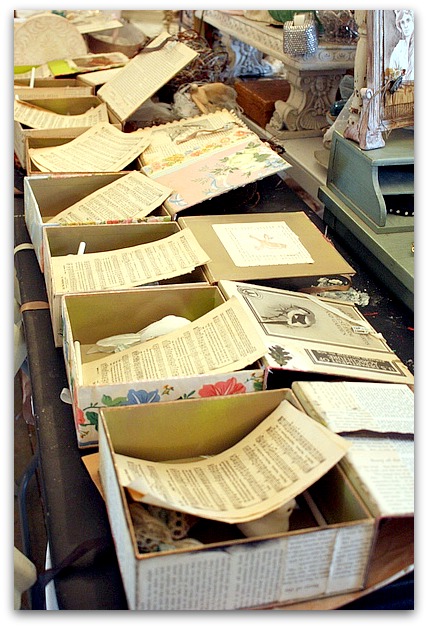
When I do kits, I spread everything out and take up a few table tops.  As soon as my antibiotics kick in, I need to get this finished so that I can have use of the room again. Beth is coming over to help me assemble our Round Robin Swap books to mail to Somerset and I need the space.

Really, I'm not that sick. I went to see my Dr. as soon as I started to feel bad.  I'm old enough and wise enough (finally, something good about getting old! Learning from the past) now that I don't wait till I'm so sick I can't get out of bed to go to the doctor, if I feel a twinge of something coming on, I get an appointment that afternoon and start feeling better fast.  In my youth, I would wait and wait, thinking whatever I had would soon get better, but instead I'd just end up more and more sick. 

IMG_7391

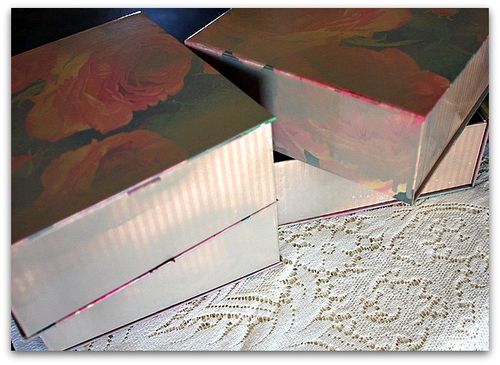
The boxes started out not really all that bad in the first place, but they were too shiny and new looking for me.  I found them for $1 each, and liked the size and shape, so I bought a whole carton full of them. 20 cute boxes for $20 is not bad. I saw something kind of like them at Tuesday Morning for $8 each. 

Here they are with a coat of tan spray paint misted over them.  I used it to tone down the apple green interior so I wouldn't have to cover it too, and also to soften the bright colors so they wouldn't show through the old paper I was covering them with.

While I was papering them, I started to feel crappy, and thought it was the lingering smell of the spray paint, and didn't realize I was getting a fever and a kidney infection until later.

IMG_7399
No two are alike, but that is how things go when you use vintage goodies. And I'd get bored if I had to make a stack of clones, anyway.

IMG_7401
Each one is covered in a similar manner, then tied shut with ribbon and a bird cage charm.

IMG_7396
My class didn't come close to filling.  But its not in my nature to do just a few of something…. And these boxes were fun to make, so it was hard for me to stop.  After Paper Cowgirls, I'll have some kits left over if anyone is interested. Each will come with the new tutorial that I am doing now too.

IMG_7301
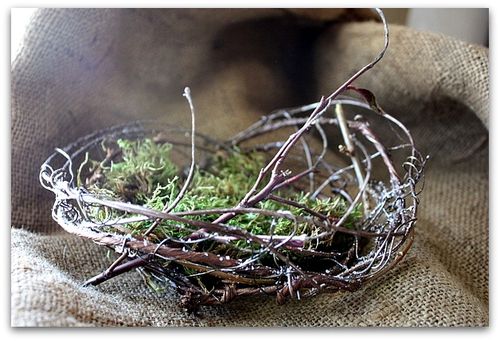
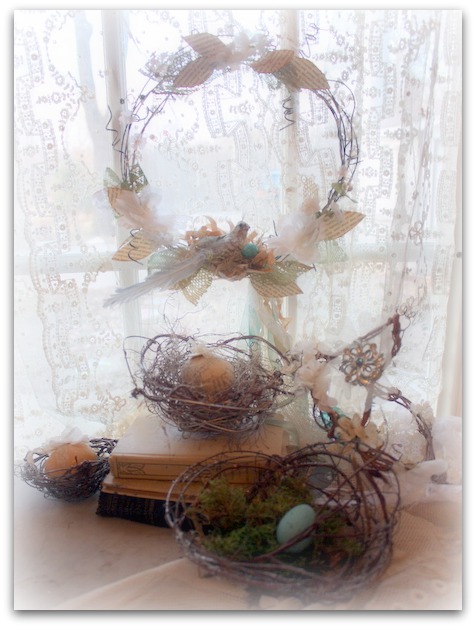
It includes the wreath (with supplies in the kit), a nest, and a crown, all made of twisted and twining wires.


PS- notice the Google Friend Connector is missing from my side bar? Yep, they are no longer working on Typepad blogs as of March 1st. If you want more information on how to follow a blog, Marianne has done some homework and explains it all very well here.

She also has a good tutorial on using Google Reader here

and here.

I have asked Hope, who designed my blog, to add a connect button for all of these for me.  She'll be doing that soon.
Finishing up my Round Robin Pages

bird song art event, Books, swaps, vintage paper/collage art

IMG_3285
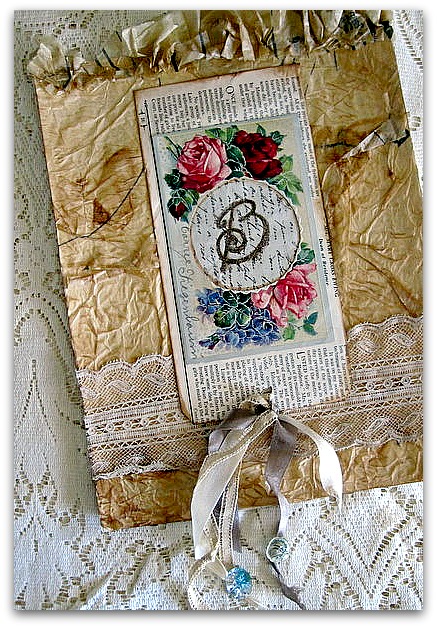
Most of the pages I made for our Round Robin book, are "low color".  But every now and then, I slipped in some floral tones, just because I thought it needed a little something. This page for Beth, is a  tissue pattern paper background, glued down nice and wrinkly, then rubbed with an ink pad.

IMG_3284
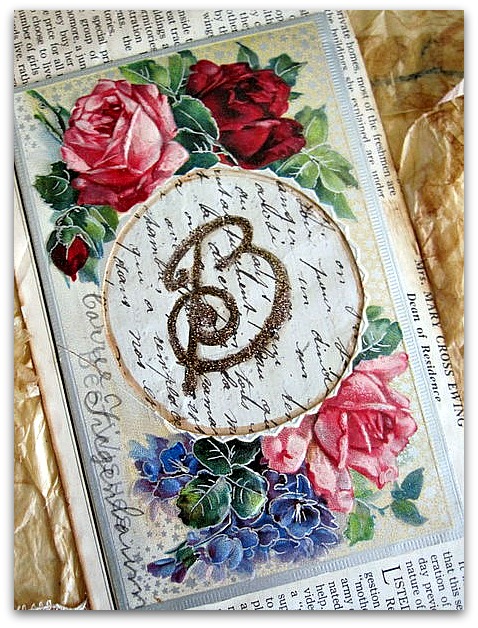
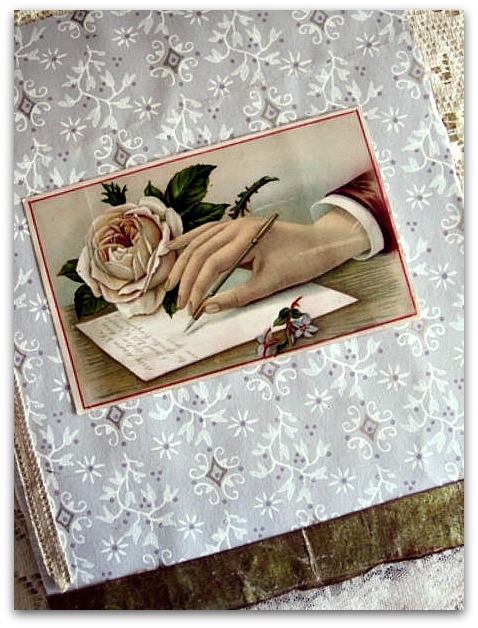
                    A ruffle of pattern paper was glued across the top, and a swath of lace was added near the bottom of the page.   The B for Beth is drawn in glitter, onto a very old, hand written letter in French.  I centered it inside a post card, with a circle cut out, layered it onto text from an old sewing magazine from the 20s that I'd covered a tag with. 

The ribbons hanging down have glass buttons tied to a couple of their ends.

IMG_3289
The theme of the Round Robin was "Her Life in Stitches", and I simply don't sew.  All of my pages are glued, while the other women spent time doing lovely stitch work. I tried to use the theme by incorporating some sort of sewing item on each page. I tended to rely on buttons, lace, and ribbons quite a bit, I'm afraid.

Beth is one of the few people I've known who uses both sides of her brain to the fullest. How many ultra artistic accountants do you know? Her head is quite ambidextrous.

So, I thought I'd show both sides of her in her pages, creative and pretty stuff along with the business side.

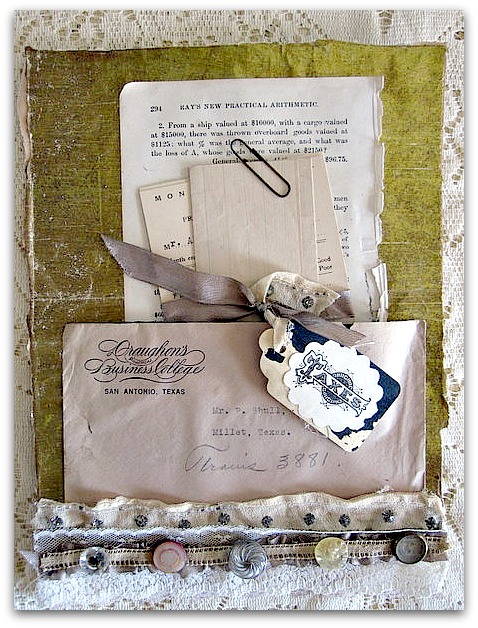
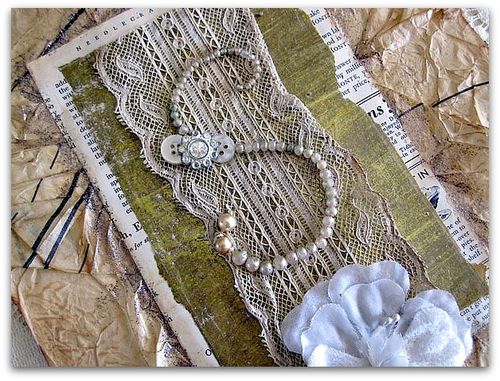
This one has an envelope and report cards from a business college and is dated 1918. The background is a great old, gold leaf wallpaper.

IMG_3290
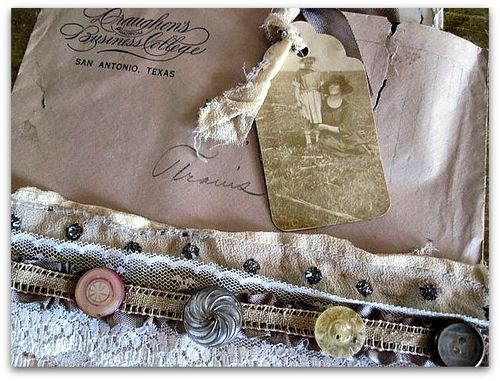
There are layers of lace, ruffled ribbon, and a bejeweled hem from an old dress, along with a selection of buttons.

IMG_3291
The back is kind of plain. Grey wallpaper, with a strip of the gold leaf paper, some lace and a pretty Victorian card.

IMG_3287

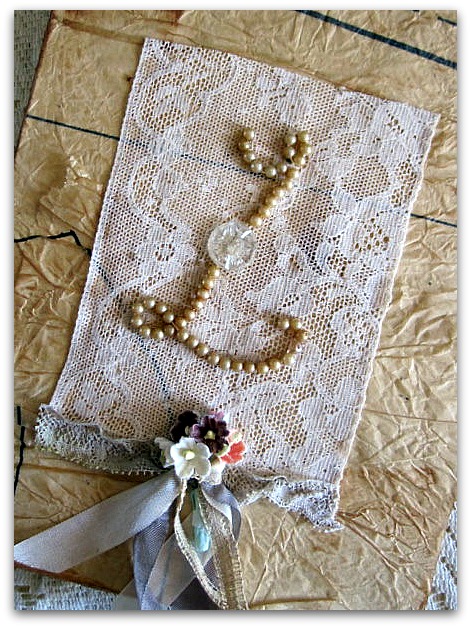
Since the books all need to be sent off to Somerset soon, (how exciting!!) I hurried and made a few pages up for each person in the swap. All the pages were done in the same day, so a lot of the ideas and supplies were duplicated, but none were exactly the same.  Everyone got an initial, Sandra's is done in pearls.

IMG_3295
Lisa's too.

IMG_3288
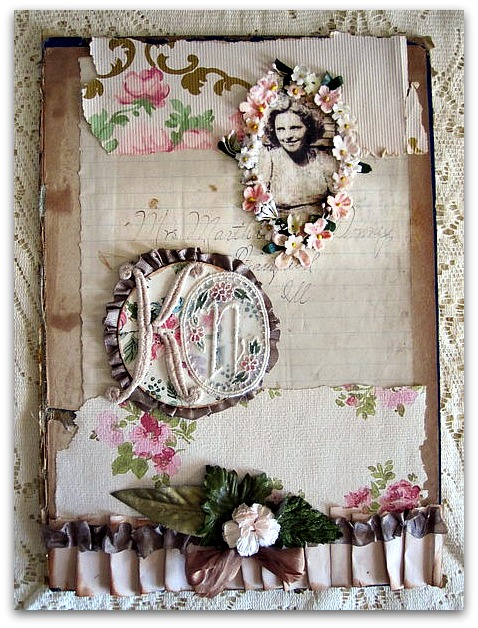
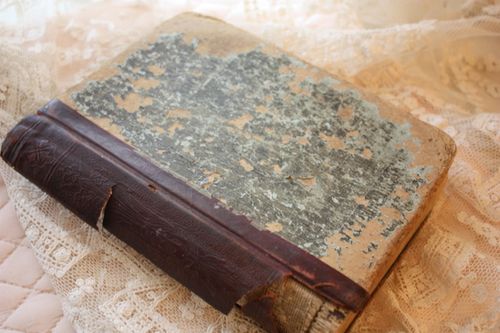
My own initials went on the inside of the back cover of my book.  Since I'm not a sewer, my book is dedicated to my Mom, who was. Her photo is on both the front and back covers.  Under her picture, I layered a page from a journal that I'd found that was signed, "Martha something Downey".

Mom's name was Martha Downey! Not that common of a name, especially with the "e" in Downey.  I used the bottom of her photo to cover up the incorrect middle name.

IMG_3294
Another unifying element in the pages I made the other day, is this jeweled and beaded fabric. I bought a flapper style dress that was encrusted with beads and rhinestone trim for only 12 bucks!  I think everyone who was shopping at the antique mall heard my squeal when I came across that gem.  It was tattered and falling apart, so that took all the guilt out of chopping it to pieces.

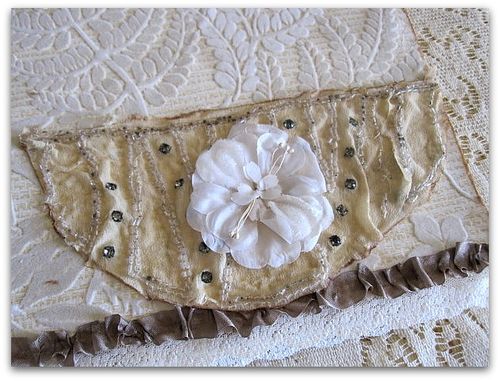
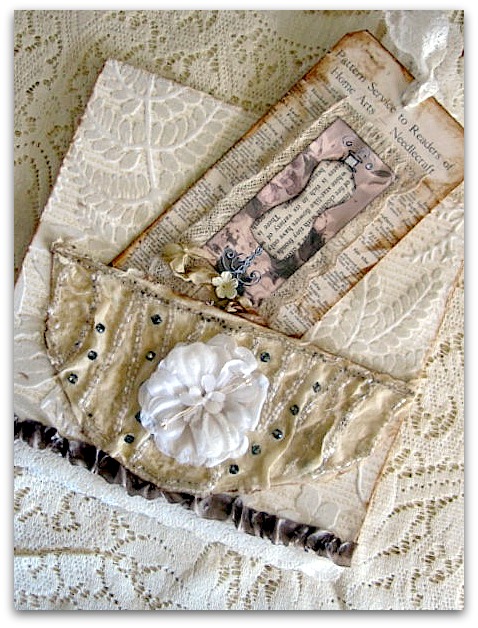
For this pocket, I cut around the beading pattern, then glued it to a matching piece of card stock.

IMG_3292
Its attached to a background of white, flocked wallpaper.  When I make a pocket, I always run a bead of  glue along the bottom and sides, right at the edges, then slightly bunch it up, before pressing it into place.  The bunching gives it a bit of a pouch effect, so that you can put items into it easier. Its not all that noticeable, just enough to be useful.

IMG_3293
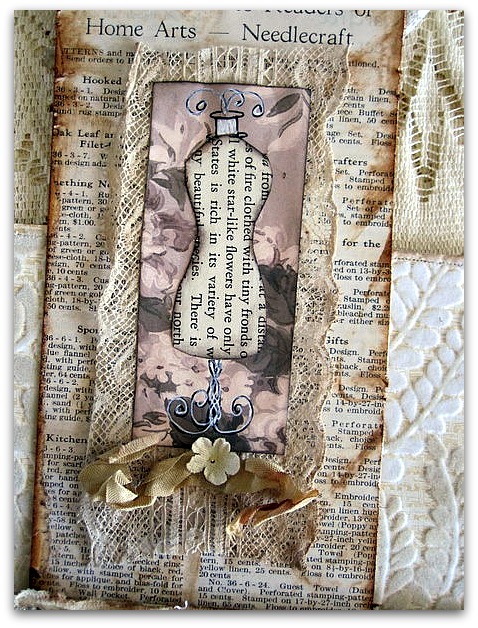
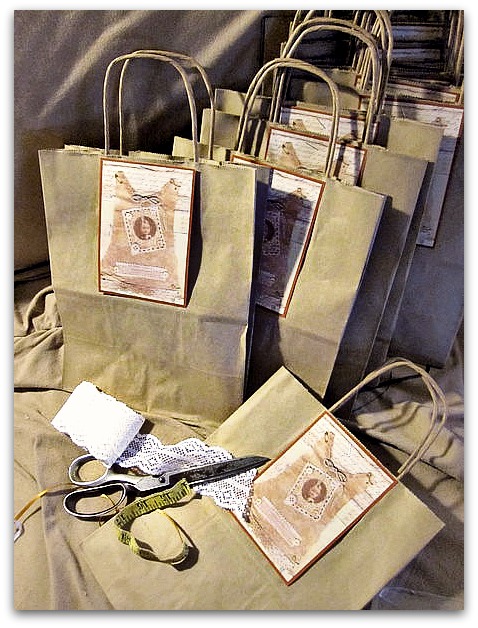
To fit the stitches theme, I slipped a dress form tag into the pocket.  The tag is one that I made for my dress form tutorial, the class is about making a miniature dress form to decorate, but I also included patterns for collage too.

IMG_3283
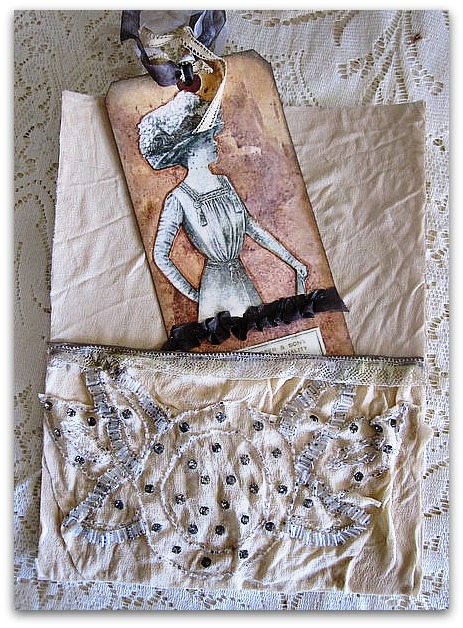
Sandra got a similar pocket from the glorious, gemstone encrusted, dazzling dress.

The tag I added to this pocket is a regular shipping tag, spritzed with two shades of Glimmer Mist, then inked around the edges. I glued a high fashion lady cut from a very old magazine onto it, added some ribbons.

Its been such fun to be a part of this swap and have a different book arrive each month in the mail. I'll miss being a part of it.

IMG_3276
Other fun stuff has been coming in the mail too.  Laurie Jackson offered to be a Birdsong Two sponsor, not just once,

IMG_3277
but twice!

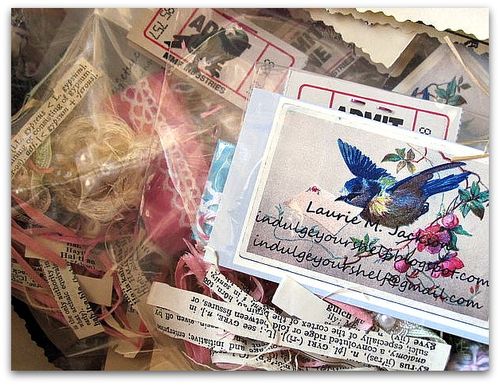
Two boxes full of goodies for my "Peeps" attending our workshop/party in April came from her this week.

Laurie took the time to actually create little gifts for all of the women, plus gave them some vintage goodies to work with, and packaged them up really cute.

IMG_3278
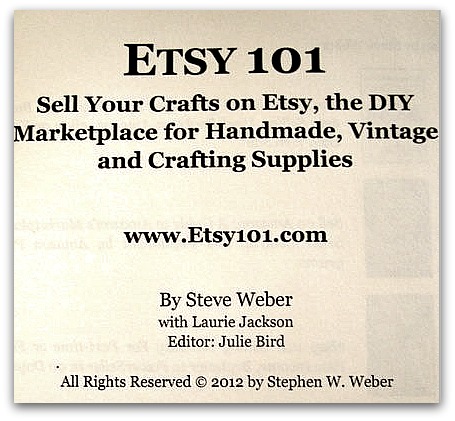
But that wasn't the end of it, she also asked the author of this book, that she collaborated on, to send a copy for each lady!  I can't wait to peek into one. I can always use some selling tips. I wonder if one of them, is to get off your behind and get busy and do it, not just talk about filling the shop up?

If you'd like to be a sponsor, please let me know, the ladies will be thrilled to open their gift bags.

Or if you'd like to attend, we have three spaces open. There were only two, but due to an illness, one chick had to leave the nest.


Arietty is so Pretty

antiques/junking, Books, swaps, vintage paper/collage art

IMG_3296
My friend, Lisa, told me that she was so excited about a movie coming out about the Borrowers, her favorite book from childhood.  I vaguely remembered the book, and took another look at it, she was right, its such a fantastic story. I think it spoke to me more as an adult than it did as a kid.  I'm trying to read it to Sugarwings, but the fact that it is based in England years ago, makes the language a little too difficult for her.

She held up all of her fingers and told me to read it to her again when she was that many. 

But I took her to the movie as soon as it opened and now she rates Arietty right up there with Ariel and Dorothy as her favorite heroines.  And I agree. The movie was so beautifully done, I couldn't get enough of the artwork.  Even Sugarwings, as lost in the story as she was, kept pointing out how pretty everything was and was asking me the names of the painted flowers.

IMG_3298
The  next morning after seeing the show, I surprised my fairy grand baby by leaving a pearl topped pin on the breakfast table (after snipping the sharp end off with wire cutters).  Arietty sports a pin she found and tucked into her dress, as a sword, and even uses it to save her Mother's life at one point.

We are now writing a series of notes with little gifts to leave for the Borrowers who live in our own walls and have been making up stories about Sugarwings and Arietty playing with the kitties in our garden.

IMG_3297
As a thank you to Lisa for sparking my interest in this story that my little one and I both love so much, I made this page for the Round Robin Swap that we are both in, to add to her book.

IMG_3300

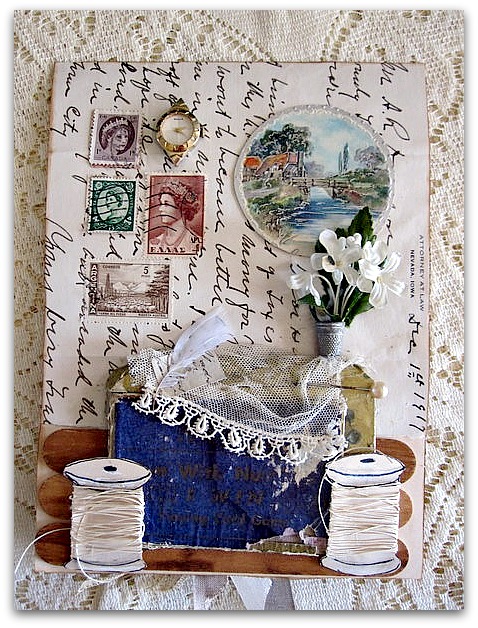
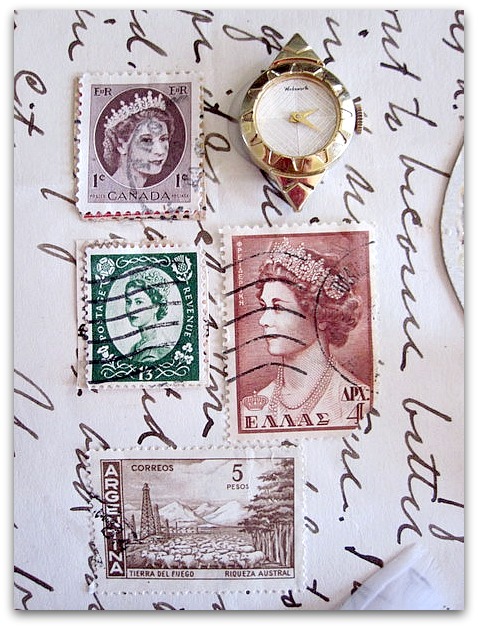
I took the ideas from the novel, about the teeny people "borrowing" ordinary things from the human beans in the house and re-purposing them for use in the walls to make a cozy place to live.   The book describes letters hung sideways on the wall to make vertical striped wallpaper, and pictures of the queen (stamps) hung on the wall along with a ladies watch as a clock.

  Arietty's mom adored a picture of the ocean taken from a card, and I came as close as I could by cutting out a picture from an old postcard that featured water.

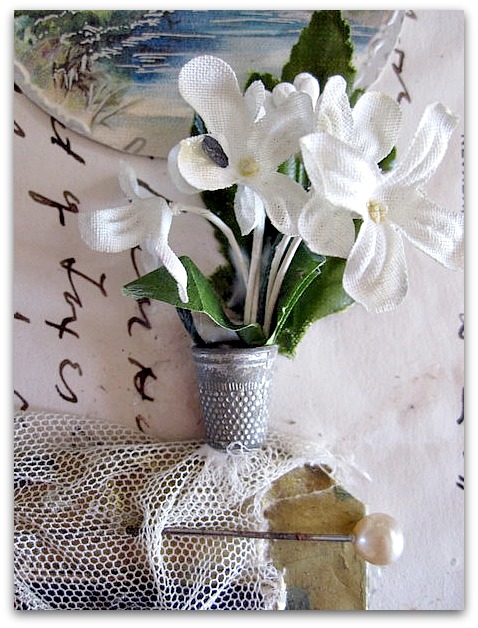
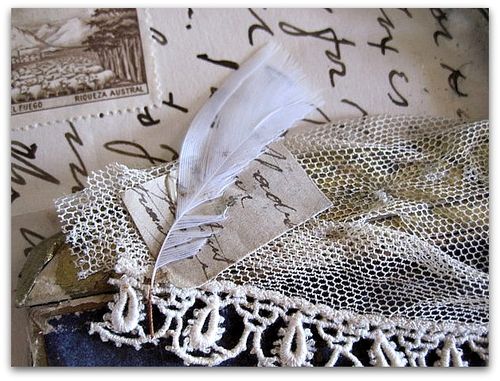
The dining table is made from a playing card box, the vase is a thimble, and the table cloth is a lace scrap.  On the table is a letter written with a quill pen and Arietty's sword/pin.

Popsicle sticks, rubbed with ink make up the floor.  When it came to seating at the table, i was stumped because I wanted to use spools like in the book, but was also trying to keep the page flat enough to fit in the book, so I drew some spools on card stock, cut them out and wrapped thread around them.

IMG_3256
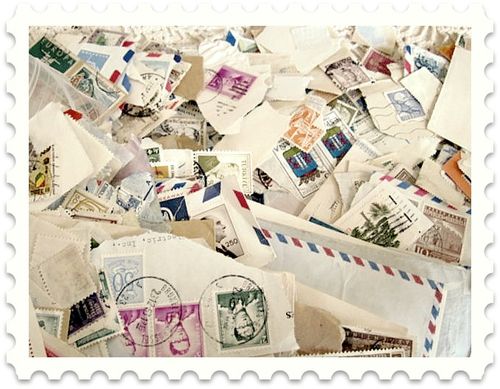
I had some trouble finding just the right stamps, so I asked Beth if she had any I could use.  Here is a sample of her pile of stamps I had to chose from!  I was able to pick out not only the perfect pictures, but I love the colors they were too, I think they compliment the other colors I already had in the page.

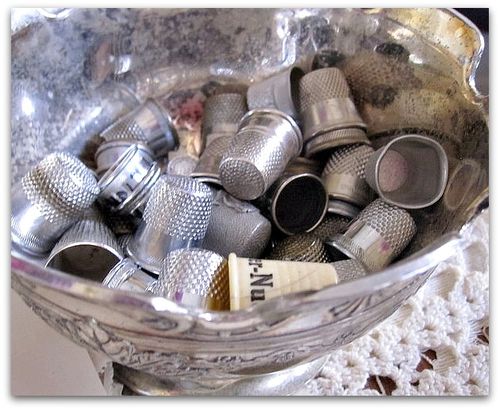
The other thing I was lacking was a thimble.  Not a single one, anywhere in my studio.  So, of course, i asked Beth, who has everything.

IMG_3257

Not only did she have a selection of regular sized thimbles, she brought out a Monopoly game piece one that is what I ended up using.

IMG_3302
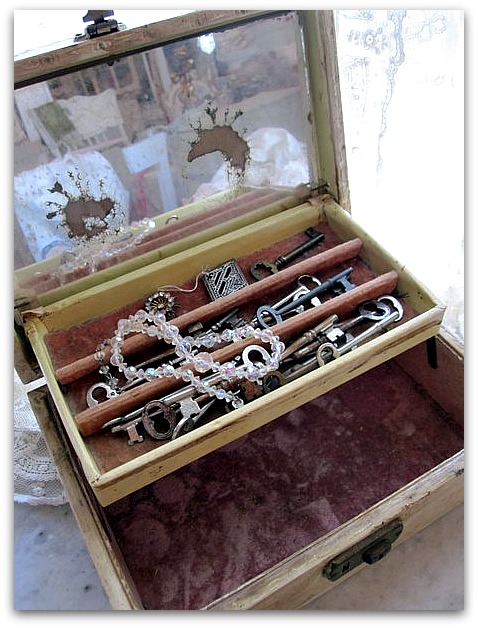
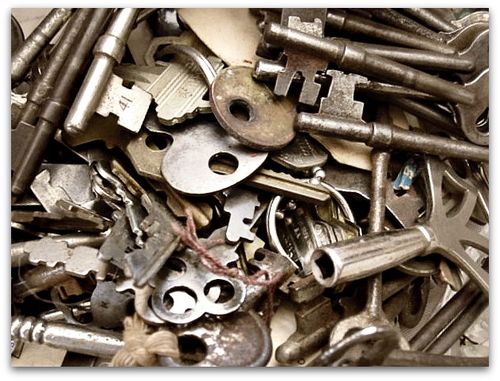
While I was in KC visiting Beth, we hit a few estate sales.  I bought this old jewelry box for its faded pink interior.  At the same sale, I found a pile of keys for a good price and bought a bagful.  Beth bought was what left, I hadn't realized she was interested, or I'd have offered to split them.

IMG_3259

But while I was looking for stamps at her house, I saw all of these, so didn't feel so bad about not sharing.  I envy her piles of goodies!


IMG_3301

It was an okay estate sale day, I've seen better. But we had such a good time, I told her she could take me to the Dollar Store instead and I'd enjoy it just as much.  It was the company that counted.

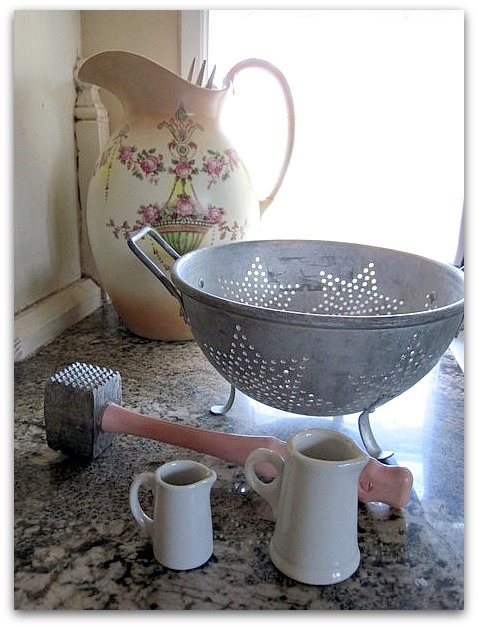
Besides the keys and box, and a few other little tidbits, I bought at set of vintage cut glass drinking glasses for $12 and this other new stuff for my kitchen.  Sugarwings and Dewdrop will enjoy the little white pitchers at our next tea party. Its time to start showing that littlest fairy how to pour her own cream!

IMG_3261
Beth and I worked on bagging up her kits for Paper Cowgirls. I still have mine to do yet. I probably should not have taken the day off to go and play in KC, that was one more thing that was NOT on my list of what I need to be getting done.

But it will all get done somehow. I'm sure of it. Or at least that is what I tell myself…

I'll have some more round robin pages to show you this week. I made quite a few of them this week.  The books are being sent to Somerset, so this week, I'll need to label all the pages and pack them up.  I'll snap a few more photos as I do.

Round Robin Honeymoon and an even bigger and better sale!

Books, Round Robin Book Swap, vintage paper/collage art


KarlaNathan

Also, I am in the mood to seriously CLEAN HOUSE.  After all the turmoil lately, I feel the need for freshness.  So, my clearance in the Boutique and Etsy is amped up.

You have to go to the Boutique from this link:

http://www.karlascottage.com?code=January

And you will get 60% off with the code word January.

Use the same code word, January to get 60% off in the Etsy shop.

 IMG_6722

When I was invited to be a part of a round robin group, I almost said no.  I thought I didn't have time, but I am glad I made it work! It has honestly been fun to do, and I am very excited about the art I will get in return too.

This is my latest page for Lisa's book.  Hers has more of a theme than mine does, and Beth's most recent page for this book was really interesting, the "heroine" of Lisa's story got married on Beth's last creation.  

So, on mine, I decided to send her on a honeymoon.
IMG_6724

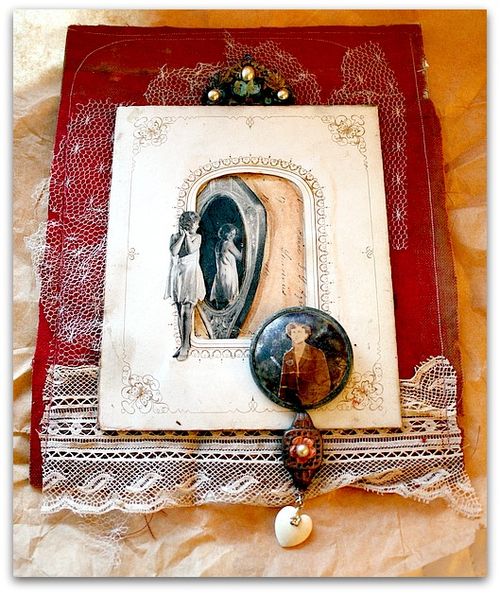
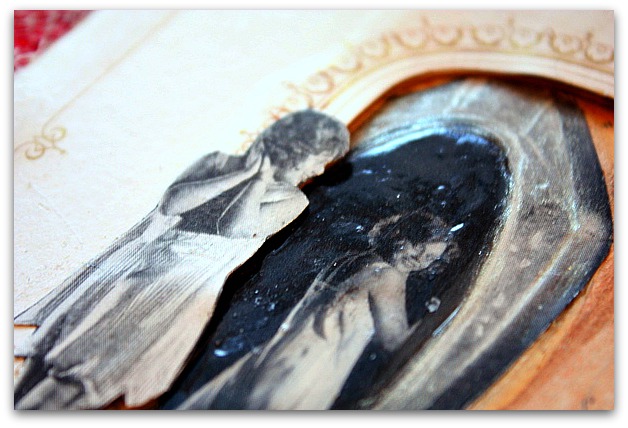
I found a photo in an ad from a very old Vogue of a young lady in lingerie looking into a mirror.  I cut her away from the mirror, glued it onto old text over frayed and faded red velvet torn from the cover of a tattered photo album, and then used one of the photo mats over it.

To the topside of the mat, I glued the girl. The mirror is slightly tucked under the edge of the mat, so you don't see the shape of where she had been snipped away.

To give the mirror some sparkle, I outlined the frame in Stardust Gelly Roll gold ink, and rubbed it away with my fingertip, so it left a subtle sparkle.  I filled in the glass part of the mirror with Diamond Glaze, for a shiny finish.

I thought the girl looked like a young bride, giddy and in love waiting for her new husband to come to her.

IMG_6725
The page is decked out with some old jewelry, and the bridegroom is cut from an old photo and glued to a big metal button, dented with time.

As its seen in the book, following the other pages, I hope the story is clear.

IMG_6728
Most of Lisa's book, as well as all of ours in the swap, are "low color". But Lisa set the stage for introducing red with the quilt scrap she used on the back of her own page.  And Beth had used a hint of red in the heart she crocheted on the back of hers.

So, I think that the tattered red velvet won't be too much for the book. The back of my page is the center one pictured.  I think that it will have a nice flow with the others.

IMG_6730
I  haven't had a heck of a lot of time to create lately. I've been trying to get my Birdsong Two projects together, though (still need to work on one of them!)  plus the other stuff going on around here, I've been out of it as far as pretty-making goes.

But when Lisa placed an order in my shop, I wanted to wrap her purchase up nicely, and ended up sewing this pouch, then decking it out with, well, honestly, with some stuff laying on my desk.  Well, you know, if you only use things you like, and only use good stuff, then the scraps that are laying around are usually worth using too!

IMG_6731
See what I mean?  These flowers are OLD. Some of the oldest I've ever come across. Definitely good scraps!

Banner
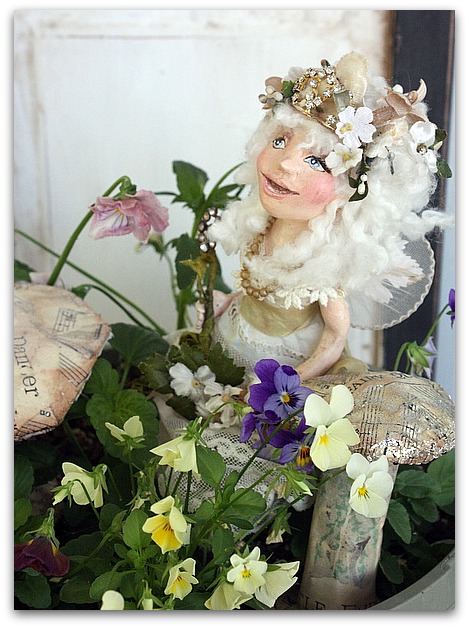
I know Lisa uses "the Good Stuff" too.  She's made up this fairy assemblage for Birdsong Two, and it looks like she has picked out some winners to use in her kits. (she makes great kits, I was in one of her classes, wow)

I'd love to see you at Birdsong Two. 

To check out the details, go here.

And if you'd like to be a Birdsong Two sponsor, please contact me.  As a  thank you for goodie bag gifts that you give to our guests, I'll post your link on my side bar of both blogs for a year.  

Hitching up the reindeer, hopping in my sleigh and taking a trip!

holiday decor, vintage paper/collage art, Workshops


IMG_6307
This weekend is going to be really special!  I'm on my way to sunny California to hang out at Kim's and be a guest artist at her holiday gathering.

IMG_6309

Its not easy for me to be away from home this close to Christmas. I'm a homebody all the time anyway, but December is when I really settle down into my nest! 

But this weekend will be a wonderful, holiday happening, so that will help me feel less homesick for my own Christmas tree.

IMG_6308
I've been to two of Kim's large events at the Belmar in Manhattan Beach, and they were over the top fabulous.  I love attending her themed workshops.  I'll be going to Breakfast at Tiffany's this spring too.

Knowing how wonderful all of her arty gatherings are, I am thrilled to be teaching at this private one at her home.

I'll be away from my computer for a few days, but have prewritten some posts to pop up while I am away, so please do come by. And all orders between today and Monday will be sent on Tuesday the 20th. 

IMG_3413
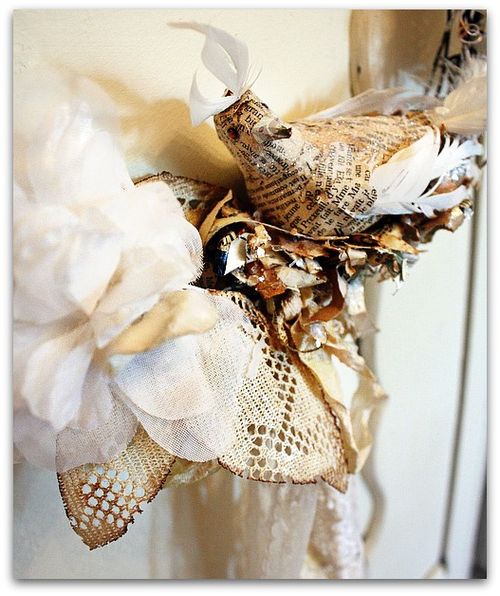
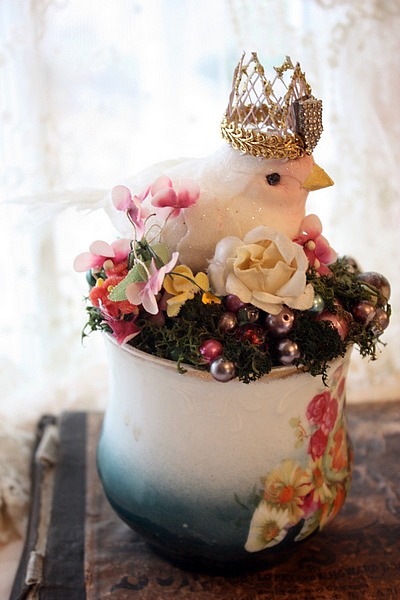
The class will be this wintertime wreath, with a nesting bird. I'll be teaching a spring time version of the same wire wrapped wreath at Paper Cowgirls in March, too.  Maybe I'll see you there?

IMG_6302

Dorothy shoes

Tutorials, vintage paper/collage art

IMG_5713
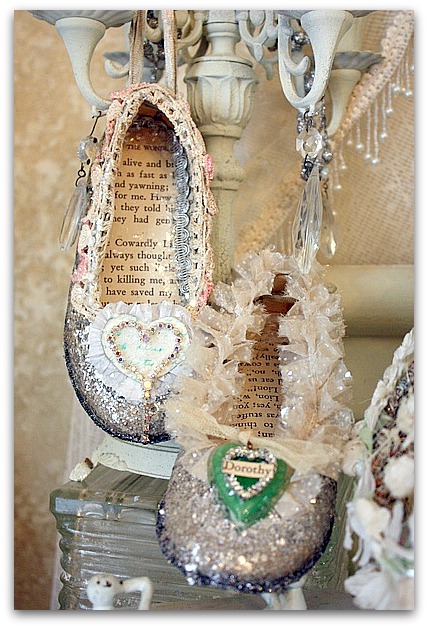
Have you seen Lisa's new tutorial?  She is selling the class to make her darling little ballet slippers that were featured in Somerset Life.

IMG_5712
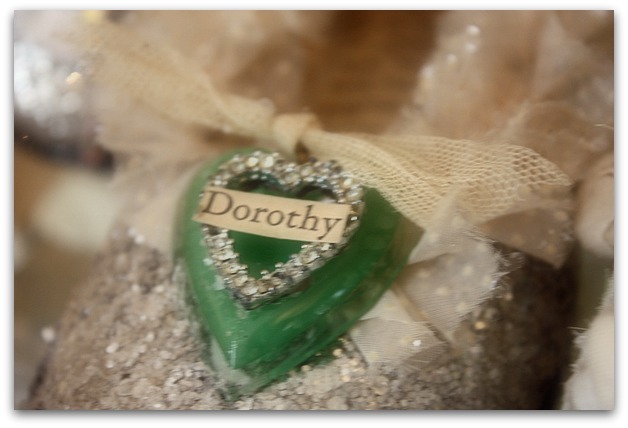
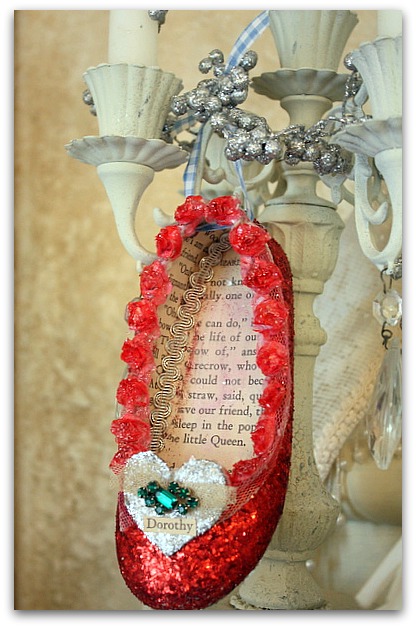
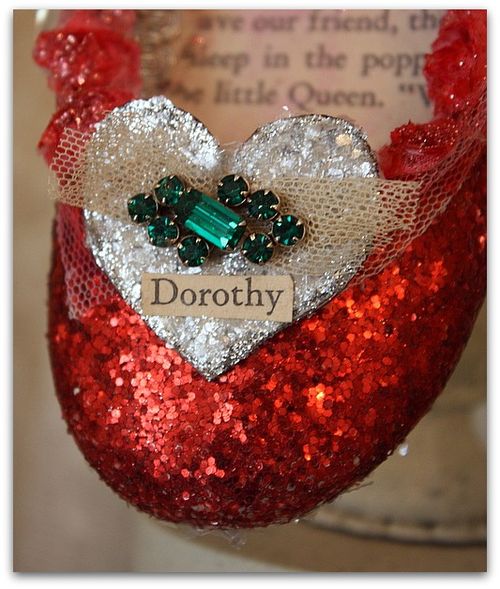
I made some shoes up following her directions, but switched out some of Sugarwing's  out grown shoes for the ballet slippers.  She had the silver glittered "Dorothy" shoes as well as the ruby ones.  (in Frank L. Baum's book, the shoes were originally silver)

IMG_5710
Lisa's steps were easy to transfer to another style of shoe.  But I think I have Sugarwing's ballet slippers tucked away somewhere…. I will do those too. I'm hooked.

IMG_5711
I wonder if I can find a teensy little Dew Drop shoe to foof up for the Christmas tree too?

IMG_5697

Thanks for the flurry of shopping! I spent the morning wrapping up packages to go out in the mail, and have also kept the deal with myself to list a few new things every day. 

IMG_5698

In BOTH shops, too! Etsy and the Boutique.

IMG_5694

Can you hear me slapping myself on the back?

IMG_5703

There are a variety of new goods, and more to come. 

IMG_5685

Including some cuffs.  And if you'd rather make your own, the tutorial is available here.

I hope to make up some more kits over the weekend, if you want one to go with the class.


IMG_5692

For now, I'm waiting for the ingredients to arrive, I've ordered some of the aluminum cuffs to make the kits.  I really enjoy putting kits together, its fun to pick through my pretties and find just the right pieces to match.  I get to do the easy part, then send it on to someone else to create!

IMG_5678

Sugarwings and I have been slaving away over the dyed trees too. Its her job to dip the pink ones.  After they are dry, I glitter them up, arrange packages, and then add them to the shop.

This one is Chocolate brown, which I think is a nice change from the pastels and whites. Or as my fairy grand daughter calls it, "shock-ill-it".  She is a fan of chocolate anything, especially milk, so she liked this color. 

IMG_5700

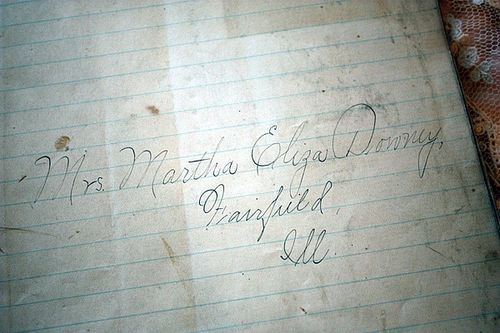
This photo is not of something for sale, it was a page that I found in a book and had to save.  My mom's name was Martha Downey!  But her middle name was Josephine, not Eliza. Still, an odd co-inky dink, huh?

My middle name was almost Josephine too.   I've told you this before, my dad named me after the two of them when I was born, because my mom was ill.  As soon as she recovered, she changed the birth certificate.

Because his name was Hubert. 

He named me Huberta Josephine Downey.  

She changed it to Karla Jo.  I go by Karkie, tho and Karla always sounds wrong to me, although 99% of the world calls me that. To me, I'll always think of myself as Karkie.  Family nick names stick don't they? I'm glad mine didn't end up being Hubie.

IMG_5687

Thanks again for shopping with me. I'll let you know when the trees and cuff kits are done and ready!

IMG_5708

I hope you have a lovely weekend.

IMG_5714

We are getting a new kitten, so I think ours will be fun!

IMG_5735

How to dye crepe paper

how to's, how-to projects, Once upon a dream, Tutorials, vintage paper/collage art, Workshops

IMG_4711
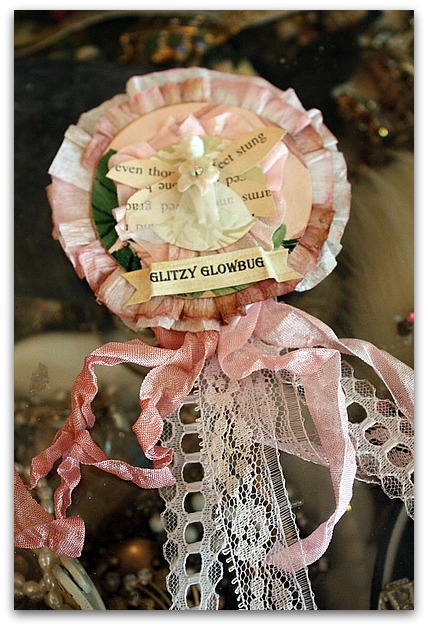
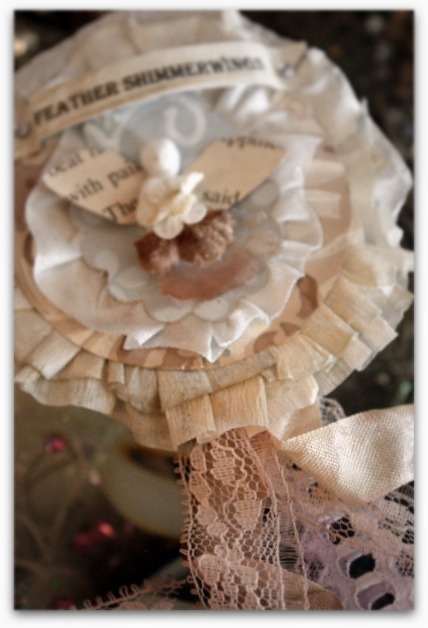
For the welcome night class I am teaching at Once Upon a Dream, I needed a pretty ruffle to top off my Prize Ribbon Sprite brooch.  Plain crepe paper was nice, but I thought it would be better with tinted edges.


IMG_4573

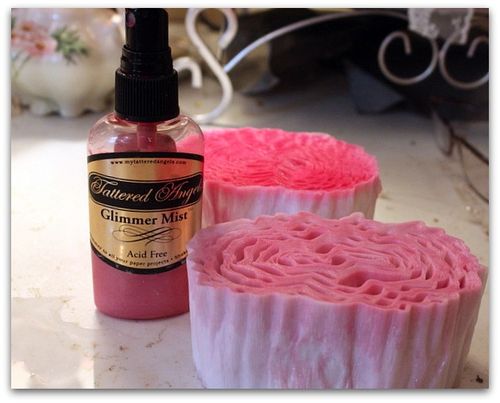
My first step was to dunk the top and bottom of a whole roll of crepe paper into a bowl of water.  I didn't immerse the entire roll, just about 1/4 on each side.

IMG_4574

While it was wet, I spritzed the damp edges with Glimmer Mist and let it bleed down into the paper. 

IMG_4576

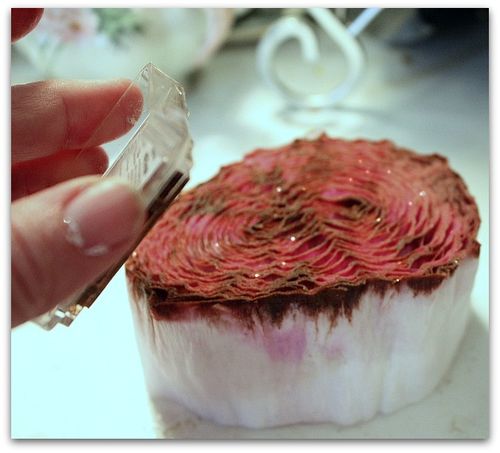
On one side of the roll, I rubbed dark brown ink over the Glimmer Mist for a two toned effect. (Glimmer Mist has a nice sparkle to it!)

IMG_4713 Then, I sat the roll of crepe paper outside on a sunny, breezy day to let it dry. It had to be completely dried out before I could make up my kits.

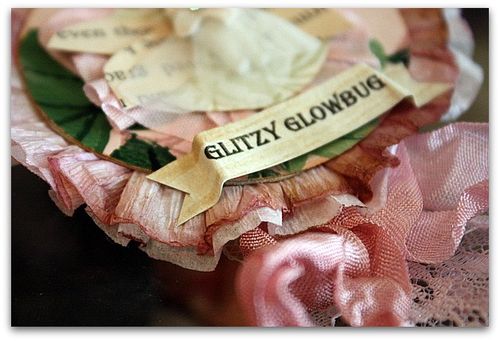
I'm happy with the way it turned out.  I folded a section of the streamer lengthwise and glued it onto the back of the wallpaper medallion to make the ruffle.

IMG_4602

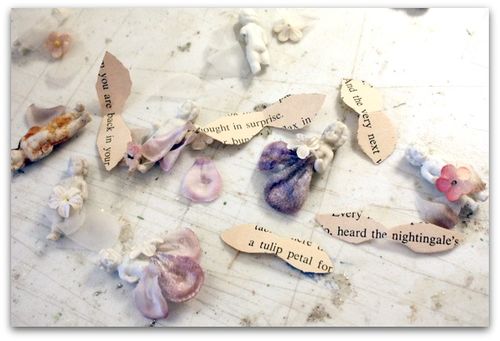
The kits each have a teensy weensy Frozen Charlotte doll, a mini flower for the bodice of her dress, and flower petals for her skirt. The wings are ephemera, and all hand cut. Each flower petal skirt was trimmed up just to fit the little Charlotte it would be glued to.

IMG_4710
Each prize ribbon has a banner with a fairy name on it too. No two kits are just the same. They took me ages to put together since I was matching the dyed ribbons and lace to the flower petals and wallpaper.  Plus trimming all the little petals to fit the dolls. Its a quick class, about an hour. I knew the guests wouldn't have a lot of time to fuss with the project, so I had to make it simple to piece together.

I'll be making up samples of the finished pieces for the class, and when I get home from my wonderful trip, I'll have them for sale in the Boutique. 

I hope all the care I put into the kits shows and that the students enjoy them!

 EDIT- This post was written ahead of time, before I left on my trip. I'll have new posts all week while I am away, but might not get to answer all comments or emails, but I will be reading and enjoying them on my Ipad. Thanks for coming by! I hope to add some "Live" posts from the road too.

Mushroom Fairy Rings

fairies, Once upon a dream, vintage paper/collage art

  IMG_4641
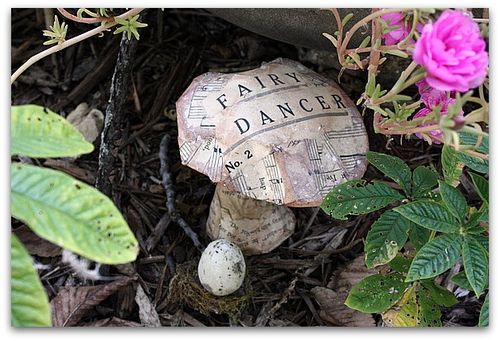
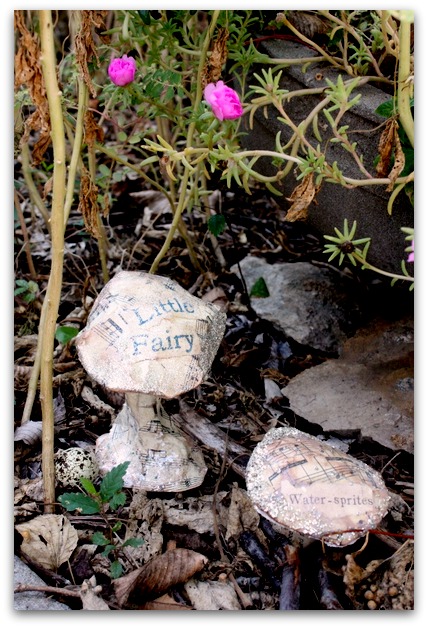
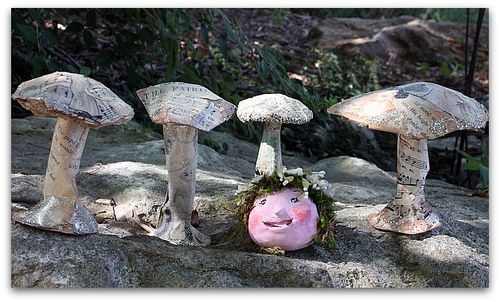
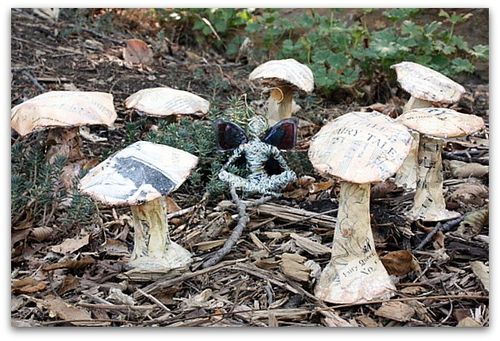
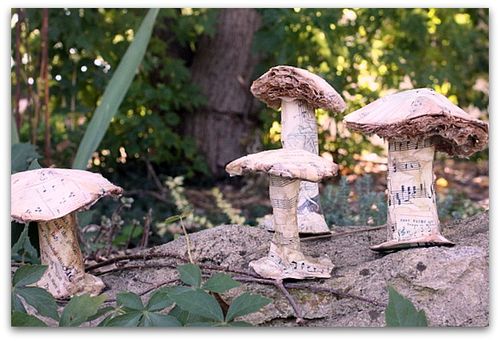
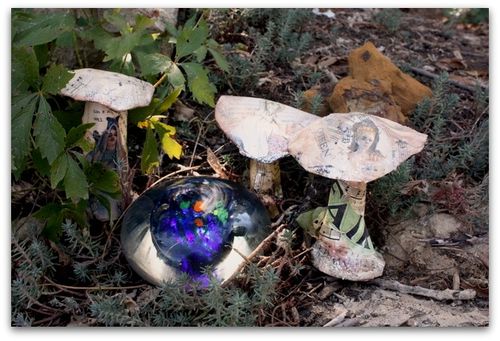
Lately, I've been obsessed with making paper mache mushrooms.

IMG_4643
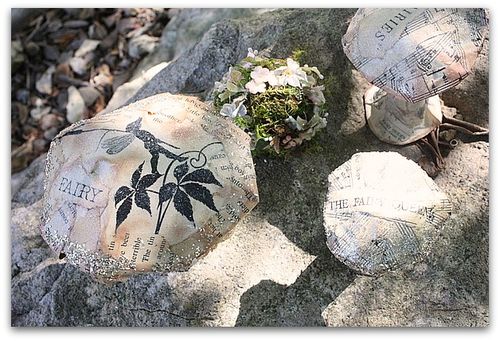
These are all for Jenn's fairy event in NC.  She sent  fairy themed ephemera for me to cover them in, and I created them with aluminum screen and duct tape covered in newspaper before adding her pretty papers.

IMG_4636
Over that, I rubbed ink pads in a mushroom color, brown, white, and moss colors.

IMG_4635
Next came glitters.

  IMG_4634

I  had bronze, crystal, silver glitters as well as mica flakes. 

IMG_4632
Each of the caps is finished underneath too. Some with multiple layers of crepe paper, some with lace or ribbon. 

IMG_4630 No two came out the same.  Even if I tried, I probably couldn't have focused on making two dozen clones.  And of course, mushrooms all pop up from the ground with such unique forms, that I thought it was fitting that my fungi were all individuals too.

IMG_4644
I'm so excited to see my glittery fungi gracing Jenn's magnificent decor!

 EDIT- This post was written ahead of time, before I left on my trip. I'll have new posts all week while I am away, but might not get to answer all comments or emails, but I will be reading and enjoying them on my Ipad. Thanks for coming by! I hope to add some "Live" posts from the road too.

Who is this woman???

fairies, family, give away, vintage paper/collage art

IMG_3149

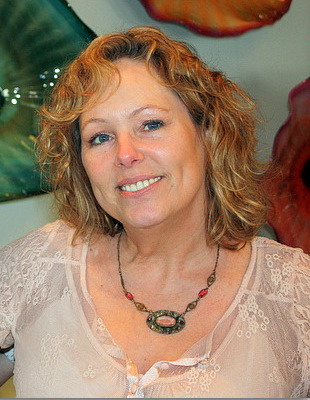
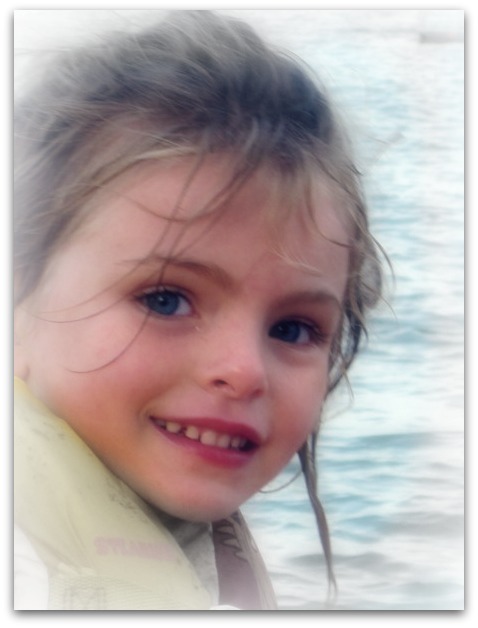
Can you guess who this photo is of?? If you guessed Karla Nathan, I just don't know if you are right or not.

Someone named Carla Ross, on Facebook, says it is her. She is using it as her profile picture. I'm a bit freaked out about the whole thing. I reported it to Facebook, and heard nothing back. I left her quite a few messages, asking her to remove it, and heard nothing back.

Yep, I'm more than a bit freaked out about it.

IMG_8952
I've changed my profile photo to this one, and changed my password too.  Honestly, I don't think there is much more I can do. Except hope that Carla Ross is just camera shy and borrowed a photo, and that she isn't really some weird, creepy, guy out to steal identities.

IMG_2587-1
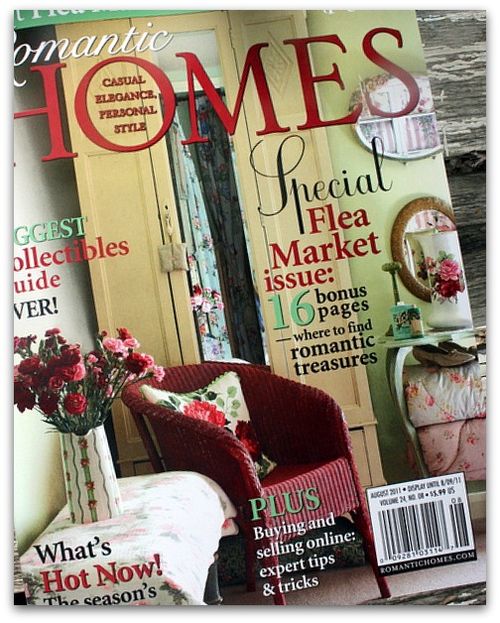
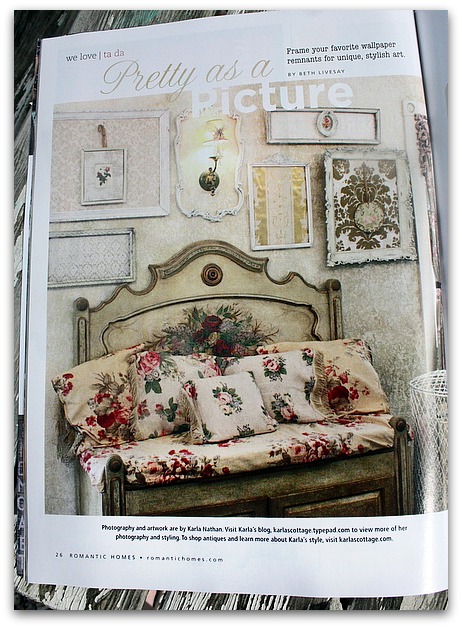
Now. onto a much more pleasant, happy subject- Romantic Homes has a blurb about my wallpaper obsession collection on page 26-27.

IMG_2585
This is one of the photos they used. I was squeamish about doing my own photos for them, since I am not a real photographer, I'm just a picture taker.  My camera is a nice one (and I LOVE it), but not a great one, and I don't use big girl editing like photoshop, just picnik.  I'm good enough for blog pictures and scrapbooks of fairy babies, so was really worried about doing a magazine shoot, even a mini one.

(that bench was built by my son, from a Victorian headboard that I painted)

IMG_2581 I'm still plugging away on the tag book covers. My God, what is wrong with me, that I offered to make 135 covers?????????????????  By the way, the swap is at full capacity now, thank you to those who joined.

  IMG_2580
  I promise I am not really cursing you all as I glue trim onto yet another in the never diminishing pile of tags. They will get done.  I know they will.  I can do it.  right?

IMG_2175

That is, if I live through this weekend… I am babysitting the tiniest fairy grand baby for the first time.

 For 3 days while her parents are teaching their zen and energy stuff at some festival.  I will have Sugarwings too, and she is a full time handful when she is here, so it could be exciting.  Did I mention that the baby is still breast feeding and has never been without her mommy over night?

IMG_2583
Maybe I will have to use this as my new facebook picture after doing 135 tag covers and watching the girls for the weekend.  I'm feeling hagard just thinking about it.

Honestly, it will be a good experience for us to have both girls together.  And we need to spend more time with our littlest one, she hasn't been over as much.  I remember lots of late nigths cuddling baby Sugarwings and rocking her when she couldn't sleep. This will be my first shot at it with her sis-star.

Wish me luck!!!!!!

Gothic arches1
Oh, I almost forgot- the winner of the dress form tutorial is

Kim Caldwell

That was such an easy giveaway, I think I'll do it again!

Leave a comment if you want a chance to win.
I'f you've already purchased the $15 online class, and you win the drawing, I'll send you a kit. ( I really do have kits made,  I simply have not photographed and listed them yet. It has been crazy around here.)
What did we make at the Guncle’s?

swaps, vintage paper/collage art

IMG_2561
Not only did we pretend to be angels, then vampires, do some redecorating, play with pups, watch Tru Blood, and eat a ton of good food (I was afraid to try to zip my pants for the flight home), we did lots of creating in Randy's studio too.

IMG_2564
The deadline for my Bird Song tag book swap is coming up and I wanted to have some tags to swap too, so brought along stuff to make some. Randy had a lot of supplies to use also, and we shared back and forth as we worked in the studio till the wee hours of the night. And through most of the days too!

I also packed up a bunch of papers that Mary had given me from her new collections.  Both of these previous tags are sitting on a page from her collections, and the roses in the first one is from a previous collection of hers.

IMG_2337
These tags aren't for the swap, I just felt like making them, because I loved the images that Mary had provided.  She has pages and pages of lovely ladies, some in color, some in black and white. I cut out these girls from the black and white pages and colored them with Coptic markers. I've always wanted to try those, and Randy's crafting bud brought some for me to experiment with.

I think I like them… the fact that you can buy a blending pen makes them much better than most markers. I'll be buying a few for myself with the weekly 40% off coupons that I clip out of the paper for Hobby Lobby or Michaels.

IMG_2344
Randy and his friend joined the swap, so we made tons of tags between us.

(this is the black and white version from Mary's collection, after Randy cut one of the ladies out to use on his scrapbook page)

IMG_2557
  Then he worked on scrap books, while I kind of messed around with whatever sounded fun. Like fairy-ing up some old photos.  I used some of Mary's older papers to make the wings and hat, and tinted him with the Coptic pens. (the sweet picture behind it, is from her new collection)

IMG_2341
But mostly I worked on bird tags.  Have you ever noticed how much more fun it is to make things with other people's supplies (or with a new package of goodies you just purchased)? Randy had some great ephemera and Kevin was popping in with things he'd found while out junking that he thought we might want to use.

IMG_2342

  Like the blue print paper in the background of this one.  I made a lot with this paper, I'd never worked with it before, and really liked it.  I got on a roll with making a night time sky with this paper, and birds in front of a full moon over the deep blue sky.

IMG_2343 All the info for sending in the tags is in a post you can reach by clicking on the Bird Song Tag Book Swap button on my side bar if yours are ready to send in.

They are starting to arrive, every day the postman has a bundle for me!! Its so fun to see them arrive.

I'm not opening them yet, please understand that I can't keep track if your package has arrived or not. I'm getting over 900 tags in the mail, that is a lot of packages!  And I am not the only one in the family to bring the mail in, so I haven't seen each one yet. My son and husband bring mail in and know to pile up the packages for me to open later.


Scroll to Top