Its snowy and blowy outside as I write this, and to cheer up some winter blahs, I've added some fresh greens to my home. Sugarwings helped me with it, and while we were at it, we made a few to give as gifts too.
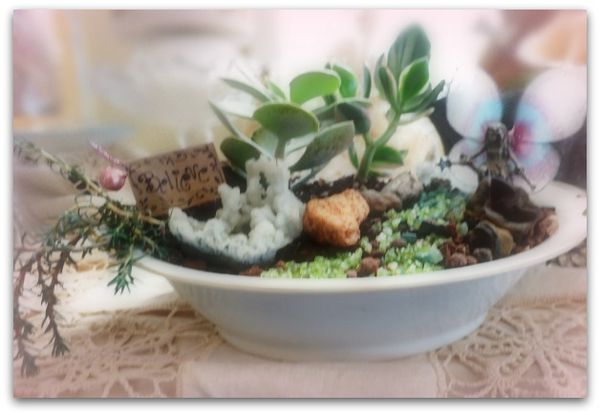
This one is in an antique serving bowl. When making an indoor fairy garden or a terrarium, you can use pretty dishes or bowls and not worry about drainage holes, like you'd need to for an outdoor planter. Just use proper layers and the plants should be fine.
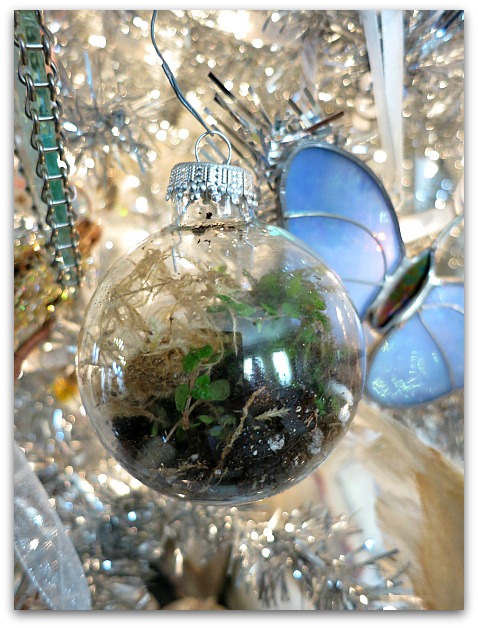
We filled quite a few of these glass ornaments.
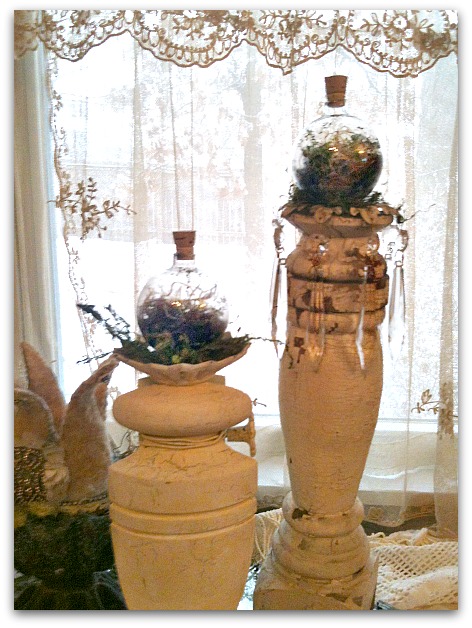
After the holiday, I took the ornies off the tree, pulled off the top, and exchanged it for a cork. Then, set the balls on top of candle sticks.

Maybe you can see through the glass and tell what I mean about layers?
Here is how you layer:
1- small rocks for drainage
2- charcoal for keeping the water filtered and fresh
3- soil for a growing medium (use soil meant for the type of plants you chose)
4- plants, with roots down in the soil, then a bit more soil over it
5- moss to keep in moisture
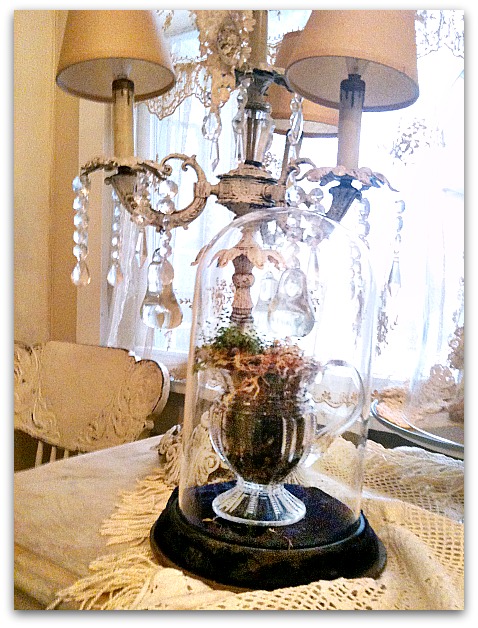
A crystal creamer was properly layered and planted with baby's tears. That is the same plant I used in the balls too. This one is perched under a vintage dome with a tattered velvet base.
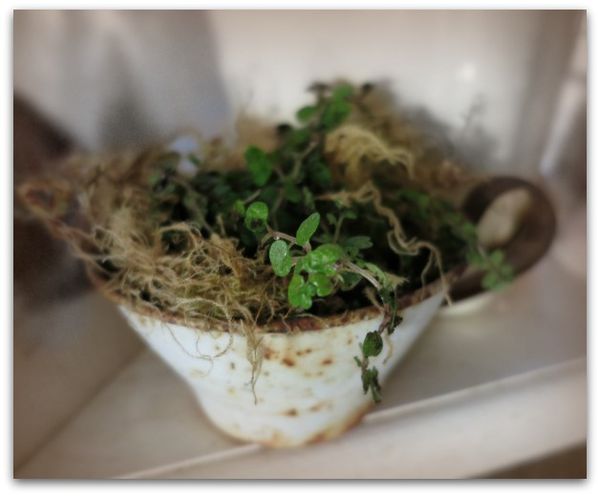
Sadly, this one didn't live, I thought the rusted metal tea cup was cute. But it wasn't under glass. I think the baby's tears are too delicate for the dry January air in my house without a covering to hold in the moisture.
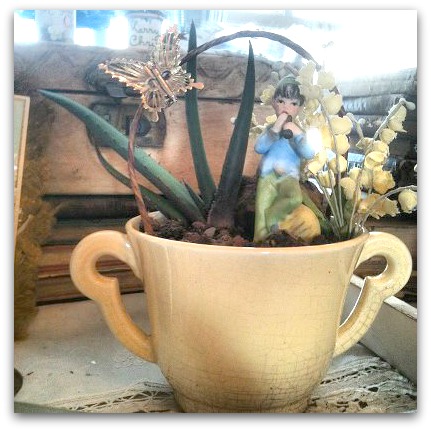
If you are planting succulents, use a cactus soil over the rocks and charcoal.
In this one, I added a wrapped wire "garden arch" and pinned a vintage butterfly brooch to it. Below the arch is the plant and an old fairy figurine.
It's accented with millinery blooms that match the sugar bowl it's planted in. The top of the cactus soil is sprinkled with rose quartz chips.
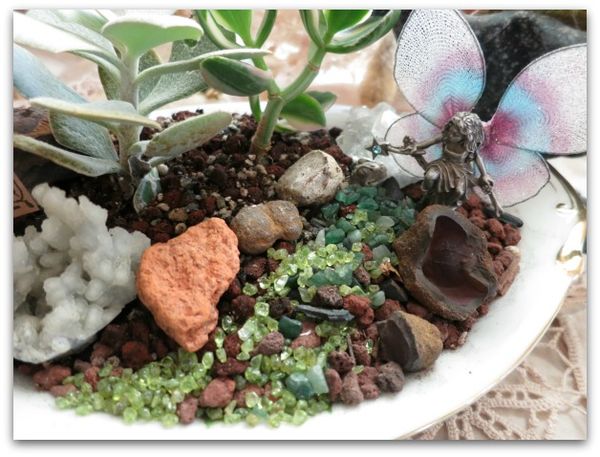
When making a fairy garden, keep scale in mind. Use small plants that compliment any little figurine you add to the mix. Also, try to create a scene with the rocks and plants, like the pathway leading to the pewter fairy in this bowl.
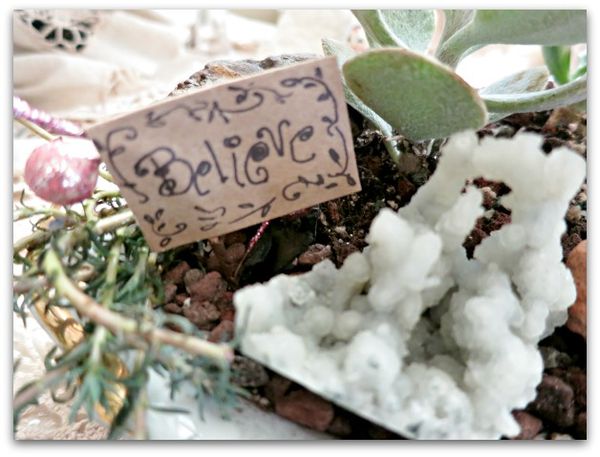
I found some great crystals at a rock shop to use in this one since it was a gift for someone special. Sugarwings and I also gathered up some pretty stones from the yard, but I wanted a few meaningful chunks in there too.
The sign is a bit of brown grocery bag. I cut out a large square, folded and glued it in half, then did that a second time, so that it was sturdy. The second time, I glued it over a bent wire that was stuck into the dirt after writing the message.
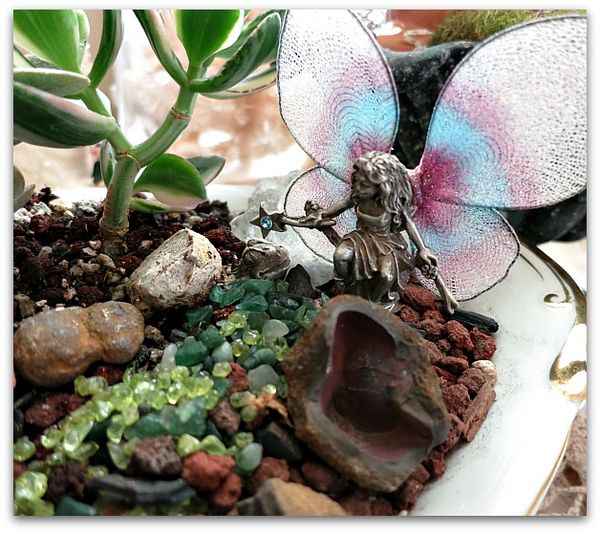
Something I noticed while assembling this, was that the cactus soil is very loose and dry. The pieces and plants wobble around easily, since the dirt isn't compact, it doesn't anchor anything very well. So I had to wedge a rock over the base of the fairy to keep her from toppling over.
Behind her, is an extra pretty crystal to help keep her in place too, and her base is buried in the sandy, rocky dirt.
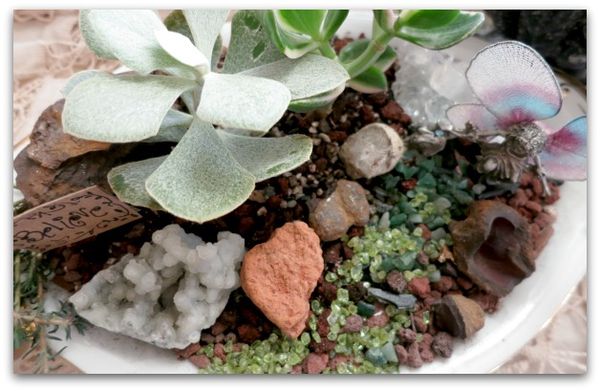
The pathway is made up of peridot and moss agate chips. Sugarwings chose these and sprinkled them over the top of the soil to make the walkway for our fairy.
Tiny bottles of semi precious stones can be found at rock shops for $1 each. I used two for this garden path.

These are adorable, Karla! I bet they really got Sugarwings’ imagination going. Whoever is getting one as a gift is going to absolutely love it. Thanks for sharing.
They are so pretty, Karla! I love this idea!
Karla,
This looks like such a fun project to do with Lily. Love it!
Lisa
Karla, these are great! I hope you had a happy New Year, and thank you for all your wonderful inspiration!
What great ideas Karla! We miss our outside Fairy garden here in cold Illinois…so I think I will plan to do this with my granddaughters. Happy New Year to you and your family!