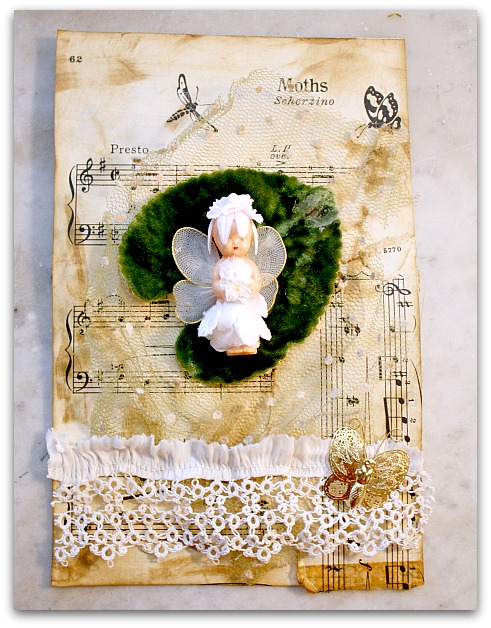
These fairy pages are too much fun!
I know I only need 8 to swap, but I wanted some extra in case they were needed. Sometimes the count is slightly off in a swap, or someone sends the wrong amount, or I plain old screw it up somehow and its just handy to have a stack of extras to add to a book just in case.
(I'm an artist, not a mathematician!! I try hard, but numbers sometimes are painful for me)
This page is covered in "Moths" sheet music, then inked all over with 3 similar inks, darkening the edges even more than the rest of the page.
Next, I glued down some old hat netting.
Then, I added a fairy dress made up of flower petals to a vintage baby doll. Her wings are a sheer butterfly.
I started to glue her down directly to the netting, but she looked washed out, so I dug through my drawer full of millinery leaves and found a big, velvet one.
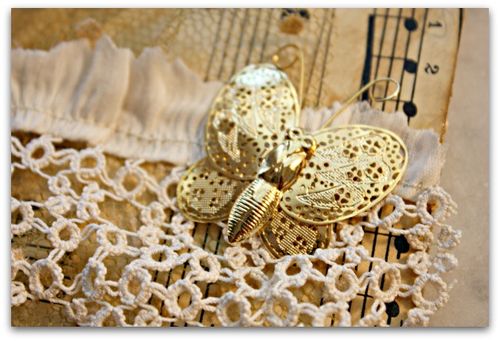
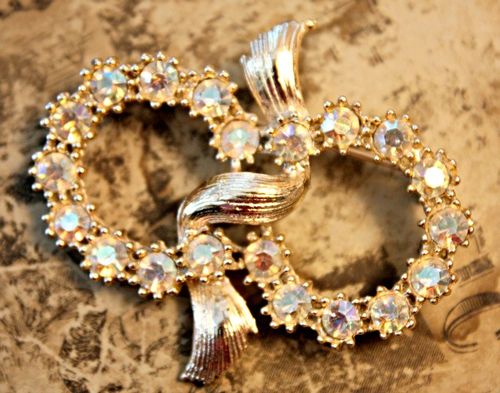
The page is finished by gluing trim cut from an old garment to the bottom and topping that with a butterfly brooch.
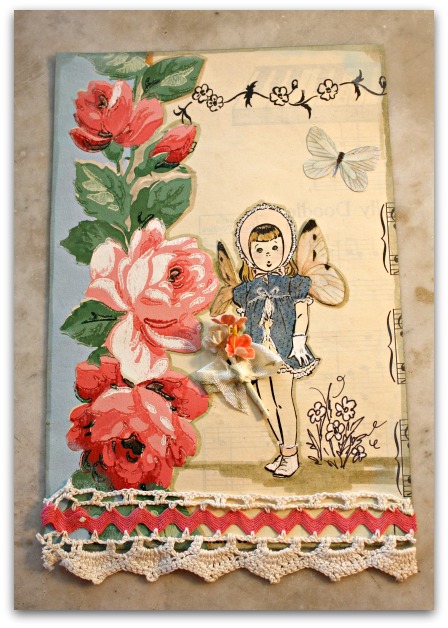
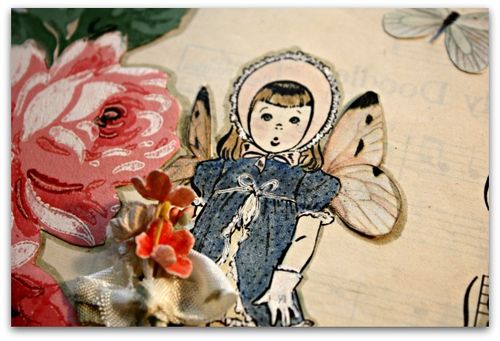
Here is another done with sheet music. This one is "Little Buttercup", and the words are on the back, I'll show that picture too.
I wrapped the sheet music around both sides of the page, and then lined one side with an old wallpaper bordered, and trimmed the bottom with zig zag chrocheted edging.
Next, I colored the little girl on the sheet music with markers, and gave her butterfly wings cut from an old book about insects. I drew in some flowers next to her, similar to the ones on the border of the sheet music.
To make her stand out, I outlined the body and wings with a Tim Holtz Distress Ink marker. I used the same marker around the wallpaper border. She still didn't "pop" as much as I'd like, so I used white ink to embellish the details of her dress, gloves, socks, and shoes.
From the bug book, I cut another butterfly out and glued it above the girl. Then glued a posy of millinery blooms to her hand.
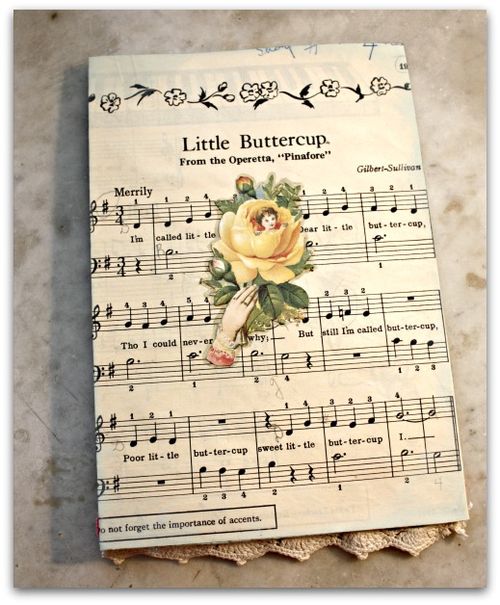
The back is simple, a Victorian calling card was added to the middle of the page, and I inked the edges in a soft blue.
I do need to sign the back. Please make sure you sign your pages too! Everyone will want to know whose pages they received.
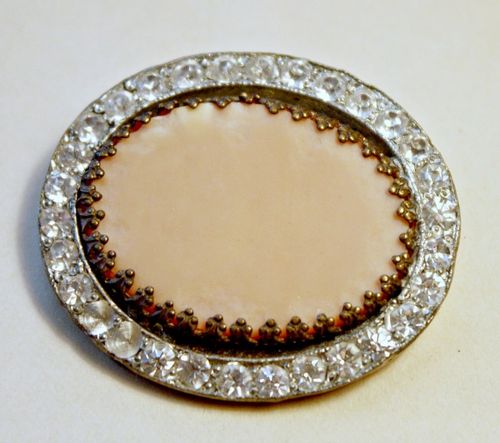
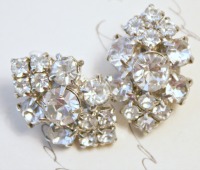
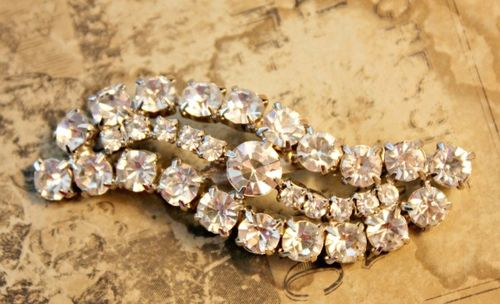
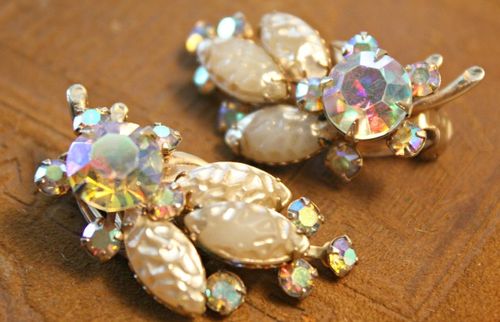
I'll leave you with some pictures of what is new in the Boutique.
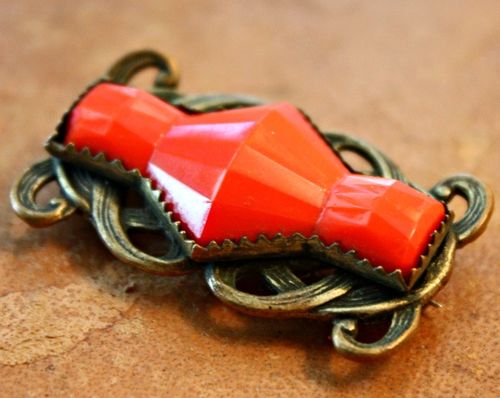 And in my next posts I will have more "how tos" about the other pages I've done.
Its not too late to join the swap. Click on the button to the right of my post for details. You have all summer to make the eight pages. Well, its kind of 16, with the backs, but the backs can be very, very simple, just pretty paper only, no designs.
People have asked me if their pages all need to be the same. No, of course not! They go to 8 different people, so do them however you like.
Another question I get a lot is: can there be things sticking over the edges of the page?
Oh yes! Lace, trim, ribbons, whatever, all look pretty dangling from the book! And the size guidelines don't have to be exactly perfect, just in that ballpark size. An inch smaller or larger will be ok. I am folding card stock in half to use, so mine are pretty much the same, except for trailing trims.
You can be more creative than I've been and use other materials besides card stock. Just make sure that the page will hold up in the book. Paper that is too thin, might tear at the hole punch. But fabric, metal, cardboard, burlap, all sorts of things will be acceptable replacements for cardstock. (to see an example, look at what Cheryl did with her birdhouses here)
There are great tag examples and a little bit about how I process the pages as they arrive in this old post too.
In the past, I have been blown away by the imaginations of swappers when the bounty starts flowing in my mailbox. I am dumbfounded by what some of you are capable of and shake my head wondering why I never thought of doing something like that.
Another question I get is about 3D items. YES, YES! they add a lot of interest. Just make sure there is nothing thick along the left side, I'm still not sure how I'll be putting the books together, maybe just one punch in the upper left corner like here, or two or more rings like here.
I'll have to put a few together and see how I like the look of them either way.
I've got cute, woodland fairy charms to tie on, and will add some ribbons and lace too. The books will be bound with rings, so the owners can always open them up to add more pages if they would like too.
Hope to see you in the swap! We are up to 80 swappers so far. Man, I have my work cut out for myself, don't i????
I am almost finished with my fairy pages! I have one more to go, and then I’ll be doing the backs. I’m glad you mentioned doing the signing on the backs. That hadn’t dawned on me. That will be a lot easier.
With 80 swappers, you DO have your work cut out for you, but OH the fun fun fun of getting to see 640 (640??? Wow!) fairy-licious pages!!
Loved seeing your pages shown here as well as your gorgeous new shop goodies!
Reading backwards again! Thanks!
It’s time to have fun! Love your pages, so creative.