 My baby brother-in-law, Randy, has started making cards and has been asking for a bit of advice.
I offered to send him a box of goodies to use, and he said he didn’t know what to do with pages from an old book or vintage wallpaper.
So, I am making these cards with some how to’s for him to follow along with when he gets his package of vintage delights in the mail from me.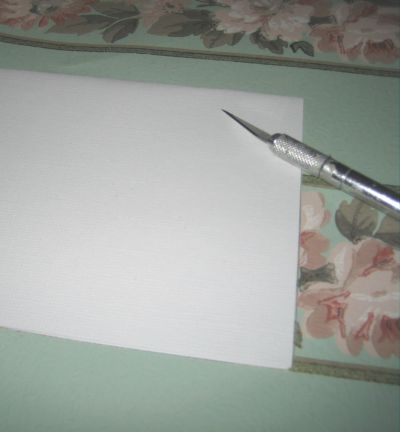
(All of these cards have been created with pre-made linen cards from Michaels.)
The first one is on a white card. I started by laying the card onto the wallpaper and cutting out a piece to fit with an exacto knife. 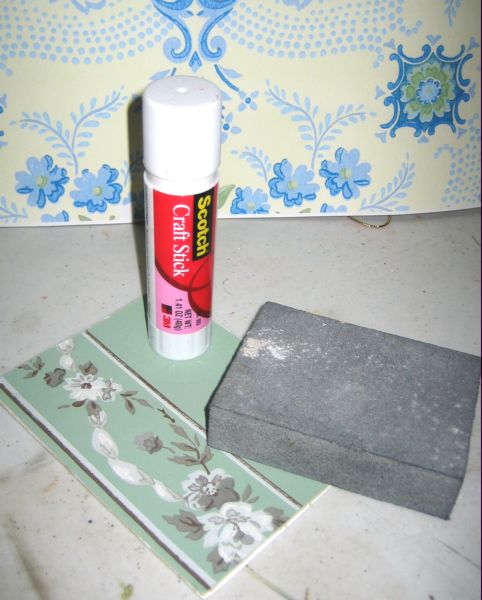
The piece of wallpaper was then attached to the card with a glue stick.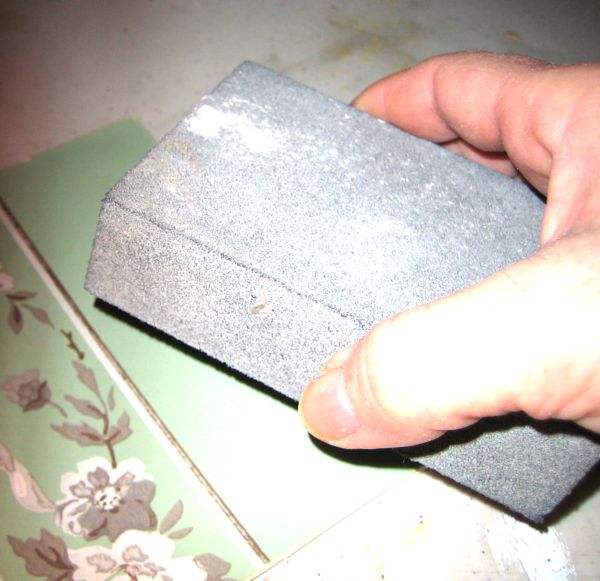
After the glue dried, I sanded the edges with the sponge sanding block, for a smooth finish.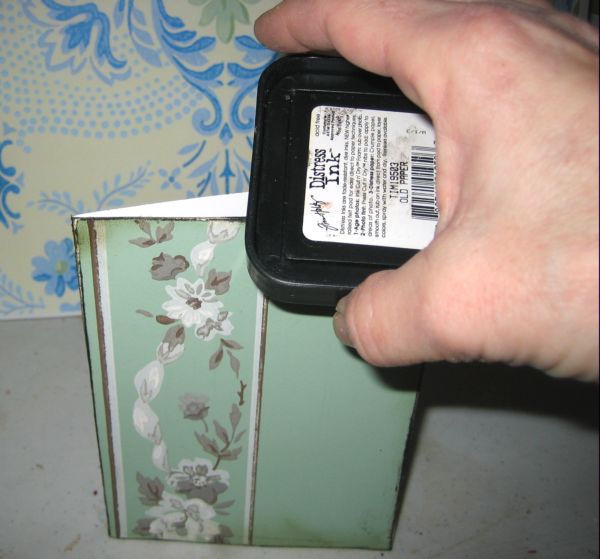
As if vintage wallpaper isn’t old enough… I ‘aged’ the sanded edges with the side of my ink pad. This color is distressed walnut.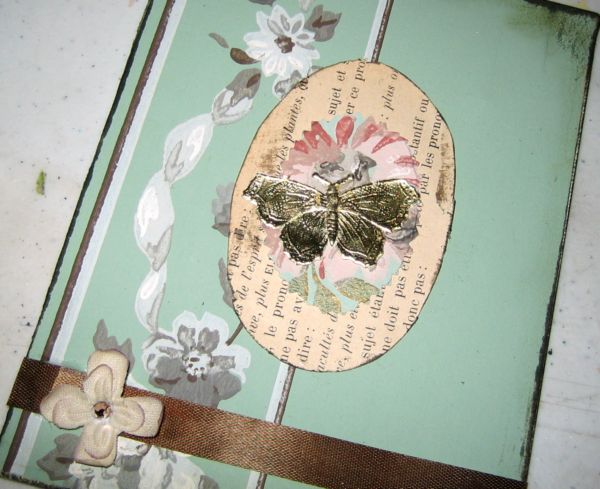
After the base of the card is ready, then the fun part happens! Time to embellish-
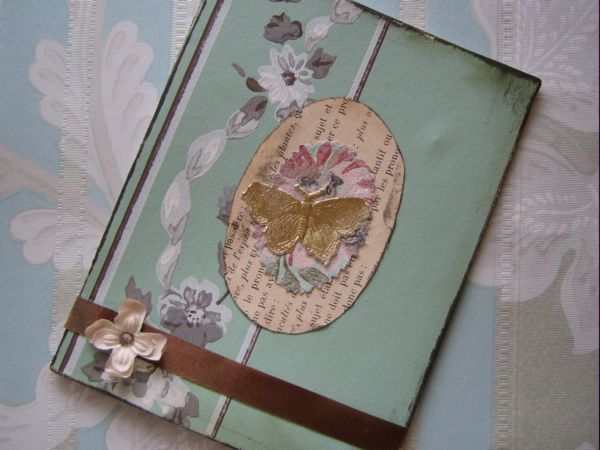
I cut an oval from a page torn out of a 1917 book with French text, and inked the edges with the walnut ink, then added a smaller oval of a coordinating wallpaper to the center and to that added a gold foil butterfly. 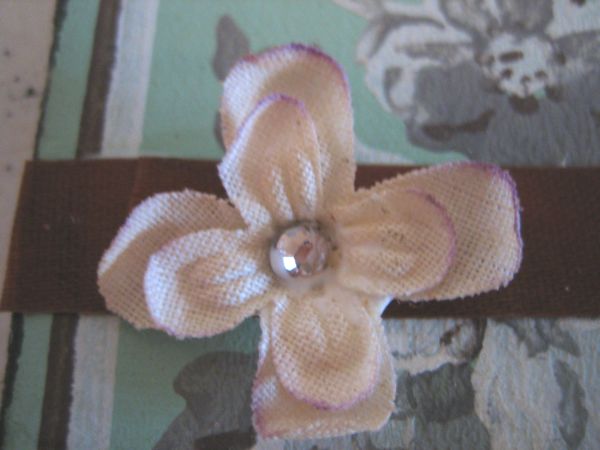
Some old brown ribbon and a single bloom of an old millinery flower are arranged across the bottom. I glued a crystal rhinestone (I only use glass ones, never plastic) to the center.
Right now these stones are on clearance at Hancock Fabrics for 75% off.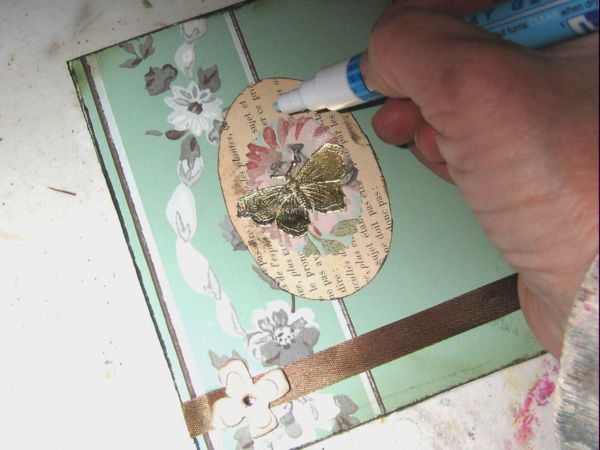
For a touch more sparkle, I’ve used a Martha Stewart glue pen to draw dots around the small oval of wallpaper.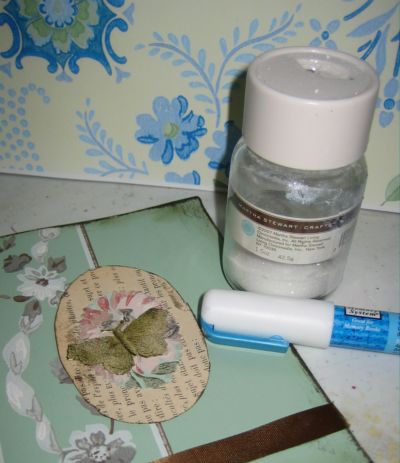
I then dusted my favorite glitter over the glue.
As much as I hate to make Martha even more wealthy than she already is, I just HAVE to buy her glitter. It really is so good to work with! I use the fine ones, for a sheer look.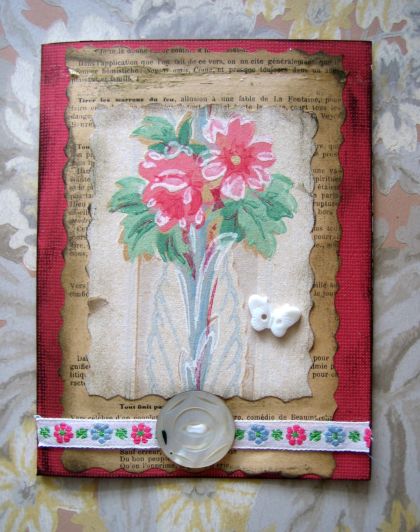
This card starts with a reddish-pink, kind of an azalea color, paper as its base.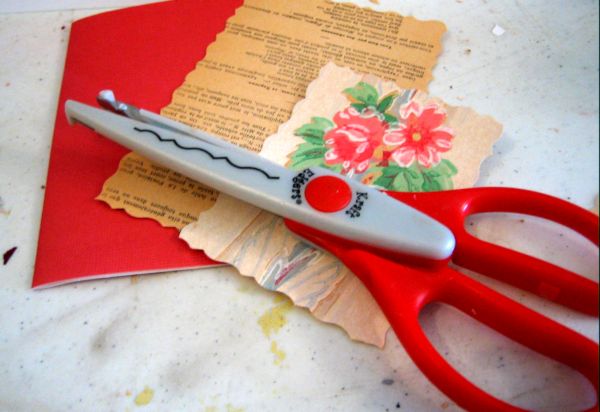
Decorative scissors were used to cut out the French book page and the vintage wallpaper.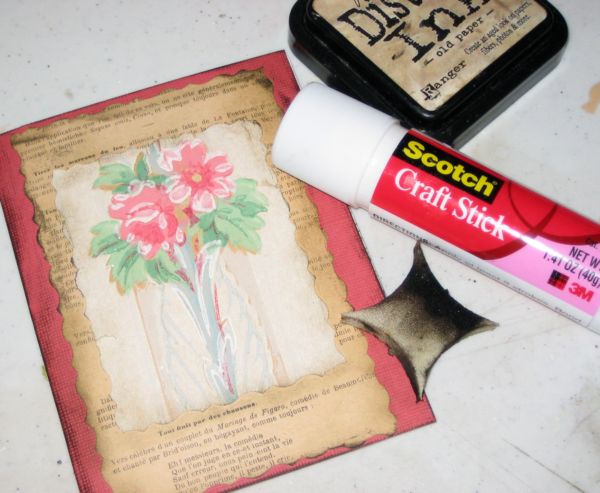
After gluing down the papers, I once again inked the edges. This time, I blended the ink a bit with a cosmetic sponge.
These old papers can be very fragile, so do this gently.
To finish, I added a snip of embroidered old ribbon, a mother of pearl button, and a teeny butterfly shaped button.
(Randy grows a butterfly garden, so the flowers and butterflies are some of his favorite things)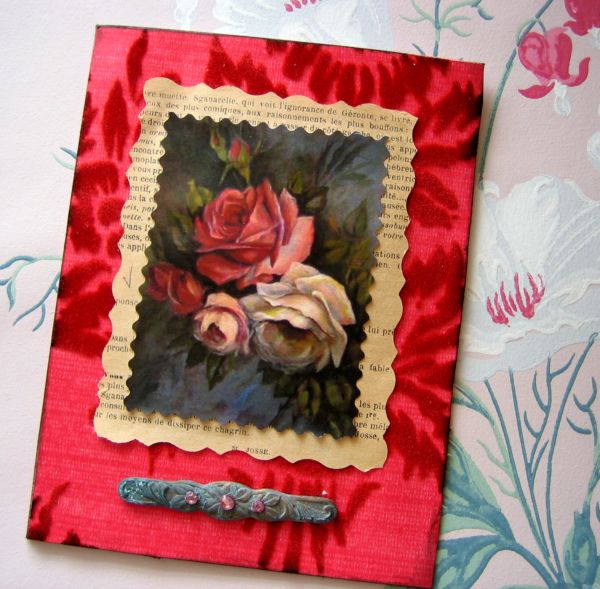
Beautiful, beautiful, beautiful, old red flocked wallpaper that I got from Allissa is glued on to a warm pink card for this one, traced with an exacto knife and inked on the edges the same way the first card was done.
After, I used 2 different decorative scissors to cut out the French book page, and a color copy of one of my own paintings.
At the bottom is a brass charm accented with 3 pink crystals.
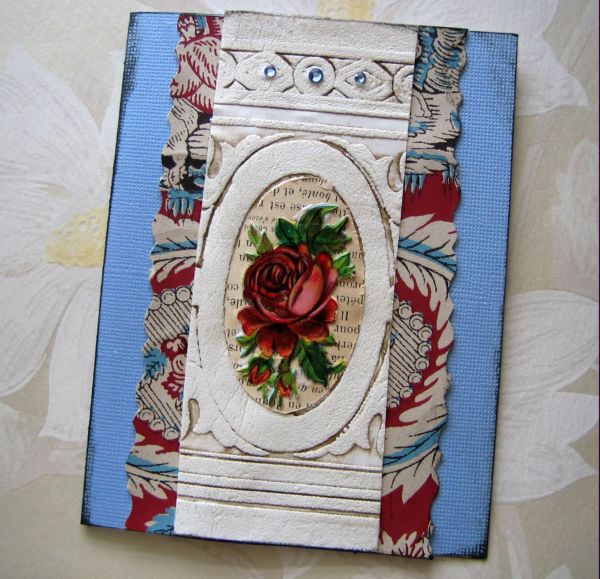 One last how-to for Randy, this card has a pretty cornflower blue base.
To it, I added a strip of wallpaper cut with decorative scissors, and a piece of anaglypta wallpaper that I have aged with an umber glaze.
After the wallpaper was glued into place, I inked the edges with the side of the walnut ink pad.
In the center is an oval of the French book pages, and a German die cut.
To finish it off and add some glitz, three little crystals in the same blue are glued to the border of the anaglypta paper.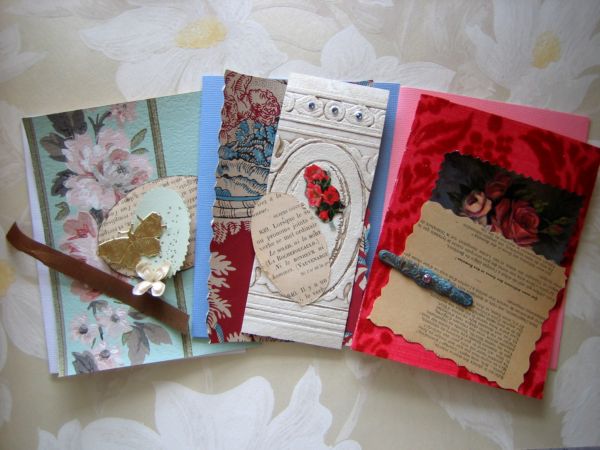
While I was making these examples for Randy, I thought he’d appreciate a kit for each one. While I was at it, I made a little extra.
I had enough bits to make two kits of three cards each.
Everything I used to make my own is in the kit and ready to be glued and mailed out to someone special (Mother’s Day is coming up, before you know it)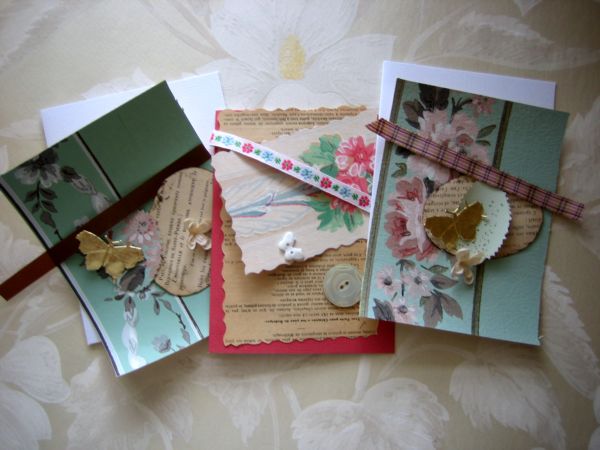
The pieces are already cut with decorative scissors, all you will need to complete the cards is:
glue
ink
glitter
glue pen
exacto knife
If you are interested, email or leave a comment. Each 3 card kit is $12, including postage. (unless overseas)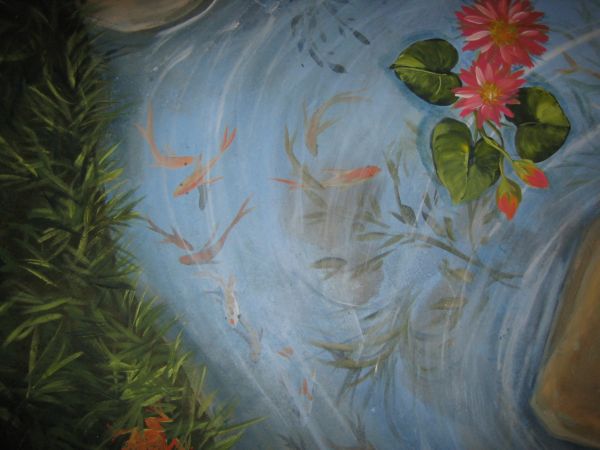
The last time I went to visit Randy, he and I painted the floor of his craft room to look like a pond.
I wish I could be back there in his colorful room and make cards with him, but isn’t the Internet great? I hope he reads this and feels like I am there with him.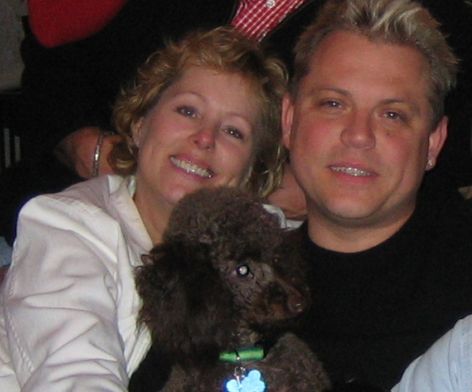
I love you baby brother!!
Oh Karla…thanks for the lesson!
Those are wonderful cards & I’m sure Randy will think so too!
Priscilla
Those are wonderful cards! 🙂 Rosie
Hi, Karla! What a cool tutorial! Randy is mighty lucky to have a sister like you! And the cards are lovely!
Dear Karla, thank you for sharing some of your wonderful secrets. It was so kind of you. Clarice
Karla thank you for the tutorial! Oh and I love that Martha glitter glue!
xo
mary
What a wonderful tutorial, and I know how fast you work! Randy should post some of his cards too, would love to see them.
Hugs,
Carol
Great tutorial! I loved it.
Karla,Thanks so much for the tips. The cards are beautiful. I also would love to see Randy’s cards. You go Randy!
Hi Karla,
Thanks for the tutorial, your cards are fabulous!!! I’m sure Randy will love this!
Thanks for the tutorial Karla, there are always a few secrets to be discovered (blush blush I do use plastic gems sometimes…but not those very ugly ones and I do promise to use glass only in the future). I like that picture of you Randy and the poodle! And that pond…ahhhh so awesome!! The best part is that you have made that together! Isn’t it nice to work together on creative projects? The whole world should do that more! Even better; you should give work shops at world topmeetings, now how does that sound mr. Bush? (I guess that’s his secret wish too, so secret that he doesn’t know that himself). Believe me, the whole world would look better if you were giving one or two workshops at the beginning of those meetings!
that was such a fun post to read. loved the tutorial on the cards; gonna make some! and it was so sweet that you were helping Randy out like that. love the painting you guys did. fun fun,
kecia
What beautiful cards! This is one of the things I love about blogging!
Thank you for the tutorial!
great tips….
Louise
It’s so nice to see how someone else creates! Especially if you don’t have a crafting buddy! I love the pond! That is amazing…almost as amazing as the stair project!
Beautiful cards! I love the little details on each card, especially the rhinestone. Your fish pond painting is awesome!
Hi Karla, Another great tutorial. I just love your tutorials. Between the text and pictures it make it so easy for all of us to follow along.
thank you
Karen
Happy 19th(by the time you read this it will be), Karla. Popped in to see what you’re up to and got a fun tutorial. Will start checking the mail box today for the package -packages from that area will make it here in two days sometimes…it’s going to be fun to see which tags I got. …”insane, overstocked, stockpile of crazily hoarded old beautiful papers” just might be a good quote if you ever get the desire to draw some of the piles of papers that you have hoarded. Well…have a joy joy filled rest of the week Karla.
Karla, what a wonderful tutorial and beautiful cards:)
And who wouldn’t love Randy?????????
I enjoyed your tips too, but it’s more fun when we are all together.
L,
Bobbie
Fabulous card tutorial. Thanks 🙂
Cool cards! I also like the Martha glue pen! But I never knew about the ‘Distressing ink pad’, I will have to run right out to Micheals and find it!
what a great sister you are! Thanks for sharing the tutorial with us! I will definately use some of your tips myself!
~Lolly
Man, you’re a talented gal! I love your work because it is always very noticably “you”.
Cute pic of you and your brother! 🙂
Joy
Beautiful pic of you and your brother. So pretty. Cool Cards!!!
Pam
great cards and a wonderful tutorial! randy is lucky to have a sis like you!
Fabulous tutorial! Love that you did this for your bro.
Karla
Ohh- we love a good sister! great card and tutorial!
blessings,
kari & kijsa
Randy will have so much fun making cards! I love him too!
Thanks so much for the how too’s…Mary
Beautiful cards!! Thanks for the tutorial!!
:)Brittany
Great tutorial and lovely cards. Thanks so much for sharing this. I always forget about using the sanding block. I really love what you can do to the edges with it.
Karla, Karla, Karla -You Rock!!!
The wee bits of beauty have safely arrived. I’ve been wondering how you arrived at our choices? Some serious yummy’s. I love the harlequin pattern and swirls…and that odd color green of the seam binding –the goldenrod yellow of the crocheted lace ,the textures from the stamped images -the hand drawn cottage…I’ve got to go put in The Quiet Man. More yummy jack pot stuff in the fleur-de-lis pattern wallpaper -the scroll pattern too…and the stairway paper -I think i’m going to make flower petals out of some of my left over Irish Graffiti paper and put it with the fabric yoyo and the little ladybug lapel pin and make a little wall hanging. My birthday was eleven days ago and it’s like getting birthday presents all over again! Thank you to the one’s who created the tags i ended up with…so cool.
Great tutorial Karla!
Barbara
Karla! Now I know what to use the beautiful paper you sent me on. What a great tutorial. I think it is great that a guy likes to makes cards too. You wouldn’t catch one of my brothers near my craft supplies. Thank you so much for the beautiful tags too!
Fabulous tutorial Karla
Thanks
Hey no pics of Sugarwings!!!!!
Alison
Hi Karla~
I’ve been looking at your site for about a week now – wonderful! Wanted to start at the beginning and catch up ~ is February 15, 2007 the beginning of your site? I’ve always thought about having my own blog site and after looking at yours, finally decided to go ahead! I even embellished my first “pretty” box! Gave it to my mother for her birthday yesterday! (forgot to take a pic of it, but will). Thanks for inspiring me to go ahead and “TRY”!
I’ll send a link to my site soon…when there’s something for someone to look at!! : )
Kelly (aka~Keekers)
The cards are so pretty and you’ve got me inspired! You BIL is very talented.. I love the floor!
Jen R
Karla, this is a GREAT tutorial. I’ve put a little note on my blog today so that my readers can find this post. You really did a wonderful job with this one.
Cookie