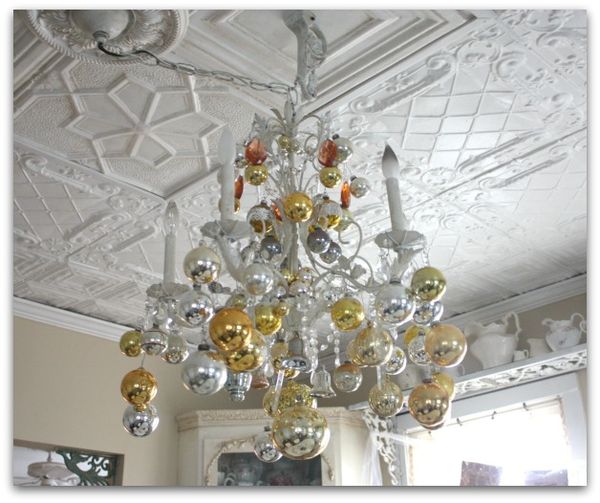
This year, I was going to keep things simple, and not add Shiny Brites to my chandelier.
But after so many years of adding baubles to the dining room light, the room looked empty without it. And really, its not that much work to do if I pay attention to what goes where. In the past, I have added, stepped back, observed, removed, rearranged, added, and on and on.
That had to end. This time, I planned out the steps and didn't add the balls randomly and have to redo as I went along.
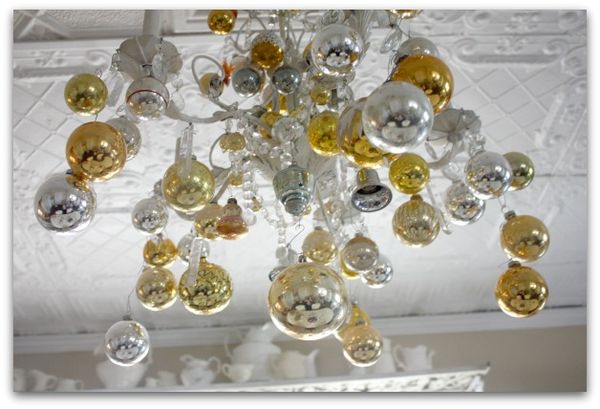
The trick was balance, so I sorted my silver and gold balls according to size. Then, I put them in piles of 5, since my chandy has 5 arms.
Specialty balls like bells or bell shaped ornaments went into a pile together too.
Next, turn off the light, those bulbs are hot!
Then, gather a pile of paper clips or ornament hooks. Yes, it would probably be prettier if all my hooks matched, but honestly, you don't notice the paper clips unless you are standing on the table like I am with the camera. And paper clips are nice to use, because you can open them up, so that they are twice as long, to get some good dangle length.
Of course, if you have patience and don't mind snipping and tying, fishing wire would be invisible and you can cut it in any length.
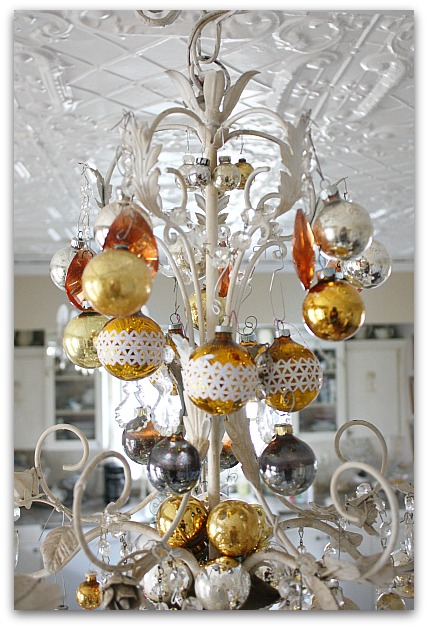
I started with the tiny balls at the very top. I chose to leave my amberish crystals up, but changing them to clear might have been good too.
The center of the light fixture had a cup, or bowl that I filled with smaller balls.
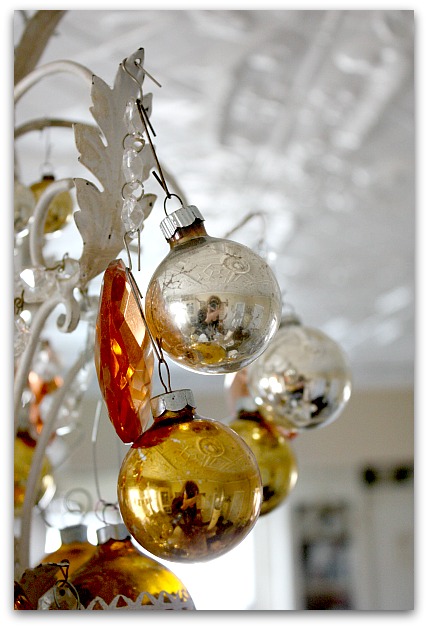
Yes, that is me reflected in each ball. Standing on the dining room table. Sugarwings enjoys looking up at the balls and seeing herself reflected dozens of times while she eats dinner.
I started at the top of the chandelier, working my way around the five arms, with a similar shape, size, and color ball on each arm.
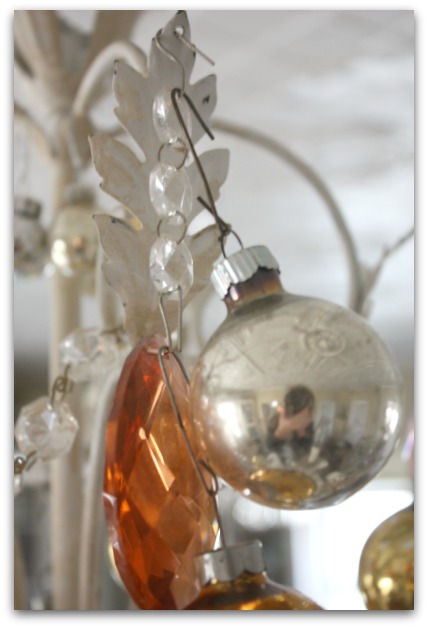
For layers, I hooked balls to the metal of the arm, and also to the crystals hanging from it.
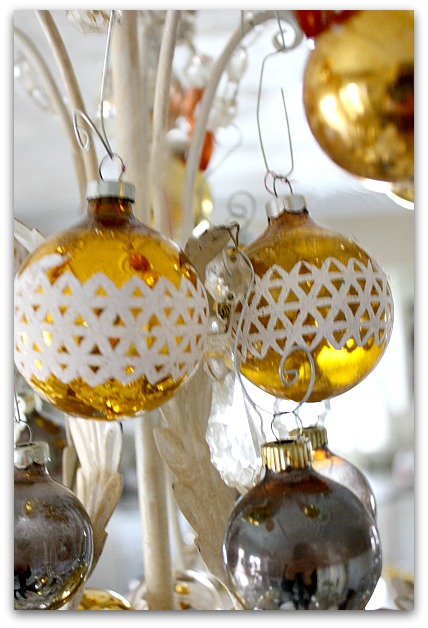
I opened up paper clips to make them twice as long, to hang some of the balls.
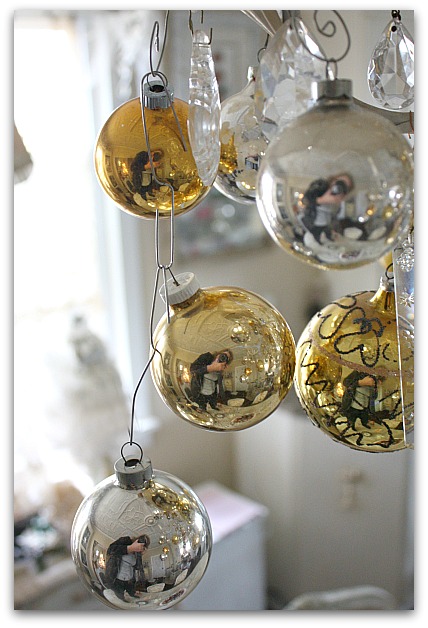
On the bottom, around the outside I hung ornaments from each other, three linked together from opened paper clips.
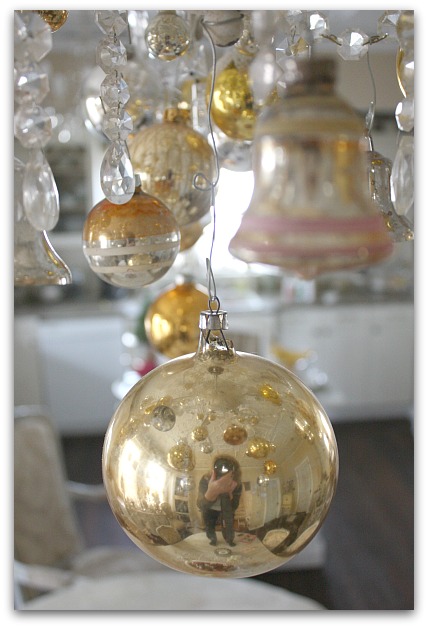
At the base of the light, I hung five speciality ornaments in a ring, then from the very center, a really large ball. I opened up the paper clip to wrap it around the tip of the chandy, since there was no where to put a hook through. And I wanted the large ball dead center.
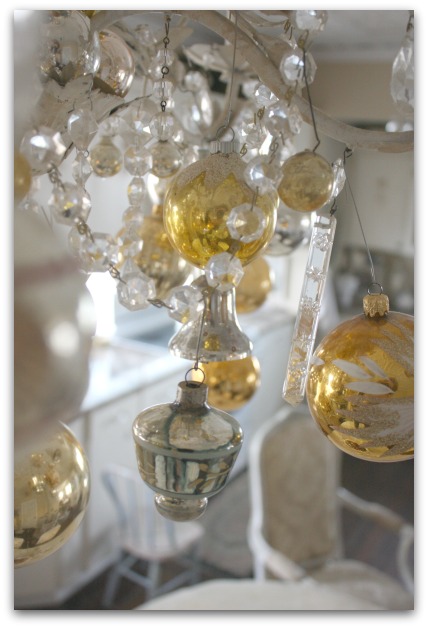
Some ornaments were hung from the crystal chain too.
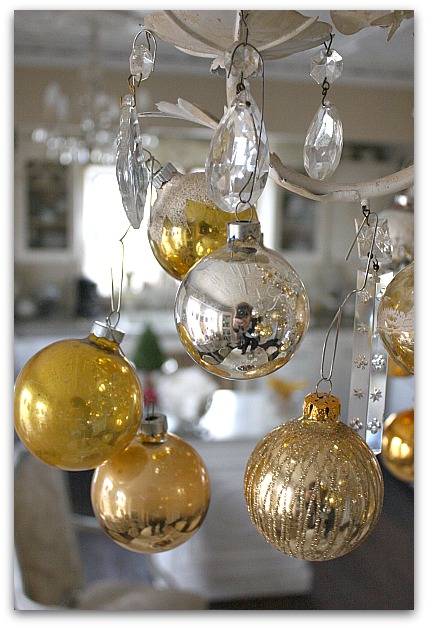
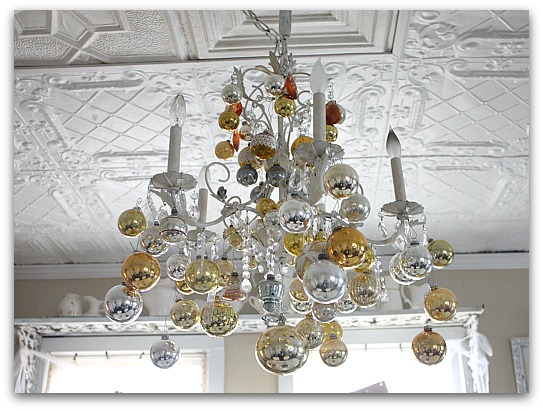
Mine is covered in a mix of balls, but all within the same palette of vintage silver and gold.
See what I mean about the paper clips not really showing? I'm sure that fishing line would be ideal design wise, but I'm all for short cuts and this was much quicker.
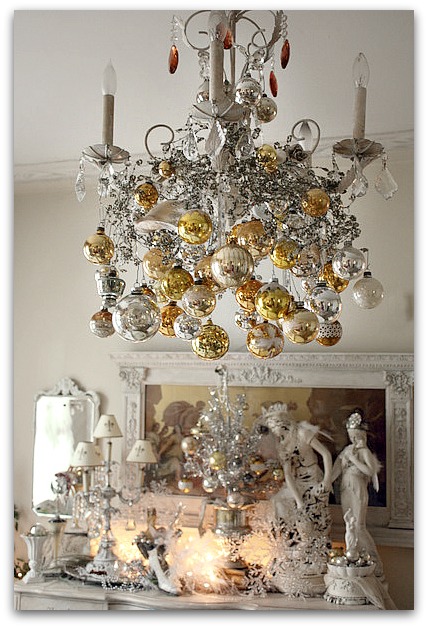
This is last year's completed light. I used a garland of beaded wire and hung them all over it as well as the crystals and arms of the chandelier. These hang down from ball to ball, linked with open paper clips.
That is a look that I really love, but that beaded wire was a nightmare, it tangled on everything. I ended up taking the ornies off after the holidays and leaving the beading up for months, calling it "winter decor" instead of dealing with untangling it.
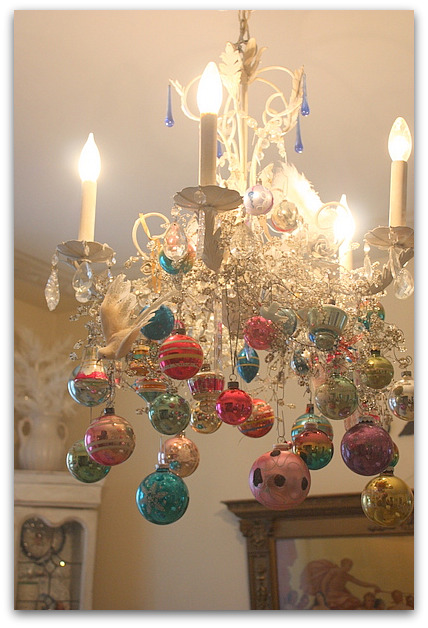
Here is the light a few years ago, with multi-colored vintage balls. You can see that in some places I have used up to 3 or 4 paper clips to hang some of them. I was going for a very random look, and was happy with it, but its funny how much longer this takes than to actually count out matching sized ones in groups of five like I did it this season.
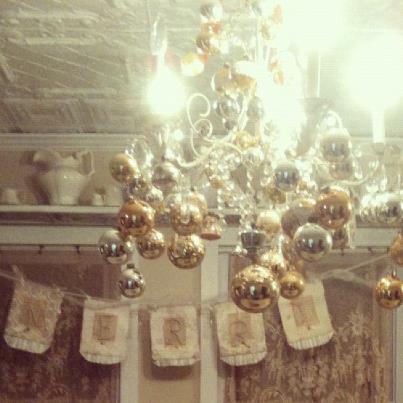
My goal was to keep it quick to put up and to take down. I'd say it took me about an hour this time. Any time I can get something pretty done and save time doing it is much appreciated here at the holidays!
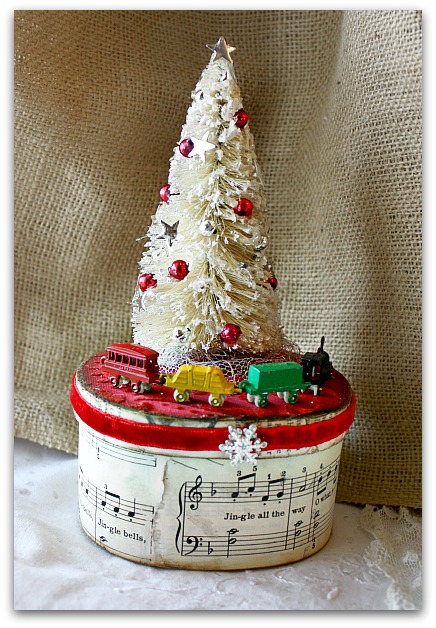
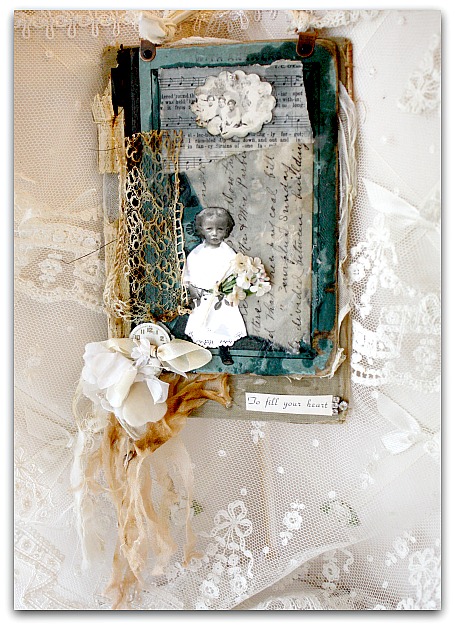
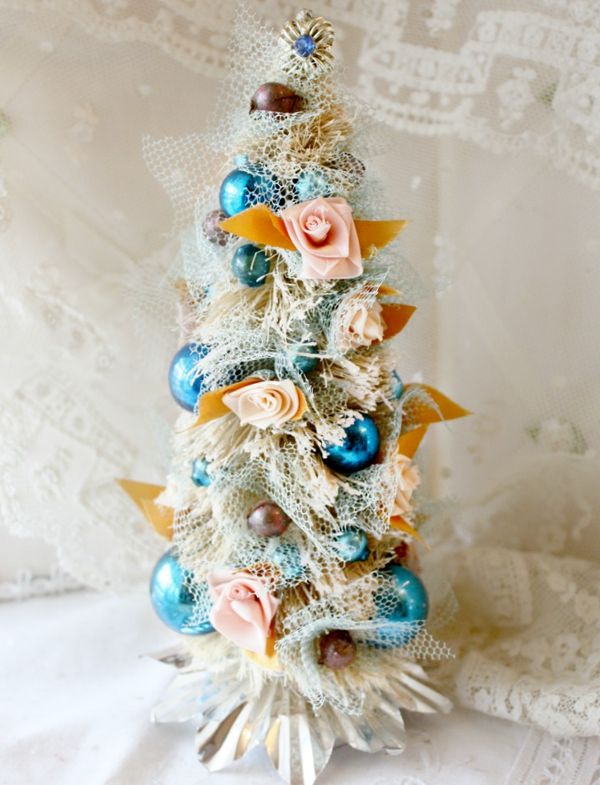
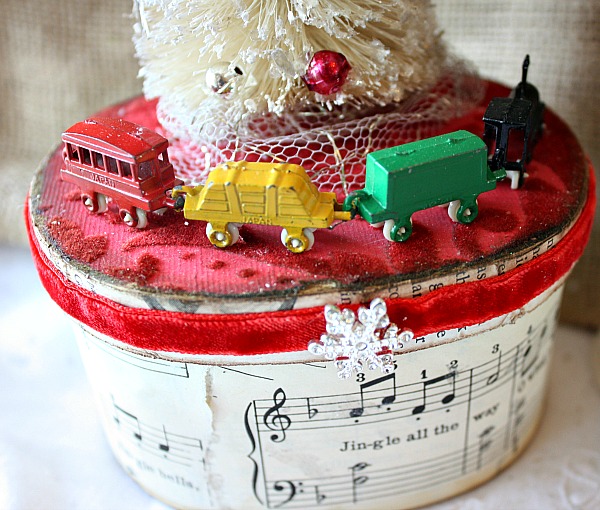
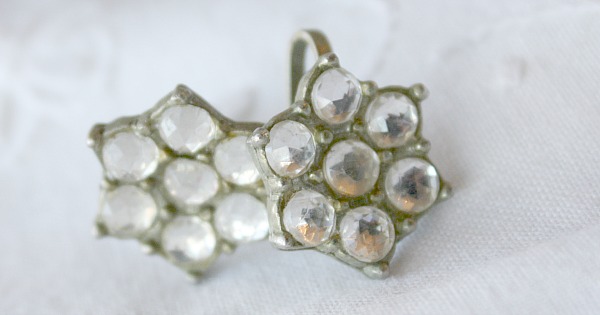
I'll leave you with some photos of some new items in the Boutique and on Etsy.
Gorgeous results and thanks for the how to. How would I decorate my chandelier? If I lived anywhere near the amazing Karla I’d tempt her with treats and ask her to do it. I so love seeing how you celebrate life.
Oh, I love the beautiful chandelier all deck out for the holidays. Gorgeous!
love it! my style is a little different but hope you take a look at mine. thank you so much for sharing life.
Just beautiful!
It looks beautiful Karla!
You are a smart girl for planning out your arrangement of balls ahead of time! The chandelier came out looking just beautiful! Oh, and I love the colored balls from the past, too. It’s fun seeing your reflection in the ornaments. It’s kind of a symbol of how your beautiful home is a reflection of you!!!
Your new creations are so pretty, too.
The ornies add such a glam holiday touch to the chandelier. Well done. The gold & silver is very elegant; the multi-color is very pretty, too. If I hadn’t filled every glass receptical I have, using all my glass ornies, I would follow your example.
HA! Leave it to you to come up with a quicker, better method to bling up the chandelier! It turned out great!! We have snow on the ground today, so it really IS beginning to feel like Christmas! I am so ready.
So gorgeous, Karla!!! I always love seeing Christmas ornaments added to chandeliers for Christmas!
Michelle
So, so, beautiful and I love that gorgeous tin ceiling!!! Thanks for sharing your creativity!!
After decorating five antique mall booths and one ladies’ room for Christmas, my house always gets short shrift. If I just decorated my living room chandelier this year and it looked this beautiful, I don’t think I would hear any complaints! Thanks for the tips and the inspiration!
Your chandeliers are so fabulous! Do you allow admirers to pin your pics to pinterest? -Derrith