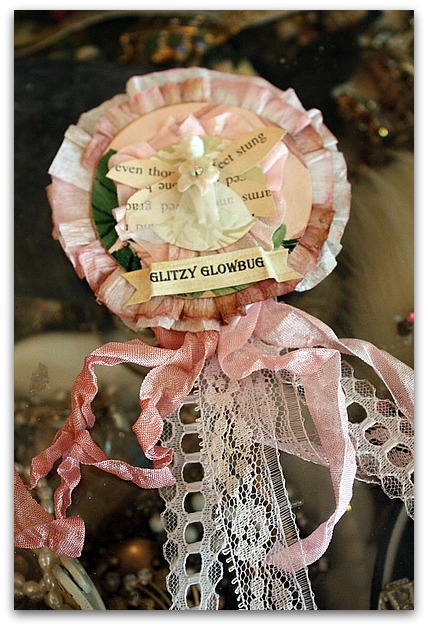
For the welcome night class I am teaching at Once Upon a Dream, I needed a pretty ruffle to top off my Prize Ribbon Sprite brooch. Plain crepe paper was nice, but I thought it would be better with tinted edges.
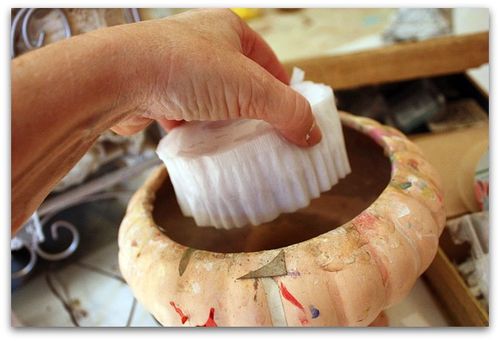
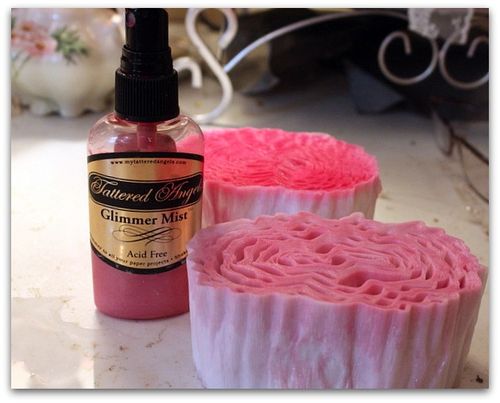
My first step was to dunk the top and bottom of a whole roll of crepe paper into a bowl of water. I didn't immerse the entire roll, just about 1/4 on each side.
While it was wet, I spritzed the damp edges with Glimmer Mist and let it bleed down into the paper.
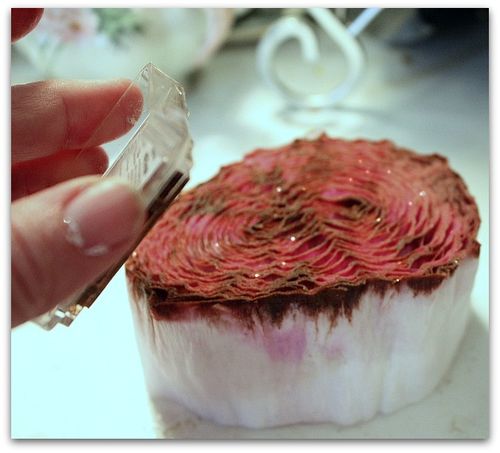
On one side of the roll, I rubbed dark brown ink over the Glimmer Mist for a two toned effect. (Glimmer Mist has a nice sparkle to it!)
 Then, I sat the roll of crepe paper outside on a sunny, breezy day to let it dry. It had to be completely dried out before I could make up my kits.
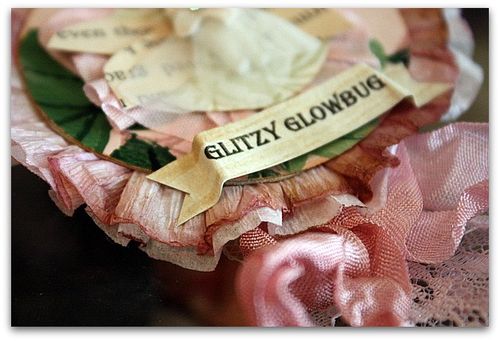
I'm happy with the way it turned out. I folded a section of the streamer lengthwise and glued it onto the back of the wallpaper medallion to make the ruffle.
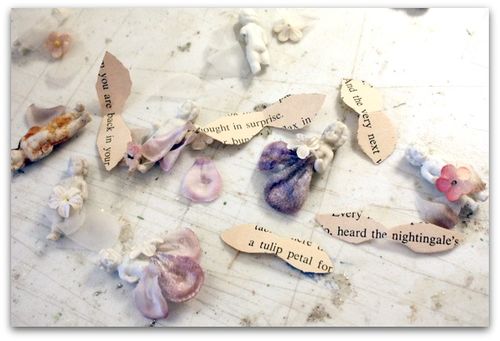
The kits each have a teensy weensy Frozen Charlotte doll, a mini flower for the bodice of her dress, and flower petals for her skirt. The wings are ephemera, and all hand cut. Each flower petal skirt was trimmed up just to fit the little Charlotte it would be glued to.
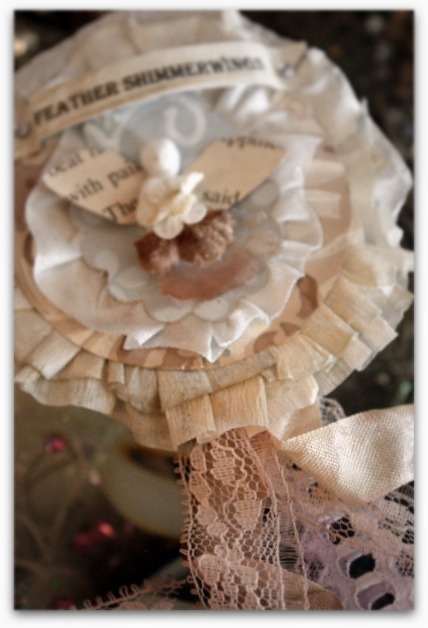
Each prize ribbon has a banner with a fairy name on it too. No two kits are just the same. They took me ages to put together since I was matching the dyed ribbons and lace to the flower petals and wallpaper. Plus trimming all the little petals to fit the dolls. Its a quick class, about an hour. I knew the guests wouldn't have a lot of time to fuss with the project, so I had to make it simple to piece together.
I'll be making up samples of the finished pieces for the class, and when I get home from my wonderful trip, I'll have them for sale in the Boutique.
I hope all the care I put into the kits shows and that the students enjoy them!
EDIT- This post was written ahead of time, before I left on my trip. I'll have new posts all week while I am away, but might not get to answer all comments or emails, but I will be reading and enjoying them on my Ipad. Thanks for coming by! I hope to add some "Live" posts from the road too.
Awwww I want to come do a class with you wahahha – crying here big time! I love the fairies and the crepe paper looks perfect dyed like that. Good luck and have fun!
Hugs
C
xxx
That is gorgeous, thanks for the instructions! I had to pin this!
What a fabulous tutorial and I so want one of the kits! I so want to take this class!
I alter the color of my crepe paper all the time but I’ve never done as much as you did (i’ll have to remember that in the future if I have a big project). If you ever find you need to speed up drying you can put it in the oven, I’ve done that on about 200 degrees F and check it every half hour or so.
Thanks for sharing hope you are having a wonderful trip.
Caroline
So very cute Karla! Hope you have fun on your trip.
xo,
Danielle
Ah, so that’s how you make the fringe. It has almost a rainbow look to it, nicely matching the whimsical prize ribbon.
Thank you for sharing all the detail so your work could be fully appreciated!
Love the tinted crepe paper, thanks for the tutorial..
Thanks for sharing your technique for dyeing crepe paper. I will definitely try that.
Karla thank you so much for showing me how to do this! I have been wondering.
Love your ribbon and all your creations for that matter!
Love the tutorial…thanks! I’m sure the girls are going to love your class. The love and care you put into your kits makes them shine. Have fun!
Love this tip. Thanks so much for sharing. Sea Witch
Yummy — I have to get out my glimmer mist and play!
That is a great tutorial about dyeing the crepe paper. Thank you!
Your name came up at A Wicked Tea this weekend (with Lisa Mc & Cami) and we can’t wait for your next event so we can ooh and ahhh over your new kitchen. 🙂
Karla this is soooooooooo stinkin CUTE! Thank you so much for sharing. I know everyone LOVED this at the event. Sorry I had to miss it but, a 41st annv. took trump. HUGS!
Charlene
Very helpful tutorial! I will add dyeing crepe paper to my list of things to try!
Karla-we used the glimmer mist in the class I taught at The Wicked Tea and Cami told me to look at your post with the crepe paper!!! Can’t wait to play with this!!! Just so vintage and beautiful!!!
What a wonderful idea and such gorgeous creationss. I have to get some crepe paper!
Love this!!!! I’ve been having trouble getting crepe paper that doesn’t disintegrate when wet, though!
Pat
I buy crepe paper at the dollar store. The trick is to let it dry completely before touching it.
Sent from my iPad