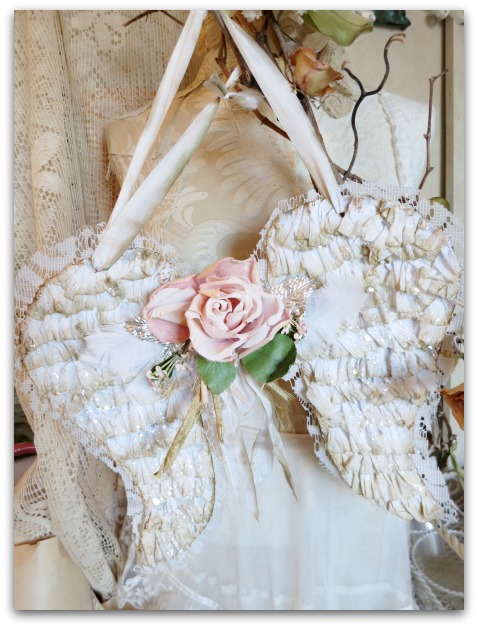
The angel wings tutorial that Dawn is selling are still inspiring me to create some wings of my own! Her instructions are a bit different than what I do, if I am creating something I like to make sure it looks like I did it, not like someone else's design. But the original idea is all Dawn.
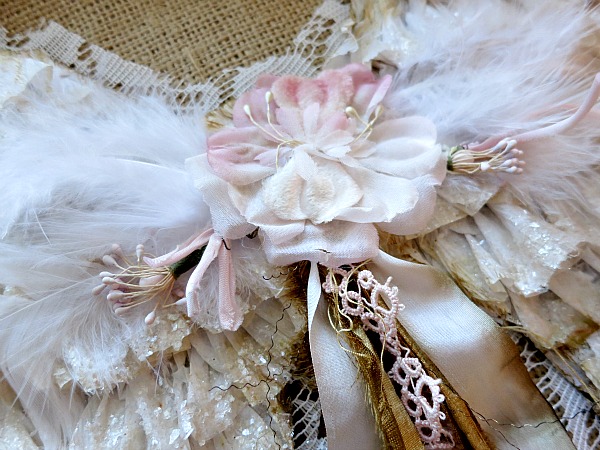
So, I draw my own pattern, and no two pair are exactly the same, each is cut out differently. I also used dyed crepe paper for the ruffles and added vintage millinery (of course!!)
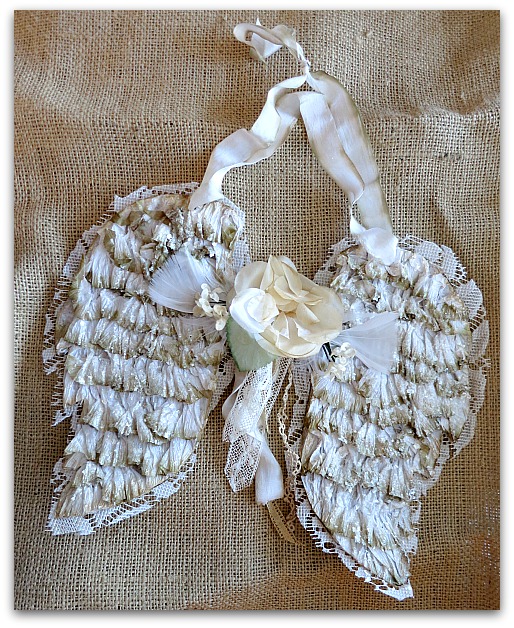
The backs are covered with sheet music and then lace cut from old curtains, so that it peeks out from behind.
This pair is in the Boutique, the other two sold as a custom order. I made up three pair for her to chose from and she picked two of them, that was a nice feeling!
The dangling silk ribbons are hand dyed, the same way I did the crepe paper. Here is how I did it:
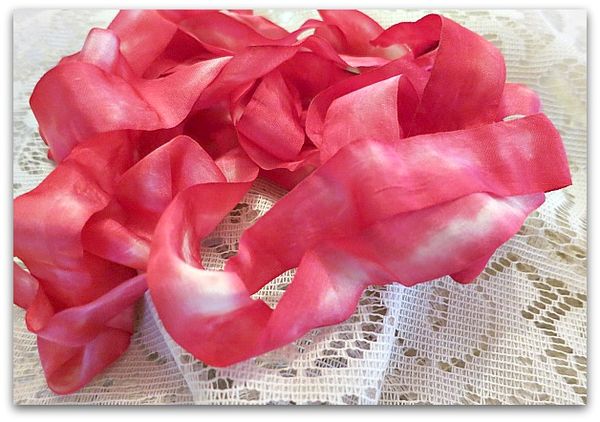
The ribbon pictured on the wreath is silk, and was dipped in coffee and then spritzed with Glimmer Mist in a dark brown color. This ribbon is satin, and I dyed it rosey in a similar manner.
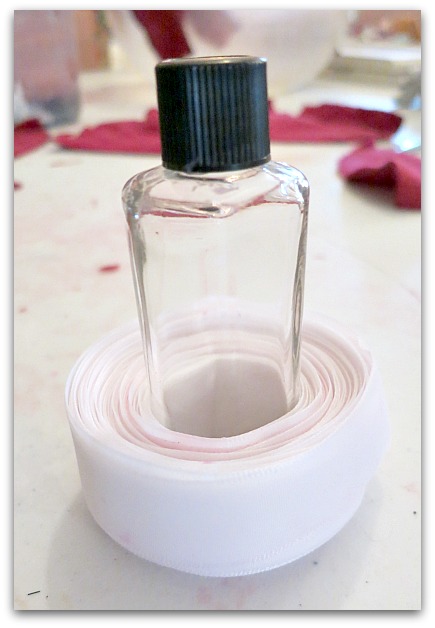
First, I cut off a length from the roll, and to get the edges even, I wrapped it around a small bottle.
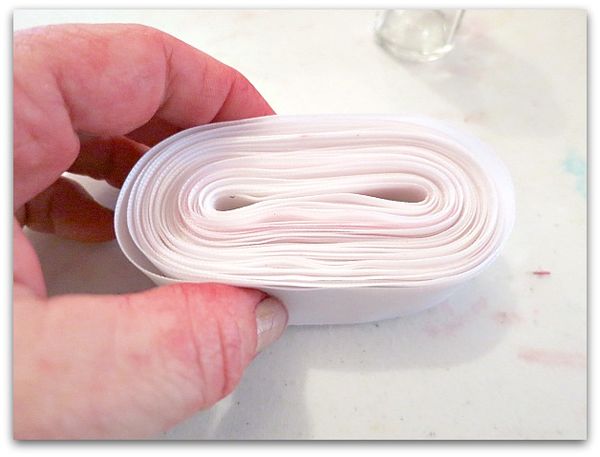
I pulled it off the bottle, and dipped it into water. The white ribbon is a little pink at the moment because I am a slob, and my hands were all dye-ey and a mess, some red from my hands leached into the water. But that was okay since I was dying it anyway.
(some snowy cotton trim for a Santa hat that I was working with later, should have been treated more carefully. Pink snow isn't what I was going for)
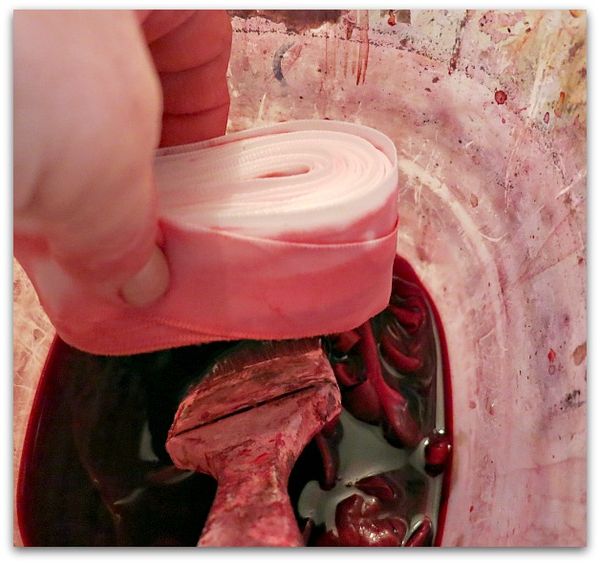
The wet ribbon gets dipped into the dye about half way or so. I dipped it a little deeper this time, I wanted more color than white for the final result.
I used paste food coloring heavily added to hot water, which means its not washable. If you are coloring ribbon for sewing clothing or something else that will be washed, use Rit or fiber reactive dye.
(ugh, this looks more like a Halloween photo than a Christmas one, that dye is gorey!!)
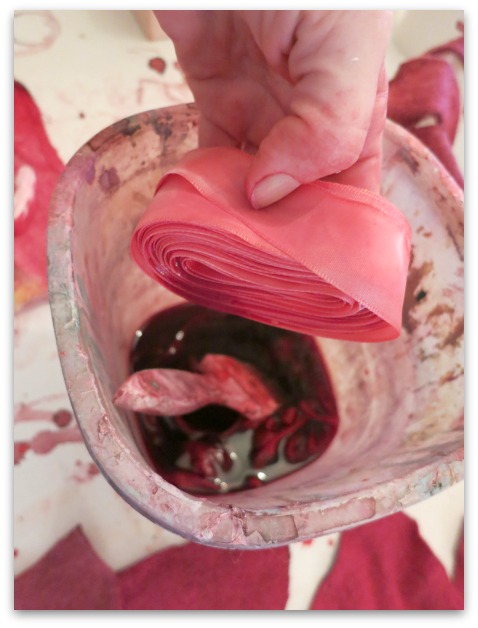
Next, I dipped the other side.
The hard part is to let the ribbon set for a couple of days till it dries. It needs to be left alone till all the moisture is gone.
Now, the outside of the roll is all dyed , but the interior is a nice variegated color, where the dye doesn't seep all the way to the center.
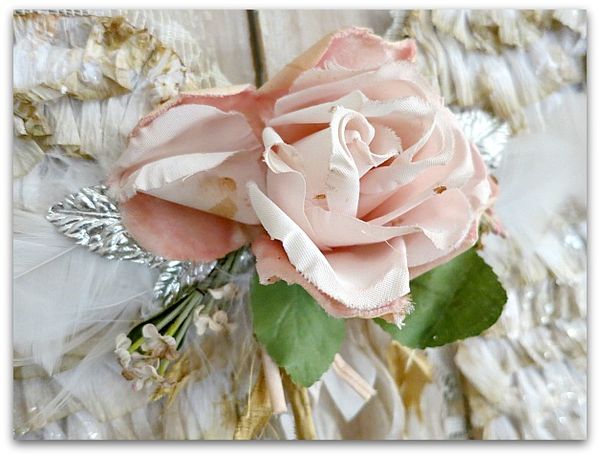
You can see the principle in practice more clearly in the crepe paper, since I dipped my ribbon so deeply into the rose colored dye. For the crepe paper, I just dipped the edges in. Since the rolls are wet to start with, the moisture pulls the dye toward the center. The deeper you dip the roll into the color, and the longer you leave it in, the stronger and wider the result will be.
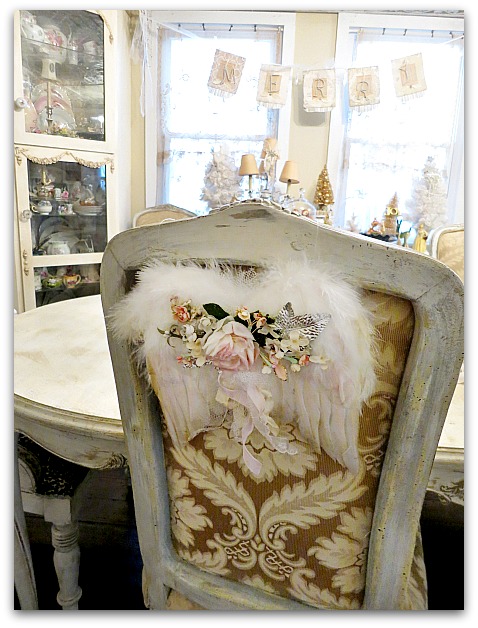
I've added angel wings to the Boutique.
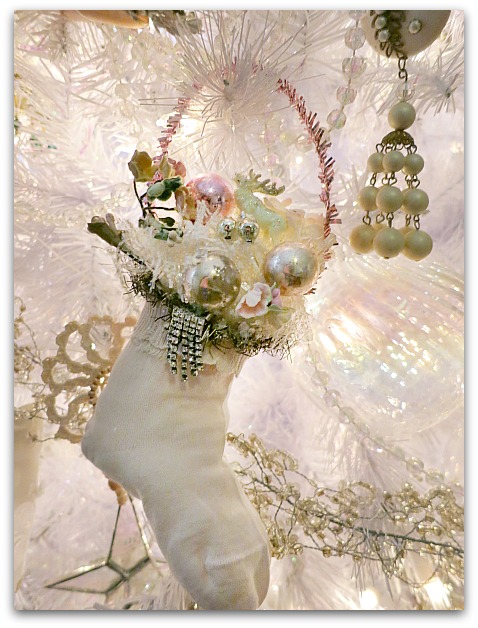
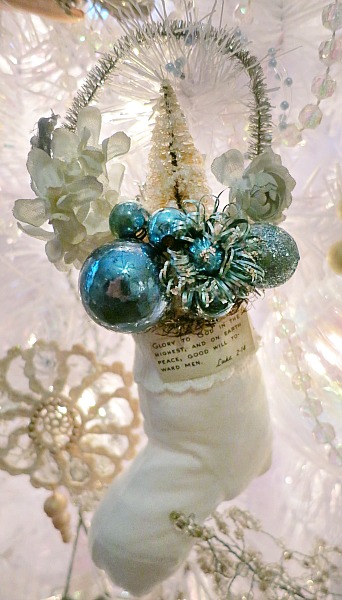
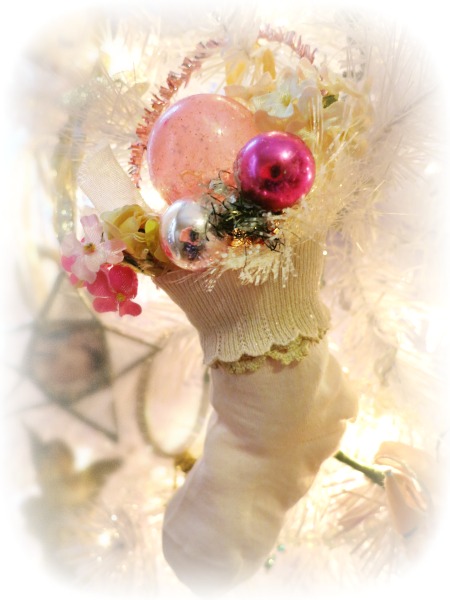
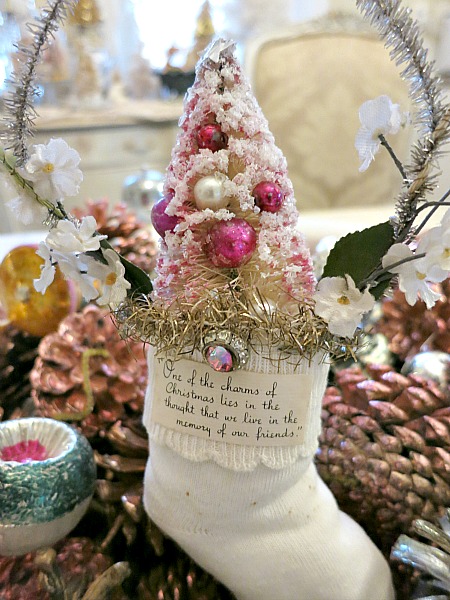
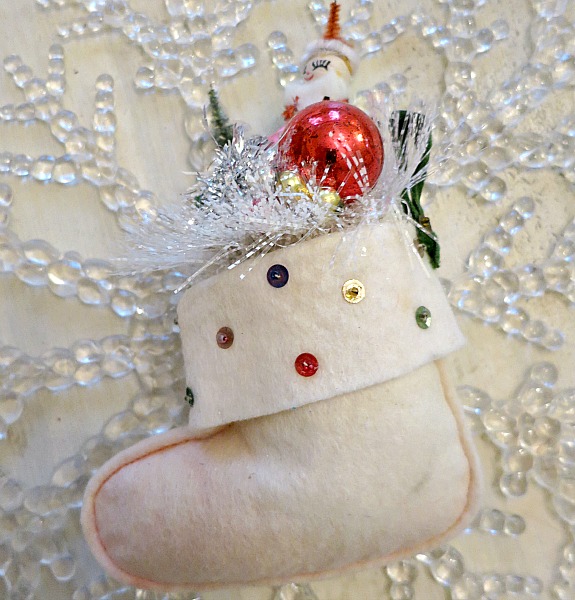
Along with stockings made from vintage sockies.
Stuffed and filled with vintage pretties.
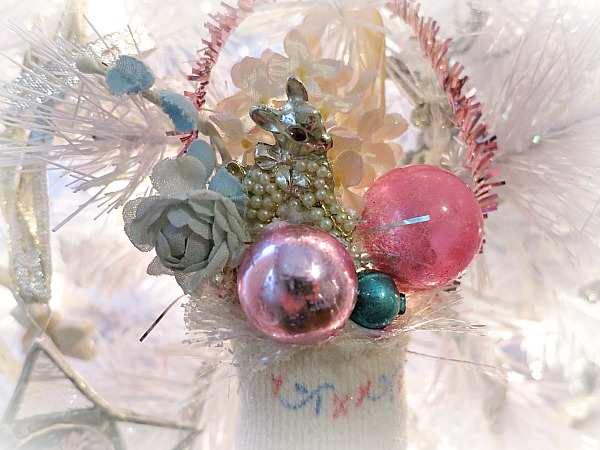
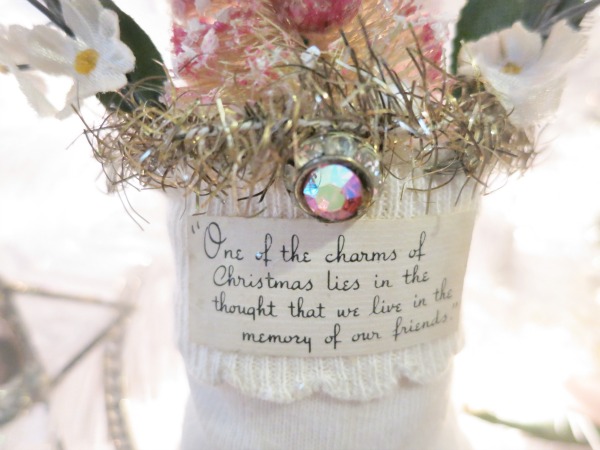
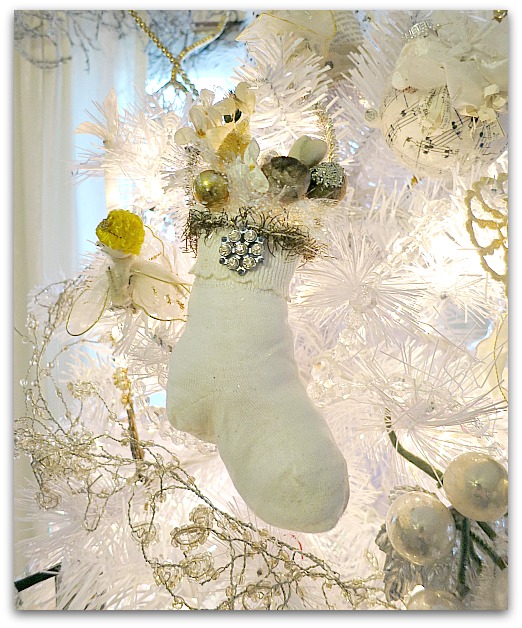
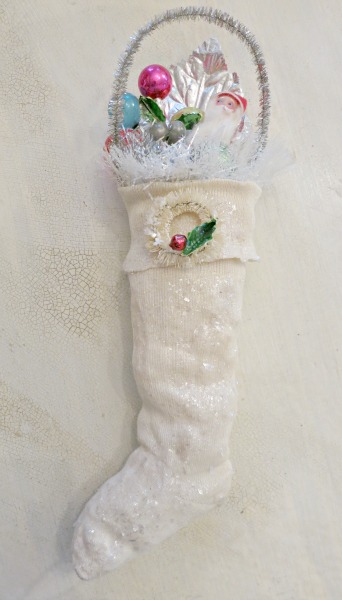
This one has mica flakes, the others do not. If you order one and would like mica flakes added, I'd be happy to at no extra charge. Its a quick little thing to do.
Oh, how I love your creations, Karla! And thank you for this tutorial. I have been loading a small paint brush with either coffee or watercolors to hand dye ribbons and paper along the edges – this method is so much better! 🙂
Have a great weekend,
Zuzu
Your way sounds like it would work good too, but for large batches, this is great.
Sent from my iPad
Thanks for this information, Karla! I have never dyed ribbons, but now I’m thinking it looks like something I might like to try. I love your stockings filled with pretty vintage goodies. : )
such lovely projects, Karla. Thank you for the tutorial on dying ribbon – beautiful flowers, and wonderful WINGS! You can fly now for sure! Thanks again for sharing your remarkable talent!
Linda, its a simple project, the hardest part is waiting for them to dry. I try to dye or coffee dip a lot of my ribbons, the more custom elements of a piece are, the more unique the piece becomes.
Sent from my iPad
Once again, your creativity sparkles my heart! I can’t wait till I retire so I can really spend time revisiting Karla’s Cottage and trying some of your techniques!