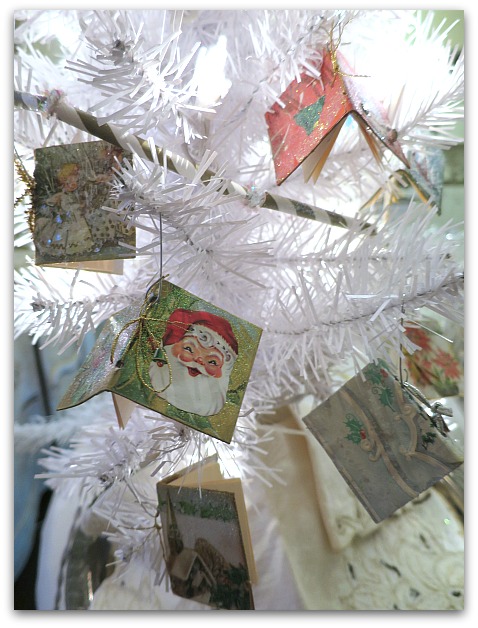
As promised, here is the mini lesson on making mini book ornies.
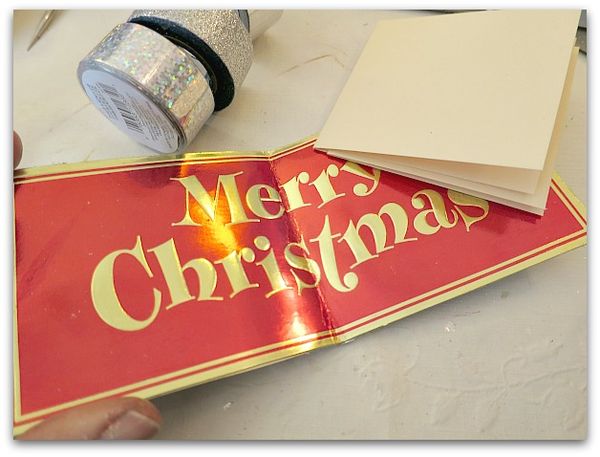
I used paper cut from vintage Christmas cards glued over chipboard for my covers, and card stock for the pages. If your old holiday cards are sturdy enough, you could probably cut the covers directly from them and skip the whole gluing process.
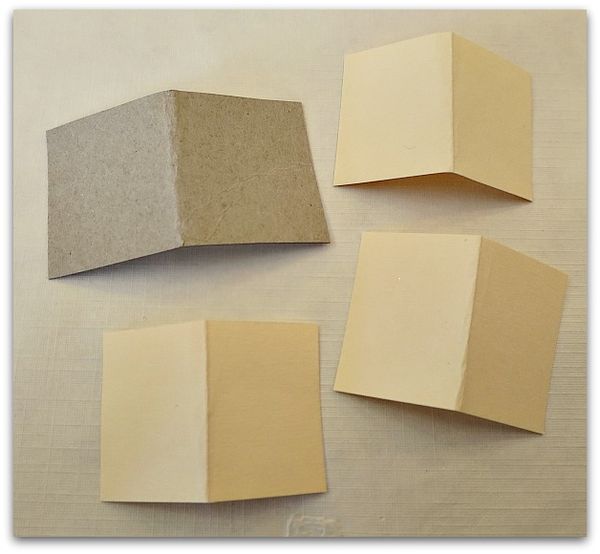
First step- cut out the cover material, fold in half. Cut out three pieces of card stock slightly smaller than the cover, fold in half. (Any size you want to use works fine, most of mine are under 2", this one made from a card is larger)
Glue decorative paper to the cover. The backside of mine was white, but if yours isn't, cover both sides. This is a good time of year to save up chipboard,some pieces that I used were folded up inside a new shirt. Stores often use it chipboard to hold the shape of folded garments. So, as you are opening gifts, don't forget to salvage the packaging materials! (you could also cut up a cereal box)
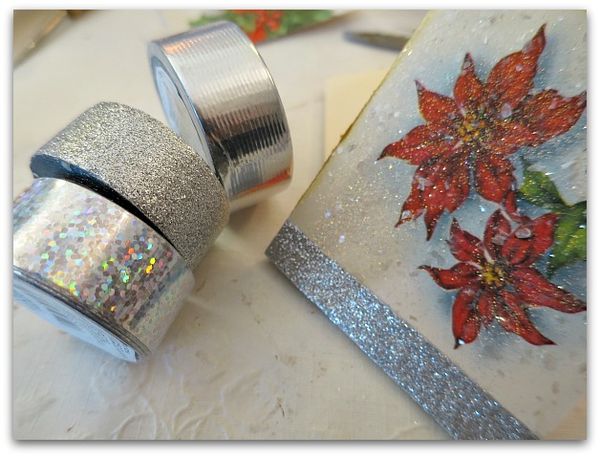
Add glitter, ink, etc, to your taste. Don't add any 3D elements yet, though, embellish to your heart's content after the book is assembled.
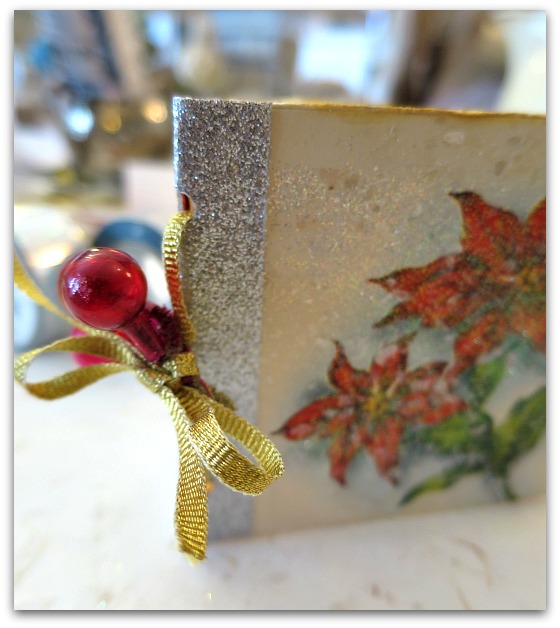
To make the folded and decorated chipboard look like a real book, a piece of decorative tape, as faux binding can be pretty.
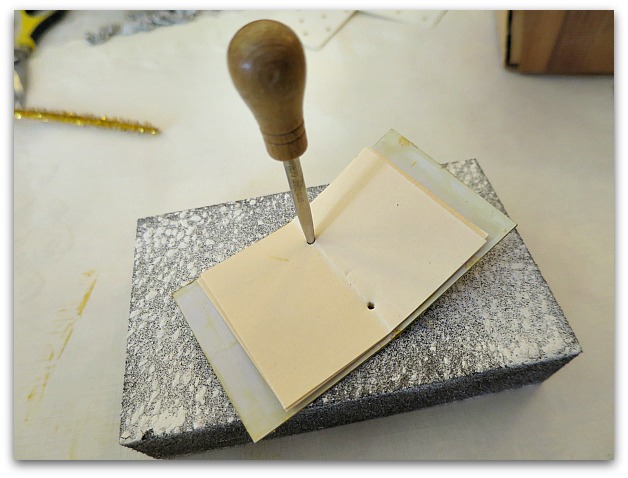
Put your three card stock pieces inside your cover, line them up, and punch two holes along the fold.
Tie the pages into the cover with whatever you think looks nice. Here, I've used vintage ribbon.
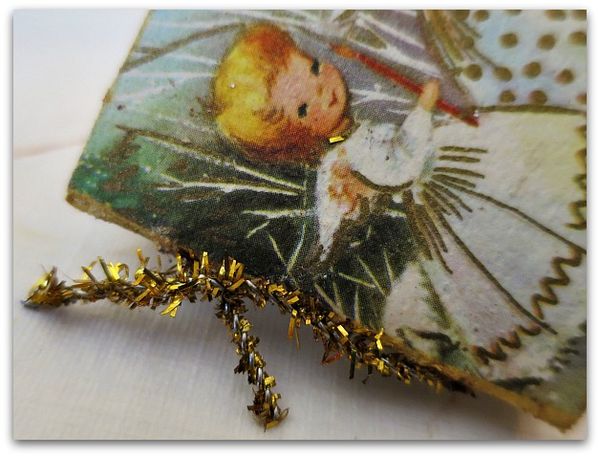
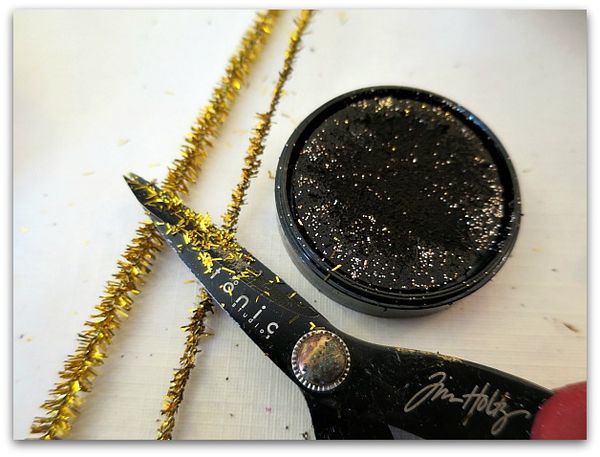
For a festive look, I like to use metallic pipe cleaners too. But first, I vintage them up a bit.
Give them a haircut and rub the newly styled piece onto a brown ink pad for a tarnished finish.
Next, add a hook (to whatever you tied the book together with) and hang it up.
I used these as favors and to decorate with for my book club holiday party. I think it would be fun to start a tradition of passing around a tiny book at Christmas dinner to have each person write a small message, or just sign their names. Date it, and hang it on the tree each year.
If you'd like to make some bigger books in different styles, I have a tutorial available here.
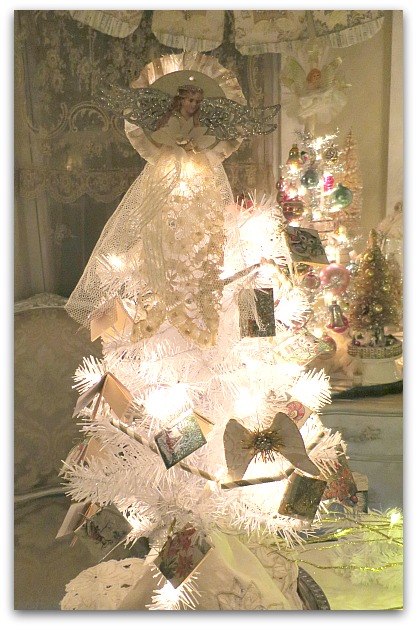
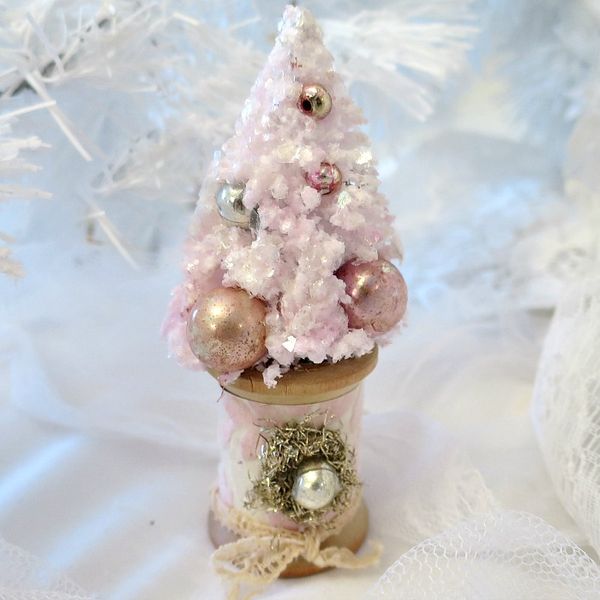
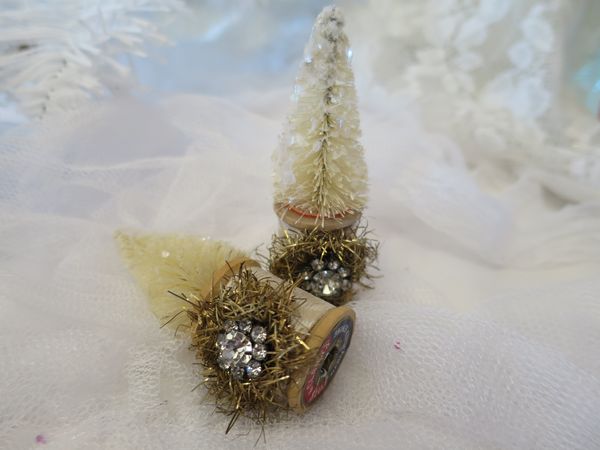
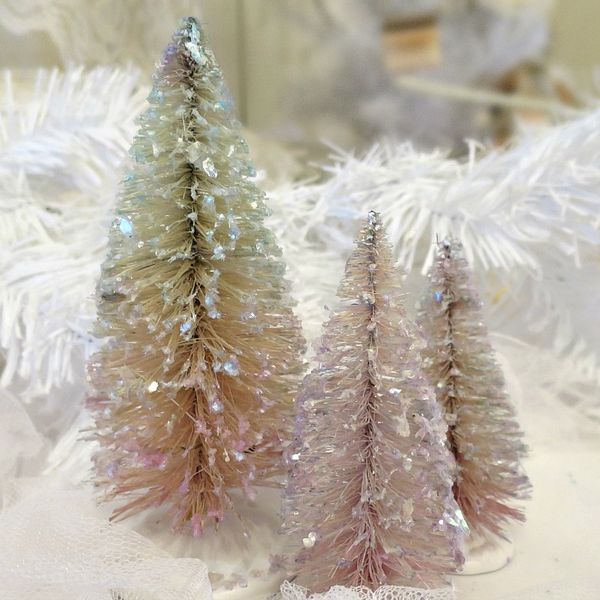
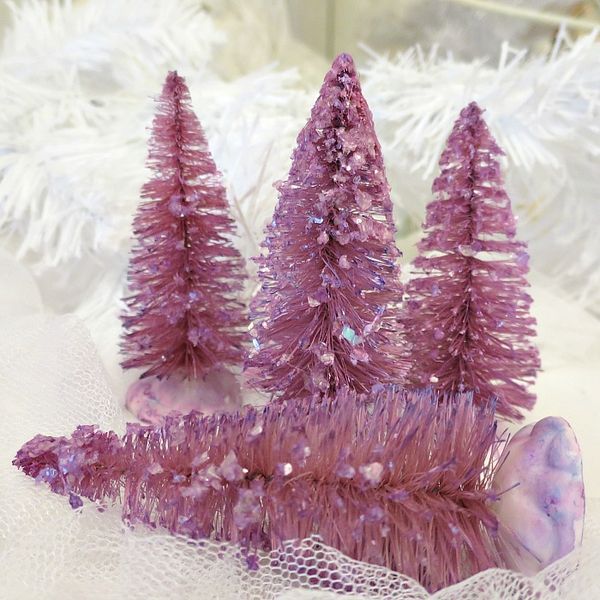
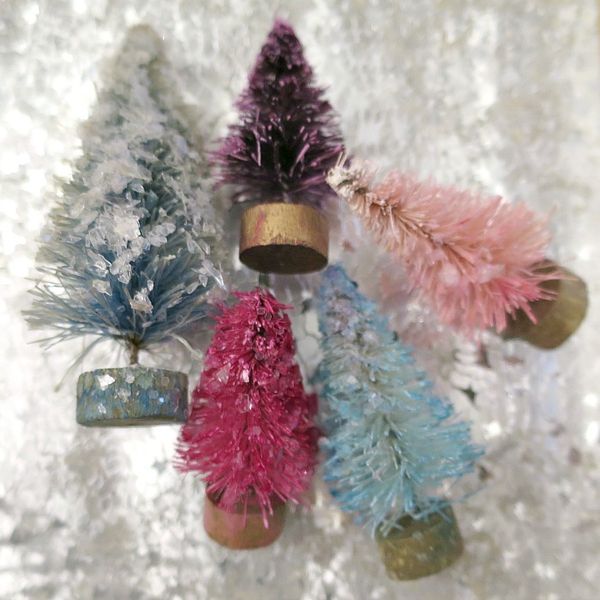
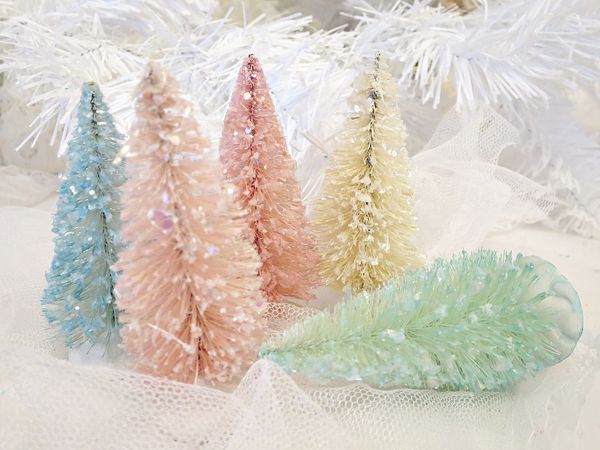
I'll leave you with some photos of what is new in the Etsy shop, it has been a busy Christmas tree season for me. I just now got around to adding some decorated ones.
Normally, I do get them out earlier…. But it has been quite a holiday season for me. Very fun, very busy!
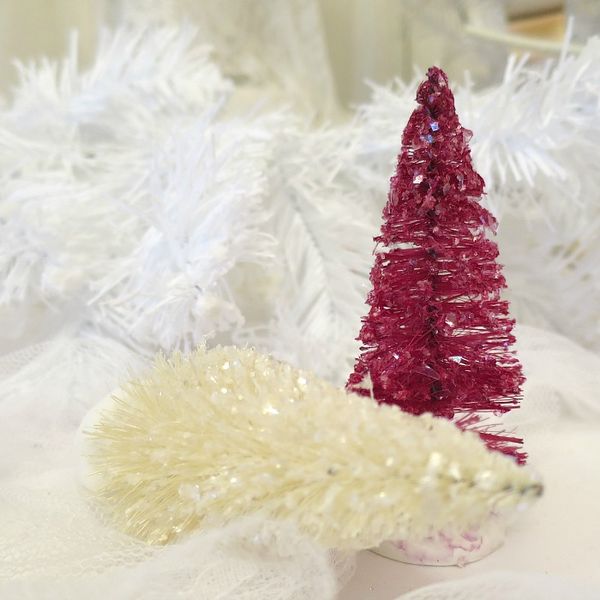
I have some extra bright trees this year, thanks to Sugarwings. She and I had a dying party the other day.
And we got creative with our colors.
Merry Christmas!
Karla, I love the idea of signing the books and handing them on the tree as memory ornaments. You could do this with every holiday and special occasion and add tos also. Thanks so much for the great tutorial.
Gypsy Rose
ps: waiting for the next swap…:)
Karla, the books are darling and the trees are so pretty. Thank you so much for sharing and Merry Christmas!
Blessings,
Tamara
I, too, love the idea of passing around the little books for guests/friends to sign as a reminder for years to come. Thank you.
Also, I wanted to ask you what you use to die the brush trees, please?
Merry Christmas,
Marrianna
Love this idea Karla! Thanks for the great tutorial, especially the part about making the tinsel look old.
I trim and ink my pipe cleaners to age them for all my holiday projects, I think it adds a vintage look.
I use a little bit of whatever is handy for dye. Coffee, tea, koolaide, rit dye, fiber reactive dye, or glimmer mist. Anything that stains. Boiled avocado peels make a pretty, aged pink.
Ive got swaps on my mind too. So far, I havent come up with just the right theme, tho.
Thanks Karla! This is fun — don’t know if I’ll have time to pull a few out of my hat before Christmas but you never can tell.
Just wanted to let you know that I gave a shout-out to you on my seventh anniversary post today — you were one of the three people who visited me on my first post. The Gypsy has come a long way since then. Thank you!
Thanks for the mini book tutorial! I’m going to write guests names and the date on the first page and use them as placecards for a holiday dinner I’m having Tuesday evening. Thank you for all the inspirational tutorials you share. Merry Christmas!
That is such a cute idea for the little books, Liz! I hope you have a great party.
Your Christmas ornaments are enchanting! Love especially the little books!
Merry Christmas and Happy New Year!
GABY XO