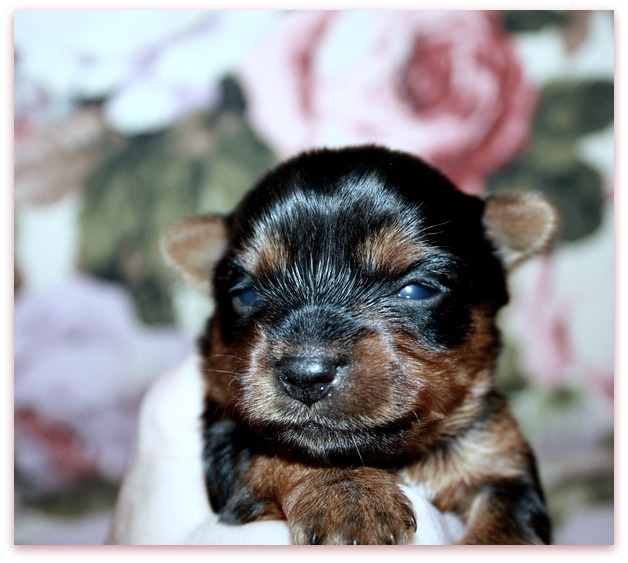
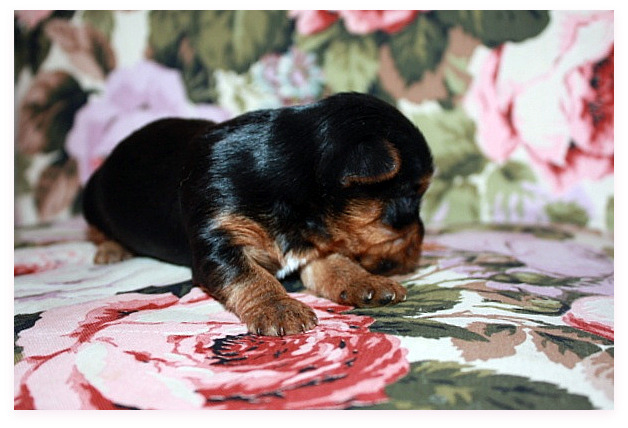
Twinkle's babies are still all curled up in their nest. Even with their eyes opened now, they aren't ready to explore or do much but sleep and eat.
They are still living in a box in my bathroom at night, and come out to the studio with me during the day. As soon as they are big enough to need more space, the studio will become their full time home.

I haven't had a heck of a lot of time in the studio lately, with or without pups. I've been working on some indoor projects, plus celebrated Earth Day by buying 6 fruit trees to plant in the yard.
After that, I went with some friends to an Earth Day fashion show, where all the clothes were 2nd hand, redesigned or re-purposed. To my surprise, Sugarwing's Hippy Chic Mommy was in the show with her hula hoop group of performers. The whole show was more performance than fashion, really fun to watch, and kind of funky.
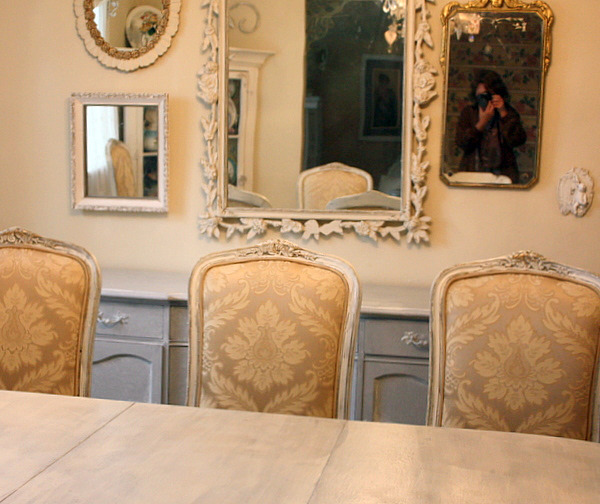
My big indoor project has taken a big chunk of the weekend, but now is done. I've repainted my dining table and chairs, along with a buffet to match (kind of). Its been something I've wanted to do for a long time, but hadn't had a chance to get around to it.
Of course, if I could just snap my fingers and have all the projects done at once, what kind of fun would that be? Its the journey of redoing and tweaking, and finding just the right piece or color that makes me do it, not really the finished product.
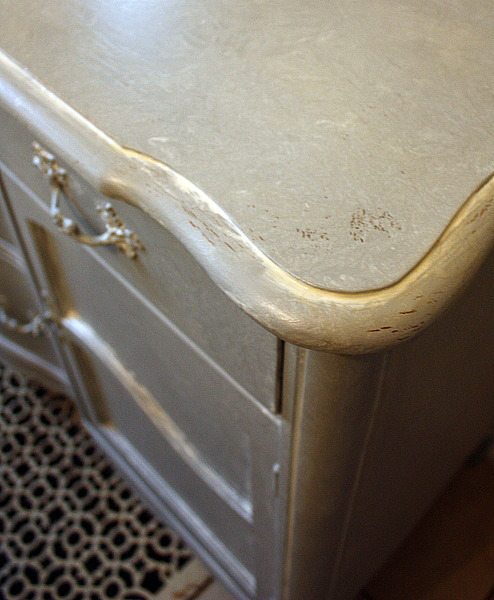
The buffet (hardware and all) got painted with bonding primer tinted gray. Then white washed with ivory glaze, and that was wiped off with a soft, damp cloth.
Then, I took the cloth with the white glaze on it, wadded it up, and patted the buffet, to make a marbled look. When dry, I sanded a bit here and there, not much, and clear coated it for protection.
Here is a little tutorial on how to paint distressed looking furniture:
Please note that the trick to doing this technique is to NOT BE PERFECT. All the little imperfections are what make the finish interesting.
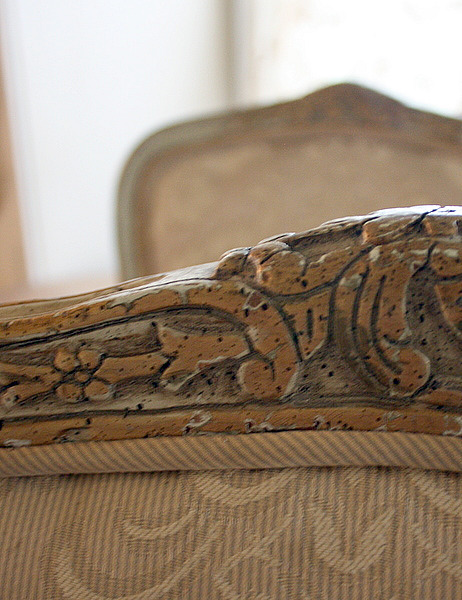
I started with this factory finish from the 60's. Not bad, but not exactly to my taste. I wanted an older look and thought this dining set looked dated.
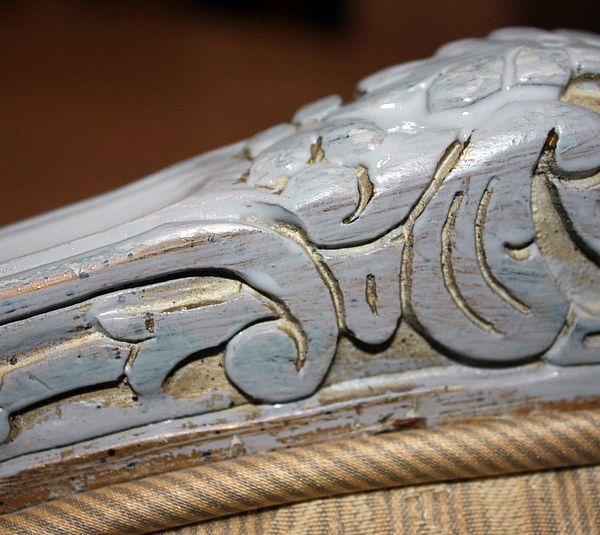
The first step was to brush on tinted gray bonding primer. I used Glidden Gripper. It came already tinted gray.
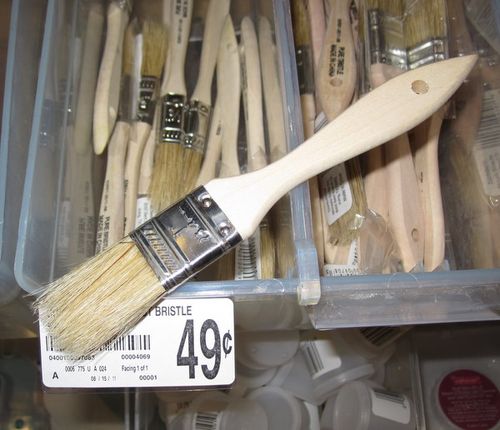
I used a cheapo, flat brush about 2 inches wide. Kind of bristly and rough.
The primer was brushed on in a messy way, not covering up the whole surface.
I'd recommend taping off the edges and covering fabric if you don't have a steady hand.
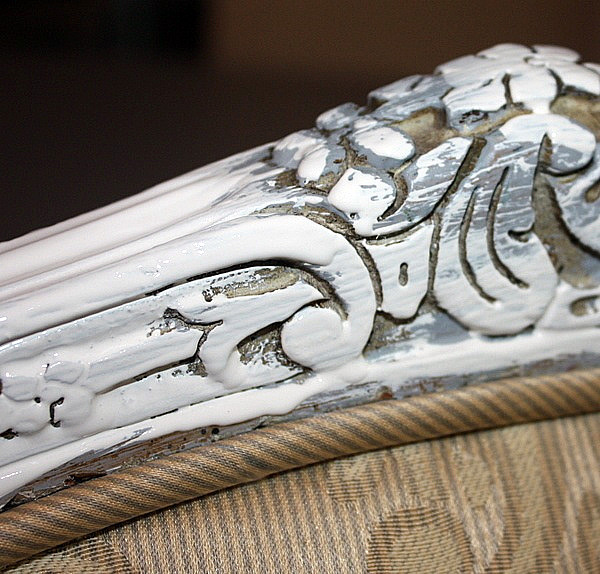
Second step same as the first, but with creamy white paint ( I use eggshell finish). Messy, uneven coverage is the trick!
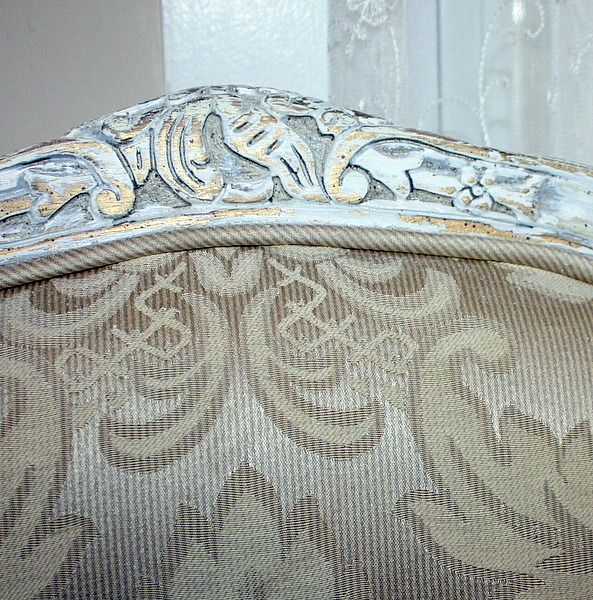
Next, rough it up with sandpaper, as soon as it is dry to the touch. If you wait too long, you have to sand harder and it takes the paint off to the bare wood. I wanted the original colors of ivory and gold as well as my gray layer to show through.
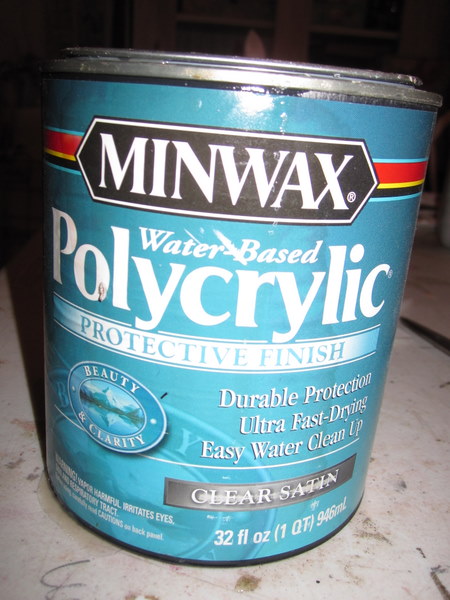
After sanding here and there, cover with a top coat. I like Minwax Polycrylic. Its water based and goes on easy for a durable finish.
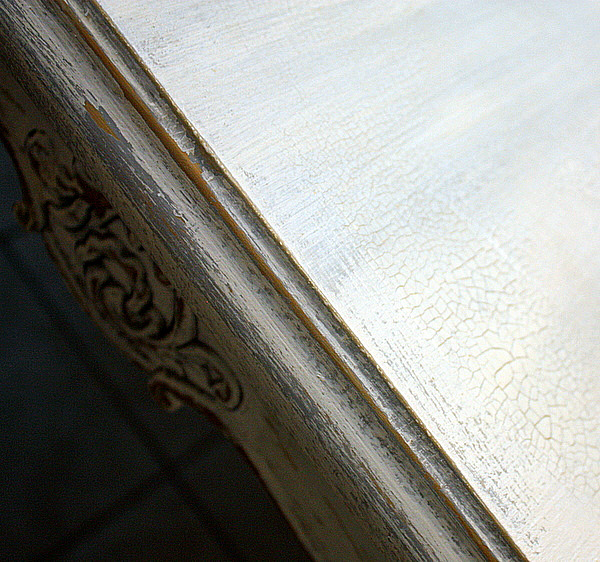
The table was done the exact same way, with one addition. Before putting on the top coat, I brushed it with a heavy coat of porcelain crackle glaze. Not the entire table top, just random strokes here and there.
I'll be on the look out for new accessories for the room and will have some after pictures to show you once I've finished. My favorite flea market is this week, so the timing is just right!
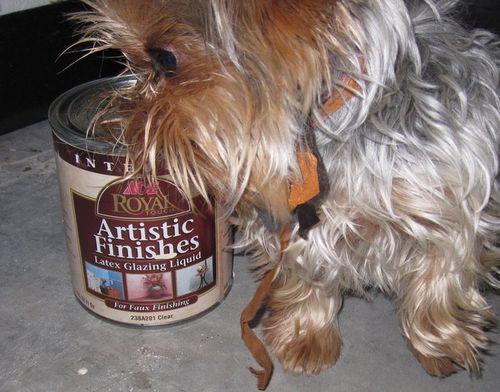
Here are some of the supplies that I used.
Karla, you did a fantastic job on this. It’s so lovely. I can’t wait to see what accessories you put with this. the little wee fur babies are just too adorable.
Wishing you a wonderful week ahead,
LuLu~*xoxo
I miss having puppies around even tho they are a lot of work. We kept ours in a play pen in the living room with us, their little claws would stick to the carpet and they’d biff it. My friend keeps hers in a plastic swimming pool for easier clean up and mama can jump in and out. OH how I miss the puppy breath.Thanx for sharing. Kelli
Karla,
I am so pumped over this tutorial. I am writing down every detail including paint colors. I am in the middle of a Spring make-over. This came at just the right time. I am heading out Monday to look for an end table to use your tehnique on.
Wish me luck,
Carolyn
PS The puppies are too cute!
It is lovely, Karla! I just don’t think I was meant to paint. I spray painted days ago and still have paint on my fingers. I am a mess with paint!
Brenda
Love the shabby look of your dining set and anxiously await to see the completed room.
Love it!
I just bought paint yesterday to re-do an old bookcase. Thanks for the tips! Hope mine turns out as pretty as yours!
Looks gorgeous !That was a great tutorial!
The little pup looks adorable !! I would stare at the babies all day long if they were with me!
Sugar wings looks like her Mom by the way !! Pretty girl!
Diane
Nice to find your blog Karla…
enjoyed visiting.
Cute pups!
xoxo~Kathy @
Sweet Up-North Mornings…
Stop in when time allows!
Oh, I love the chairs, they are fantastic! Great job on everything!
And those pups, are just the cutest little fur babies ever!!!
Shell
(I’m having a giveaway on Bungalow Bling if you want to stop over and say hi to enter!)
Hi Karla..as usual your effect is super..I love that peely,cottagey,shabby ,look..I love that every thing we do looks different,,probaly because the wood is not the same on everything…I have about 5 things I brought back from Calif…including a cool old suitcase,I`m going to paint…you give me good ideas..Lorraine
This looks beautiful, Karla…and I appreciate the how-to! Those puppies are SO cute, I bet they are just so fun!
Fantastic! Thanks for sharing.
Those pups are so darn cute I can hardly stand it!
hi karla!
very pretty.
i post about distressing, too. i tried the wax candle rub method and it worked. ever try that?
xo
elyse
Karla,
Looks great! Maybe I’ll use this technique with my new armoire. I like your idea of using the metal in the doors as magnets. I’ll try it! Glad you are back to feeling well and working. The puppies are sooooooo cute.
Sandy
What a great, useful, and inspiring post! I’ve used the Glidden Gripper before on some furniture pieces as a result of a post you’ve done quite a while back. Curious as to why you used the gray this time. Was it to give more dimension to the color? It sure turned out beautiful! Any chance you’ll ever bottle and sell some of your energy in your boutique? 🙂 p.s. The pups are adorable…
Your furniture turned out beautiful! I think the reason it came out so well, is because of the base of the original finish.
Please put a link to the tutorial on your sidebar for future reference.
~elaine~
Your furniture paintings are gorgeus, -love the result-
thanks for showing.
xo Dorthe
just lovely, and a brilliant tutorial too ;O)
You are so right to say how it doesn’t need to be perfect. Every time I start painting something I think ‘oh no, it’s looking horrible’ then I remind myself that it’s not meant to be perfectly perfect!
have a lovely start to the week xx
Obligatory puppy comment: Adorable!!!! Your painting tips and techniques are so helpful. I will definitely give them a try sometime this summer. I have several pieces of furniture that need some transforming before they are ready to sell. Thanks so much, Karla. You are a great resource!
Looks fantastic, Karla! Thanks for the tutorial – I really must try this.
Wow, those turned out so well. I never would have thought to use the gray underneath or the shiny wash. Amazing! The puppies are getting so cute!!
Great tutorial! Puppies are adorable! Looks like a fun, fashion show~ Hope you are feeling better! Did the surgery take?
Adorable! Ooooooh, newborn puppies are the cutest things! Thank you for sharing their growth with us.
Your tutorials are always fun. It is a talent that you turn major projects into easy ideas. Very nice! It will be interesting to see what you find at the flea market this year.
Good luck and have fun with your new fruit trees, too. Will you be canning the extras in fall, or giving away your surplus?
Furniture: beautiful; puppies: beyond beautiful!!!!!
What a fab tutorial Karla! I love those puppies! thought of you a few days ago when up at the local shops, a man was walking two yorkies. he was surprised i knew what they were, i thought of twinkle and jenn’s babies 🙂
Karla, Karla, Karla…what a beautiful dining room. The colors are so subtle and nothing I would ever thought would have worked and they are totally perfect together. How do you do it?
That has got to be Sugarwing’s mama. I think I see some “Sugarwings” in her face. Very funky. I love the idea of repurposed clothes.
Those pups…oh, how I would love one…but I already have Sophie and Harvey the Rescue Dog. That is all I can handle!!!
Darling puppy!!
Hippy Chick Mom is beautiful!!
And love the furniture re-do!!
Blessings,
Myrna
Hi Karla, Thank you, Thank you for the puppy pics!!
I’ve been hoping that you would be posting more of them.
They are sooooooo sweet!!
I also love your tutorial on the furniture! It is
gorgeous.
Hugs,
Janis
I love your tutorials! Thanks!
Hi Karla, Your refinished furniture pieces are exquisite, thanks so much for sharing!! What kind of porcelain crackle do you use to get such beautiful results? I’m in the process of redoing my Queen Ann d.r. chairs with decoupage and a crackled finish and like the fine crazed look over the large weathered cracks of typical crackle. I appreciate any suggestions and info. 🙂
Sharon
Karla, thank you for the tutorials, I am learning so much!!! By the way my sister told me about your site, ty sis.
Pretty good post. I just stumbled upon your blog and wanted to say that I have really enjoyed reading your blog posts. Any way I’ll be subscribing to your feed and I hope you post again soon.
First of all, I’d like to say the puppy is so cute, looks so adorable:) I like the method you used in refurbishing the furniture, applying heavy coat of porcelain crackle glaze is fantastic.
Interesting and just exciting project that brings an awesome charm to the old furniture pieces.Impressive techniques to give cool to the distress furniture,I just loved the new ideas which are all applied in this project.