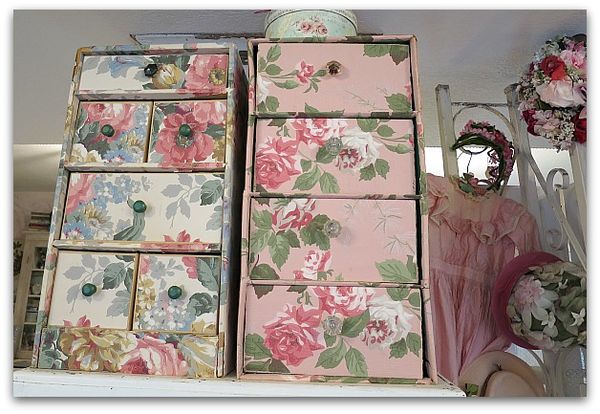
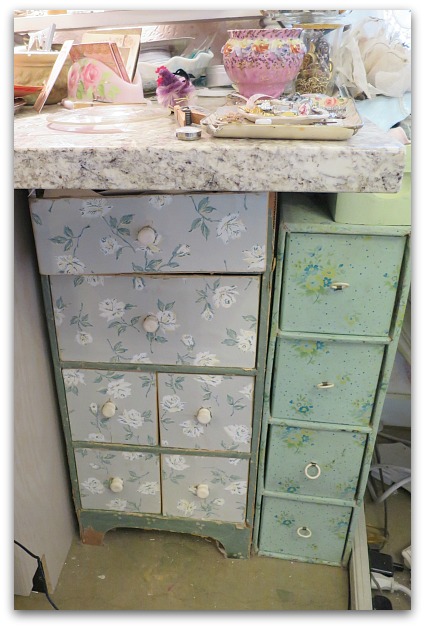
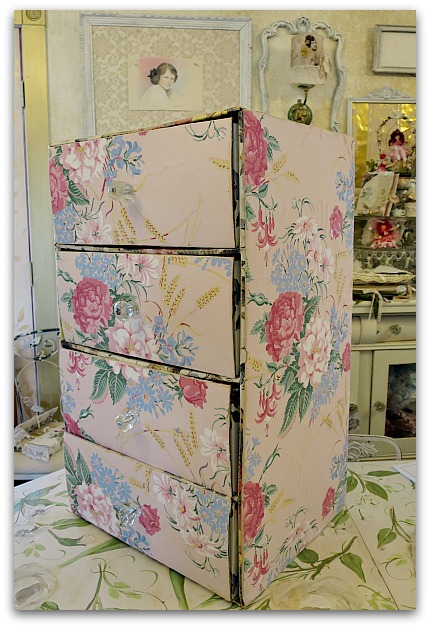
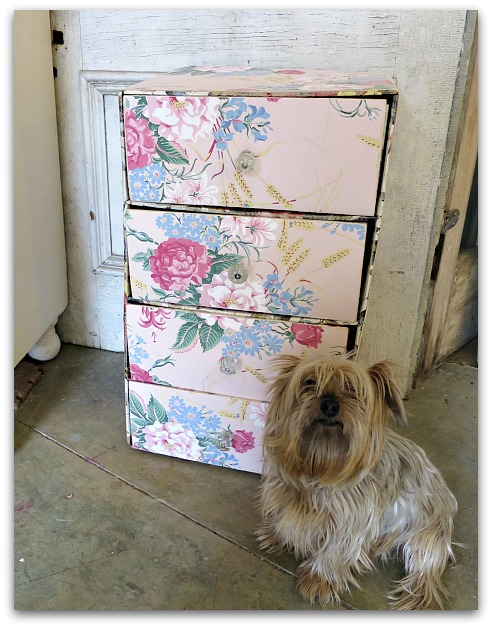
I've got a thing for old drawers covered in wallpaper and collect as many as I can for studio storage. But, they can be rare, or pricey. So, when I find a newer set for cheap, I give it a makeover. Like the one on the right. The left one is an original, old chest of drawers, the pink one is a 50 cent piece I got at a garage sale and recovered myself.
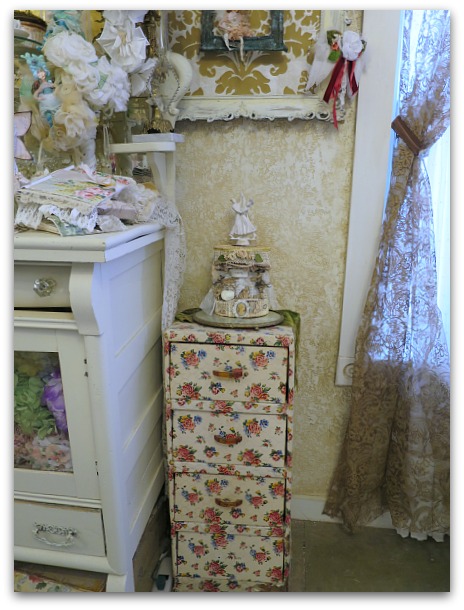
This one is old too, and it is covered in vinyl, not wallpaper like most are.
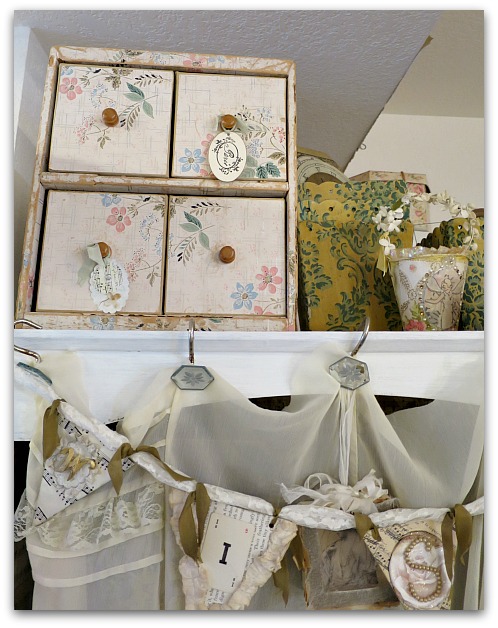
And I like this mini one too.
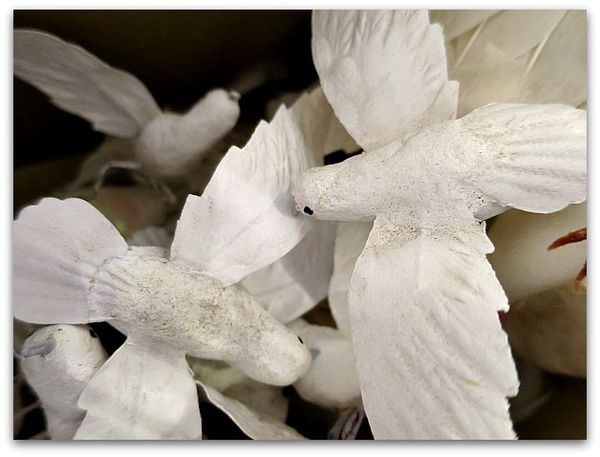
It is full of birds, eggs, and butterflies. These whitewashed birdies were an estate sale find that Beth passed on to me.
One thing I like about these, is that they can be tucked away into odd spots to create storage. Or sat up on top of other pieces.
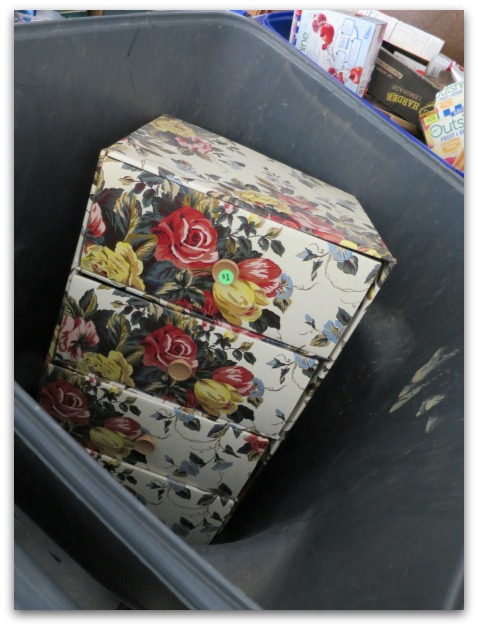
When I saw this tossed away in Beth's trash can, I had to rescue it.
First step- remove the knobs. I had some glass ones to replace these plastic ones with. Which is what I also used on the previous set of drawers that I redid. That is probably not an accurate thing to do, most of these little chests sport wooden knobs.
But glass knobs are my fave and I stick them on anything I possibly can. The ones I selected for this project are vintage, but I've seen some nice ones at Hobby Lobby that go on sale for 50% off an a regular basis.
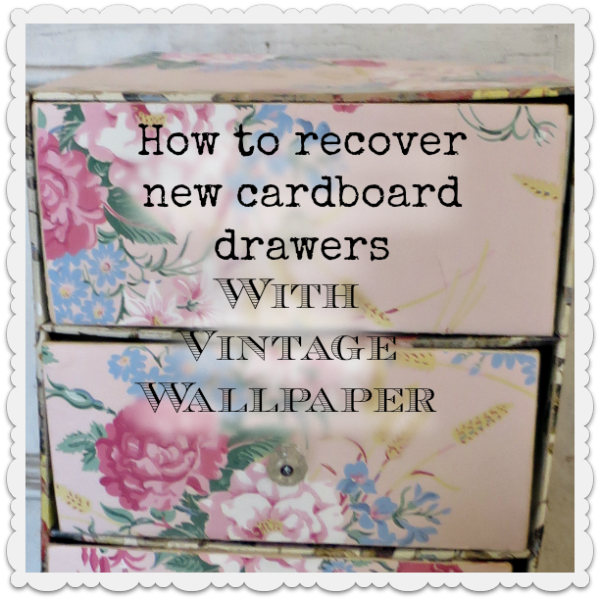
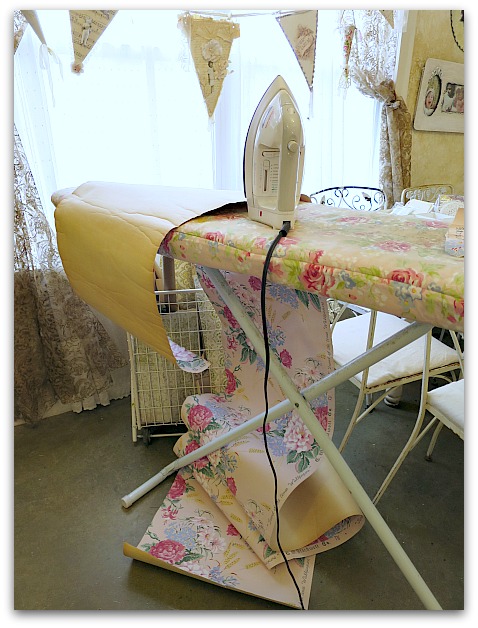
Second step- choose your paper. I have a few billion rolls of vintage wallpaper (a little addiction of mine), and knew this pink with roses would be ideal for these drawers. But the roll was not only old, it was near its end, so tore very easily. A bit of ironing helped smooth it out so I could work with it.
Too bad the existing pattern was sooooo 80s. And so shiny. It is printed cardboard.
But that could be fixed. I decided that since I was redoing this for myself, not to resale, that I would leave the interior as is. If I was passing this along to a client, I'd have either painted or covered all of the shiny, printed cardboard design.
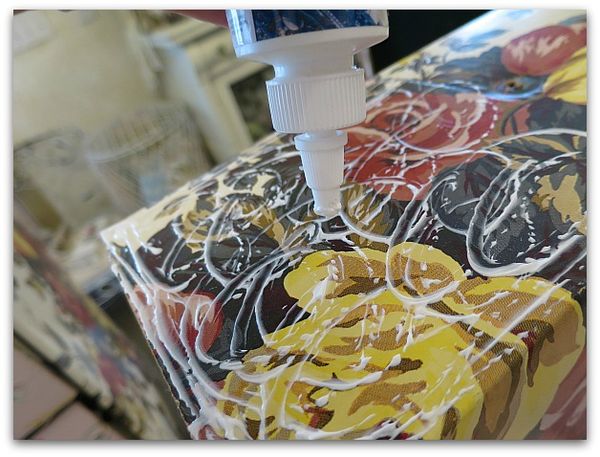
Using Crafter's Pick The Ultimate glue, I covered the front of a drawer, getting right up to the edges, then pressed the pink paper down into the glue.
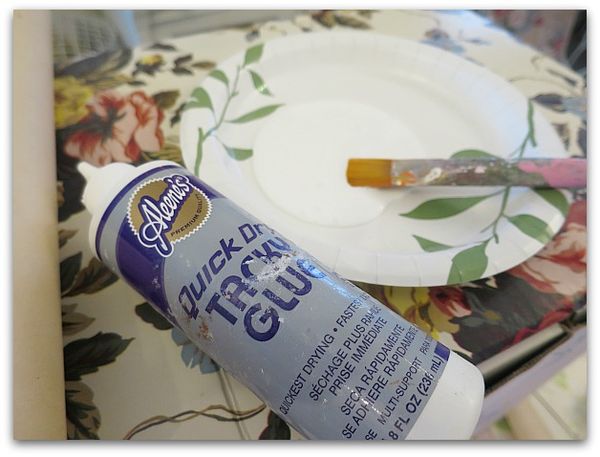
The sides were too big to try to do with a squeeze bottle, so I put a thinner glue on a plate and brushed it on. I still used the Ultimate on the very edges, though. They stick down better with a stronger glue.
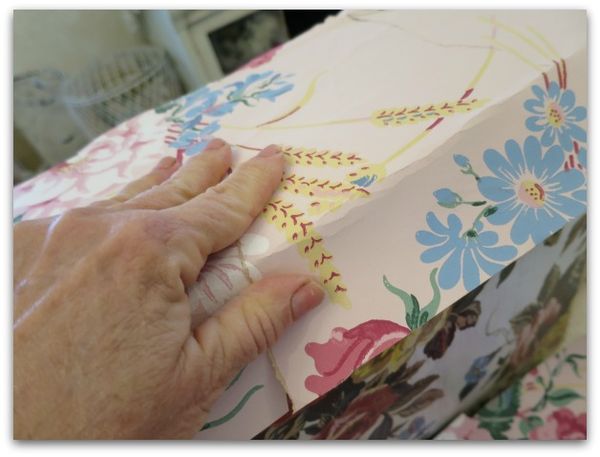
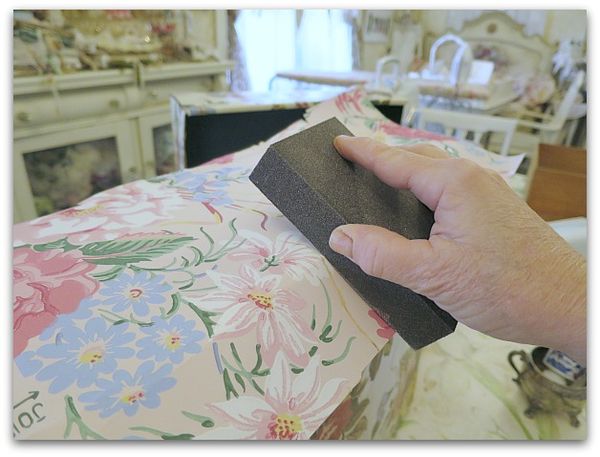
I don't precut or measure. I eyeball the paper to get a size that is close, glue it down, then I crease the excess paper and use a sanding block to "cut" the wallpaper to fit. No scissors.
The sanding block should be used only in a downward motion away from the edge. It not only buffs and burnishes the paper's edge tightly to the surface, it cuts off the salvage.
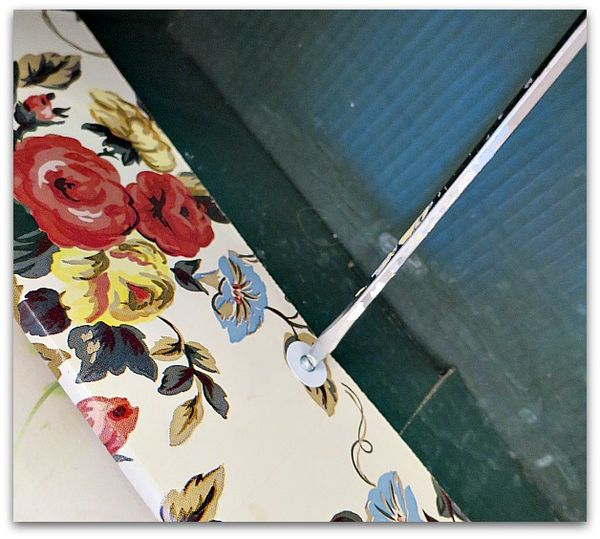
When possible, I lined up the side of the paper to the edge of the drawer. Less waste of paper that way. But I still used the sanding block on it. The above photo shows why. The straight edge of the wallpaper is glued down, but doesn't look quite right.
A little buffing with the sanding block, and it looks much better.
I also discovered, that I could take the gloss off the printed cardboard on the bits like this between the drawers that didn't get covered in vintage paper.
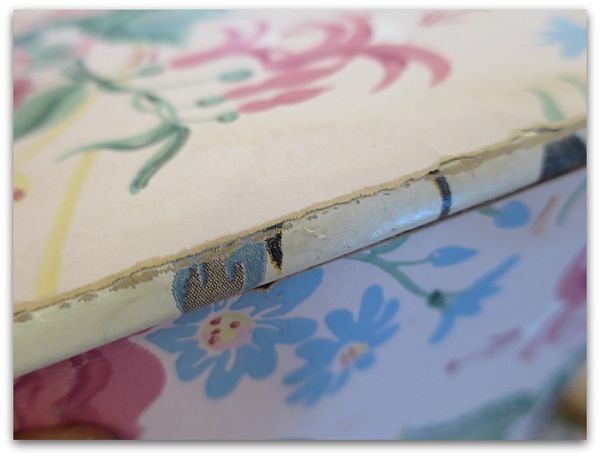
This is the side of a drawer, with the printed cardboard left as is and the vintage wallpaper adhered to the front. One tell tale sign that these cardboard sets are not vintage, is well, that they are cardboard and it shows. The really old ones are on wooden frames.
Now, I could have wrapped my paper around the sides like I did on the one in the very first photo on this post.
But I didn't.
Lazy?
Hmm, maybe.
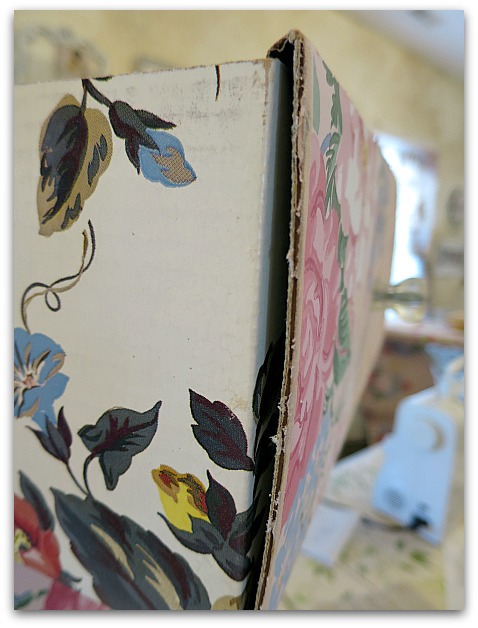
I squirted a lot of Ultimate glue into the crevice and weighted it down to dry, that lessened the gap and helped hide the fact that this was made of cardboard.
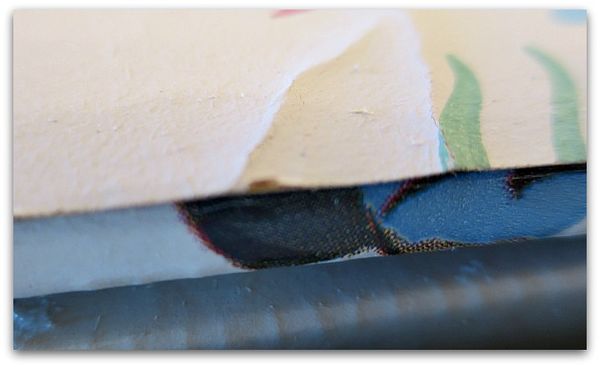
I'm afraid that this picture doesn't show that last step. This is the picture that made me want to do that last step, though. Those gaps bothered me.
At first it bothered me that this was a little wonky, then I looked at the old ones I was using around the room. Well, wonky seems to be the natural state of most of them.
Sometimes you get wonky! It’s yours, it’s OK! In fact, it’s simply beautiful. I love the paper you chose — looks as though it’s a perfect companion for your studio and your tips, as always, as crystal clear. Thanks, Karla!
Really loved your redone drawers! Floral patterns are my favorites and the paper was so pretty. A very cool project! You are so nice for always sharing instructions.
hello my name is tara lane i like this cardboard dresser i want to know if you can make a vanity table so i can take to camping for next year and all so i has a hard time to find a nice white cardboard dresser in 6 drawer and all so i love to do hair dresser i make many kind of hair dresser i want to know how much the cardboard for to make a vanity table w/ mirror i love pretty bedroom set i know how to make a house it is made of camping tent i known how to make it look so pretty i buy like fold things and a popup stuff like that but i need somebody to make me a cardboard vanity so i can make a bedroom in tent i love to go camping i want to know how much cost to make a big vanity table for me to take to camping thank you and have a nice day bye good night bye
i love it, i had one when i was a kid, floral and these remind me of my childhood somehow
I have been searching & searching for cardboard storage drawers just like your teal ones have any knowledge of where to look?