It's that time of year, when gifting is on our minds. Sometimes, the wrapping just about does me in. One year, I did the smartest thing, I used ONE GIFT BAG for the whole family!!
It really was a lifesaver that hectic year. I made a pile of pressies for each person, in the room right next to the tree. Then, I took a large gift bag back there, put one present in it, and brought it out to be opened. Then I went back and refilled it, with something for the next person. It was funny, and we had a great time, with me playing Santa one bag at a time.
But if you are not rushed, and would like some special presentations, here is an idea.
I love these plain, wooden or paper mache boxes from Michael's and Hobby Lobby. They are great to decorate and fill.
One issue I have with them, though, is if you try to decoupage them, the lids don't always fit right. I've learned that it best to paint the area under where the lip of the lid will fit on. You can goober up the sides as much as you want, but stop your ornamentation right up to where the edge of the lid will be.
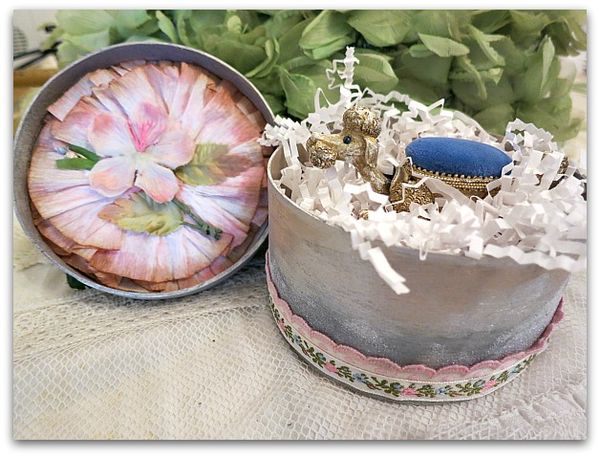
And don't forget to decorate the interior too. I usually paint the inside of the bottom part, and then do something unexpected inside the lid. (Do be careful not to have your embellishments get in the way of the lid closing, though)
This whole thing was pretty quick and simple. And nice to take the time on for wrapping notable gifts. The majority of my giving will be done in paper bags, but I do like to whip up a few extra nice packages here and there. The small boxes are only about a dollar each, and the decorations can be done with scraps, a little bit of paint, and glitter, plus an embellishment or two.
Here are the steps I followed:
- Paint the inside, and outside of the box metallic silver.
- Paint the outside rim of the lid also. And the bottom of the box.
- Brush glue onto the top of the lid, adhere and burnish decorative paper (I used vintage wallpaper)
- Buff the edges of the paper with a sanding block to make it smooth. I then ran a metallic silver ink pad along the edge.
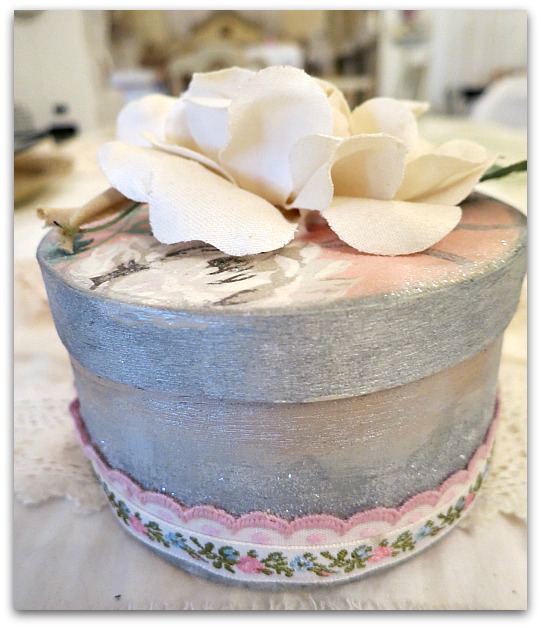
- Brush Elmer's glue along the bottom of the box, about half way up, and over the entire top of the lid, then sprinkle with crystal clear, fine glitter. I like Martha Stewart's glitter for this, it is very sheer.
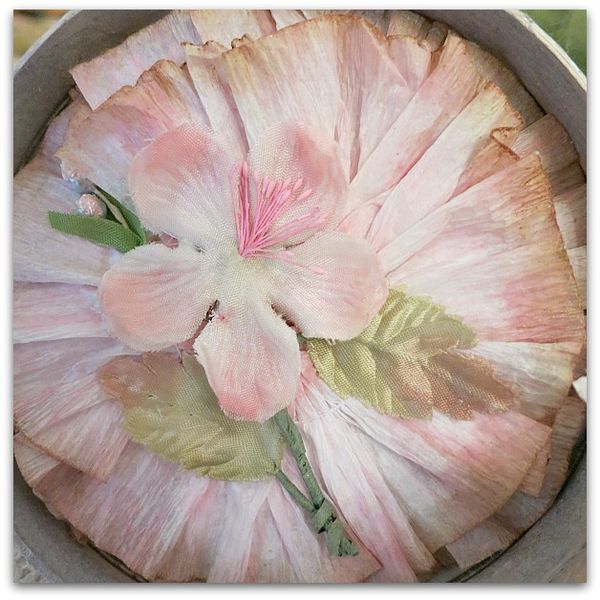
- When the lid dried, I drizzled glue on the inside of it, and laid two layers of ruffled wallpaper into the glue and added a flat millinery bloom to the center. (You could use lace, or other ruffles, and a sparkling, old gem for the same effect)
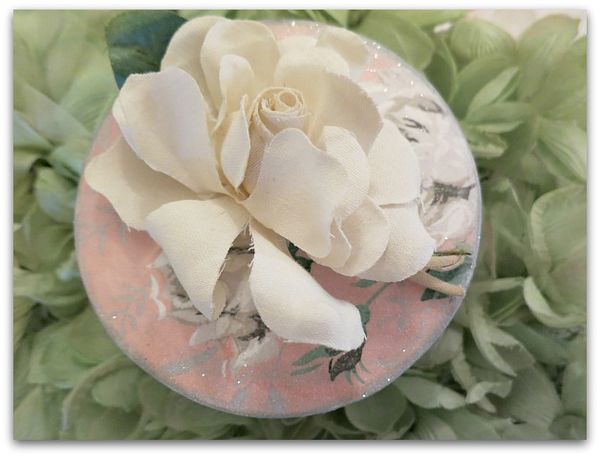
- For the top of the lid, I simply added a millinery bloom from my garden of floral hats. You can decorate the top as ornate or simple as you like.
- Run a bead of glue around the bottom of the box and press a ribbon or trim into it, cut to fit. I added a second layer too.


This is lovely, Karla — and it makes the box as wonderful as the gift within! Very thorough instructions, too!
Very pretty box, Karla! Thanks for the tutorial….