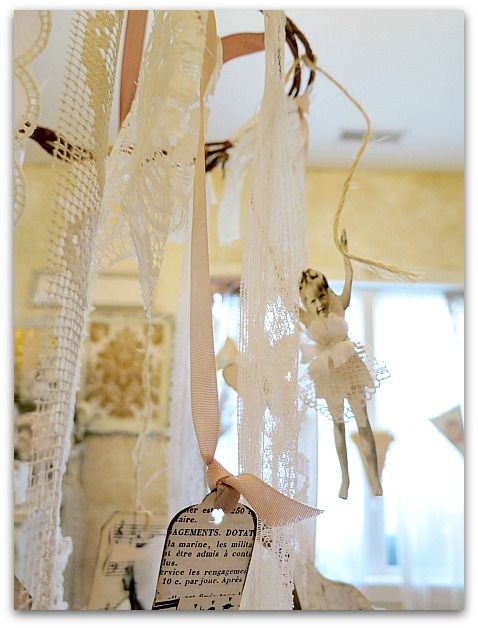
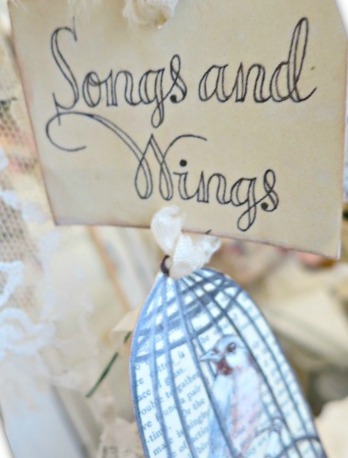
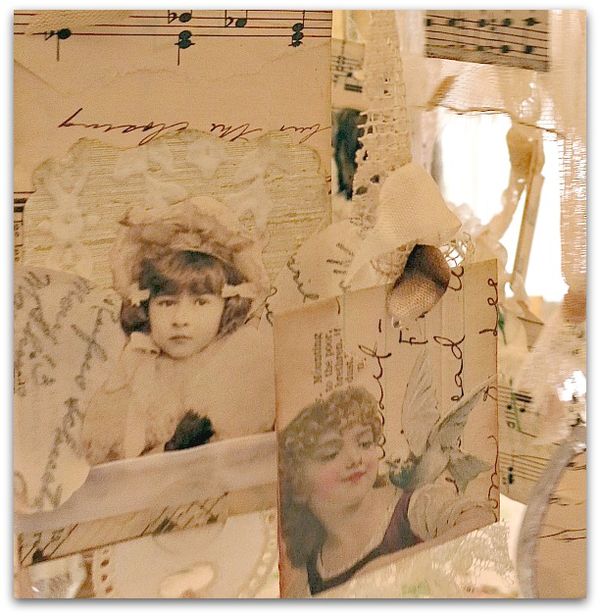
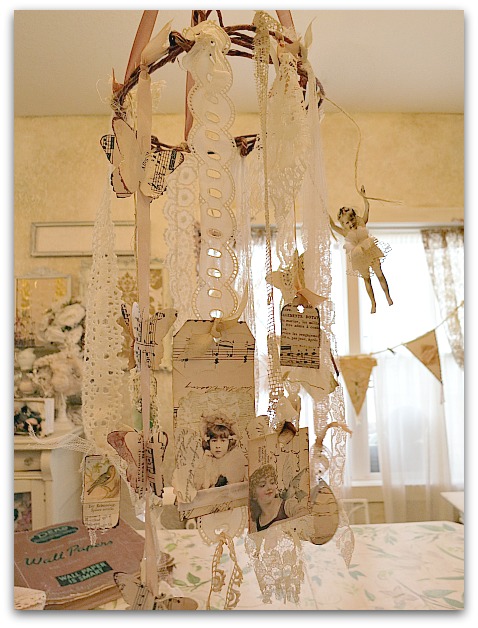
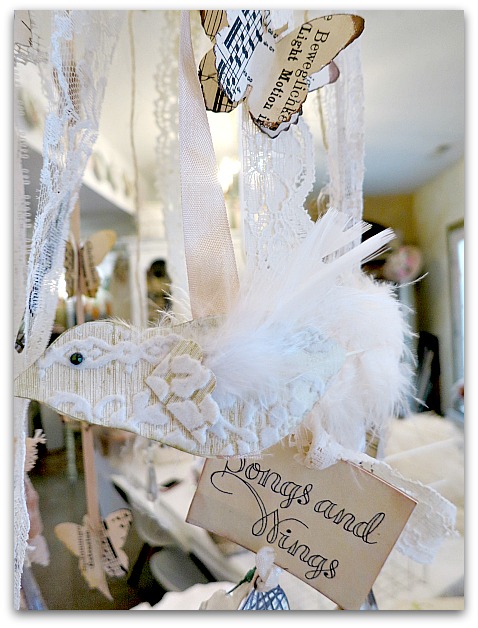
One down, one to go! I've been slugging away on making Birdsong 4 kits for my first project, this mobile, titled, "Songs and Wings."
When I saw this phrase in an old book, I knew it would be ideal for the mobile.
Strips of vintage lace, soft ribbons, and hemp twine dangle from a hand made wreath and each will feature a little treasure or two.
Making it and coming up with the design was so much fun. Packing up all the elements, was a little more complicated. Have you ever done kits? It is a process that takes a lot of time and care. And when they are made with vintage items, a lot of planning has to go into them, to make sure that all elements are of equal value and style, because these pieces are one of a kind.
Here is how I make up kits. First, as I create the piece, I keep a log of what I am using next to me on the desk. For instance, If I glue on a snip of velvet ribbon, I make sure to add that to the list. So that when the student is making her kit, she will also have some velvet ribbon to use. (don't you hate it when the teacher's finished piece is soooo cool because of all the great supplies she used, and then she gives you second rate knock offs of what she used herself? I've been there, and I've felt ripped off!)
Normally, I eyeball things, not measure. But when making a kit, I have to stop and figure out about how long that strip of lace was, or how much wire did that loop take, so the kit will hold the correct amount. And it is better to error on the side of too much rather than too little.
After the project is done and the list is made, I start working my way through it. I'll begin with one element, prep those, bag 'em up, put 'em in a box, then move on to the next item.
Once my box is full, over the course of a few days or so, I'll start bundling.
Once I have the correct amount of every single item that went into the original, I start "trick or treating". I'll open a kit bag, and go from pile to pile adding one from each stack to my bag.
While the design is still fresh in my mind, I write out instructions. As I type out the how to's, I save space on the paper to doodle some illustrations. Then, these and the collage sheets go to the copy shop, and when ready, get slipped into the bags as I wrap them up and add a label or decoration to the complete kit.
Usually, the bag is decorated with something worth saving and using in the project. A pretty bow, a flower, something along those lines.
I always make an extra kit up for myself. Since I try to be ahead of schedule and get these done months before the event (I get a creepy crawly feeling if I do anything last minute) I often have to open my own kit a couple weeks before the event to re-acquaint myself with what went into it.
I'm pretty happy to have these boxed up and ready to roll. If my arm wasn't aching from repetitive movents, I'd be patting myself on the back right now!
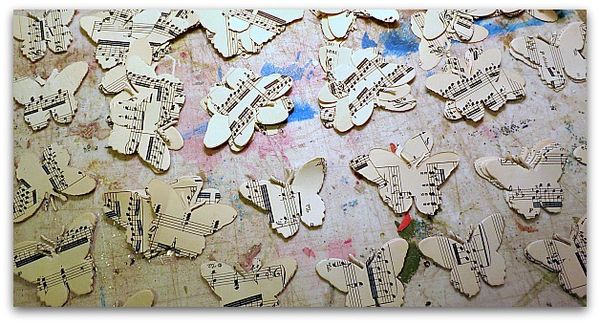
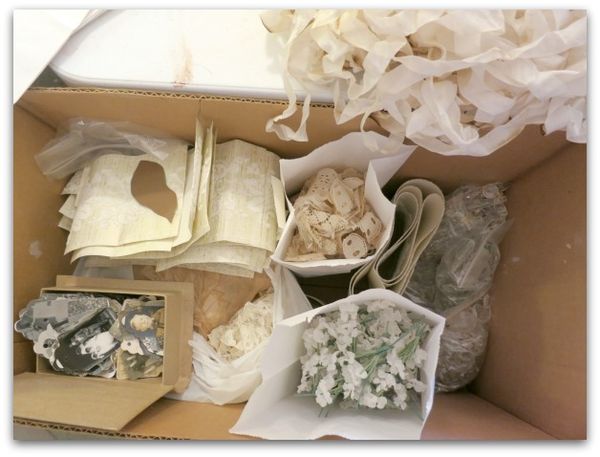
The project looks great and I just love how much care and thought you put into making up your kits. They are delightful.
Kits are fun to build, almost like putting together a puzzle.
Oh they look like so much fun. I can attest to your attention to detail – I love all the on-line tut’s that I’ve bought through the years.
My bursitis is in over drive too – must be the weather!
Leann
Oh good, Im glad you liked the tutorials, Leann. Feel better soon!
such prettiness! Lovely kits enjoy Grace xoox
Thanks, Grace! Im looking forward to the next set of kits getting under way.
Love it!
Me encantaron tus trabajos. Bonito blog, me gusta el estilo.
Saludos desde Chile.
Maru
Gracious, Maria!
Wish I was going. Just lovely! Can’t wait to see you at Downton though!
Ive been looking at photos of Downton Castle, and planning my mural for the event, it isnt as far away as it seems! Im so looking forward to it, Patty.
What a great help and good info on kit making. I’ve pulled together kits for very small groups and less complicated projects than those you do. Your method is amazing!
How I wish I could be there!