It is done!
That was a big job.
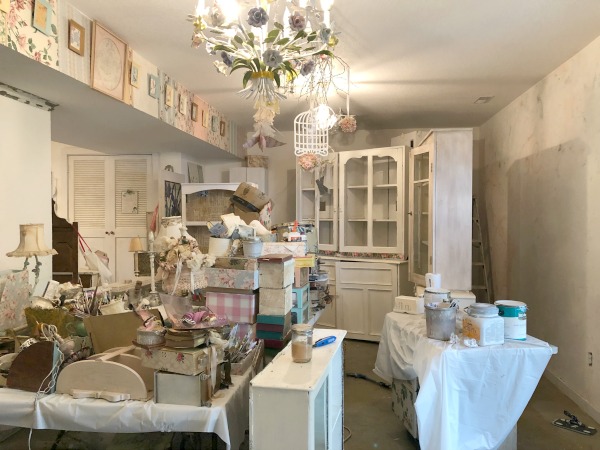
Here is a before picture. I love my studio and am thrilled to have it. I really had no complaints beyond my own messiness.
Here is another before.
Now, most of the messiness was every day work, that just happens. But some of it was from years of accumulation, of piles forming in spots because that spot was empty. Of things hanging up because there was a nail in the wall, not because that was a beautiful place to put it.
And there were years of dust behind large pieces that hadn't been moved in a decade.
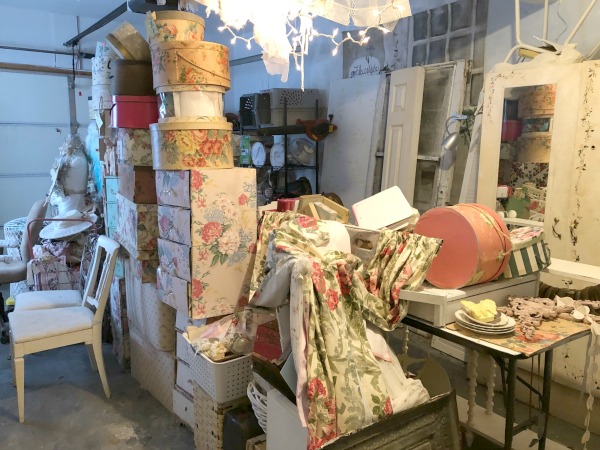
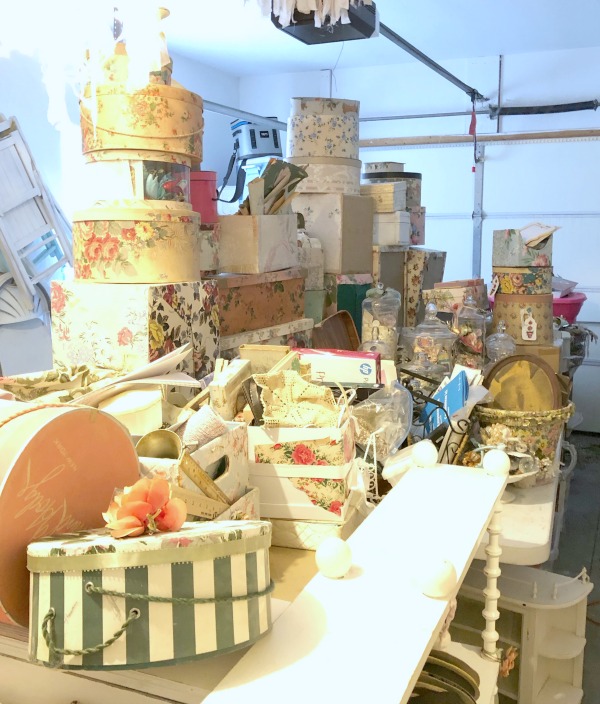
So, out it all went! I started at one side of the room and emptied all of the cabinets, piling the loot on tables in the garage.
Then, I piled up some more.
And some more.
I moved the large pieces away from walls, then rearranged them to a better location after painting, and moved on to the next section of the room. To handle soooooo much stuff, I divided the space in thirds. It reminded me of doing one of those little slide puzzles, where you have to manipulate squares from one area to another to create the picture.
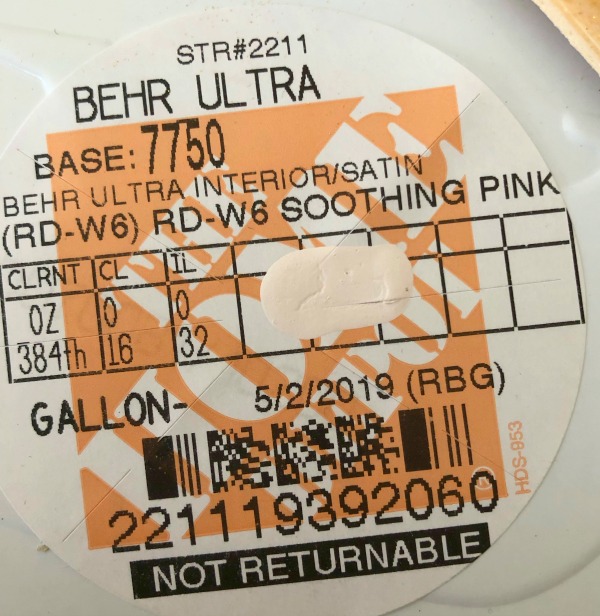
This is the color I chose, I wanted an almost white, barely there pink.
Behr is such a good paint, that it covers in one coat with slight touch ups. Even over the areas that were a darker color. (This room was many colors, and I wanted it more uniform, so it would feel bigger, and less broken up).
Menards sells a glitter additive for paint that shows up wonderfully and is a decent price. You are supposed to add one bag per can, I added three. And the sparkle is spectacular! I wish it showed up in these pictures.
That was a splurge, but worth it. I could have gotten cheaper paint, but would have needed more to do a second coat. I could have gone with less glitter, but the glimmers on the wall make me happy, and only cost an extra $28 for the extra smiles.
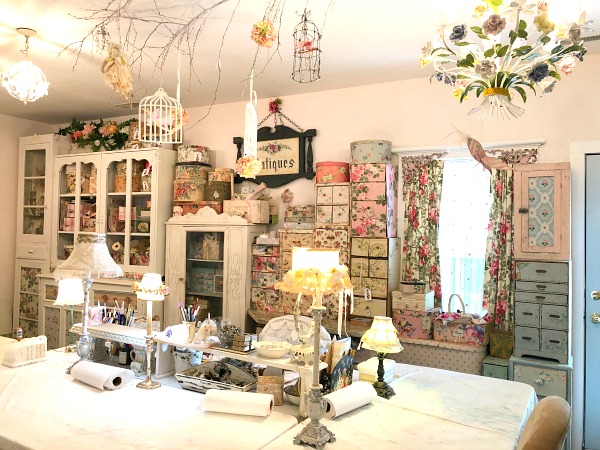
While I was painting, I did a lot of cleaning too. And even repainted the trim and baseboards a bright, glossy white.
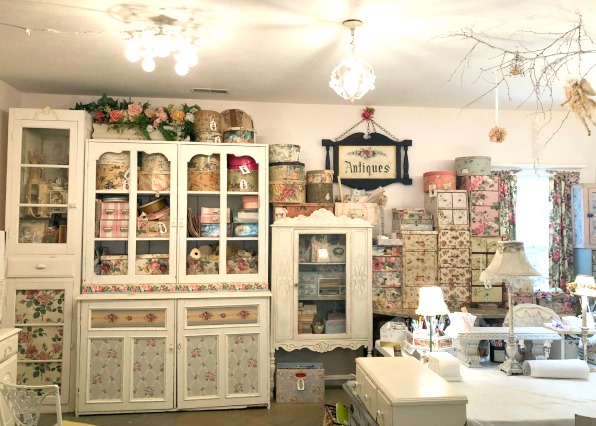
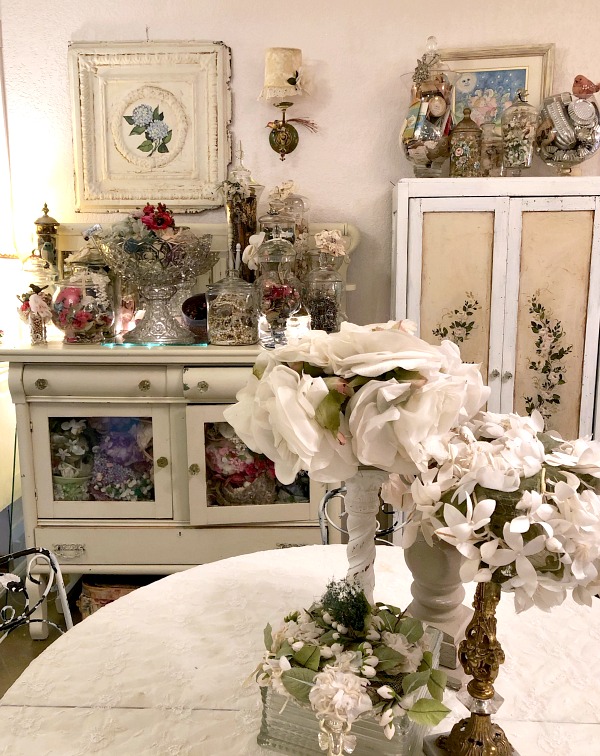
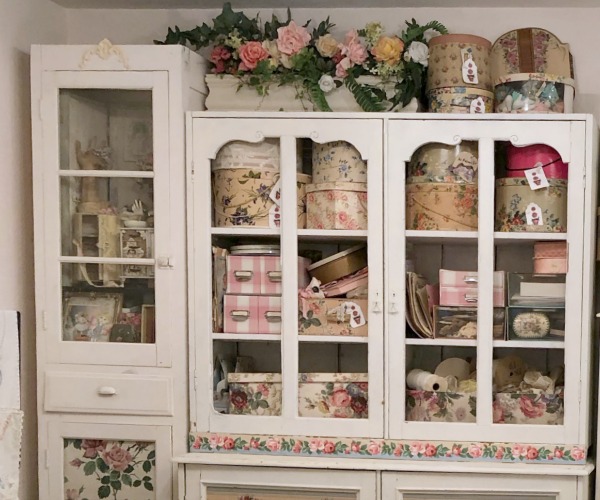
The interior of each cabinet got cleaned out too. The hats in the buffet are all resorted and stacked now.
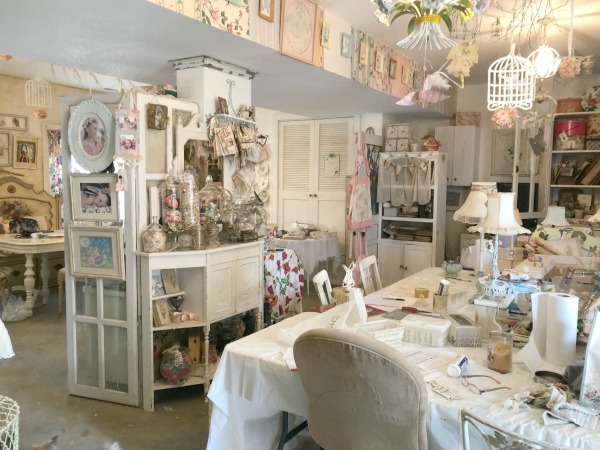
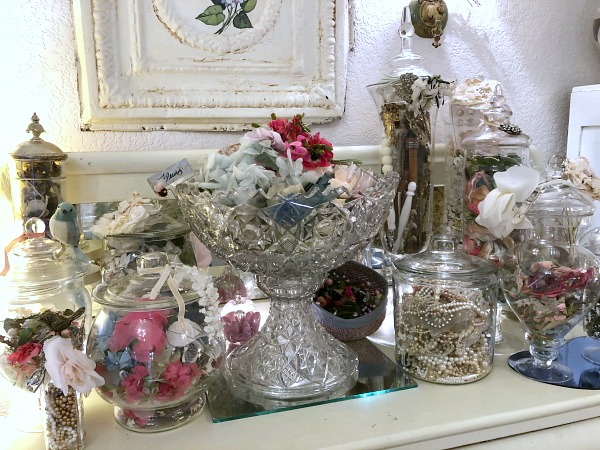
And these jars were emptied and washed before refilling.
The glass jars hold a lot of things that are used on a regular basis, and while they are now on the other side of the room away from my desk, they are still easily accessible.
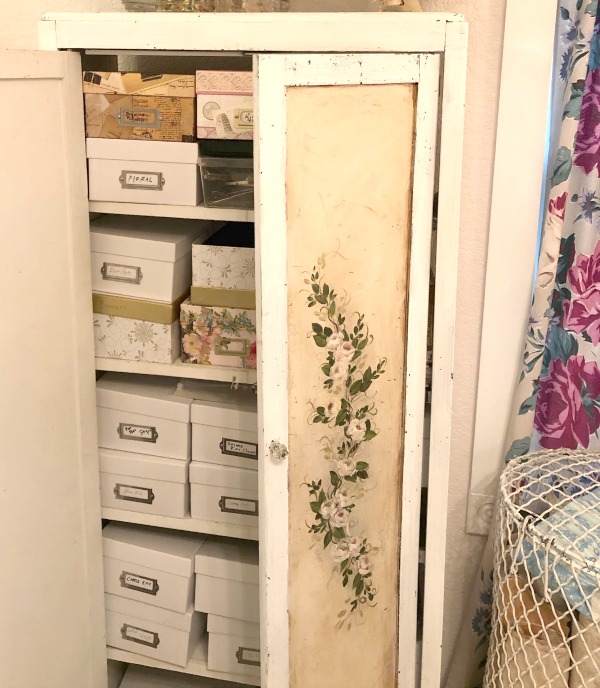
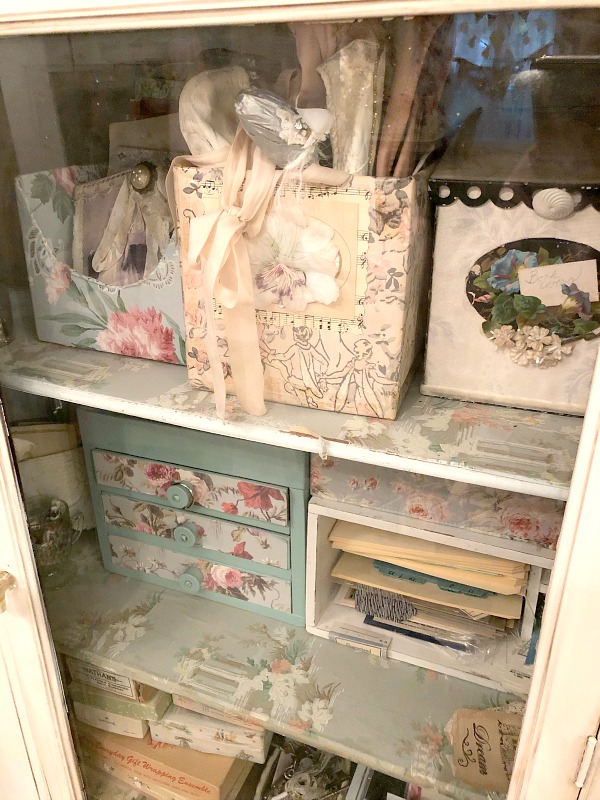
Boxes of things that aren't used as often are stacked inside this cabinet.
But my favorite part?
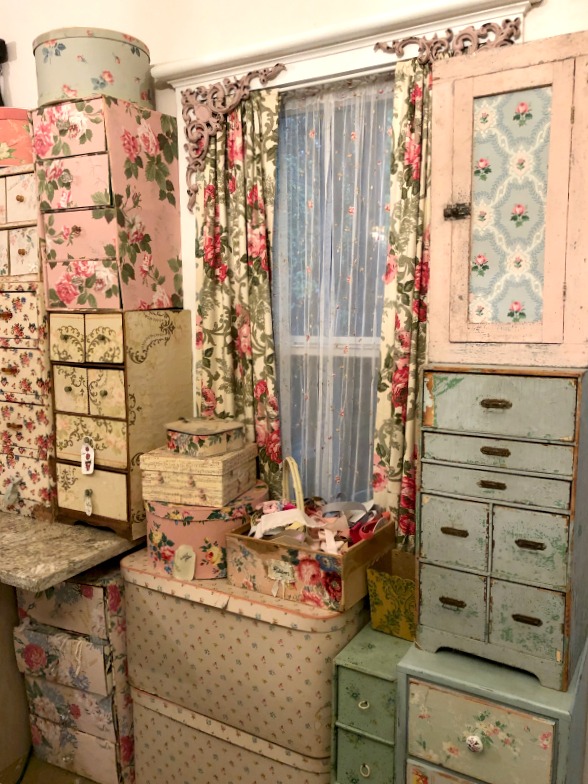
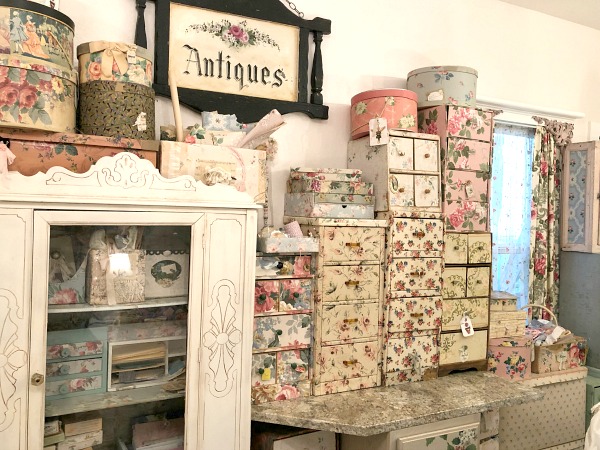
I gathered all of my collection of wallpaper cabinets, hat boxes, and storage pieces together in one area behind my desk.
These had been scattered around the room previously, and were nice, but I feel like they are more of a statement when pulled together.
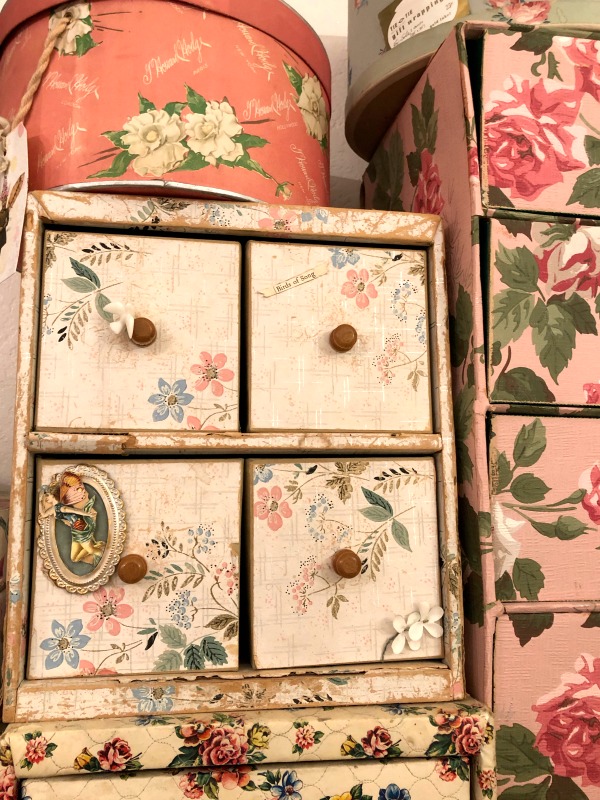
Plus, they are pretty functional. I have them labelled, if needed. Well, in my own way, there are labels. A fairy on one drawer means there are fairy related items, the flower means this is full of petals and leaves, and the top two are full of birds.
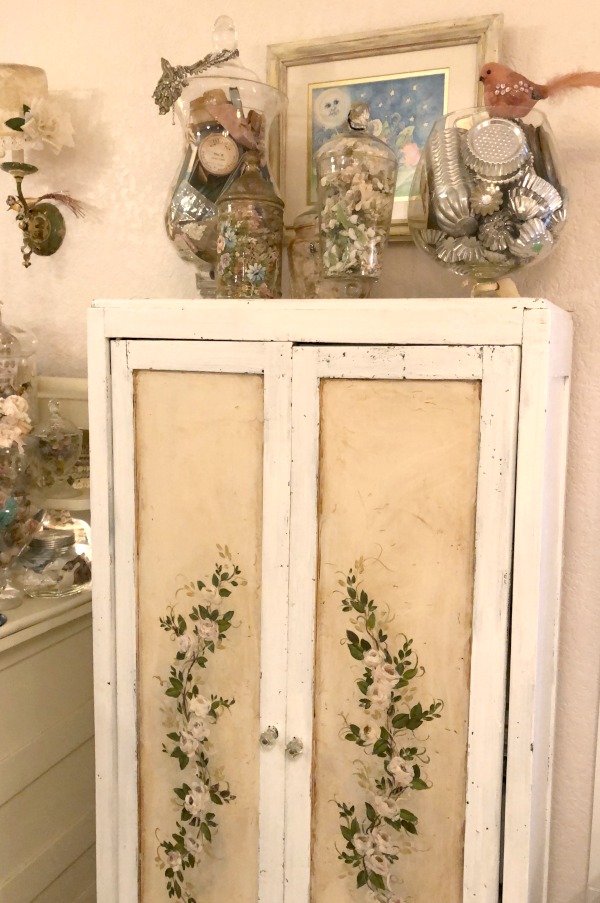
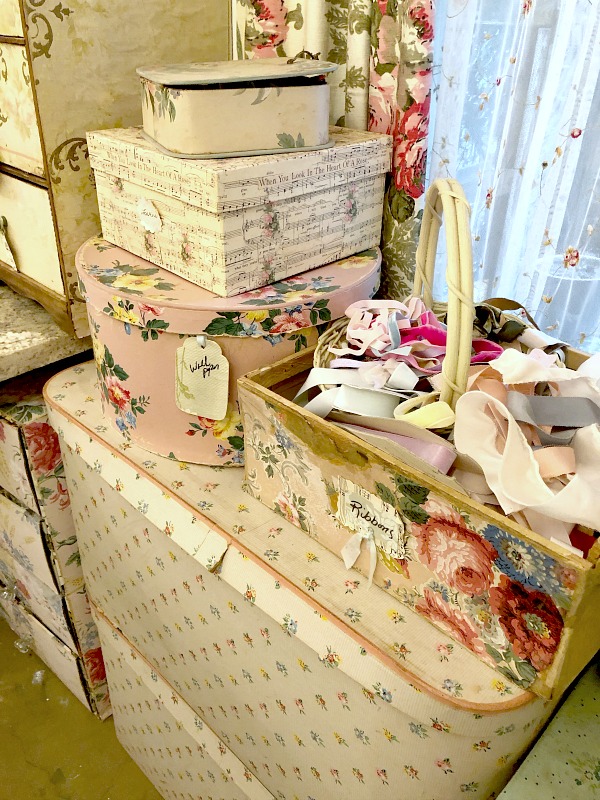
Each hat box has a tag on it and they are stacked up according to how often I have to get inside of them. Rarely used items are on top of the cabinet.
When I moved these two pieces of furniture to the wall behind my workspace, I thought they looked too ordinary, so I covered the doors with more vintage wallpaper.
I did the same with the pink, wooden cabinet on the top of this stack on the far right.
Some drawers don't have labels, because they contain the same supplies that they had for years and I am used to them. Anything that was newly moved was labelled for sure, though. And so far, I have been able to find what I need. By emptying the room, and putting things away carefully and thoughtfully, the places I put them made sense. Before, there were supplies stashed wherever they fit, not in the 'best' place for them.
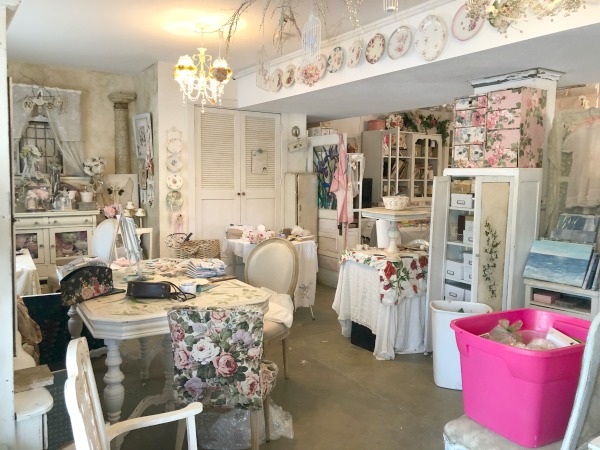
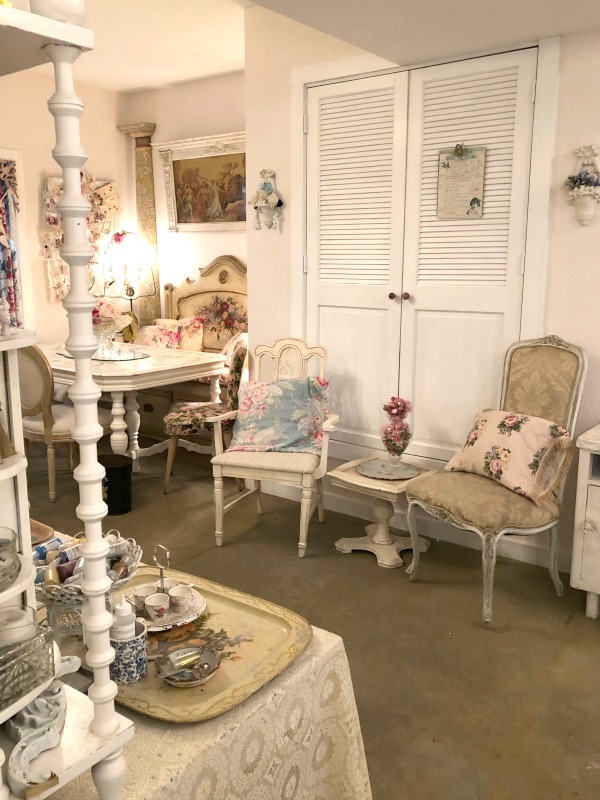
Surprisingly, I didn't have to get rid of any furniture to achieve my more spacious look! And the room really does feel bigger and lighter, even though it still contains the same stuff. I think that being more organized and putting the pieces in better spots where they fit together just right has helped. I had to use a tape measure to get the right configuration of this wall. And that is not like me, I am not quite precise in the things I do. I don't use recipes when I cook, or sketch before painting a big mural.
But these lil cabinets had to fit with precision, and all were slightly different sizes.
Hopefully, I will be able to keep up my new rule of a place for everything and everything in its place.
There are still some empty boxes and cabinet drawers, so as I collect, I can fill and label those too.
As much as I love the new, calm vibe in this room, I have a feeling I won't backslide into heaps again.
I have a lot more pictures of the rest of the room, that I will post later.
What a huge job!!! Good work!
Your studio looks gorgeous – good enough to eat. Thanks for sharing your photos. And by the way, are you folks ok after the tornadoes? Saw the news and it sounded too close to where you are. Take care. – K
O MY GOODNESS!!!!!!! DROOLING!!! Can’t wait for the next set of photos..
Your studio is one of the most magical places I’ve ever seen, with wonderous things in every nook and cranny. I can imagine how much work that was and applaud you for taking it on. Can hardly wait to see those glittery walls in person, and get a new view of all your treasures!
I loved your studio before and it is even more amazing now, which is hard to believe! You have just the perfect touch to make it look beautiful but be functional too! You inspire me so much that I hope to use a few of your ideas in my studio (like the glitter or baubles in a glass containers) I can’t wait to see it in person in November.
Looks wonderful! I so need to do the same!
WHATTTTT? They make glitter one can put in wall paint?! Oh Karla,you have rocked my world!…. or at least my sewing room!😘 Thankyou!
It looks incredible Karla! A beautiful creative oasis for talented you! 💗💗
LOVE your huge craft studio!
deb
You’re right, Karla. That’s one BIG job, and you did it brilliantly. It’s beautiful.
I absolutely adore your studio! I have been watching you for several years now and I am flabbergasted every time I watch it! You’ve done such a good job! I can’t even imagine all of the work you’ve had to do to get it to look so fabulous! I have been working for years since I inherited my mothers house to try to get our space that looks decent and is usable!So far I’ve not been successful in completing anything! Kudos to all your work and your fabulous craft room
Karla its beautifuly organized! I love all the cabinets and vintage wall paper. I am in the process my self of organizing and junking things I know longer need or want or have to much of. It is for sure a process. I had really let it go and then just kept adding things that I no longer knew where anything was. Its coming along slower then I had wanted due to I am the care giver for my grandchildren. But I am slowly getting there. TFS I can’t wait to see the rest of the room. Hugs V
I am so in love with your work space, absolutly gorgeous.
As eclectic as this room is, it looks so pulled together and perfect. I love the Shabby Chic, but I don’t know how or where to start.