The sale in the Boutique and on Etsy is still on!
Use this link
and type in the code:
2012
then hit recalculate, and save 40% in the boutique!
for Etsy, type in the code:
happy2012
to receive 50% off!
Thanks for all the clearance shopping you have done with me! I've been boxing, packaging and shipping all week. Now, I'll be cleaning up and deleting all the "sold" items, rethinking some items, and restocking soon. In the meantime, you still have time to take advantage of these prices!
My visit to California to stay with my pal, Kim, was such fun. Did I mention what a PERFECT hostess she is?? Her family made me feel very welcome. Their house is beyond pretty, but is also comfortable and homey too.
I'm the kind of person who likes to be doing stuff, so when I stay with someone, I'm always happy when they let me play with paint and redo something in their house. Once while visiting the Guncles, they let me repaint all their kitchen cabinets, and on a trip to Indiana, Sissy let me redo her bathroom. I enjoy the process and like to see the changes, and when the host or hostess works along side me, its good chatting/bonding time.
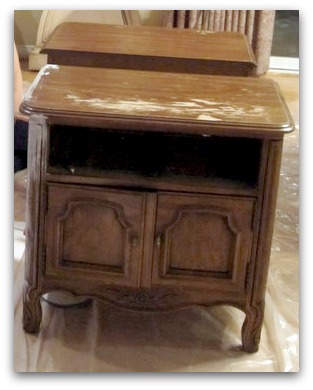
Kim's bedroom was filled with a set that she'd had since she was a little girl and it was sentimental to her, but needed an upgrade.
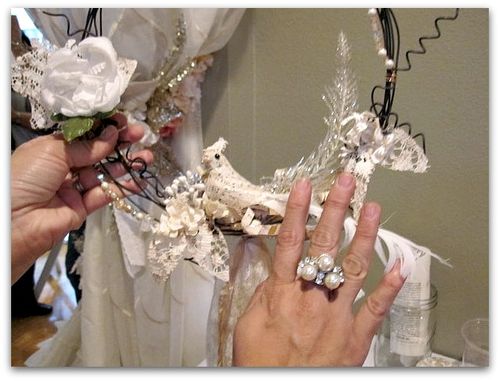
While I was there, we had two classes for all the ladies who attended her day long gathering, one was a wire wrapped wreath with a nesting bird.
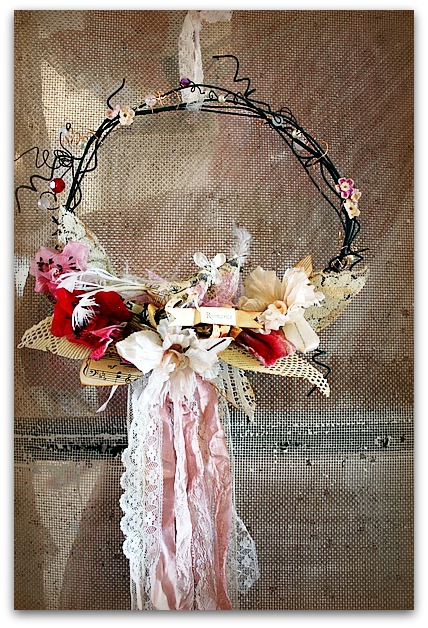
I'll be teaching this one again at Paper Cowgirls in Texas if you are interested- or please email me if you'd like to come to my studio to make a Valentines Day version on Sat. Jan 28th, I'll do a class here in my studio for the afternoon- $65 includes all materials, lunch and dessert. It will start at 10am, and everything needed to create the wire wreath with two nesting love birds will be included.
After we finish the wreath, we'll make some Valentine cards, I'll have some collage sheets made up for you to cut and paste.
And you know me, it will be the Good Stuff! All filled with vintage goodness.
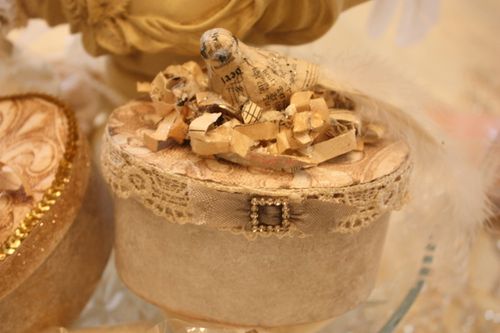
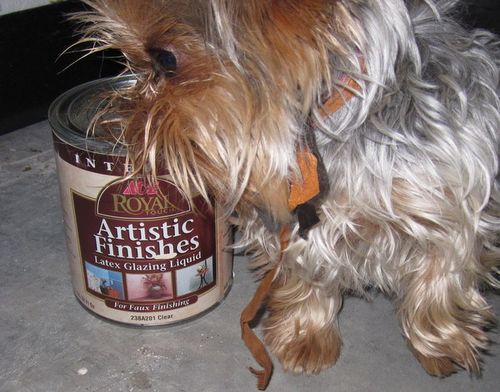
The other class we did in California was a faux finish and paint technique lesson that I showed on a small box.
Kim and I used the same ideas from the painted box lesson to redo the nightstands in her bedroom.
No sanding, no stripping, no paint!
Yep, NO PAINTING
We had Glidden Gripper, a water based, bonding primer tinted to a color she liked (Martha Stewart's "glass of milk"), and painted two coats of it onto the pieces. Right over the hardware and knobs.
Then, we scuffed it up with sandpaper to distress the corners and edges.
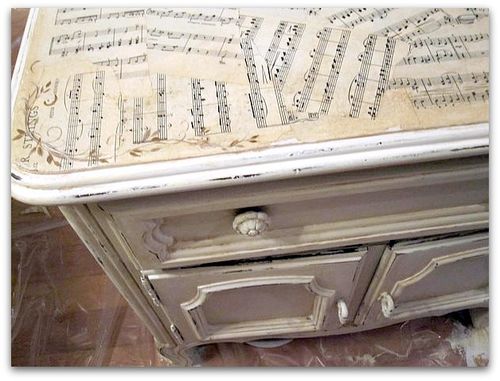
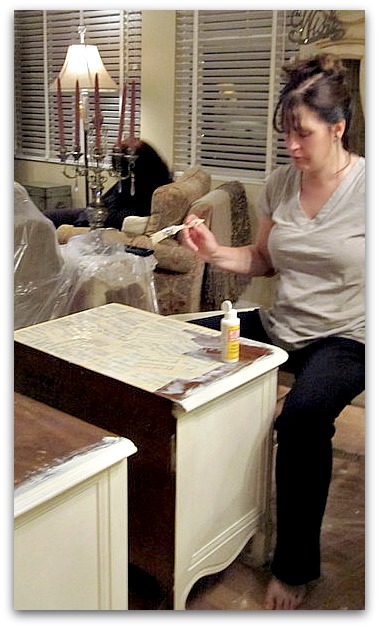
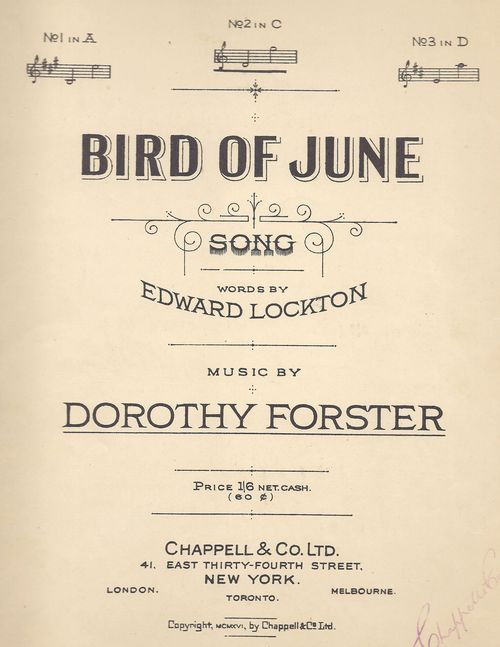
To jazz the nightstands up, she covered the tops in vintage sheet music. To decoupage ripple free, we painted the glue onto the table top, then dipped the paper into water to soften it, laid it into the glue, and then did a coat of glue over the top.
In the front corners of the table tops, we hand painted some sweet little vines for a special touch.
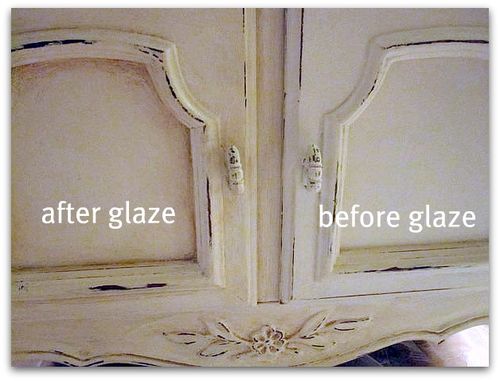
So, at this point, its primed, distressed, and decoupaged.
Over that, we brushed on a creamy brown glaze, and wiped it off. We glazed over the sheet music too.
Apply the tinted glaze heavily in corners and around the edges of the piece, and wipe away toward the centers. You want to leave the corners, cevices, and edges darker than the flat, smooth parts and centers of the doors, top, and sides.
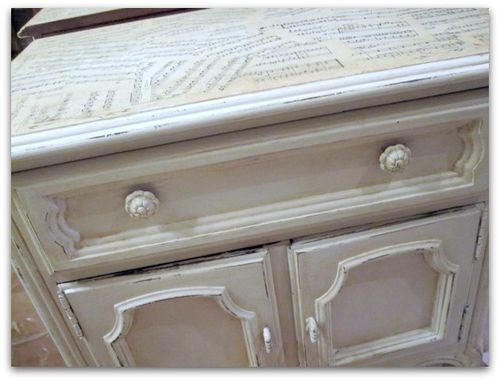
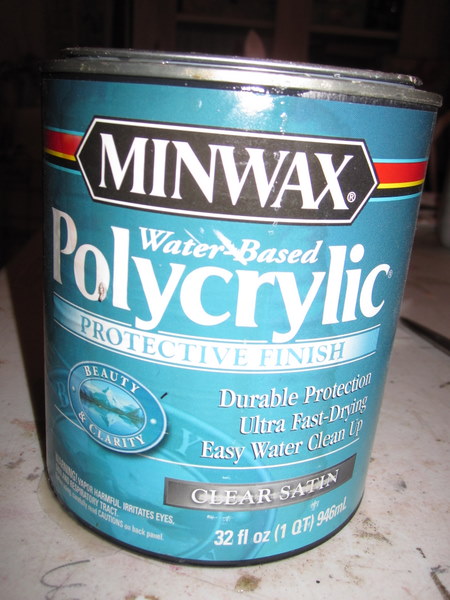
The last step was Minwax Polycryllic, a clear, water based topcoat.
For more short cut furniture painting tips, look under "tutorials" on my side bar.
***********************************************************************************************************************************
(you can click on this, open it in a larger window, save it to your computer, then print it)
This Sunday, sign ups are open for Birdsong! We filled up halfway this week, but still have room for new friends to come and play with us here at my cottage studio.
If I don't see you then, maybe I'll see you for the Valentine Wreath party? I do love company!
Hi Karla
Thank you for another great post on painting furniture. The information is very timely. I have purchased a painted piece and of course I want to change the color. The person that did the painting used the chalk paint that is so popular along with the wax. Any ideas about removing the wax? I can imagine it gumming up sand paper. I was thinking about TSP? Once the wax is removed I was thinking of using the technique you used in this post. I would love any suggestions or ideas. Thank you in advance.
Vicki
Thanks for the tip on dipping the papers in water before setting them in the glue. I love Mod Podge for it’s durrability but always struggle with the bubbles. Good to know!
Karla Girl,,,You won my Giveaway!! Congrats! Email me your Addy will you?
Hugs! Shell
You are absolutely AMAZING girl!!!! The furniture turned out so beautiful…You have a busy spring ahead, don’t you? I’m so glad I’m finally going to get to meet you and Beth! I hope you’re doing great and the family too….hugs and love, Dawn
That dresser is absolutely amazing!!! I am just amazed every time I come to your blog and see what you are up to, you just blow my mind! I LOVE LOVE LOVE it!!!!!
Those are amazing! Thanks so much for sharing! I wish I could do that! My cousin loves doing those kind of things. She just buys used furniture from http://www.ircahotelservices.com/Showrooms.html and then repaints the stuff and sells it. She makes some profit off of it. But mostly it is for her self so she can have some fun. It is one of her favorite hobbies.
I love the addition of the vintage sheet music. In this age of giving gift cards, the idea of personalizing a piece of furniture with a new finish tailored toward the likes of the gift-recipient is really exciting.
Would you alter your approach when redoing antique furniture that has that old matte black finish embellished with gold paint design? I have my aunt’s rocking chair and I’d love to repaint it and use pages from The Little Match Girl (my favorite childhood book, which she used to read to me while we rocked in that chair) on the seat and wide head-rest. I just have this feeling that the gold might not be covered over so easily, but since I have no experience with it I could be completely wrong.
Thanks,
Denise
Just to let you know on my questions regarding painting my dining room chairs and table without sanding a cream color or off white I must mention there is no carvings or interest that will allow me to have glaze in cracks to show it off or make it more interesting kind of a boring set.
Hope this is a help in your answer
Thank you
Nice blog work for furniture.
Really love the photos! You’ve done a great job to restore these pieces! I especially love the old music print on the picture of the table above!
I have read many blogs in the net but have never come across such a well written blog. Good work keep it up
Good writing…keep posting dear friend
Spot on with this article, I really think this website needs more attention. I’ll probably be back to read more, thanks for the info.
There are certainly a lot of details like that to take into consideration.
Great article it was such an interesting and informative, can you plz tell resources for SEO, i have a web site and need to promote and make business. so it would be great your help thanks.
Great article
Great article
Thanks for sharing.
בדיוק מה שחיפשתי. תודה רבה.
Great post very nice.
פוסט מעניין, משתף עם העוקבים שלי. תודה.
Great post.
לגמרי פוסט שדורש שיתוף תודה.
סגנון כתיבה מרענן, תודה על השיתוף.
אין ספק שזה אחד הנושאים המעניינים. תודה על השיתוף.
Great post.
מזל שנתקלתי בכתבה הזאת. בדיוק בזמן
Very nice post keep posting.
אהבתי מאוד את סגנון הכתיבה.
אהבתי מאוד את סגנון הכתיבה.
פוסט מרענן במיוחד. לגמרי משתף.
Valuable site, where did u come up with the information in this posting? I am pleased I discovered it though, ill be checking back soon to find out what new content pieces u have.
Nice work
Garage Door Repair Ontario
חייב להחמיא על הכתיבה. מאמר מצוין.
מעניין מאוד, למרות שלא הכל מדויק לדעתי
החזר בלו
אם כי אני לא מסכים עם כל מה שנכתב, מאמר מעניין
טיפולי שורש
תודה על השיתוף, מאוד מעניין
Great article it was such an interesting and informative, can you plz tell resources for SEO, i have a web site and need to promote and make business. so it would be great your help thanks.
Thanks for the information and links you shared this is so useful and quite informative!
מאמר מצוין נהניתי מכל רגע של קריאה
מרתק כמה שלא הבנתי כלום עד שקראתי את המאמר הנפלא הזה
Hi there, I just wanted to say thanks for this informative post, can you please allow me to post it on my blog?
Very interesting article and informative as well thanks.
מרתק כמה שלא הבנתי כלום עד שקראתי את המאמר הנפלא הז
לא כל כך מסכים עם הכל כאן האמת.
So lucky to come across your excellent blog. Your blog brings me a great deal of fun. Good luck with the site.
Your post has those facts which are not accessible from anywhere else.
lock installation
Hrmm that was weird, my comment got eaten. Anyway I wanted to say that it’s good to be aware that somebody else also mentioned that as I had trouble finding the exact same info elsewhere. That was the first place that told me the answer. Thanks.
Thanks for this data I has been checking all Yahoo to be able to discover it!
grand central stations are really built with some great architectural design, they are very impressive.,