If I can do this, anyone can. I am not a patient, or even very good seamstress. But sometimes I need something and that do-it-yourselfer attitude kicks in, or I simply see a piece and feel like I have to give it a try. Like this duster. The design is one of the many, pretty projects featured in the Gilded Journey book that I was honored to have my travel journal tutorial in too.
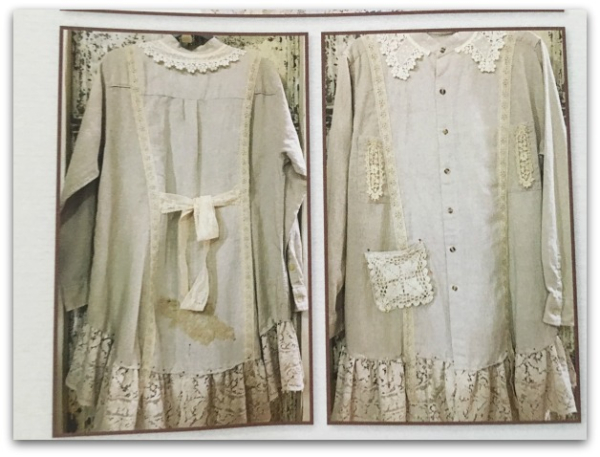
Here is the photo from the book of Lorri Scott's duster. Hers was so inspiring, that I was compelled to see if I could replicate it, and her instructions were very easy, even for a novice sewer like me.
Beth wanted to make one too, and offered up a stack of white dress shirts that her husband no longer needed due to a job change.
The shirts in the photo look like they are linen, and we were going with a cotton/poly blend, so I knew ours would be a bit different. But we figured that anything you added a ton of lace to would have to look good, right?
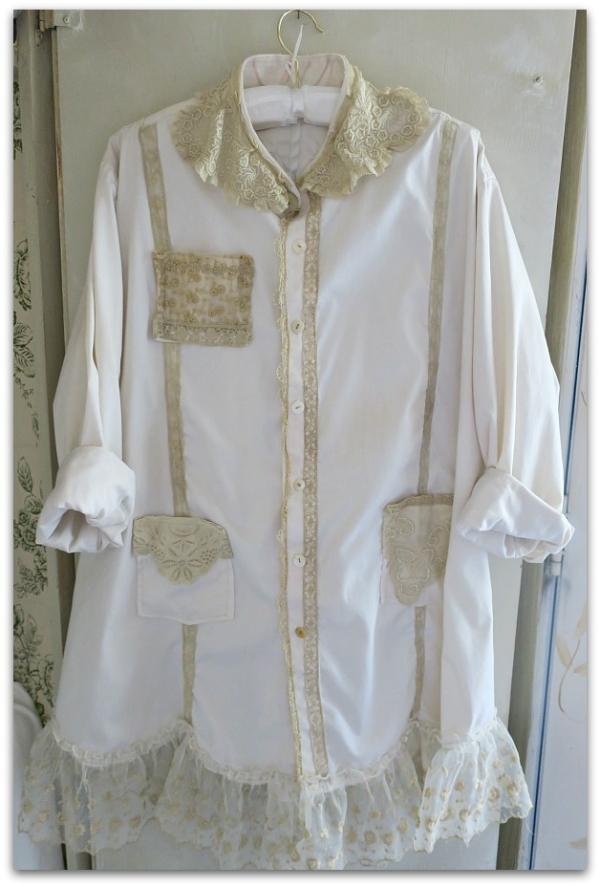
Once mine was all put together and I had plenty of lace sewn over my hideous seams ( I really am a poor seamstress), I decided to dye it. The poly blend fabric wasn't going to grab the color very well, but I'd hoped that it would take well enough to take the edge off of the harsh white and tone the shirt down to go better with the vintage lace. And I think it did just that.
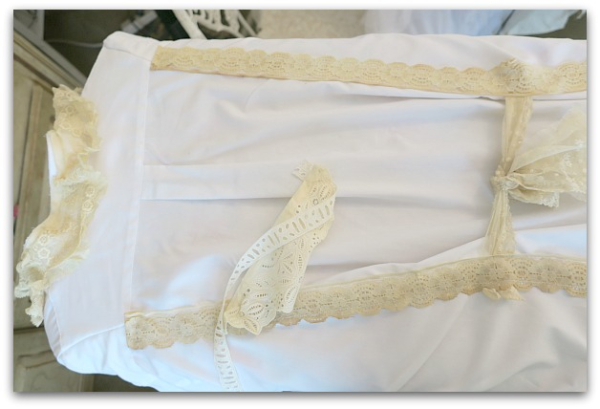
This photo is from before I dyed the piece, and I don't think you can really tell the difference in the pictures, but in person, it is just enough of a change. The lace itself took the dye better than the shirt did, yet, some more than others. I'd expected that, different fabrics soak up dye in various ways. I could've waited to sew the trims on after I dyed the shirt, but I like that mismatched dyed look.
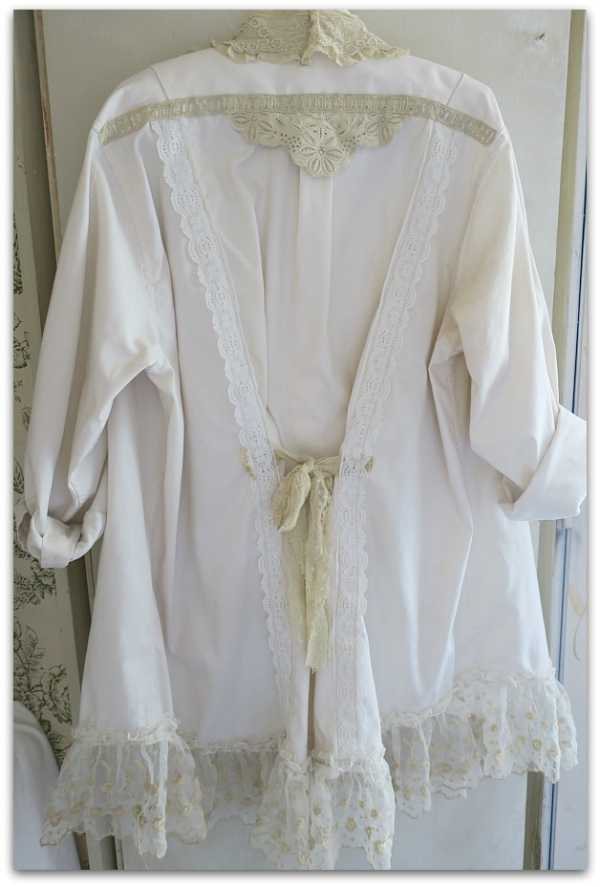
Here is an in progress shot, you can see the glaring white a little better in it. And tell that the laces were a bit more creamy to start with.
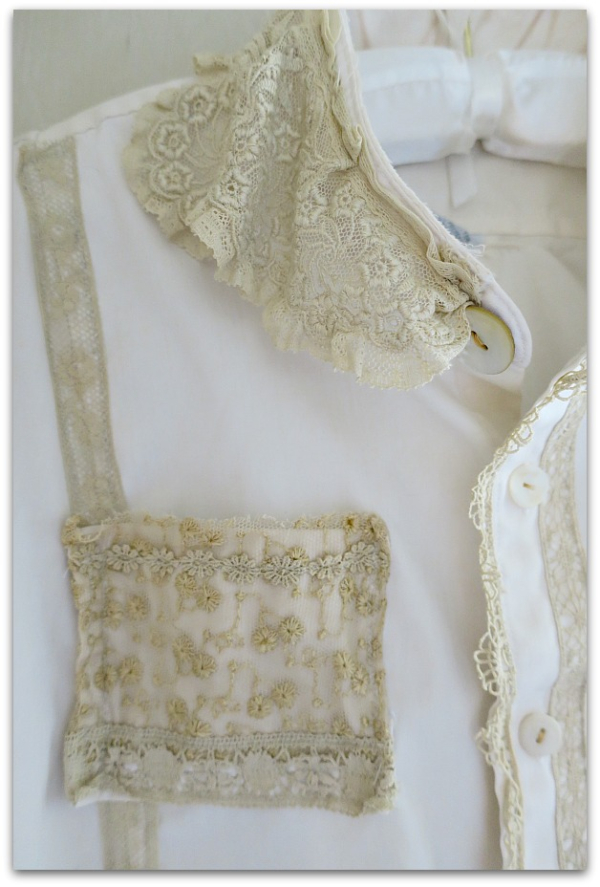
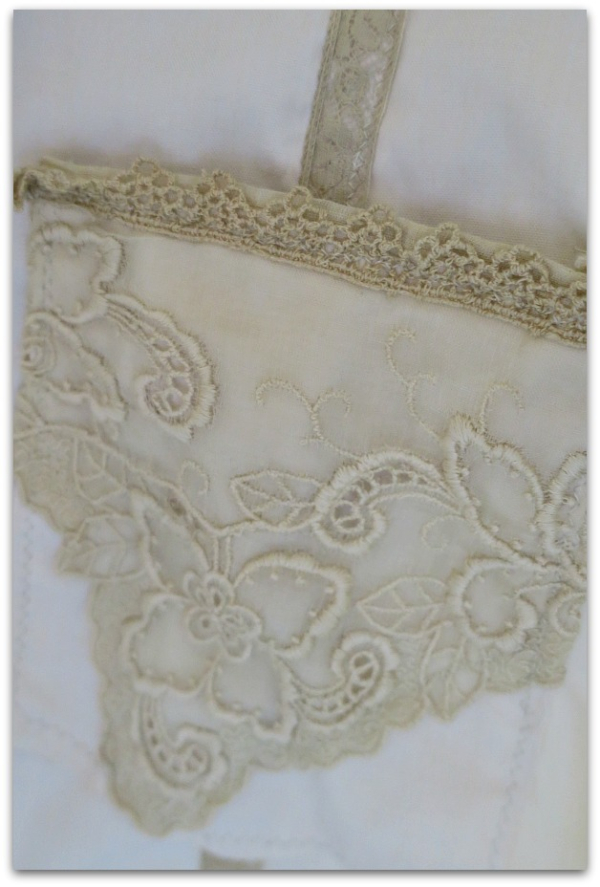
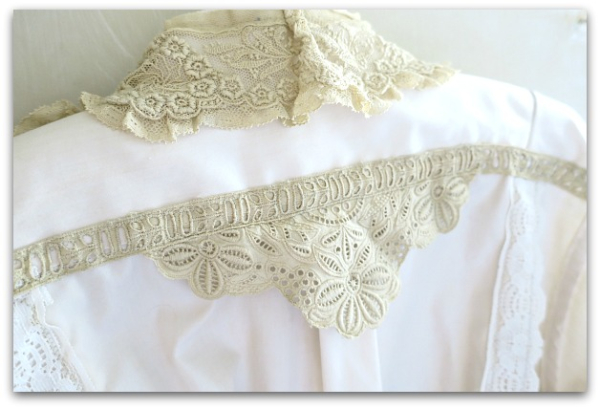
The trim was all vintage to start with, but the dye ages them even more.
All of the buttons were replaced with an assortment of mother of pearl ones.
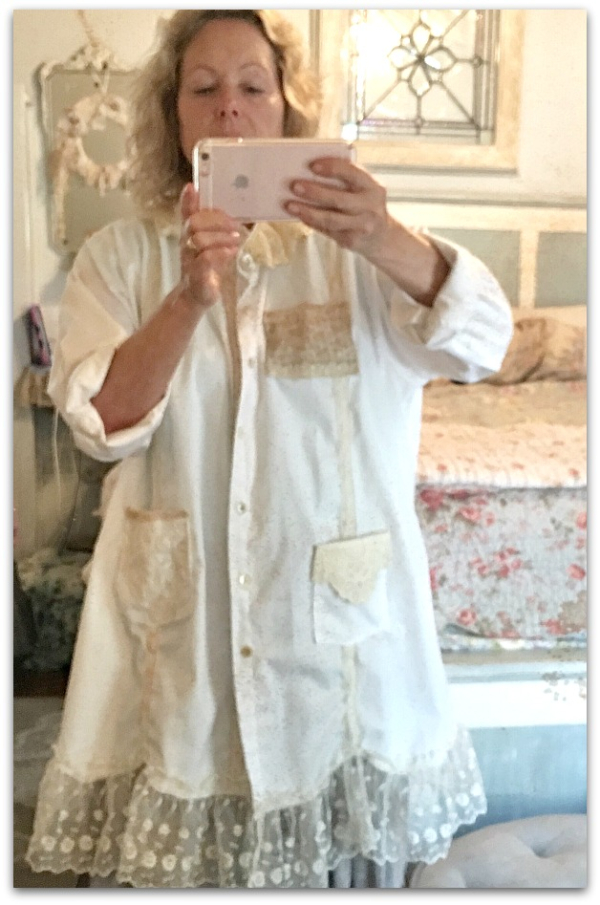
Ahhh, you can't go wrong with vintage lace, can you? Although, I wish I'd fitted the shirt to myself a little better. Basically, it is a one size fits all type piece, but I'm a little short, and this was stitched from a couple of men's shirts, so it is a bit voluminous on me. Which is okay, but if I make another, I will find shirts that fit me a little better to start with.
And I'll try to slow down and pay more attention to what I'm doing. (Did I mention the bad seamstress skills?)
I kind of sewed the sleeves on inside out…. Since they are way too long for me, as most sleeves are, I will wear them rolled up anyway. The original dress shirt's seams are double stitched, so it doesn't show that the fabric is inside out, unless you try to button the cuffs, which I won't be.
Thanks, Beth, for the shirts and lace collars to play with! And thank you, Lorri, for such a lovely project to try to emulate.
If anyone wants to try one themselves, I highly recommend the book.
Gorgeous!!! You could make a fortune with these; I’d sure buy one!!!
Good job!
Not if you saw my stitching up close, Bobbie! Or cared if sleeves were inside out or not. But it is a beautiful design, I love the idea that Lorrie had.
What a good copy cat your are and your sewing looks fine. I don’t see any bad sewing
It even looks great on you
This would be a great project for me this weekend after I finish about 6 other projects
thanks for showing us how you did it
As soon as I saw your post I order the book so I too could make one of these wonderful dusters! I just got my two shirts so will get started soon. Thank you so much for sharing. I also plan on making your travel journal.
I hope you enjoy the book as much as I do!