Beth and I are having a party. A self swapping, self linking "What do you LOVE about your Birdie’s home?" party. Details are HERE. 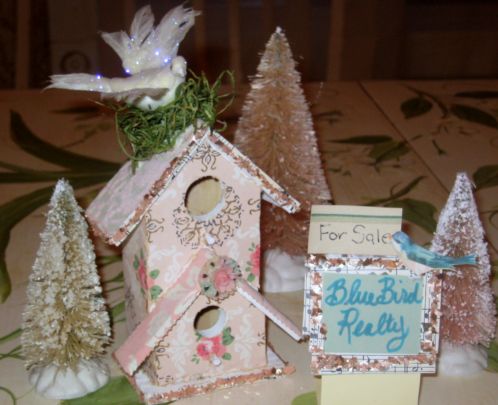 And we hope you can all join us and show off your own birdhouses. Either something you have made by hand, or just a favorite of yours on display in your home or gardens.
I’ll be giving one of my own away today, if you leave a comment on this post, and will give a 2nd away the day of our party, Thursday March 27th.
And if you’d like to make one, and could use some tips, here are a few things I learned while decking out a few birdhouses.
First thing I noticed, was that my hands look awful in these photos. Oh well, as grandma, I am getting used to things like that. Wrinkling up old skin, knobby knuckles, saggy neck. Back to birdhouses, and away from old lady skin issues (which I could go on forever about, and you really don’t want to hear).
I’ve bought houses in an assortment of sizes and shapes. Some from the craft departments of Wal-Mart, Hobby Lobby and Michaels in unfinished wood or paper mache, some already painted and with cool shapes in the garden department at Hobby Lobby.
All are smaller, some mini, none made for outdoors, they are for decorative purposes only.
The prices have ranged from 67 cents to about $5 at the most.
 A minor buffing up with a sanding block will take off any rough edges.
And I discovered that the homes were much easier to decoupage onto if you don’t have to worry about crevices and corners and edges.
So, I base coated all the cracks, and up under the eaves, the perching post, and the inside of the hole as well as any other spots that looked like it would be hard to cover in papers.
No reason to paint the entire piece, since most of it will be covered up.
Although, for this one, I purposely painted all of it, just so there would be some contrast for the photos I was taking of the steps.
And notice that I didn’t sand the edges first? I wanted you to see the rough wood, it shows up better on the blue house, look inside the hole at the jagged edges. A quick little twist of the sanding block inside that will knock those bits down pretty smooth.
Here is a short cut I came up with for making the houses go more quickly. I have been making a LOT of houses, so speedy tips help me a lot.
I used glitter paint to draw lines across old sheet music. You could also use plain glue or glitter glue.
I sprinkled glitter over the lines.
Next, I used a paint brush to spread the rows of glitter out a bit flatter.
With decorative scissors, I cut narrow strips of sheet music, just perfectly sized for gluing onto the edges of the roof or around the base of a bird house.
 For this house, I decided to glitter the painted roof. I used the same glitter paint that I used on the sheet music.
It was brushed on after the paint was dry, and then I sprinkled more glitter over it while it was still wet.
After all my prep work was done, I gathered up my supplies. I looked around to find colors and tidbits I wanted to work with.
Go ahead and pull out extras, you are never sure how much you will end up using, but having a pile to chose from, already selected, and in the chosen palette not only saves time, but is an inspiration for the project.
You will need:
a sanding block (or sand paper)
an exacto knife (and be generous with yourself- replace the blades as needed!! It really does make a difference to have a fresh blade)
glue (I always store mine upside down so it flows better)
a Popsicle stick or something similar to burnish paper down with
scissors
goodies to add to the house
 Here is a point where you might want to make a pattern. I just go ahead and use my wallpaper. I fit it to one side of the wood at a time, bending and creasing to show myself where to snip it with the scissors.
You can also trim it with your exacto knife.
If you are making more than one birdhouse of the same design, or have a limited amount of old paper and don’t want to waste any, it might be a good idea to make a pattern this way and then using the pattern to cut out your chosen papers.
I poke the perching post through the paper, then trim around it with the exacto knife.
After the paper is cut, I liberally add glue to the house. Attach the paper, and using my exacto knife, poke a hole into the area where I think the house’s hole should be.
I then saw with the exacto knife to the edge, and around the hole to cut it out.
Wooden Popsicle sticks or coffee stirrers are great for rubbing the paper down.
Once the glue is dry, I lightly sand the edges with the sanding block again, being careful to not tear the paper. 
Now we get to the fun part. Decorate it! Baubles and buttons and doodads and glitter and stripes of coordinating papers. Old jewelry, ribbons, lace, what ever makes your bird joyous.
I have a few more houses to foof myself. One is actually a little Swiss music/jewelry box that I got for a quarter at a garage sale. But of course, this decopauge technique will work on all sort of different things, not just bird houses.
Another suggestion I have to offer is, that whether you use scrap booking paper, vintage papers, or whatever you decide, the papers do seem to look better with a smaller print, or an over all pattern. The smaller the house you cover, the smaller the print you should try to use.
If you have any questions, feel free to ask. My husband is leaving to go back East and I am going to be lonely. So any question is welcome, I could use the company!
I hope you’ll make a few and join the party on the 27th!  Feel free to add this button to your blog so people will know you are participating.
I’ll be adding bling kits to my Etsy shop and fill them with fun bits and pieces to work with if you need supplies to make a house.
And remember, I will give away one of my creations to someone who comments on this posting, plus another to someone who leaves a comment on our party day.
 And if you would like to be in my St Pats tag swap, you have until March 5th to send me two tags and I will send out two tags to you from another swapper. Email or comment to ask for details.
One thing I love about blogland, is all the holiday decor! I haven’t gotten into decorating for every holiday like this since my boys were toddlers! Most years, I totally ignore St. Pats or Easter as far as setting out pretties or making things for them.
I haven’t seen much about St Pats in blogworld, we have all jumped ahead to Easter. But Easter seems early this year, so I can see why.
Speaking of Easter, 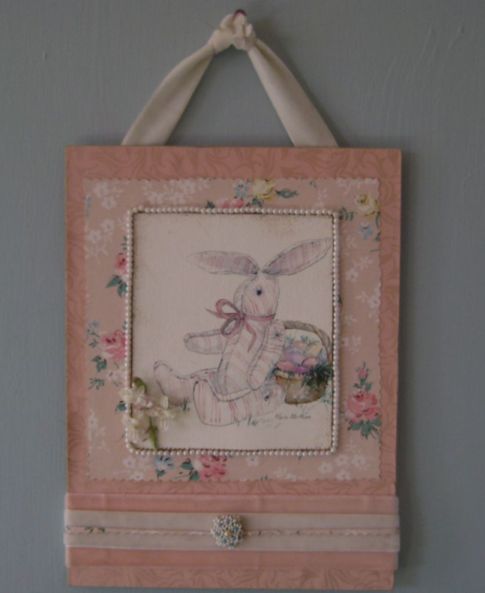 My pink bunny watercolor is finished and hanging in my studio, although hopefully not for long, I have it in my Etsy shop now. This is an original watercolor I have added to a vintage wallpaper base, then dooded up with some of my favorite pretties.
Have fun blinging out that birdhouse!
Edit, added on:
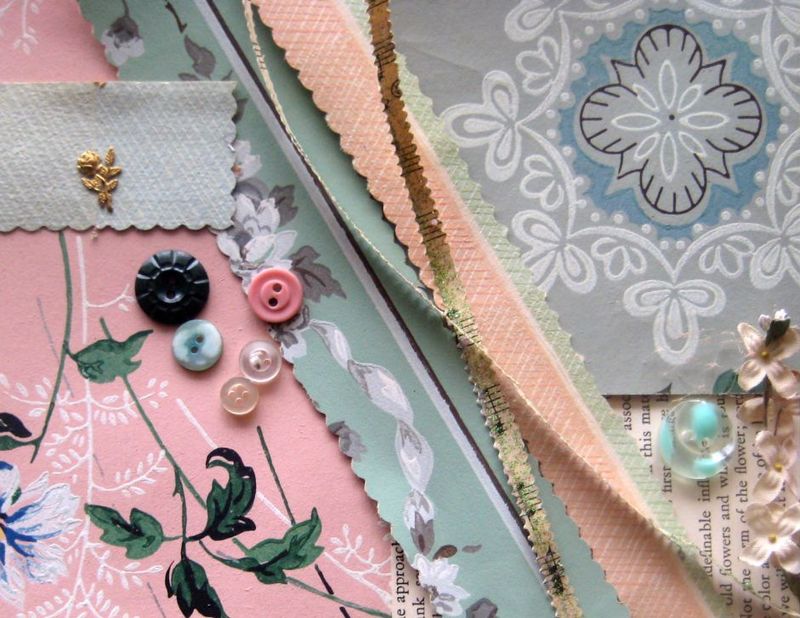
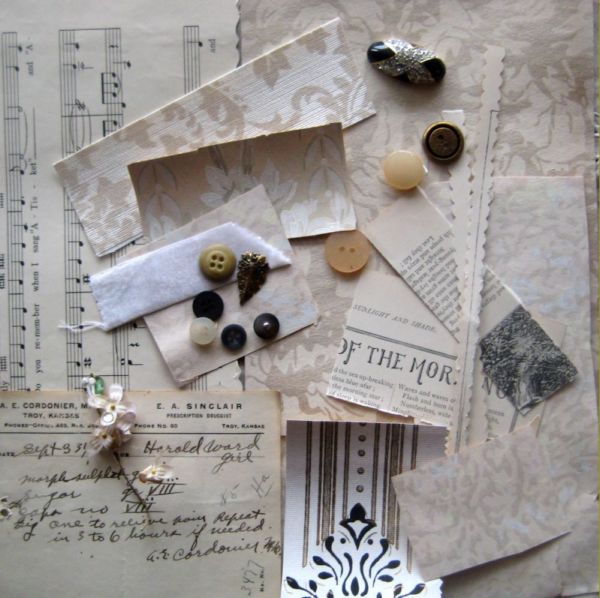
Here are some highlights of the $10 Cottage Collage Birdhouse Bling Kits I added to Etsy today. More coming, no two are alike and they take a while to photograph and list!!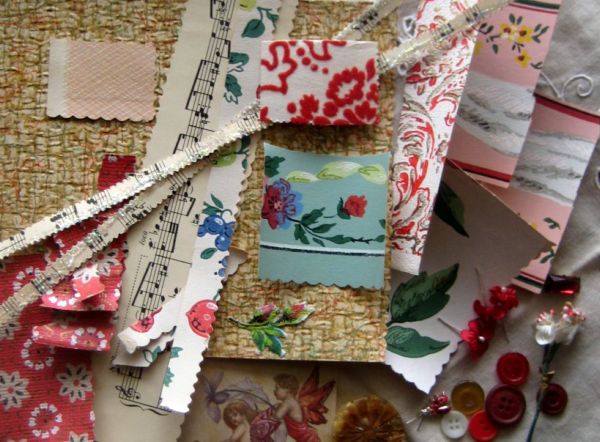
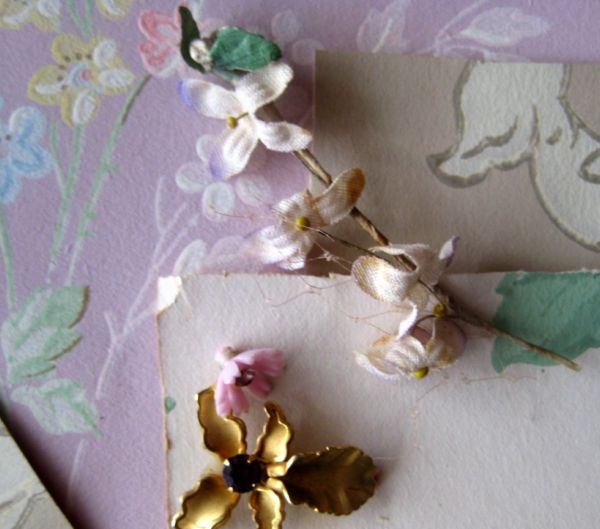
Keep in mind that these kits would be pretty used in many projects, not just a birdhouse, and that there is more in a kit than is needed to finish a small house. 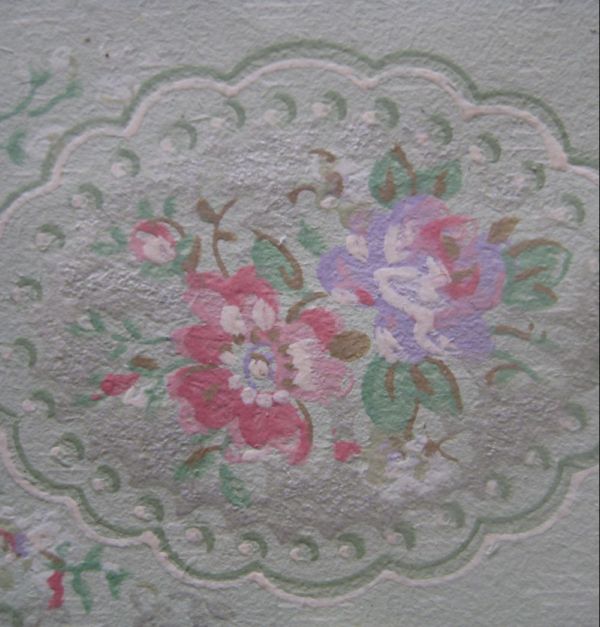

Thank you for the great instructions. Can’t wait to try it!
Hi Karla,
I have been working on my birdhouse for the last couple of days, I’m afraid I am one of those people who start of small but then I can’t stop myself and it turns into a major production. I am happy with how it is coming along can’t wait to show everyone. Thank you for your extra tips. Love your bunny watercolour.
Cheers Linda
I already have a birdhouse, I now begin to decorate.
Karla, your bird houses are SO cute!!! i did two small ones for the party, more may be coming if i find the time:)
your bunny is darling!!!
These are some great tips! I’ve been waiting to get started to see what shortcuts you had! I love the exacto knife tip and also about painting all the crevices! I’m so excited about my birdhouse “bling” kit too! I LOVE the bunny painting and they way you have foofed it up…..just beautiful!
I love the idea of the bling your birdhouse, and really appreciate all these tips. I went to AC MOORE over the weekend to pick up a few mini birdhouses for the project. Please include me in your giveaway, and your designs are wonderful. I love the bunny watercolor too.
Blessings, Karen
Love the bird houses. Thanks for the tips. I’ll have to add that to my list of things to make.
How fun! I can’t wait to try it myself!
SV
These are just too cute! I love all the glitter! I have seen the paper-board houses and often wondered what I could do with them…well…I have LOTS of ideas now! Thanks!
Those instructions are great, I think I might have to give this a go!
Thank you
Victoria
Karla, Great tutorial, Your houses look lovely. I hope to get a good start this week on mine.
Karen
The tips are a big help. I never thought of the glue and glitter for many on the music. Seems like a good time saver.
I keep hunting for old wallpapers and not having much luck so far. I have only started looking recently though, so no worries I guess. 🙂
Love the bunny.
lovely!!!
I need some spring inspiration!
Thanks for the tips, Karla! Can’t wait to start! Putting the button on my blog now. Love your new bunny!
Kitty
Please enter me in your drawing ,your bird houses are so pretty. I have been a fan of your work for quite some time. Thanks Tami
You made me laugh by first commenting on your hands! That is soooo me. And speaking of me – if your hands ever need a stunt double – I’m here for you – I’ll bring my saggy skin, chippy nails and cuticles that look like they could use some of that sand paper, lol!
Your houses are sooooo lovely and the perfect blast of spring bling on a gloomy February morning! I’m off to glitter & glue some sheet music – a perfect job for my little helpers!
Inspired as always,
Kelley
thanks for the bird house lessons. sweet!
of course they are all gorgeous!
love your bunny painting too.
oxoxox,
jessi
Buffer and beeswax stick make your nails shining -anything else is dross!!!{they work don’t they!!!}
Great tips Karla…have you seen any Scarlet ibis latley? NO. How about any long-wattled umbrellabirds? How about any Tufted titmouses? Chickadee chickadee chickadee – dee – dee – dee…chickadee-yada chickadee-yada chickadee-yada -dee ya -da dee ya-da dee ya-da (non lonely conversation for ya). Have a great day
What cute ideas! I’ll have to wait until after the big move to start blinging things.
Have fun playing!
You make it look easy peasy. Thanks for the tips.
c
That was fun to read Karla. I love watching others as they work, watching their techniques and passion. Here’s my question, when working with a print that I want to glitter how do I keep the glitter from covering the image up. I’ve tried spray adhesives, reg. glue, glue stick, but once my sparkles are added it covers too much of the image. I try scraping it away but to no avail. What kind of glitter are you using? Maybe it’s my glitter. I’m having a glitter crisis…because it’s Monday :-)I have to go make two more tags for St. Patrick’s Day. Then, on to the Blinging.
Pam
Everything you and Beth do is fun and beautiful, Karla! I love popping in to see what you’ve been up to! xo
Great birdhouses ! Very romantic and so cute . Love them
Karla thanks so much for all the great pointers! My poor birdhouse is under the snow somewhere….
xo
mary
Thanks for all the great tips!! They look really cute! I’ve only painted birdhouses, never papered, so this looks like fun. Thanks for teaching me something new today. 🙂
Samantha
Fun post Karla! And you know what? I think I never thanked you guys for my cookbook…I love the cover so much!!!!
And I’ll swap St. Pat’s tags please 🙂
Hi Karla,
The birdhouses look wonderful. Great tips that you came up with as well.
Karla
Thanks for the tips, Karla! I may just have to try to make one of these!!
~Lolly
Hi Karla. Just stopping by to say hello after being away for a week. You and Beth are always up to something. You girls manage to get into a lot of fun don’t you. The birdhouses look like a lot of fun.
Rhondi xo
Hey those birds live in a cuter house than I do! Love ’em, hope I win one
Holy cow – aren’t you just the smartest with the glue stripes and glitter brused on the sheet music?!! If it saves time, I love it!! And I just have to tell you that I was looking at my hands over the weekend and noticed how I have granny hands. I wonder if it’s a common crafting condition (?) Blessings… Polly
How Fun !! I am definitely in on this !! 🙂 Cant wait. 🙂 Karla, your bunny pic is really sweet !! I love it !! 🙂
I noticed in the mirror this morning that not only are my upper arms saggy, they’re crinkly! Yuk!!! Question – when you say you basecoated the cracks and crevices, do you mean with paint? They’re adorable and inspirational. Thanks!
Now I really want to make one too! I’m going to work on it!
Yikes! I thought I would have missed your deadline for the birdhouse bling, but it’s quite far away! Even though I thought I’d missed it, I did buy a house this week and got it primed. Thank you for sharing your tips here — it really makes certain things a lot easier! Now I am eager, eager, eager to get home and get working on it! (I especially loved the sheet music idea! I knew there was a purpose for all that stuff I didn’t play anymore but couldn’t bear to toss!)
My tags are finished and I plan to post them this week. I have greatly enjoyed prepping for St. Paddy!
The birdhouses are so beautiful. I hope I win one!
I need to buy a birdhouse, know any realtors? LOL!
I recently scored some wallpaper while thrift shopping, it should be perfect.
Darla
Your birdhouse tips are so helpful. Loved all of the birdhouses. I’m ready to start painting and blinging my birdhouse.
I already have my two little birdhouses primed and have been sorting through my stash for things to deorate with! Love the tips you offered! Can’t wait to see what you do with the Chalet! Such a cute pink bircdhouse sitting in front of it!
Blessings!
Hi Karla! I love your pretty birdhouses. I am thinking I am going to do a bling your bird”Cage” if that is ok???
xoxo Heather
Thanks for the tips. I would really like to start working with pretty papers…..I’m behind the times. Your tutorial might just be the kick in the but I need 🙂 Rosie
Some great tips! Can’t wait to make something bling-bling-y for the Birdhouse Bing Out Day!
*Heidi*
Hi, Karla. That was fun–your tips are great! I bought a couple of little houses yesterday and now, with your help, I’m excited to get started–thanks very much!
The bird houses are Gorgeous!
Sandra Evertson
Love the tutorial! It is so neat to see how you do it. I have a bird house my husband gave me years ago, maybe I’ll finish it. Although it looks like an old western saloon.
Would you mind sharing your “favorite” brands of glue? I always seem to hate my glue lol! You know that one takes too long to dry, that one bubbles, that one doesn’t stick well… You are much more productive than I and I’m sure you’ve sampled more brands than me, love your input 🙂
Thanks!
Too cute! For the record, your hands look just fine Ms K!
xoxo
Carol
Your birdhouses are so pretty! Thanks for the tutorial. I love the combinations of papers and bling that you put together. They always look so nice. And your bunny painting is adorable! Oh my gosh, he’s so sweet!
Thanks for the tutorial! I have a pink birdhouse stored away. Now, I just need to find it.
I have really gotten into decorating, since I’ve started reading the blogs, this year. My grown daughter and husband have been giving me a lot of complements. It’s amazing how much they enjoy the seasonal changes. I’m getting ready to put away the Valentines decos and put out the things I’ve found for St. Pat’s.
I found the cutest forest fairy, lepracaun, green ceramic top hat, lepraucaun shoe, and a Celtic cross with shamrocks at TJ Max.
I’m going to decorate with birdhouses, nests, and shells for summer.
~elaine~
I worked on a birdhouse…well, an aviary, all day today in the shop. I am not so talented to “bling” one up as good as anything you have done, but my aviary is turning out quite nicely. I will post it on my blog in a couple of days when I get finished.
Being a HuGe lover of anything bird related, I just ADORE what you did with these
little houses..and thanks for SHARING!!
fondly, Deena
I saw this yesterday but wanted to take the time to really read it all. You do such a good job explaining everything (maybe you should be teaching classes?!) And you are so beautiful…stop making those negative statements!!! Your birdhouses are so pretty. I was just thinking that they’d be something different to decorate with for Easter this year! And you’re right about St. Patrick’s Day– unless you’re really Irish, it tends to get ignored. My son reminds me of it every year because we named him Nathaniel Quinn after the Irish part of our family and his birthday is March 20th, right after St. Patty’s Day!
Thank you for the tutorial. I am inspired and have my errand list for today.
Wow…these are fantastic!! Thank you so much for sharing. Your etsy shop is beautiful.
Great giveaway!
Hi Karla, your tips and tricks are fantasic, I love how you applyed the glitter on the on the music sheets first before cutting up to be use, wouldn’t have though to do that, your new bling kits are lovely, but as aways Karla everything you touch turns to gold…hee, hee
also I had contacted you about the wallpaper, now I’ve tryed sending this email about 6 times over the last few weeks, since you got back to me asking which wallpaper on my S.T.A.R book that I’d like to buy more of, all those emails just keep bouncing back to me, so I’m really sorry that I didn’t just come here to leave the email. Please come and visit me as I have added the book on my post so you can see what wallpaper I’m talking about, also I’ve already added my Blinged Bird house as well I hope you like as much as I.
Hugs
Kirstie.
Hi Karla;
Love your crafty little heart. Thanks for sharing.
Have you ever had a parrifin wax treatment for your hands? You warm up the parrafin (warm not hot) and dip your hands in… your hands come out so soft and refreshed, especially after a long cold winter. I find cotton gloves and vaseline works a little wonder too.
xoxo
Kimmie
mama to 6
one homemade and 5 adopted
You always do the best things!!!!! Your blog is fantastic!!! I’m very fond of your work!!!!!
I am just working on a birdhouse. Your tips will help greatly. Thank you! Your blog is lovely!
Your birdhouses are darling!! Love all your old wallpaper! You do great work!
Michelle
Your bling-up birdhouses are wonderful Karla! You are so talented – I love everything you make. Thanks for sharing the step-by-step details! 🙂
xo
jeanne
I love your birdhouses and would love to win one. Pick me! Pick me!
Karla
Ah, the part I was looking forward to–the tutorial! I enjoyed every pic! Thanks–and they are coming out great! Love learning frmo you
Thanks so much for the tutorial! I learned quite a few thinsg from it. Your hands look way better than my sun freckled(age spot) ones…lol!
I’ll be blogging about St Patrick’s Day near the date as I visited Ireland a few years go and have some beautiful pictures to share.
The tutorial was wonderful. And your birdhouses are simply fab-u-lous!! I sure I’m the lucky recipient of your monthly prize give-away.
Wonderful step by step pictures, thank you for sharing, I have a little bird house
that I am working on, hope to have it done in time for your party…
Louise
JUST SPECTACULAR! wow…as typical…i’m a day late..(well several) for the draw..but just to see the tutorial…was like i was there over your shoulder…(better i was over your shoulder than you mine as you may find a couple grey hares making a home…(dang bunnies)…but then again you ARE older…)..hee hee
Everything looks so pretty, Karla! It’s always fun to see other crafters’ online tutorials… like how you apply your glue, glitter, etc… now I know why Silver Bella must be such a blast!
I can’t wait to see more of your houses. Those are so cute!!
You are such a talented gal Karla,
Your sweet birdhouses are so romantic and vintage. Love them! Thanks for the tutorial. It is interesting to see how you approach making a birdhouse. I love to see the process. Thanks for sharing! Amy
Beautiful birdhouses ! Thanks so much for the tutorial !
I loved your blog !
Celly
I love your birdhouses! I really enjoyed reading your tutorial too. I just might see if I could do this. My dd who is 2 1/2 Would just love this with all the glitter and everything. She loves anything sparkly and glittery:)
I love this tutorial. You have a great blog that teaches as well as inpires.
I’ve got a birdhouse in the bathtub right now that is going to be worked on for the Birdhouse Bling this March.
Karla!! What a talented girl you are! I just loved the tutorial and love the way the birdhouses look that you’ve transformed. I’ve got to do this….tell me this, how in the world have I missed your wonderful blog?? I love it!! I so love seeing your hands in the tutorial too, they so look like mine!!! I have a little birdhouse in my workroom right now that needs a little BLING!! So good to find you, xxoo, Dawn
great tutorial, and also love the way you re-dorated your steps going upstairs, showed by hubby, he wants me to tell you that u did a better job than a man 😉
I have read that painting the sides of a dresser drawer will cause it to stick. Never paint the sides? I have an antique dresser that I have given a crackle finish to and the inside of the dresser with lime green. When the drawer is pulled out the sides are stil in natural wood and I want it to be lime green. There must be a finish I can put ontop of the lime green to make it a hard finish.