There are times when I want to create a beautiful book. Other times, I want to display family photos in an arty way, and spend some time being creative.
Then, there are the days that I just have to get some pics slapped into a book and get on with it!
It is important to me to save momentos throughout the year and add them to albums with family photos, but I don't always have the opportunity to spend a lot of time on it. This book, is one of those kinds. It is a "git 'er done" book, that I will enjoy looking through over the years, but didn't take much time to put together.
It is made with a vintage album, some of the pages were fragile, and there weren't enough of them. So, I've added scrapbooking cardstock to most, covering tears and weak spots for reinforcement. Folded pages of cardstock are taped in, randomly to add more space for photos.
Here, I've used the old paper as is, and simply glued down pictures in various sizes. At the bottom, I cut out a grouping of family members for contrast.
I print out pictures on matt photo paper, and don't use standard sizes. Instead of doing wallet, 3 x5, 4×6, I insert the photos I want to use into a document, and fill a page with many shapes and sizes.
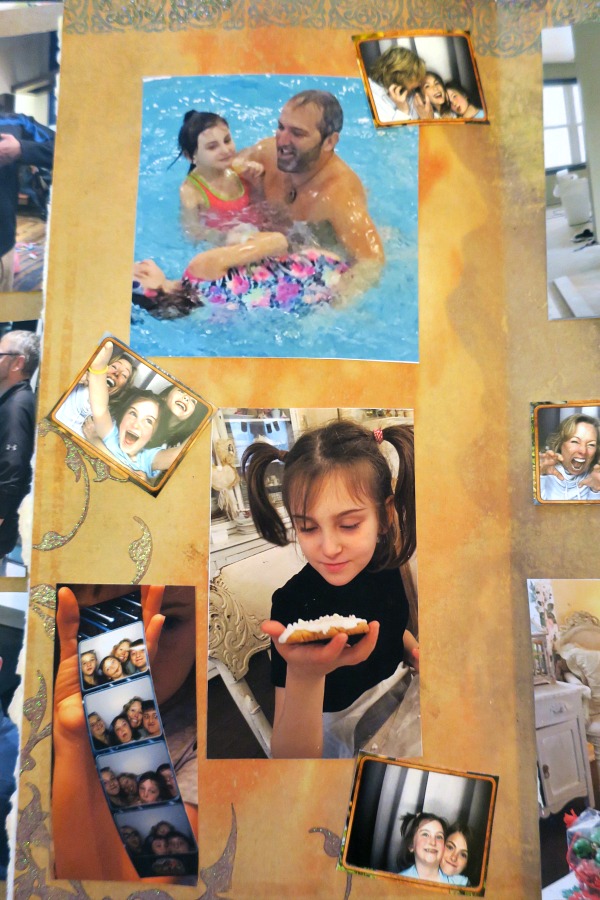
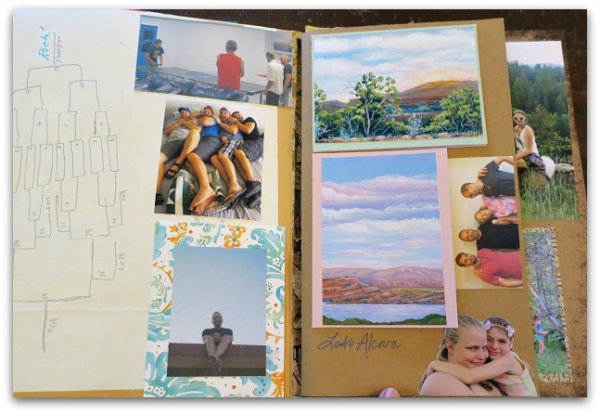
The grand fairies love taking photo booth shots, so I save those from places we visit throughout the year, some I glue in as a strip, some I cut up and sprinkle around the page like here.
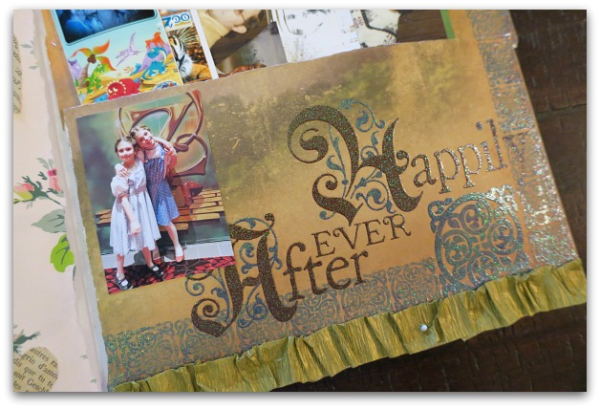
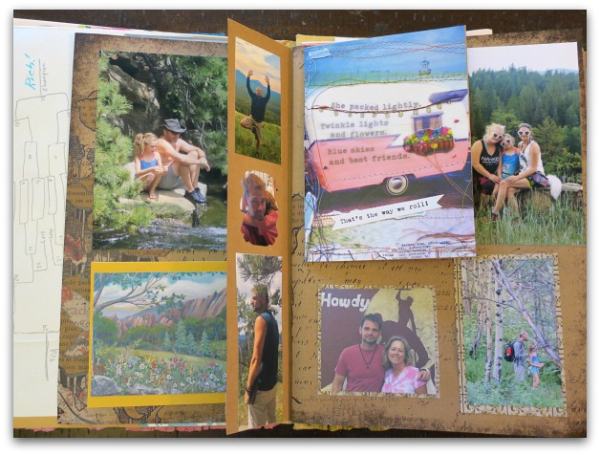
And when you get tired of gluing things in, a pocket to fill up is a good idea!
Another way to make more space is to adhere cards. They are fun as is, but also open up and have room for photos inside.
This section also has a narrow flap created with folded cardstock, to add more pictures too.
There is a shelf in the studio where I stack up saved bits and pieces throughout the year. One of the things I saved was a bracket a nephew drew up for the big ping pong match at last summer's family reunion. The landscapes are from paintings I'd done about the trip, made into cards, so are filled with more photos.
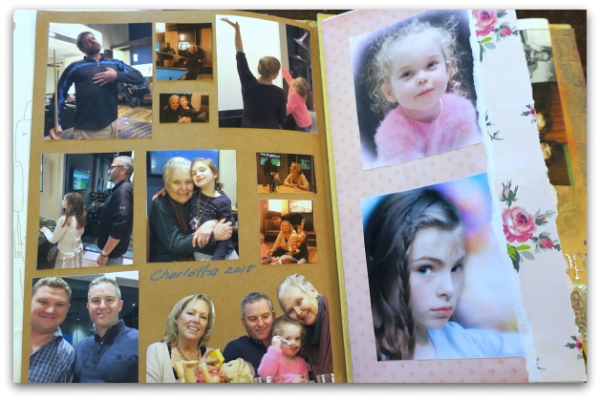
The photo of my two sons and husband wasn't fitting, so I cut our legs off, made the picture into a strip and turned it vertical. At the bottom, I cut out Sugarwings and her mommy. This isn't exactly an arty layout, but it is filled with things that mean something to me and is more interesting than a simple row of photos all the same size and shape.
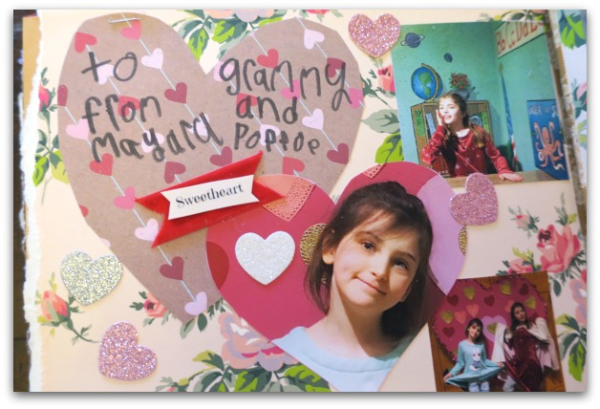
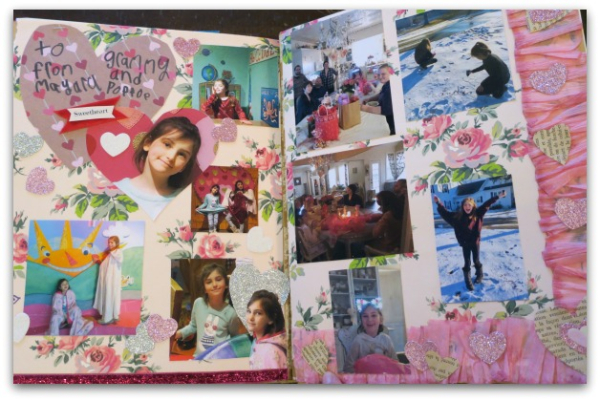
Well, that is gaudy, isn't it?
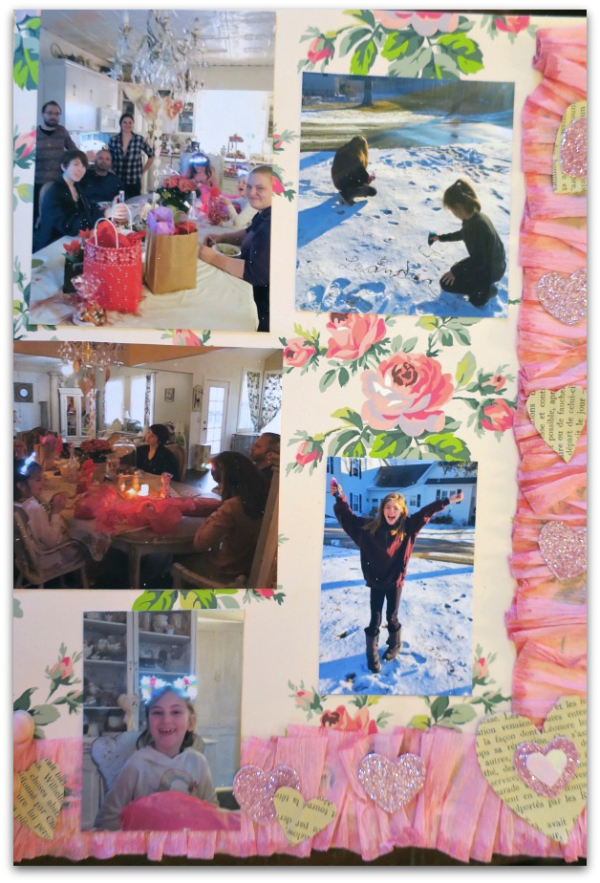
But fun, and suits the subject, the grand fairies at Valentines season.
The edges are trimmed out in ruffled crepe paper, and topped with scattered hearts.
I've tried coordinating scrapbook paper to the photos I've chosen, but haven't been too matchy matchy. It is mostly background.
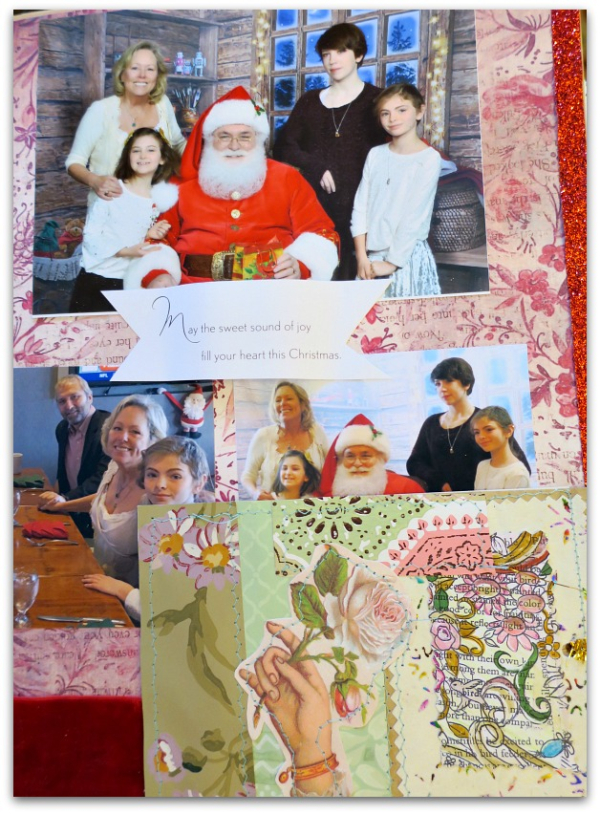
On this page, I added a hand made card from Beth, and cut out a message from another card I'd gotten and added it as a banner. Beth's artwork has a picture added to the backside too. The edges of the page are trimmed in velvet and sparkly ribbons for contrast.
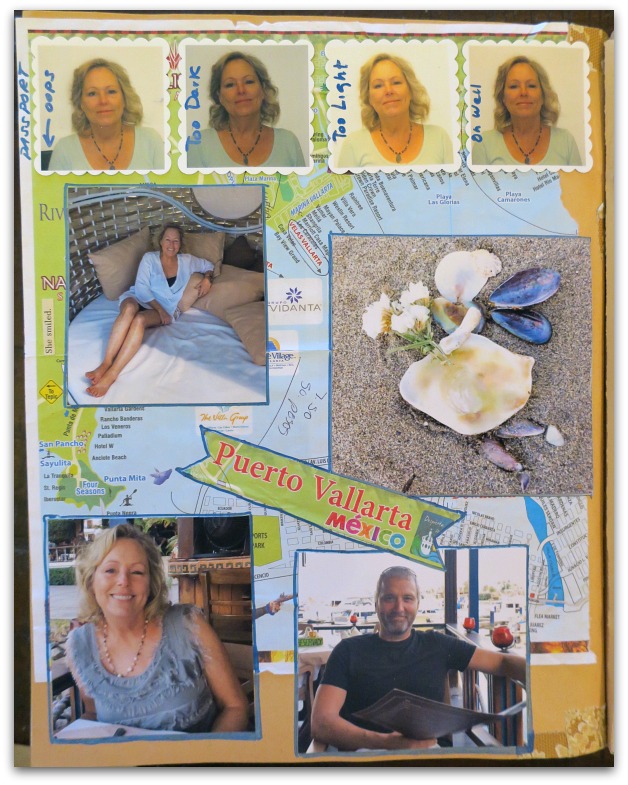
Here is a selection of vacation pics, topped off with a series of sample passport photos. The maillady who took them had trouble getting them right, and I was at the post office, applying for the passport for over an hour. She gave me some of the trashed ones and I kept them, to add to the book.
The background is a map of the city we stayed in, with Puerto Vallarta cut out, made into a banner, and added over the top. I really like to save hotel receipts, maps, brochures, and other larger pieces to use as backdrops to travel pages.
On this one, I've outlined the photos with a blue marker. And not perfectly either.
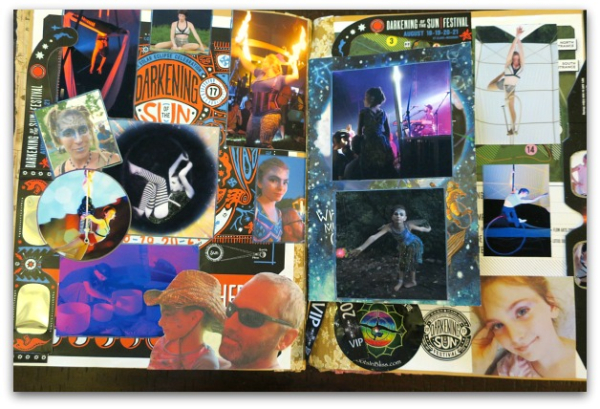
These two pages are an example of layering lots and lots and lots of memorabilia and photos.
The background is a map from one music festival, and it covers both pages. Over that, I've glued down a booklet from another festival and filled up all of the pages with pictures, including the cover. I saved a couple pairs of eclipse glasses that we'd worn at one of the festivals, one intact, the other with the lenses filled with pictures like a frame.
Then, I started laying out pictures from both events, and lots of them. Some cut into shapes, some with the people cut out, and glued them down overlapping. To make them stand out, I drew around them with metallic marker.
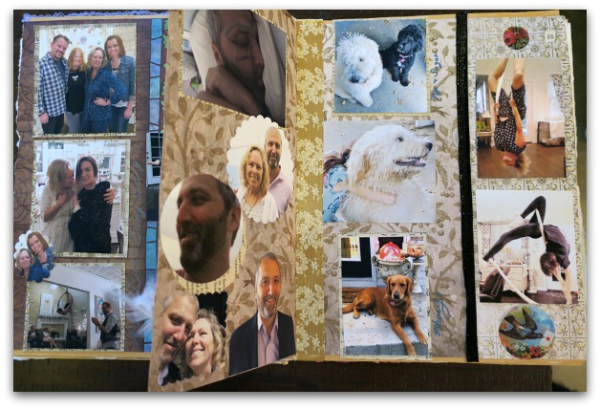
These pages are busy too. And are tied together with a simple background color. Some of the photos are glued to contrasting paper, and then cut out so they are framed. Others are cut out with round or scalloped punches.
In my opinion, a variety of shapes makes an interesting lay out.
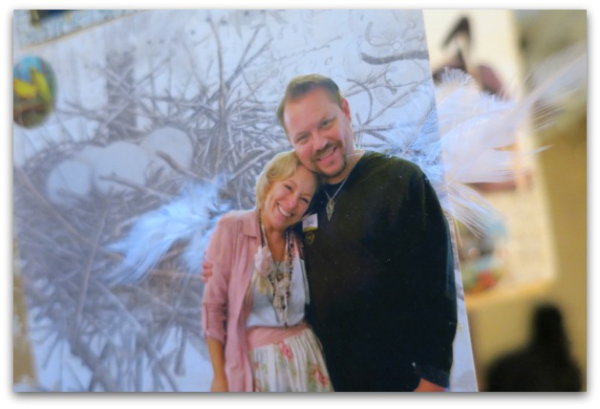
There was some bird's nest scrapbook paper that I put a cut out pic of Guncle Randy and I onto, and I added a couple of little feathers to our shoulders.
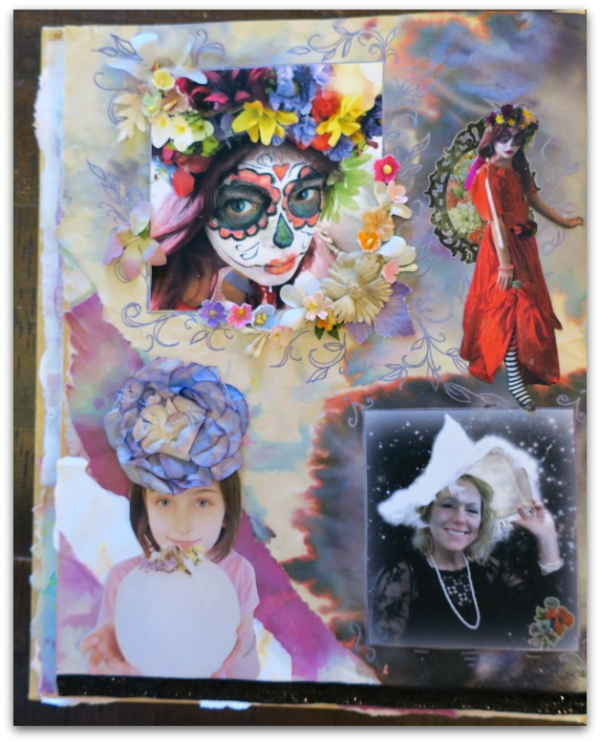
Last summer, the grand fairies painted with shaving cream and food coloring. I saved some of their artwork to use as a backdrop here too. I thought the colors were ideal for Halloween. Over the painted paper, I drew some scrolls and vines, this page got a little more attention than some of the other ones. I also added some old millinery blooms.
The adjoining page is a simple background, and is layered with two cut out Dewdrops over the other photos.
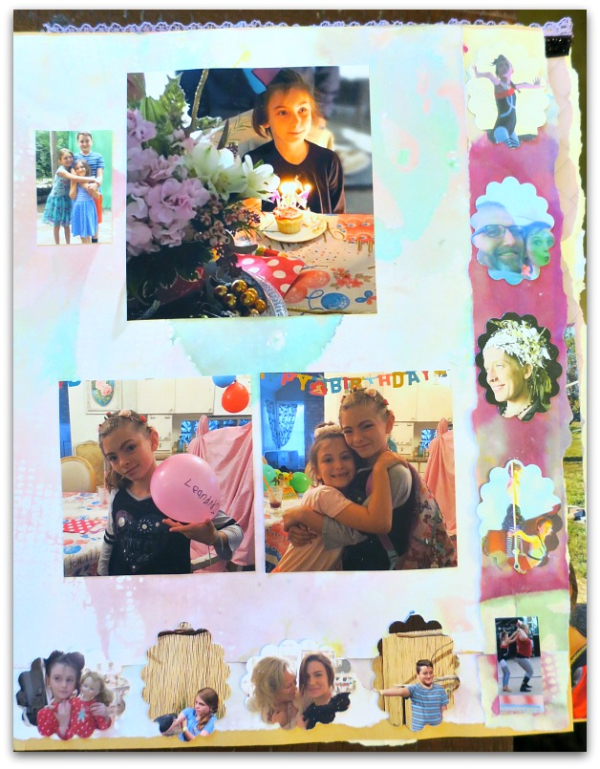
Here is more of the paper the grand fairies painted. I tore strips of it to make borders, then used a scallop punch to make smaller pictures to paste around the border.
Now, time to start collecting for next year's book!
Great book and great ideas. Wish I had your talent. I know I have to steal some of those ideas! Thanks so much for sharing!
Usually, I’m a big believer in using “the Good Stuff”, but sometimes, a quick and simple album is just fine without a lot of great supplies, like I’d use in artwork. Have fun with your scrapbook, Yvonne!