I am FINISHED!!!!!!!!!
The builder was done with our new space a while ago, but I still had landscaping, my sons and husband built a fence, and the mosaics on the floor needed to be completed. I'd gotten behind on my end, but just yesterday, all of the last items were checked off the list. I'd still had all of the supplies for the floor piled up and laid out on tables, plus a couple of boxes of odds and ends that needed to be returned were by the door, so even though the room was mostly done, it had been messy. All of that clutter was carried out to the garage.
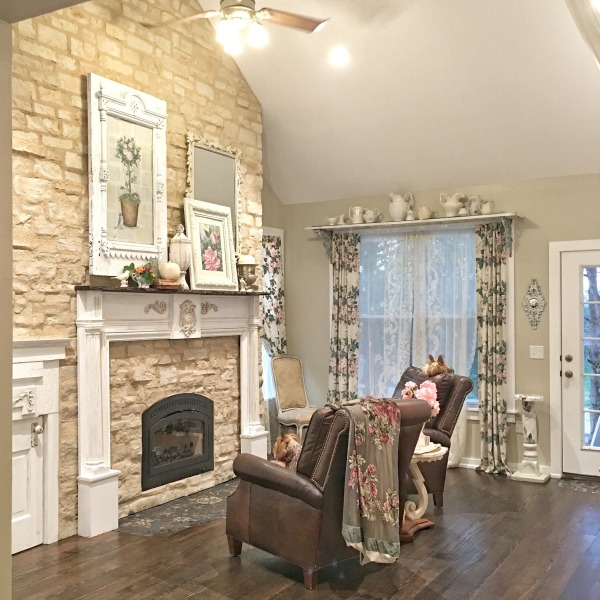
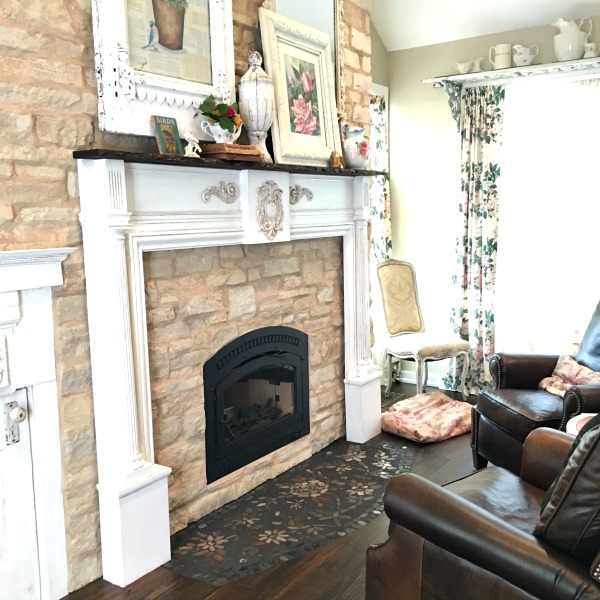
The room is tidied up and feels homey.
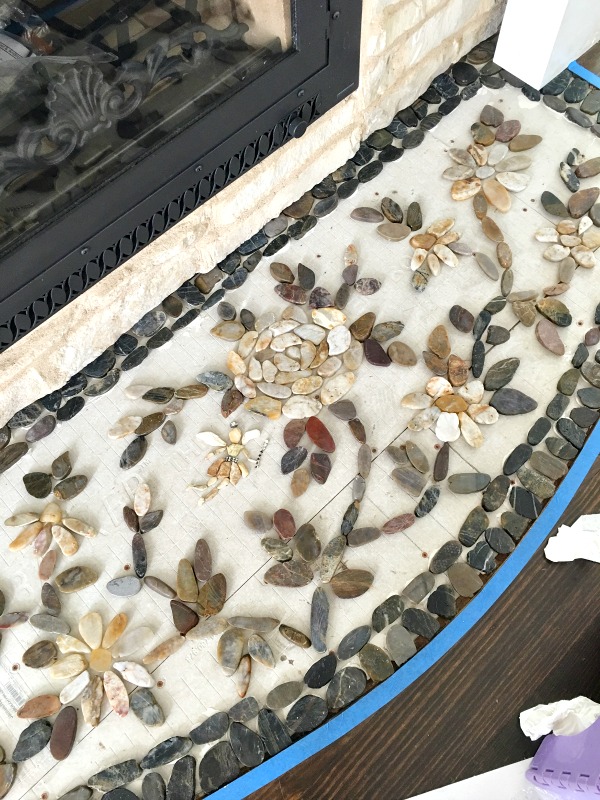
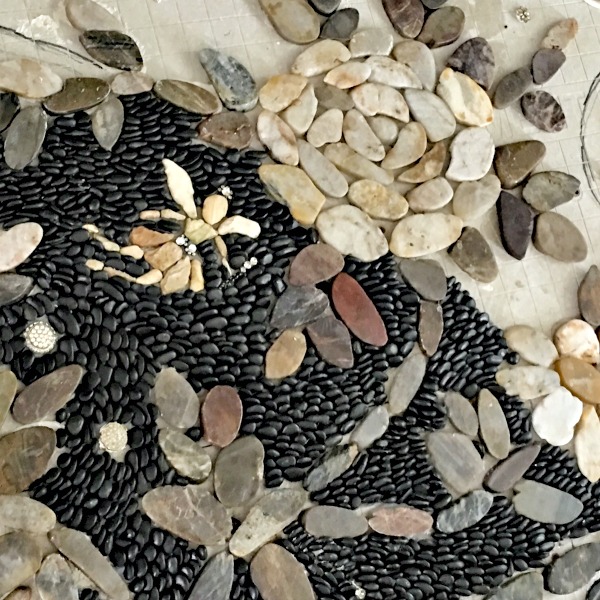
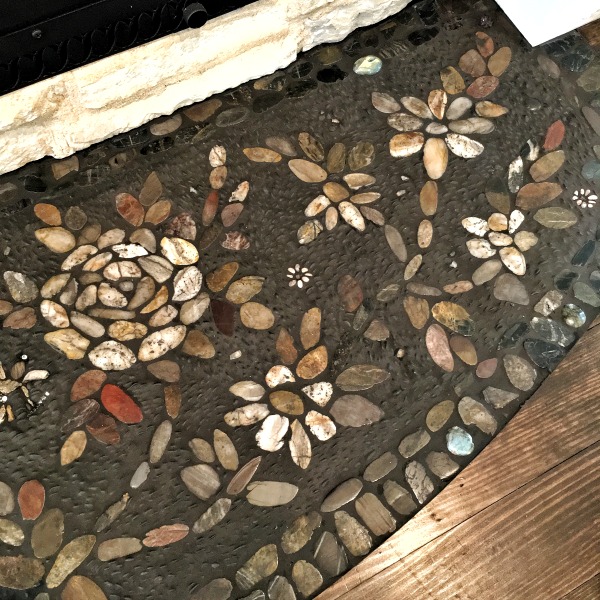
This is what took so long. I purchased river rock floor tiles, and pulled all of the stones apart to rearrange into a floral motif mosaic.
Once laid out on the floor, I started gluing them down with mastic, but soon switched to silicone, it was easier to use.
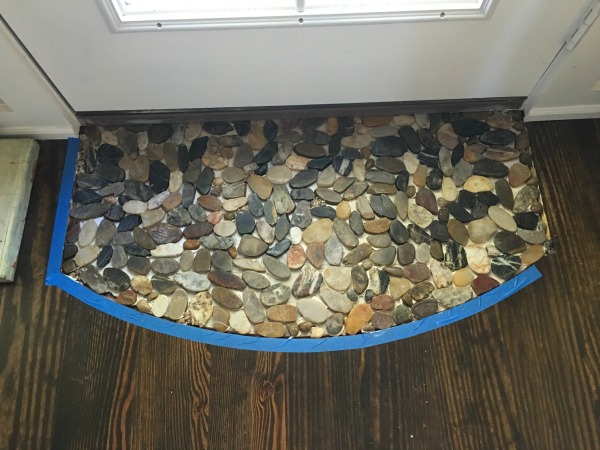
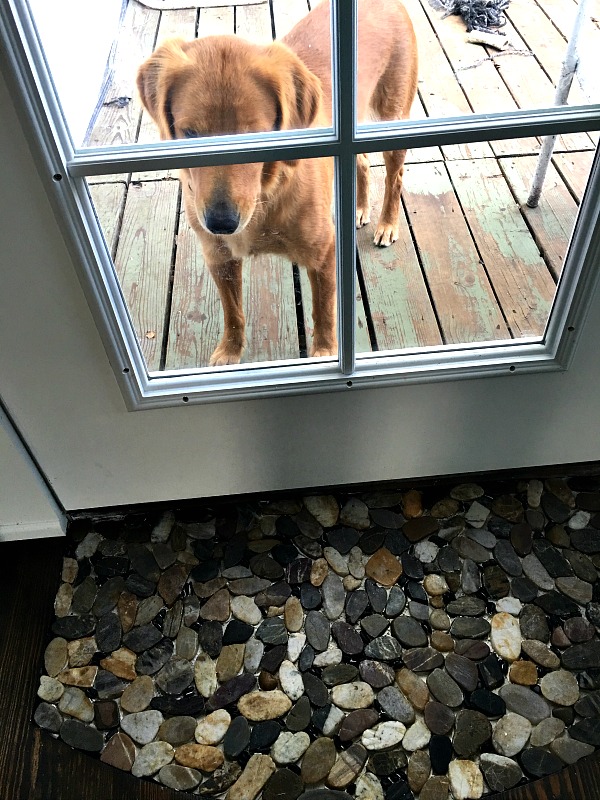
By each door, I just used rocks in a random pattern. I wanted the fireplace to be the main event.
Honey kept me company while I worked.
The fairy is made of rocks I'd found in the river at the camp ground where my son's family was hosting their event. She'd pretty sentimental to me.
The flowers were quick and easy, but it took me two weeks and shopping in about 10 stores as well as searxhing online to find the right background stones for contrast with the river rock.
Those jelly beans aren't exactly what I was looking for, but the style was okay. I'd hoped for larger rocks to make the process of adding them one at a time go faster. Instead, I had about 2-1/2 days of adhering these little beans by hand as my back cramped up and I began to wonder what on earth I'd been thinking of to start a project like this. It was harder than I thought it would be, and I am not a mosaic artist.
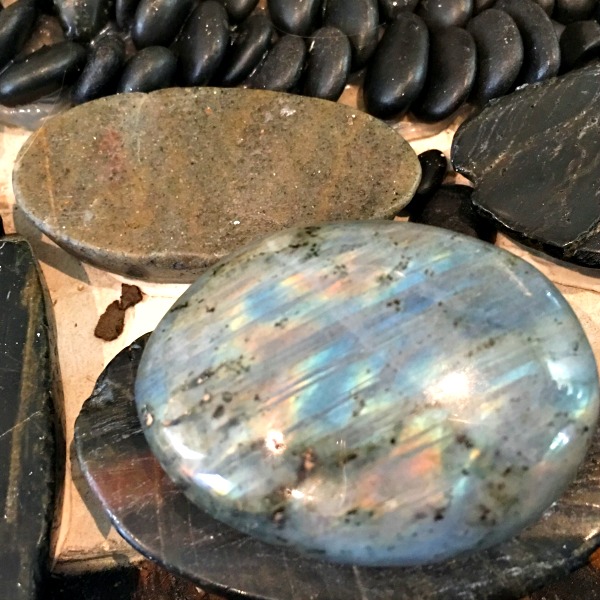
Then, my son came to visit and brought me a bagful of labradorites, and some other crystals. That cheered me up and revved up my resolve to finish the monotonous bean job.
My good friend, and professional mosaic artist, Shanna, offered to help with the grouting. I hate grouting.but she made it look easy.
We chose charcoal for the grout color and it was exactly right to blend in with the itsy bitsy, back achingly applied, little beans.
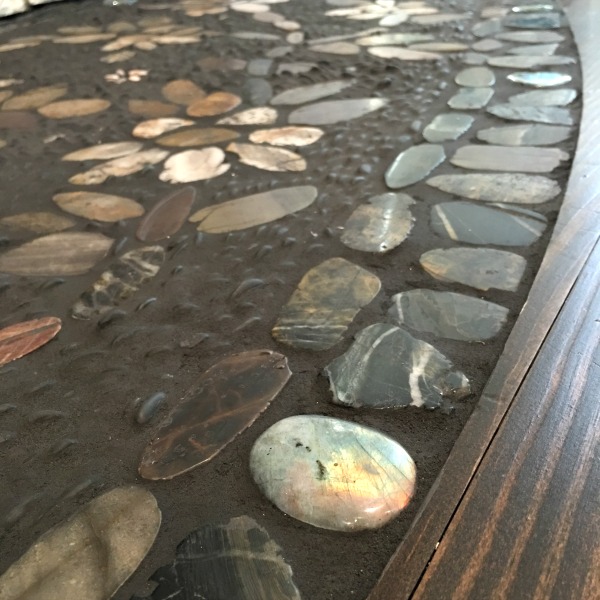
The dark color sure made the gems stand out too.
The grout also caught in the imperfections of the stones and darkened them, but in a good way.
When I first came up with the idea of a mosaic in front of the fireplace, I wanted it to look like an antique rug, but have a rustic feel. Then, I thought it could use a bit of sparkle, and when my boy showed up with the glittering gems, I was thrilled. The look is even better than what I'd planned.
Now, I'm ready to kick back and enjoy the room, with some good friends who are coming to visit for a long weekend. All of the loose ends got tied up just in time.
Wow Karla, that hearth is the most beautiful thing I’ve ever seen!!!! I can’t imagine the patience it took to execute it. You are a creative genius.
That is seriously one of the prettiest decorating touches I have EVER seen! Just beautiful!!
Thanks, Karen. It might have taken more patience than I had. I got a bit grumpy near the end. It wouldve been better if Id paced myself and taken my time. Thanks!
It’s beautiful, Karla. And tons of work — not necessarily easy, dealing with stones, kneeling, all that. I bow down toyou!
Oh man!!! That is a ton of work!! But it is gorgeous for sure……and will stand through the ages. What a creative idea, but I would have expected nothing less from you Karla. The room looks so peaceful and restful and the gorgeous sunlight will come in during the afternoons and evening to make it glow. I know you will enjoy it so much. I hope you had your knee pads on…..Ouch!! Linda
Great talent you have. It is beautiful.
Your new space is beautiful and looks like it meshes seamlessly with the rest of your home. That mosaic is such a special detail. Is there anything you can’t do, Karla???
: )
Absolutely stunning! Such a beautiful room waiting for memories to be made..